This post and photos may contain Amazon or other affiliate links. If you purchase something through any link, I may receive a small commission at no extra charge to you. Any supplies used may be given to me free of charge, however, all projects and opinions are my own.

If you’ve ever been frustrated weeding small cuts from HTV, I’m here to help. Today I’m sharing the ultimate hack for weeding Iron-on cut with a Cricut machine. Finally, your Cricut machine will do all the cutting and most of the weeding for you!
If you’ve never used HTV or Iron-on before, head to my HTV beginner’s post to learn all you need to know.
What is the Ultimate Weeding Iron-on Hack?
When I tell you this weeding hack is going to change your crafting life, I mean it. When I first saw this hack from Melissa at the Silhouette School, I knew I had to try it with a Cricut machine.
Essentially we’re setting up our design in Design Spiace so it will self-weed. You can watch me show you this whole process by pressing play on the video below.
Can’t watch the video or miss some of the steps? You can also follow along below.
Supplies Needed
Setting Up the Design in Cricut Design Space
Now let’s head to Cricut Design Space and take a look at how we’re going to do this magic. To begin, I need to upload my SVG into Design Space and add it to the canvas. You can see how to do that here.
Resize the design to the size you want it. I am resizing my image to about 10 inches wide.
Here’s where the magic begins. Once we have the design exactly how we want it we need to duplicate it twice. To make the process easier, I am making each layer a different color.
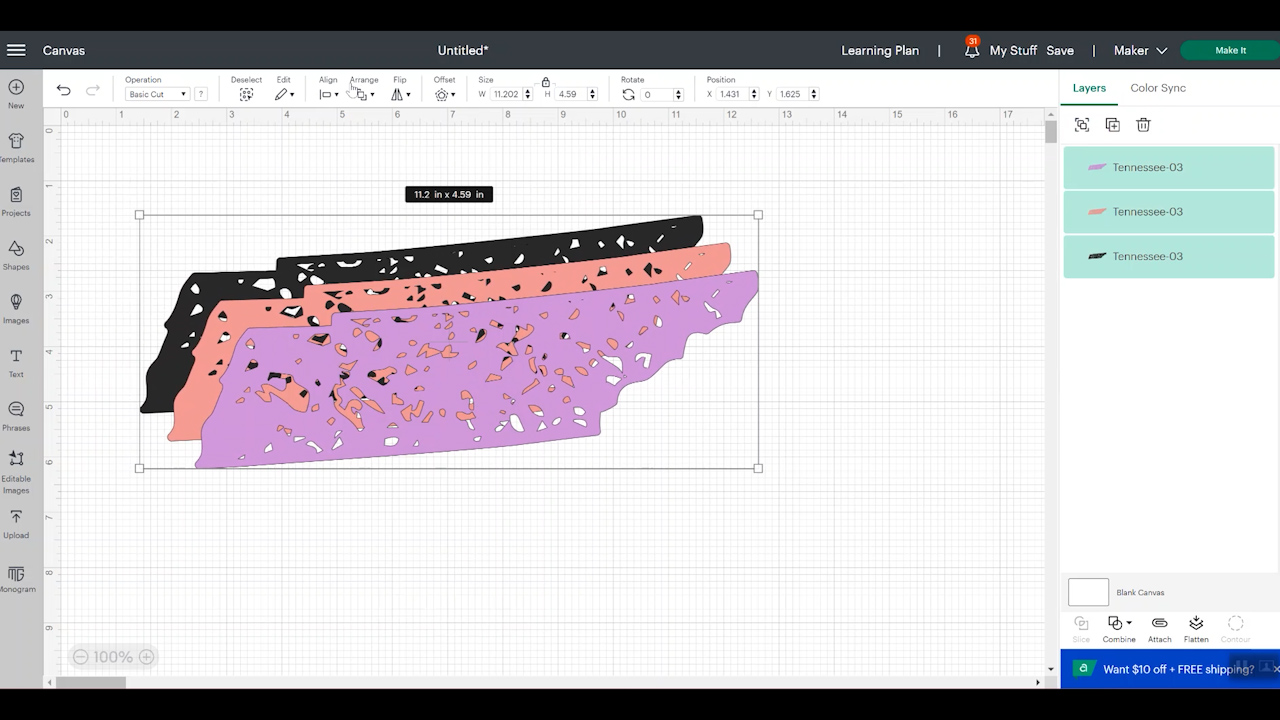
Choose all three layers, select align, and then center. Next, we want to select the first layer and then click contour and click off the outside edge. We want to repeat the same process for the second layer.
You can see more about using the contour feature here if you need help.
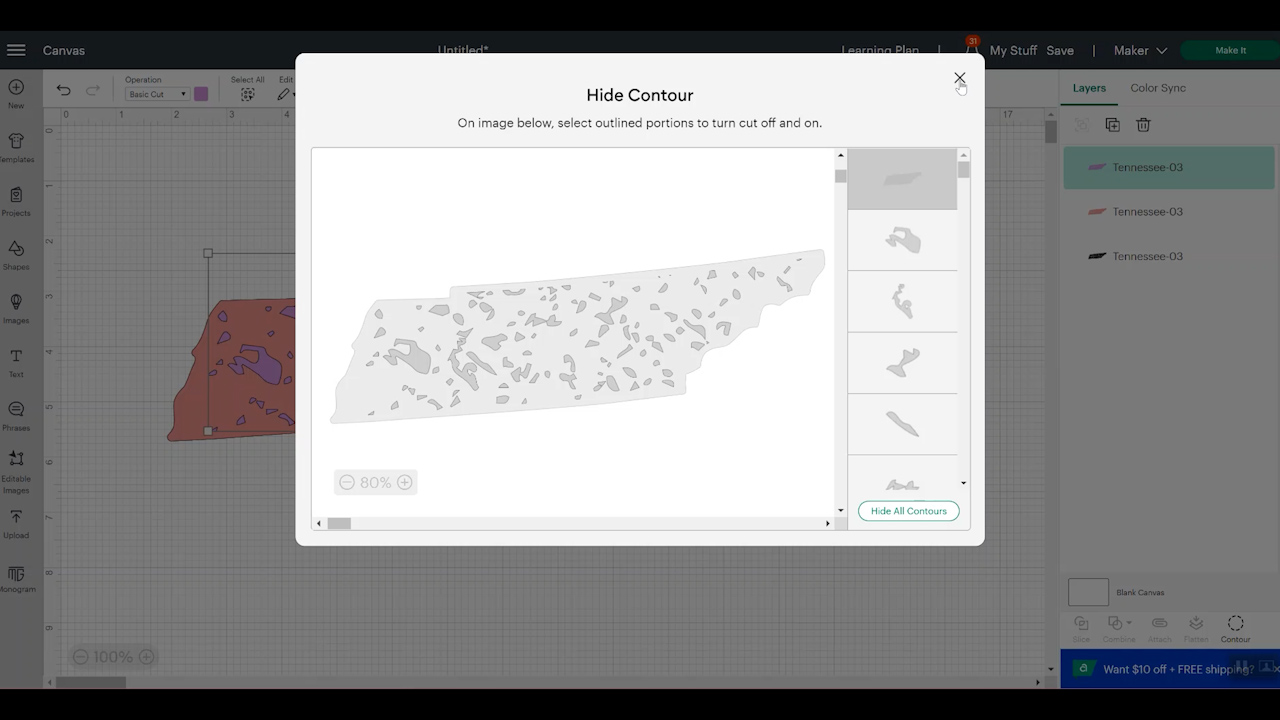
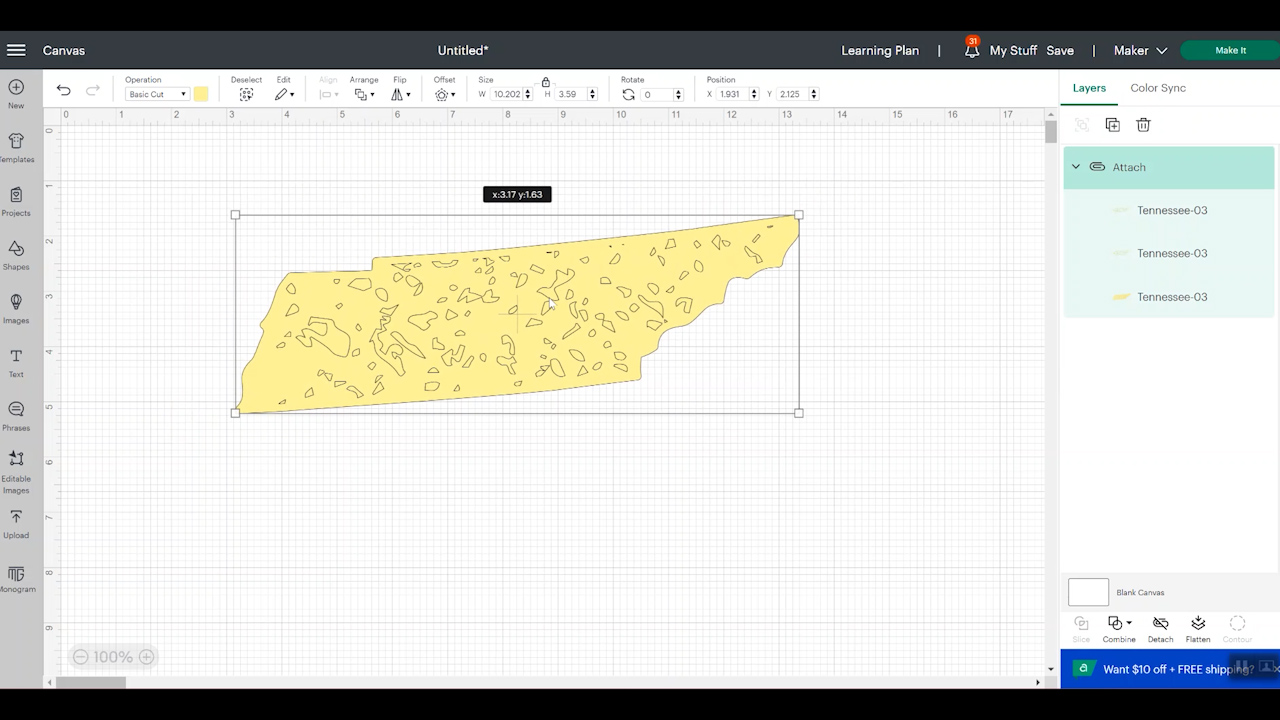
With all of the layers still aligned and centered, we want to select them all and attach them. Now we have a design that will cut the outside area once and the inside 3 times. The goal with this is to have the outside line cut just through the HTV and the inside pieces cut through the HTV and the carrier sheet.
NOTE: You can change the number of cuts by adding more copies and repeating the contour step. Each brand of HTV may require a different amount.
How to Cut Iron-on for Easy Weeding
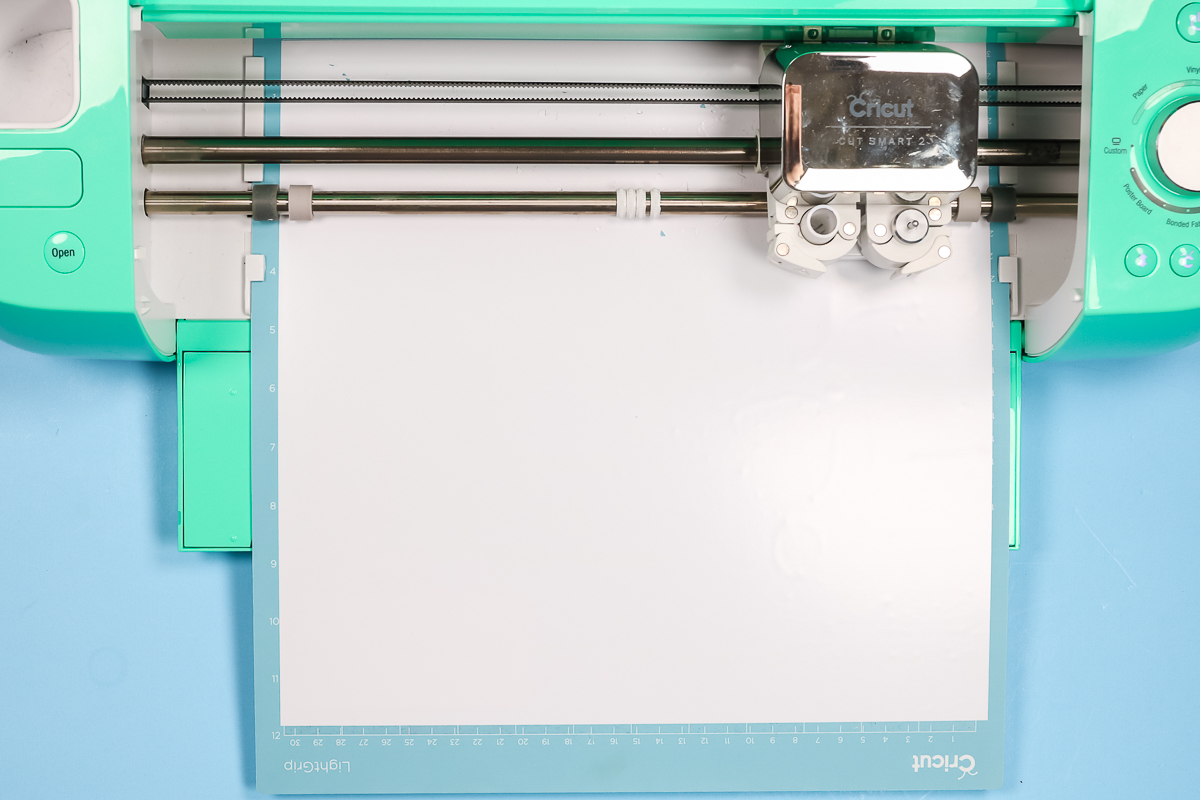
With our design finalized it’s time to choose the machine we’re using. You can use any Cricut machine to cut Iron-on. Click Make It and then make sure your project is mirrored. We are using HTV and we always want HTV mirrored.
Select Iron-on as your material and I am selecting more pressure.
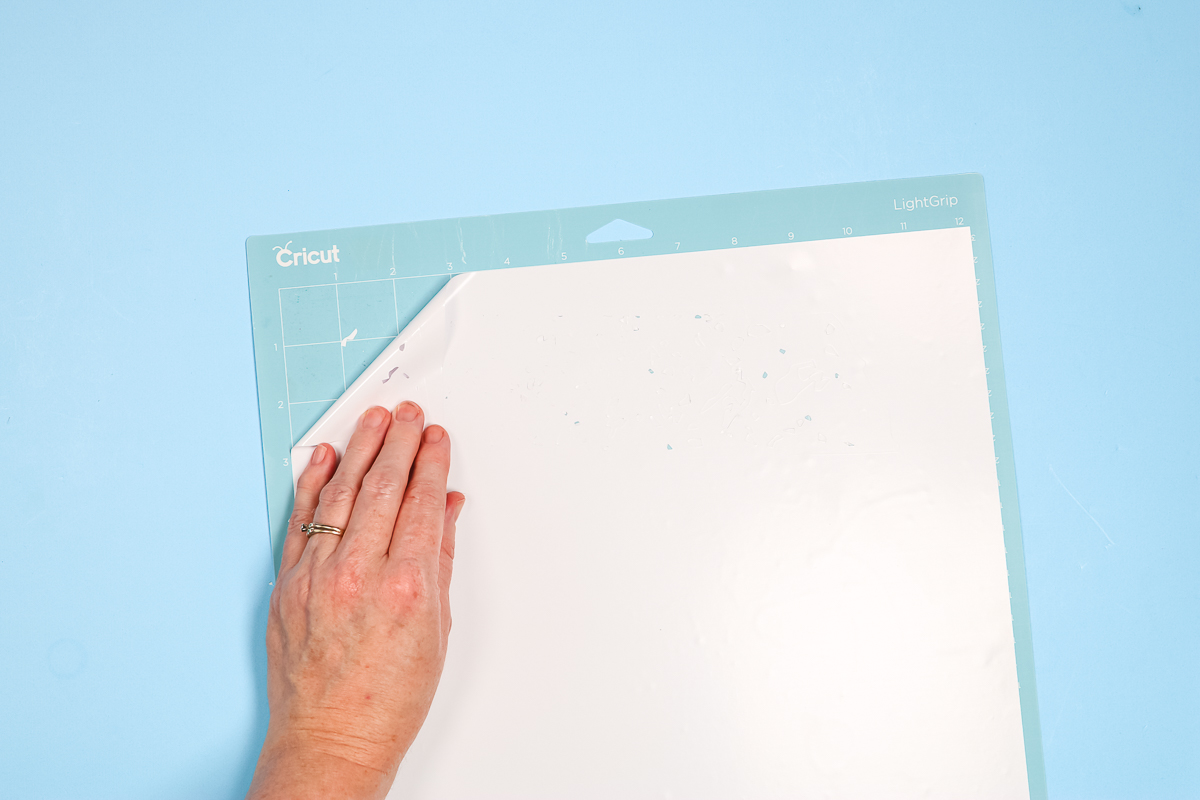
Iron-on material is placed shiny side down on the mat. Make sure you have a Fine Point blade installed into your machine. Load the mat and press go to cut. The Cricut will cut all of the internal pieces three times and the outside of the design is only going to cut once.
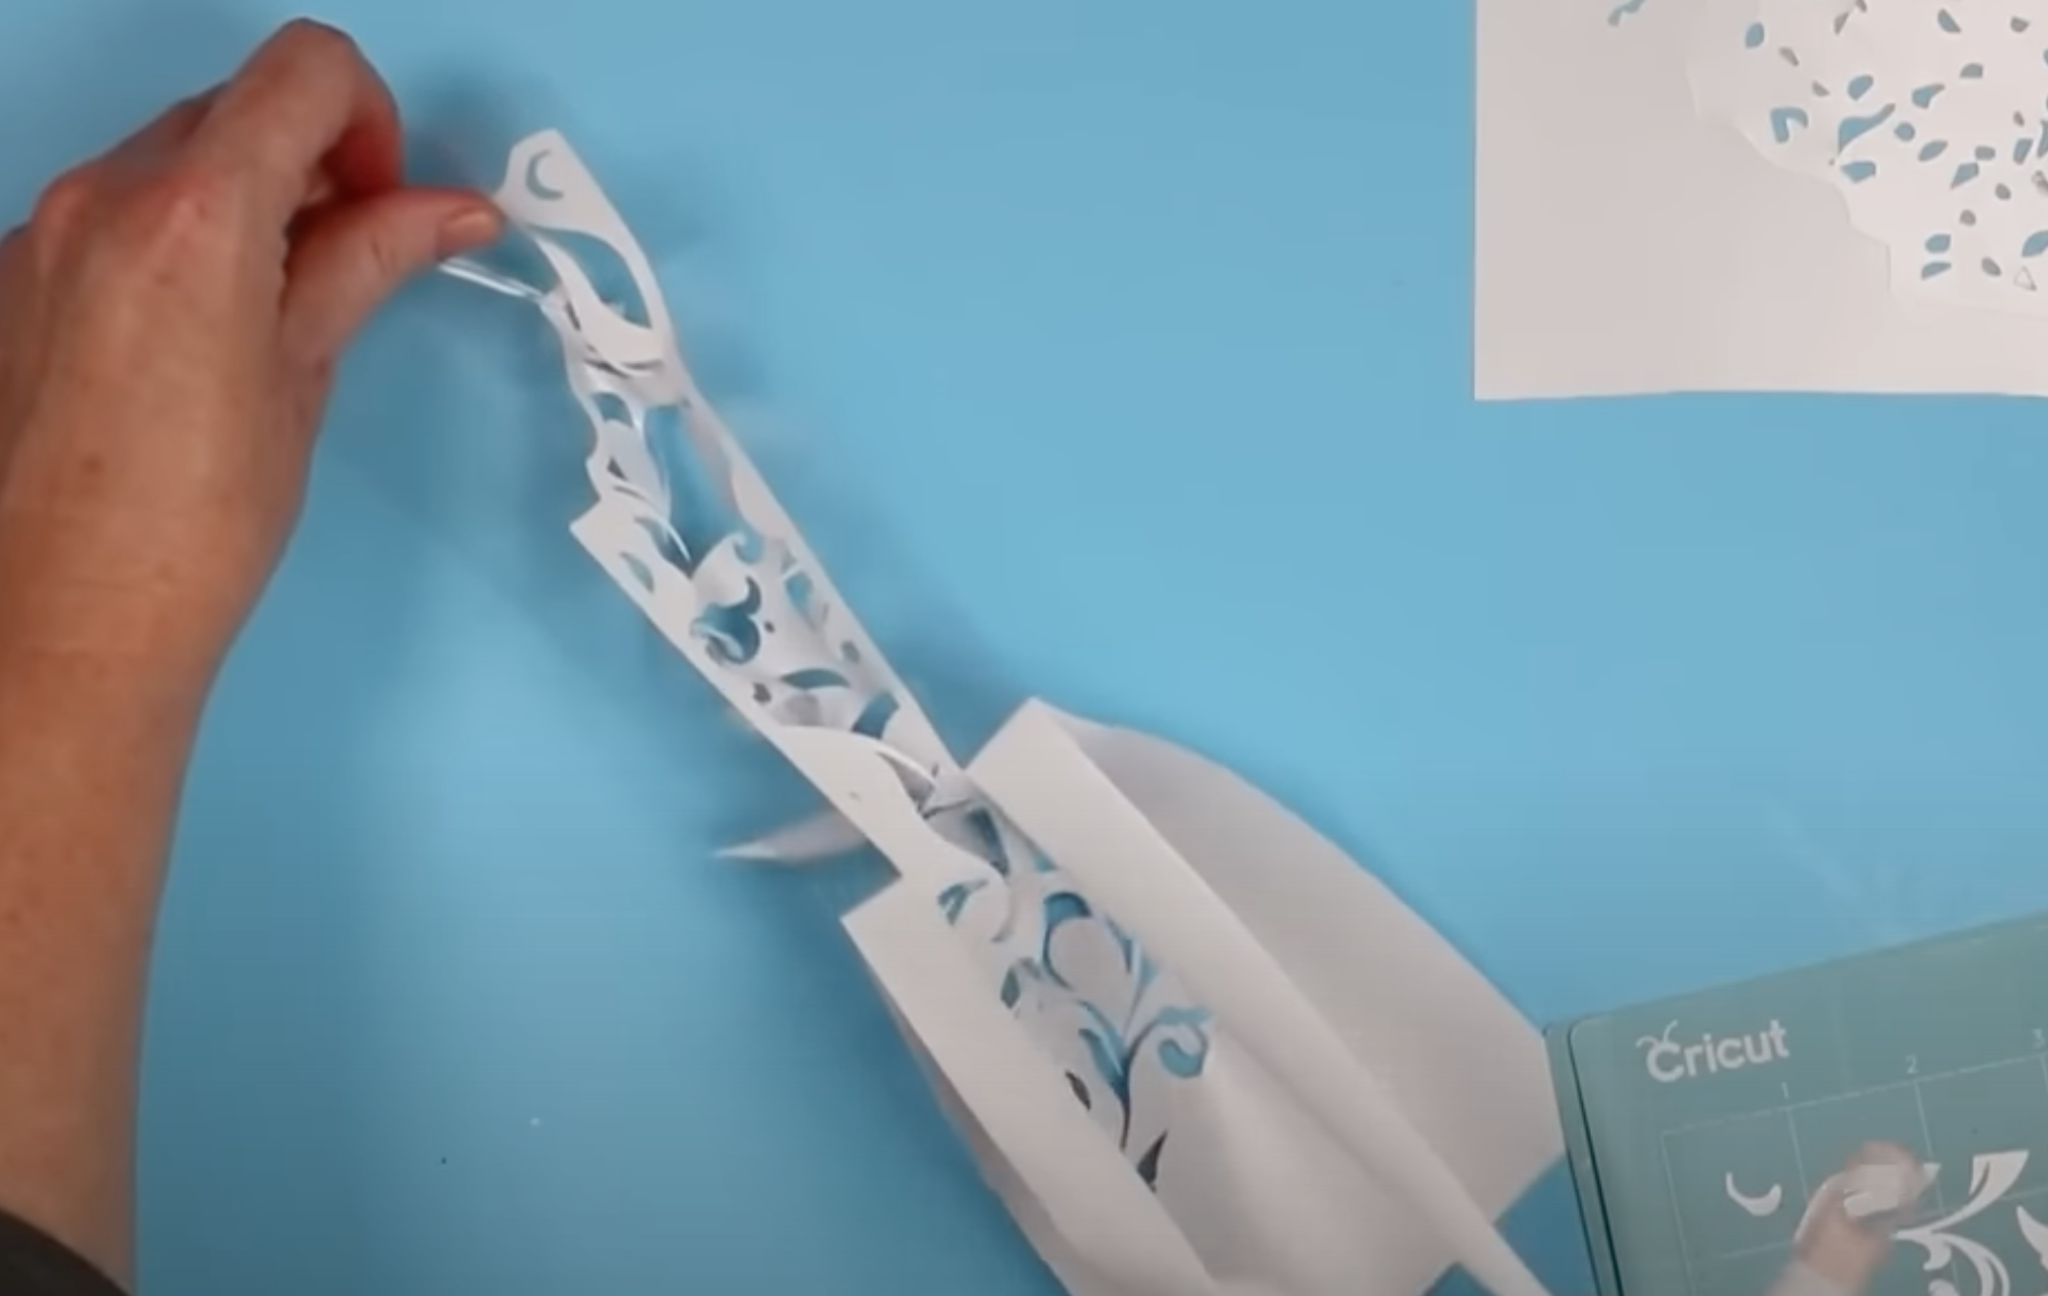
When your machine is done cutting, without unloading the mat, I like to pull up the corner of the HTV to make sure the interior pieces have cut all the way through the carrier sheet.
IMPORTANT: Don’t walk away from your Cricut while it’s cutting. Since we’re cutting through the carrier sheet, some of those pieces may lift. That isn’t a problem for the Cricut but you don’t want it to get stuck on your blade. If you see those pieces, you can pause your machine and brush them away from the design.
This does look like it cut all the way through so I am going to go ahead and unload it from the machine and remove the Iron-on from the mat.
While peeling back the Iron-on, you should see the little pieces sticking to the mat or just falling out easily. Some you may have to kind of peel away from the Iron-on sheet itself.
Adjusting Cut Settings for Weeding Iron-on Hack
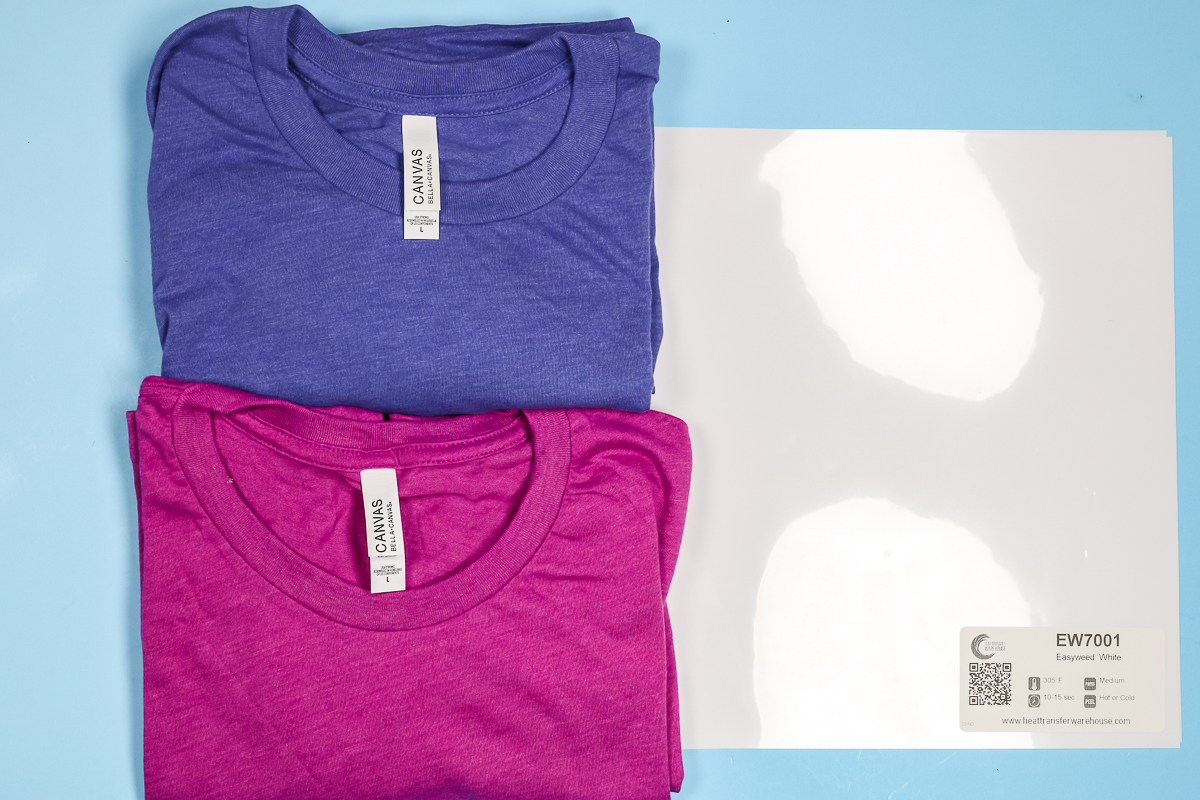
Today I am using Siser EasyWeed HTV. Depending on the Iron-on material you’re using, you may need to adjust how many layers you need to add to the canvas to cut all the way through the carrier sheet.
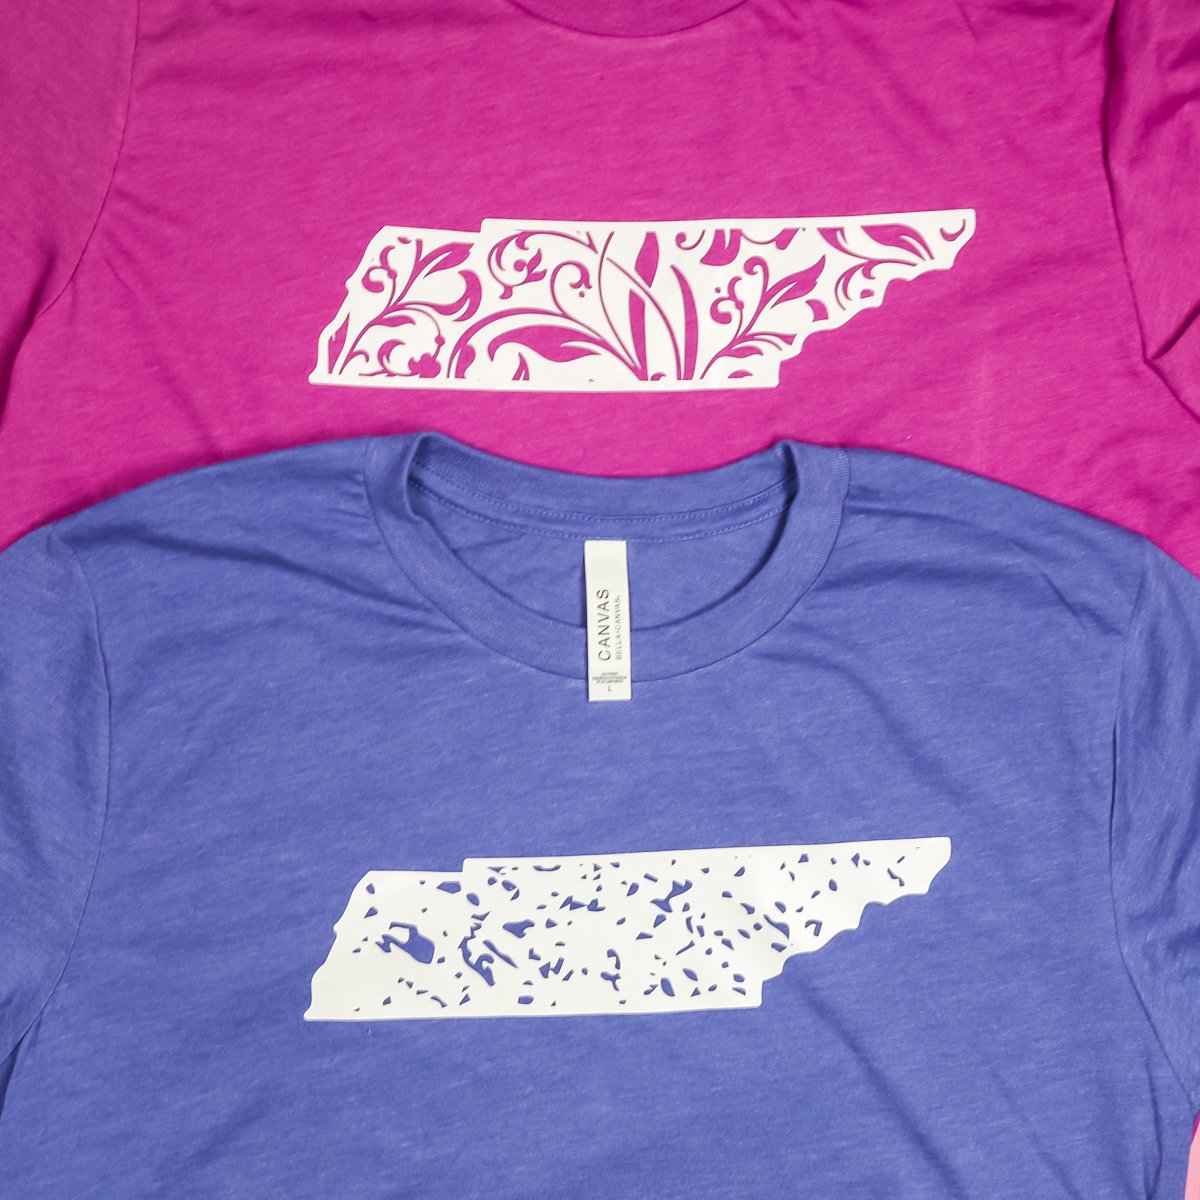
Let’s look at these two different projects. The project on the right was cut with three passes on the interior pieces and one pass around the outside. I did have trouble getting some of the pieces out. Some of them were stuck where the carrier sheet didn’t cut all the way through and in some places the carrier sheet ripped a little too.
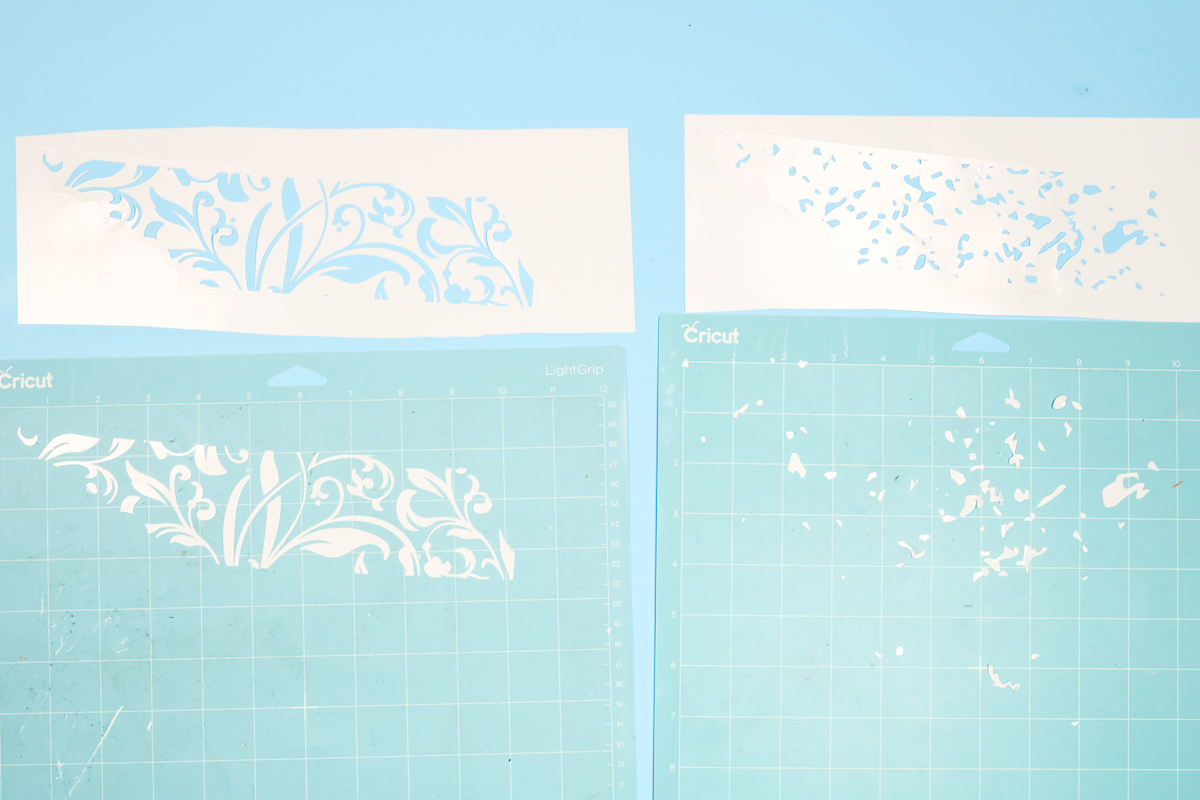
The project on the left was cut with four passes on the interior pieces and it came off the mat more easily. There were still a few areas where it was difficult to get off. I do think in the future I would use five passes when using Siser Easyweed.
Weeding Iron-On
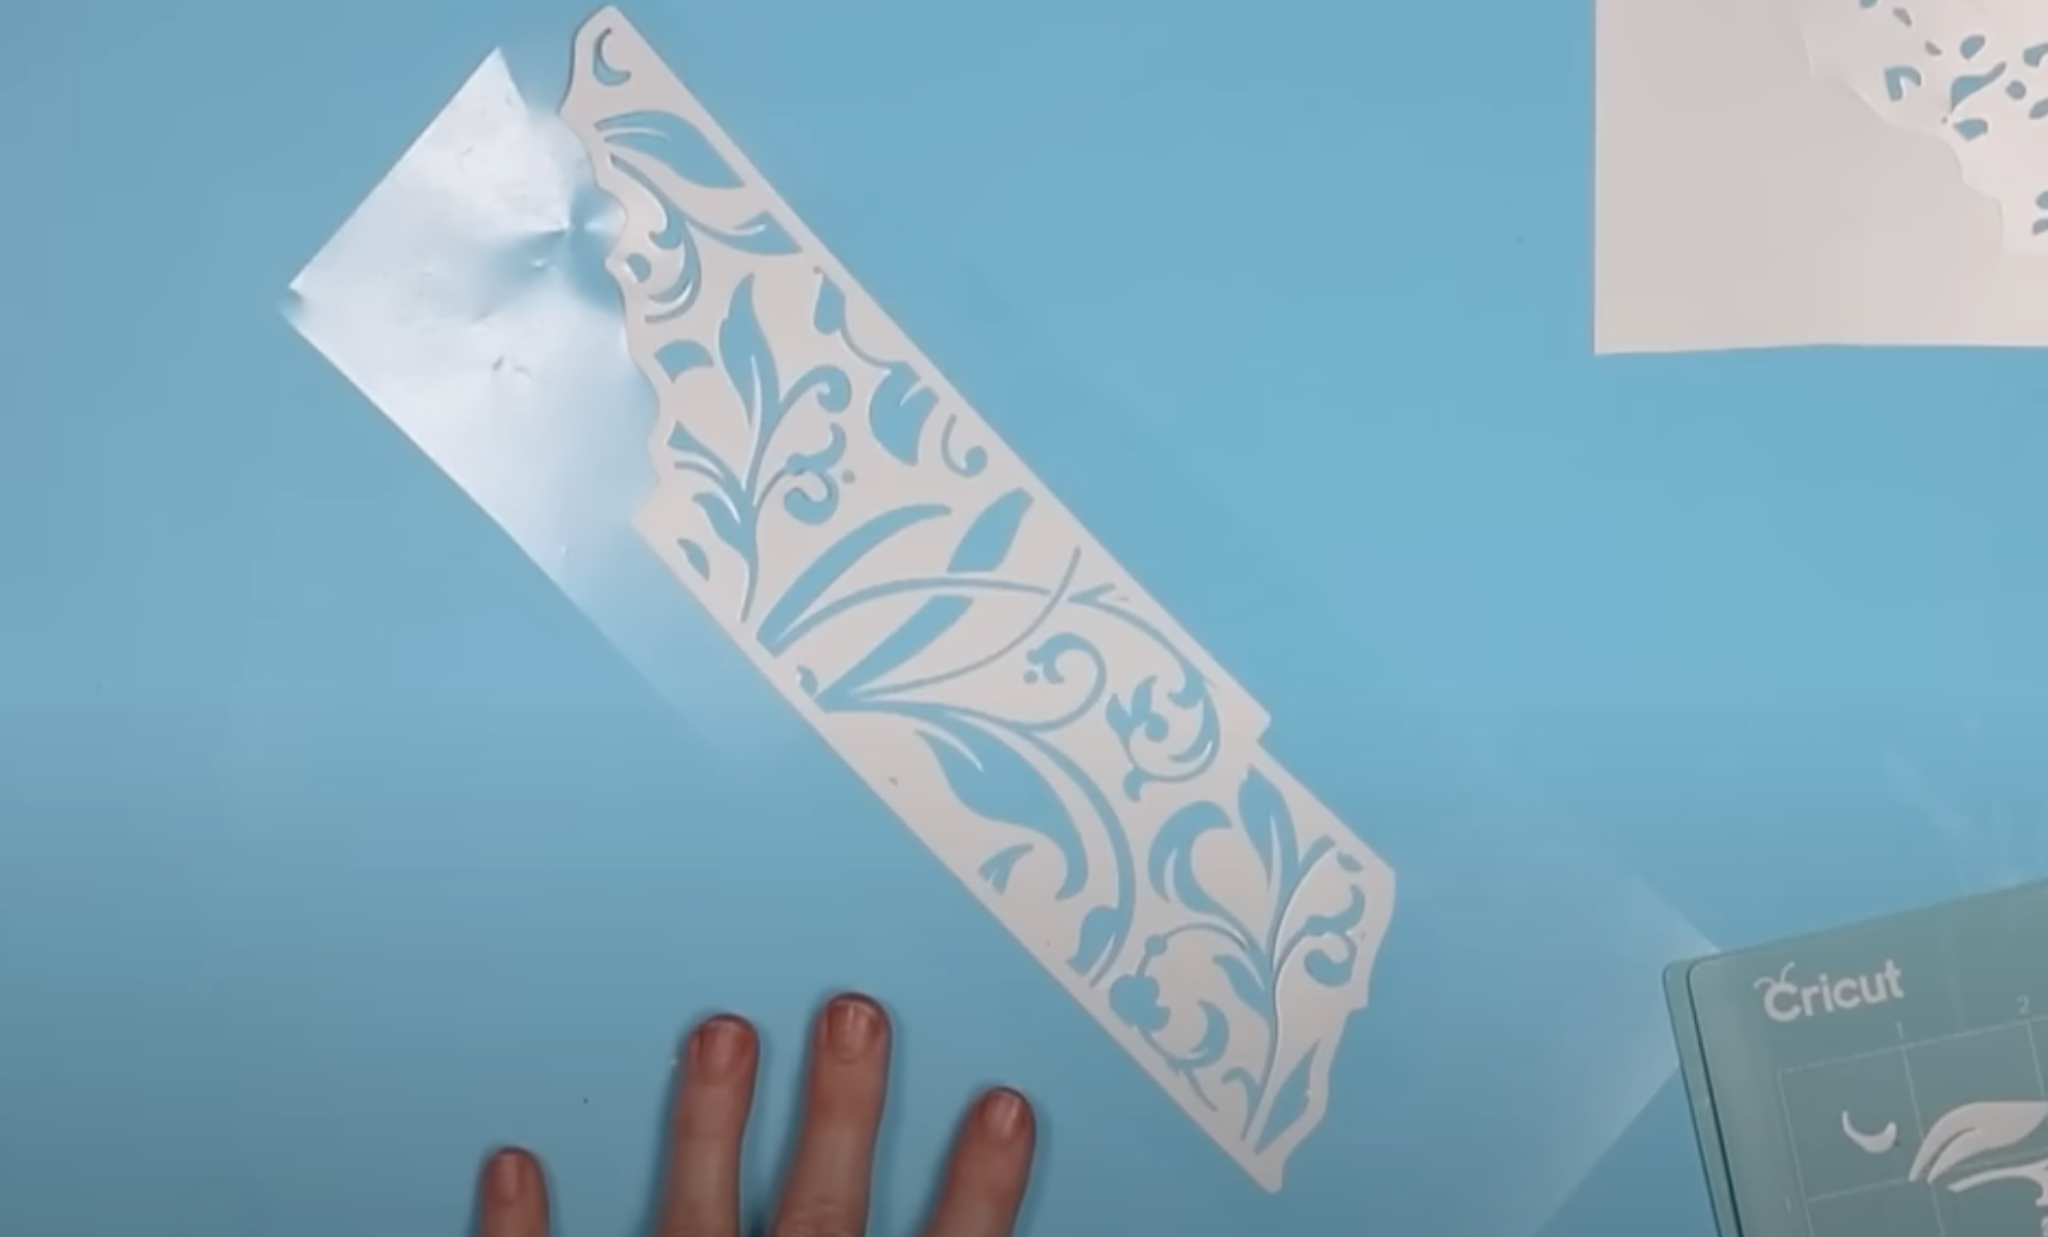
With all the interior pieces weeded out, we now have to weed out the exterior piece.
Just like that, we have a completely weeded project and we didn’t have to weed out any of the inside pieces! Our Cricut machine did all that work for us.
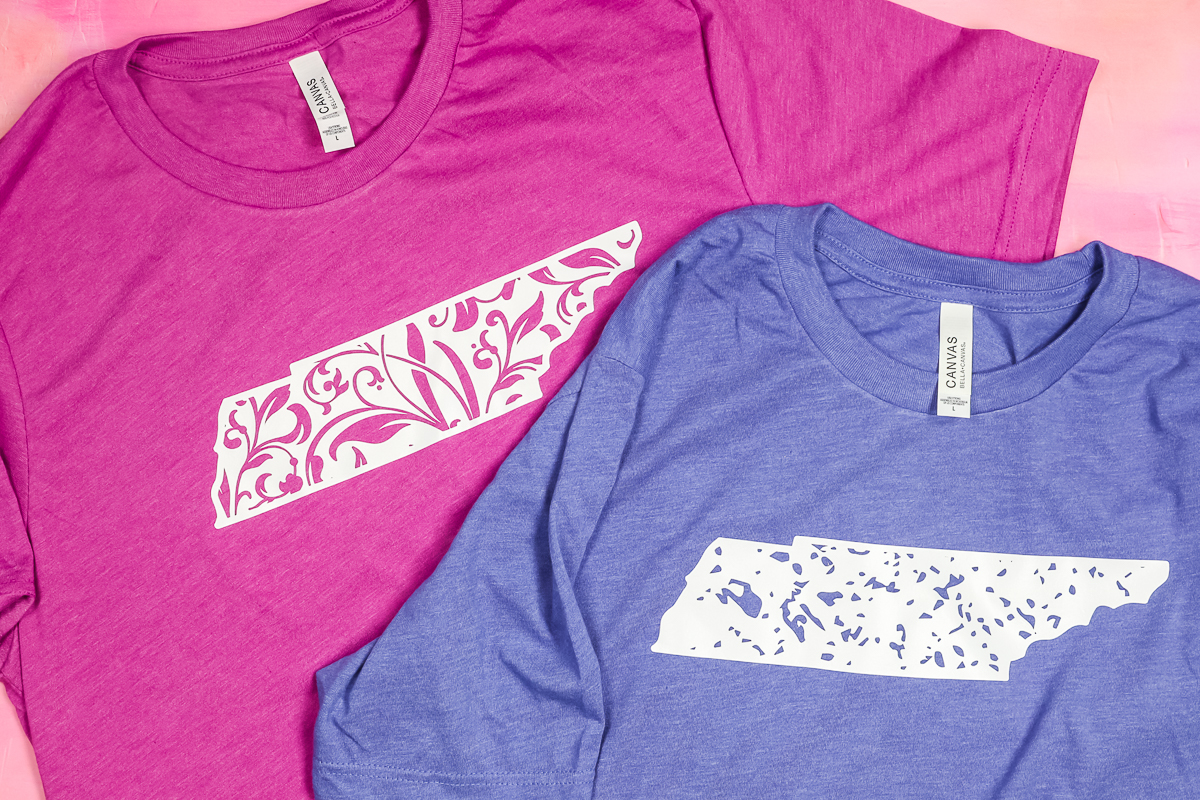
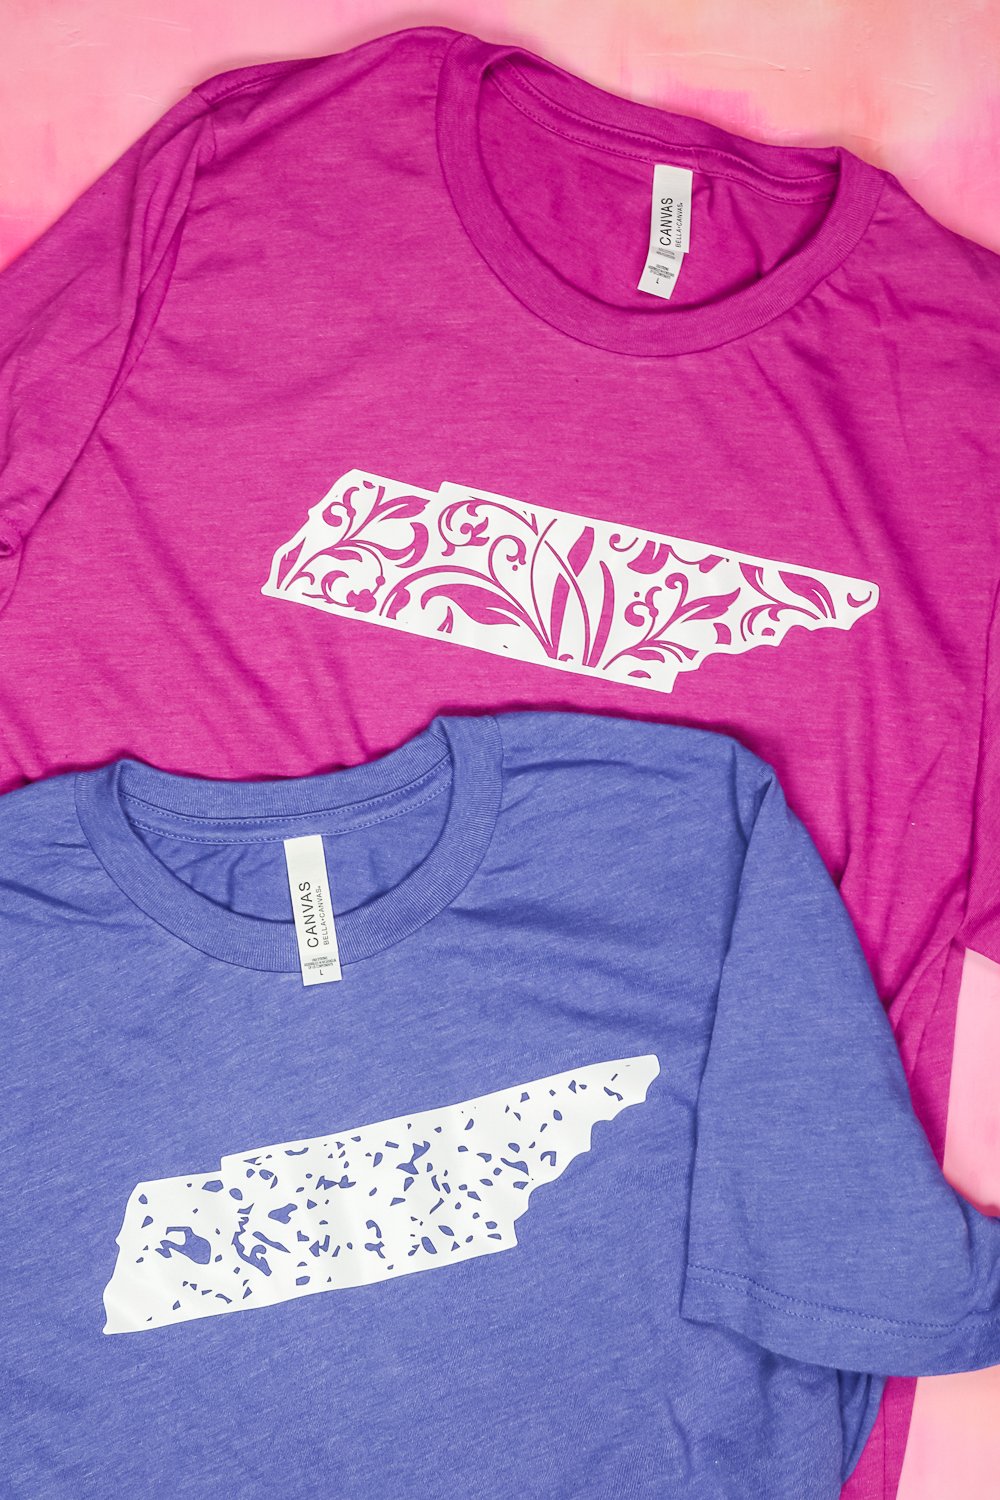
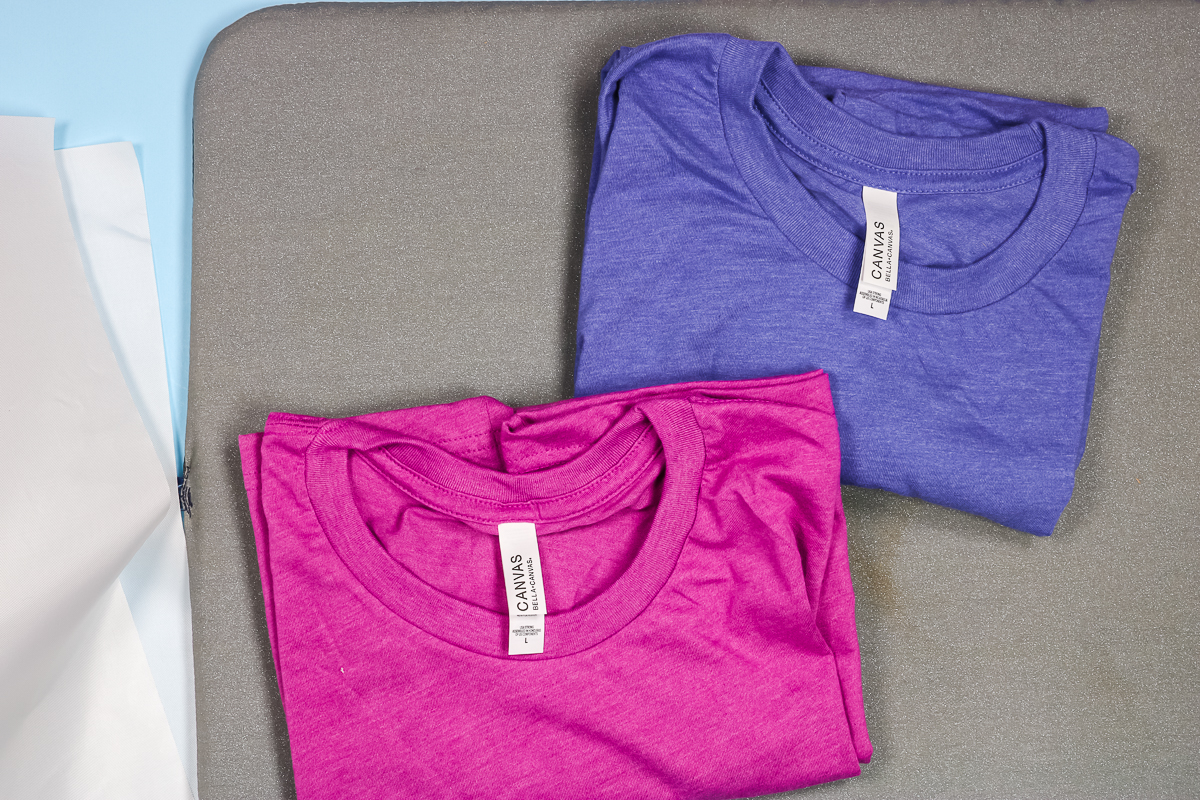
Pressing Weeded HTV onto T-shirts
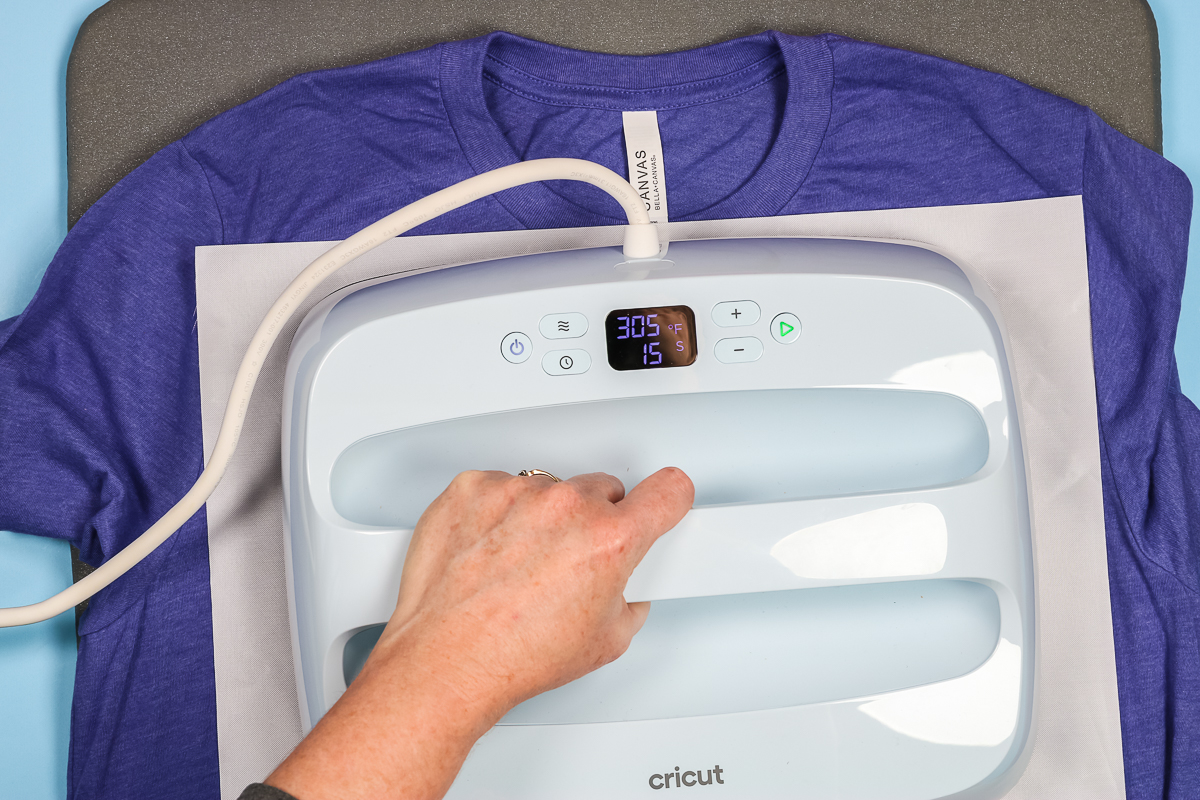
I am a huge fan of Bella + Canvas shirts. They really are my favorite. I am using my large EasyPress for these shirts since the design is pretty wide. If you have a smaller EasyPress, you can press the design in multiple parts.
Siser EasyWeed calls for a temp of 305 degress for 15 seconds. If you’re using a different type of HTV, you want to use the recommended settings for that brand.
Preheat your shirt for a few seconds to remove any moisture in the fabric and then apply your design. I like to fold the design in half and crease the carrier sheet to help locate the design correctly on the shirt.
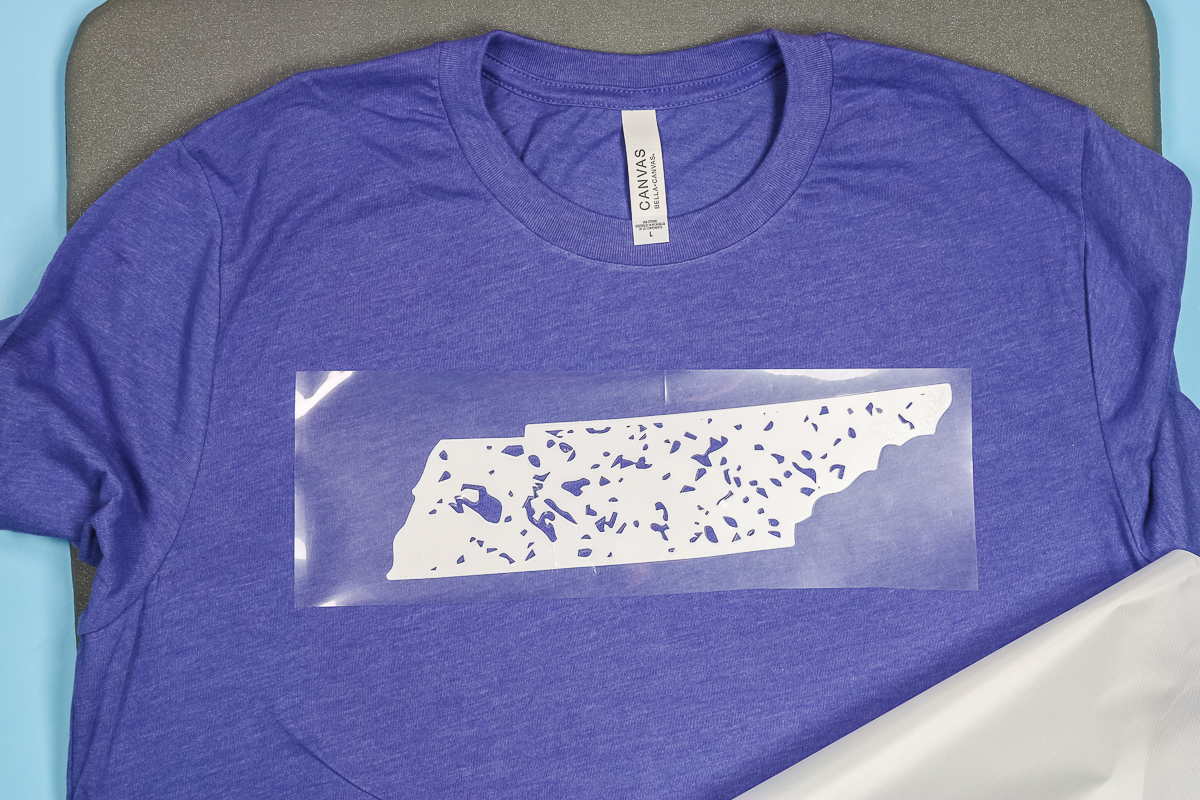
Because of the interior cuts that are cut all the way through the carrier sheet I recommend using a Teflon sheet or other protective paper between the Iron-on and the heat source.

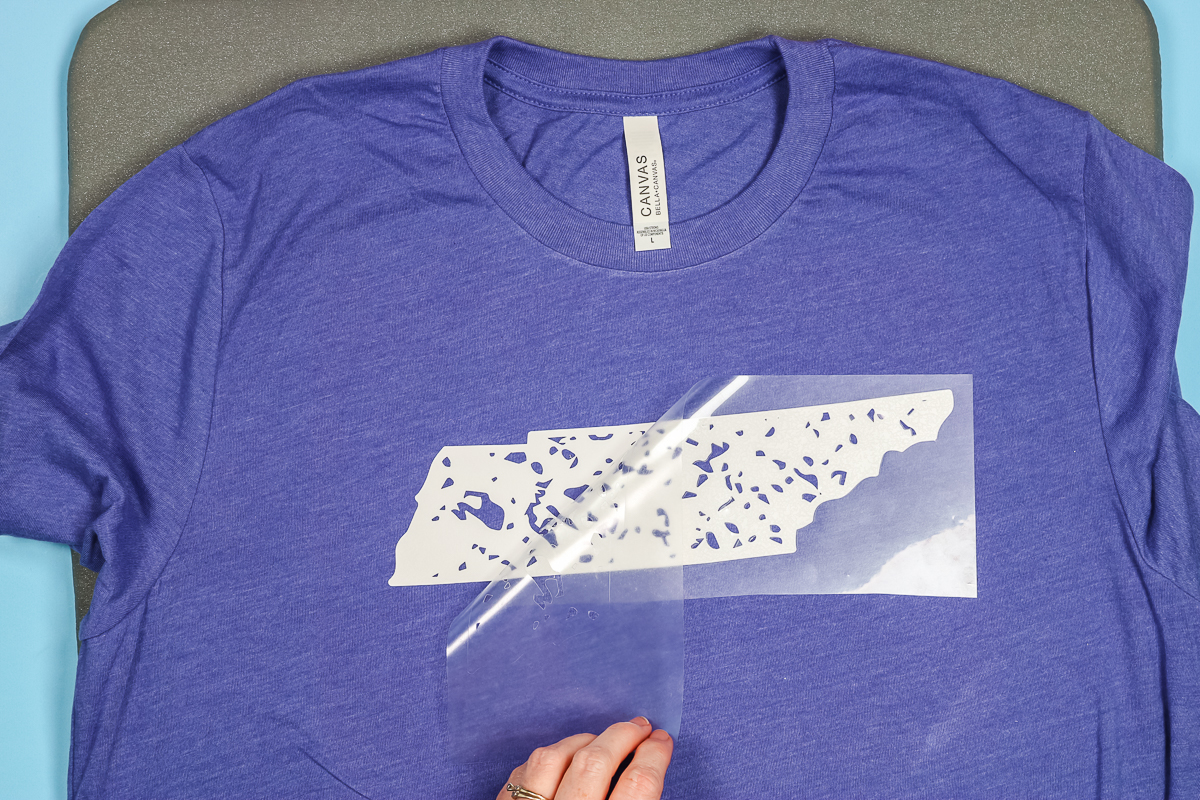
Press for the full time and follow all instructions for the HTV that you are using. Siser EasyWeed is a hot or cold peel HTV so we can peel the carrier sheet back right away.
Peel back the carrier sheet. You can see everything stuck amazingly well and this shirt looks great with even less weeding.
Final Thoughts on the Ultimate Weeding Iron-on Hack
Who’s ready to use the ultimate weeding Iron-on hack on their next project? I know I am going to use it again. Especially for projects with intricate cuts like the distressed look.
I do recommend doing test cuts to dial in the right number of cut passes for the HTV you’re using. In the future, I will use five passes when using Siser EasyWeed HTV.
I also highly recommend Bella + Canvas shirts, I love the feel and the fit and believe you will too! I especially love that you can buy their shirts wholesale without needing a wholesale license.
If weeding HTV doesn’t make your list of favorite things, try this weeding Iron-on hack on your next project. If you have any questions, leave them in the comments and we’ll get them answered for you.