This post and photos may contain Amazon or other affiliate links. If you purchase something through any link, I may receive a small commission at no extra charge to you. Any supplies used may be given to me free of charge, however, all projects and opinions are my own.
Now that we’ve looked at what a DTF printer is we’re going to look at different DTF materials. Today I’m going to test 5 different materials to see which ones DTF will work on.
If you’re trying to decide if a DTF printer is right for you, check out my other posts where I go through what a DTF Printer is, setup and maintenance, and making a project.
You can watch me go through the entire process by pressing play on the video below.
What Does DTF Stand For?
DTF stands for direct-to-film printing. I’ve already shown you how those prints work on shirts, so I wanted to test other surfaces to see if DTF prints will also work on those.
The prints I am using today are DTF prints that were printed from a DTF printer and they already have the adhesive powder applied and cured to the back.
Supplies Used:
You won’t need all of these supplies for every project.
Where to Get DTF Prints
I had the opportunity to go to Heat Transfer Warehouse with my friend Cori George from Hey, Let’s Make Stuff. We were able to go through the whole process of setting up and using a DTF printer. During the process, I decided that owning a DTF printer wasn’t right for me at this time. I do love DTF prints and how easy they are to use.
I purchase my DTF prints from Heat Transfer Warehouse so I can get the look I want without having to care for the printer.
IMPORTANT: I don’t recommend any of the DTF hacks that are out there using sublimation printers. These are true DTF prints printed on DTF film with a DTF printer.
Testing Different DTF Materials
I’m teaming up with Cori today to test 10 different materials to see if DTF prints work on them. Once you’ve seen my 5 projects, you can head over to Cori’s page and see the projects she made including a wood sign and leather luggage tag.
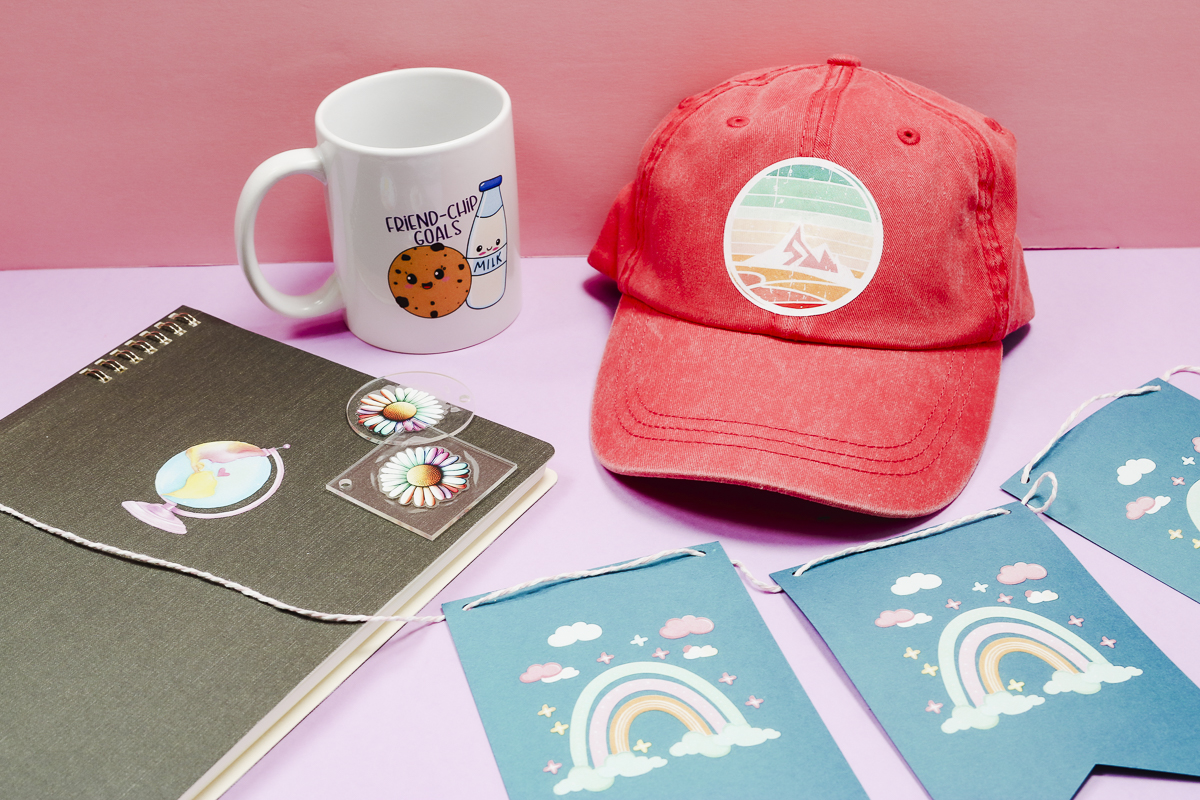
If you’ve purchased a DTF printer and you’re wondering what other surfaces you can use the prints on, this post will help. Today I’m testing paper, a cotton ball cap, a linen notebook, a ceramic mug, and an acrylic keychain.
DTF on Paper
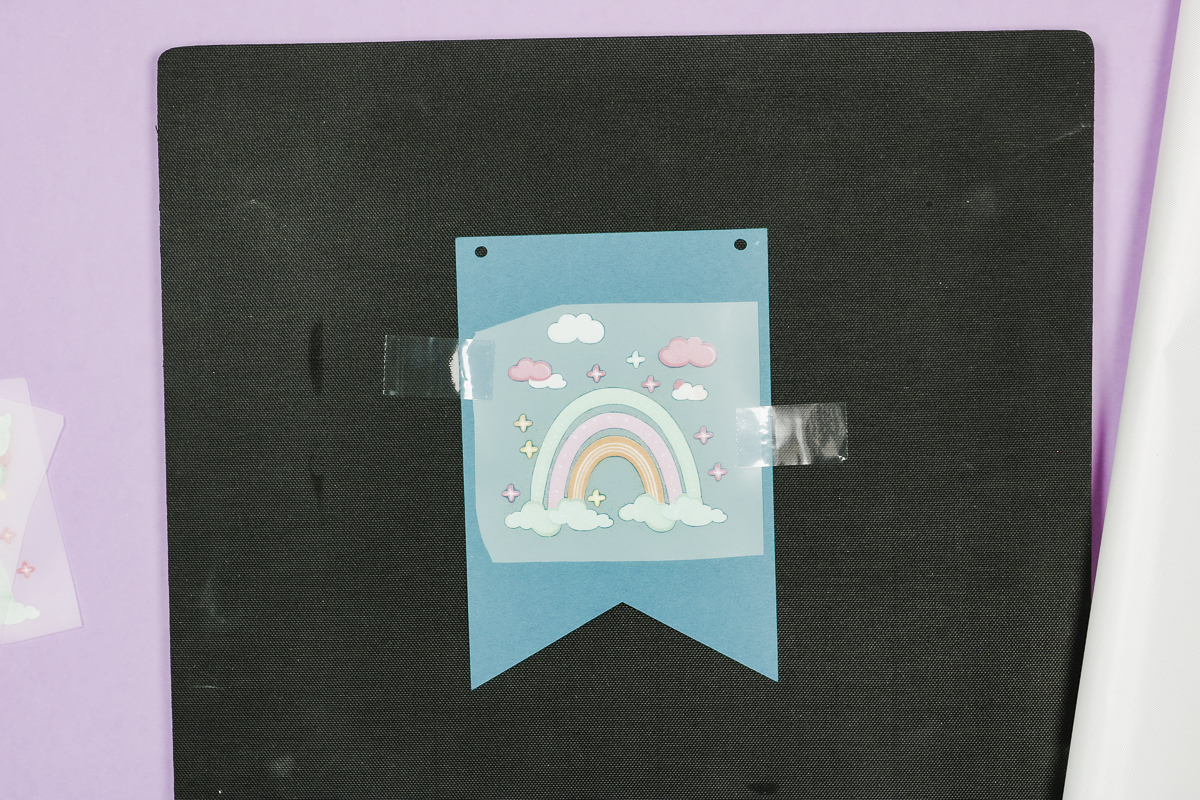
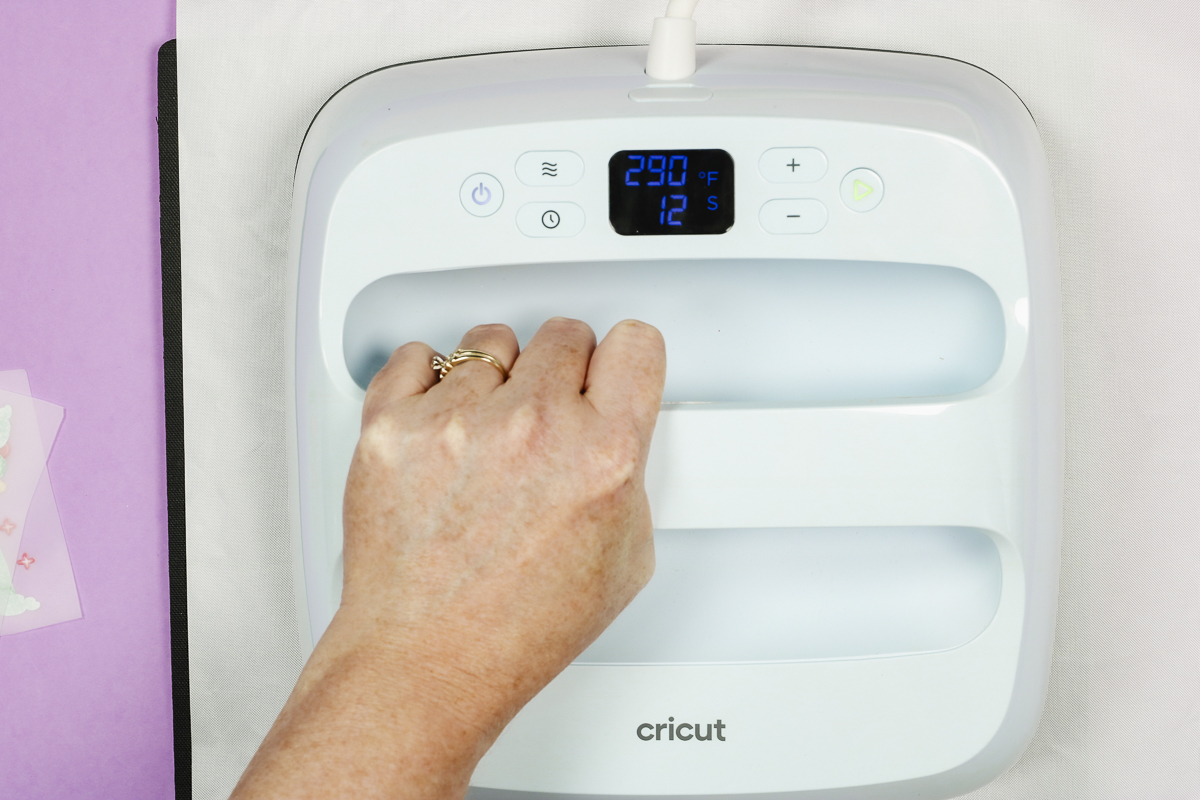
The first DTF material I’m going to test today is paper. I am using cardstock that has been cut into a banner flag shape. I am using an EasyPress for this project and have the temperature set to 290 degrees and the time set to 20 seconds.
Step 1: Use Heat-Resistant Tape to Hold the Print to the DTF Materials
If you think the DTF print will move when you press it, you can use heat-resistant tape to hold it in place. Since this is a paper project, I am using minimal tape so it doesn’t rip the paper.
Step 2: Use a Teflon Sheet and Press
A Teflon sheet helps protect delicate materials from direct heat. Add the Teflon head to the top of the project and add a heat-resistant mat under it.
Press for the full time and temperature with medium pressure. When the time is up, remove the heat and lift off the Teflon sheet.
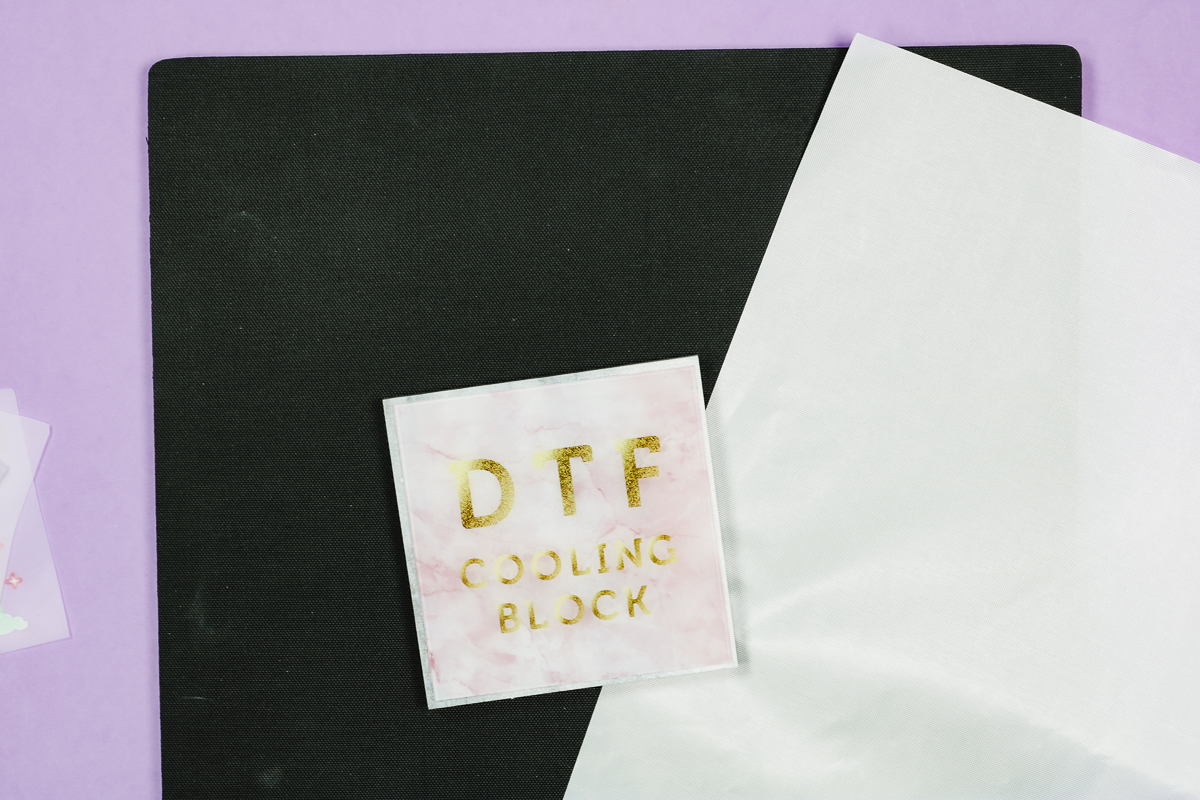
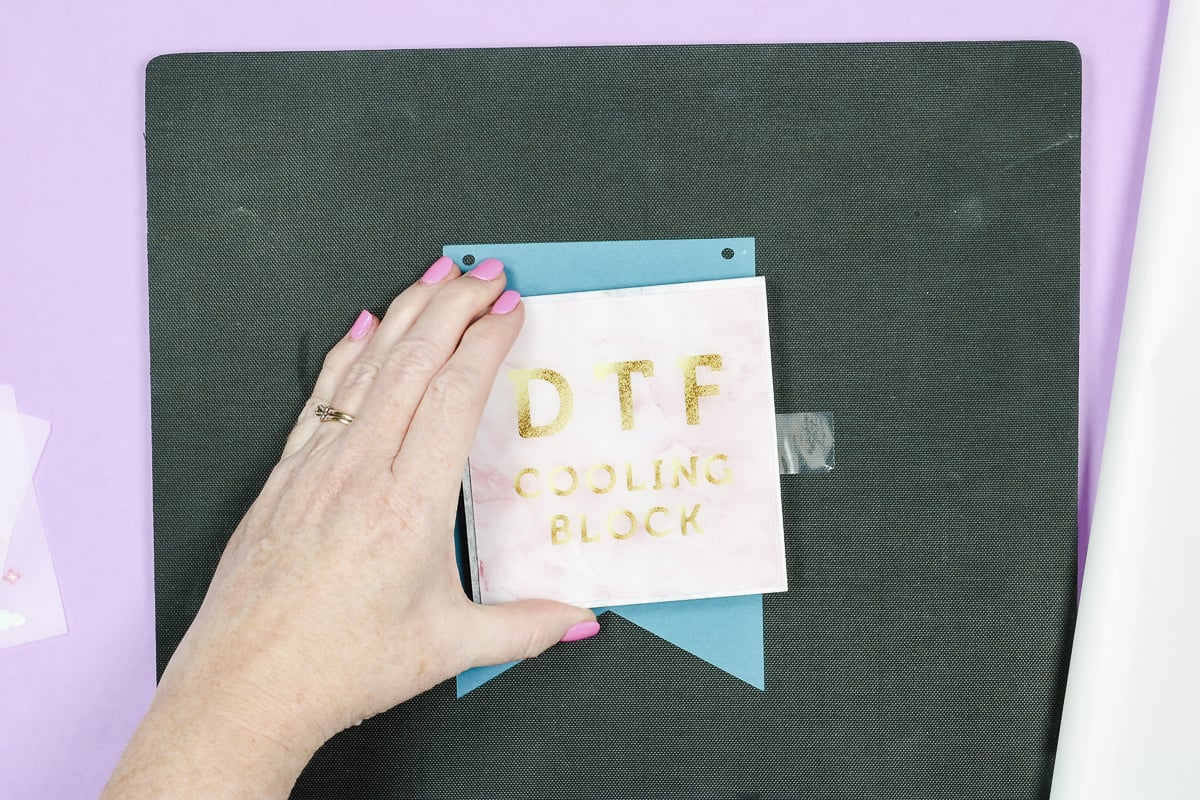
Step 3: Cool and Remove Film
DTF needs to cool completely before you remove the film. If you have a DTF cooling block, you can use that to help speed up the process. I recommend removing the heat-resistant mat because it stays hot.
If you don’t have a cooling block, you can set it aside and allow it to cool completely.
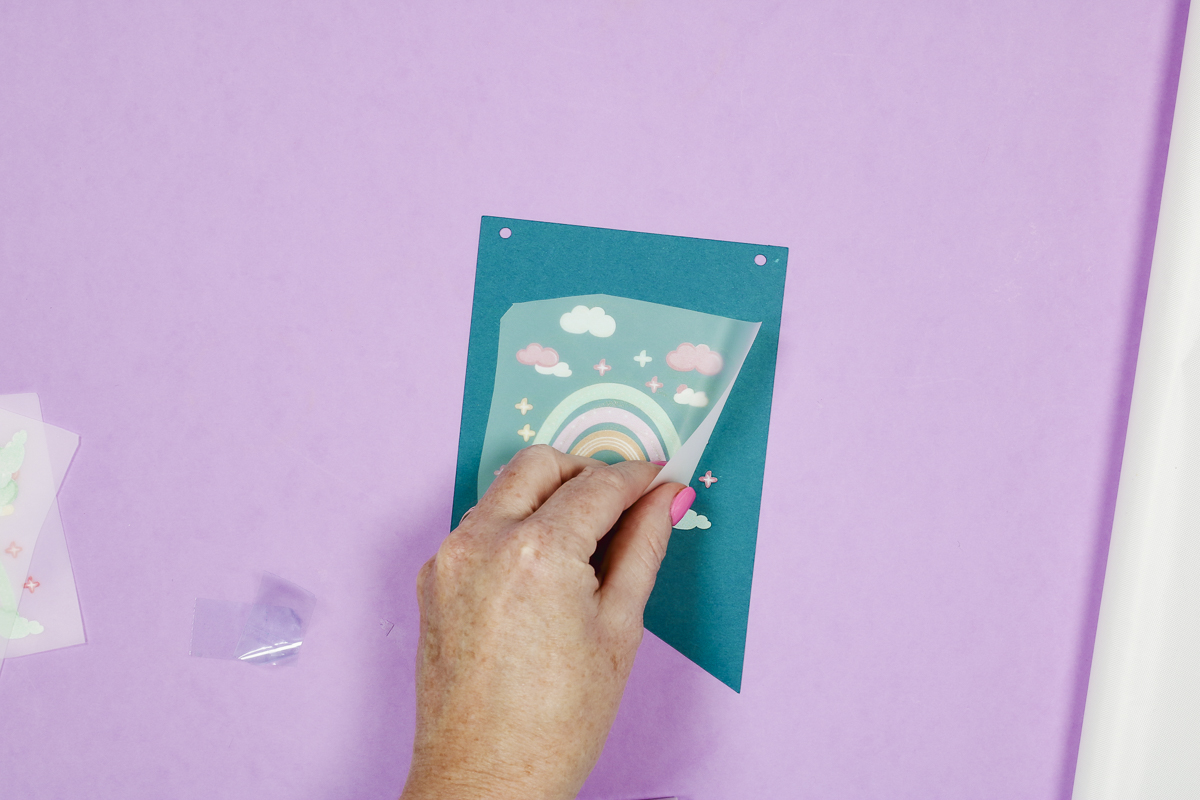
When it’s cool, gently remove the tape and peel back the DTF film.
Step 4: Complete Banner
Here is the finished product. The DTF print looks really good on paper. I would say that yes, you can use DTF on paper.
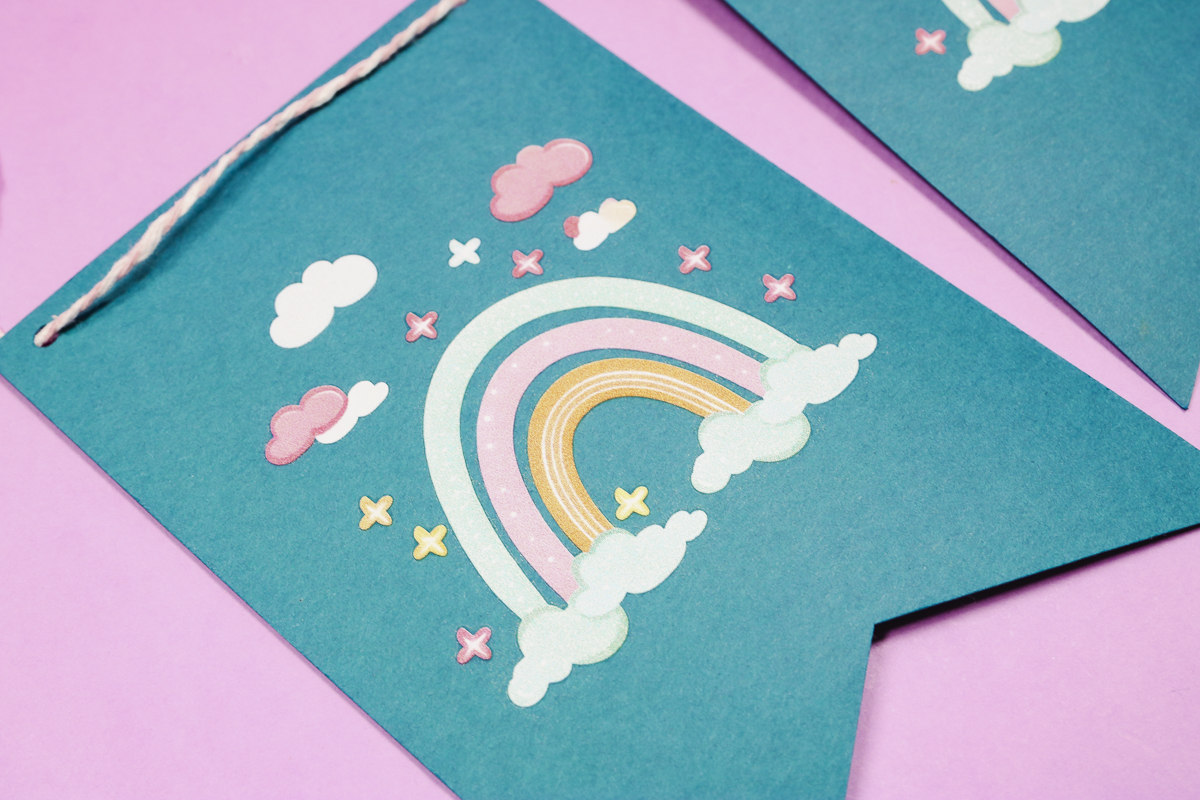
Even though this print is light in color and the paper is dark the print isn’t showing the paper through the design at all. I made several flags and used twine to make a banner. I’m really happy with how this project turned out.
DTF on Acrylic Keychains
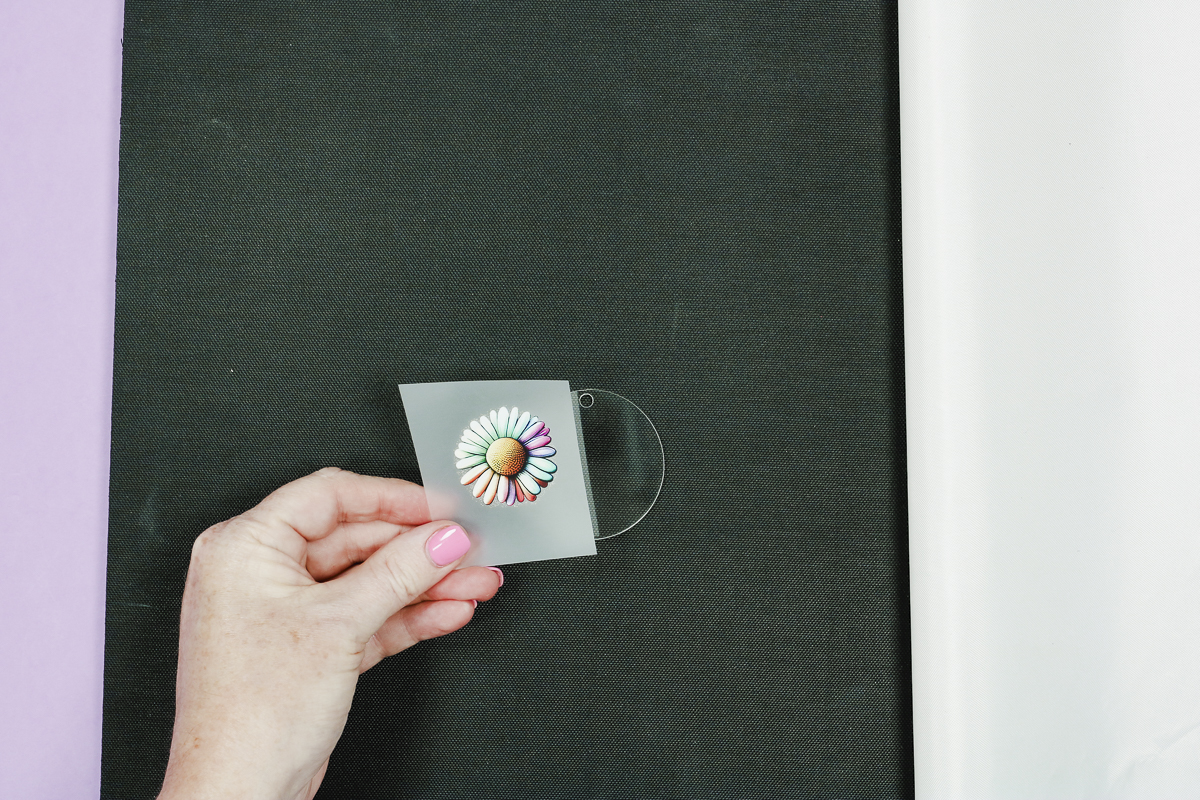
The next DTF material I am going to try is an acrylic keychain. I am going to add a small flower to the keychain.
Step 1: Remove Protective Film
Most acrylic blanks will have a protective film on them. Check both sides and remove the protective film or it will ruin your print and possibly your blank.
Step 2: Locate Print on Blank
I am using heat-resistant tape to hold the design in place. Just like with the paper banner project I am using minimal tape, this time to decrease the chance of tape marks being left in the acrylic.
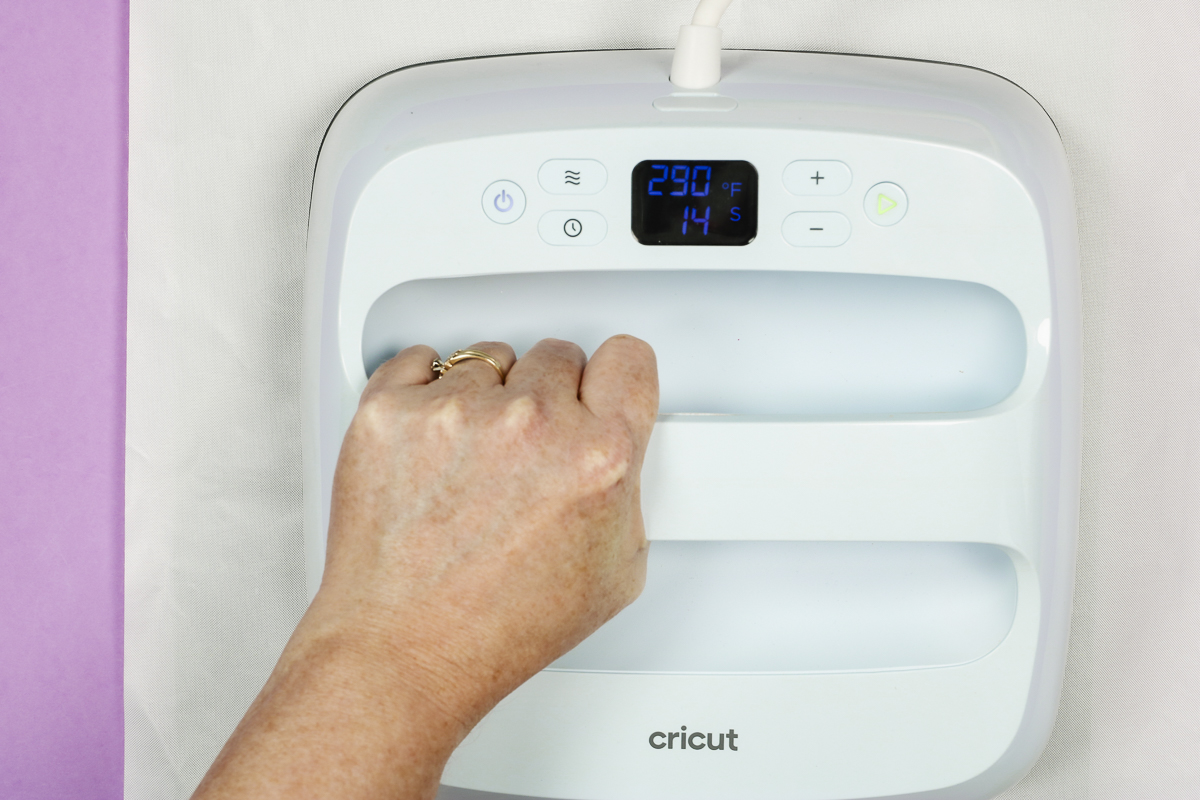
Step 3: Press Design
Place the acrylic blank onto the heat-resistant mat and cover it with the Teflon sheet. Press at 290 degrees for 20 seconds with medium pressure.
Step 4: Remove Film and Review Image
Before removing the film you need to allow the material to cool completely. Even before I peeled back the film, I could see that the design moved so I am going to go through the steps again.
This time I trimmed the film closer to the design and used three pieces of tip to secure the print in place.
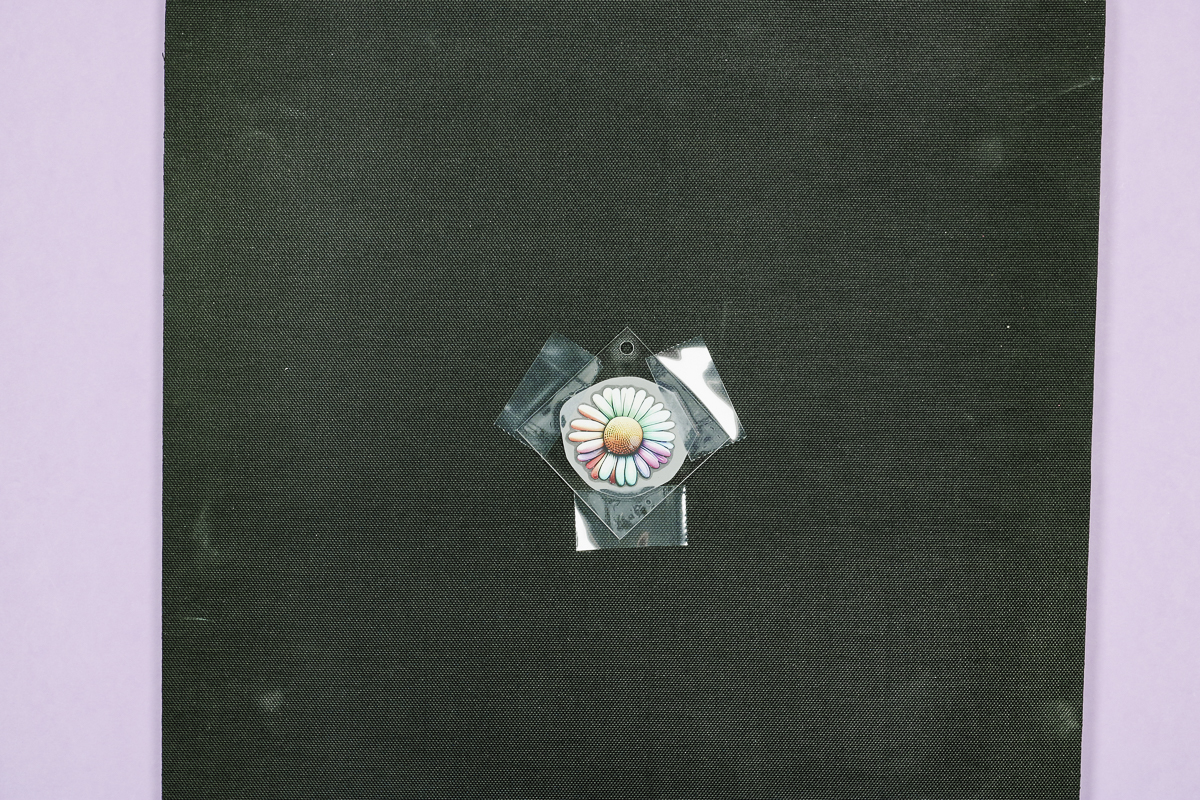
Add the Teflon sheet and press.
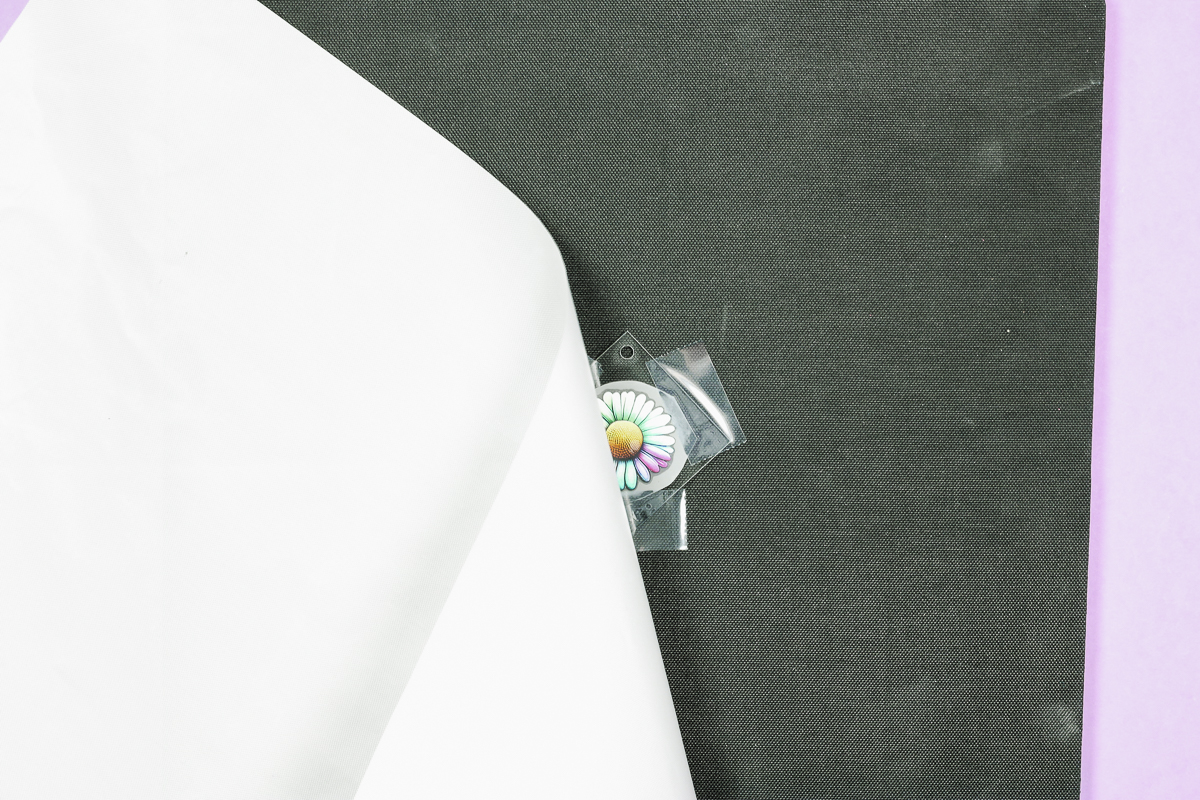
Here you can see both of the finished acrylic keychains with DTF prints applied to them.
The keychain on the right is the one where the print moved during the pressing process. You can see the adhesive residue where the design was when it started.
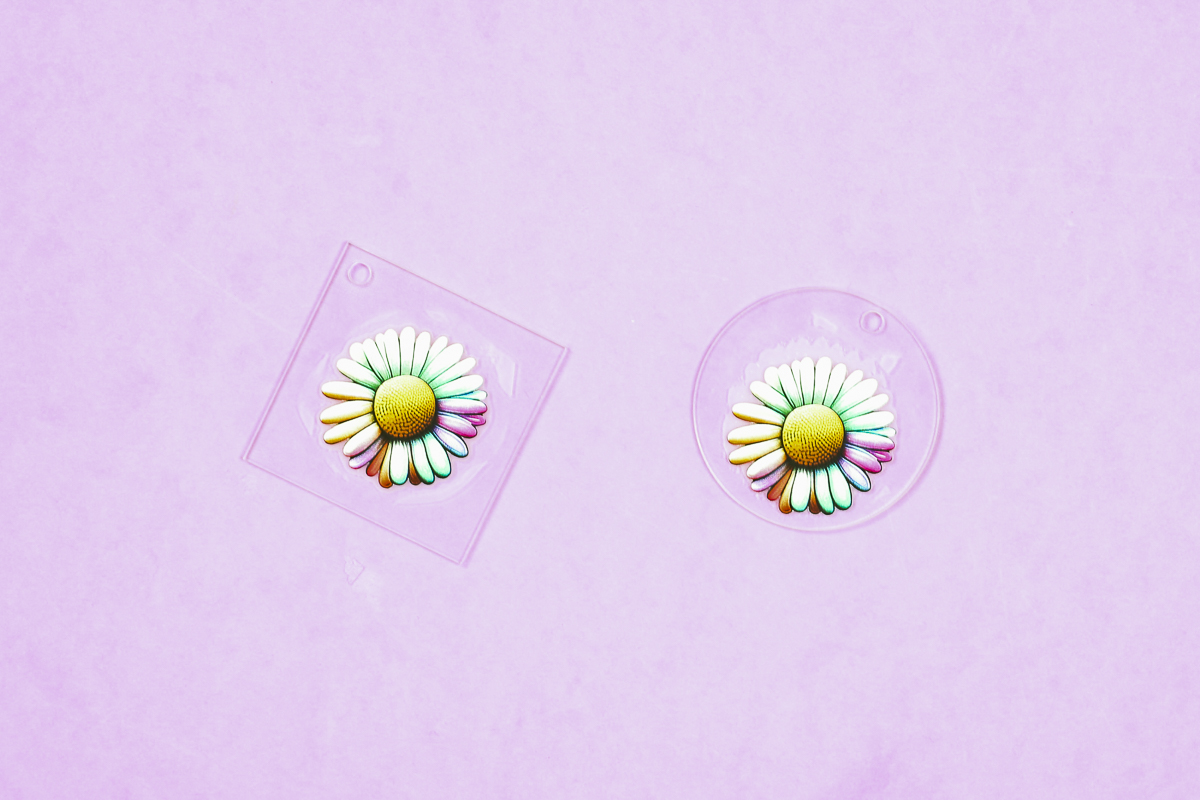
The keychain on the left is where the print stayed in place. There is no adhesive residue but everywhere the film was some of the film stayed stuck to the acrylic.
The DTF is stuck well to the surface but it may not be the best option for clear acrylic since you can see the film residue.
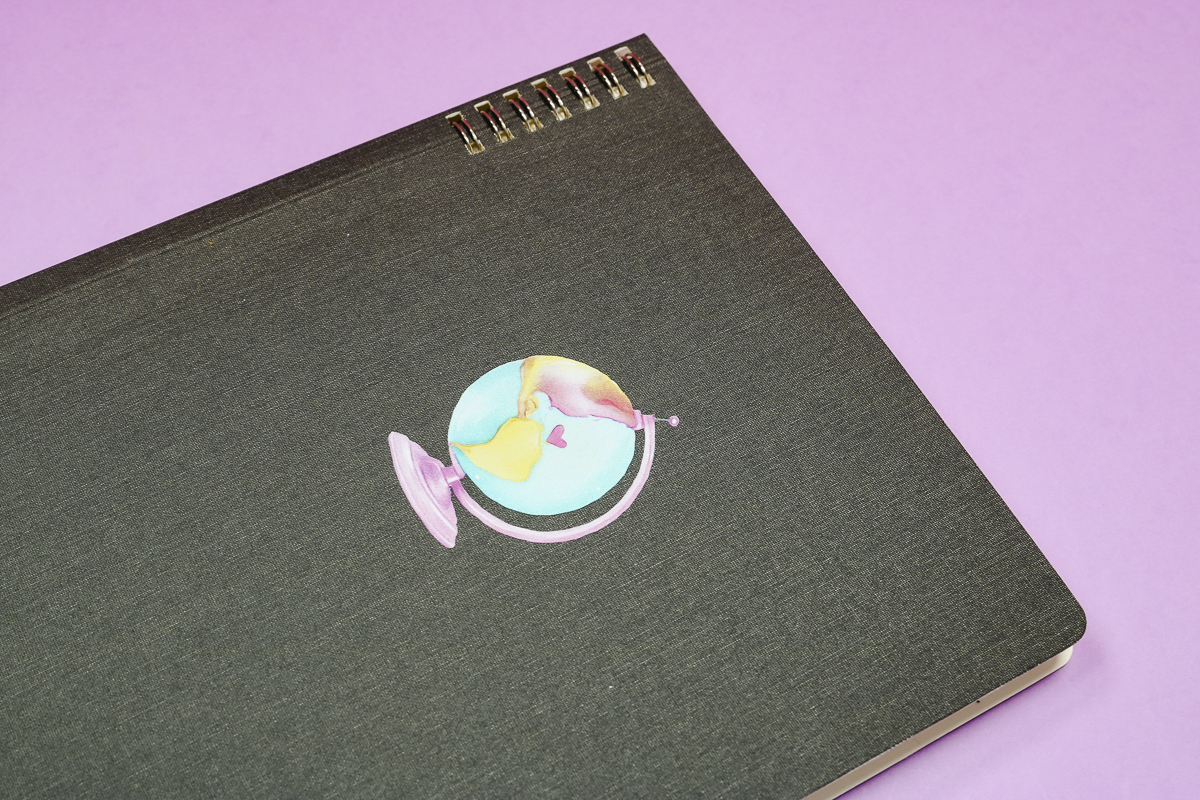
DTF on Linen Notebooks
The next DTF material we’re going to test is a notebook with a linen-like cover. Because the cover feels like fabric I think it will be a perfect DTF material.
Step 1: Locate DTF Print on Notebook
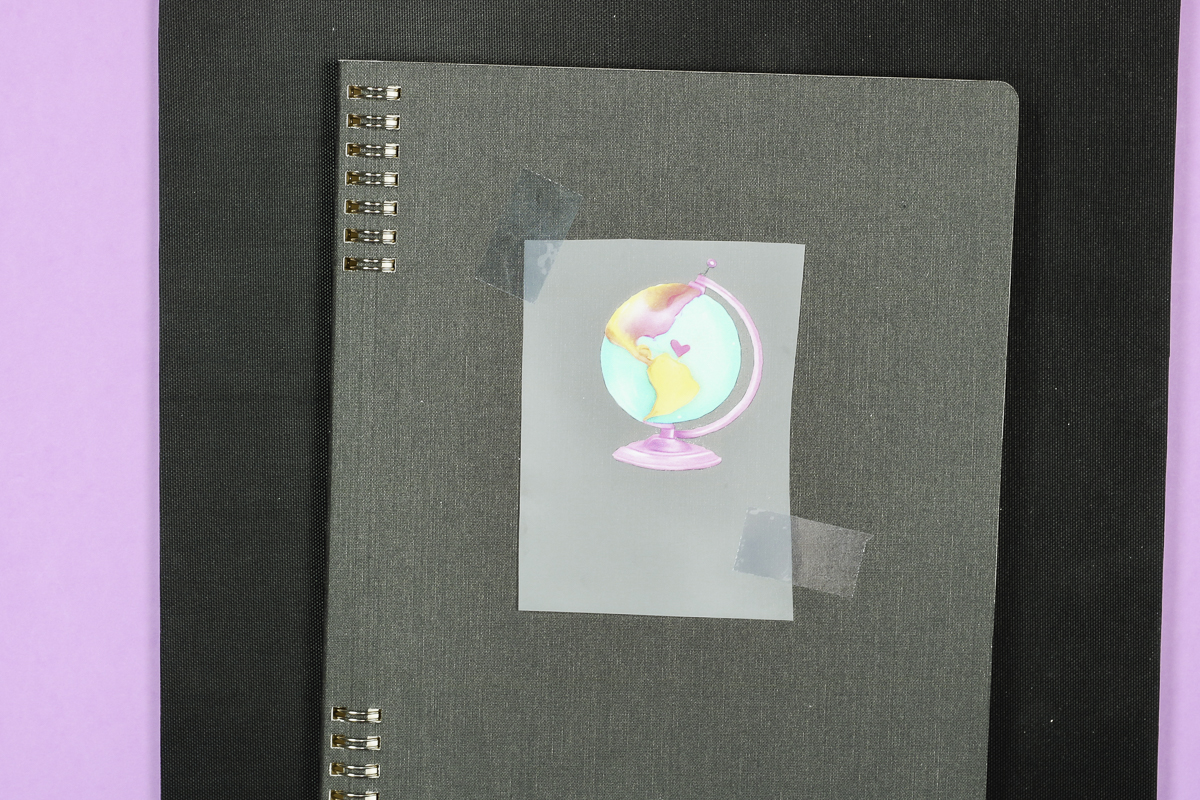
I used a small globe design for this project and used heat-resistant tape to hold it into place.
Step 2: Protect Notebook with a Teflon Sheet
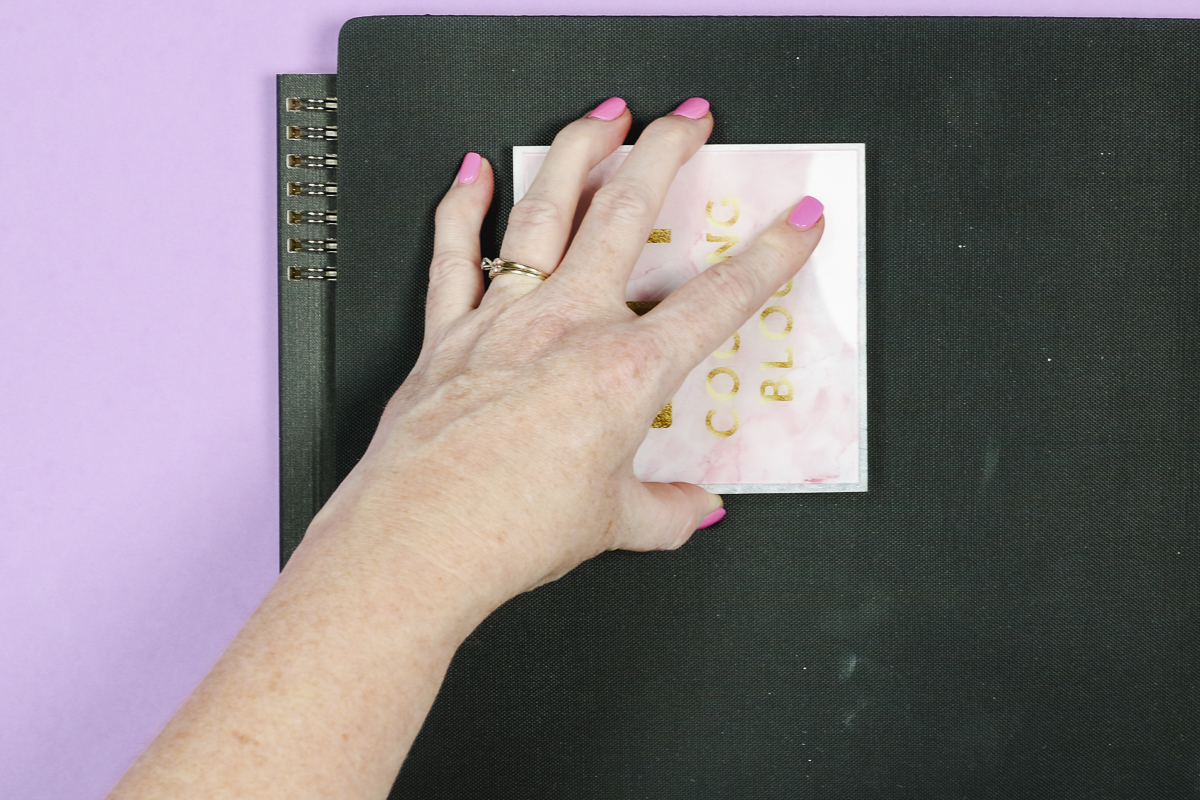
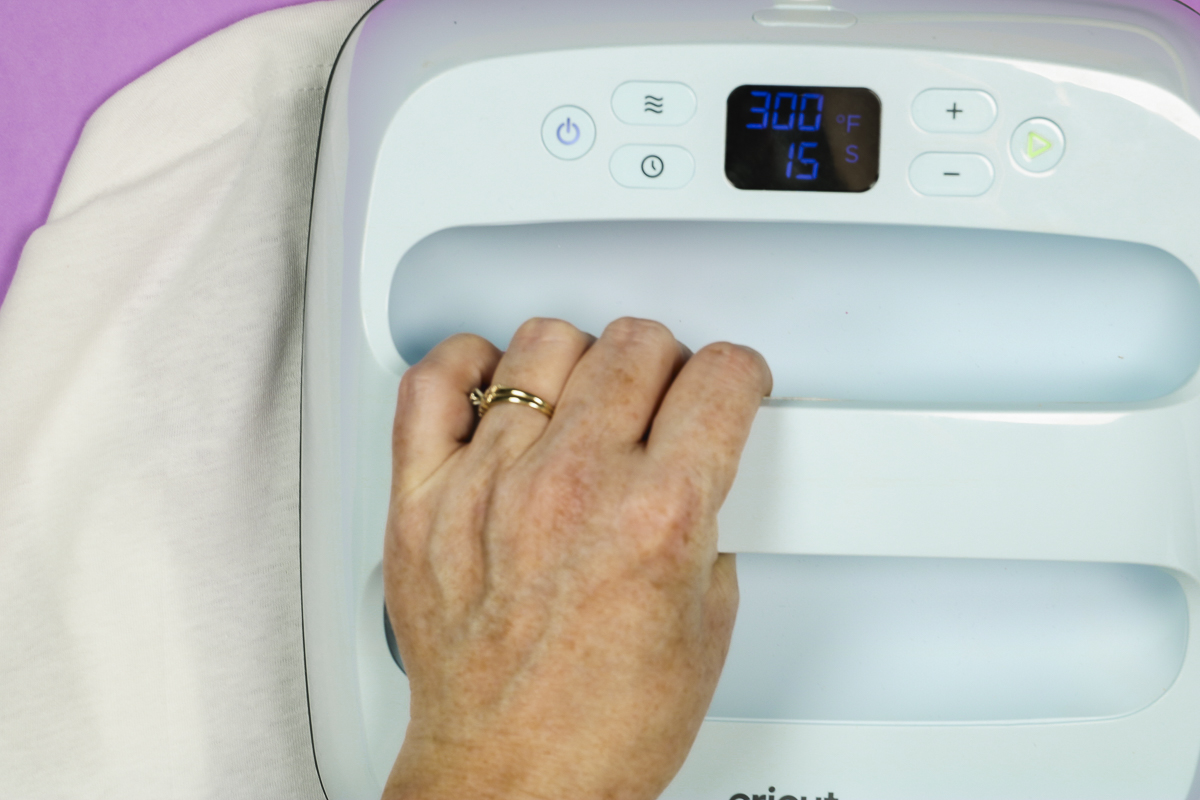
I want to protect the surface of my notebook so I am applying a Teflon sheet to the top with the heat-resistant mat under it. Press at 300 degrees for 15 seconds with medium pressure.
Step 3: Cool Design Under Weight to Prevent Curling
When I removed the Teflon sheet I could see that the cover of my notebook was curling a little bit.
To prevent curling, cool the design under something heavy. I added my heat-resistant mat to the top and then used the cooling block to help it cool faster. Cooling the material under something heavy will help flatten it back out.
Step 4: Remove DTF Film and Do a Post Press
When the notebook is completely cool, peel back the film and look at the finished product. I think this project turned out beautifully.
Another tip for DTF prints, especially on fabric-type materials is to do a post press.

For a post-press, remove the film, cover the print with a thin cloth, and press again.
For the post-press, you only need to press for about 5 seconds and then peel it back and you’ll see that the DTF is now in the fibers of the fabric.
I think the post-press makes it look like it was part of the notebook when it was initially printed.
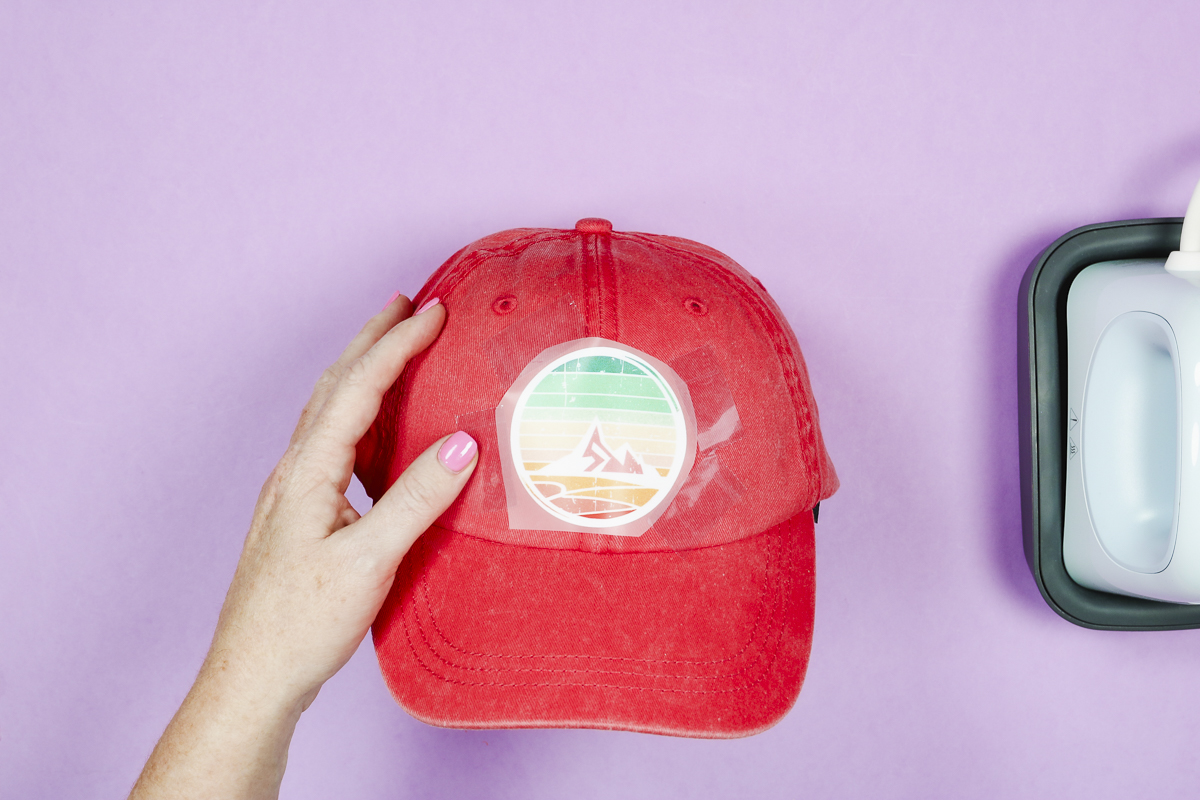
DTF on Ball Caps
Next, we’re going to see how well DTF works on a ball cap. For this project, we’re going to use the Cricut Hat Press and a ball cap that is 100% cotton.
Step 1: Pre-heat the Hat Press and Hat
I used the Cricut Heat app to get the temperature of my Hat Press to exactly 300 degrees and set the time for 15 seconds. Place the hat on the hat form. Make sure the band is flipped out all the way around and tighten the hat onto the form.
Set the hat up on its end and preheat the area where you’re going to add the design to remove any moisture.
Step 2: Locate DTF Print onto Hat
My hat has a seam down the middle so I’m excited to see how the DTF works on that.
I located the print slightly above the seam where the bill meets the hat and centered on the middle seam. Using four pieces of heat-resistant tape, secure the DTF print into place.
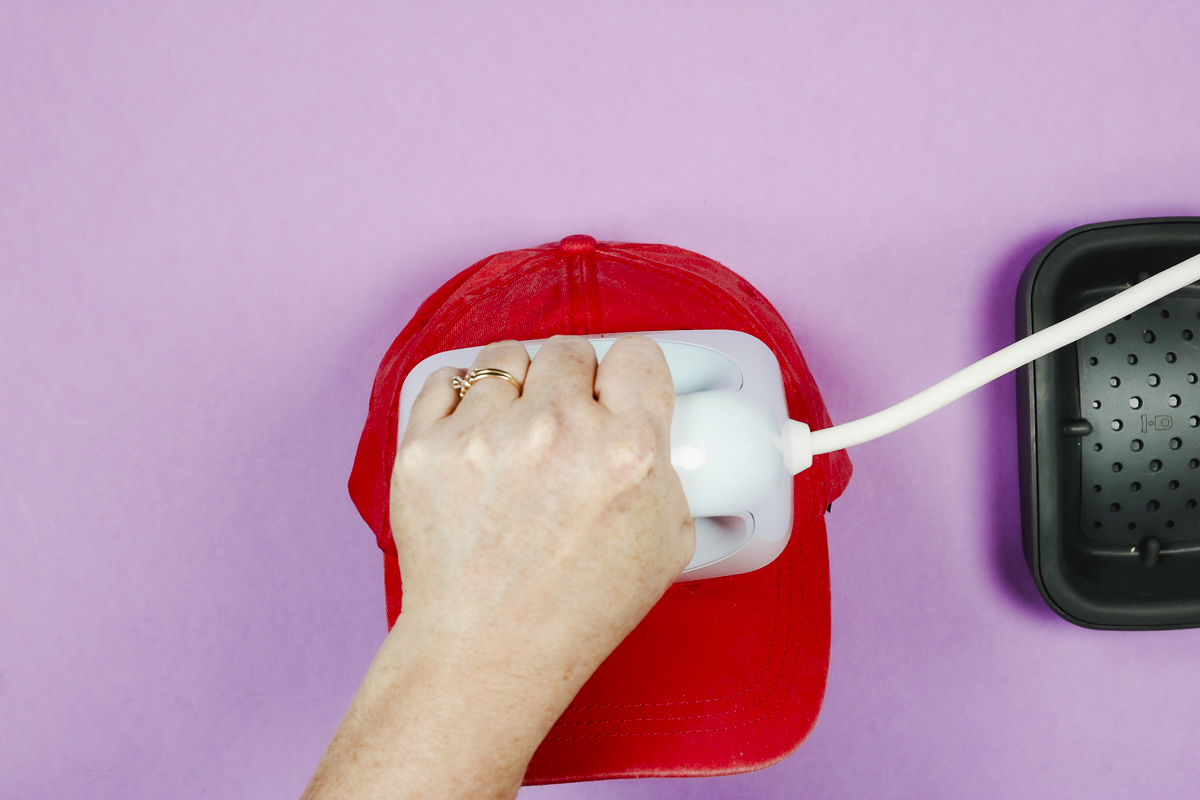
Step 3: Press DTF Print onto the Hat
For this project, I am not using the Teflon sheet. My design fits under the plate of the hat press which should make pressing easy.
Place the hat press over the DTF print and then press the start button. Press down with medium pressure for the full time and don’t move the press.
Step 4: Allow DTF Print to Cool and Remove Film
When the hat press beeps lift it up. Allow the DTF material to cool completely before removing the tape and DTF film.
I like to use the cooling block to speed up the cooling process. The film peeled off easily and the DTF stuck to the hat perfectly.
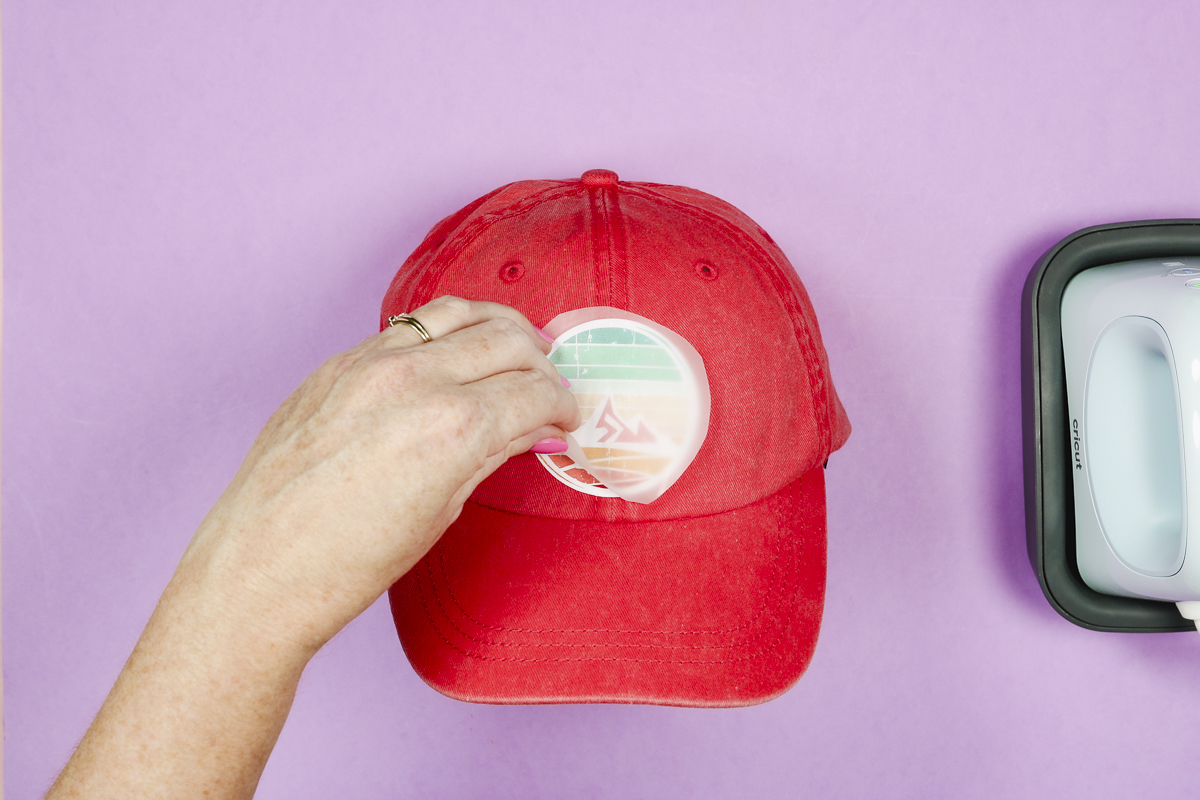
Step 5: Post-Press DTF Materials
Post-press the design onto the hat for about five seconds using the same technique we used for the notebook.
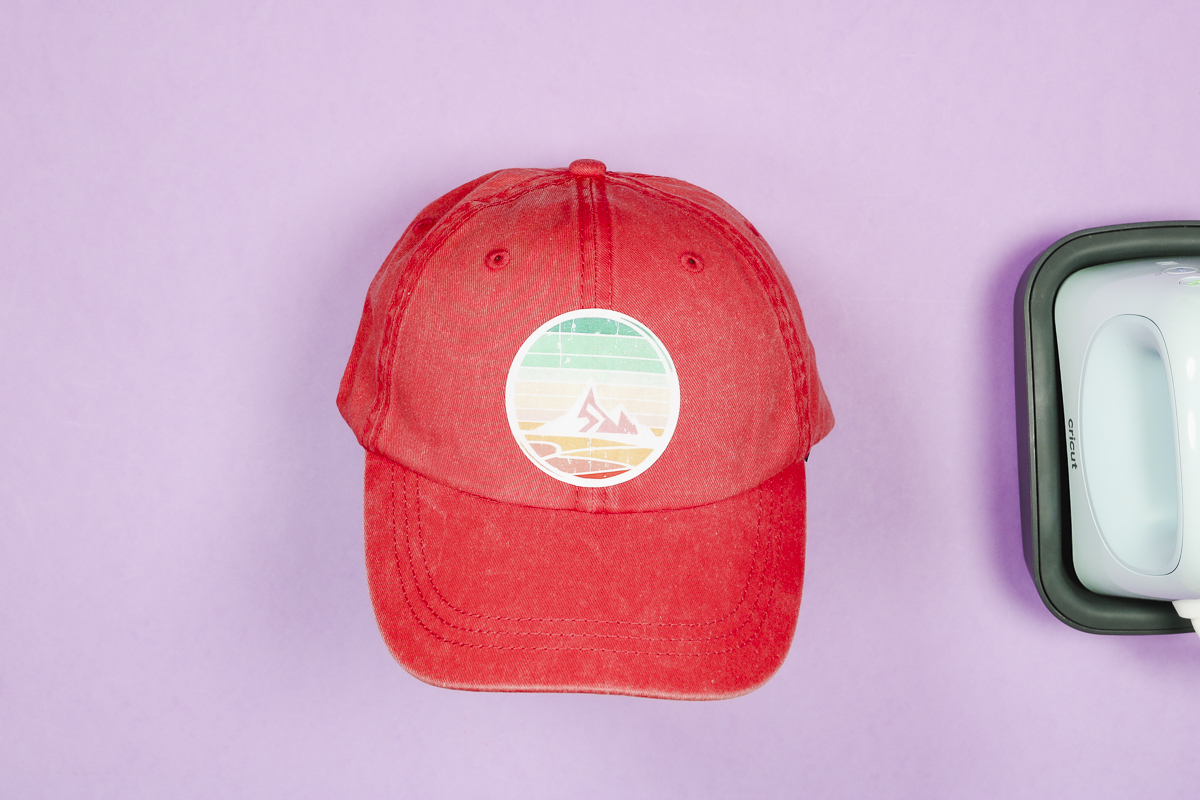
Even with the seam down the hat’s middle, the DTF print is in the material and looks so good. I love how this design looks on this color of hat.
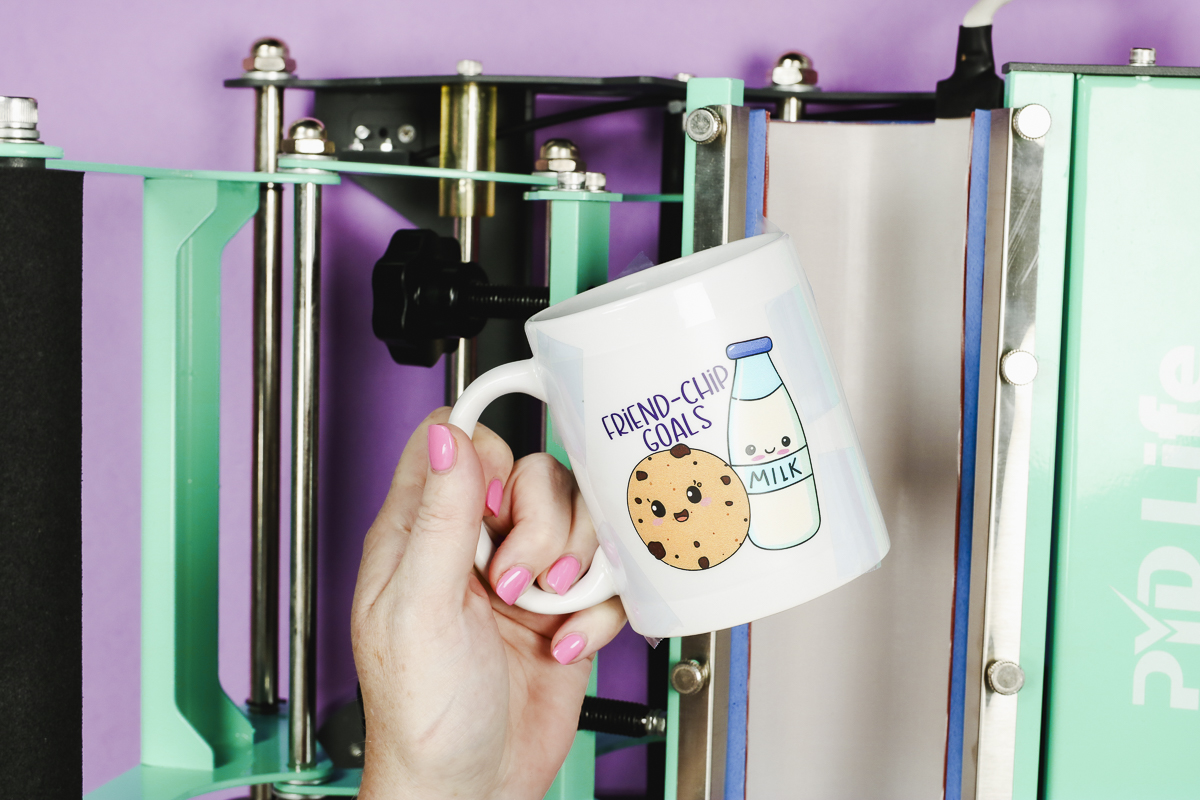
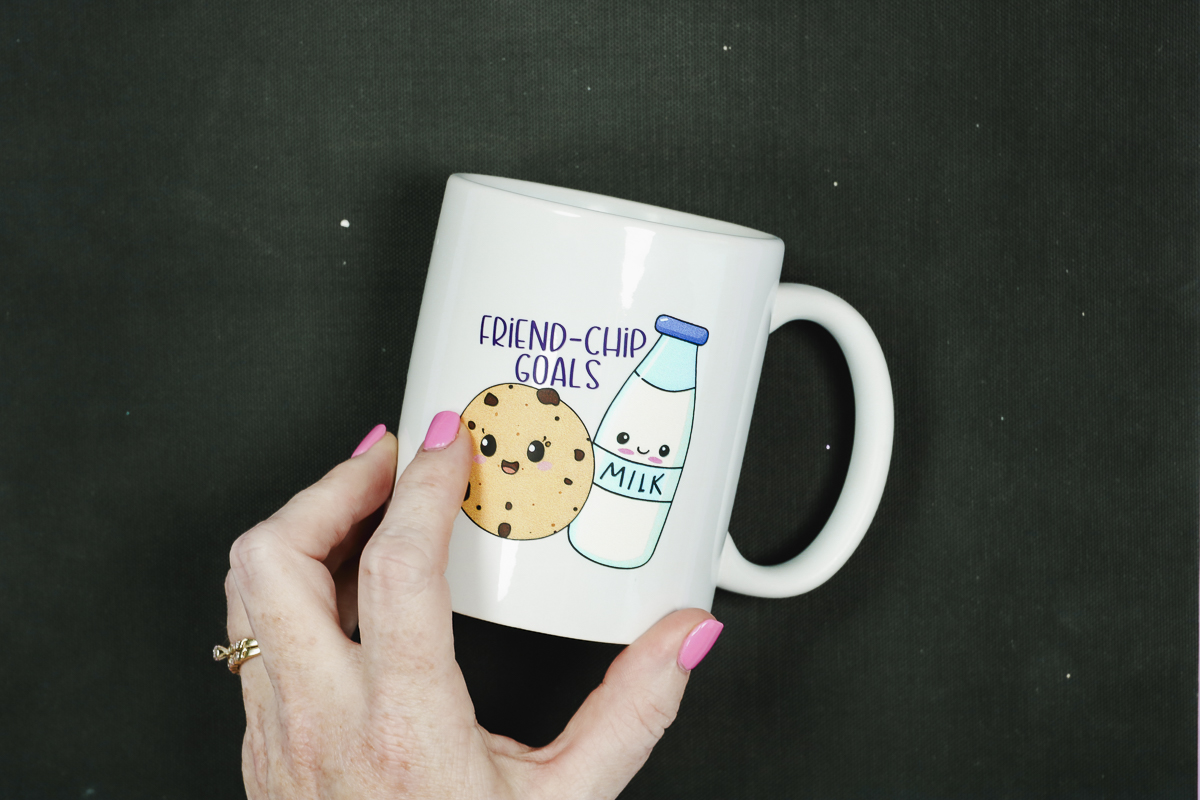
DTF on a Ceramic Mug
For my last project, I am testing a ceramic mug from the Dollar Tree. There is no coating on this mug.
DTF is made for fabric materials. I’m not sure it will work on a solid surface like a mug.
Step 1: Locate the DTF Design onto the Mug
I am adding a DTF print to both sides of the mug. This is not a full-wrap design. Use heat-resistant tape to secure the designs into place and the mug is ready to press.
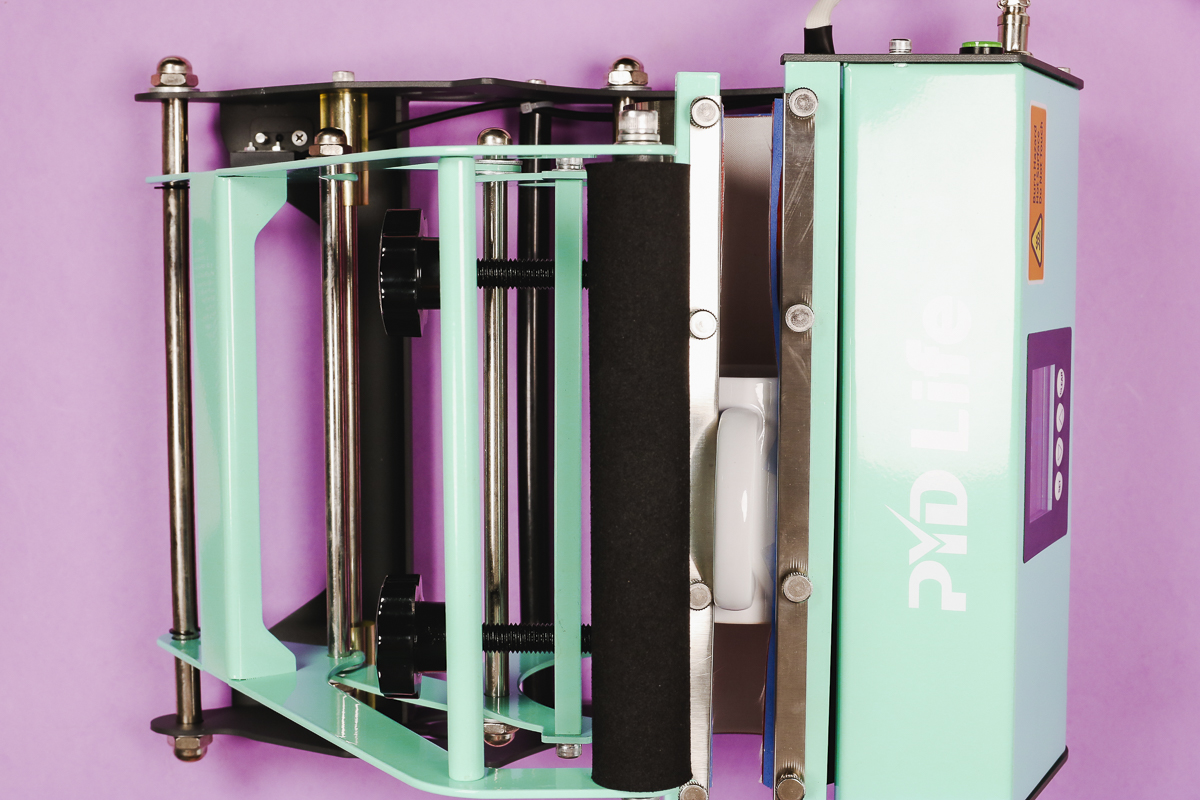
Step 2: Press Design onto Mug
I am using a mug and tumbler press for this project. I have the tumbler press set to medium pressure and the time set for 15 seconds.
When the time is up, open the press and the handle should be cool so you can remove it from the press and set the mug on a heat-resistant mat to cool.
Step 3: Use a Scraper Tool to Press DTF onto Mug
While the mug is cooling, you may want to use a scraper tool to help press the print onto the surface.
Sometimes some areas don’t want to stick to hard surfaces. I use this same process when I use HTV on a hard surface. This isn’t something that only applies to DTF prints.
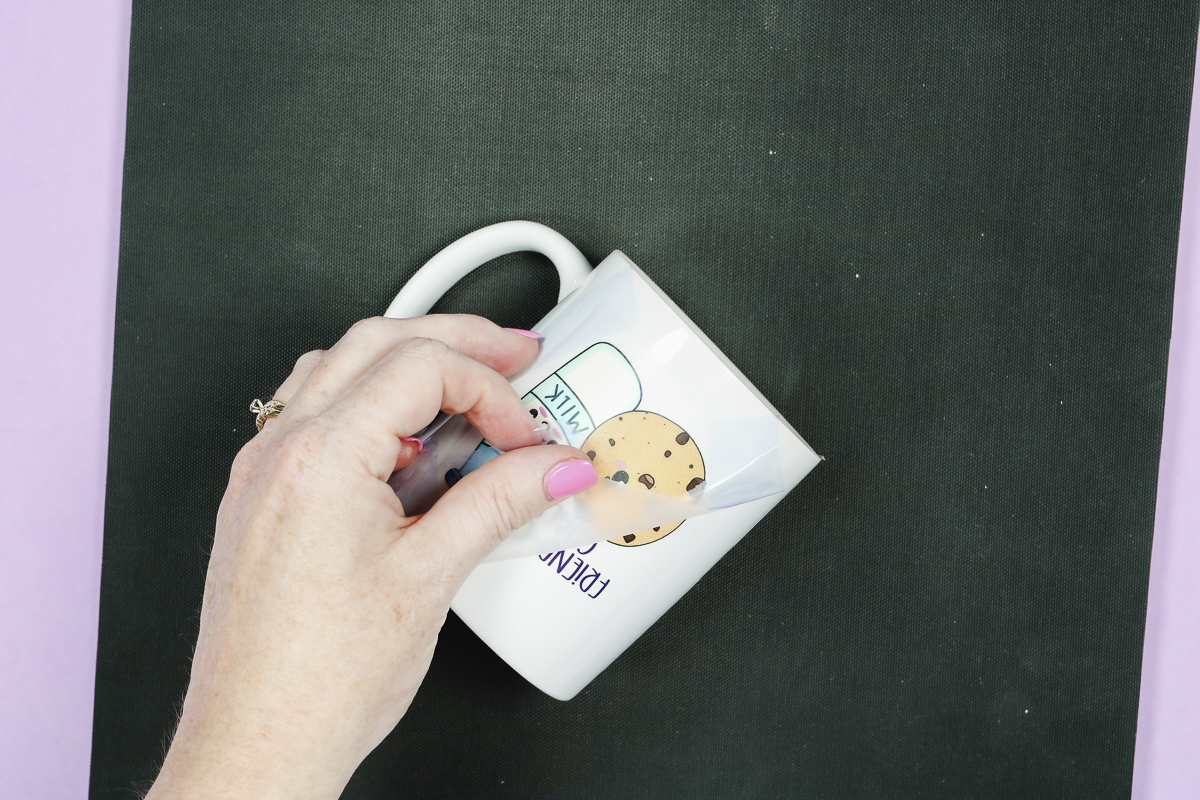
Step 4: Remove the DTF Film and Check Design
When the mug is completely cool, gently peel back the DTF film and see if the design is stuck to the mug.
If the design isn’t adhered well to the mug, you can press again or do a post-press with something over the design. On my mug, the DTF print appears to be stuck down really well.
Unlike sublimation, DTF sits on top of the mug. It doesn’t infuse into the mug so I want to test and see if it lifts off.
While the design looks really good on the surface, I can peel it up easily with my fingers.
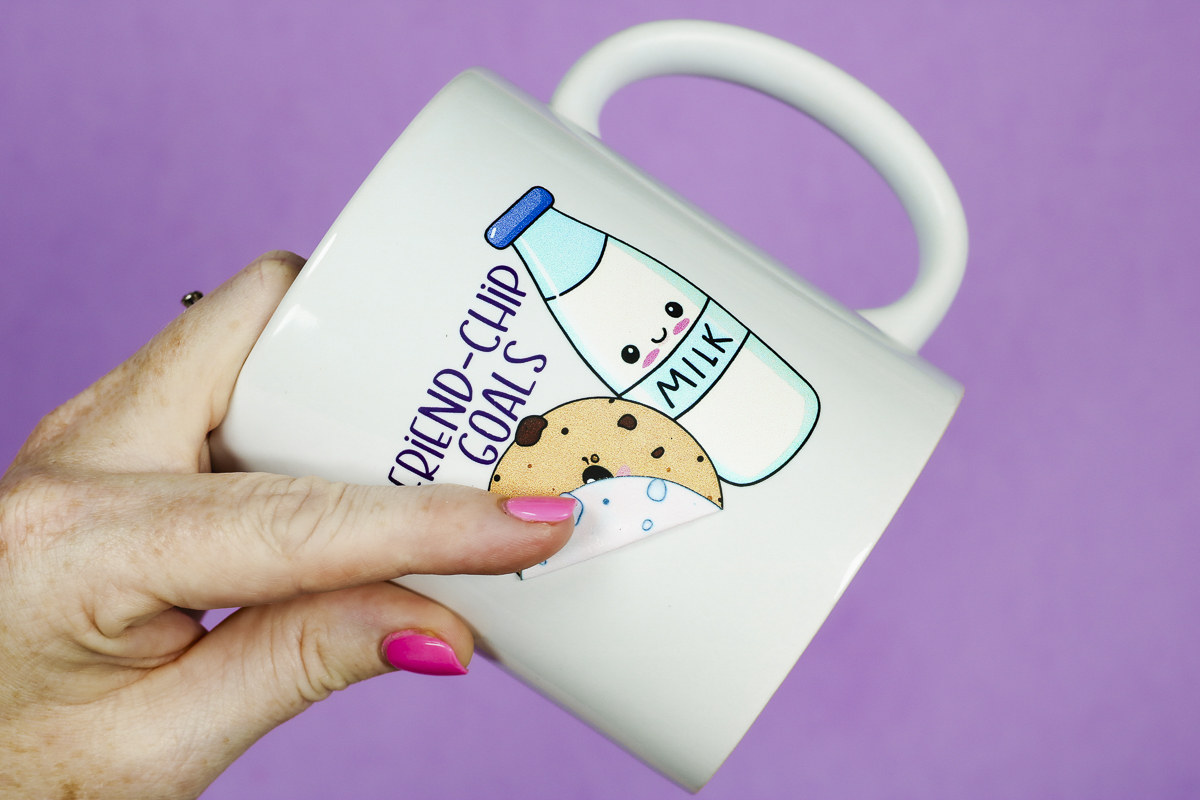
Since the DTF print peels off easily with my fingers I don’t think it would stay stuck when the mug needs to be washed.
Which Surfaces Did DTF Work On?
DTF will work on any fabric in any color. I have already tested DTF on shirts, including dark colors and they turned out beautifully. Because DTF prints from a true DTF printer have white ink, that means you can even add them to black shirts easily.
Now that we’ve tested all of these other different DTF materials, which ones worked and which ones didn’t?
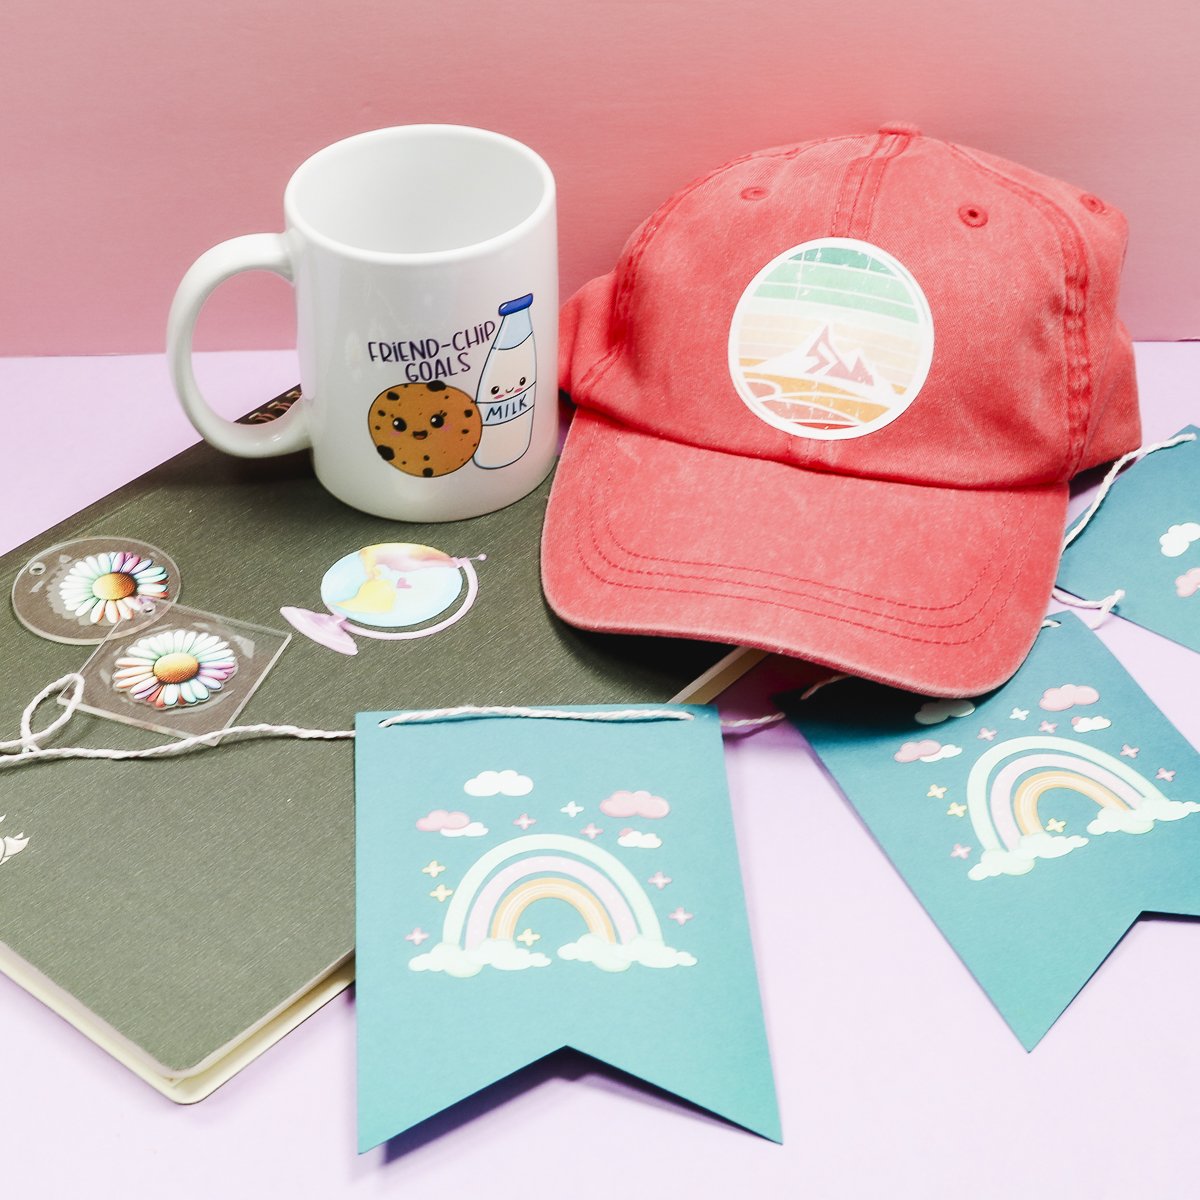
DTF Materials That Worked
The paper definitely worked and I love that even though the design is a light color and the paper is dark it still looks perfect.
The linen notebook also worked beautifully. You can’t peel off the print off at all. I really think any type of fabric-feeling surface will work with DTF prints.
The hat is another project that worked really well. If you have a hat and a hat press, DTF prints will work well, even if the hat has a seam down the front.
DTF Materials That Did Not Work
First, let’s talk about the mug. While the DTF does stick to the mug, it is not a permanent design. Even after the mug sat for a while I could still easily peel the design off the mug.
The acrylic keychain is another project that worked but it wasn’t my favorite. I don’t think it looks very good on the clear acrylic because you can see some of the film on the acrylic. If I was to try an acrylic keychain again, I would try one that has a color and see if the residue is less noticeable.
Acrylic melts enough that the DTF kind of embeds into the surface so it probably won’t go anywhere. I can’t guarantee it’s going to be completely permanent. I think it would be similar to a permanent vinyl or permanent sticker material.
Fabric vs. Non Fabric Surfaces
I love DTF on fabric surfaces. It’s easy to apply and feels good on those materials.
I do not like DTF on hard surfaces. I would recommend a different material for hard surfaces. Something like permanent vinyl or sublimation.
If you choose to invest in a DTF printer, you will either need to choose fabric-type or porous surfaces for your projects or have two different methods. One for hard surfaces and one for soft surfaces.
I am a huge fan of DTF printing but it does have its drawbacks. Make sure you’re aware of what a DTF printer can and can’t do before purchasing.
Are you ready to see five more DTF materials? Head over to Cori’s video to see the materials she is testing and how well they work with DTF prints.