This post and photos may contain Amazon or other affiliate links. If you purchase something through any link, I may receive a small commission at no extra charge to you. Any supplies used may be given to me free of charge, however, all projects and opinions are my own.
If you keep your vinyl scraps, you’re going to love today’s Cricut vinyl projects. I have easy Cricut projects that will use up all your HTV and vinyl scraps. So, grab all of those small pieces you may have leftover from other projects and get started below!
Did you know that you can use SnapMat to locate your cuts on scraps easily? You can find my full post on SnapMat here.

Cricut Vinyl Projects
Today we’re going to use up our HTV and vinyl scraps to make some really cute projects. We’ll use vinyl scraps to customize tumblers for all your favorite crafts and then we’ll grab our HTV scraps to make a striped HTV image.
I’m including the free files for you to make all these projects below. Sign up with your email address, you’ll get the files to make all four of the tumblers as well as four different shirts! You can watch me make all of these projects, just click play on the video below:
The easiest way to use your vinyl scraps is with the SnapMat feature in Design Space. This feature is only available to iOS users on an iPad or iPhone. Don’t worry, I’ll teach you how to do it without the SnapMat feature below as well. We’re going to use both options to cut multiple colors of scrap vinyl all on one mat.
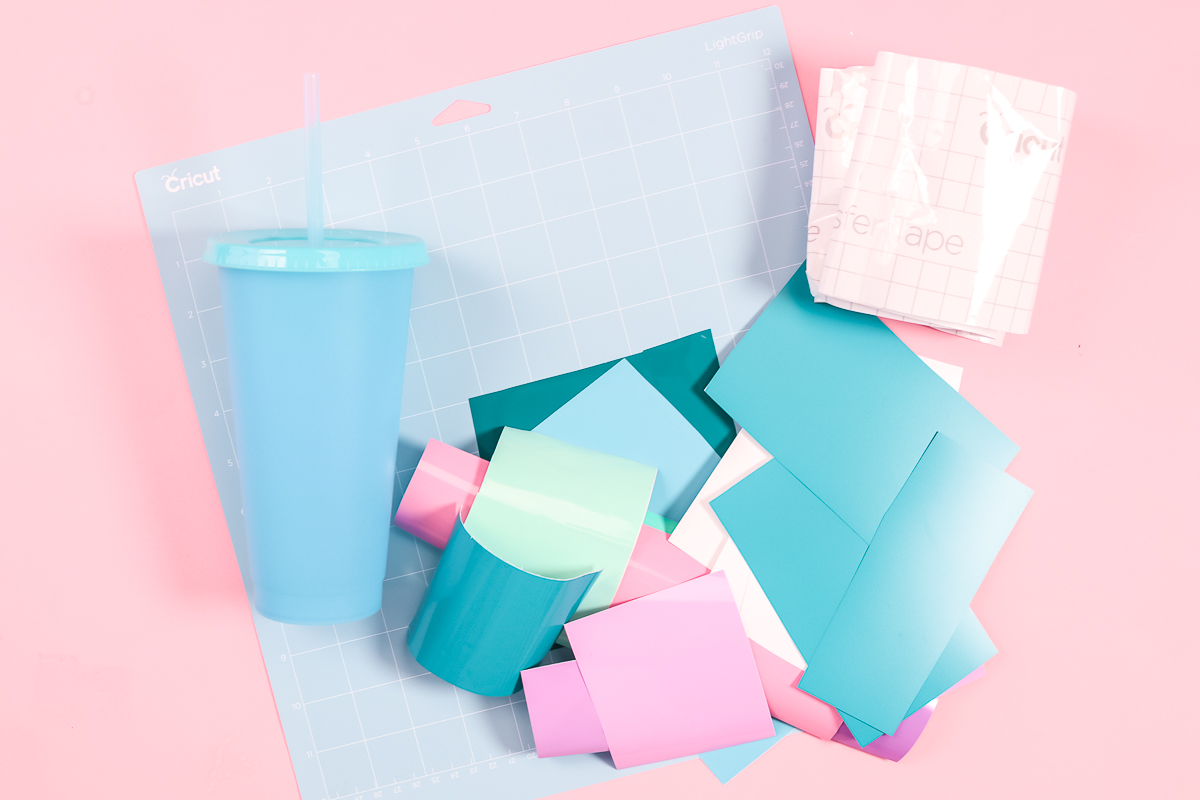
Supplies Needed:
- Cricut machine
- Vinyl (I am using scraps in this post but you can use the full-sized sheets for the projects as well.)
- HTV (I am using scraps in this post but you can use the full-sized sheets for the projects as well.)
- Tumblers (The tumbler you choose to use doesn’t really matter. I have found the smoother the surface the better the vinyl adheres. I also really recommend using a permanent adhesive vinyl for making tumblers.)
- Shirt
- Transfer Tape
- EasyPress
- Weeding Tools
- Scraper
- Paper Trimmer
Free SVG Files
Ready to get the free files to make all of the tumblers as well as the shirt that is shown below? Just click here to sign up for the newsletter and get the files directly to your inbox. Add in your information and the files will be sent to your email. If you already get the newsletter, add in your information again as you will not be signed up for anything further. Please note that these files are for personal use only. You can email me to ask about commercial use.
If you’ve never downloaded an SVG before I suggest learning a little more about that. You can find out more about finding an SVG on your computer here and how to use an SVG with your Cricut here.
How to Make a Scrap Vinyl Tumbler
Once you have loaded your images into Cricut Design Space you can select which images you want to use on your project. Delete any that you do not want. You will also want to delete the tumbler wrap image that is included just for demonstration purposes.
How to Place Vinyl Scraps onto Cricut Mat
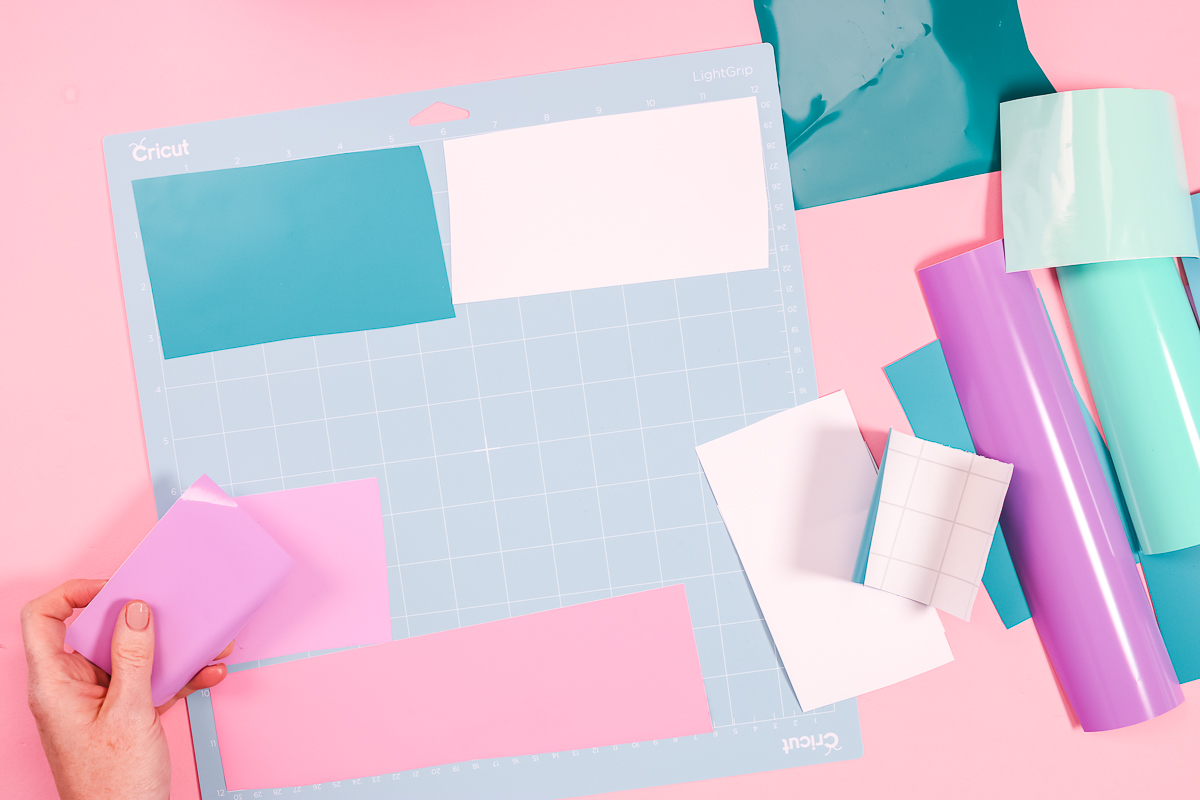
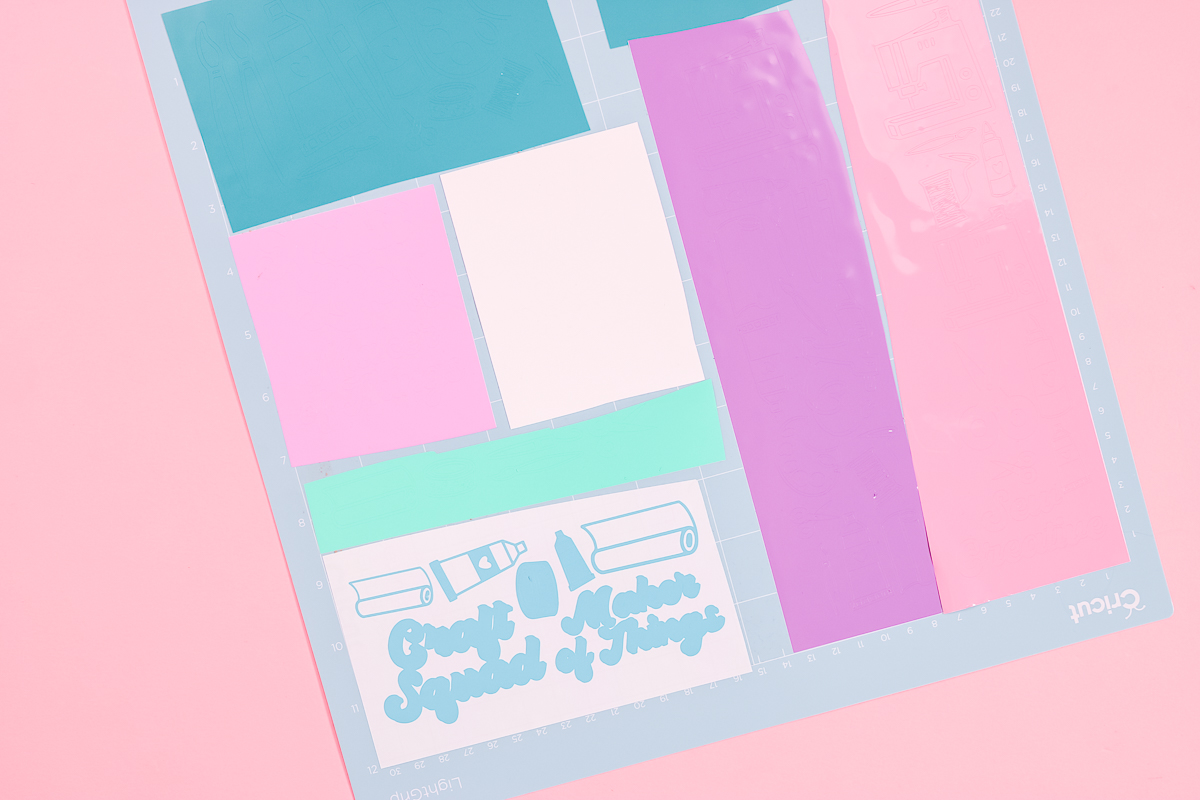
Before I start sizing the different images I like to lay out my scraps onto the mat. There is no rhyme or reason to this process, just get as many pieces onto the mat without overlapping them as possible. While you’re laying out your pieces make sure to keep any color scheme in mind.
Size and Cut Your Designs
The size of your images is totally up to you and the size of your tumbler. Since we are cutting our images out of a variety of different vinyl scraps, we won’t be wrapping this image all at once. Because we’ll be placing the images onto the tumbler individually we can make each image whatever size we want it to be. Make images of various sizes and duplicate them until you have enough to fill a tumbler. Then click “make it”.
From the mat screen in Design Space, we can move the images around so they align with the scrap pieces. I use the grid on the mat screen because it matches up with the grid on the mat itself. It’s best to do this on the mat screen rather than the canvas screen so you don’t have to worry about things moving when you hit “make it”.
Once you have everything laid out exactly how you want it you’ll load your mat into the machine and cut it exactly as you would any other project. You can see my vinyl basics post here.
CUT SETTINGS: If you’re using different types of vinyl, I would select the thickest material setting and use that. I am using all Cricut Premium Vinyl Permanent so I’m using that setting. That would likely work with a lot of vinyl types.
With everything cut, you can weed like normal. I like to leave my pieces on the mat when weeding especially when they are this small.
Using Cricut SnapMat
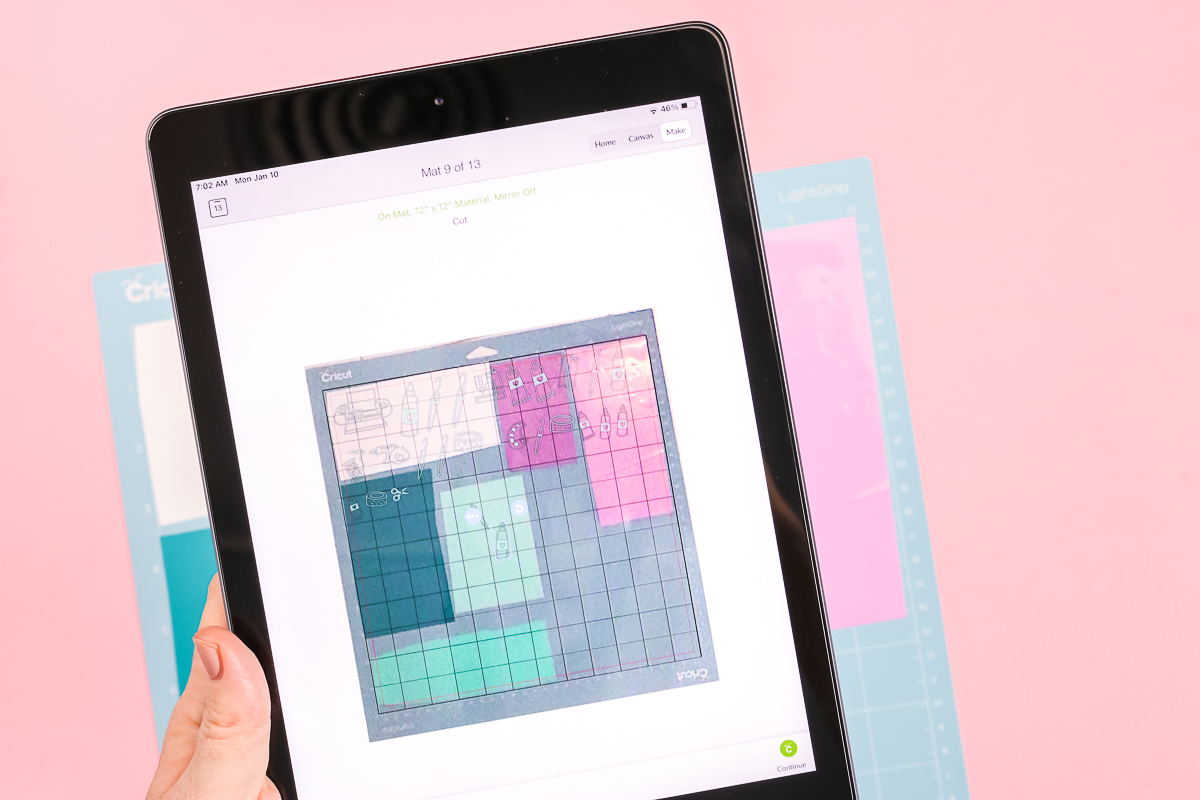
If you have an iOS device like an iPad or iPhone, you can use SnapMat to make the entire process of laying out your images onto your scraps a bit easier. Add and size your images just how you want them then click “make it”. From there, you’ll select that you’re using a mat and in the lower left, you’ll see a camera icon. If you click on that the camera opens up and you line the camera up to take a photo of your mat with the vinyl scraps on it.
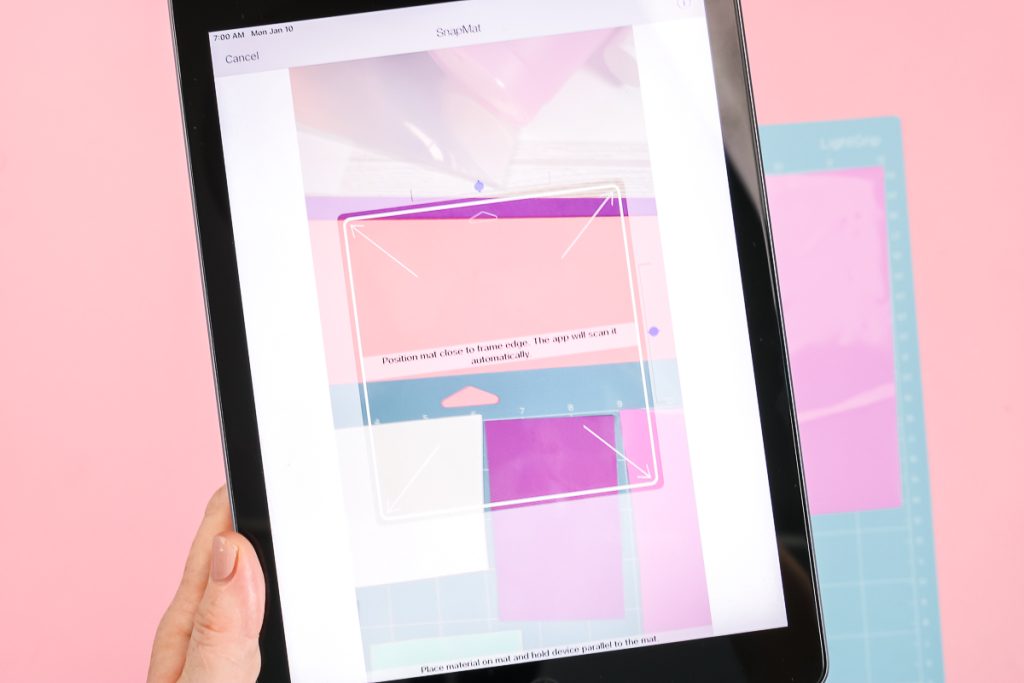
I usually place the mat on the floor or have to stand on a chair to get high enough above it to get it lined up correctly. Once it is lined up and it takes a picture, click use and you’re ready to move your images around.
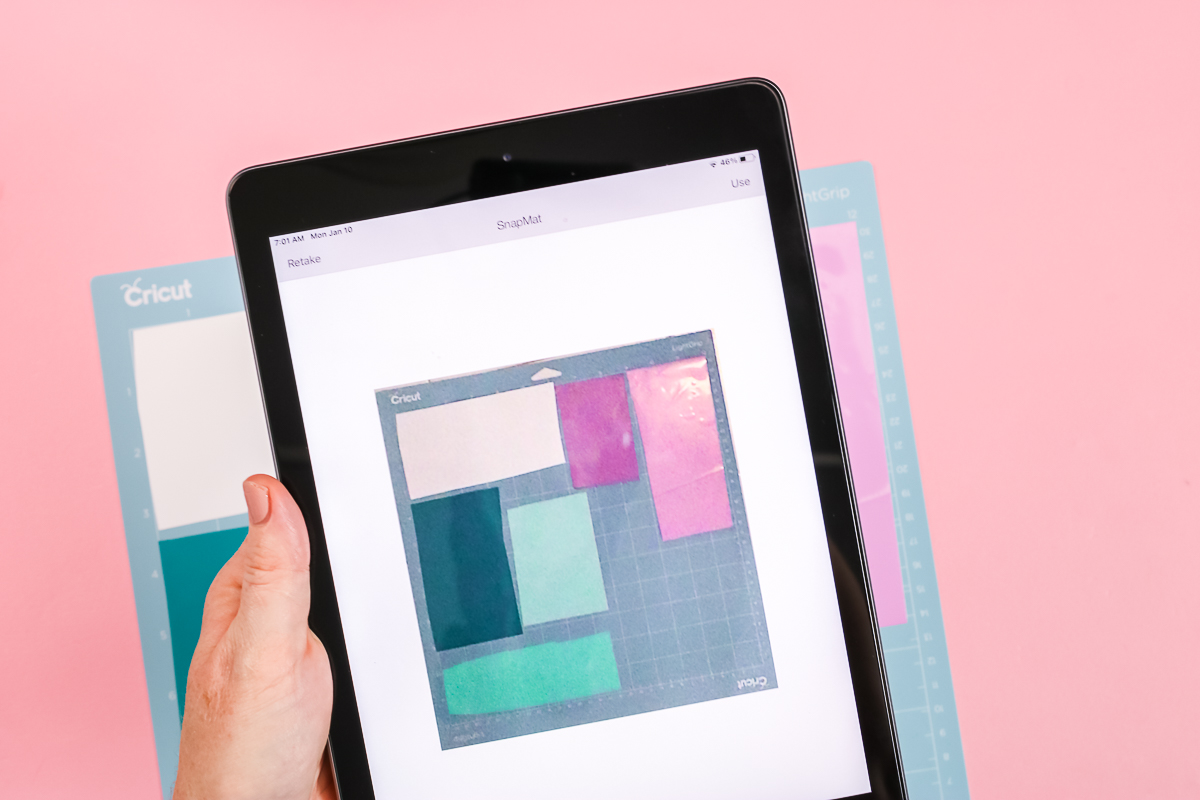
In the photo below you can see all the images I have on my canvas. From the SnapMat screen, I can move the images around to line them up with whatever color of scrap vinyl I want to use.
Now I’ll click continue and proceed as with any Cricut vinyl projects.
How to Apply Vinyl to Tumblers
Now that I have everything weeded and ready to go let’s grab the transfer tape. I am using a scrap piece of StandardGrip Transfer Tape and I’ll use the same piece for all of the vinyl pieces.

Make sure your tumbler is totally clean. You can use a lint roller or rubbing alcohol with a lint-free cloth. Make sure your tumbler is completely dry before applying any vinyl.
Using Transfer Tape
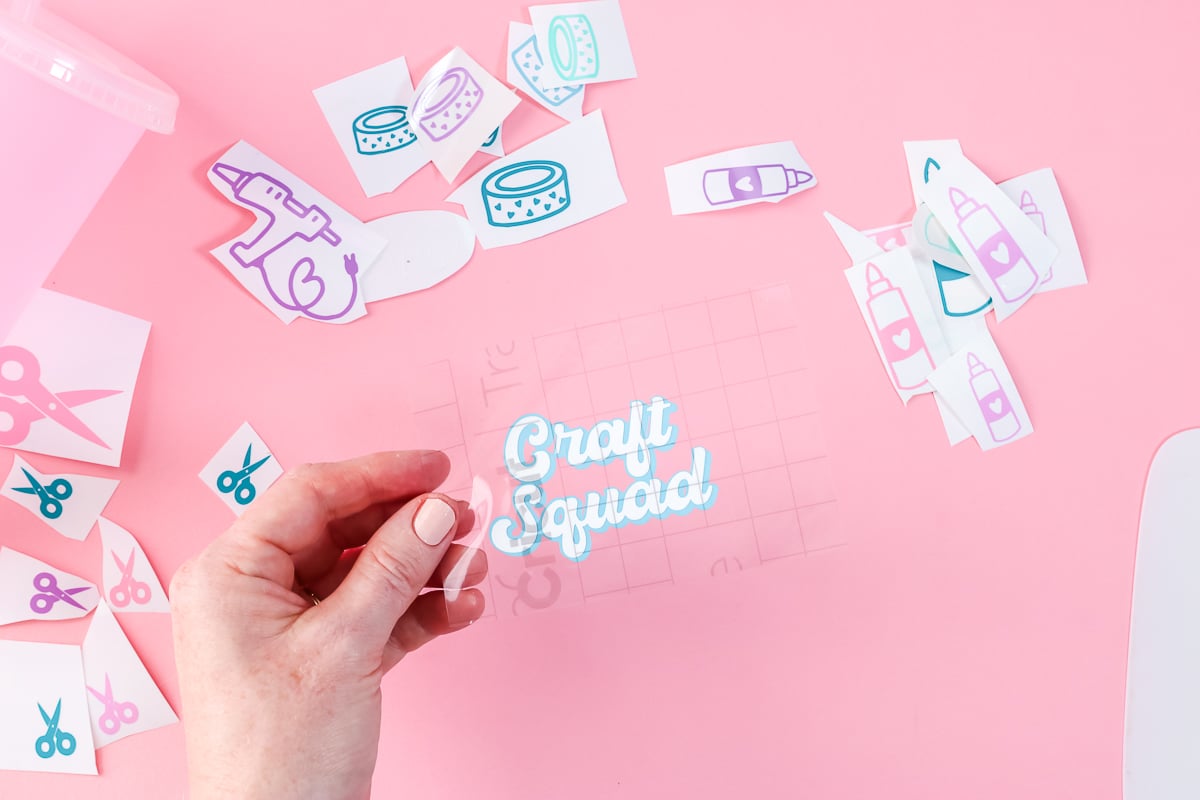
Use your scraping tool to apply the transfer tape to your vinyl scraps. For this piece, I used the transfer tape to pick up the white Craft Squad letters and then applied the white to the blue letters for this layered look. Now I can apply this image to the tumbler all at once. See more layering tips and tricks here!
Now we’re ready to apply the vinyl design to the tumbler. Press it down well and use your scraper to go over the top. Then slowly peel back the transfer tape.
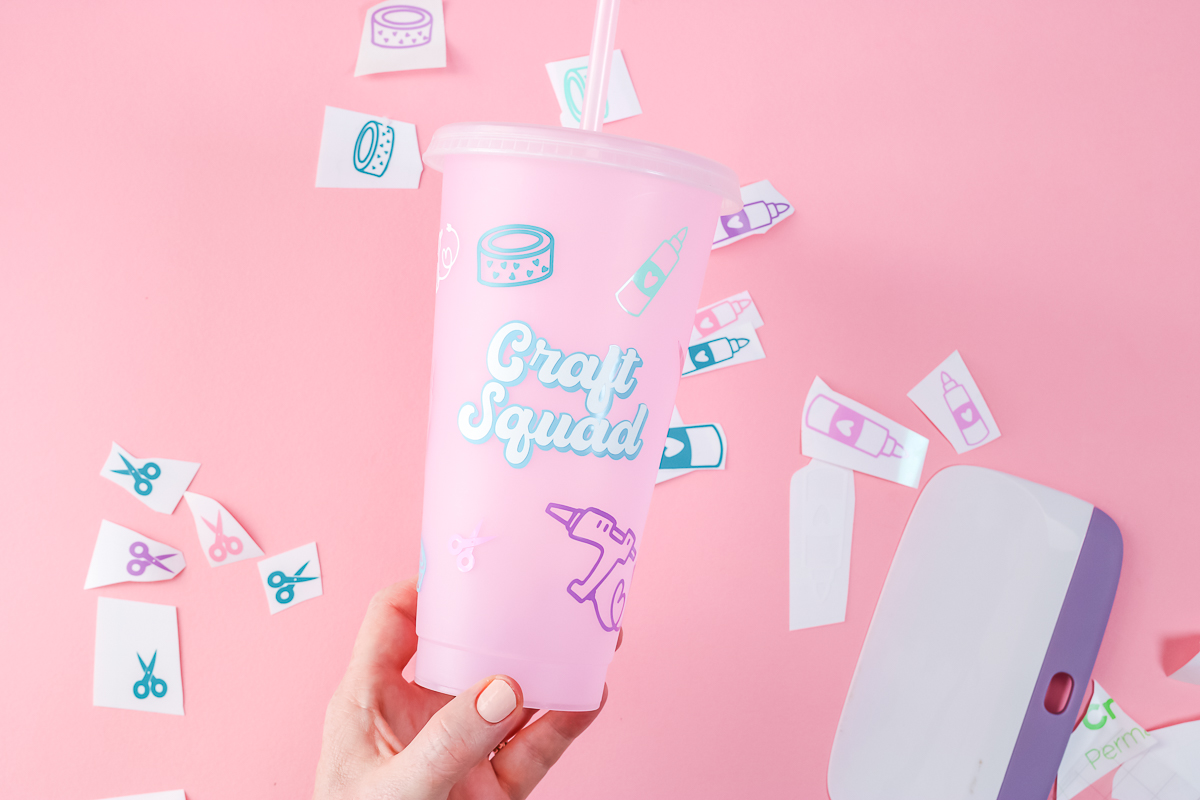
Follow the same steps and apply your vinyl designs all-around your tumbler. I just randomly went around the tumbler adding pieces that I felt looked good and matched my overall design.
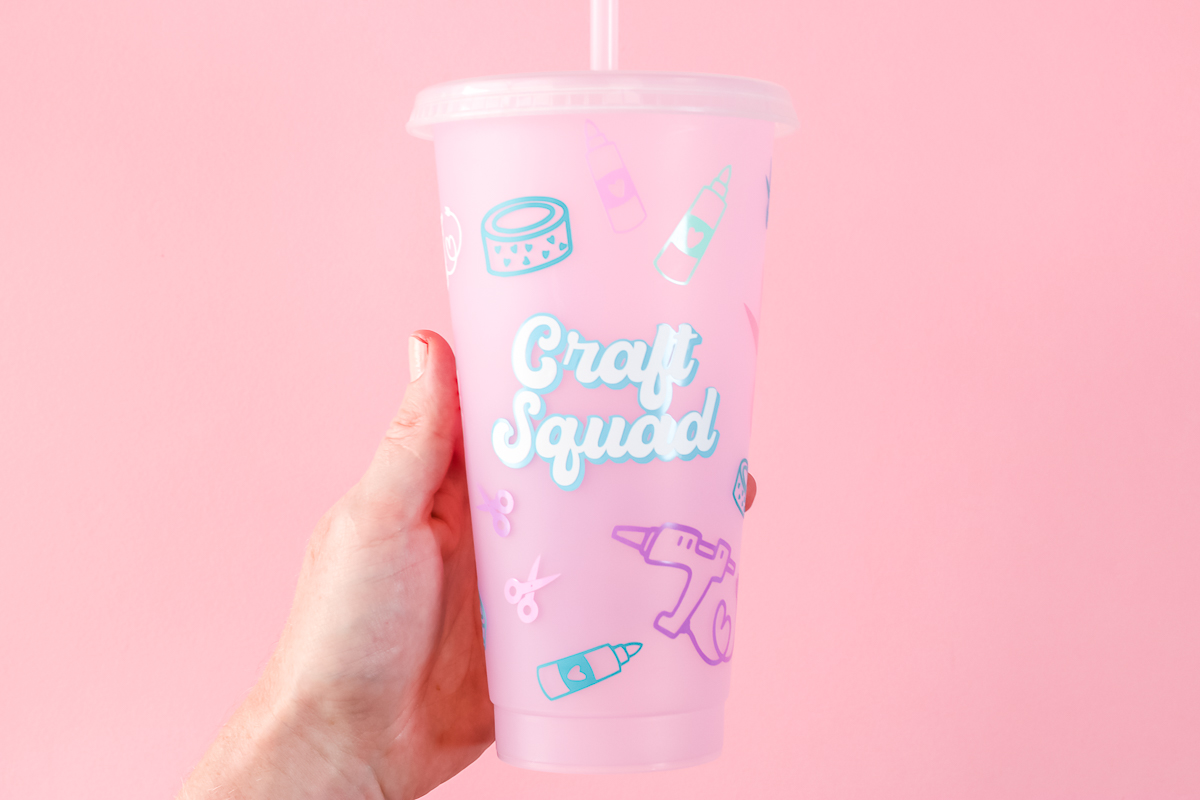
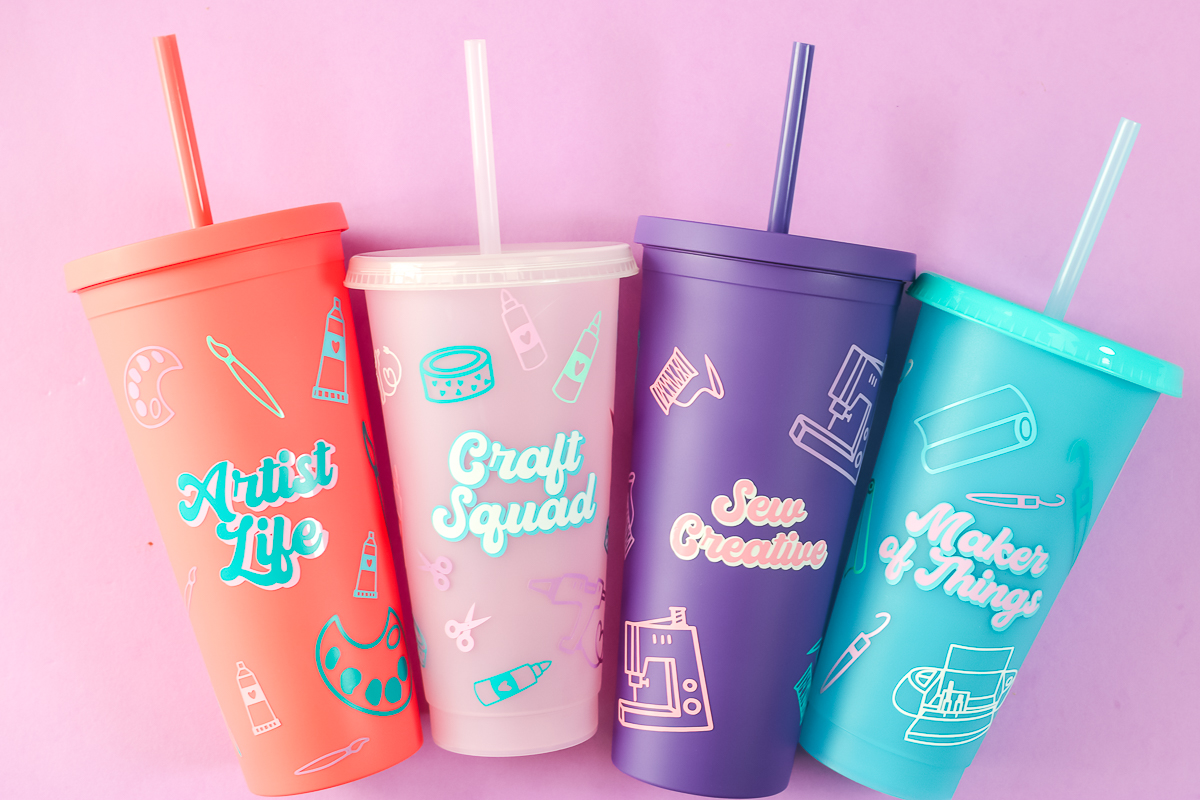
Here is the completed cup after I put all the designs all the way around the outside. Remember you can mix and match these designs to create your own custom tumbler wrap all with scraps and your Cricut machine. I don’t add a sealer to my tumblers but you do want to make sure you wait 72 hours before using them.
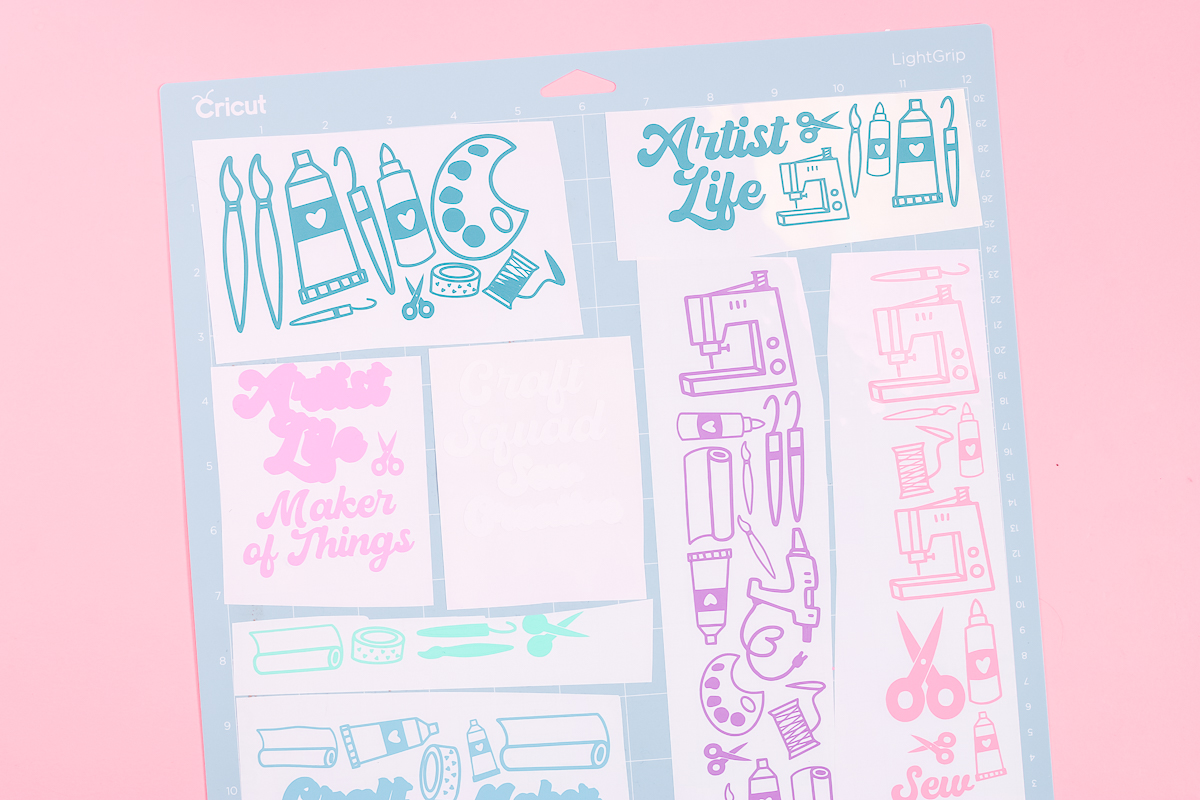
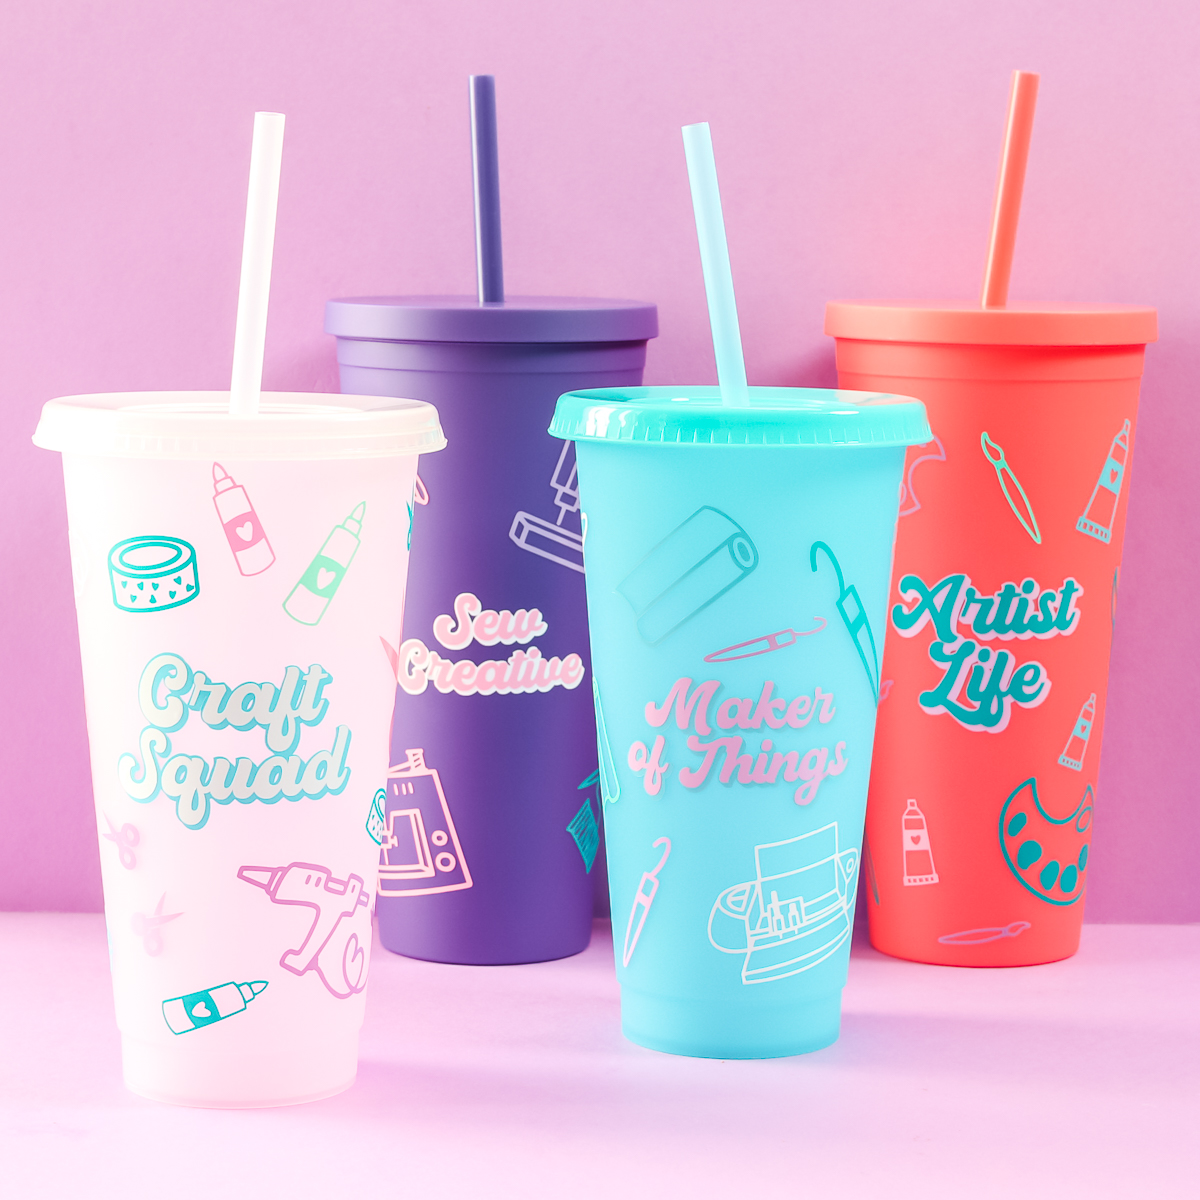
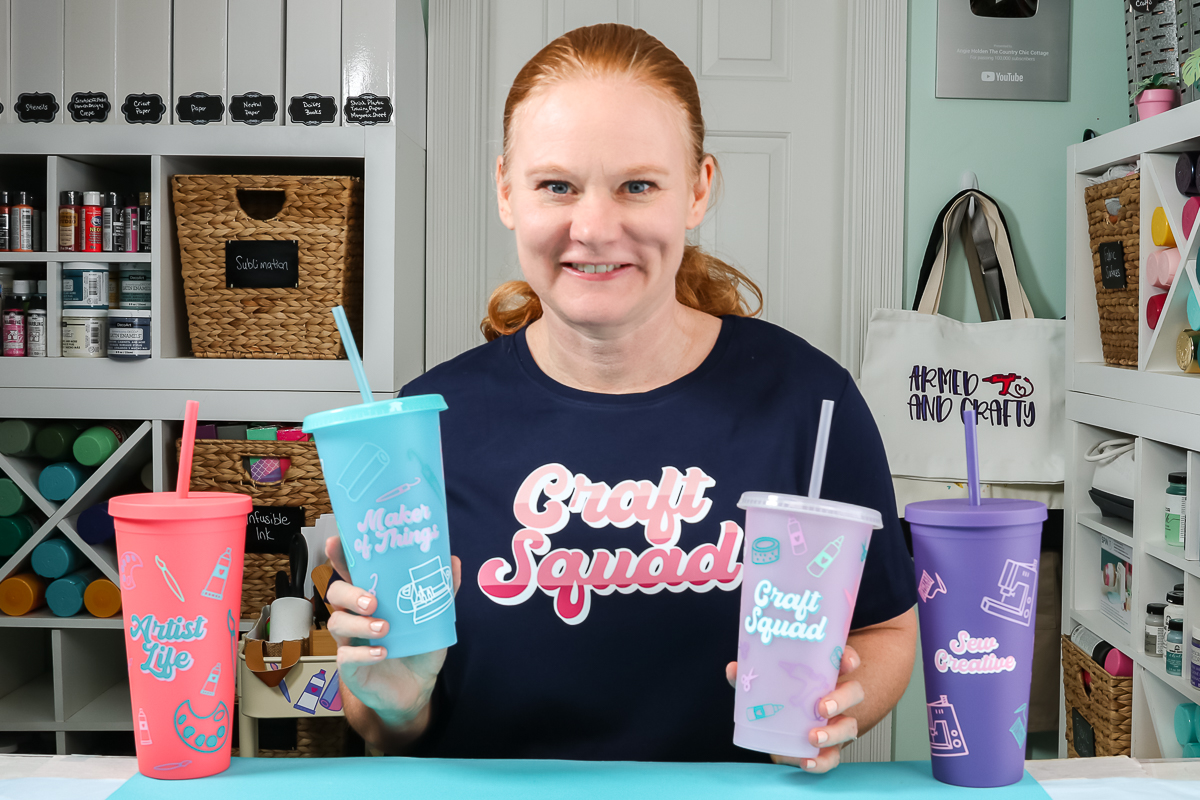
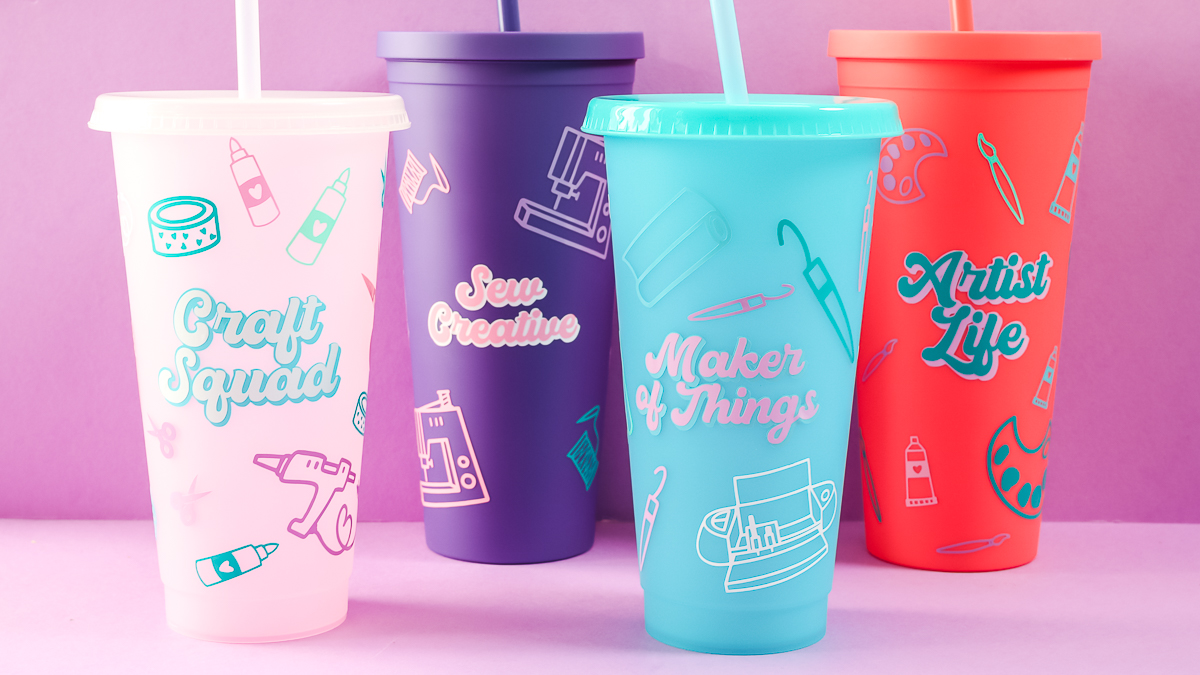
Here’s a look at the rest of the tumblers that I made. So the first one is artist life with a variety of art supplies on it. The second is the craft squad that you saw me make above. The third is sew creative with sewing machines, thread, and needles. And the last one is maker of things, I put a Cricut machine on it, weeding tools, and various rolls of vinyl around the outside. Remember you get the free files for all four of these designs by signing up for the newsletter above.
How to Make a Scrap HTV Shirt
Now that we’ve used scrap vinyl to make a tumbler, let’s use some HTV scraps to make a shirt! I often end up with these long scrap pieces at the end of my HTV projects. You can easily make Cricut vinyl projects like this one with pieces even thinner than the ones I have here. I love this type of project. You can use this same process for any design.
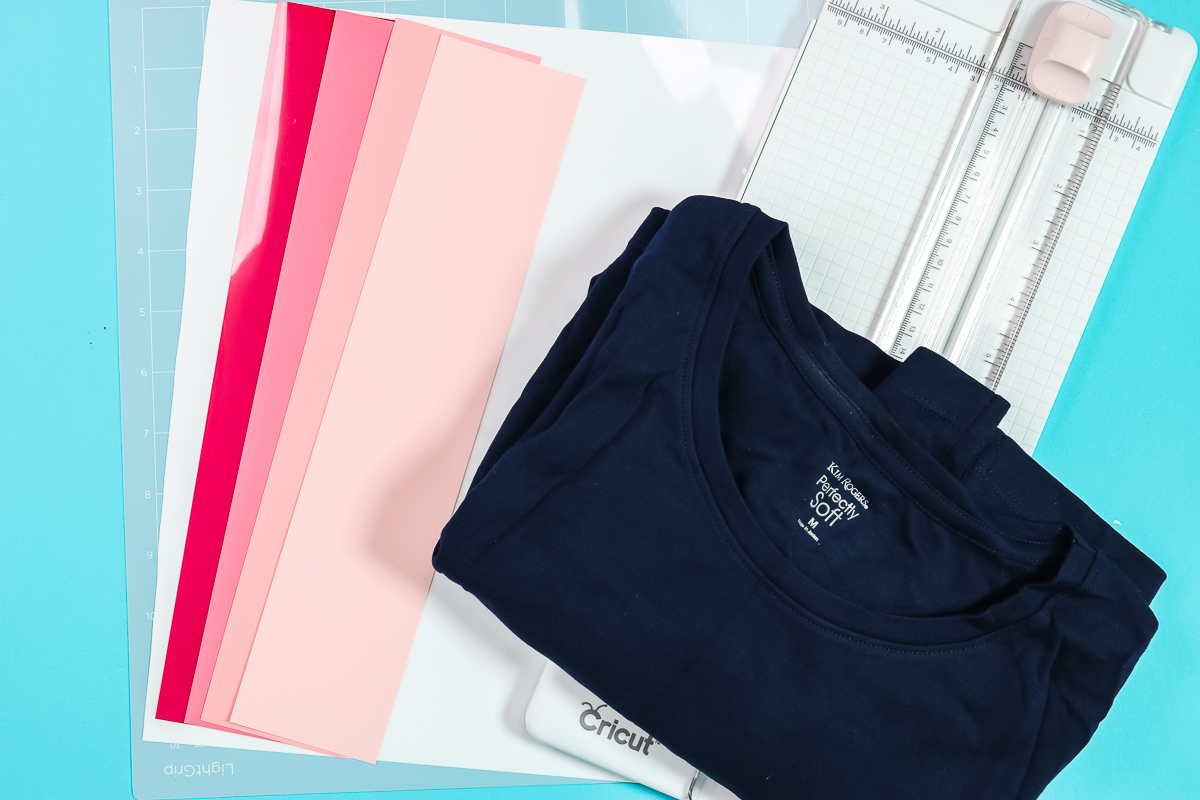
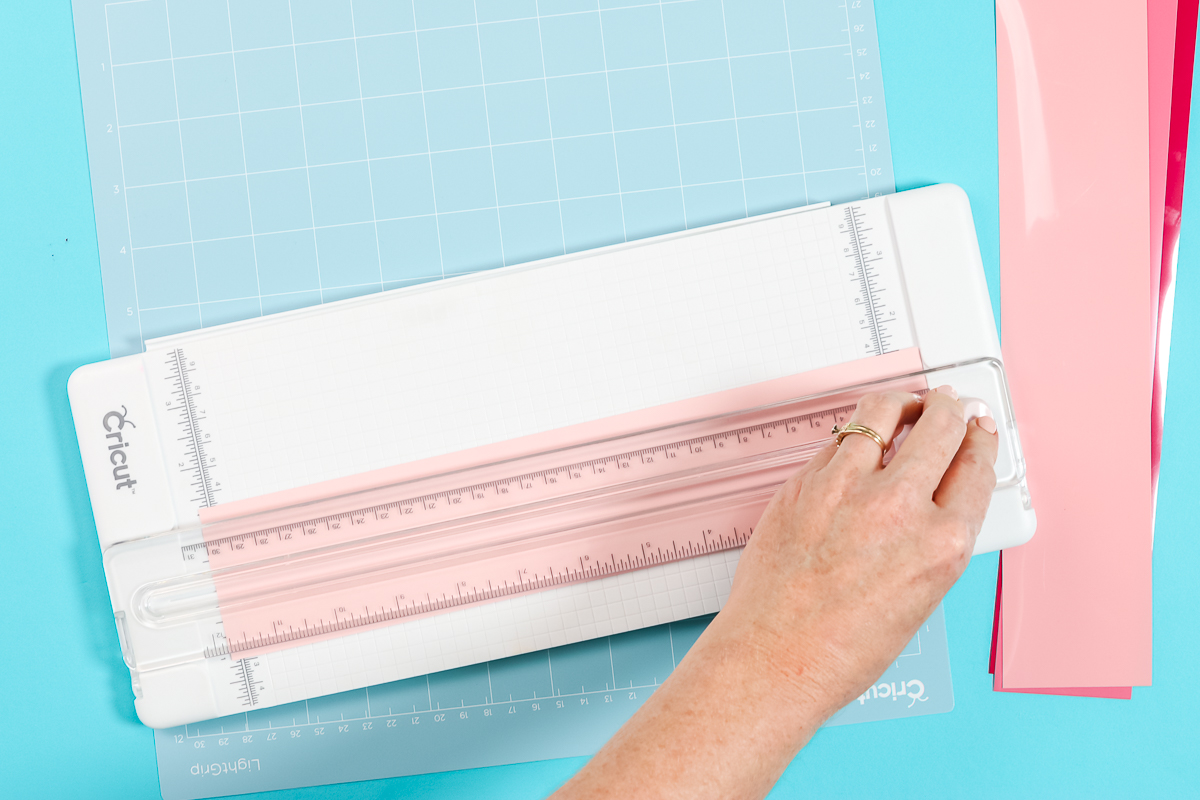
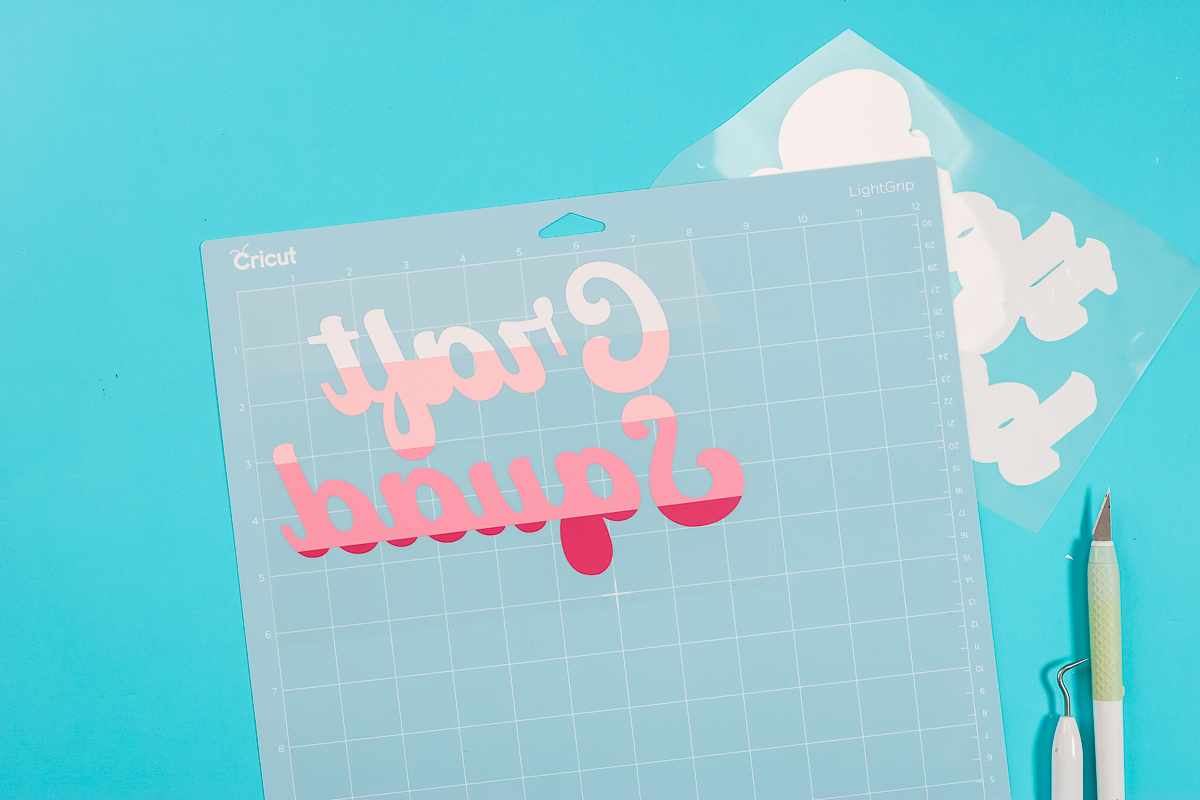
I am going to use the larger sheet of white HTV as my background piece and then layer the strips on top. For today’s project, I am going to use the same Craft Squad image I used above. I’ll use the LightGrip mat and I’m using my paper trimmer to make sure I have nice straight lines to line my scrap pieces up on the mat.
Size your design whatever size you want for your shirt. My image is just under 6″ tall so my HTV scrap pieces are lined up to fit the image.
Applying Scrap HTV to Cutting Mat
Applying scrap HTV to a cutting mat is the same as applying any HTV to the cutting mat. Follow the instructions for your specific material. I am using Cricut Iron-on so I am applying my material shiny side down on the mat.
You can see I’ve laid my material down the way I want my image to look when cut. Light pink down to dark pink. I’ve lined up my pieces right next to each other without overlapping them. This is why trimming with the paper trimmer is an important step. With nice straight edges, they sit right next to each other.
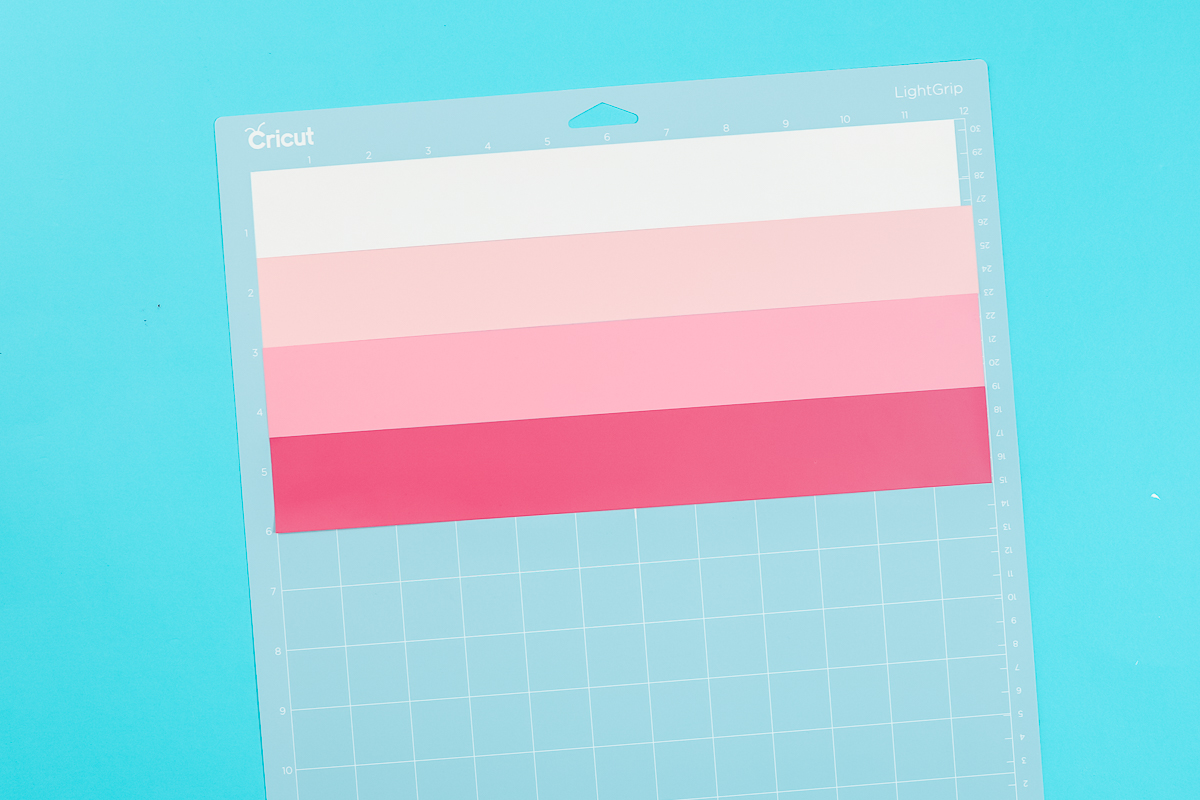
NOTE: In case you’re wondering why my light pink at the top looks white, the back of that piece of HTV is white.
How to Cut HTV Scraps with Cricut Machine
Cutting scrap HTV with your Cricut machine is the same as cutting other HTV with your Cricut machine. Because you’re using scrap pieces use a brayer or scraper to make sure the HTV is pressed down really well onto the mat so the blade doesn’t catch the edges.

On the mat screen in Design Space, follow the prompts. I am selecting Cricut Everyday Iron-on as the material and Design Space is reminding me to mirror my image. Now I can load my mat and press the flashing C to start cutting.
Once the cut is complete, unload the mat and weed just like normal. I like to use my TrueControl Knife to cut away the excess and save those for another project. I cut out my white background piece following the same process.
How to Apply HTV Scraps to a Shirt
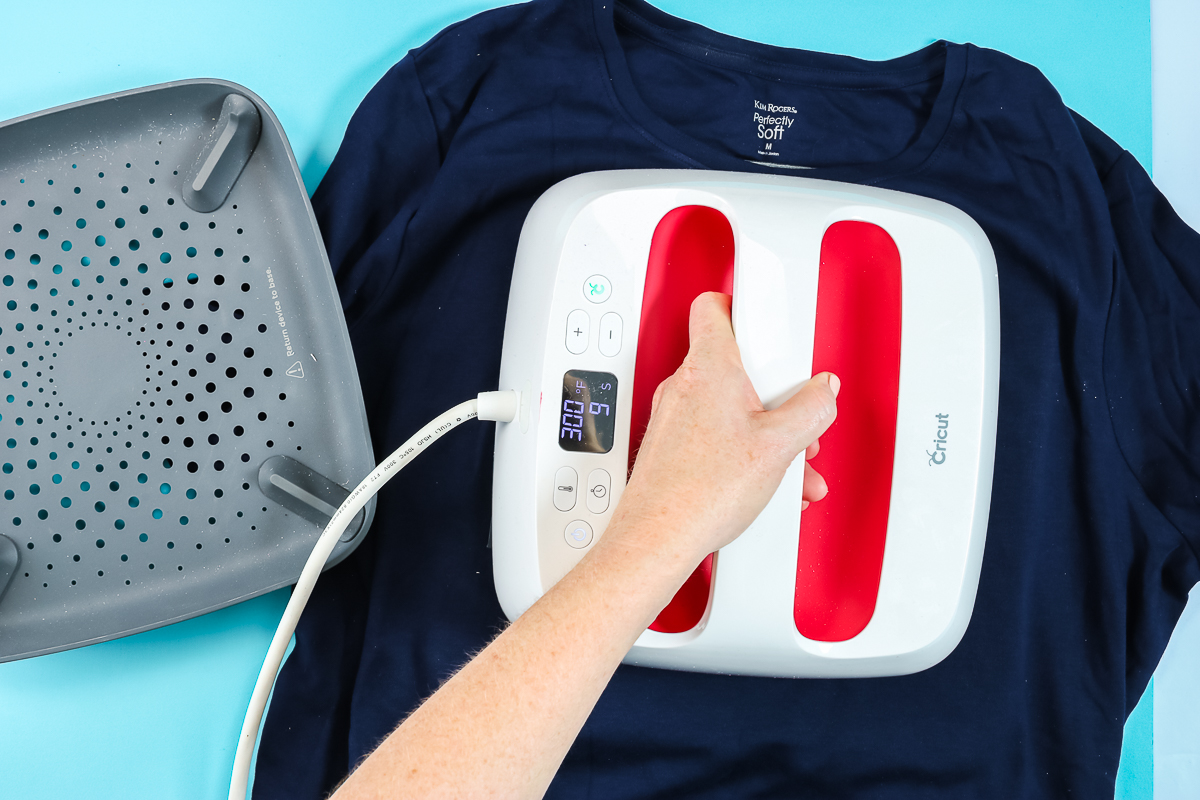
Applying HTV scraps to a shirt is a similar process to adding regular HTV to a shirt. To start, I put my EasyPress Mat inside my shirt so I can press on top of that. Cricut Everyday Iron-on says to preheat your fabric before applying Iron-on. This only needs to be done for a few seconds to remove any moisture and wrinkles.
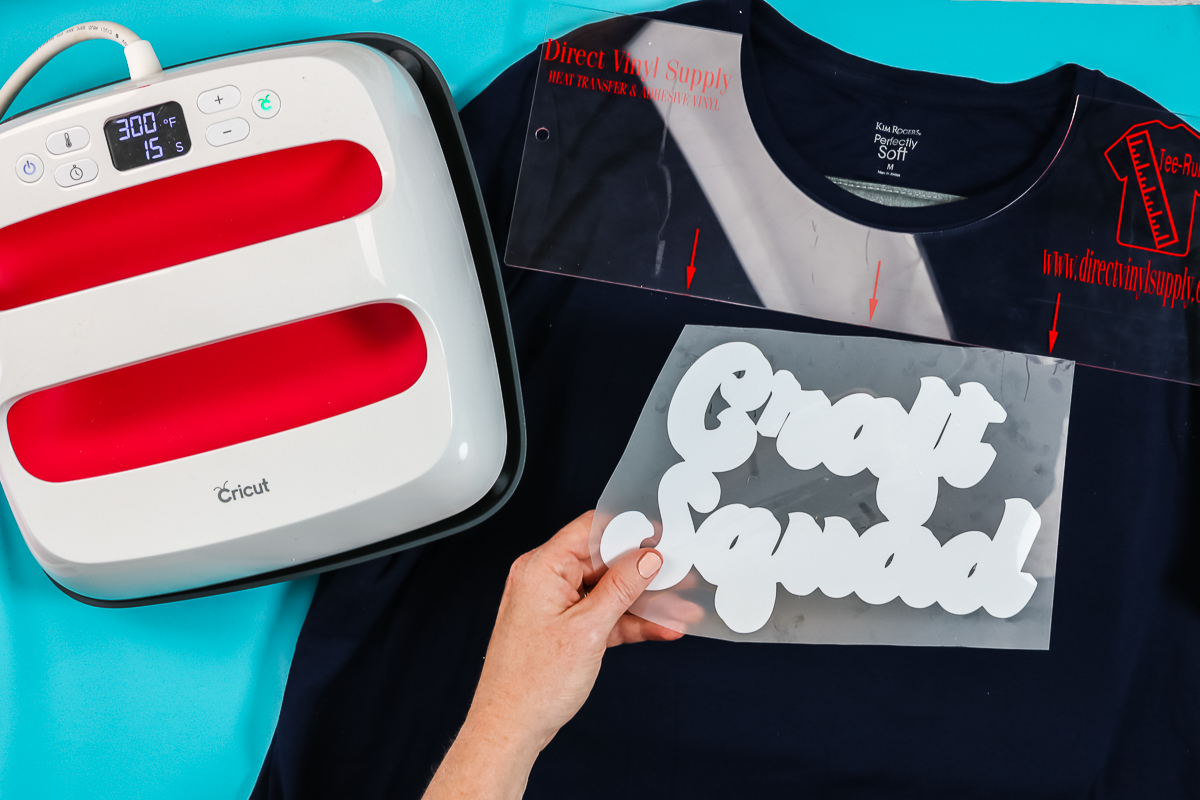
I am using a t-shirt ruler to place my design. You can definitely eyeball the location and get it right. When doing that it’s best to get above the whole project so you can see the whole project to make sure it’s centered right where you want it.
For the bottom layer, I am going to press for about half the time that is recommended for the HTV. Your time and temp will depend on the HTV you use. Follow the rules for your particular HTV. Since I’m pressing for just half the time I’m making sure to use a decent amount of pressure. When the time is up, remove the EasyPress and allow the HTV to cool, and then peel back the carrier sheet.
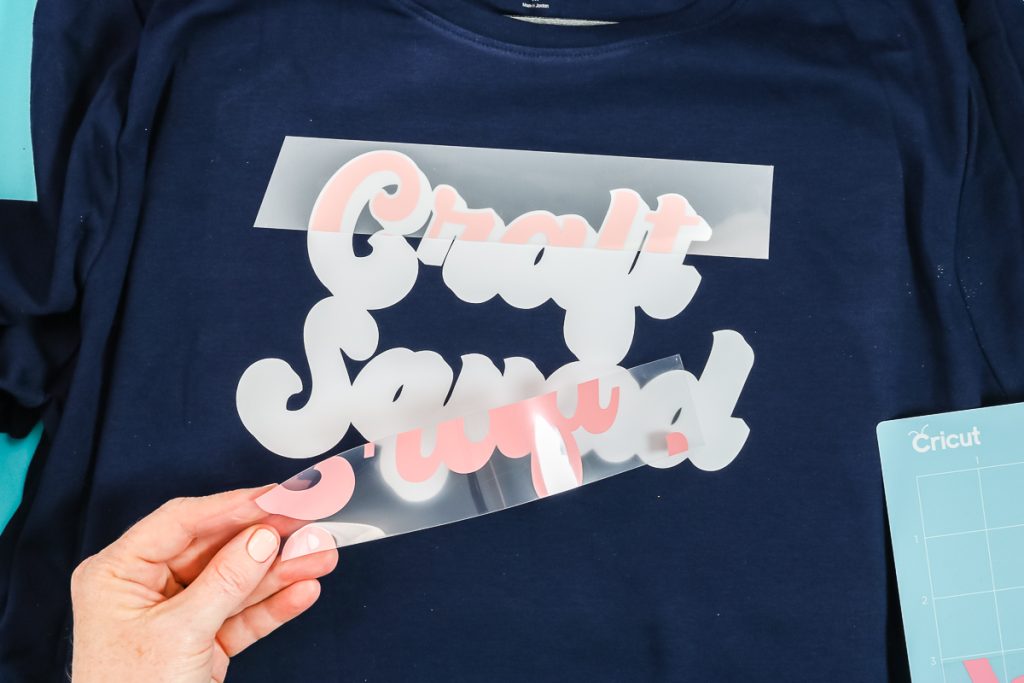
Now it’s time to layer the HTV scraps on top of the bottom HTV layer. Something to note, HTV adheres to HTV easier than it does to the fabric. Because of the way the scraps were cut we can press all of the scrap layers at once. Take the time to lay them out so they line up to each other making sure to leave no spaces between the pieces.
This process should be really easy. Once you have the first piece in place, the other pieces will line up easily. Once you’re happy with the placement, press for the full time and then again from the back (for this brand and type of HTV.)
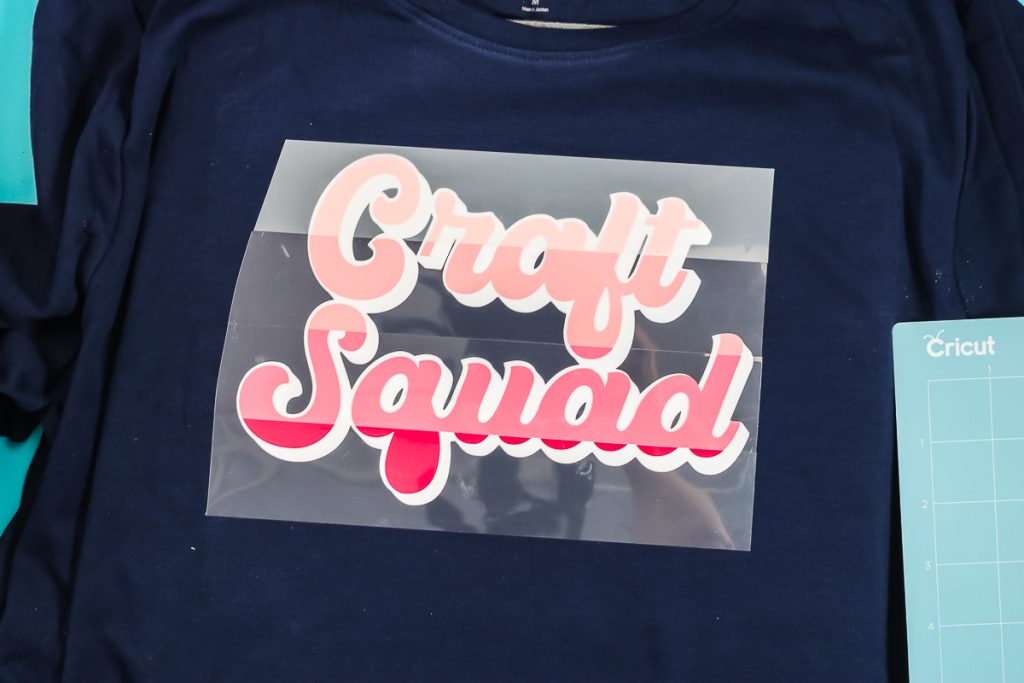
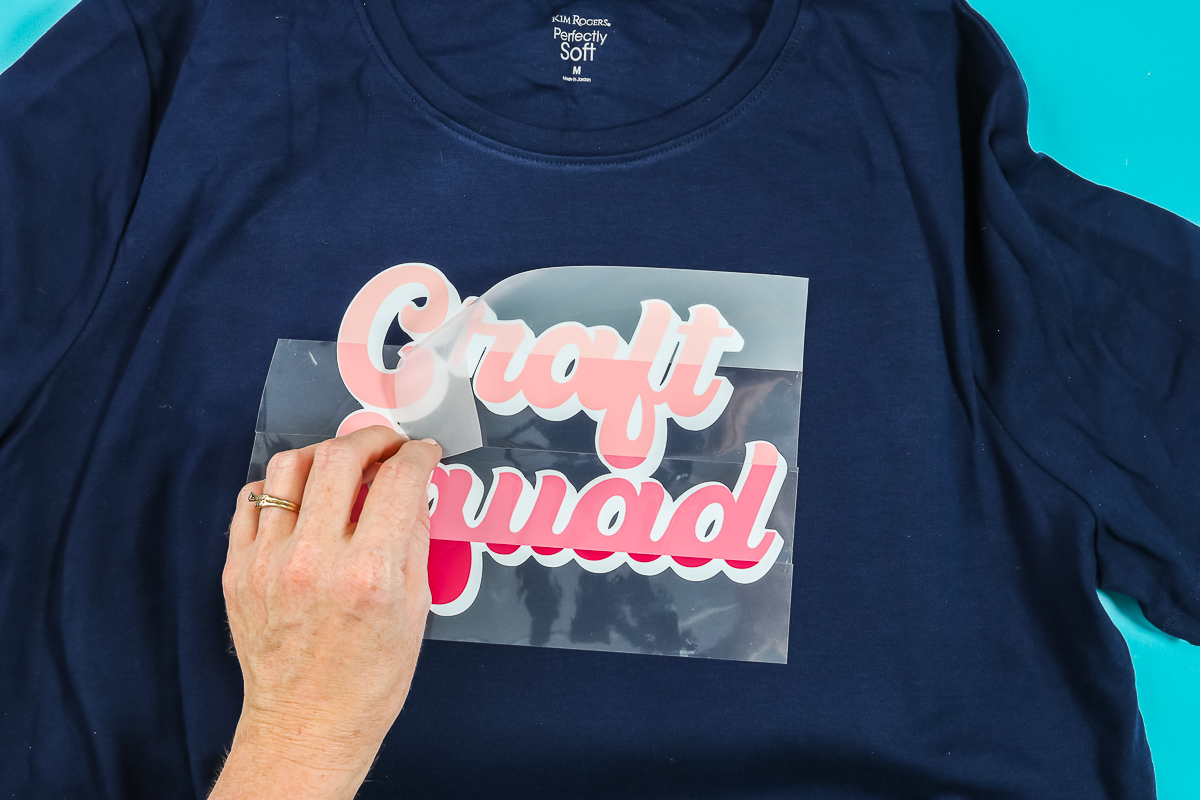
Now that we have the whole thing pressed we can remove the carrier sheet. Be sure to allow the HTV to cool completely before doing this step if your HTV is a cold peel.
How to Fix HTV Mistakes
Now that we have the image all the way pressed perhaps you realized the mistake I made. Did you catch it? I forgot to remove the inside of the Q and I also forgot a small piece at the top of the S. This is great because now I can tell you how to fix it.
To fix these pieces, I am going to add a piece of parchment paper over the top and then apply heat for about 10 seconds. Remove the heat and then quickly using a pair of tweezers pick up the piece of HTV you forgot to remove.
Isn’t it great that you can now fix HTV mistakes quickly and easily too?
Final Thoughts on Cricut Vinyl Projects Using Scraps
I absolutely love finding different ways to use my vinyl scraps. These projects all turned out great and they’re perfect for using up those vinyl scraps. I recommend making crafts using your scraps regularly to help keep your scrap pile in control. If you’re a scrap keeper like I am, the pile can get large quickly.
I hope these projects have given you the inspiration to craft using your scraps. It’s easier than you may have thought! Save those scraps and make something amazing. If you have any questions about using making Cricut vinyl projects from scraps, leave them in the comments section below.