This post and photos may contain Amazon or other affiliate links. If you purchase something through any link, I may receive a small commission at no extra charge to you. Any supplies used may be given to me free of charge, however, all projects and opinions are my own.
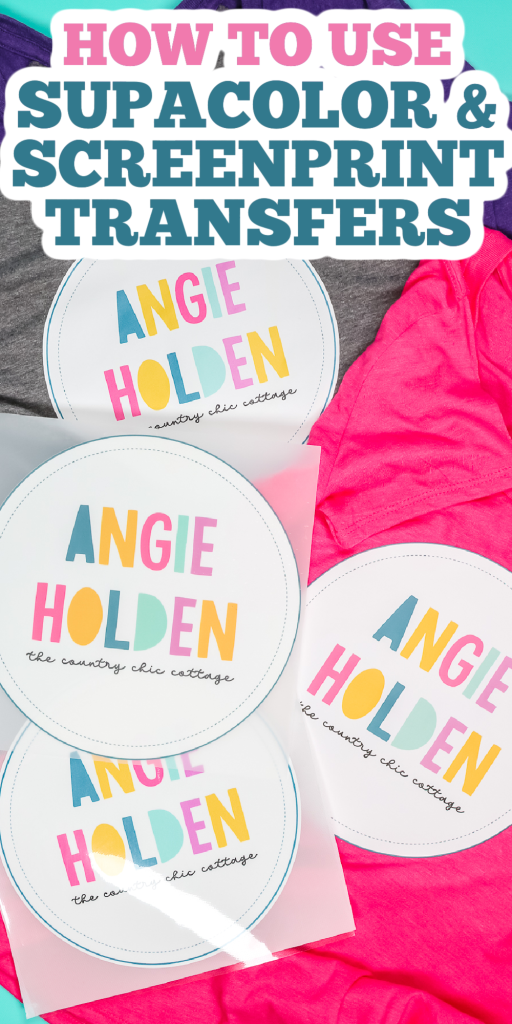
I thought we would talk about screenprint transfers today and how to use them. We’re going to use a couple of different products, so I can show you the pros and cons of both, and you can make a decision on which one will work for you. Screenprint transfers like Supacolor are a great option for making custom shirts at home that are full color. And yes that does include white! However, because you are ordering these prints, there is no need to invest in expensive equipment to make them yourself.
Screenprint Transfers
Want to watch me test two different versions of screenprint transfers? Just click play on the video below!
Supplies Used
Supacolor Versus Custom Heat Transfers
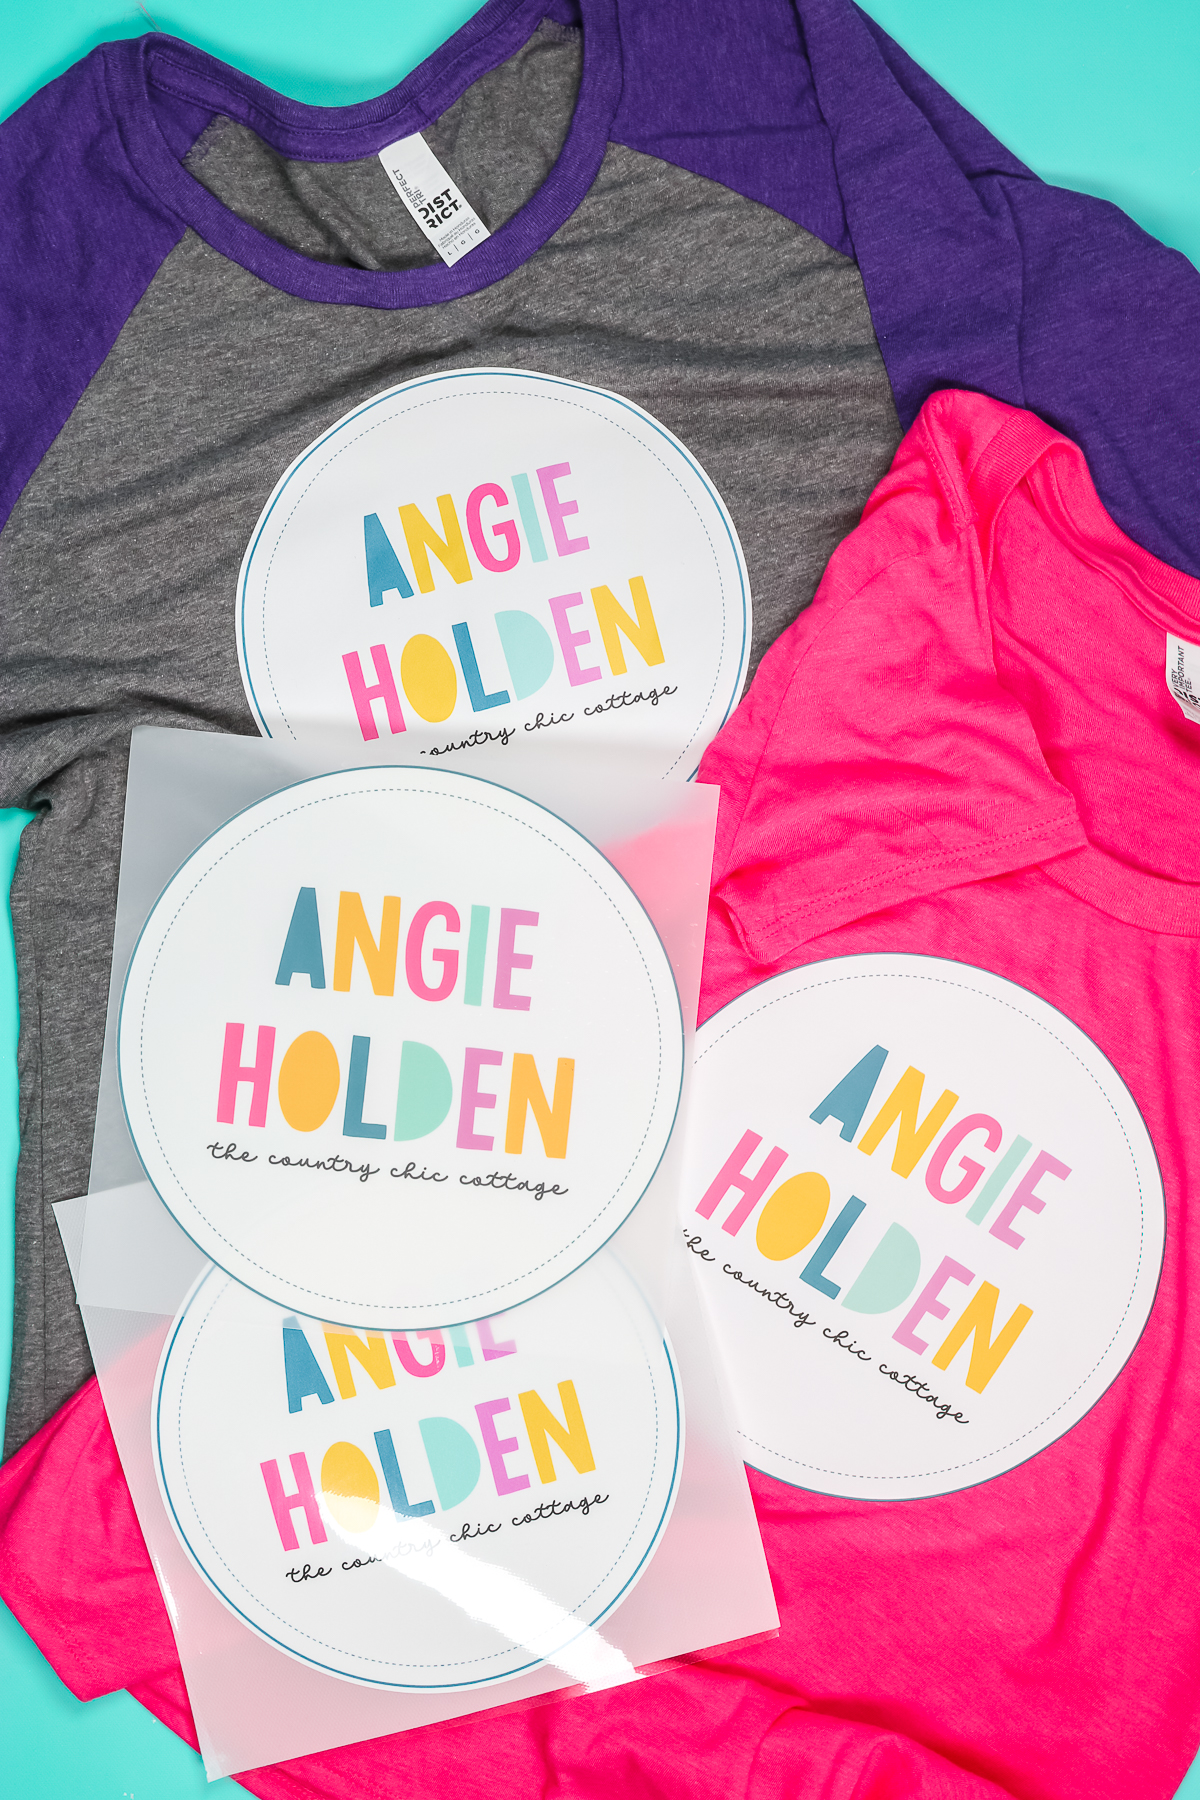
I’m going to use screenprint transfers from Supacolor and custom heat transfers from Heat Transfer Warehouse. Heat Transfer Warehouse sells both of these, and there are some differences between the products, and how to apply them.
The Supacolor product combines screen printing with heat transfer. Screen printing is with ink, and you lay it down onto a shirt. This transfer applies the ink to a film, and you apply it using heat to your shirt. Once it’s applied to your shirt, it does feel more like an HTV, so it does sit on top of your shirt. It is not like sublimation as white ink is not sublimatable.
Both of these look similar, however, the custom heat transfer from Heat Transfer Warehouse is more like a professionally printed HTV. You can buy printable HTV that you can print at home with your inkjet printer, but it fades significantly as it runs through the laundry. This professionally printed heat transfer will last much longer.
If you want to do a dark shirt with white on it, these options might be for you. These are really great for complicated designs that would be difficult to make from HTV. If you want to make shirts that are quick, easy, and precise, try a Supacolor or the custom heat transfer from Heat Transfer Warehouse.
How Long Will They Last?
Both of these will basically last the life of the garment when applied correctly. Supacolor states 50 to 70 washes and the custom heat transfer from Heat Transfer Warehouse states that it will last the lifetime of the garment. I would say 50 to 70 times through the laundry, is about as long as I’m gonna get out of a poly-cotton shirt.
What Can You Put Them On?
You can apply both products to cotton, cotton-poly blends, and polyester shirts. It doesn’t have to have a specific polyester content, as sublimation does. You can just apply this to any type of blend. For the Supacolor, I am using the version they’re calling Wearables, which is for cotton, cotton-poly blends, and polyester. If you want to use Supacolor transfers on top of something that’s already been sublimated, you will need something with a blocker. You might need to order a different type of Supacolor transfer, but they have types for that as well.
Sizes and Ganging
Both of these are a max size of about 11 x 17 inches. Supacolor is 11.7 inches by 16.5 inches maximum. The custom heat transfer is 11 x 17 inches.
Supacolor just announced a month ago or so, that they now allow ganging. That means you can order a larger size but put a bunch of smaller prints on it. So, you can order an 8 x 8 inch design and put four small logos on it instead of one large one. If you have several small designs, it might be cheaper for you to go the route of a ganged print, rather than purchasing several small prints.
Pricing
I tried to find a similar size in both of these to compare the prices. As I said, a lot of factors go into the pricing, but this is the closest we’re going to get to a price comparison on this one. I priced a 12 x 12-inch transfer in both of these. I think one of them was 11.7 x 11.7, but it was as close as I could get. In the custom heat transfer, that is $8.37 a sheet. With the Supacolor, it was $15.12 a sheet for something that large. Yes, these are expensive, but the custom heat transfer, in this case, is almost half the price. That’s definitely a benefit to get the custom heat transfer from Heat Transfer Warehouse.
I did want to mention that with the Supacolor, you can get a sample pack. If this looks like something you might want to try, and you’re not sure if you can apply them, a sample pack is available with the Supacolor, which might be beneficial for you.
Ordering
With the custom heat transfer, you’re ordering directly from Heat Transfer Warehouse. They have an in-house design team that helps to design your print. Supacolor, however, prints whatever you send in. In my case, I made a mistake when ordering the first time and sent in an image without a white circle behind it. Heat Transfer Warehouse caught the error and fixed it. Supacolor, however, printed exactly what I sent in. Keep that in mind when you are designing and uploading your images.
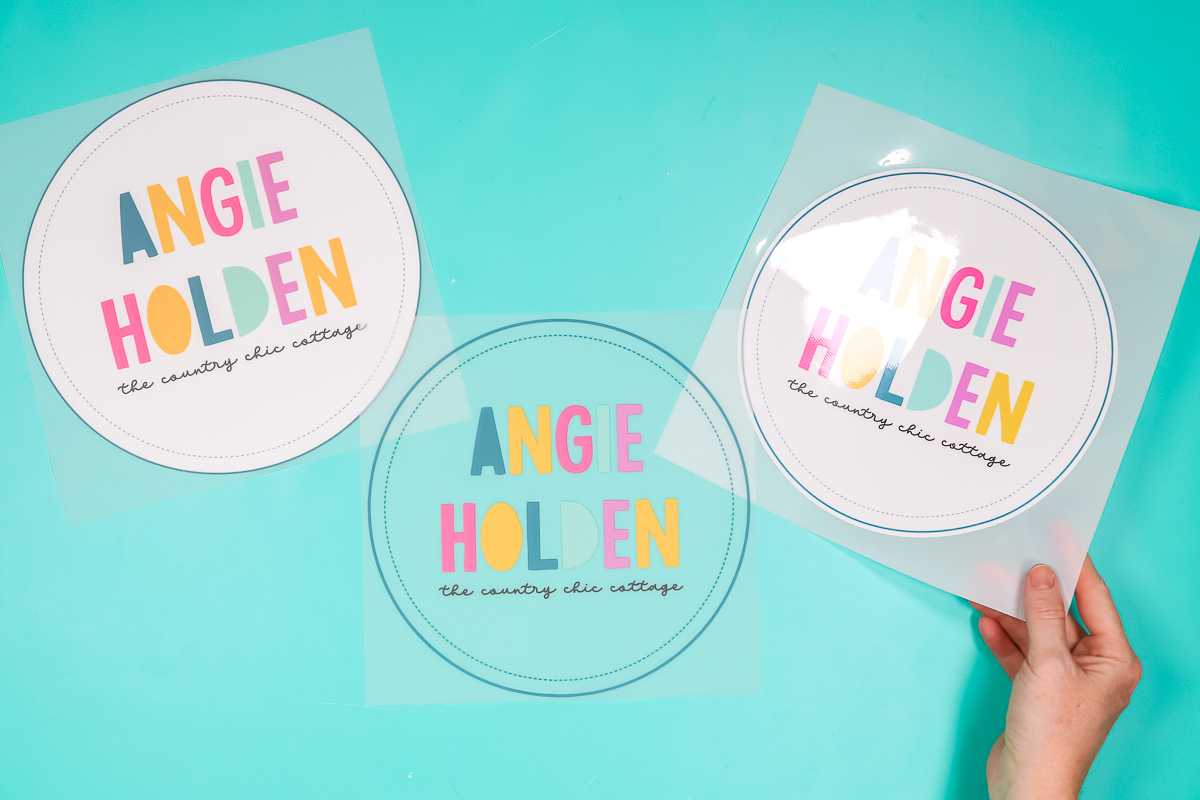
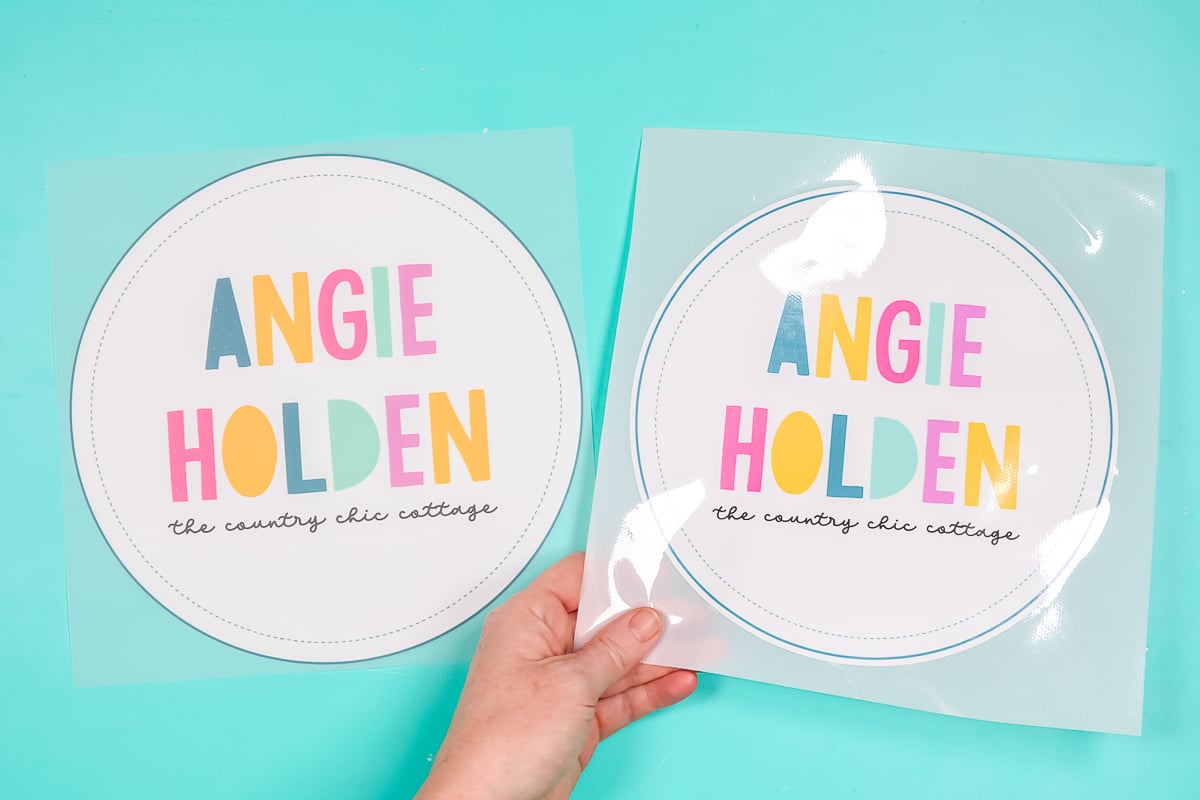
White Outline
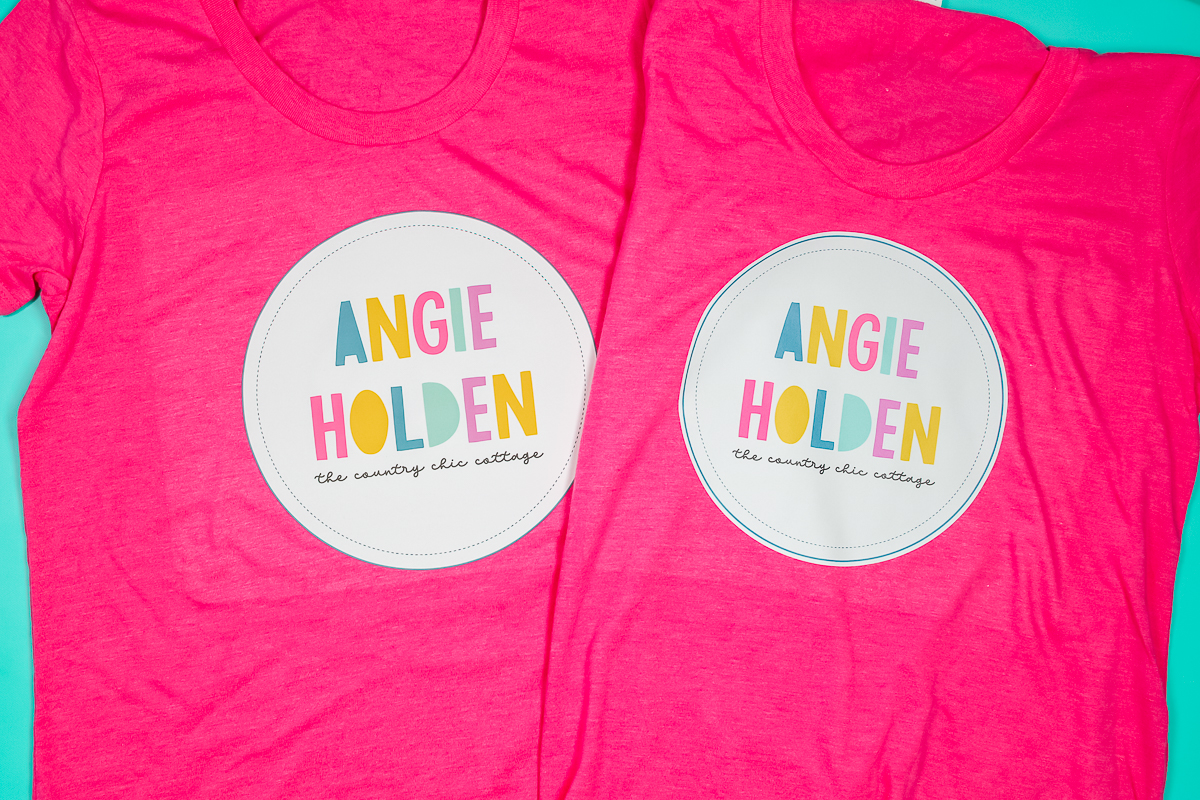
Taking a closer look at the custom heat transfer, versus the Supacolor, you might notice that one of them has slightly more white around it. That is because the custom heat transfer from Heat Transfer Warehouse will come with a slight white border around it, no matter what file you send in. That is just a part of their process. Supacolor, however, is cut more exact, so you won’t see that white border. You might want to keep that in mind when deciding on your design.
Sticky Backing
I also just wanted to note before we get started that the Supacolor is not sticky on the back, so I found it easier to locate on my shirt. The Heat Transfer Warehouse comes with a backer attached. You will need to peel that off and it will be sticky on the back. It is similar to the way an HTV would be sticky, and I found that a little bit harder to locate.
How to Use Supacolor and Custom Heat Transfers
Now that you know more about what each of these products is, let’s use them both in a few applications to see just how they work!
First of all, both of these require heavy pressure. It is recommended to adjust your heat press where you cannot physically close it, and then back it off about half a screw turn until you can close it. Here is the process for pressing:
- Prepress the shirt to remove any moisture. Be sure to only put one layer of the shirt on the press as that will help you to be successful with this product. I have my heat press at 320 degrees F and I did the prepress for 5 – 8 seconds. Be sure that there is no more moisture or steam coming out of the shirt.
- Add the transfer and put Teflon over the top. Press the Supacolor for 12-15 seconds. For the custom heat transfer, be sure to remove the backing before adding it to the shirt. Cover with the Teflon sheet and press for just 3 seconds.
- For both products, IMMEDIATELY peel the carrier sheet back once you are done pressing. This is critical with these products.
- Put the Teflon sheet back on top and do a post-press. The Supacolor is just 2-4 seconds for the post-press. The custom heat transfer is 10 seconds on the post-press.
Screenprint Transfers on Various Shirts
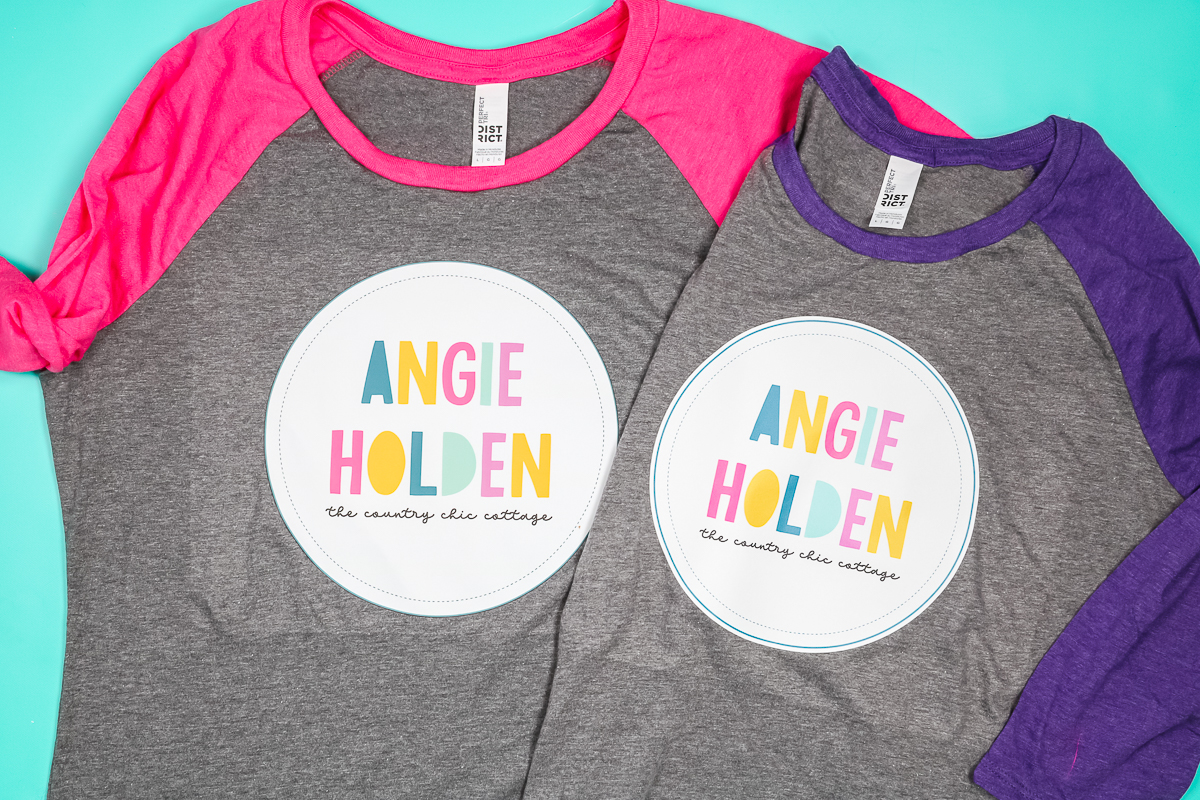
Both of the transfers feel basically the same on the surface. The custom heat transfer from Heat Transfer Warehouse might be a little stiffer than the Supacolor, but they’re very, very similar when you feel them. The pink shirts I used are 50% polyester and 50% cotton. You may be able to see a heat press mark on both of these shirts. It did leave a slight mark, with that heat at the time that I had to press it. It left it on both of them, so even though the custom heat transfer was a shorter time, I still got the heat press mark on my shirt.
With the grey shirts, I do feel like there is a slight heat press mark all the way around where my heat press touched the fabric. Again, with this much pressure and the heat, you probably will get a heat press mark on most fabrics. You might have to play around, and see if you can find a fabric or a shirt that can withstand the pressure and the heat without making a heat press mark. Otherwise, both of these shirts look amazing!
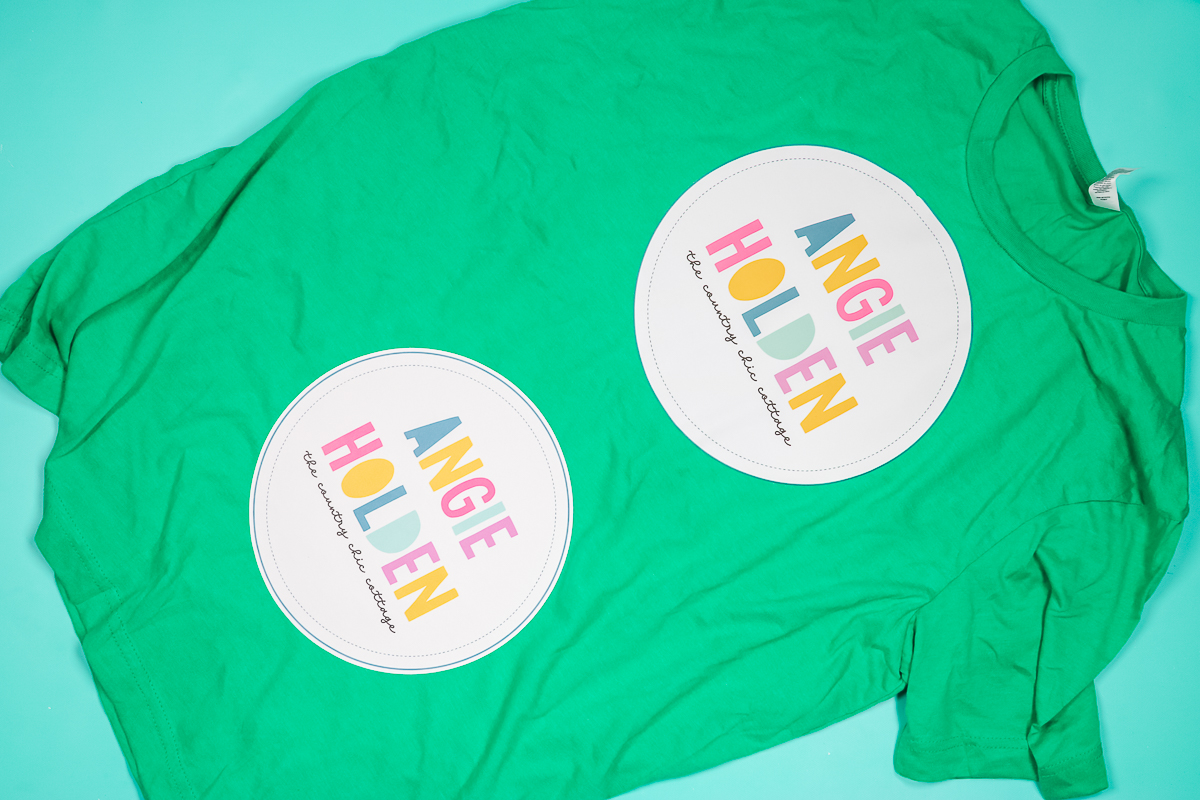
Screenprint Transfers with an EasyPress
So the question I always get is, “Can I do this with an EasyPress?” I thought I would try. For the Supacolor, I added an EasyPress mat inside of the shirt, and then I went ahead and preheated it. I had my EasyPress set for 320 degrees, and I preheated my shirt for 5 to 8 seconds a couple of times. Again, no moisture and no steam in the shirt.
I added the Supacolor transfer, put some Teflon over the top, and pressed at 320 degrees for 15 seconds. I pressed down as hard as I could on my EasyPress this entire time, just to get it to stick as much as possible. After 15 seconds, I did an immediate peel. I was surprised that the Supacolor stuck to my shirt, except for one small area at the top. I laid it back down with my finger, put the Teflon sheet over the top, and then did my post-press for two to four seconds. Again, pressing down as hard as I could. It feels like the entire transfer is stuck down to the shirt. However, I am nervous about that area that lifted as it is still wrinkled in that area.
Since that one worked, let’s try the custom heat transfer from Heat Transfer Warehouse. I’m just going to do that on the bottom of the same shirt. I went ahead and pre-pressed it as well at 320 degrees a couple of times, and then I added the custom transfer from Heat Transfer Warehouse. Again, I peeled back the backing and located it into place. Then I pressed at 320 degrees, for 3 seconds, pressing down as hard as I could. I peeled back immediately on that carrier sheet, and everything stuck. It looked really great. I was actually really surprised. I added the Teflon sheet, and did my post-press for about 10 seconds, pressing down as hard as I could the entire time.
Once I was done, I had a shirt that had two successful transfers on it. They don’t look horrible. They look about the same as on the other shirts, nothing is peeling up and everything seems to be stuck fine.
Why you should NOT use an EasyPress
These transfers are not cheap. They last the life of the garment when applied correctly. I’m just afraid without the heavy pressure that it’s not going to last, and start peeling after a few times through the laundry. If you are set on using the EasyPress for this material, be sure to run some tests.
You might try that sample pack I mentioned from Supacolor, do a few samples, run them through the laundry 30 or so times, and just see if you can get a successful transfer with the EasyPress. I know these look successful, but are they truly successful? I feel like testing them would be the only way to know!
Screenprint Transfers with the AutoPress
Now the next question I know you’re going to ask is, “Can you use these with the new Cricut AutoPress?” I tried that as well! You can actually see me use these same transfers with an AutoPress in the video here.
So, will you be giving screenprint transfers a try for yourself? I think you will really love this product for those custom applications where you need a printed design and something that lasts a really long time.