This post and photos may contain Amazon or other affiliate links. If you purchase something through any link, I may receive a small commission at no extra charge to you. Any supplies used may be given to me free of charge, however, all projects and opinions are my own.
Is the Cricut AutoPress for small business? What are the benefits as well as the drawbacks? Today we’re going to talk about creating multiple projects at one time with the Cricut AutoPress. Does it save me time? How do I like it? Let’s find out. As always, if you’ve seen any of my AutoPress posts, you will know that I’m doing a whole series. This one is going to be on the production aspect of AutoPress and the features that help with that. Want to see past posts from the series? You can see the features, HTV projects, and sublimation projects in past posts.
Cricut AutoPress for Small Business
If you want to watch me press all of these shirts, totes, coasters, and can koozies, just click play on the video below. You can see just how I work with the AutoPress for pressing multiples of different projects!
Can’t watch the video or miss some of the steps? You can also follow along below!
Supplies Used
Designs Used
Find them in Design Space here. That link will open all of the designs up in Cricut Design Space. You can delete the ones you do not want and click “make it” to cut.
Projects
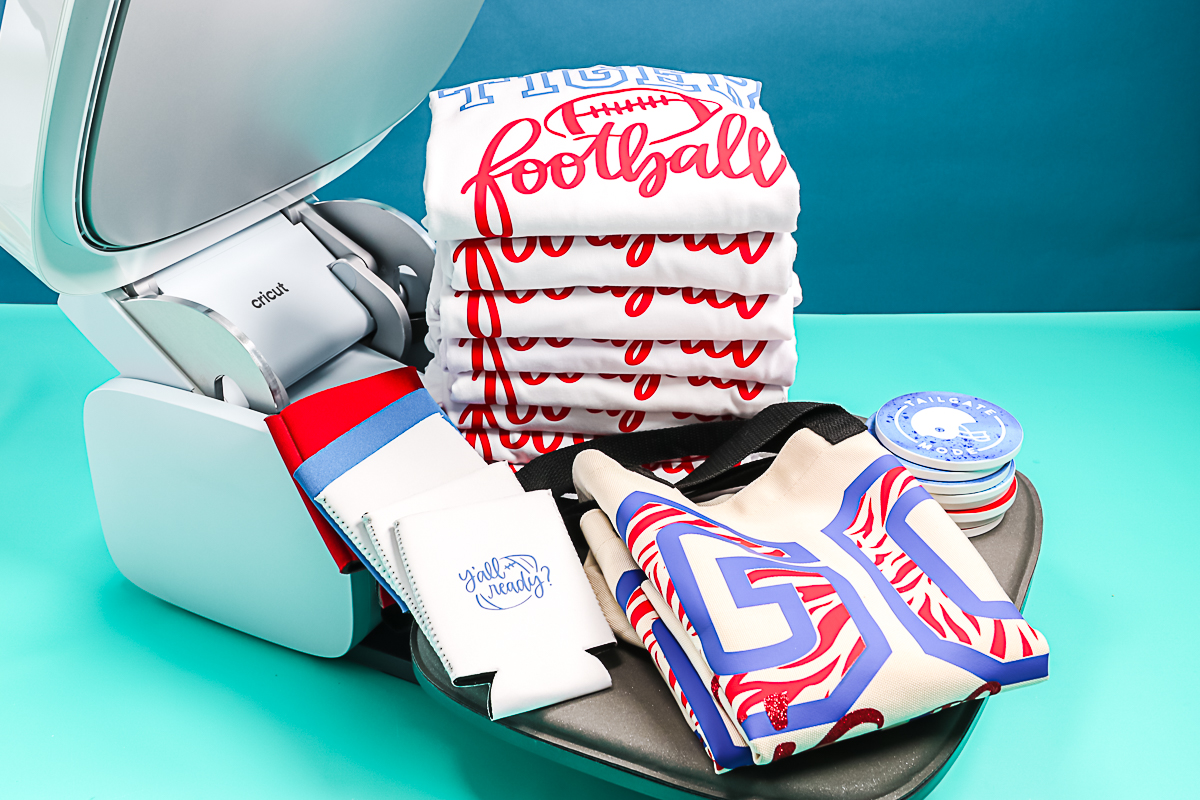
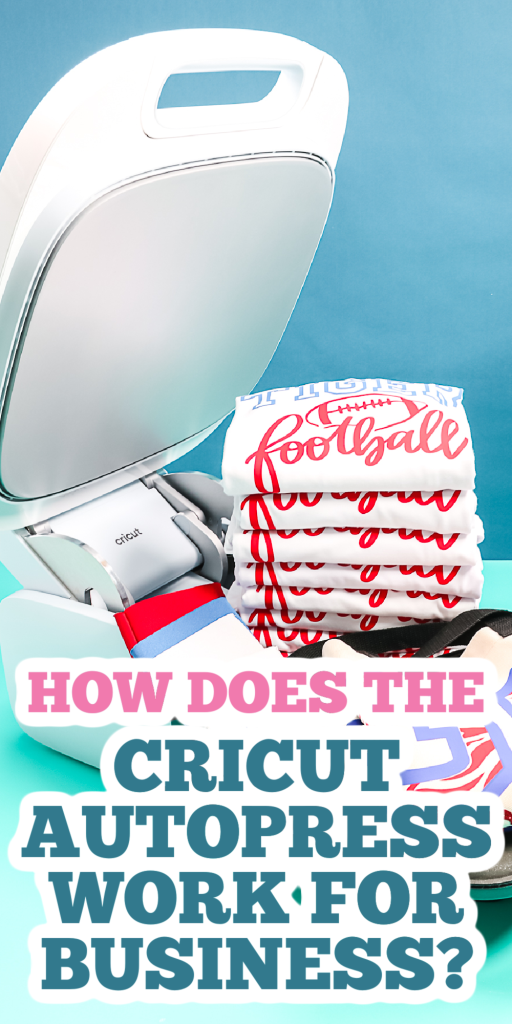
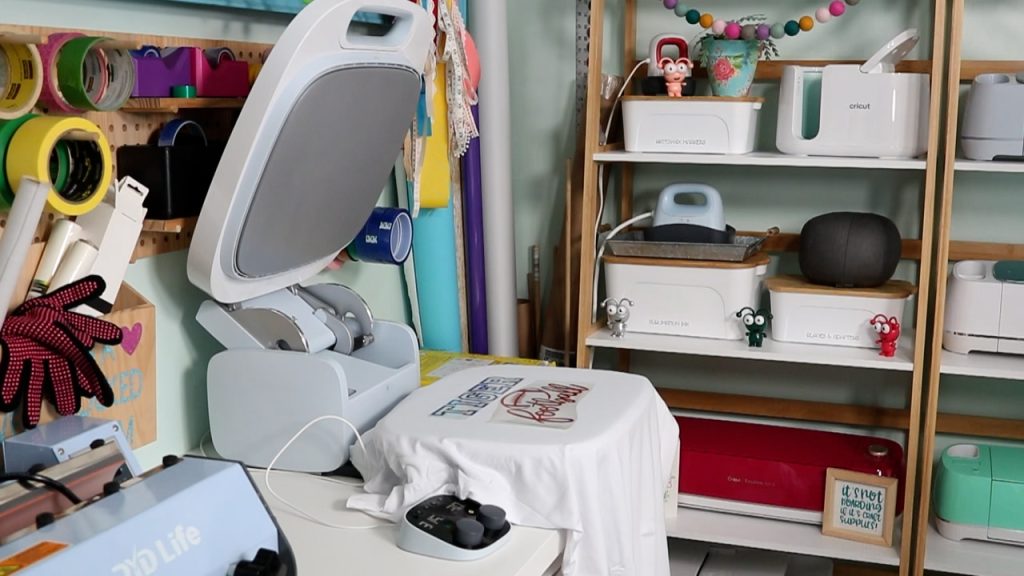
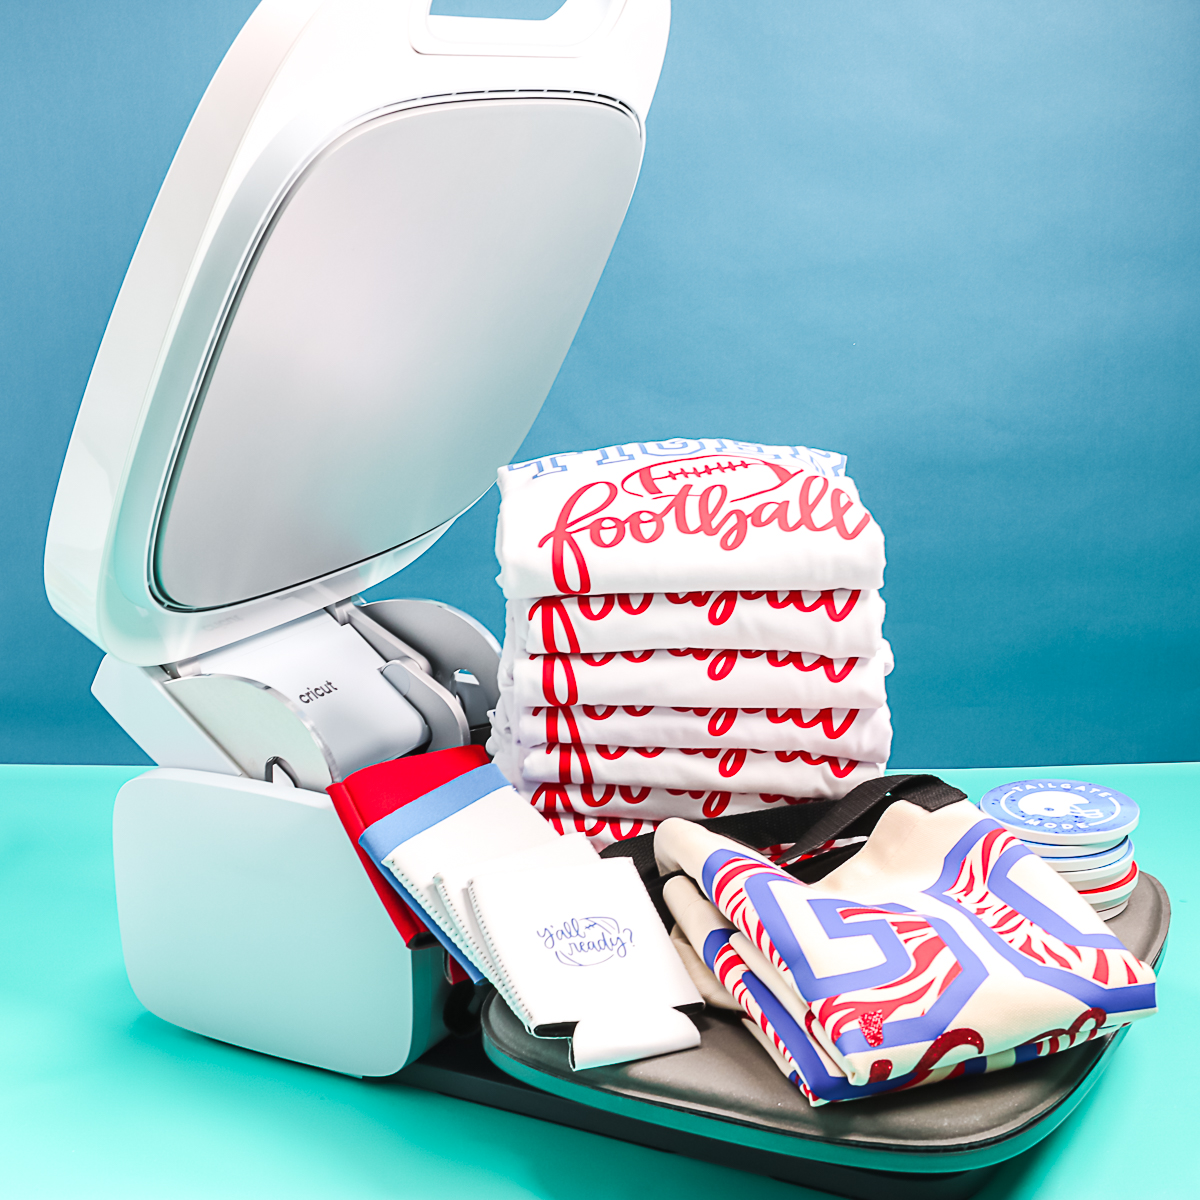
What am I going to make today? I want to introduce something that I would normally do with my Cricut machine and an Easypress, but I’m going to use the AutoPress today instead. For me, when I make multiple projects, I often do it for something like a fundraiser. I’m going to do a bunch of items for our fundraiser today. I’m going to do a stack of shirts, some tote bags, some coasters, and some can koozies. These will all have a tailgate theme for a football fundraiser.
I’m going to use my Explore 3 today because when I’m making multiple shirts with all of that iron-on, I love to use the Smart Iron-On and my Explore 3, so that I can cut all of those pieces at once in one long roll. Then I don’t have to keep changing out mats. I’m going to use Infusible Ink for the coasters. You may be creating multiple projects for your small business, fundraisers, volunteer items, or even tons of gifts for the holidays. Whatever those reasons, hopefully, you can get some ideas from this post about how the AutoPress might help in those situations.
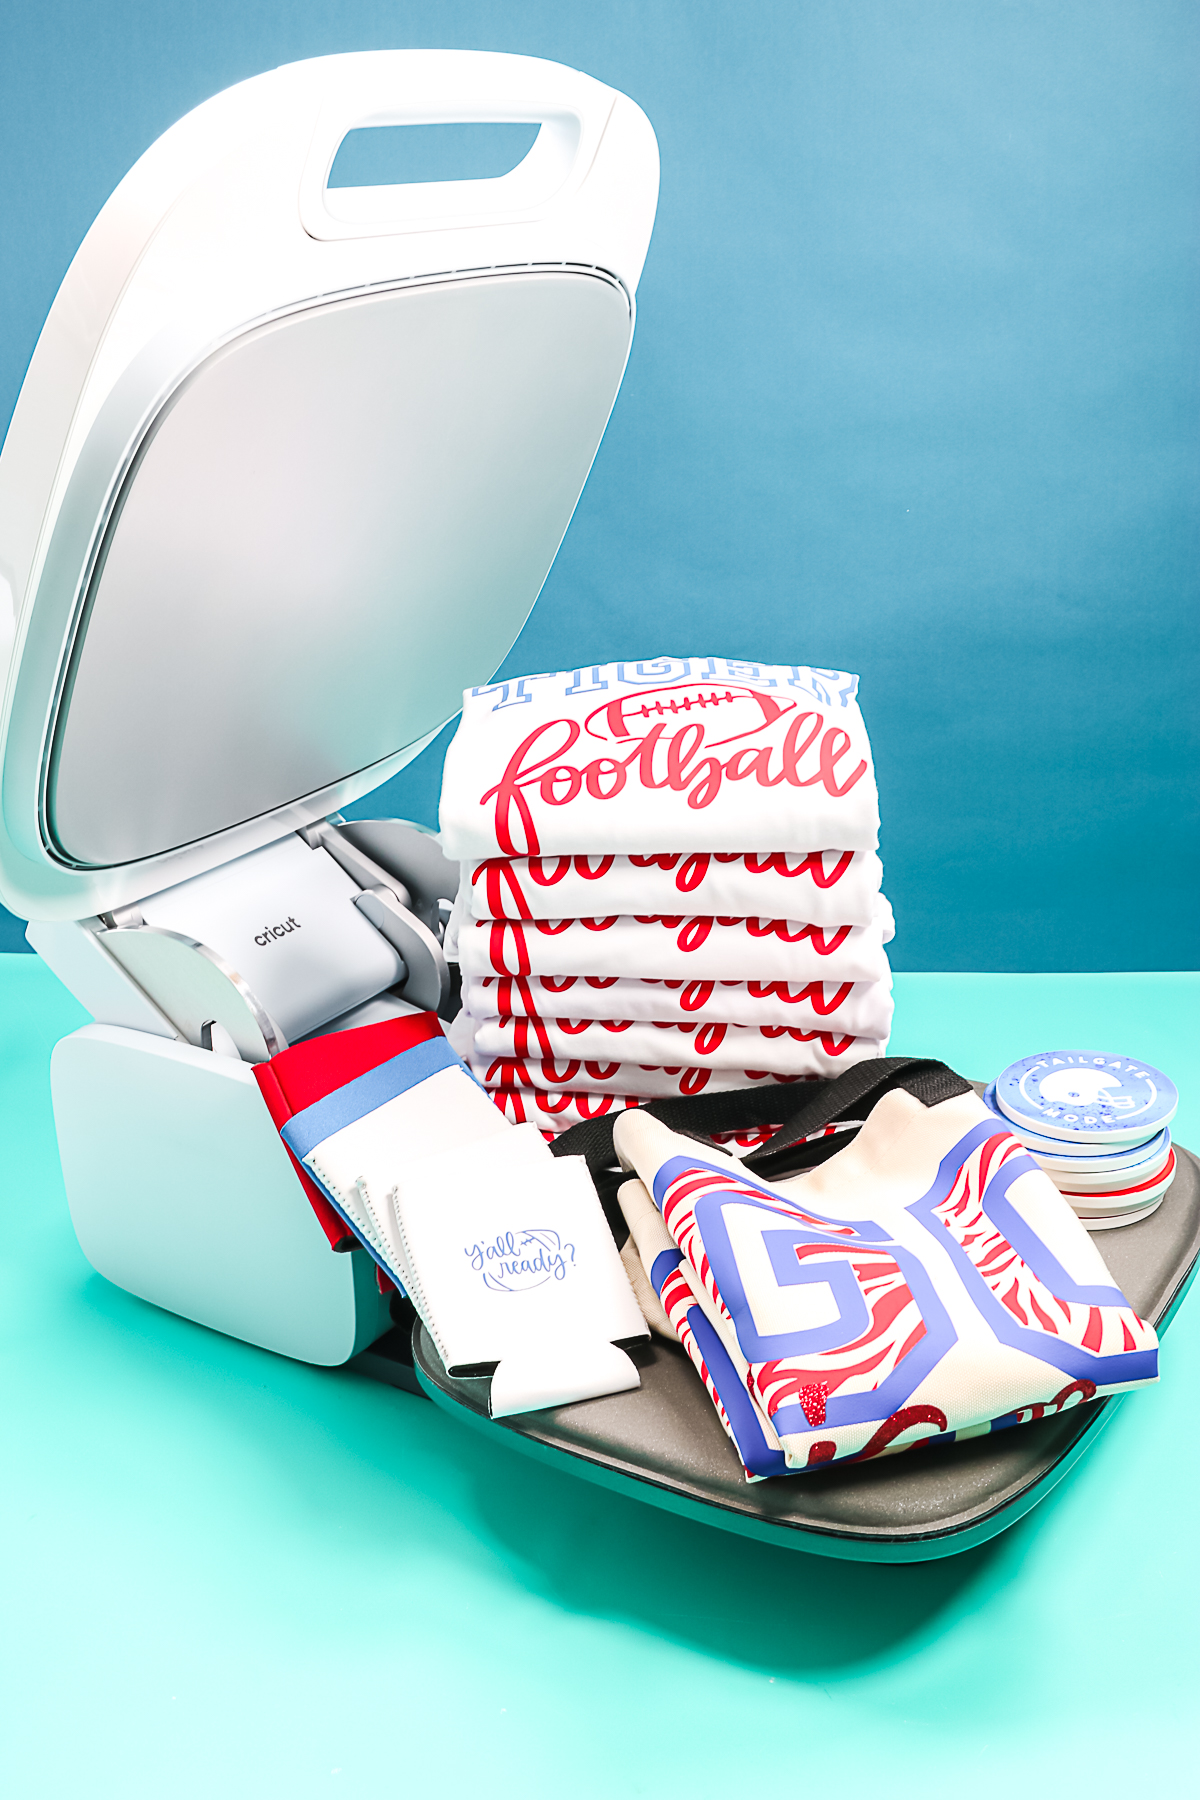
Cutting Your Material
Once you have everything on your canvas that you want to cut, click “Make it”. For the Explore 3, you will need to pick on a mat, without a mat, or multiple. Then for each mat, choose whether it’s on the mat or without the mat, as well as if you need to mirror it. For Infusible Ink and iron-on, you will need to mirror those. Pick a material type and load the material. You will notice here that I’m using the Cricut roll holder as well as a long roll of red iron-on. Load the roll and the Cricut machine will measure how much iron-on to make sure it is enough. Then, just click the “go” button to start the cut.
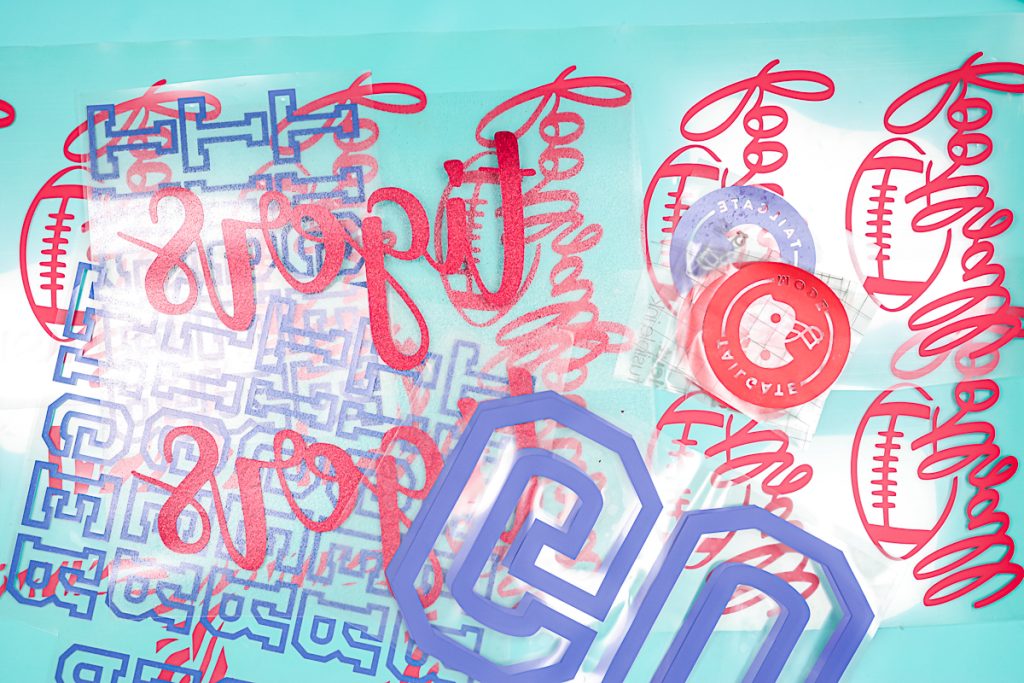
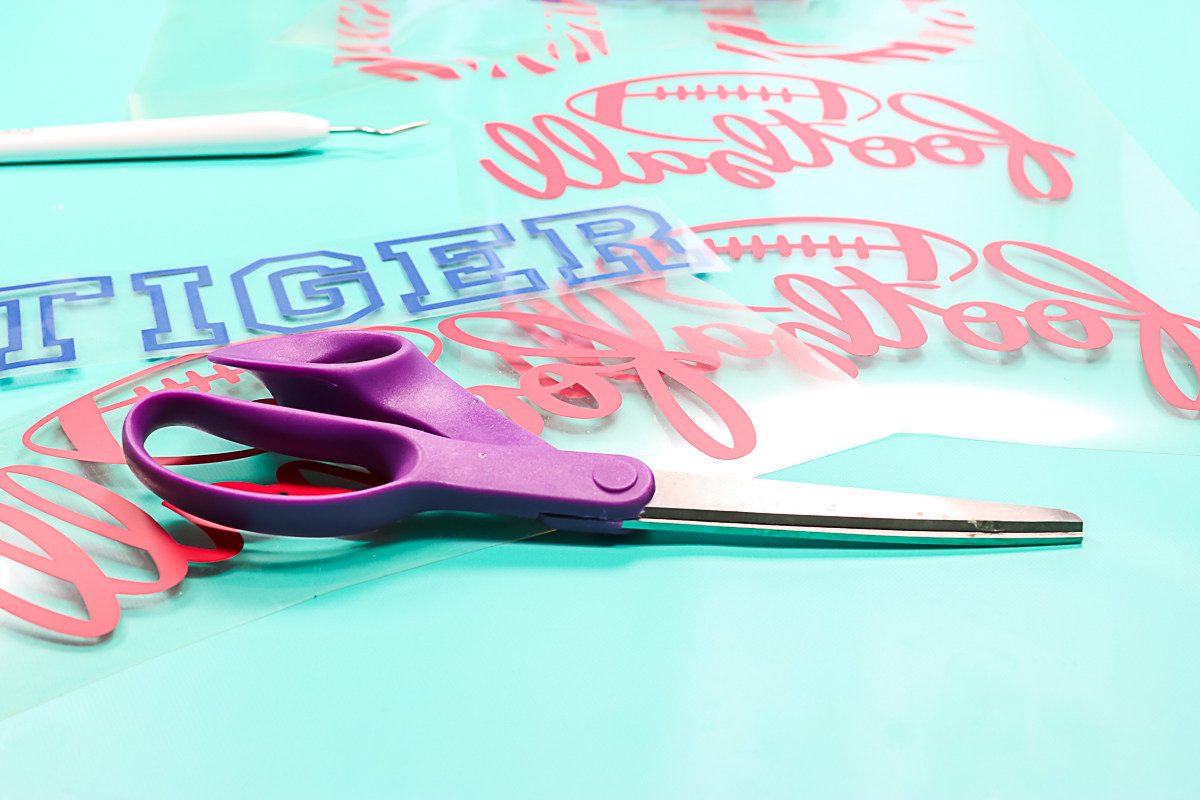
Weeding Designs
For each of these materials, you want to weed away all the excess. You can use a weeding hook for the iron-on. For Infusible Ink, I try to use my hands if at all possible.
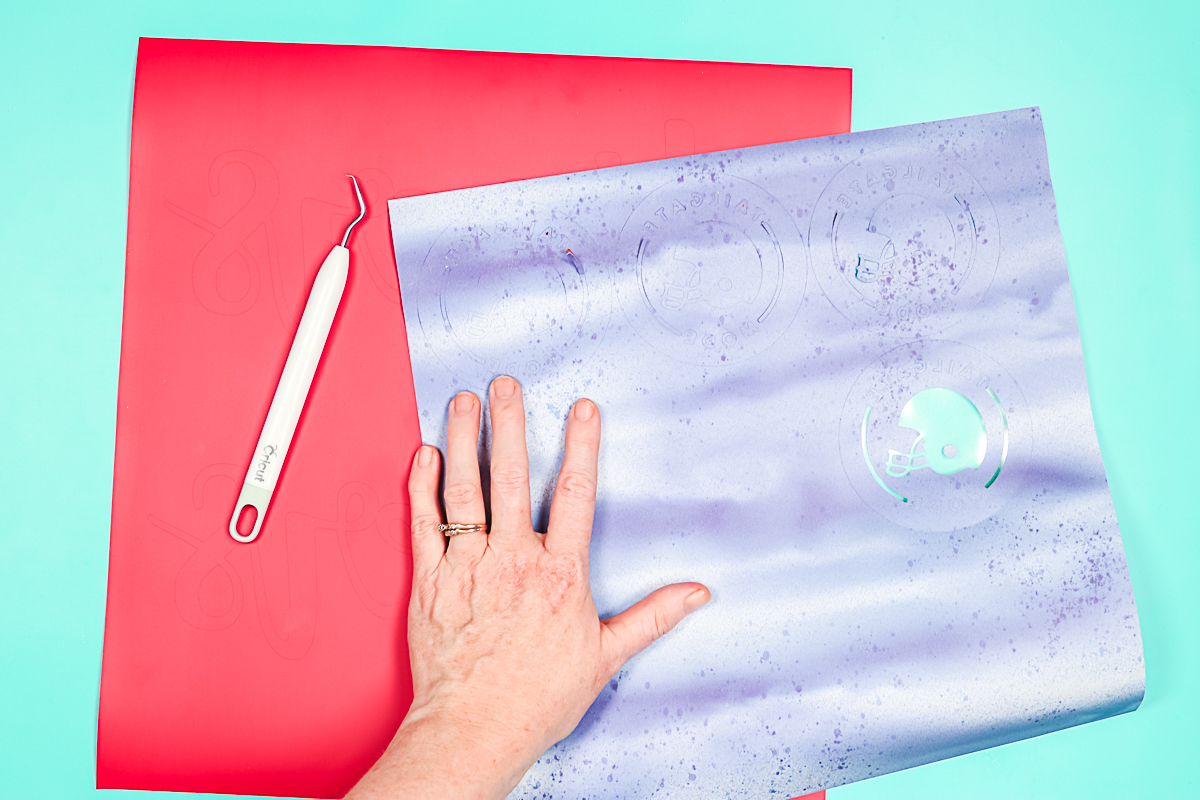
Now I have an entire pile of things that are ready for pressing.
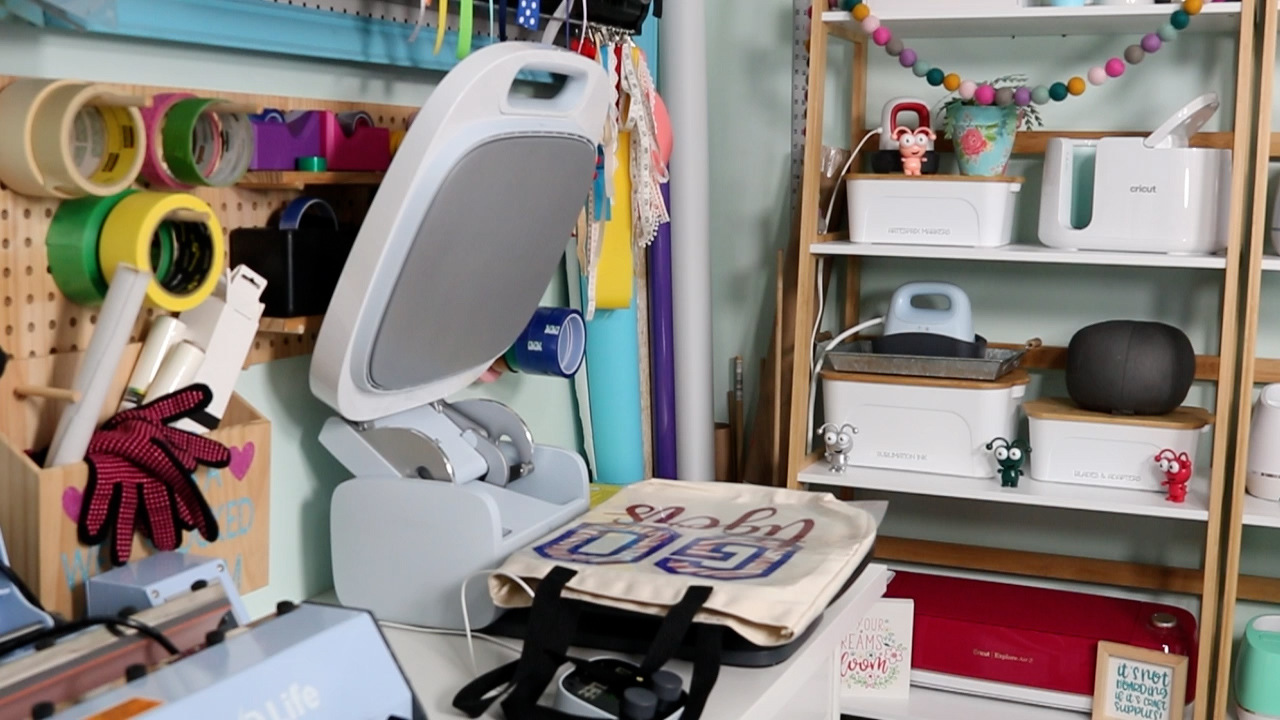
Using the Cricut AutoPress for Small Business
I’m going to go ahead and heat the AutoPress up to the temperature for my first project. I’ll probably start with shirts and work my way to the hottest project, which is going to be the infusible ink. Remember, the AutoPress can take up to eight minutes to heat up. You may want to start heating it up when you’re almost done weeding.
Shirts on the Cricut AutoPress
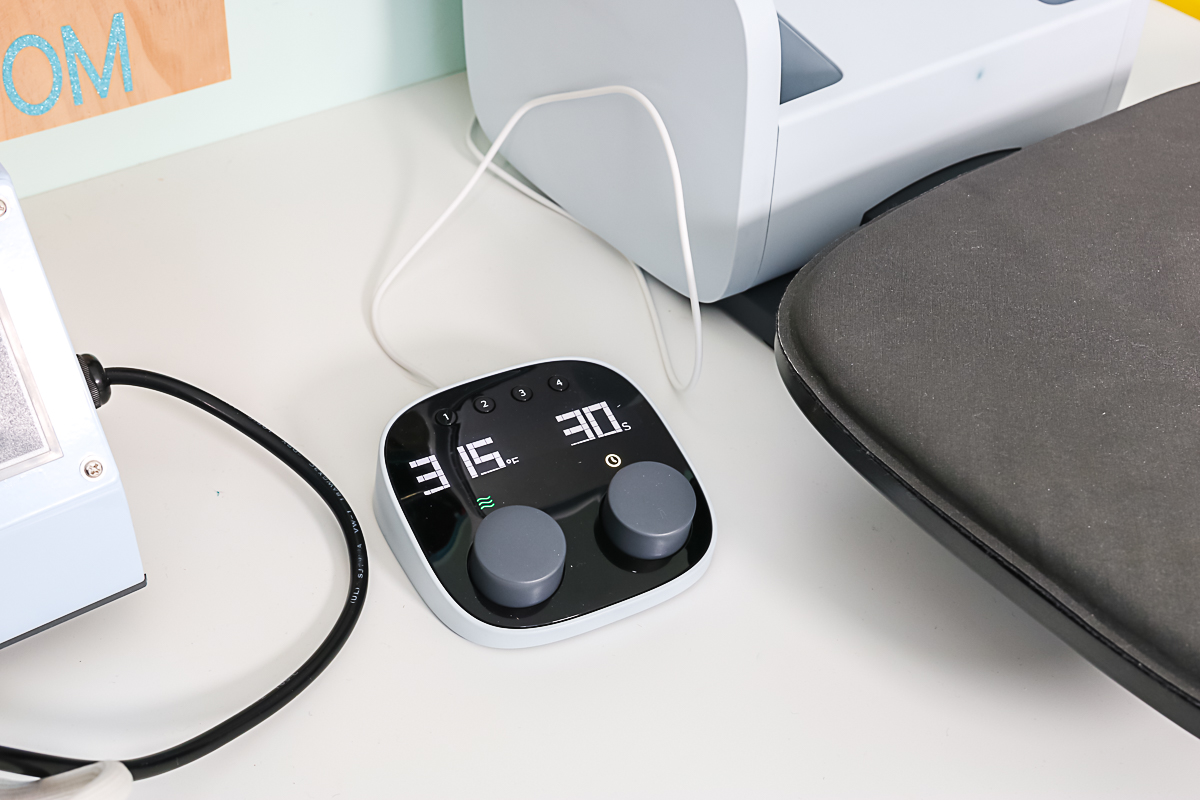
For the shirts, I’m setting the AutoPress to 315 degrees for 30 seconds. Once it’s heated up, the light will turn green on the control pad. Then, you’re ready to press.
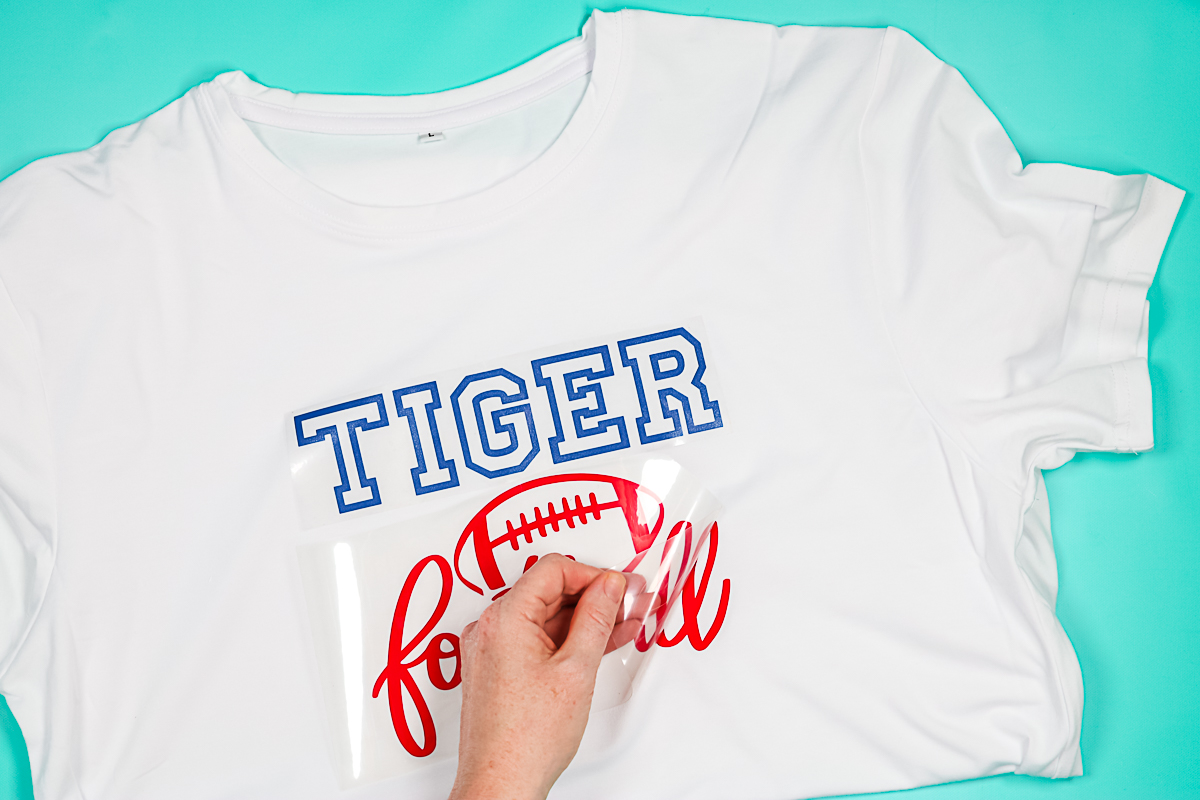
First, pre-press the shirt for about five seconds. You can close the AutoPress with as few as two fingers and lift up on the handle with those two fingers as well. The handle stays cool because the AutoPress has a motor that keeps the heat away from the handle.
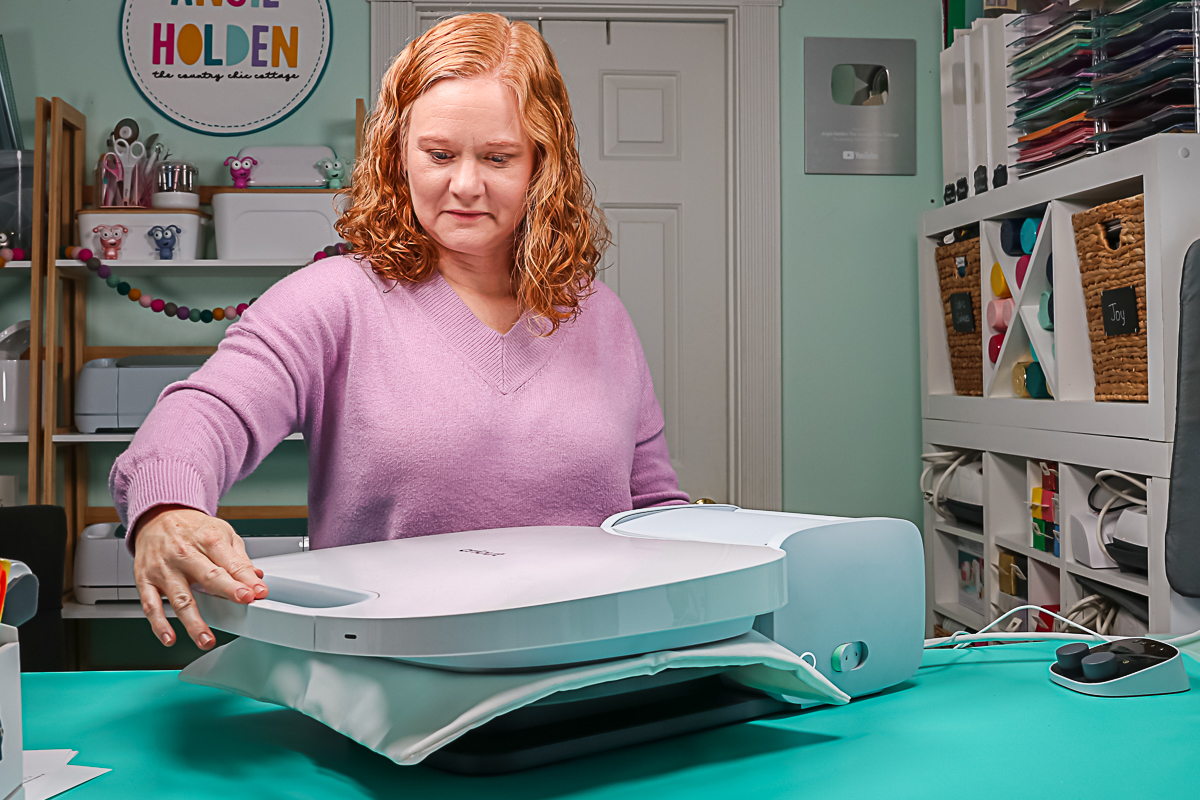
Once you pre-press that shirt, locate your design. I like to fold my designs in half to make sure that I get the center, then locate those appropriately. A good rule of thumb is not to press on the seams. When I pre-press, I make sure that the collar is off of the AutoPress. Then, I move the collar onto the pad that comes with the AutoPress, locate my design, and then move the collar back off. That way I don’t have any seams inside of the AutoPress to hold the heat above the iron-on. The AutoPress should rest directly on the iron-on if possible. Then, we’ll just close the AutoPress once again and press for 315 degrees for 30 seconds.
Now we just want to repeat that for as many shirts as we have. What I love about the auto-open feature of the AutoPress is that I can prep the iron-on off to the side while the press is operating, without having to worry about holding it down like you do with the Easypress or stopping and opening something like a traditional heat press. I can trim the carrier sheet on the iron-on and cut it into pieces.
Then, I just continue to press each shirt in the same manner. When each shirt is done, I remove it from the AutoPress and set it to the side. Allow the shirts to cool before peeling back the carrier sheet. I repeated all the heating steps for all of the shirts and then peel them all at once. Once they were all cool, I just peeled back the carrier sheet of both of the iron-on colors on all of the shirts, and my shirts were complete. They were all perfect and looked amazing.
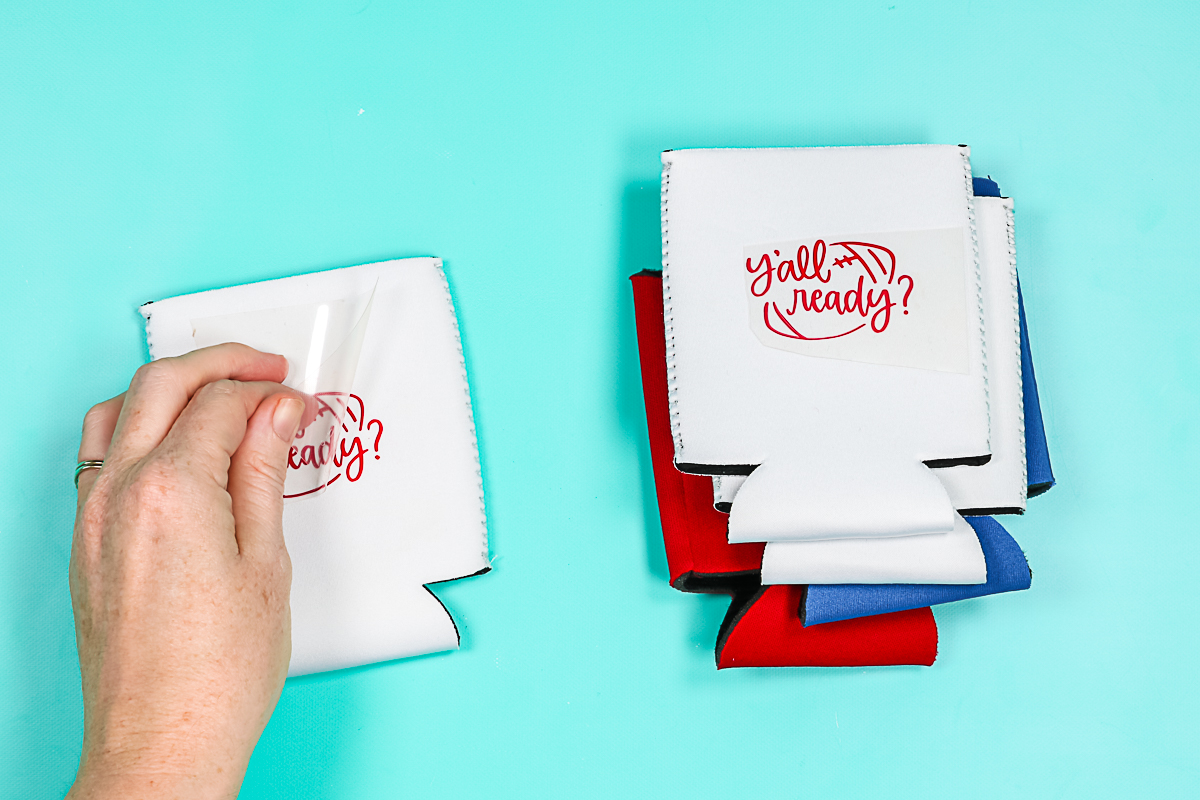
Can Koozies on the Cricut AutoPress
Next up, we have some can koozies. I’m adding iron-on to each of these can koozies, and I thought why not press them all at one time? I have this super large press. I might as well use the entire area. Plus that is a great way to use the Cricut AutoPress for small business. Here I’m pressing five can koozies all at once. Again, I preheated them for a few seconds and opened the AutoPress back up to add my iron-on. For these once again, I used 315 degrees for 30 seconds.
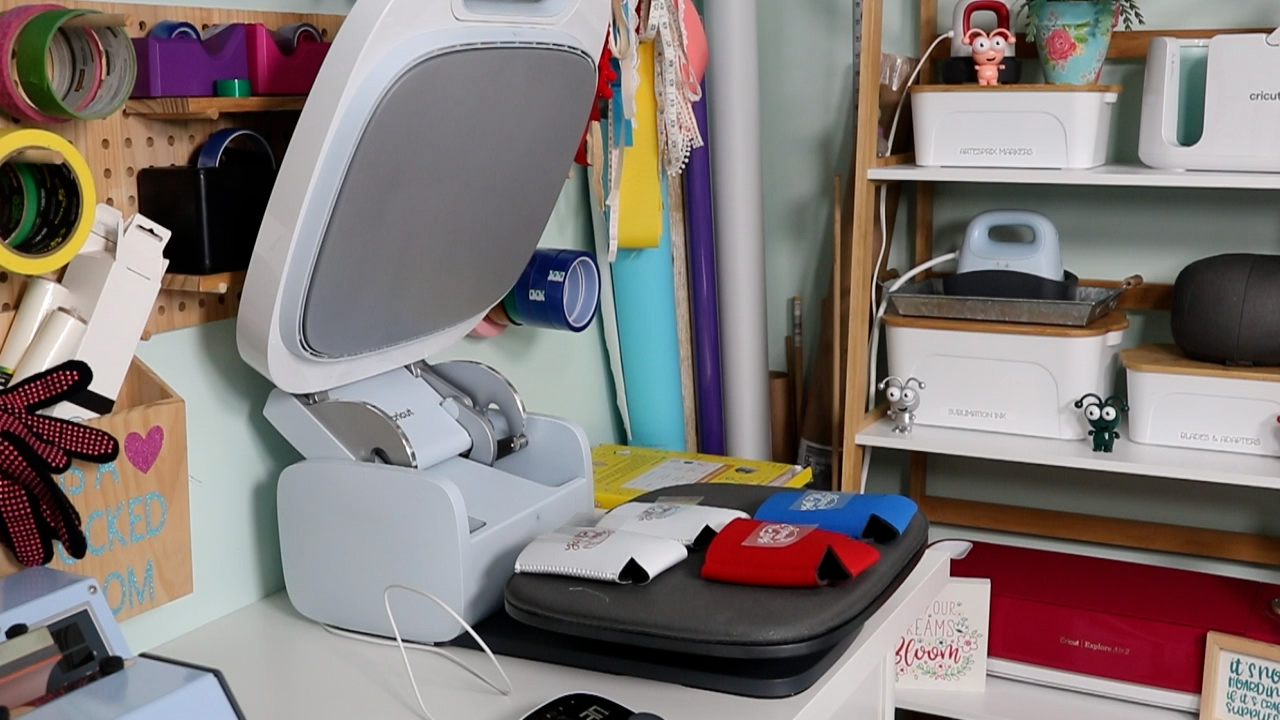
After pressing, the AutoPress popped up. I set the can koozies to the side to cool before removing the carrier sheet. I love that for multiple projects like these can koozies, I can press them all at once. Once they are cool, I peel back the carrier sheet from each of the can koozies and these are ready for a tailgate.
Tote Bags on the Cricut AutoPress
Next up are some tote bags. This is a layered iron-on design. I’m using 330 degrees for 30 seconds, because I’m using glitter iron-on as my final layer. First, I want to preheat the tote. Now, these totes have seams and they have handles. I went ahead and put an EasyPress mat on the inside of my tote, in order to raise that up a bit. I tried to hang my handles off of the side, so they would not interfere with my press. Then prepress for about five seconds, lift the press and add the first layer. In order to locate all my layers correctly, I placed all the layers on the tote bag and then removed everything except that first layer.
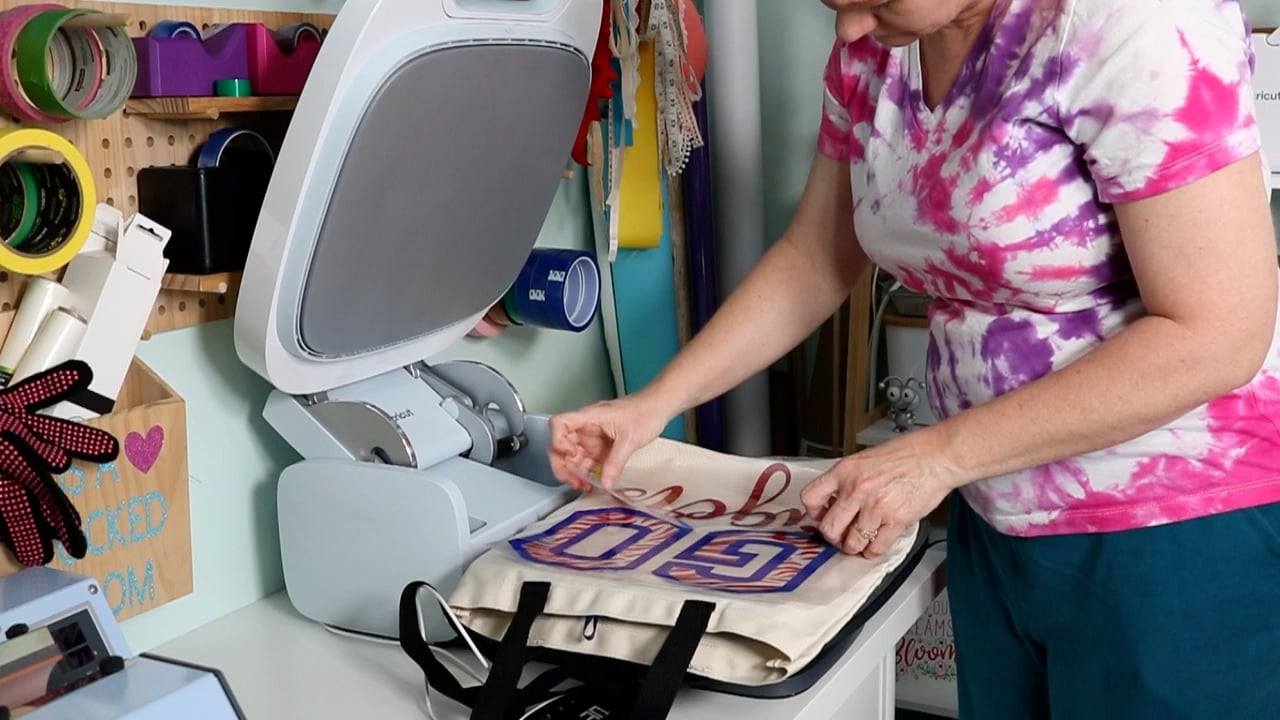
I pressed the first layer at 330 degrees for about 15 seconds, allowing it to cool for a few seconds. Then, peeled that carrier sheet back right on the AutoPress. I then added my second layer and pressed at 330 degrees for 15 seconds. This time the tote bag was super hot and there was no way that the carrier sheet was coming off. The beauty of adding that Easypress mat to the inside and having an extra mat is that I can add a second tote to the AutoPress repeating the same procedure for the first two layers.
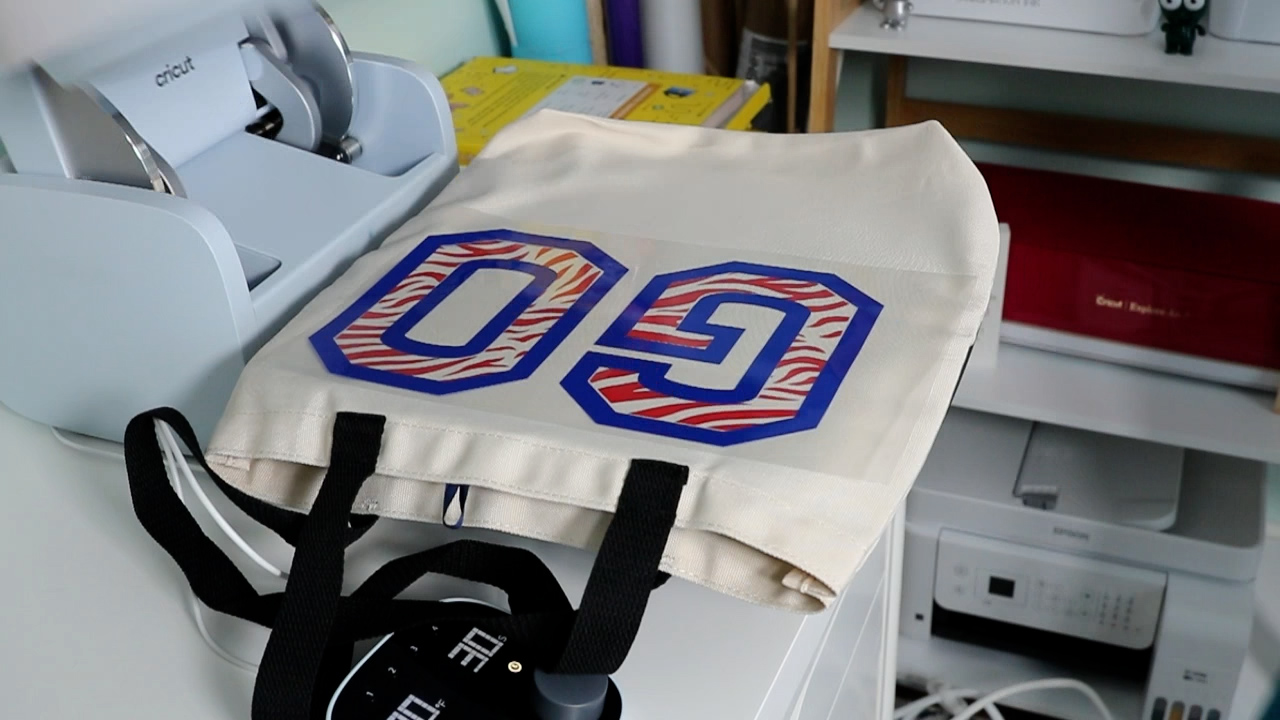
Then, I could remove that tote and add my third layer to the first tote that I pressed. I just peeled up the carrier sheet of that second layer enough to add the third layer, which overlaps the other two slightly. Then, I put that carrier sheet back down so that all of my iron-on was covered and pressed at 330 degrees for the full 30 seconds.
Once that press was done, I removed the entire tote from the AutoPress and set it aside to cool. With multiple AutoPress mats or Easypress mats, you can easily prep projects like this outside of the AutoPress and move them over to the AutoPress when you’re ready. Once these totes are cool, I just peeled back the carrier sheet from all three layers and these are ready to go.

Coasters in the Cricut AutoPress
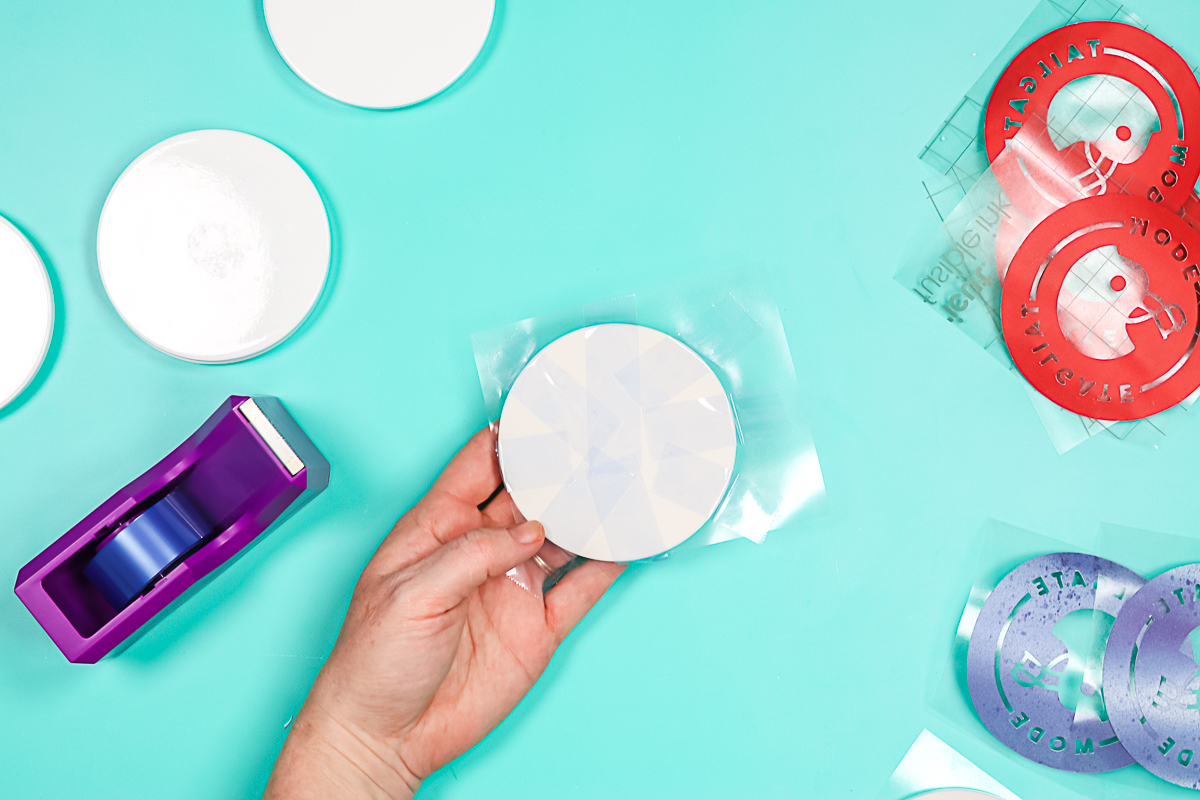
Finally, I wanted to add an Infusible Ink project to this with some ceramic coasters. First, you want to lint roll your ceramic coaster. Then, add your weeded Infusible Ink design to the glossy side of the coaster. Tape it down really well with some heat-resistant tape.
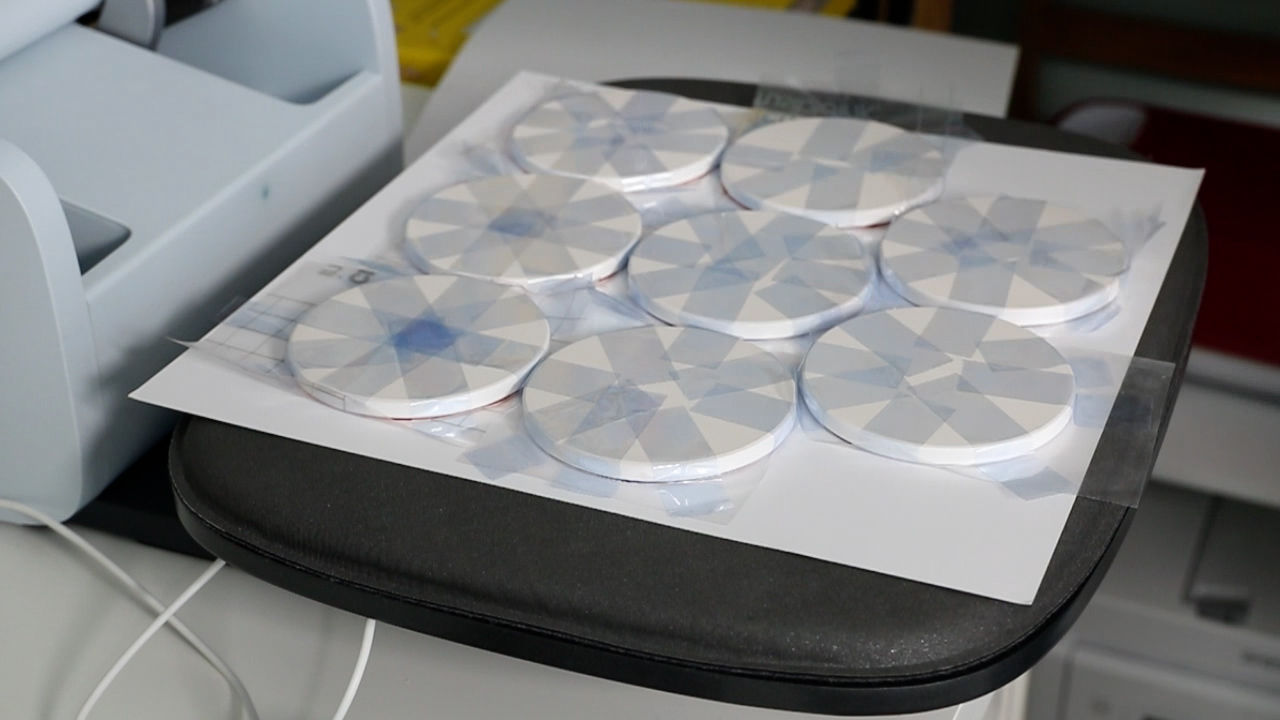
These are ready to add to the AutoPress. To add them to the AutoPress, I added a piece of white cardstock over my AutoPress mat. I put the coasters with the Infusible Ink side down, put a sheet of butcher paper over the top, then pressed at 400 degrees for 240 seconds. As you can see, I was able to fit eight coasters inside the AutoPress.
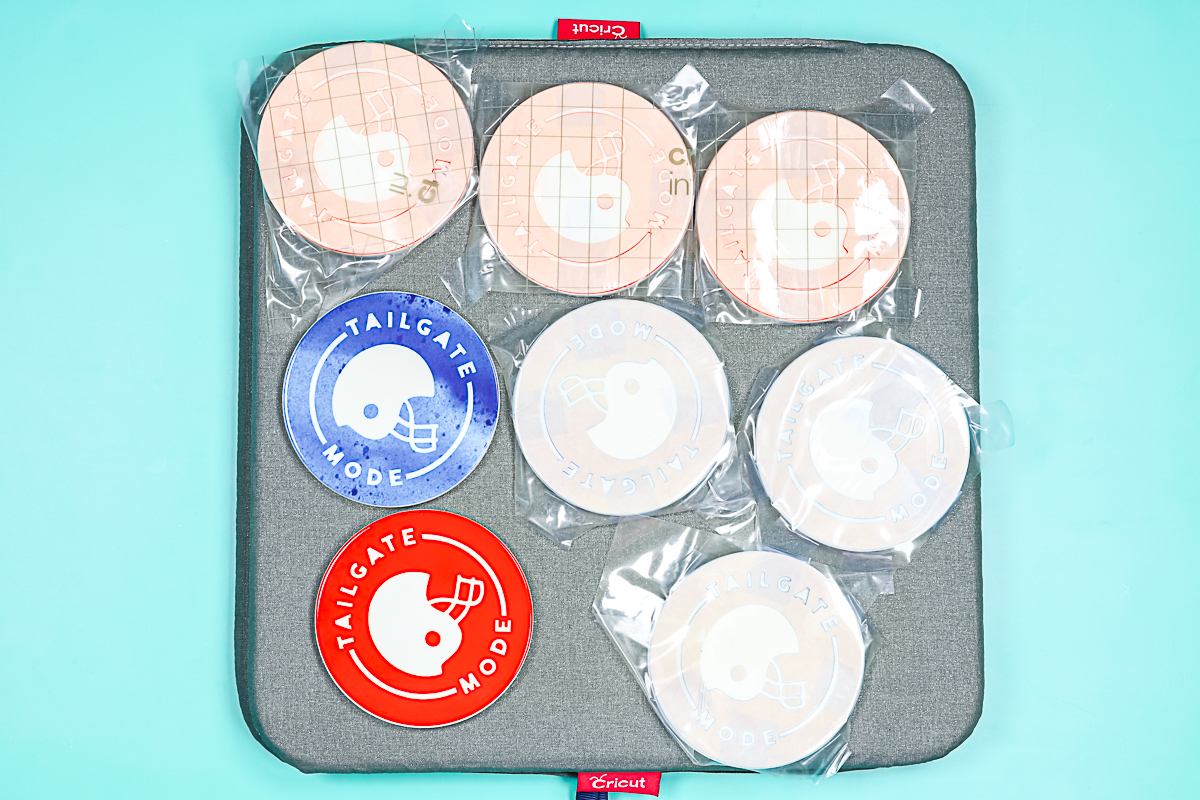
Again, with the larger size of the AutoPress, it makes it super convenient when you’re doing multiple small pieces, as you can put them all in the AutoPress at one time. Once the time was up, I was able to remove the coasters with some heat-resistant gloves. These will be extremely hot. You’ll want to let them cool for several minutes before even attempting to remove the Infusible Ink sheet. I let them cool for about five to 10 minutes, and then I peeled back the infusible ink sheet from each one.
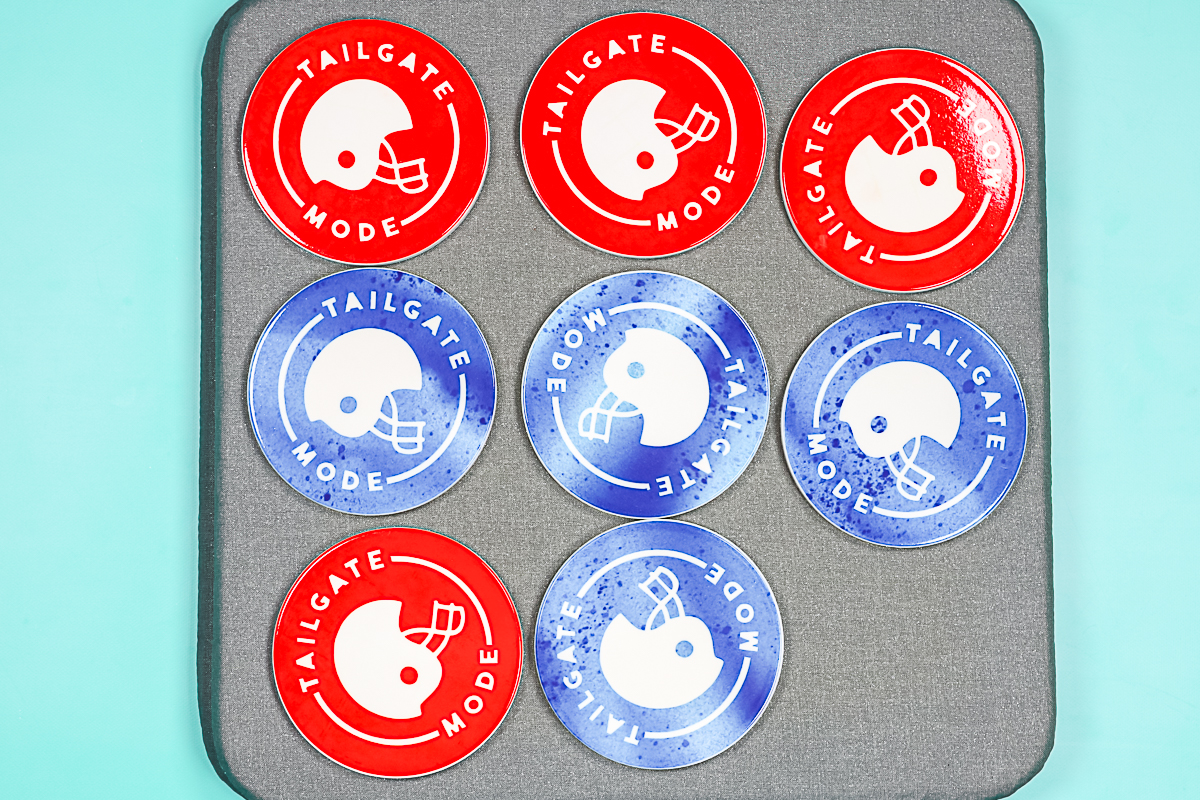
These coasters look stunning. I love using the Infusible Ink sheets with watercolor patterns for coasters!
Is the Cricut AutoPress for Small Business?
Within a few minutes with my AutoPress, I have tons of things for a fundraiser. This is just one example of using your AutoPress for projects where you need multiples of something. Here are a few things that I found good for small businesses:
- The shirts were super easy to make multiples of at one time. I love the way the AutoPress automatically pops up. That allows me to prep that iron-on separately while the press is operating.
- On something like the can koozies or even the coasters, I loved the large surface and being able to press all of those at one time. Making multiple pieces with one press is something that is quick and easy.
- With something like the totes where I was doing a layered design and I needed to let those cool between presses, I was able to use multiple mats in order to move them in and out of the AutoPress easily. You can use multiple EasyPree mats like I did or you could use multiple AutoPress mats because you can purchase the mat separately. Either way, I would encourage you to have multiple mats to help to batch projects.
Hopefully, this helps and gives you a look at how to make lots of things with the AutoPress all at one time! Is the Cricut AutoPress for small business? I really do think it is! The features of the press will increase your production and allow you to produce more products in less time.
So, will you be adding the new Cricut heat press to your wishlist? You might want to consider the Cricut AutoPress for small business. I think you may find it allows you to make more products with its unique features and larger size.