This post and photos may contain Amazon or other affiliate links. If you purchase something through any link, I may receive a small commission at no extra charge to you. Any supplies used may be given to me free of charge, however, all projects and opinions are my own.
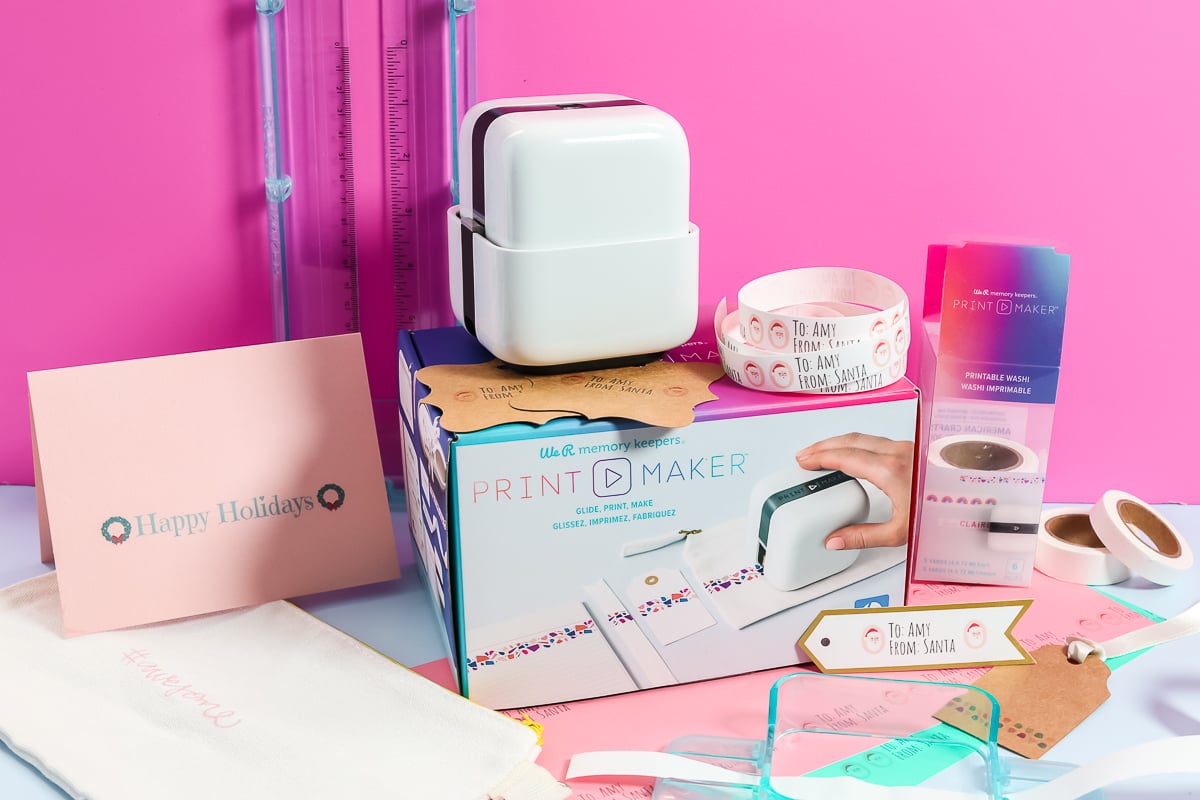
Thinking about buying the We R Memory Keepers Printmaker? Well, I have all of the details that you need to know below. Does it work as advertised? Is it worth the cost? What extra costs will you have after purchasing? This review is completely upsponsored and my honest opinion as well as experience with the machine. Let’s see what all the PrintMaker can do and can’t do and decide if it’s worth it for your craft room.
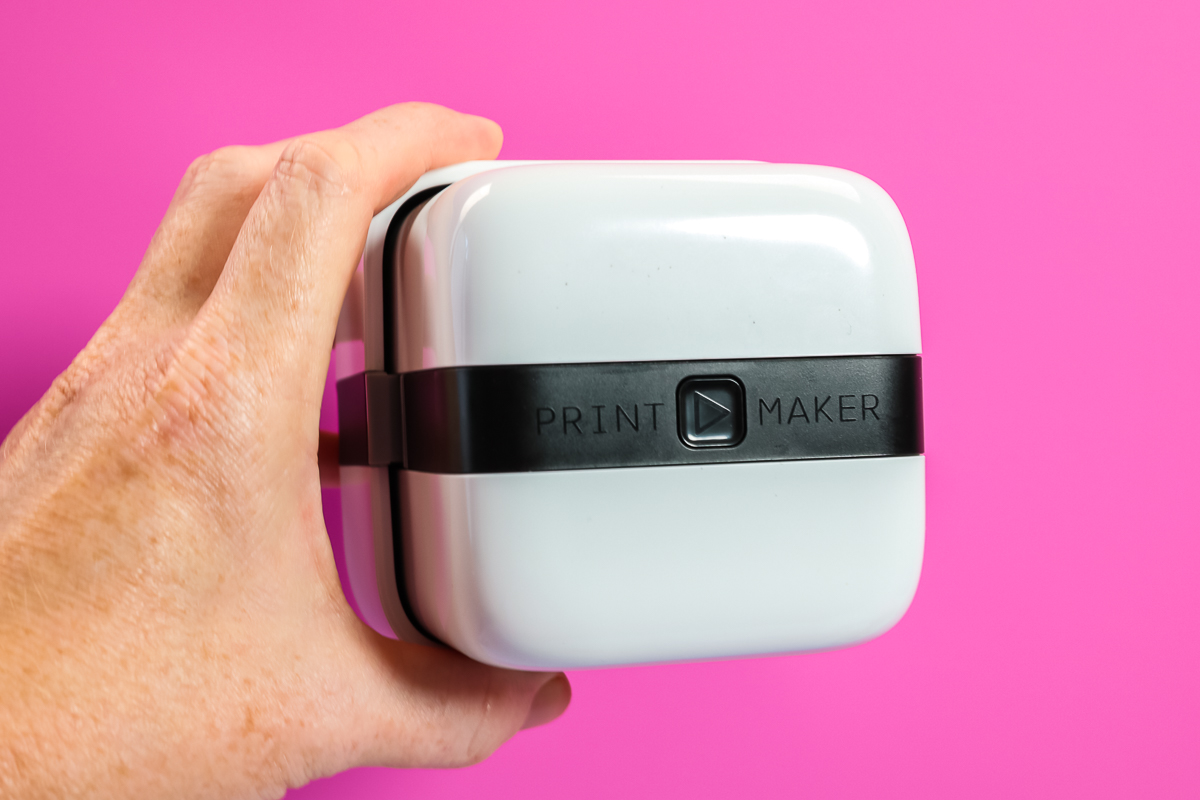
We R Memory Keepers PrintMaker
If you want to see the WRMK PrinterMaker in action, just click play on the video below. You can watch me set up as well as print with this little machine.
Can’t watch the video or miss some of the information? You can also follow along below as I walk through the details.
Supplies Used
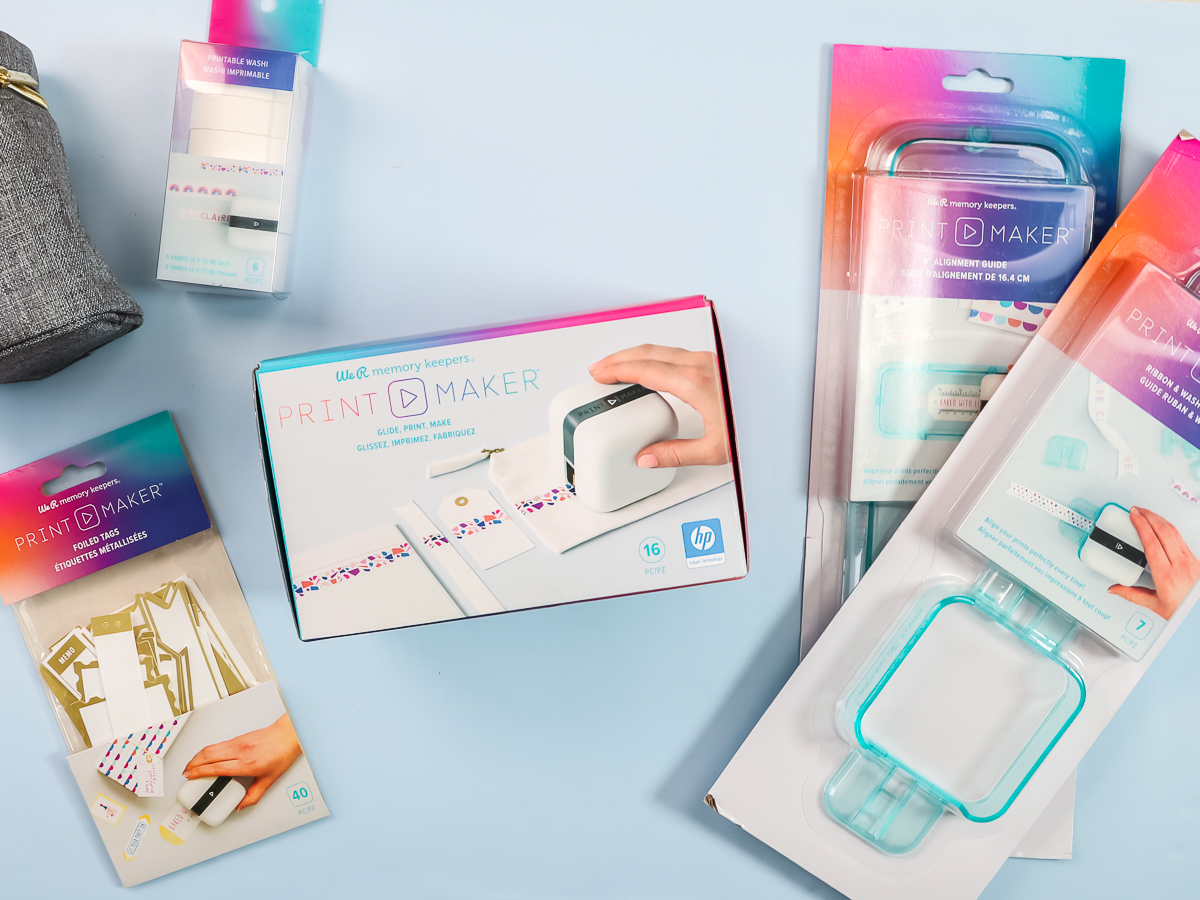
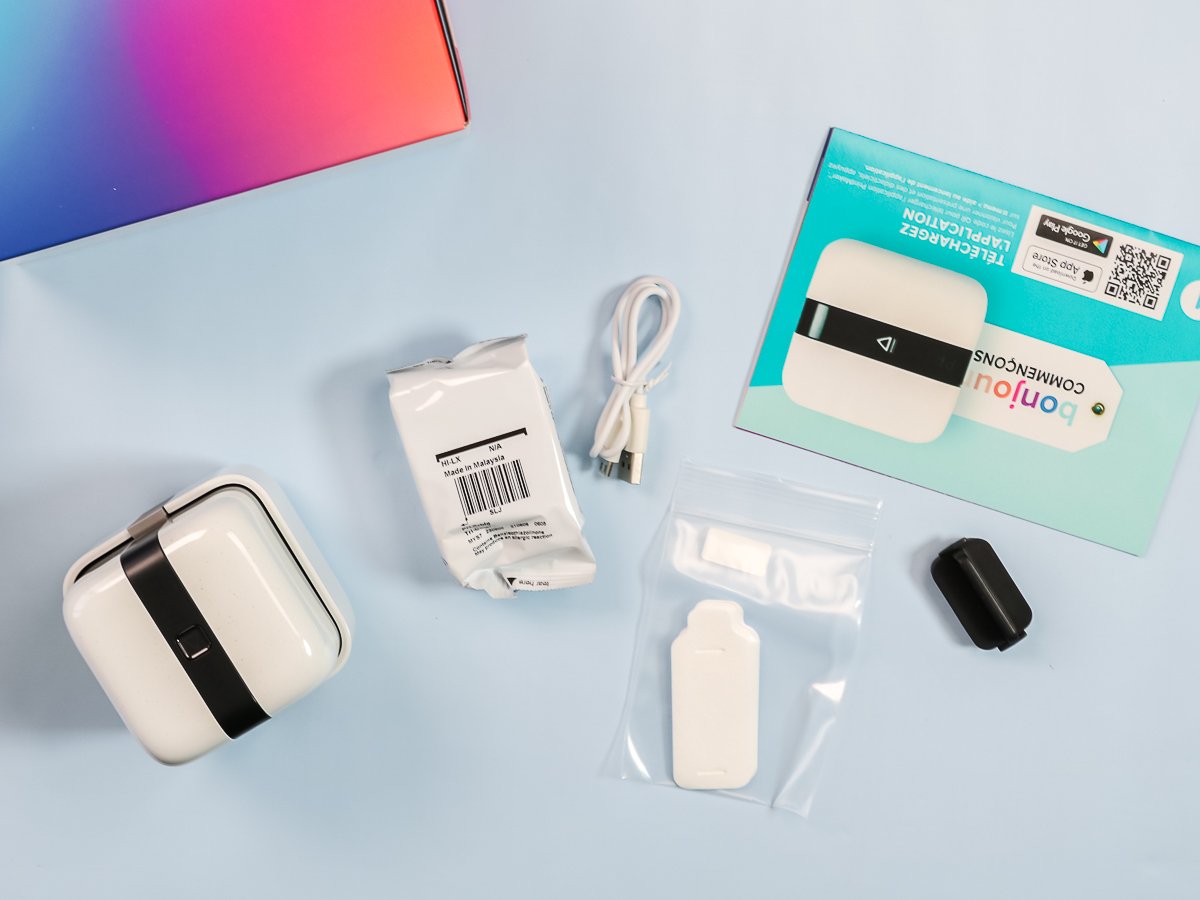
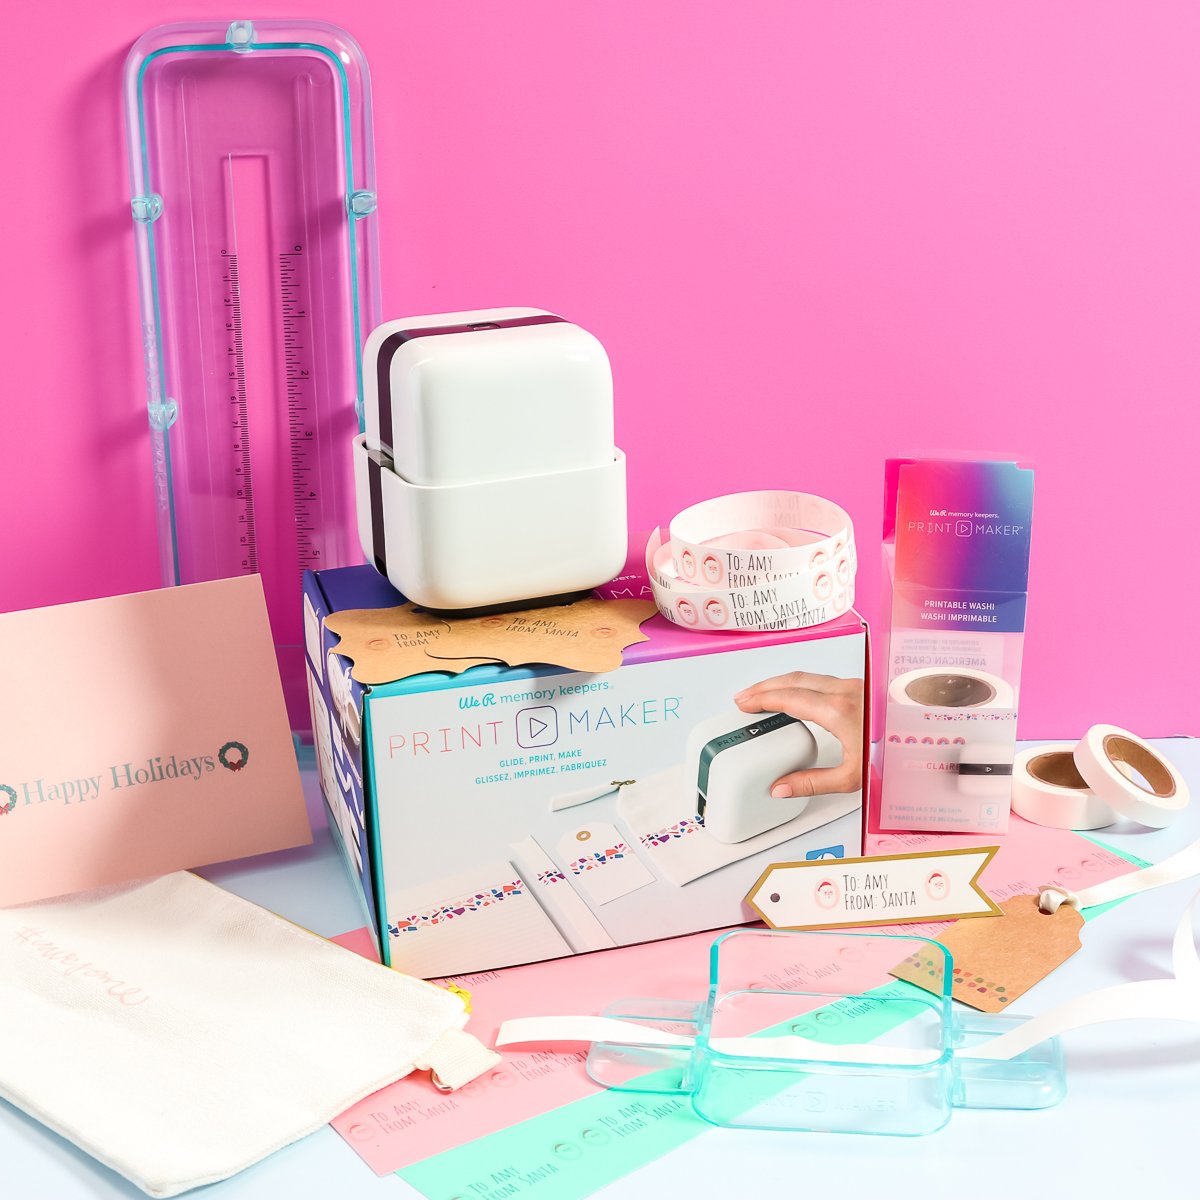
What is in the Box
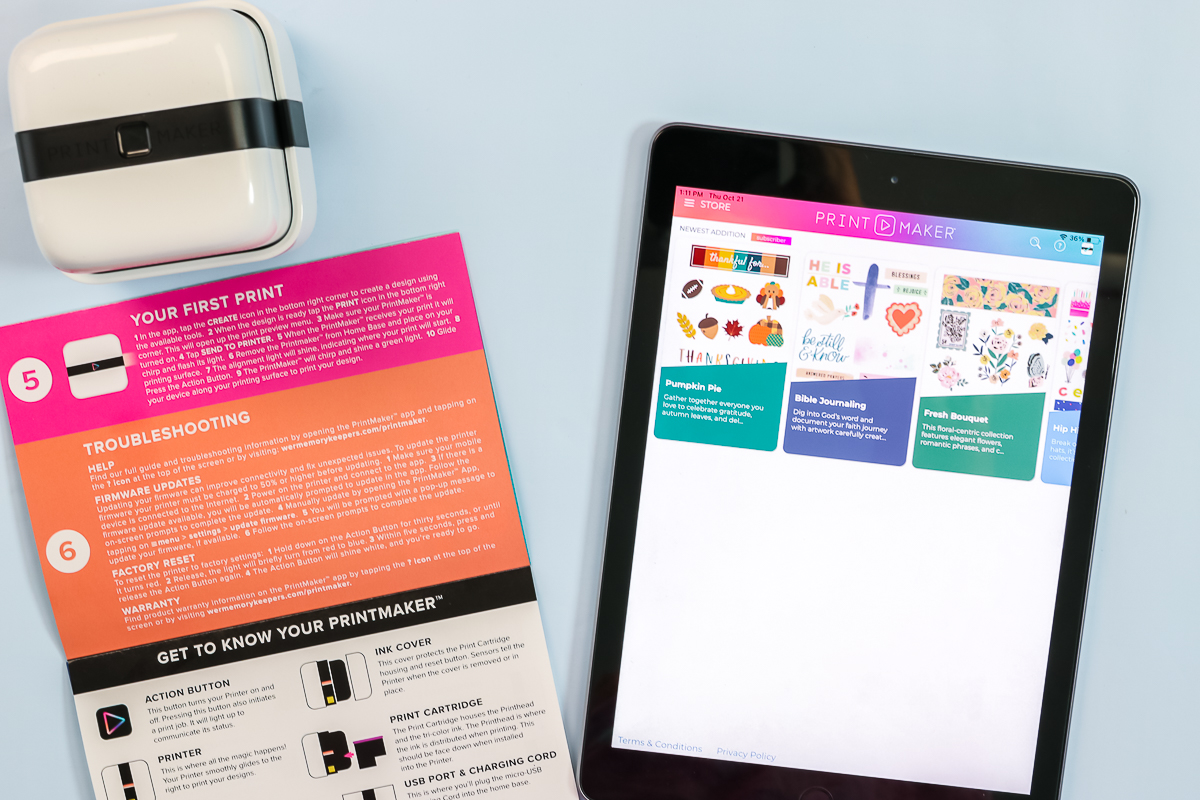
You open up the box and there are instructions on the inside of the box lid. There are also some instructions within a booklet that is right on top. Then there is the PrintMaker itself, an ink cartridge, charging cord, sponge pad, and disposable ink wipes.
We R Memory Keepers PrintMaker Setup
First, you will need to get your printer set up for use. Follow the instructions below to do that.
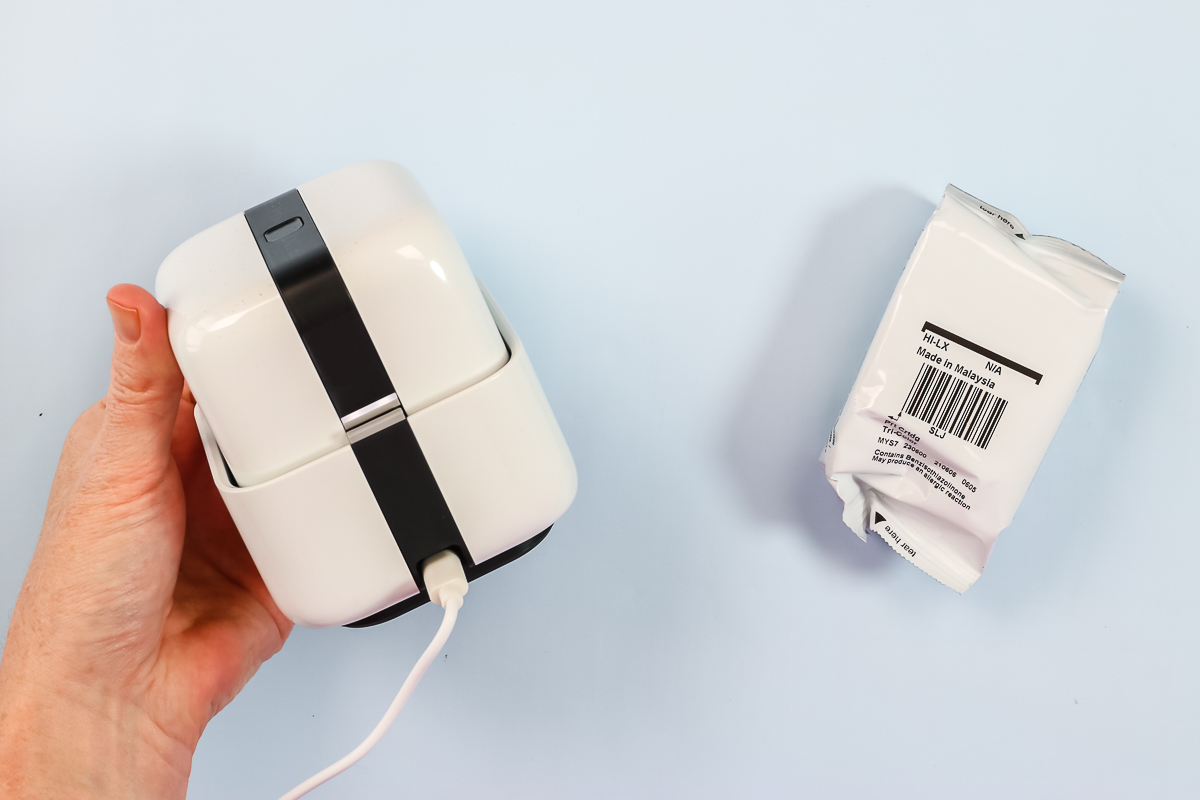
Charging the Printmaker
The first thing you’ll need to do is charge the PrintMaker. It does come with a power cord. However, it is a USB end. Just plug the charging port into the side. The light will turn amber to indicate that it’s charging.
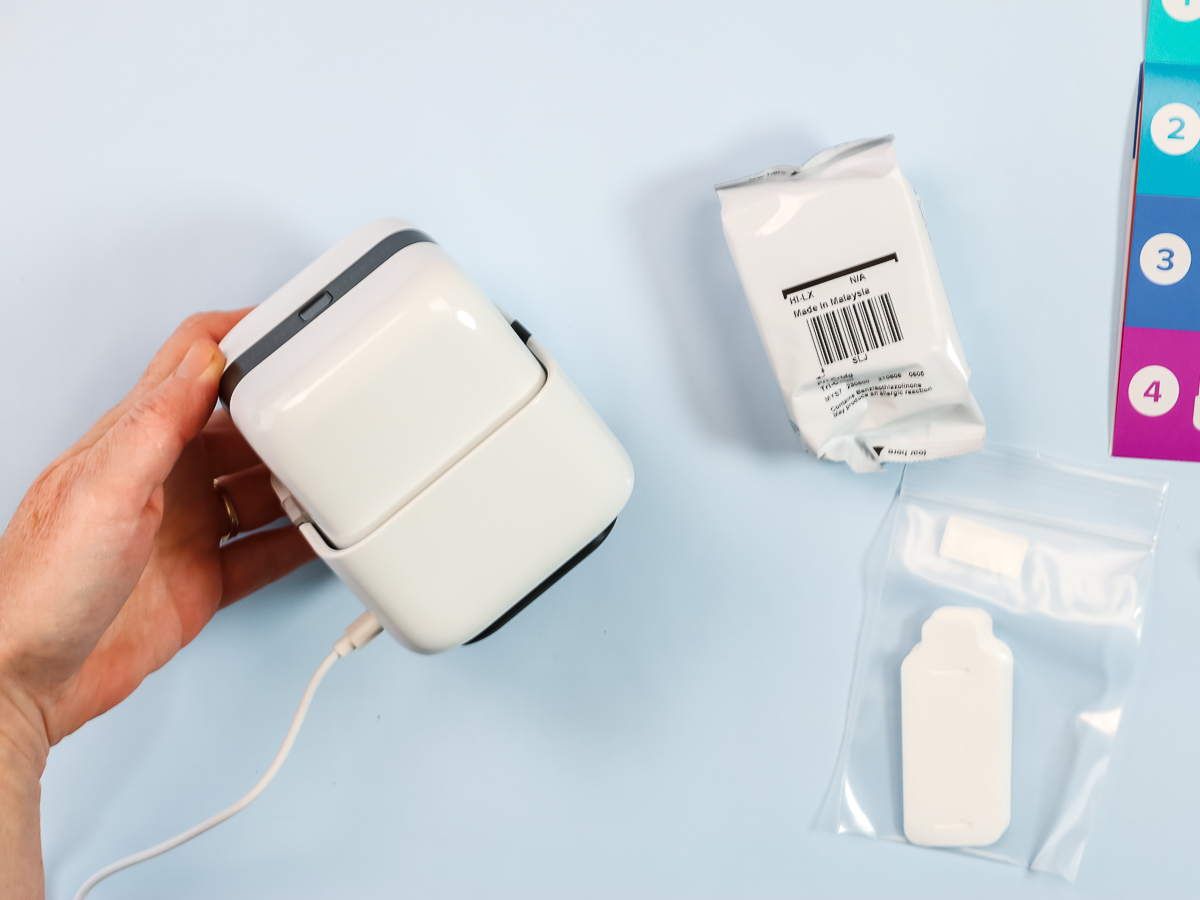
It’ll take about 60 to 90 minutes and then the light will turn white and we’ll be ready to go.
Installing the Ink Cartridge
The instruction sheet that comes with the PrintMaker does give instructions for changing the ink cartridge. Unlock it from the base by twisting the bottom and then you can remove the PrintMaker. The lock on this base bottom locks and unlocks the PrintMaker from the base itself so you can lock it into place with this feature.
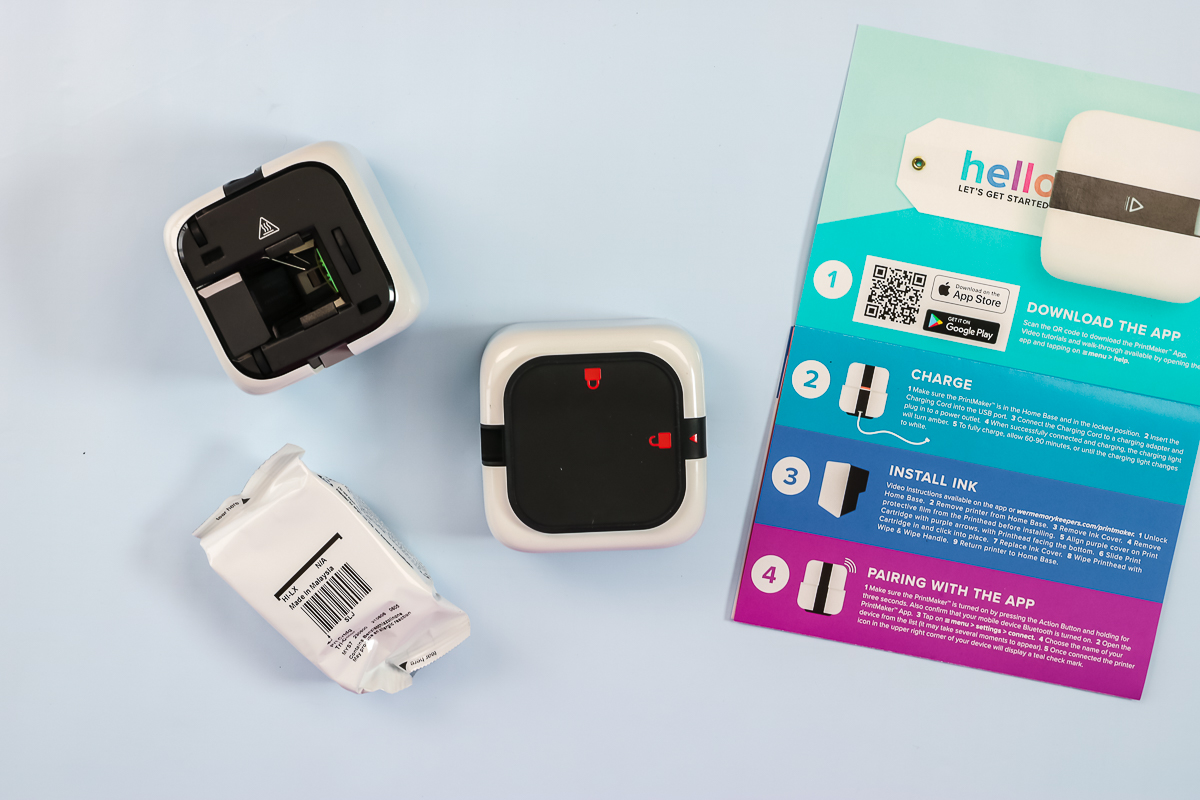
Once the PrintMaker is off the base, you actually just pull the cover off. This is where your printing cartridge goes.
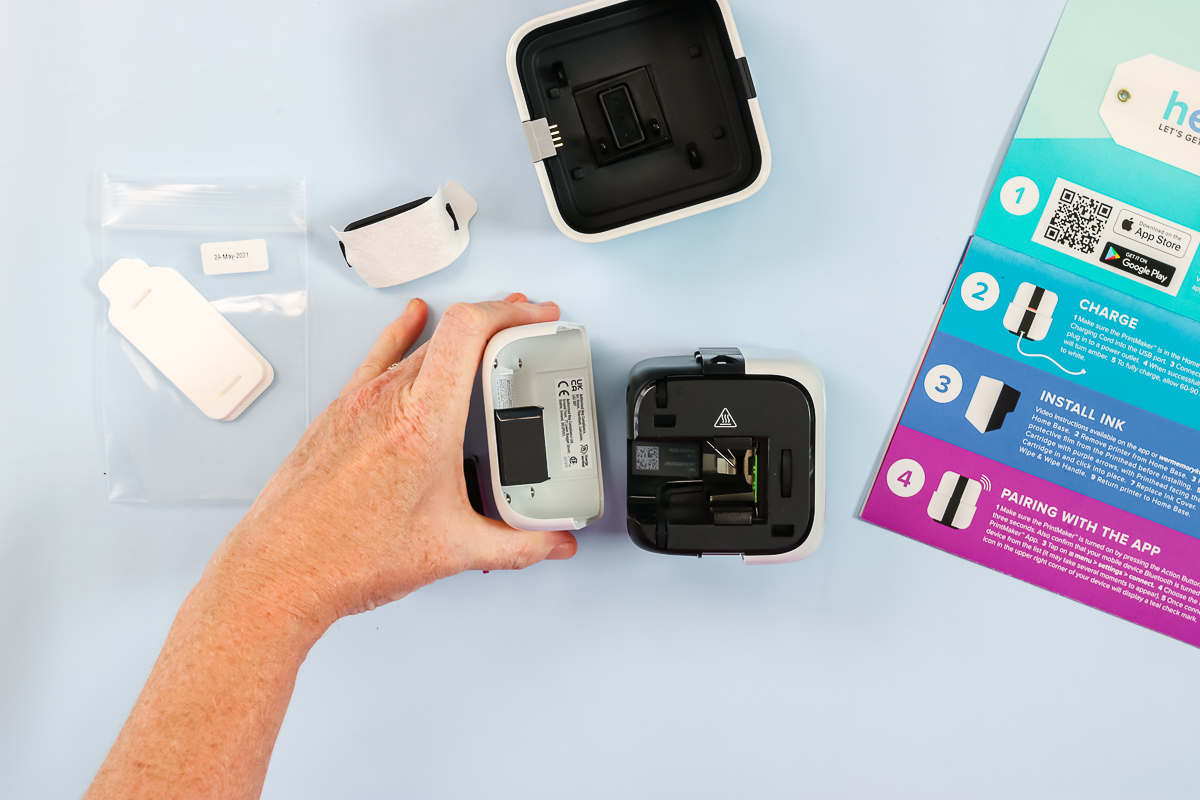
On the cartridge itself, you’ll want to remove the protective cover or film and discard that. Then on the PrintMaker, there are purple arrows. Line up the cartridge with the purple arrows and push it into place and you’ll hear it snap. Then, it’s ready for you to add the cover back on and snap that into place.

NOTE: Always return the PrintMaker to the base when not in use and for storage.
Cleaning the Printhead
Add one of the cleaning swabs that comes with the print maker to the sponge that is also in the package. This is what you clean the printhead with. You’ll just want to wipe across print head affew times to clean. You can see the ink on mine in the image below. Now this printer is ready to go!
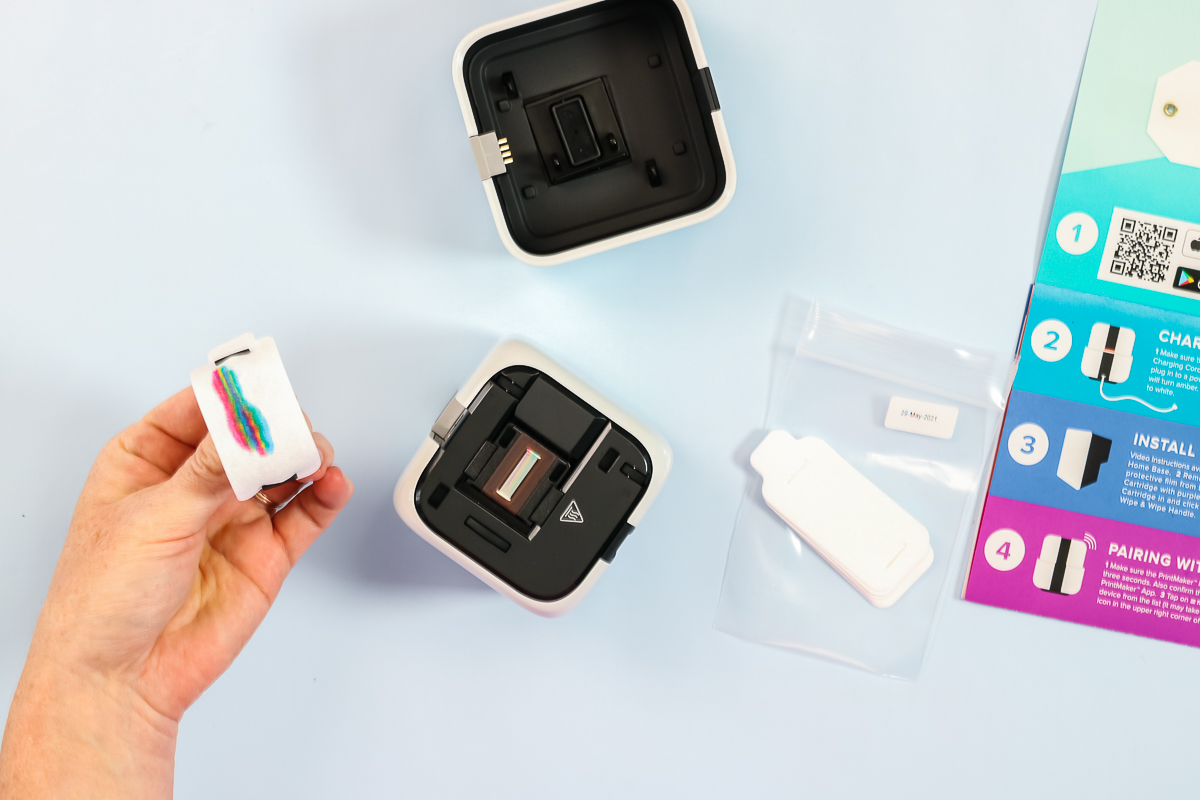
How Wide Can You Print?
You can see the printhead in the photo above. That is as wide as you can print on any surface. There are definitely width limitations with the We R Memory Keepers PrintMaker. Keep this in mind as you are thinking about if to buy this machine and what you can make.
WRMK PrintMaker App
Before we dive into the We R Memory Keepers PrintMaker app and using it to create designs, I want to say that this is not a full tutorial on how to use the app. I’m just going to give you a brief overview. You can find the app setup as well as a little about how to use it below.
WRMK PrintMaker Compatible Devices
To operate your printer, you will need an app. The app itself is only for iPad, iPhone, and Android phones. They don’t have an application for Android tablets as of this writing. Apparently, you can design on PC, but you can’t actually print to the PrintMaker with PC. I recommend you have an iPhone, an iPad, or an Android phone before even purchasing the We R Memory Keepers PrintMaker so you can use this to its fullest ability.
Connecting the Printmaker
There will be instructions right in the app for connecting your PrintMaker. Turn the PrintMaker on by pressing the button on the top for about three seconds. Then connect via Bluetooth using the app. My app found the PrintMaker right away. You should end up with the app saying it is connected to the PrintMaker on the screen.
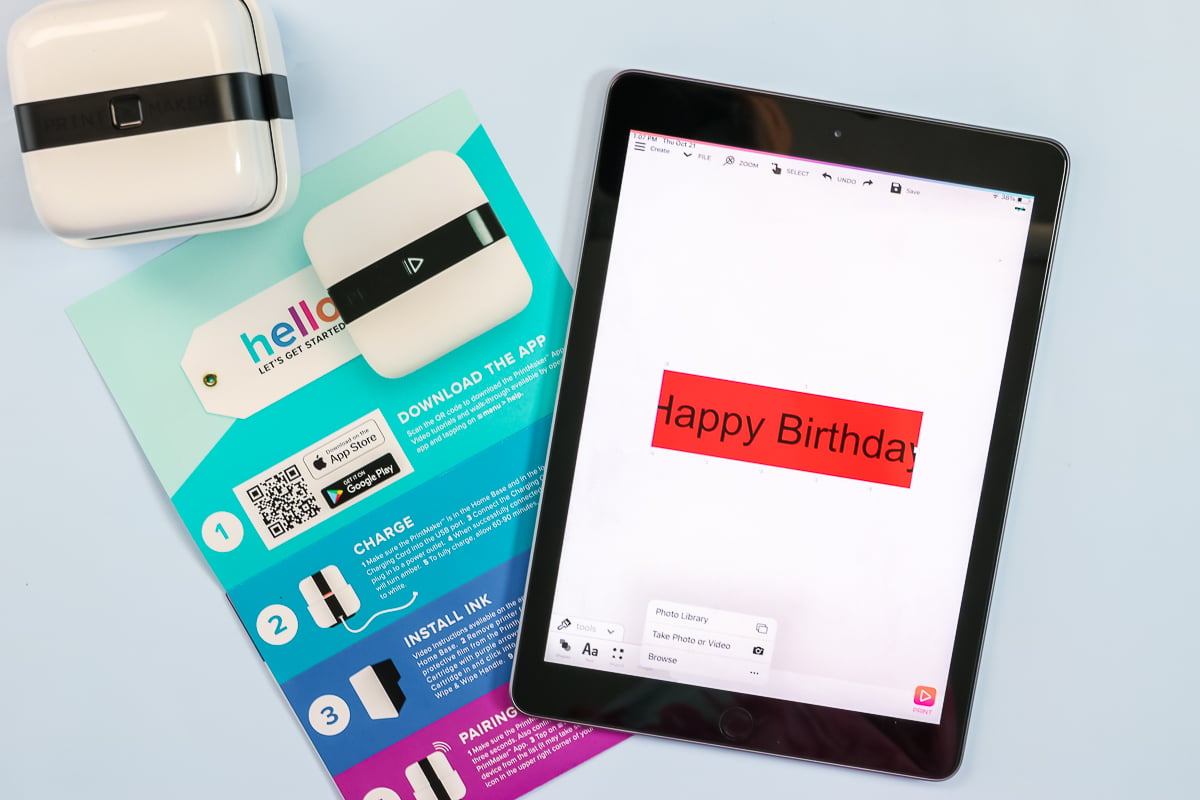
Designing in the App
Here are a few things you can do in the app for making your own designs.
- There are shapes you can add and use for your designs.
- You can also add text right in the app. The fonts that are on my iPad are all available within the app.
- You can also fill your canvas with various colors.
- You can import images from your photo library.
- There are several things to play around with and try to create designs for your projects.
My PrintMaker also came with a code and I could get access to the store for a year for free. You just go to Store on your app and enter your code. Now I have access to tons of different designs that I can use with the We R Memory Keepers PrintMaker to print. I am going to print some of these for my example pieces. You can upload your own designs, and you definitely don’t have to pay the fee. If you do pay, it’s like $30 a year.
App Issues
I will also say that for me, the app was super glitchy. If you’re having trouble with the app, I had to force restart it anytime I was having trouble. I found that cleared things out and I was able to use the PrintMaker correctly after doing that. If you’re having trouble with it printing incorrectly or the display isn’t working, just force closed the app. As you can tell, I wasn’t too impressed with the app itself and the interface, but I powered through and made some projects.
Printing with the WRMK PrintMaker
Now that you have your printer setup and the app installed, it is time to print on some things! I tried a variety of surfaces so you can see just how this machine works.
Printing on Paper
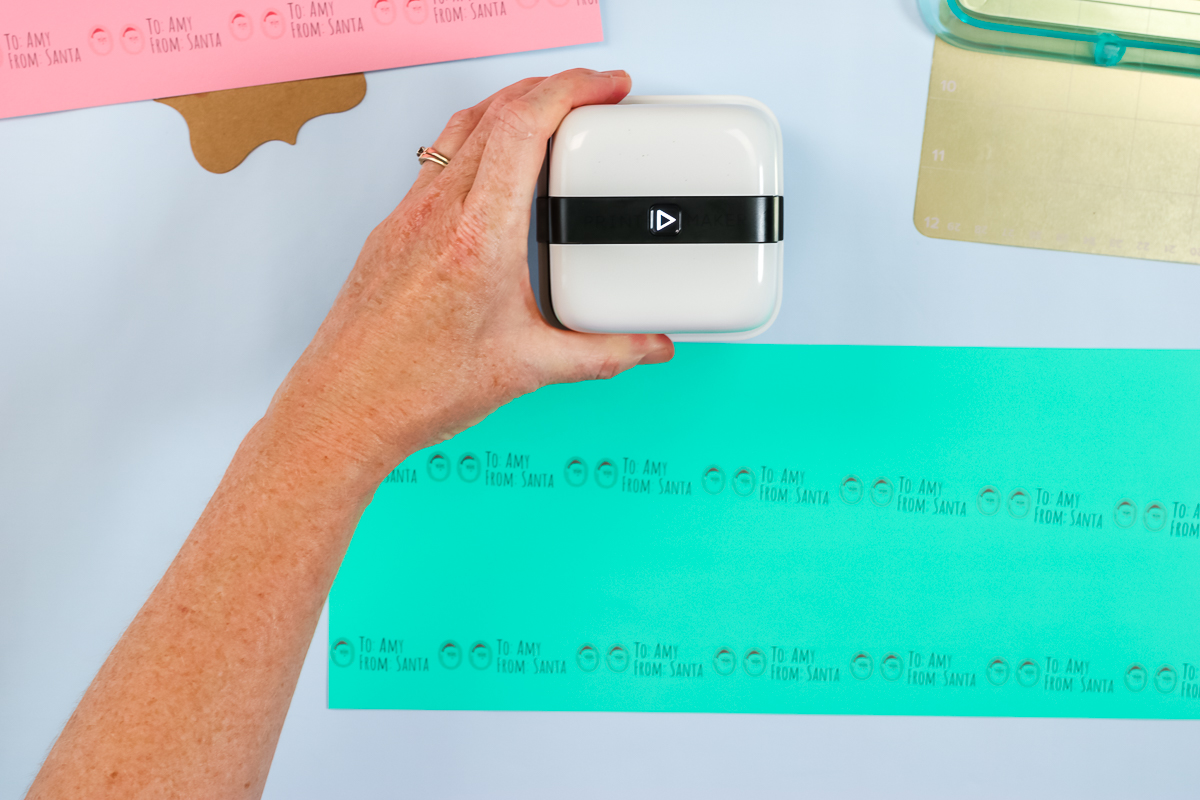
I have a file designed and I’m going to click “print” on the app. You can tell the machine whether you want it to print one time, two times, or an infinite number of times. I’m going to tell it an infinite number of times, and we’re going to run it across some paper without any guides.
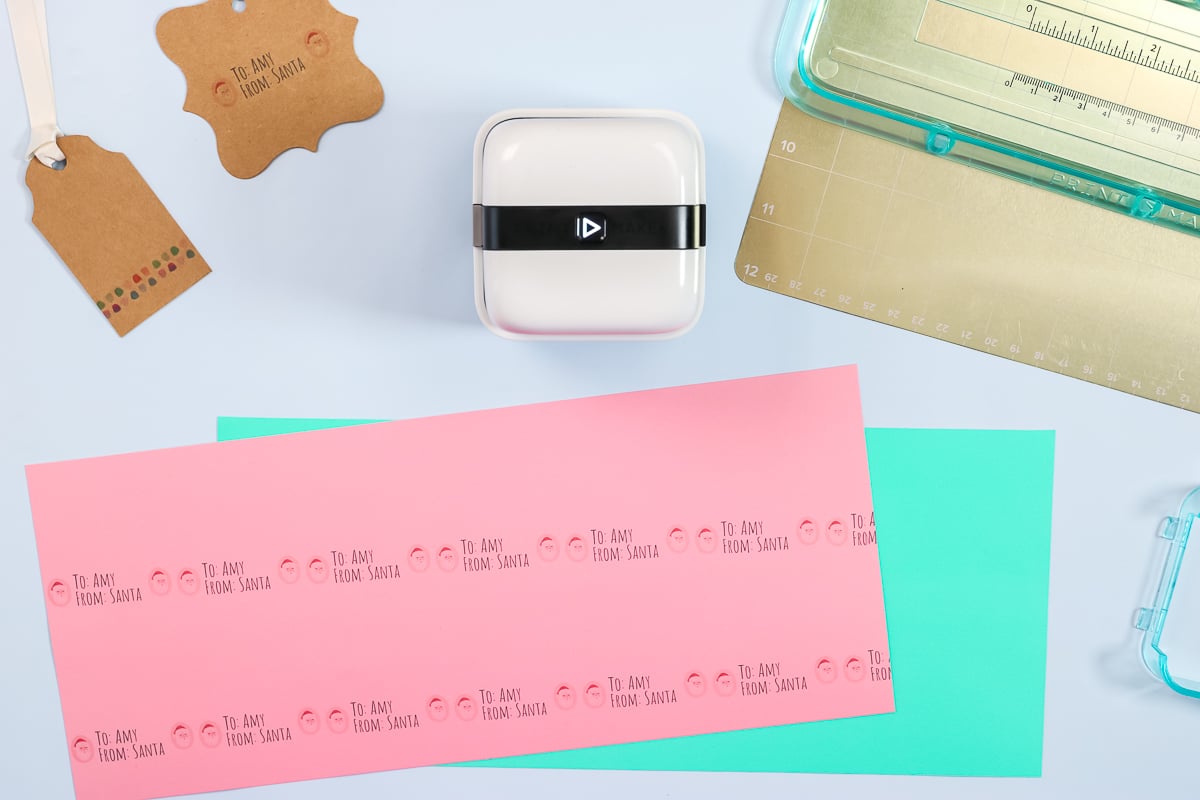
Once you pick an infinite number of times, you click “send to printer”. When you do that, the PrintMaker will beep and the light will start flashing. You need to wait for it to beep a second time. Once it beeps a second time, the PrintMaker is ready and your design is loaded. When you get the PrintMaker out of the base, you can see that it shines a light. This box is where your printing will start on whatever object you’re printing on top of. I’m going to line that up with the edge of this paper.
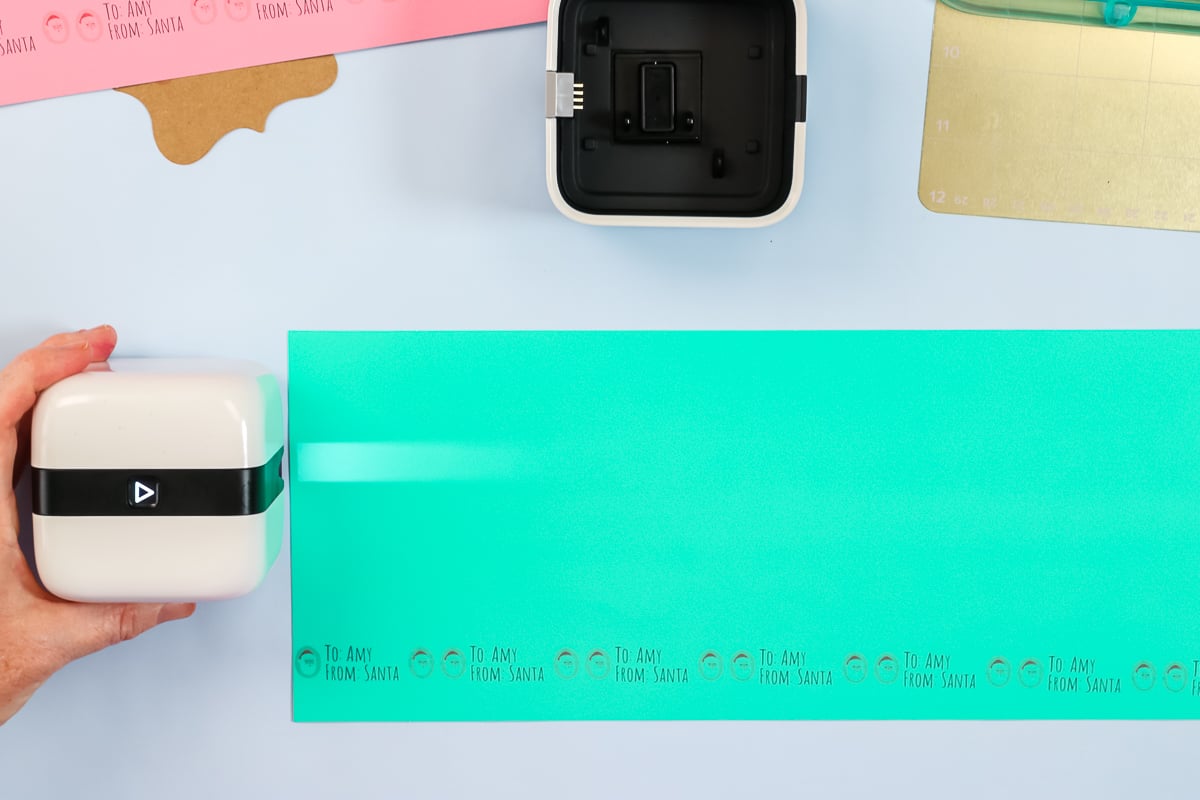
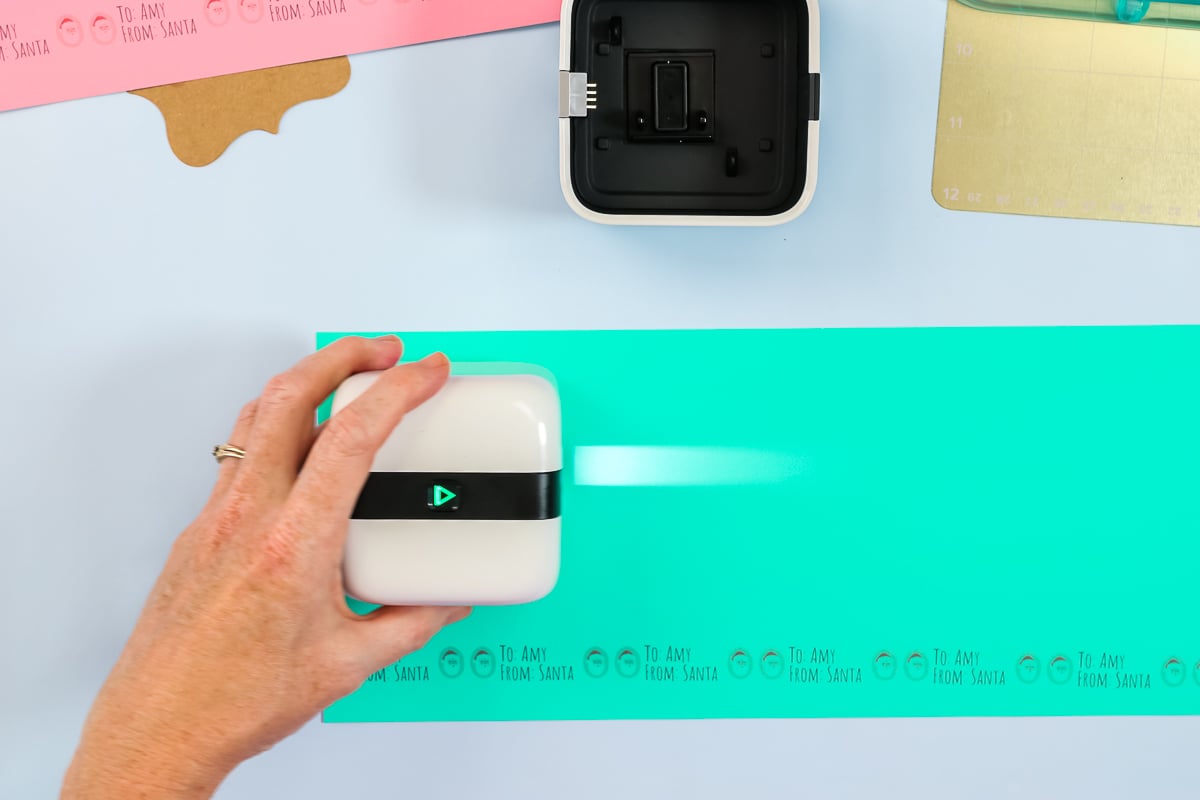
I’m making sure the light is straight with the bottom of my paper. Once I have my light lined up and I think it’s straight, I can just press the button on top of the PrintMaker. Once that light turns green, the PrintMaker is ready. Then we just move it across the paper at a consistent speed and it prints our design.
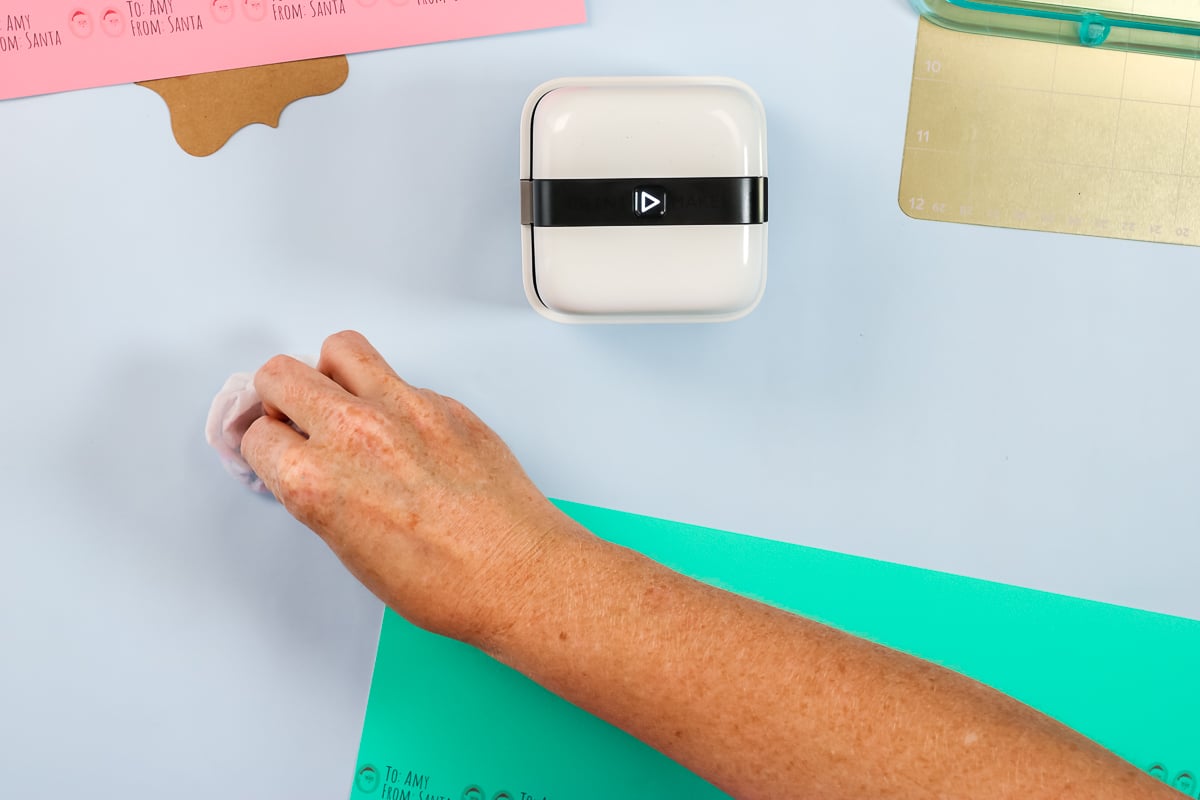
Once you are done printing, return the We R Memory Keepers PrintMaker to the base to stop the printing process.
I went over the sides a little onto my work surface and just cleaned that up with a wet wipe before it dried.
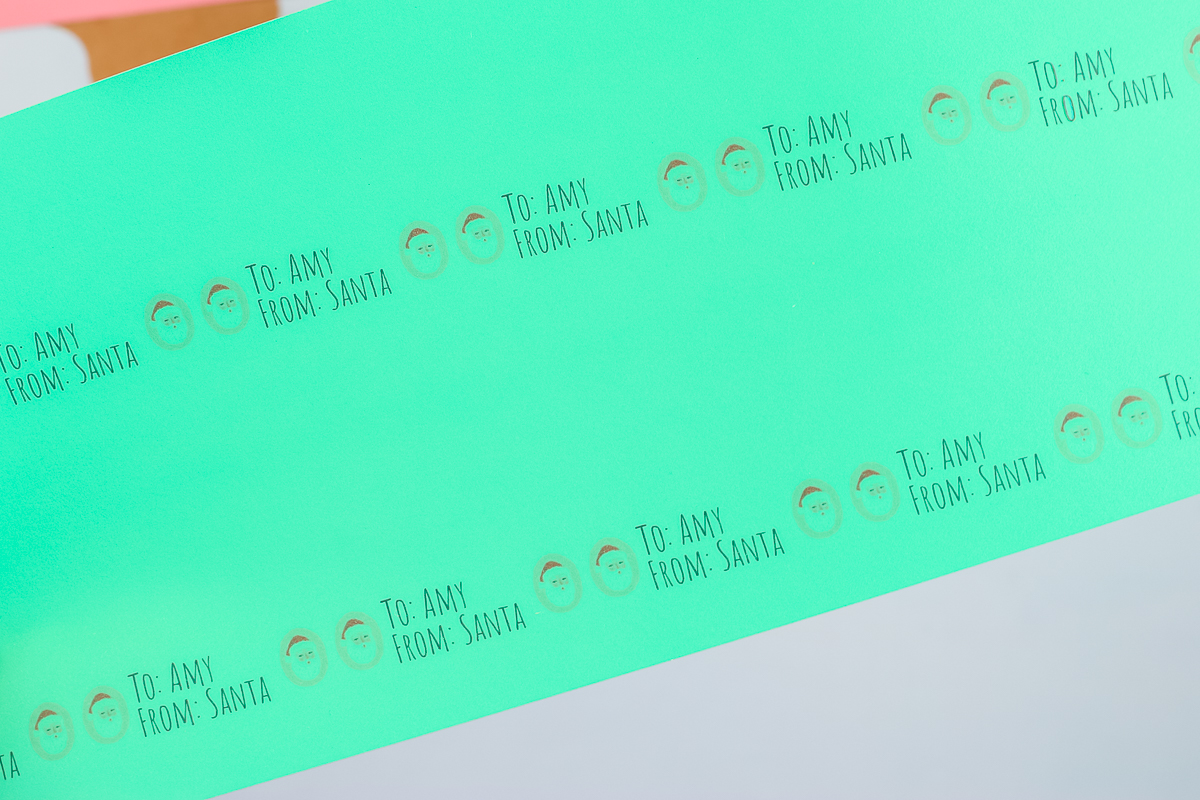
Now you can take a closer look at that PrintMaker printing, and you might even be able to tell that I didn’t get it very straight. It is very hard to line up when you are printing on the paper freehand without any guides. The print quality on something like paper is pretty good.
Printing on Washi Tape or Ribbon
Next, let’s talk about printing on washi tape or ribbon. This guide helps you do that. It comes with different attachments for different sizes. I’m going to use the 15 millimeter attachment on both sides and I’m going to print on this washi tape. The washi tape is from We R Memory Keepers and it has a backer on it so that I can peel and stick it after I print it.
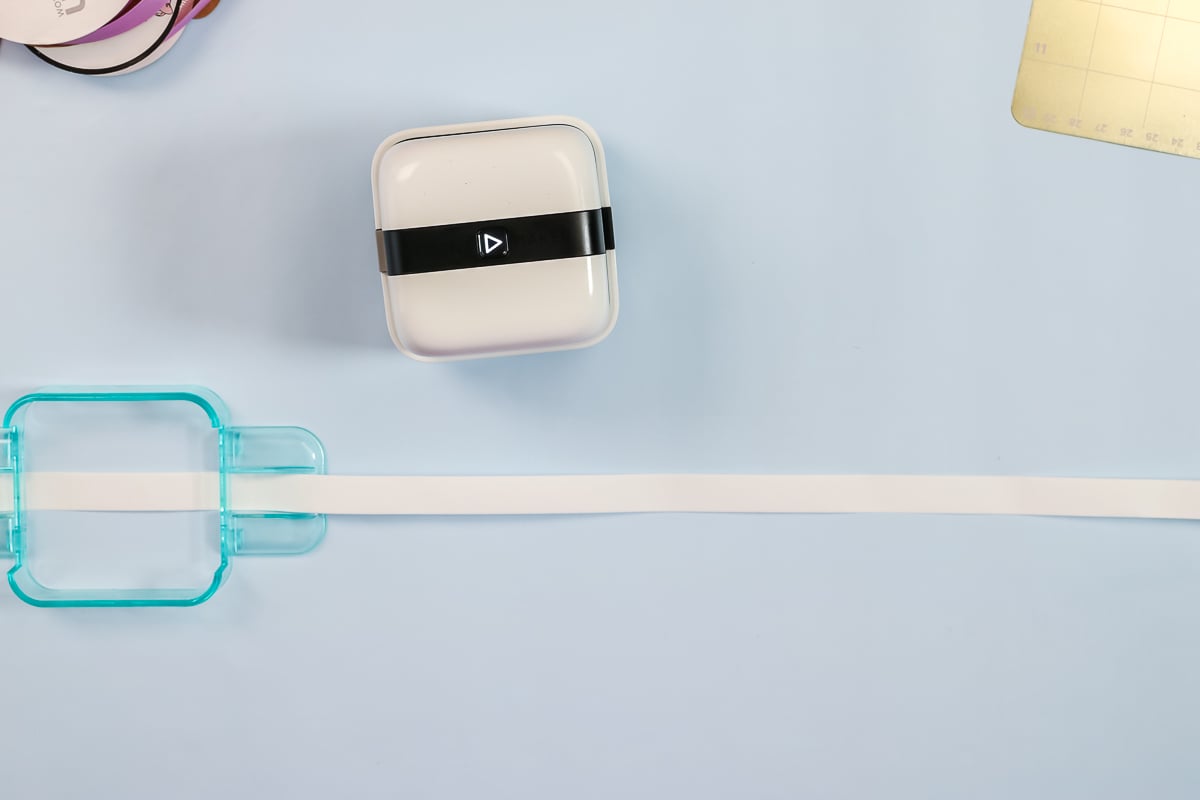
You want to stretch your washi tape or ribbon across your work surface. Then set the PrintMaker onto the guide. Again, wherever the light is, that is where it will start printing.
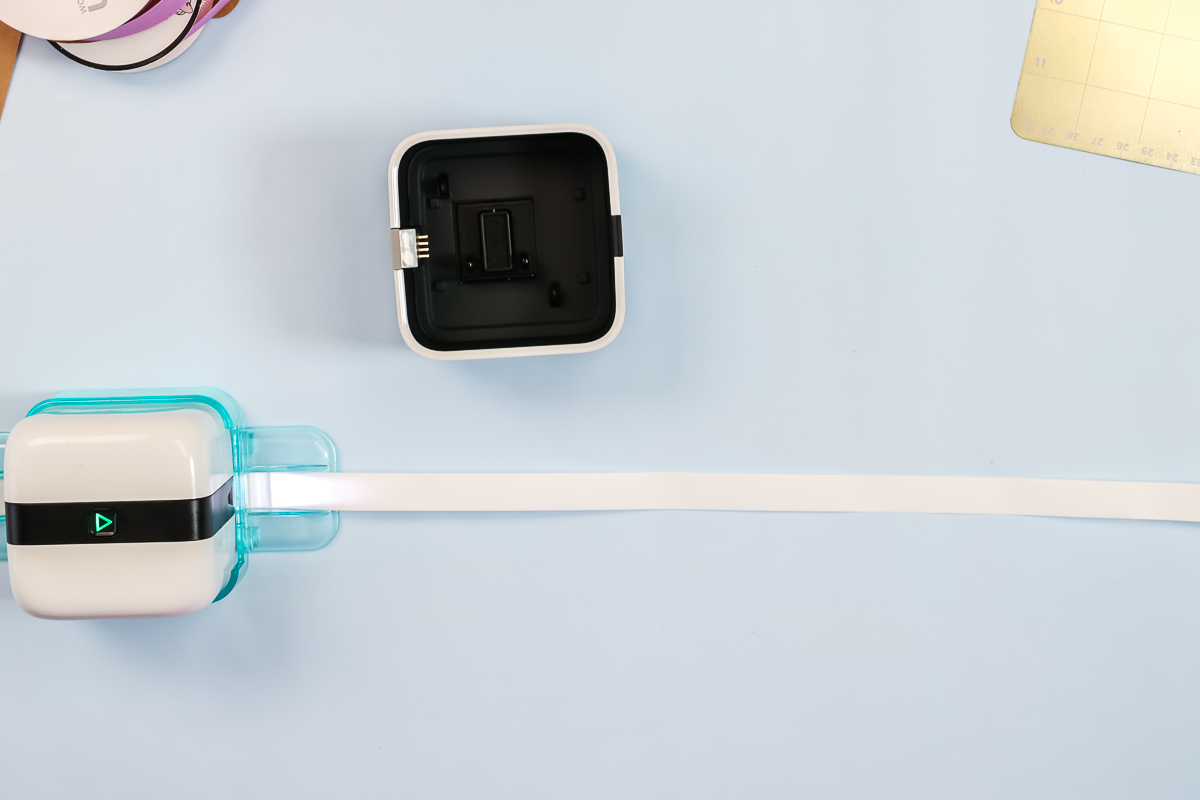
Press the button and wait for the light to turn green. Hold the washi tape and move the PrintMaker across.
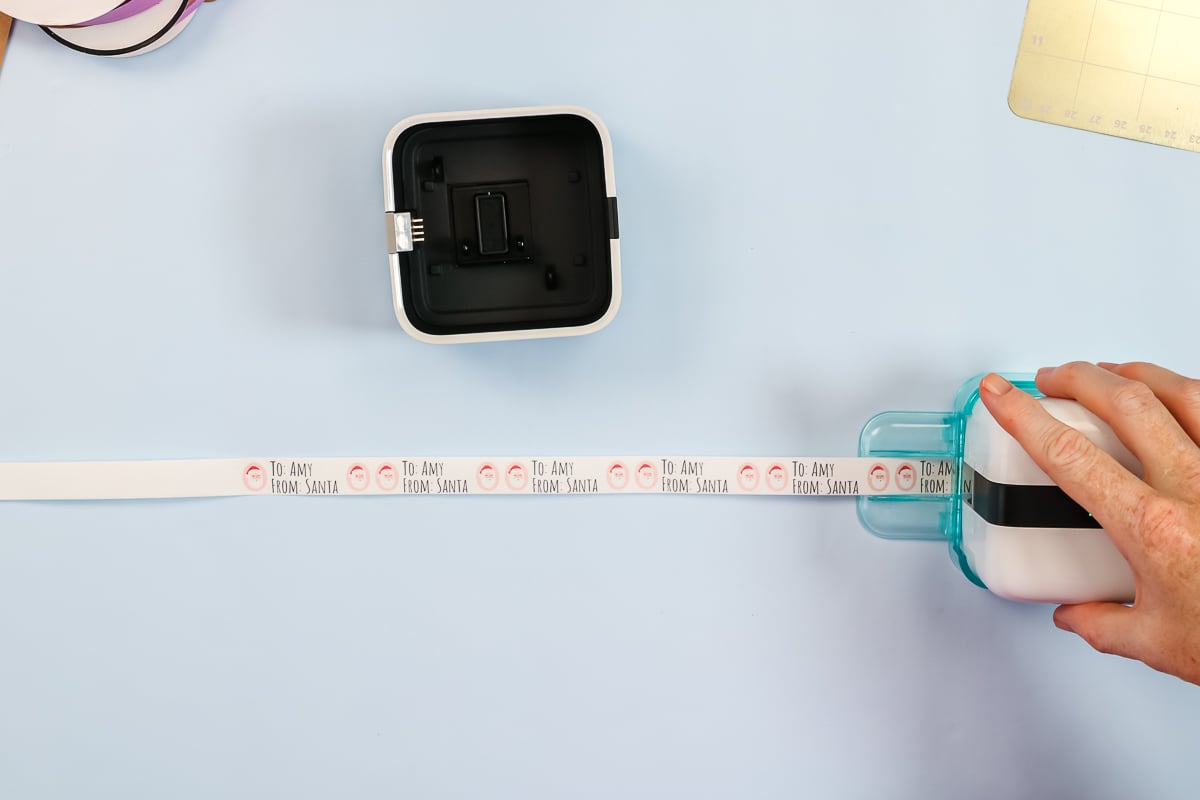
When you are ready to stop, just pick the PrintMaker up and return it back to the base.
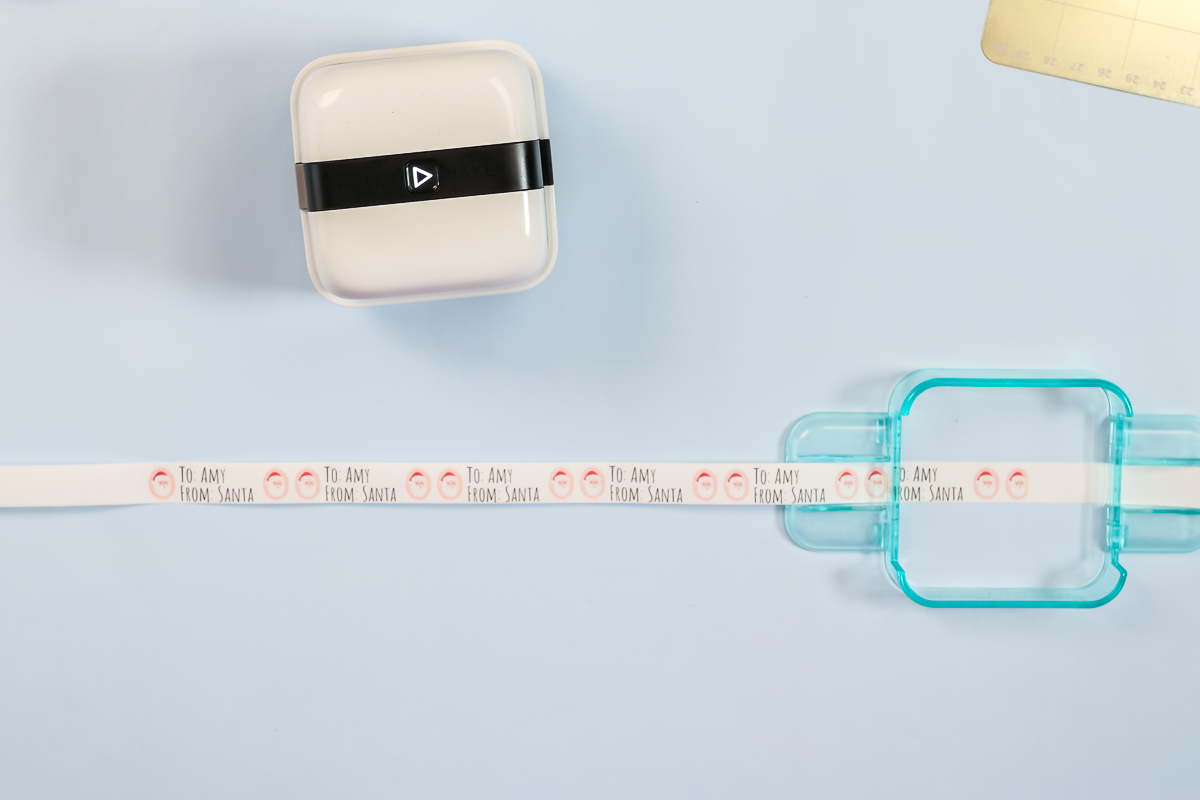
You can see the printing on this washi tape is pretty good. I am able to get a pretty consistent print on the washi tape, but there are areas that do get messed up. Extra ink goes in some areas occasionally.
Ribbon Printing Issues
I tested a wide variety of ribbon options to get an idea of how this machine will work. You can see all of those in the image below. Here are my results from top to bottom.
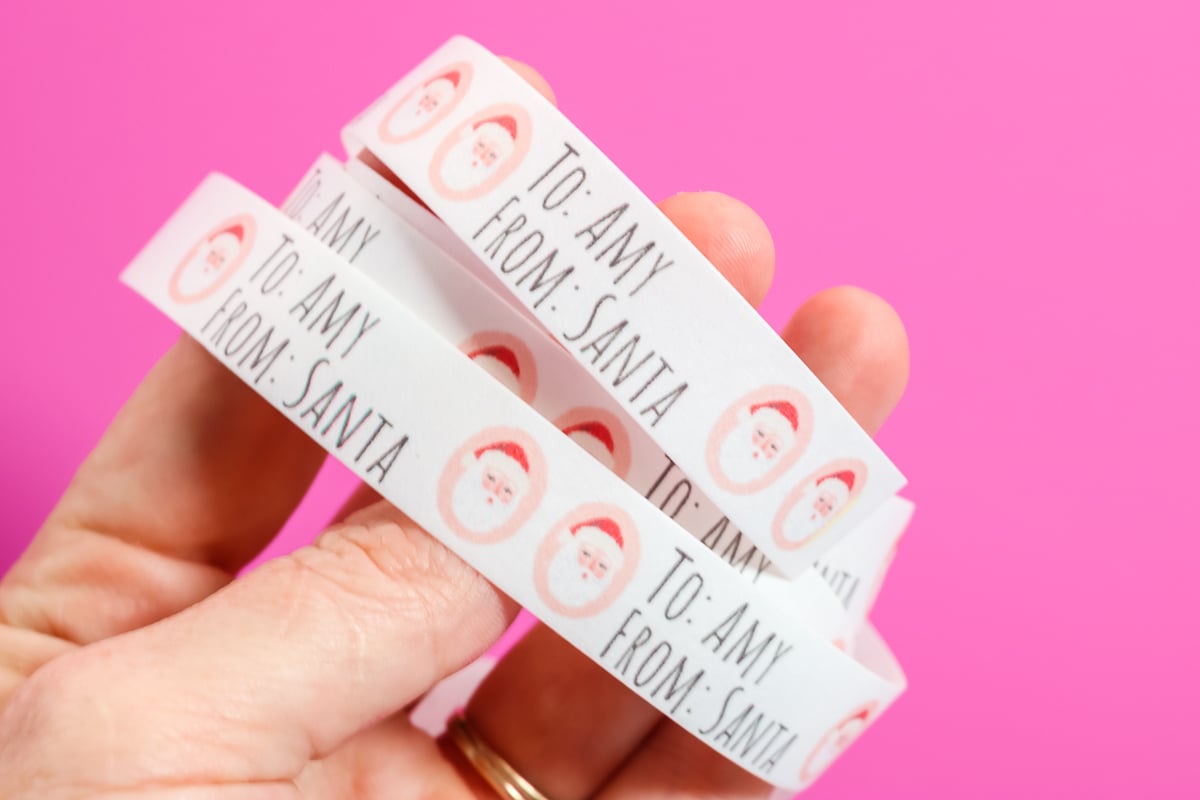
- The top two are the washi tape as you saw me print above. I feel like with some practice, you can definitely get good at printing on this material. However, you do need the special washi tape from We R Memory Keepers for printing.
- The next three ribbons are Grosgrain ribbon, so they have ridges within the ribbon itself. To me, this is the most common type of ribbon. I was expecting to be able to print on it. I tried three different times with three different designs. Every time I print on this type of ribbon, it’s always fuzzy and looks out of focus, but it’s not. It’s just the way it is printed. I definitely wasn’t happy with that.
- The next one I tried was a silky smooth ribbon. I thought since it was smooth, it would work. However, same problem. This time I had several areas where the ink just basically smeared. I was definitely not happy with a smooth satin ribbon either.
- The next ribbon is a woven ribbon. It was better, but still looked fuzzy to me or out of focus.
- The last ribbon definitely printed the best and it’s a suede feel ribbon. I’m not even sure where I got it. I dug around in my scrap bin until I found this small piece just to test it. It definitely printed the best, but having to buy a special ribbon just for the printer kind of defeats the purpose to me.
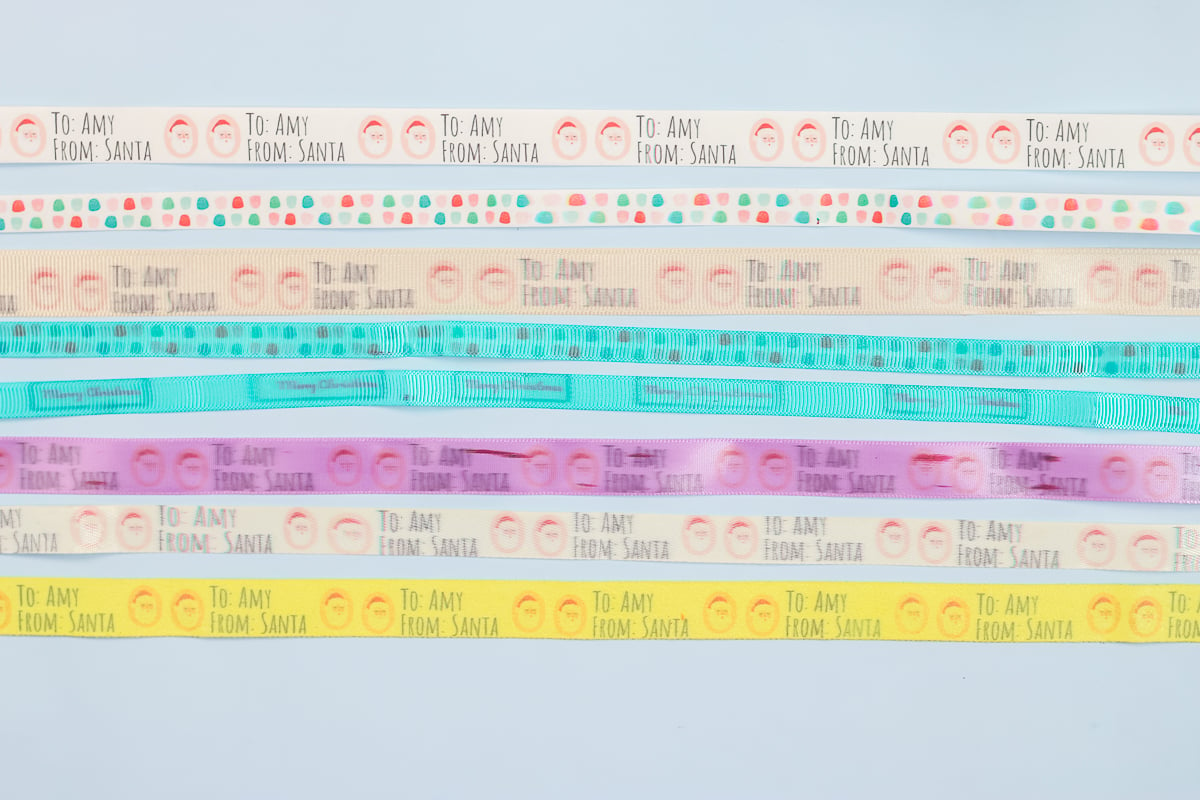
I was not happy with the ribbon printing. The washi tape printing is definitely awesome, but again, you would have to buy the special washi tape that is white with the backer from We R Memory Keepers. I think with ribbon or washi tape, you would need to buy the special products from We R Memory Keepers to get it to work correctly.
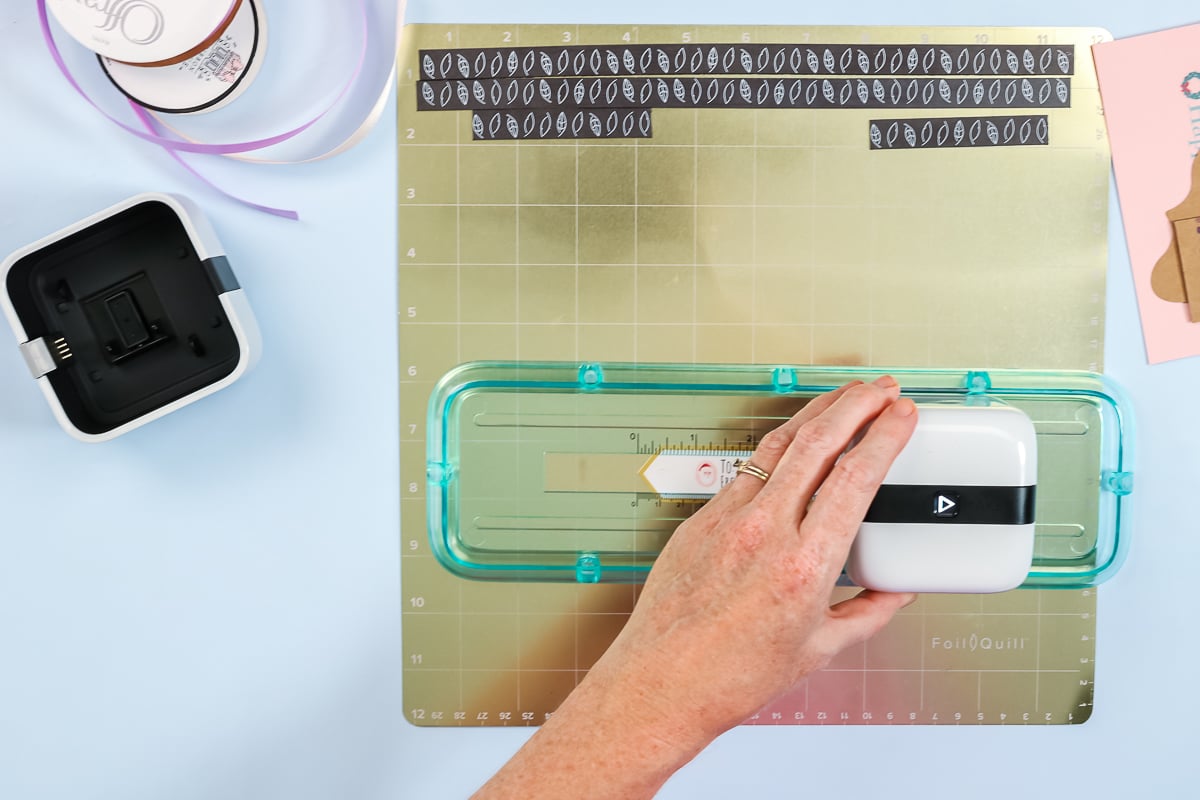
Printing on Tags with Magnetic Guide
Next up, we’re going to give this magnetic guide a try. When I got the magnetic guide, I did not realize you needed a magnetic base to put it on, but you do. I happen to have this one from We R Memory Keepers from several years ago. It’s basically a magnetic sheet that you can use in your Cricut for different things. I think they do make one in a different color specifically for this guide.
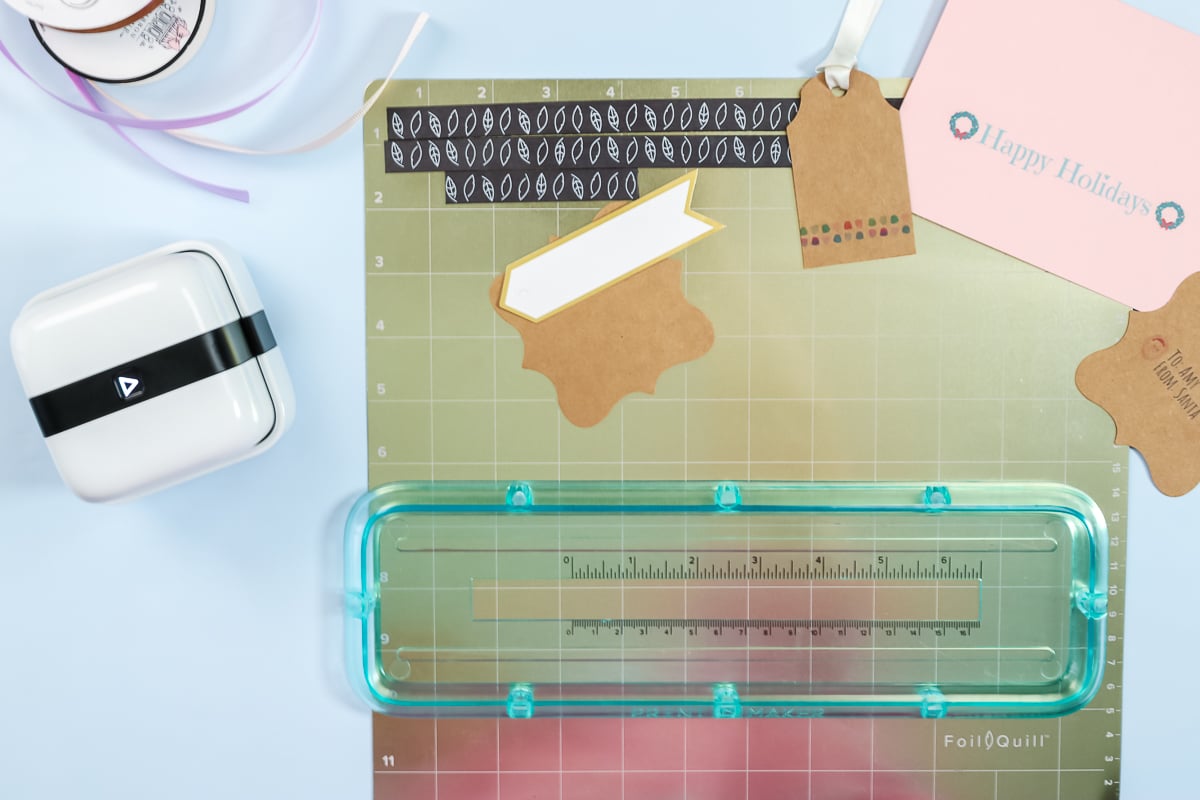
Put your tag down on your metal sheet and then snap your magnetic guide in place. Make sure everything is straight. Use the ruler guide to line everything up.
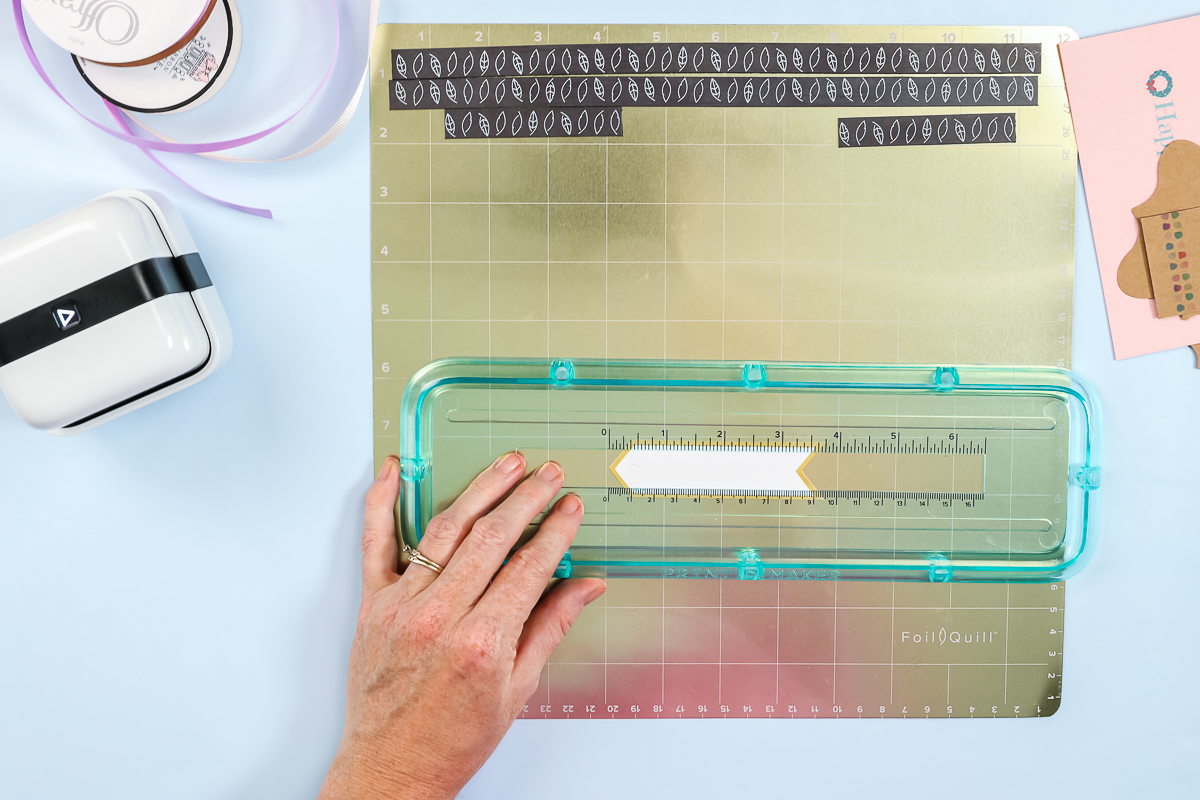
Once you have it lined up, your PrintMaker fits right inside the guide. When it’s in the guide, you can again see the light and tell where your printing is going to start.
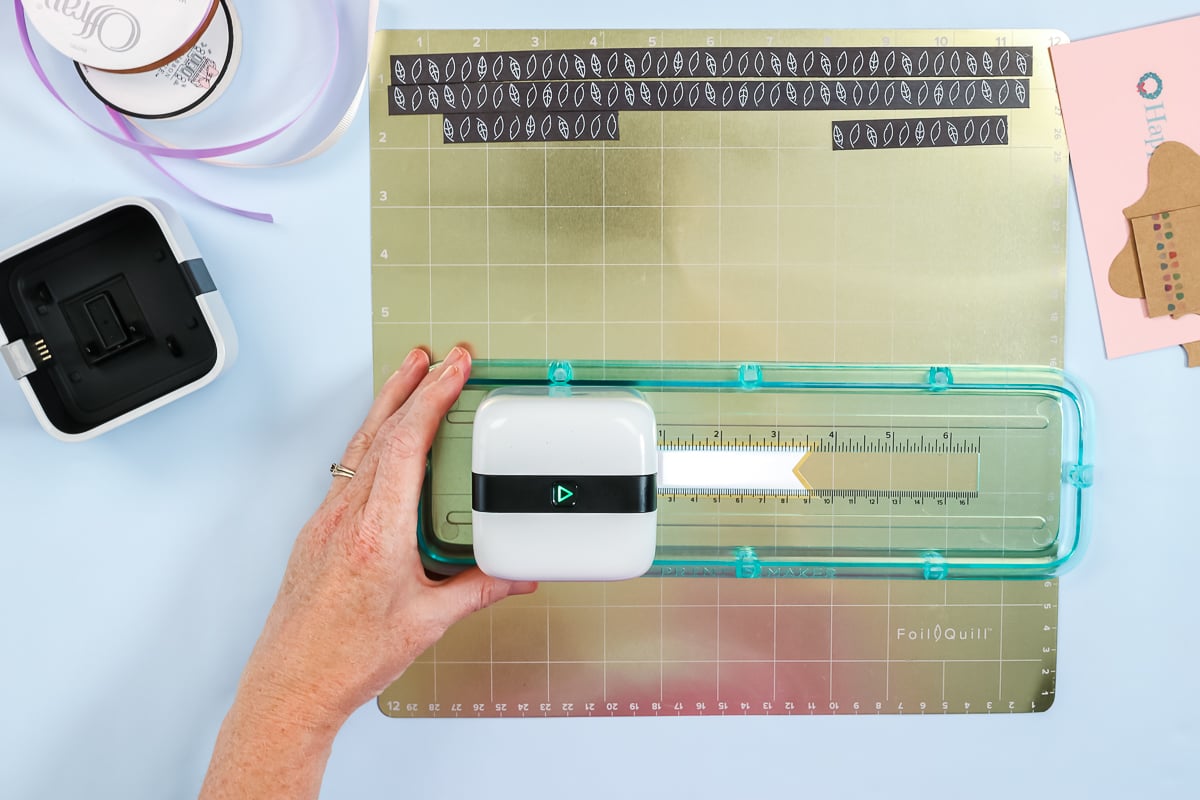
Press the button and wait for the light to turn green. Once it turns green, just move the PrintMaker across.
Again, on paper, I was able to get a good print quality all the time.

I also tried this method on a card and several other tags. It worked great every time. However, on something like this card, that’s the largest the design will go. I just wasn’t happy with the size of the design more than the printing itself.

Printing on Fabric
One thing that made me want the PrintMaker to begin with is printing on various objects. The ink is not completely permanent on fabric, so you would have to put Fabric Mod Podge or something over the top to make it permanent. For something like bags for a party, I would not necessarily mind if it was not completely permanent.
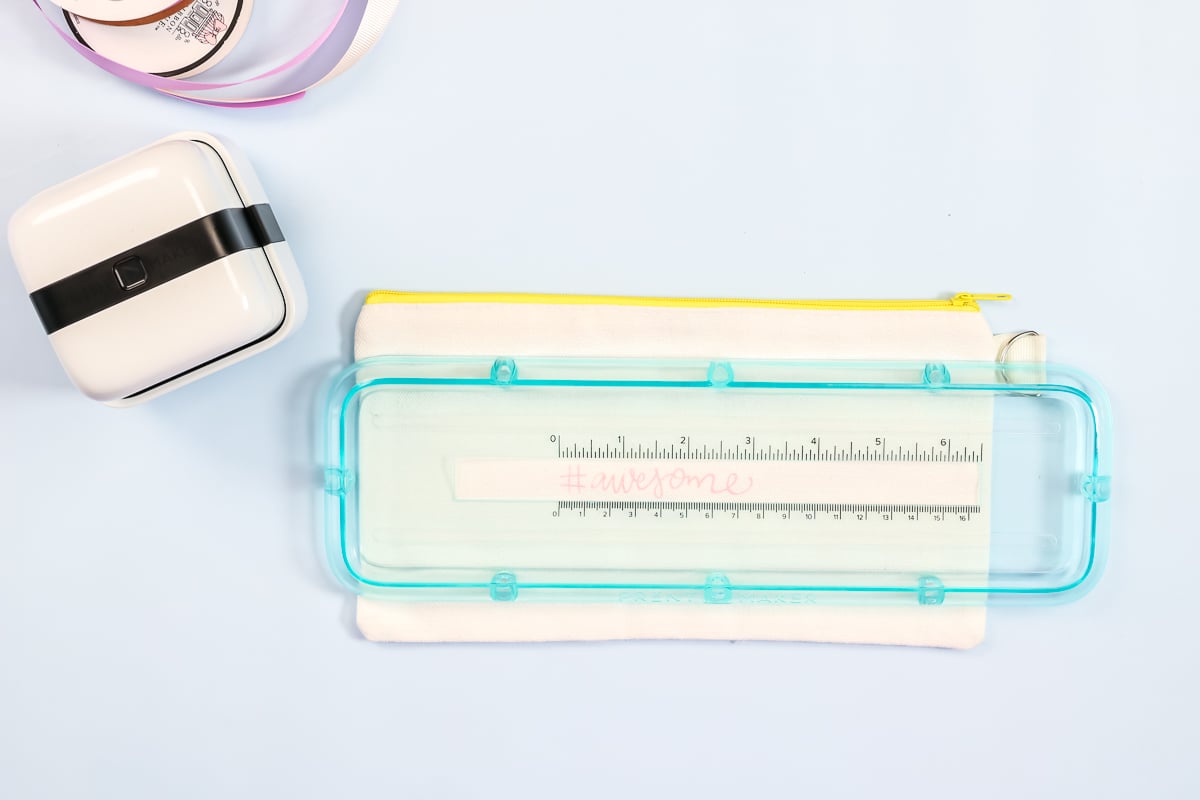
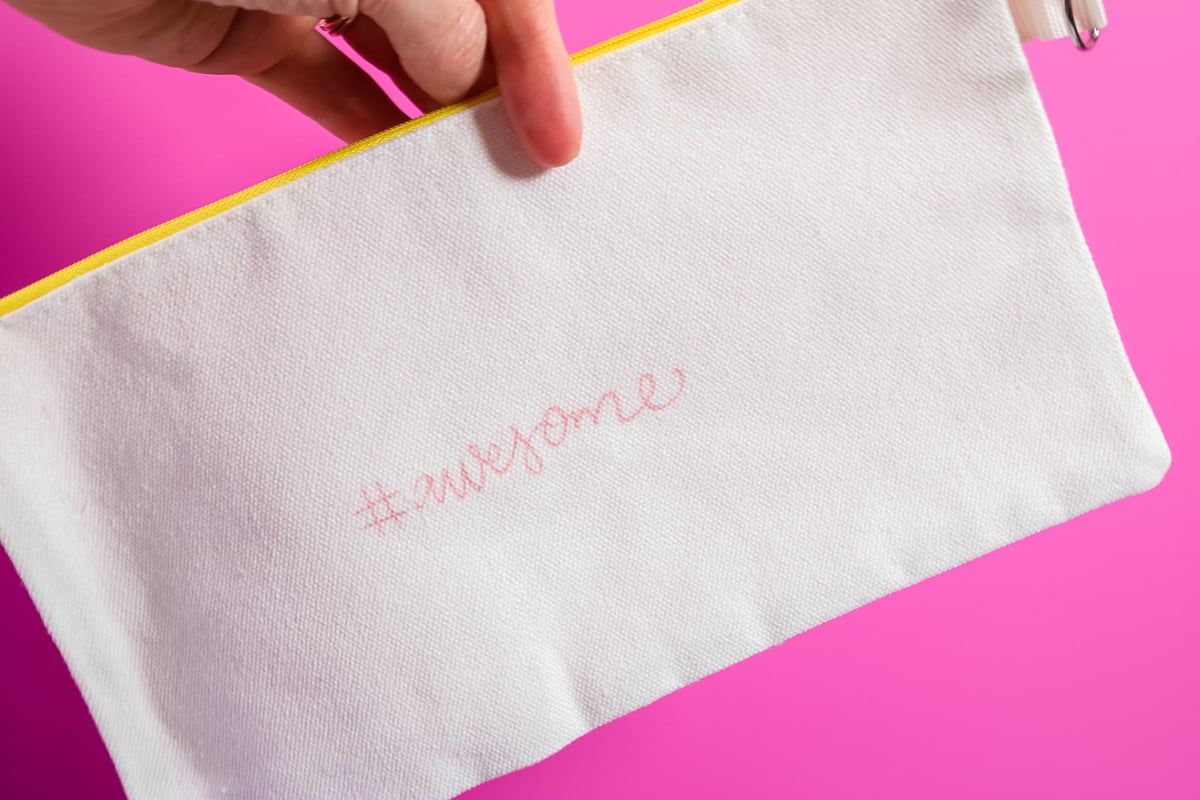
I tested printing on various canvas bags. I was unable to print where the seams were on the bag so I could only use a small design. Here’s a look at that printing on the canvas bag. As you can see, it’s pretty good. As we discussed before, the designs can’t be very large.
Is the Printmaker Worth it?
With all of that being said, is the We R Memory Keepers PrintMaker worth it for your craft room? For me, it would be a no. Let’s talk about the good and the bad.
- I loved the way it made washi tape. That’s the good. The bad would be that you have to buy the special washi tape from We R Memory Keepers to get it to work. I feel like that’s a negative, at least in my opinion.
- I was really expecting it to print on ribbon really well. As you saw above, I had tons of trouble finding a ribbon that would work. If I have to buy a special ribbon to work with it, then I’m not super excited about it.
- Printing on paper worked great, but I could use tons of other options for printing on paper that wouldn’t be so size restrictive. If you use tons of pre-made tags or you’re a teacher and you want to print “awesome” on your kid’s work that they do for you in class, then the PrintMaker might just be for you. It works great on paper, and as you can tell, I had tons of success with using it on various paper projects from my cards to tags to just straight on paper.
- The design app is definitely not where I would like to see it. I was super frustrated most of the time using the app.
For me, I think I have other ways to print things and I wouldn’t necessarily have the We R Memory Keepers PrintMaker in my craft room. I just don’t think it would be a necessity. Knowing what I know now, I wouldn’t purchase the PrintMaker and have it in my craft room. However, I definitely think there are applications for it and it’s a really cool product.
If you found an application above that I had success with and that you think you would love to add to your craft room or your classroom, then by all means, pick up the PrintMaker and use it for that. Hopefully this gave you enough information that you know what to purchase to go along with the PrintMaker to make your project a success.