
This post and photos may contain Amazon or other affiliate links. If you purchase something through any link, I may receive a small commission at no extra charge to you. Any supplies used may be given to me free of charge, however, all projects and opinions are my own.
Well, I just had to try using smart materials in the Cricut Explore Air 2 and Cricut Maker. Would it work? Can you can without a mat on the Cricut Explore Air 2? What about the original Cricut Maker? Will these materials work for these older machines or just the Cricut Maker 3 and Explore 3? Let’s put it to the test and find out!
Smart Materials in the Cricut Explore Air 2 and Maker
Want to see me use these materials in two of the original machines? I am testing all three Smart Materials in both the Cricut Maker and the Cricut Explore Air 2. Just click play on the video below to see the results!
Can’t watch the video or missed some of the information? I have all of the details for you below as well!
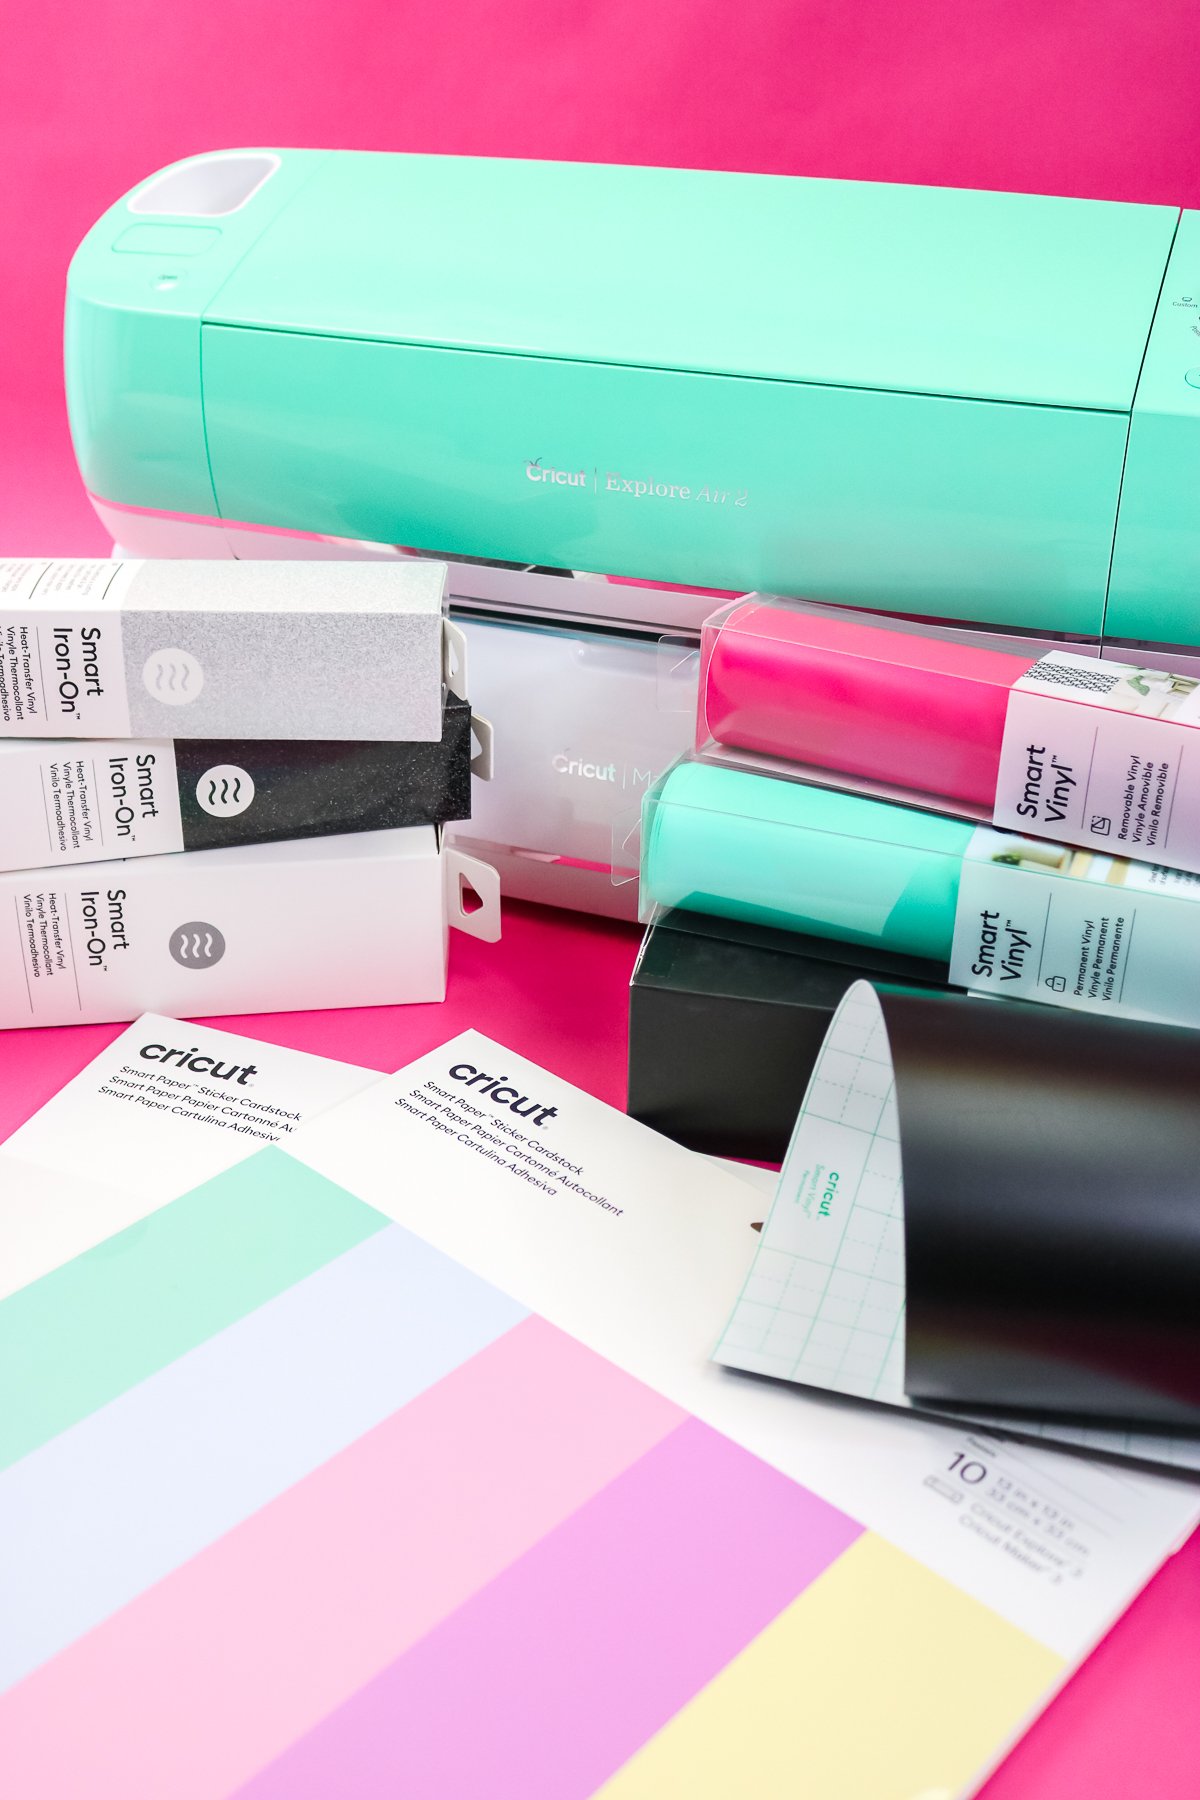
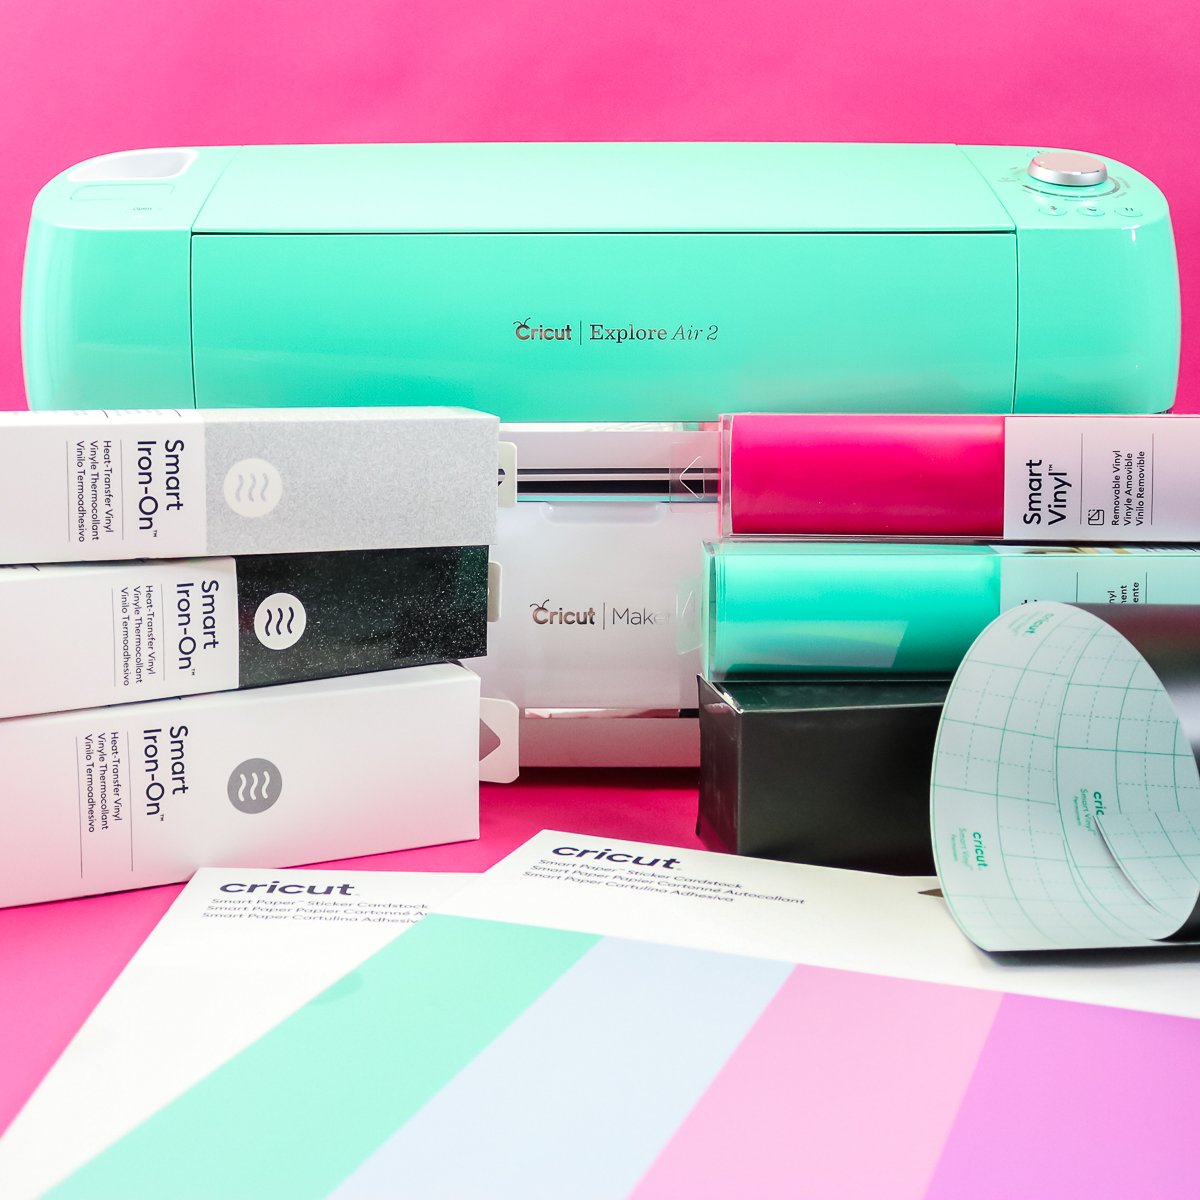
Supplies needed:
Here are all of the supplies I am using for my experiments.
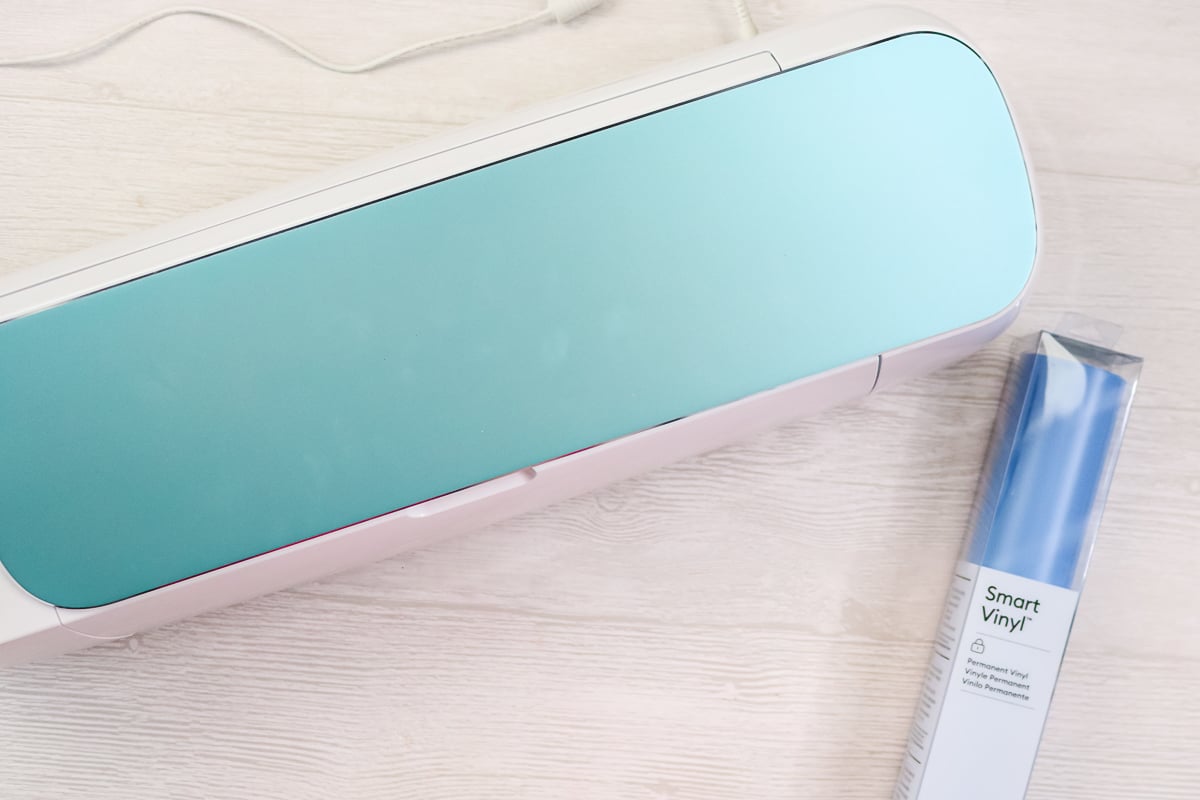
Smart Vinyl in the Cricut Maker
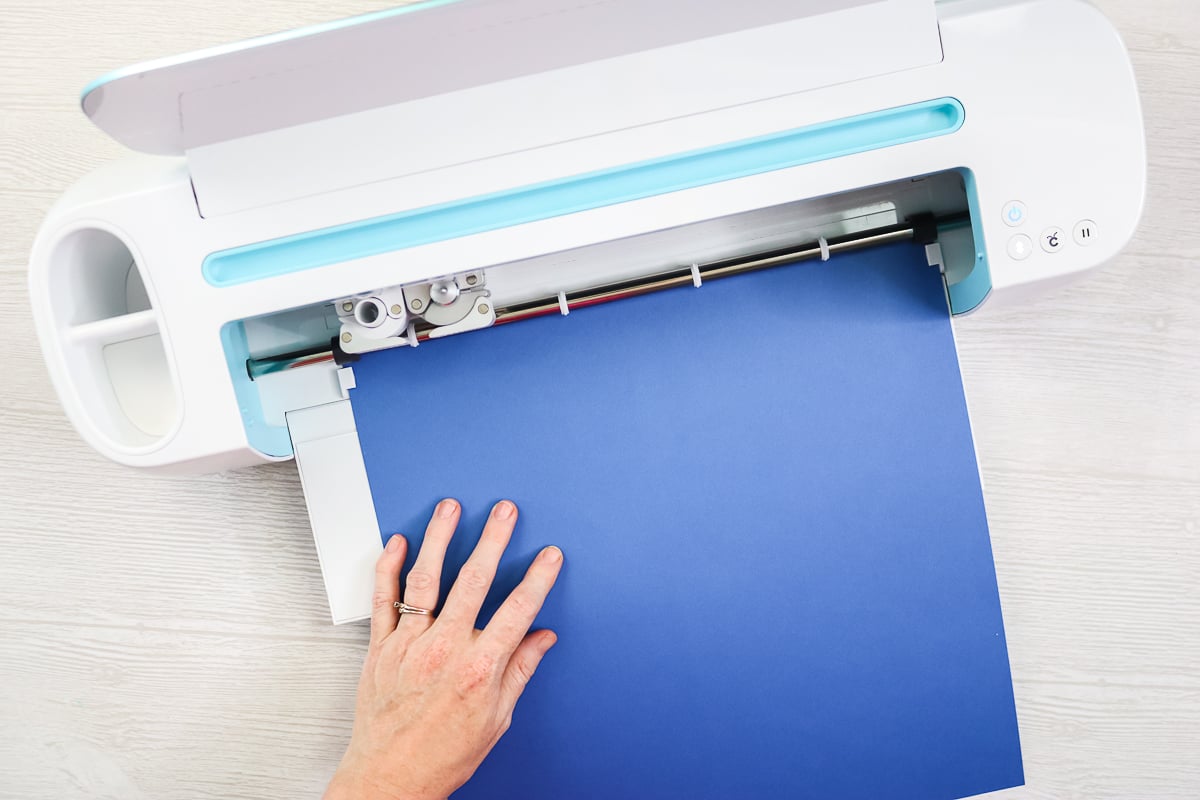
First, I tried Smart Vinyl in the Cricut Maker. I am cutting this without a mat and using the vinyl setting on the machine. I am, however, cutting it just like I normally would with vinyl so the machine does think it is still on the mat.
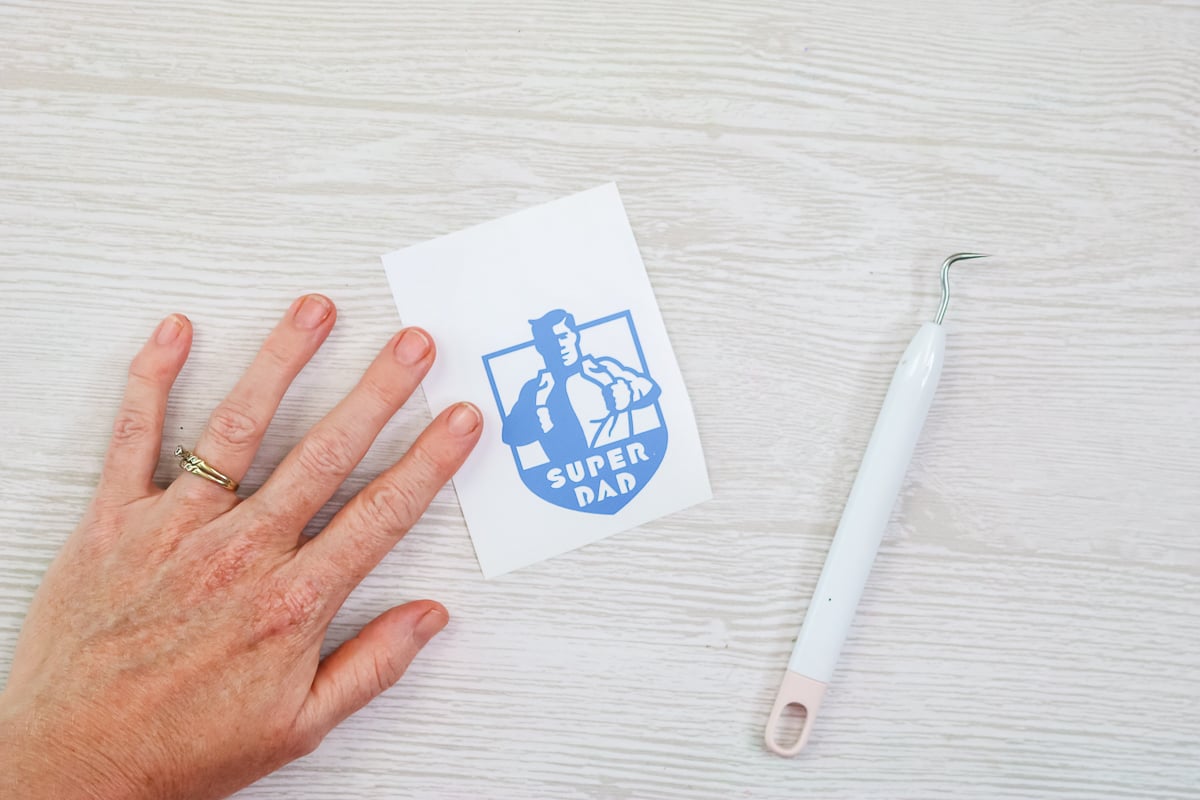
Starting with a small design seemed like a good idea. Actually, I wasn’t sure this was going to work at all and I figured this would waste less material. So, I cute just a super small decal. And yes, it worked! So, can I cut a larger design? Let’s find out!
My second attempt was a much larger decal. I will note here that when using Smart Materials on the Cricut Explore Air 2 and Cricut Maker, you can’t go larger than the mat size. So you are still restricted to a maximum of 11.5×23.5 inches. I went just about as large as possible with this next design.
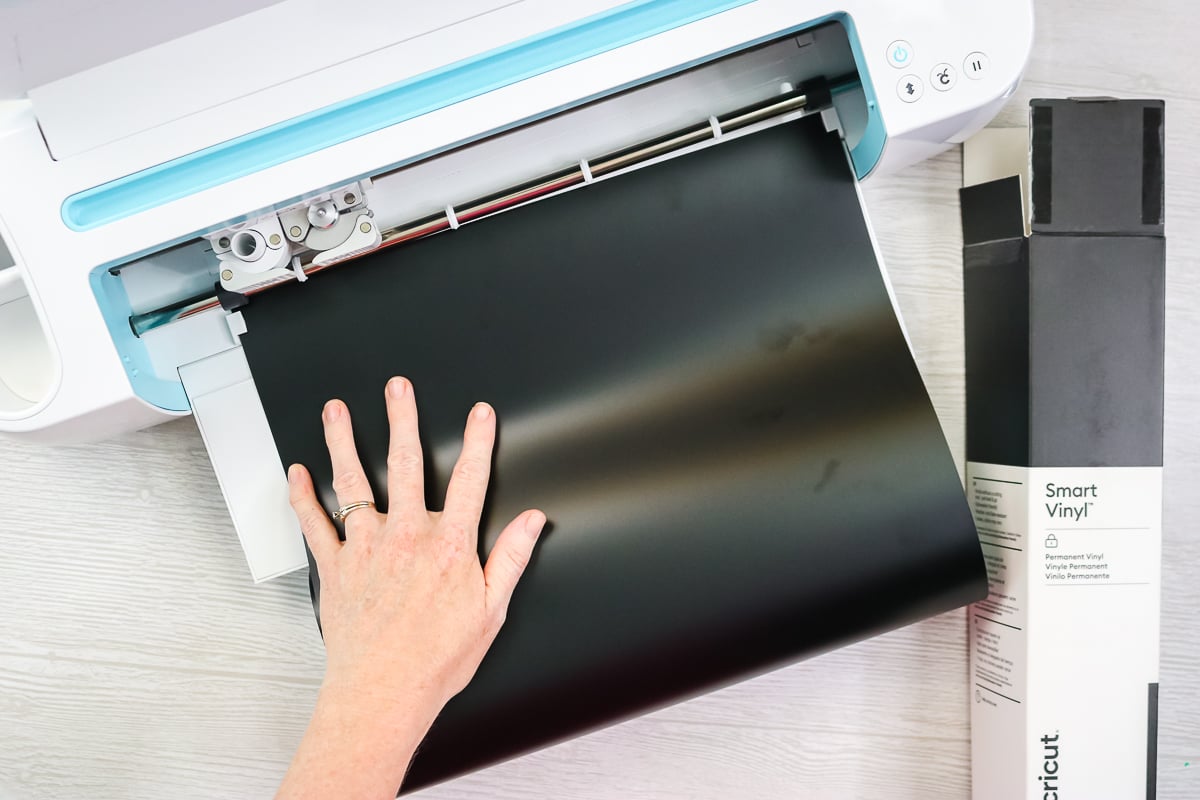
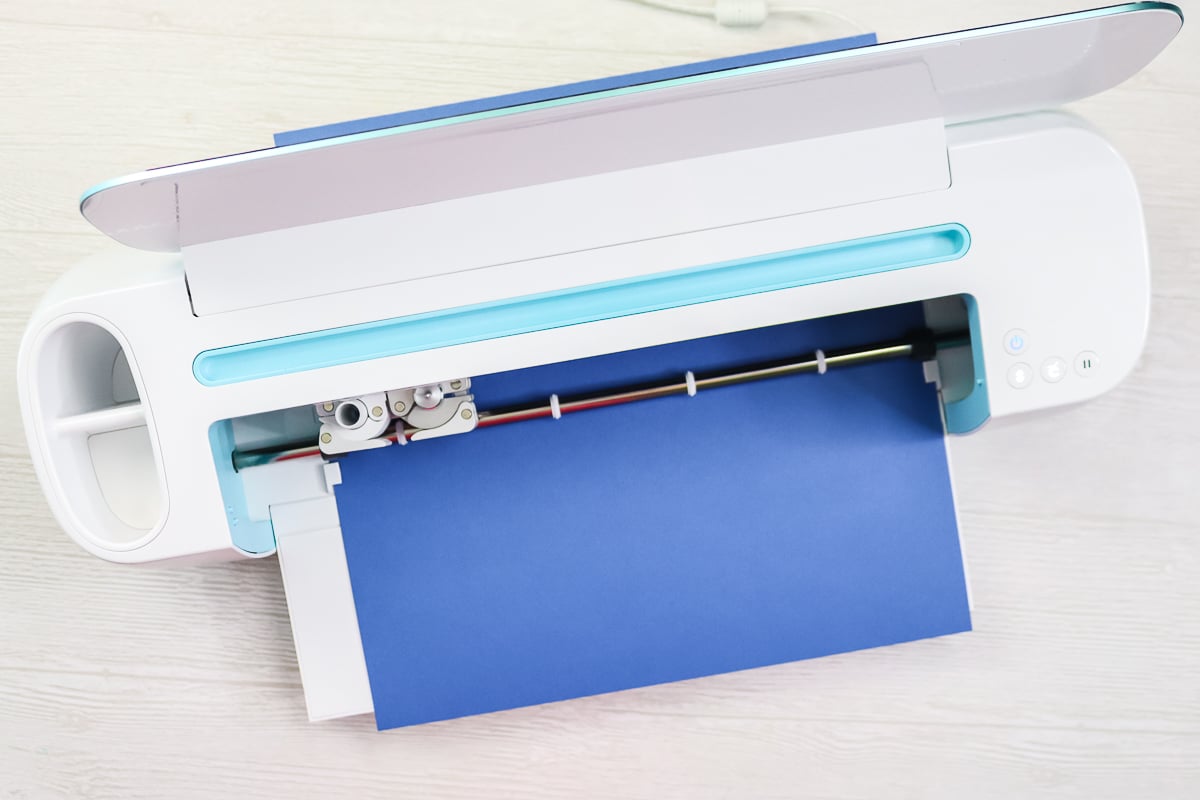
I found that the Smart Vinyl fed into the machine fine and cut really well with my Cricut Maker. The best part is that I had zero problems with it cutting and it never got crooked in the machine. Please note that I made sure that the end was cut straight before feeding it into the machine.
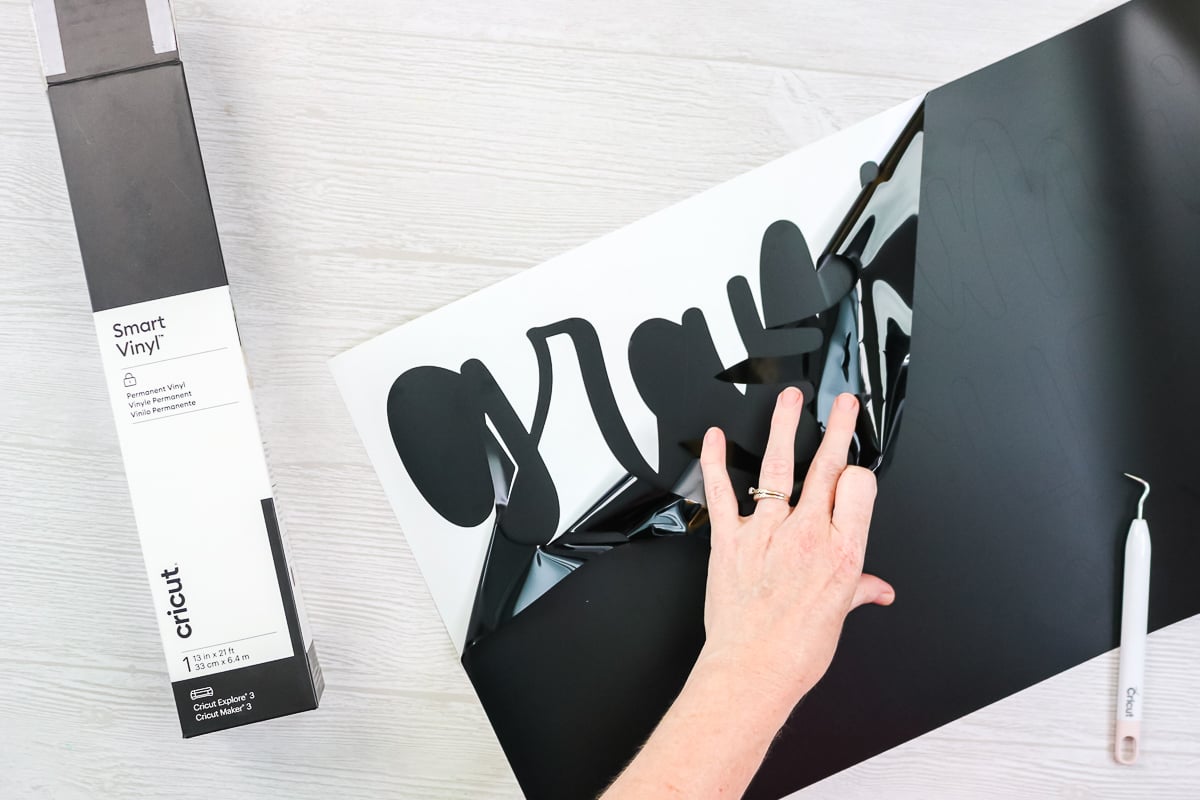
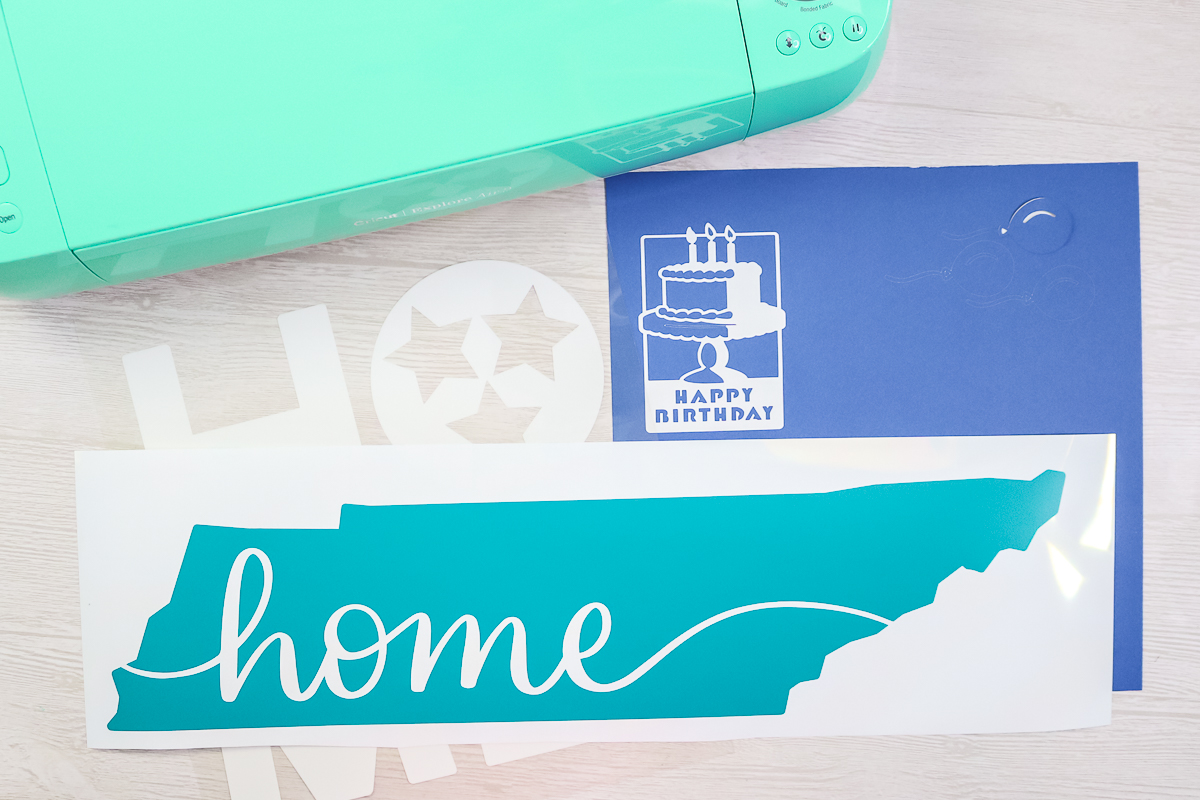
I have also been getting questions about the new Smart Vinyl materials. They have been completely redone from the Joy versions and they are so much better. This one weeded like a dream! And yes, I cut this big sign on my Cricut Maker.

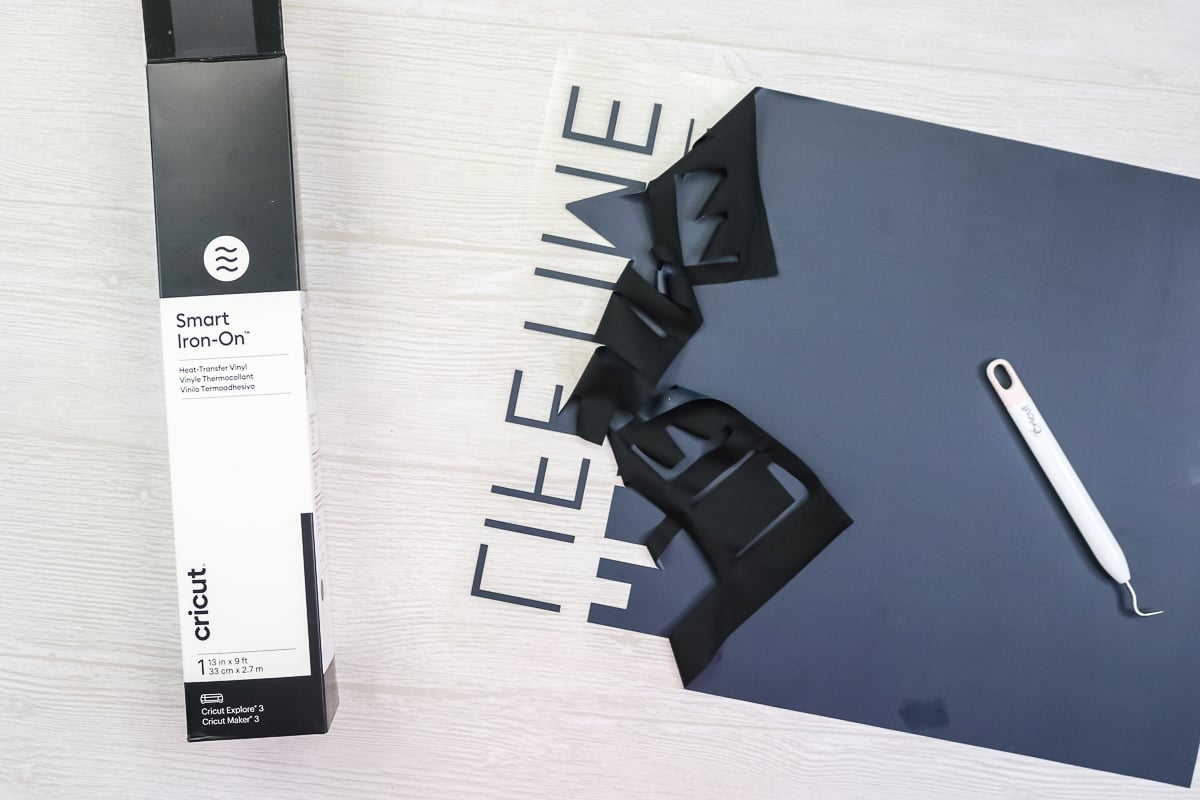
Smart Iron-on Cut on a Cricut Maker
What about Smart Iron-On material? Can you cut it without a mat on the Cricut Maker? After having success with Smart Materials on the Cricut Explore Air 2 and Maker, I was ready to put it to the test!
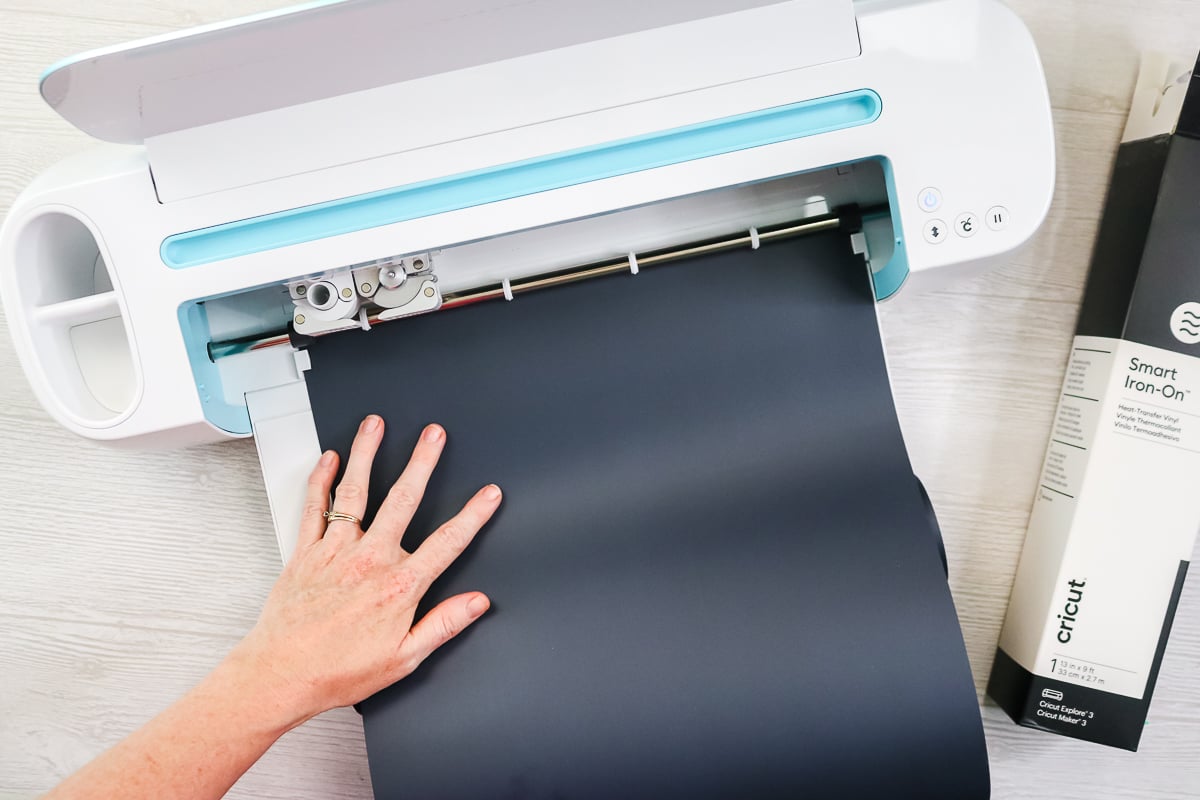
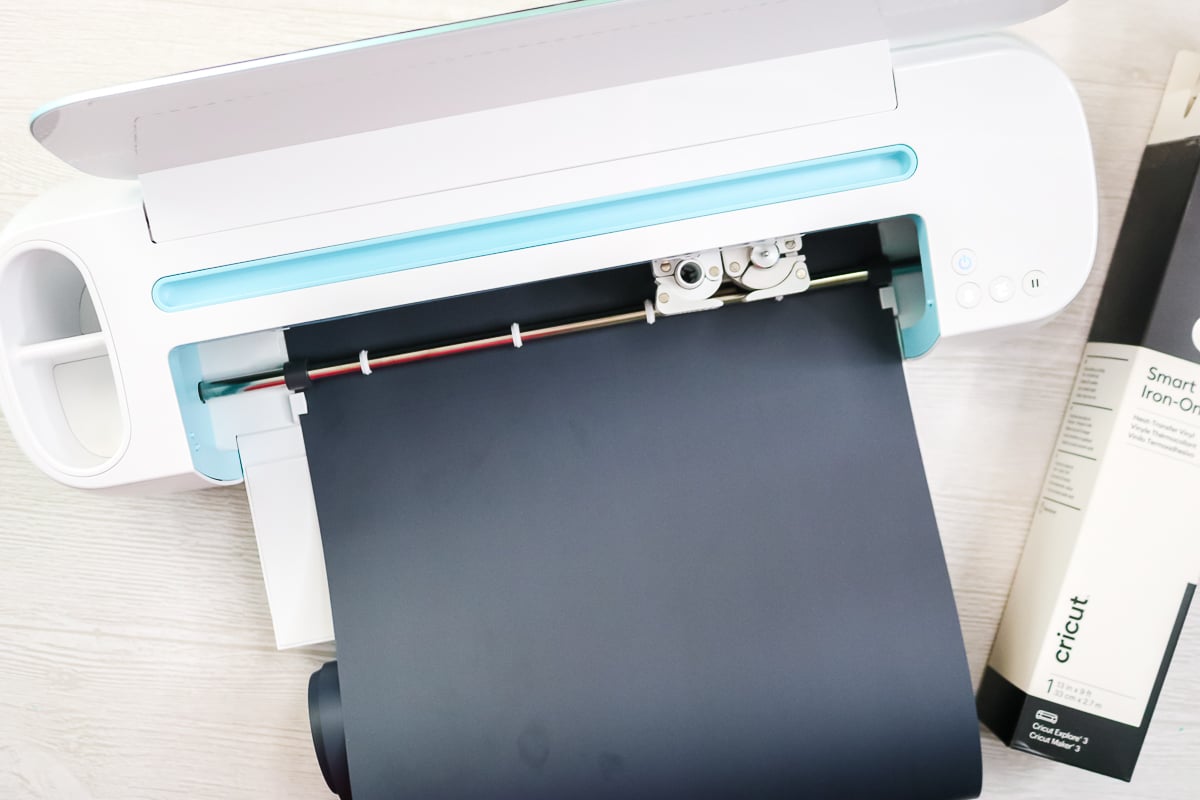
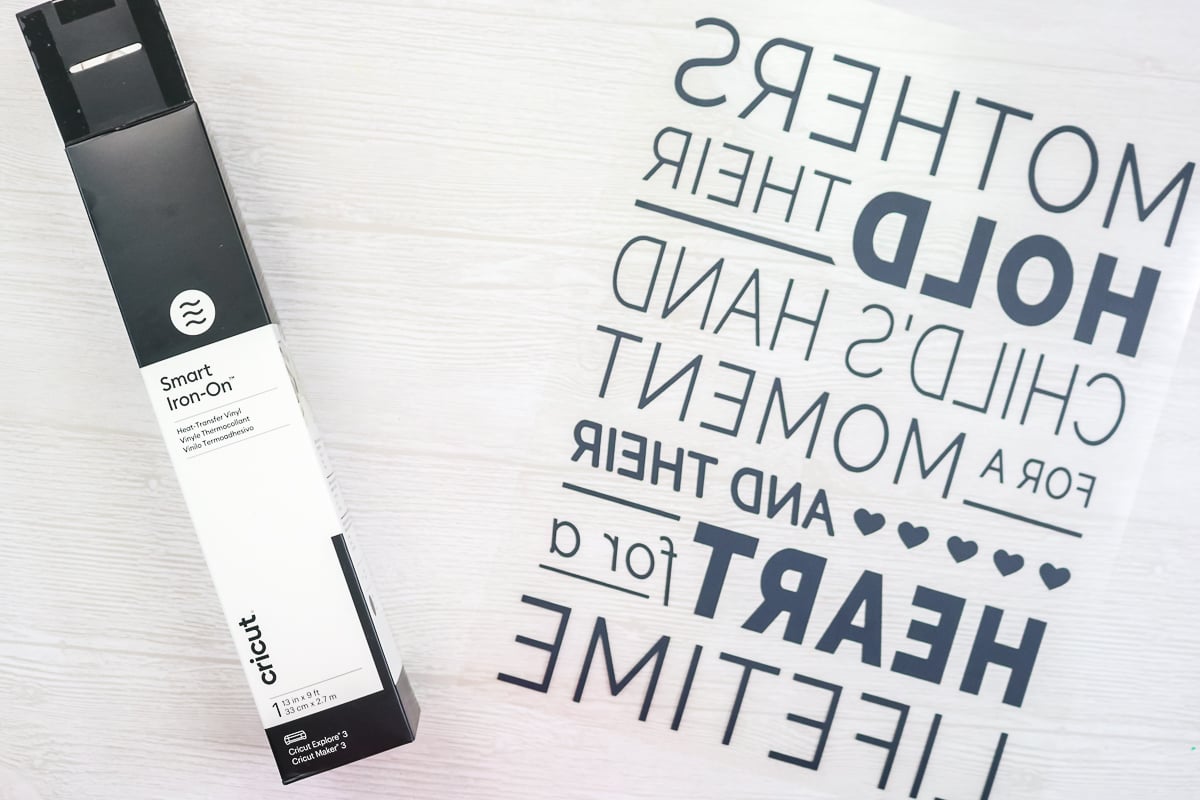
I followed basically the same process as for the Smart Vinyl. The machine setting is iron-on and I made a design that was about 11.5 x 13 inches. I did want to note that for all of these long cuts I used the Smart Materials directly from their rolls. The roll just lays on the table as the material feeds into the machine.
Again, the material cut really well with no issues at all. I did weed this one as well and again I do really like the material itself. Again, you will want to be sure the cuts are straight so I do recommend a paper trimmer to cut off your excess from these rolls.
At this point, I was excited about the possibilities of using Smart Materials in the Cricut Explore Air 2 and Maker. The cuts on this were amazing and I love that I didn’t have to use a mat.
Smart Paper on the Cricut Maker
Will the Cricut Maker cut paper? The new Smart Paper Sticker Cardstock from Cricut is a self-adhesive paper product that is actually really handy when work on paper crafts. I just had to try it without a mat in my Maker as well.
I was worried about this one but it actually cut really nicely. NOTE: I think it would have more of a likelihood to wrinkle up on the sides or get crooked in the machine. However, I was able to cut without issue. I used the medium cardstock setting and it cut great without any mat.
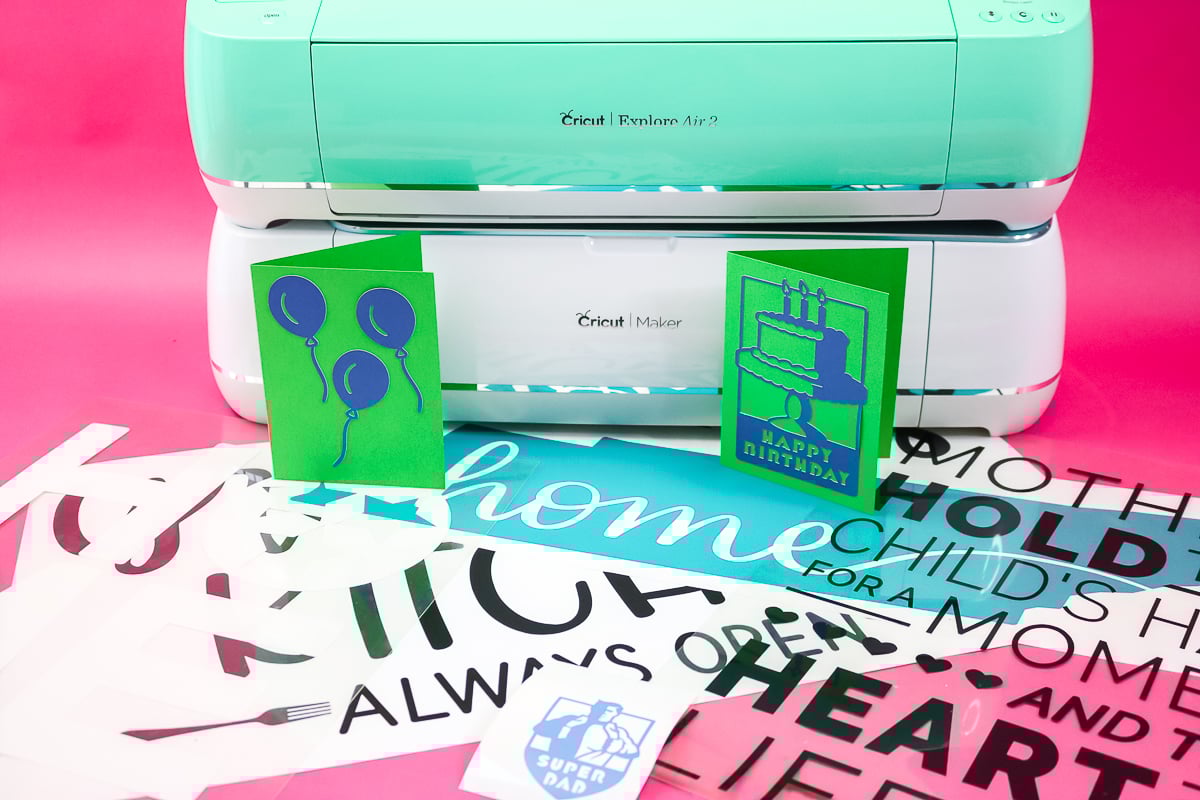
Smart Materials Cut on the Cricut Explore Air 2
Will the Cricut Explore Air 2 work without a mat on these materials as well? I just had to test it as well! I used Smart Vinyl, Smart Iron-on, and Smart Paper on an Explore Air 2 machine as well. Once again, I used the same processes as above with the Maker. The results were the same. The cuts were amazing I didn’t have any issues on the Explore Air 2 either.
Tips for Cutting Smart Materials in the Cricut Explore Air 2 and Maker
Now that you have seen that I was able to cut Smart Materials in the Cricut Explore Air 2 and Maker without a mat, what are the best processes for trying this for yourself? Be sure to follow all of my tips and tricks below for the best results.
- The ends of your material needs to be trimmed as straight as possible in order feed into the machine for the best results.
- You will need a bit of extra material as the machine thinks you are cutting on a mat. So remember you will need some excess at the top.
- The maximum cutting size is 11.5×23.5 inches on the Explore Air 2 and Maker. These machines do not have the guides and sensors needed to keep the material straight for really long cuts.
- I used the vinyl setting for Smart Vinyl, the iron-on setting for Smart Iron-on, and the medium cardstock setting for Smart Paper. These are a great place to start if you want to try cutting this material for yourself.
- You will cut as if you are cutting on a mat but instead feed the smart material without a mat instead.
- Iron-on material will still be mirrored and cut with the shiny side down.
- You will need at least a 12 inch piece to put into the machine as it may feed in the entire “mat” before cutting.
- Always watch your machine carefully and stop the cut if the material starts to misfeed or jam.
FAQ:
I know there will be a ton of questions about this post so I thought I would answer a few of the most common questions below.
Can I use the Cricut Roll Holder with the Cricut Explore Air 2 and Cricut Maker?
The Cricut Roll Holder will only work with the Cricut Explore 3 and Cricut Maker 3. No other machines have the guides that the roll holder attaches to on the tray.
What about older Cricut machines?
I only have the Cricut Explore Air 2 and Cricut Maker to test. I have not tried this same thing on any older Cricut machines.
Why can’t I make longer cuts with these machines?
These machines do not have the guides or sensors needed to keep the material straight for really long cuts. You will still be restricted to the size of a large mat.
Now that you know it is possible to cut smart materials in the Cricut Explore Air 2 and Cricut Maker, will you try this with your machine?
I know I will be giving this technique a try in the future. I love the idea of not worrying about if I have a mat or if it is sticky or not. Don’t you think that sounds dreamy?
I hope this post has helped you decide whether you want to try Smart Materials for yourself. Using Smart Materials in the Cricut Explore Air 2 and Maker is definitely possible. What will you make?
GET OUR CRICUT BEGINNER’S GUIDE!
EVERYTHING YOU WANT TO KNOW ABOUT CRICUT DESIGN SPACE IN A FREE PRINTABLE GUIDE!
You have Successfully Subscribed!