This post and photos may contain Amazon or other affiliate links. If you purchase something through any link, I may receive a small commission at no extra charge to you. Any supplies used may be given to me free of charge, however, all projects and opinions are my own.
I have been getting a ton of questions about sublimation including details on preventing heat press marks on polyester shirts. Polyester fabric has a memory so press marks can be a huge problem. You can get an outline around your sublimation paper or even where your heat press edges hit your shirt. So, how do you prevent these marks? I have tips and tricks below for minimizing heat press marks on your sublimation crafts. I think you will find the steps are easy to follow and they will make a huge difference in the quality of your projects.
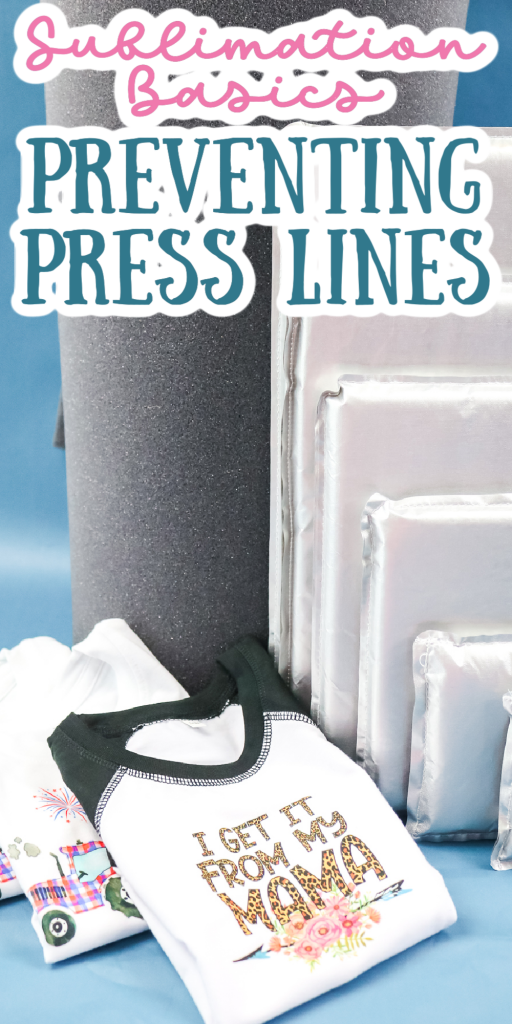
Preventing Heat Press Marks
I am putting my methods for minimizing press lines on polyester to the test in the video below. Just click play to watch!
Can’t watch the video or missed some of the steps? Follow along below for more details on the process for preventing heat press marks.
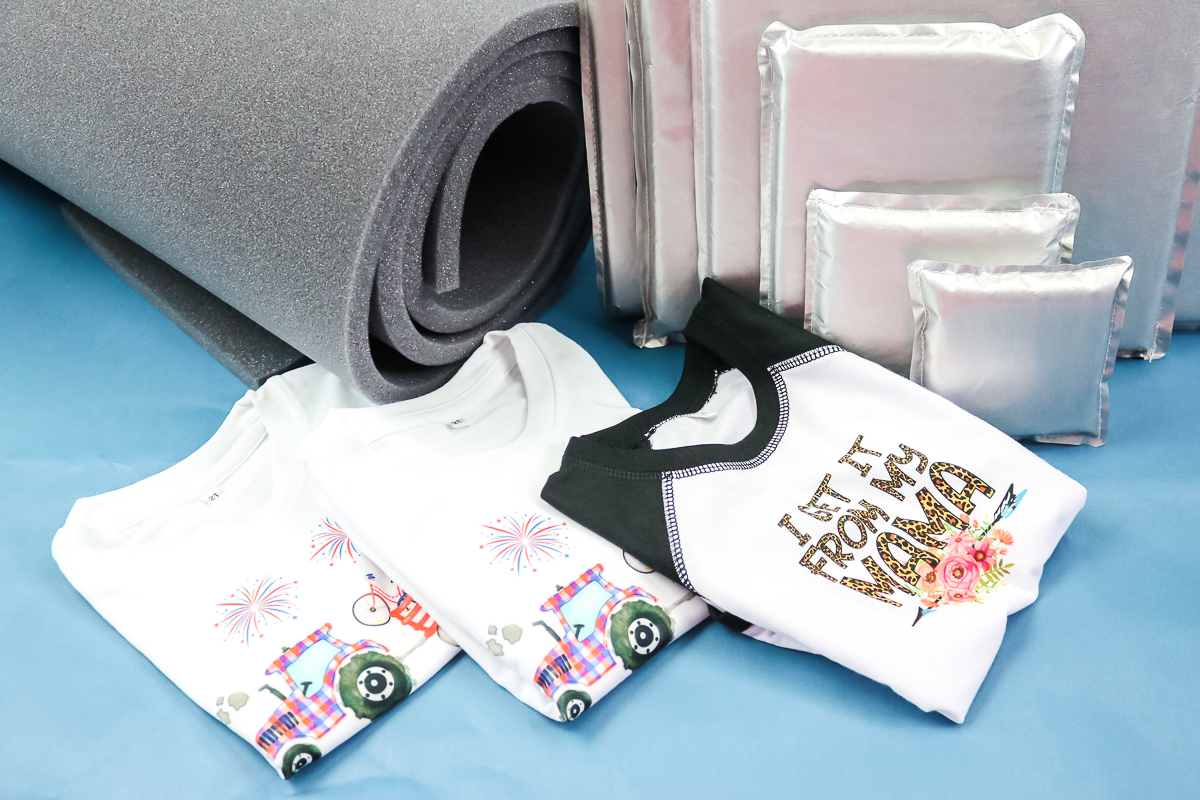
Supplies needed:
Common Pressing Mistakes
I find that most people instinctively start with sublimation and they generally make their projects following similar steps. Mostly it is instinct as the steps are similar to maybe HTV which you have worked with before. Also, there tends to be some misinformation online as to the proper way to press a polyester shirt for best results.
These methods may not always result in press lines as it depends on your shirt. However, chances are if you use the following method for sublimating your design, you will get at least some lines on your final product.
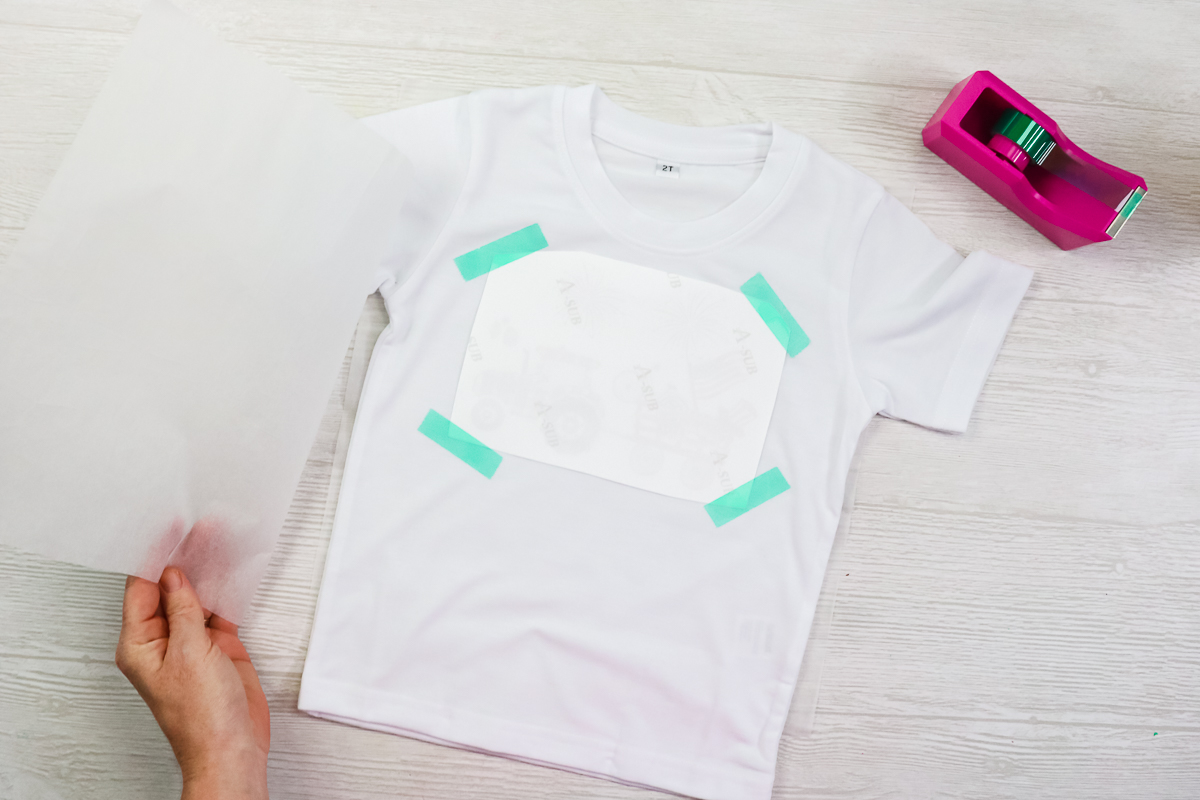
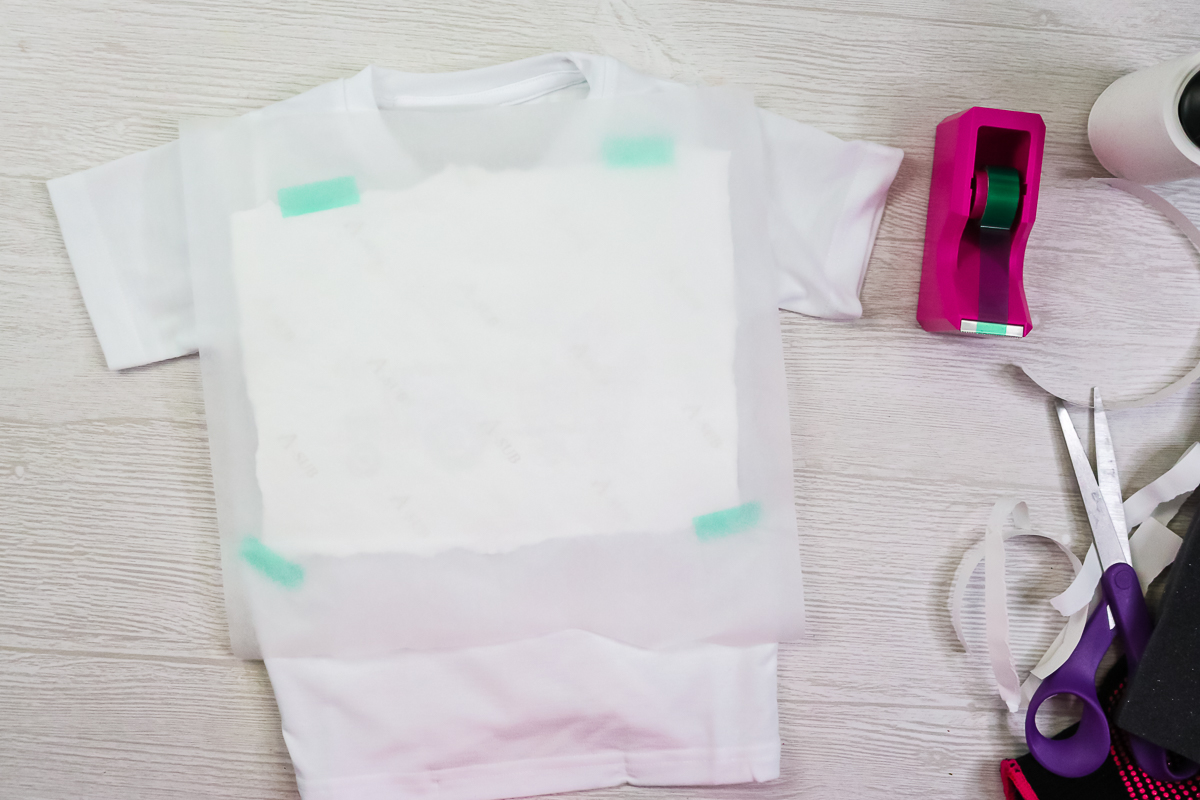
- Print sublimation print and trim around the edge of the design with a pair of scissors.
- Preheat the shirt to remove any moisture.
- Add the print to a shirt after lint rolling then tape into place.
- Add some protective paper inside and on top.
- Then press for the recommended time and temperature on a heat press or using an EasyPress. I do find a lot of people use as much pressure as possible during this step.
- Once pressing is completely, remove your print to find a gorgeous design. However, most of the time you may see lines from your press, the paper, or even the tape.

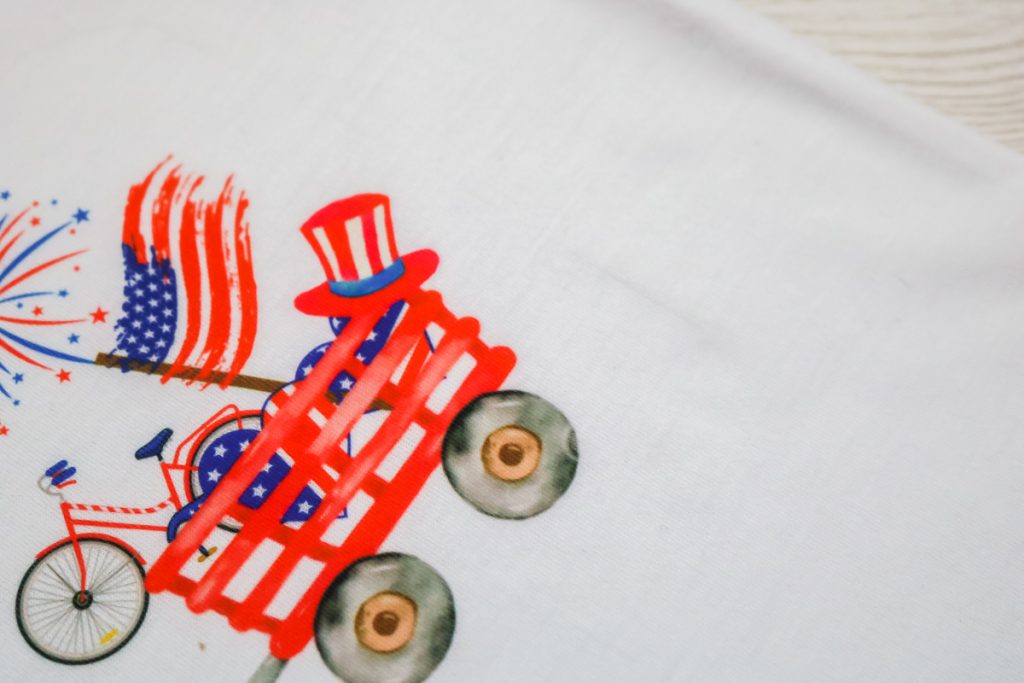
Hopefully you can see some lines in the pictures here where the paper or even the tape rested on the shirt. So, how do you minimize or avoid those all together? Keep reading as I have the tricks you need for preventing heat press marks on polyester.
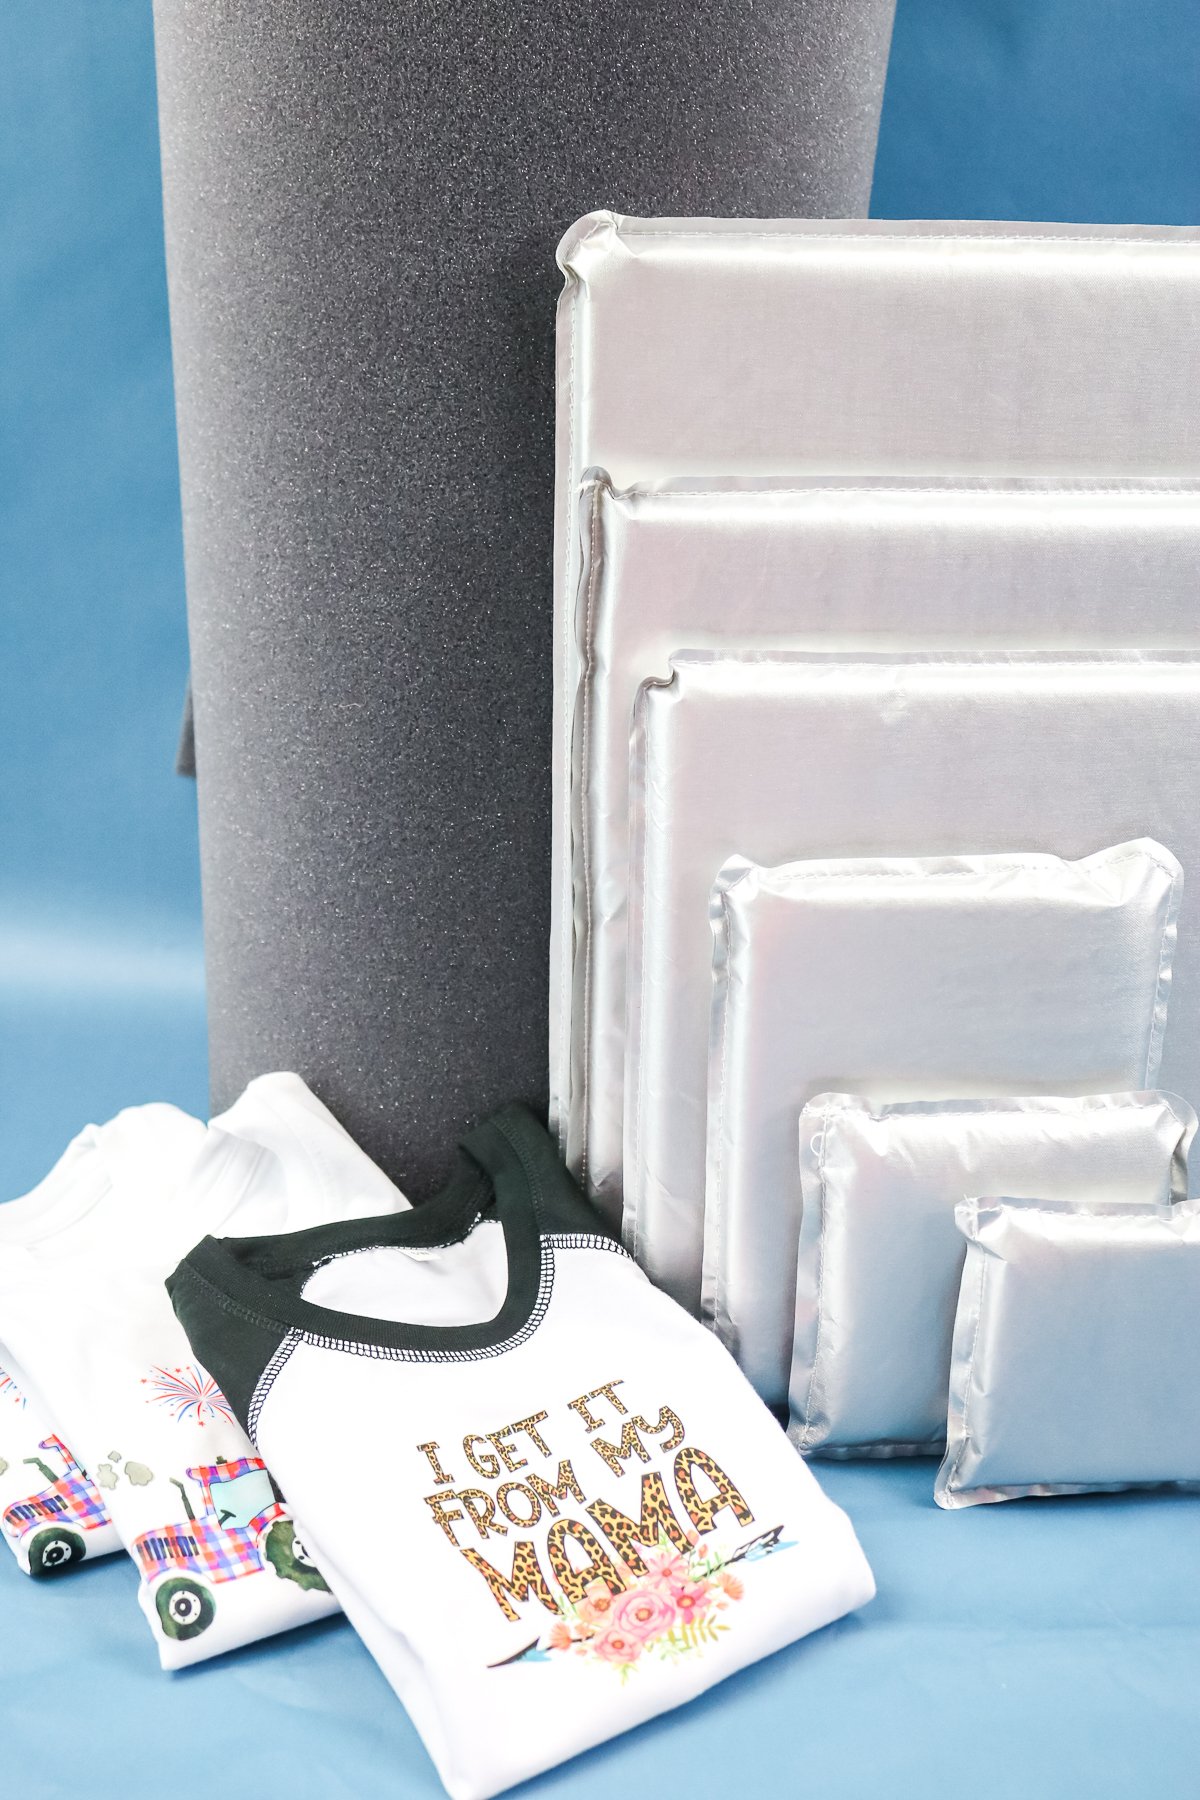
How to Use Heat Resistant Foam
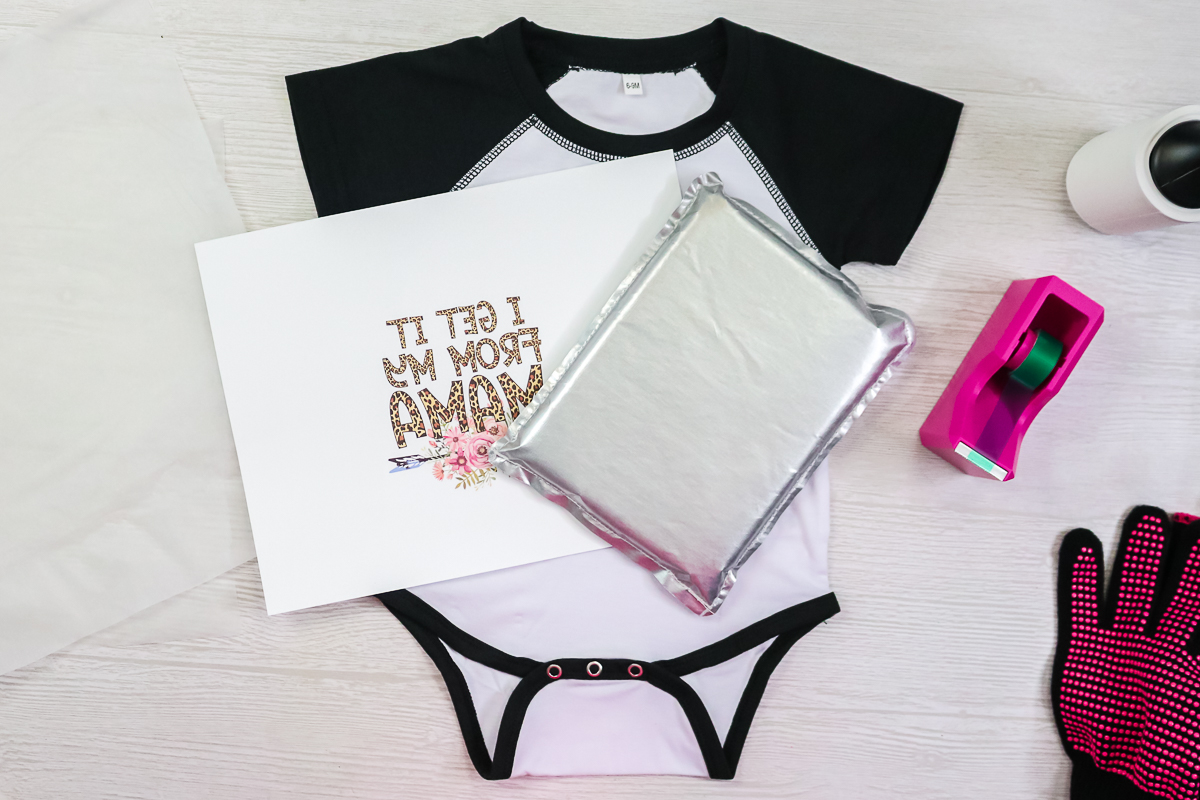
I am going to cover two methods for eliminating press lines then at the end, I will talk about the benefits and drawbacks of both. First, we are going to use a heat-resistant foam that comes in a roll. I am actually making the same shirt as I did above with the incorrect method just to see what a difference this method makes. I did prepress my shirt to remove moisture.
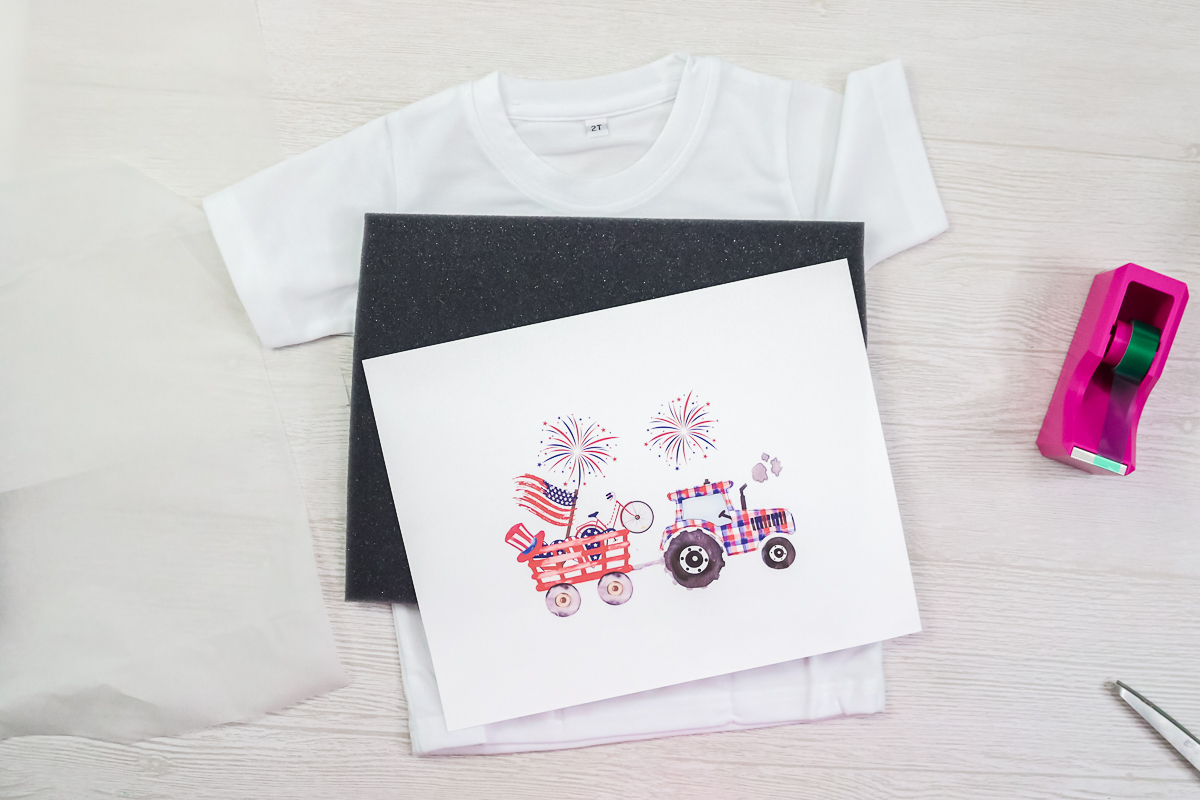
The first tip for sublimation printing is to tear the edges of your sublimation print instead of cutting it. I actually like to leave mine large and tear away the outer edge. The torn edge will be less likely to leave marks when pressing.
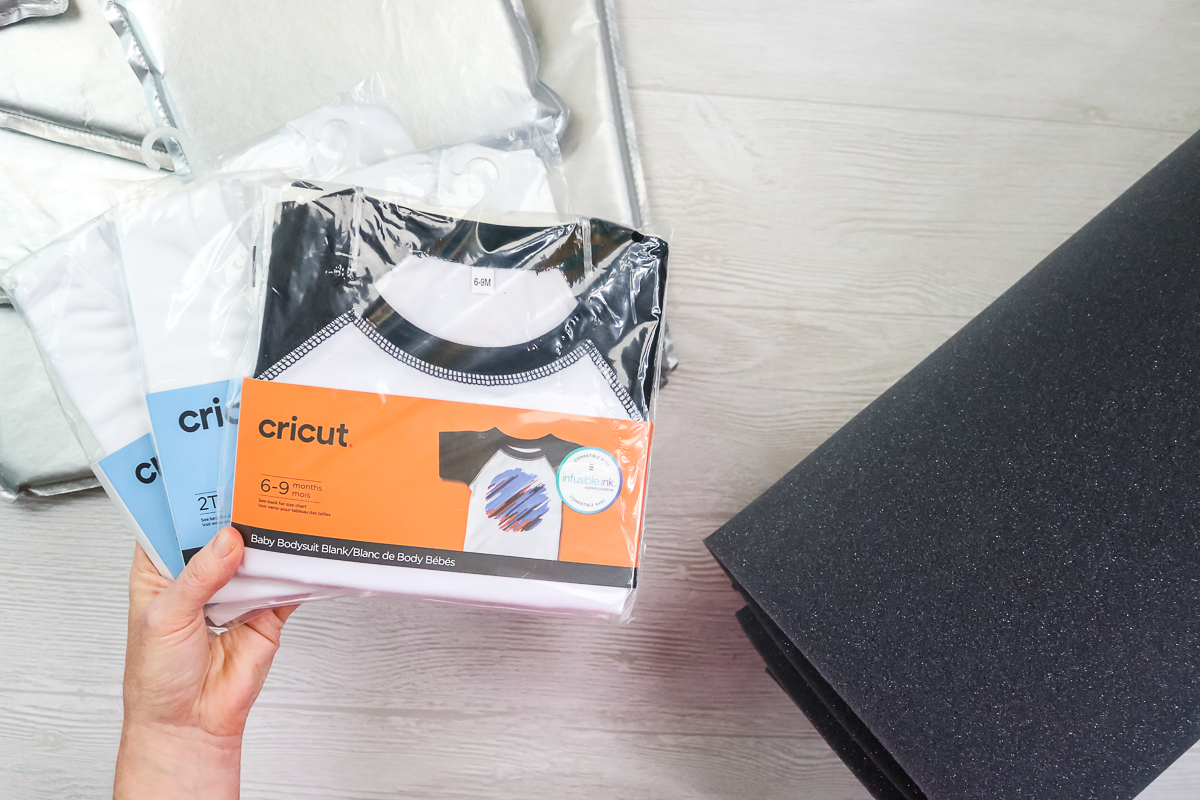
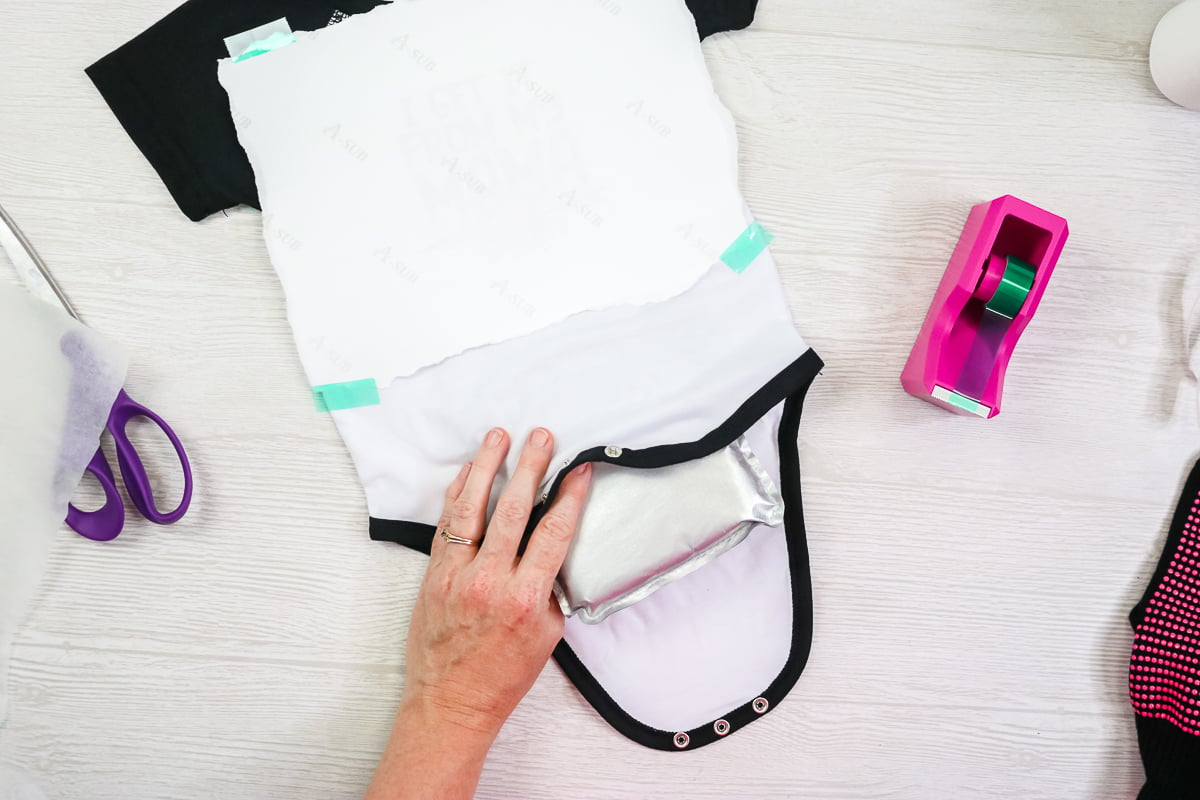
But why leave the sheet large? Adding heat-resistant foam inside of your shirt will help to cushion everything when pressing and relieve any lines. The foam should be cut so that it is larger than the design you are sublimating but smaller than the sublimation paper itself. So I prefer to leave my paper large so there is plenty of room for my foam. NOTE: Be sure to lint roll your shirt before adding your design!
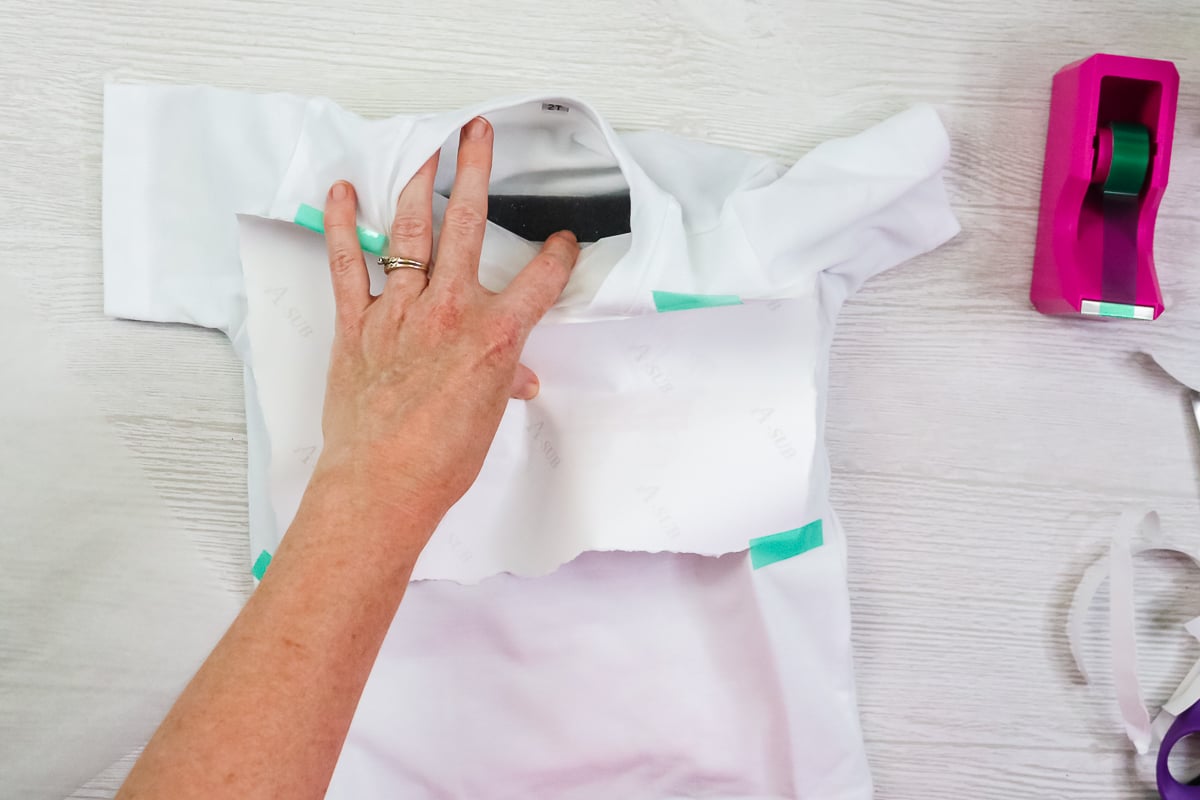
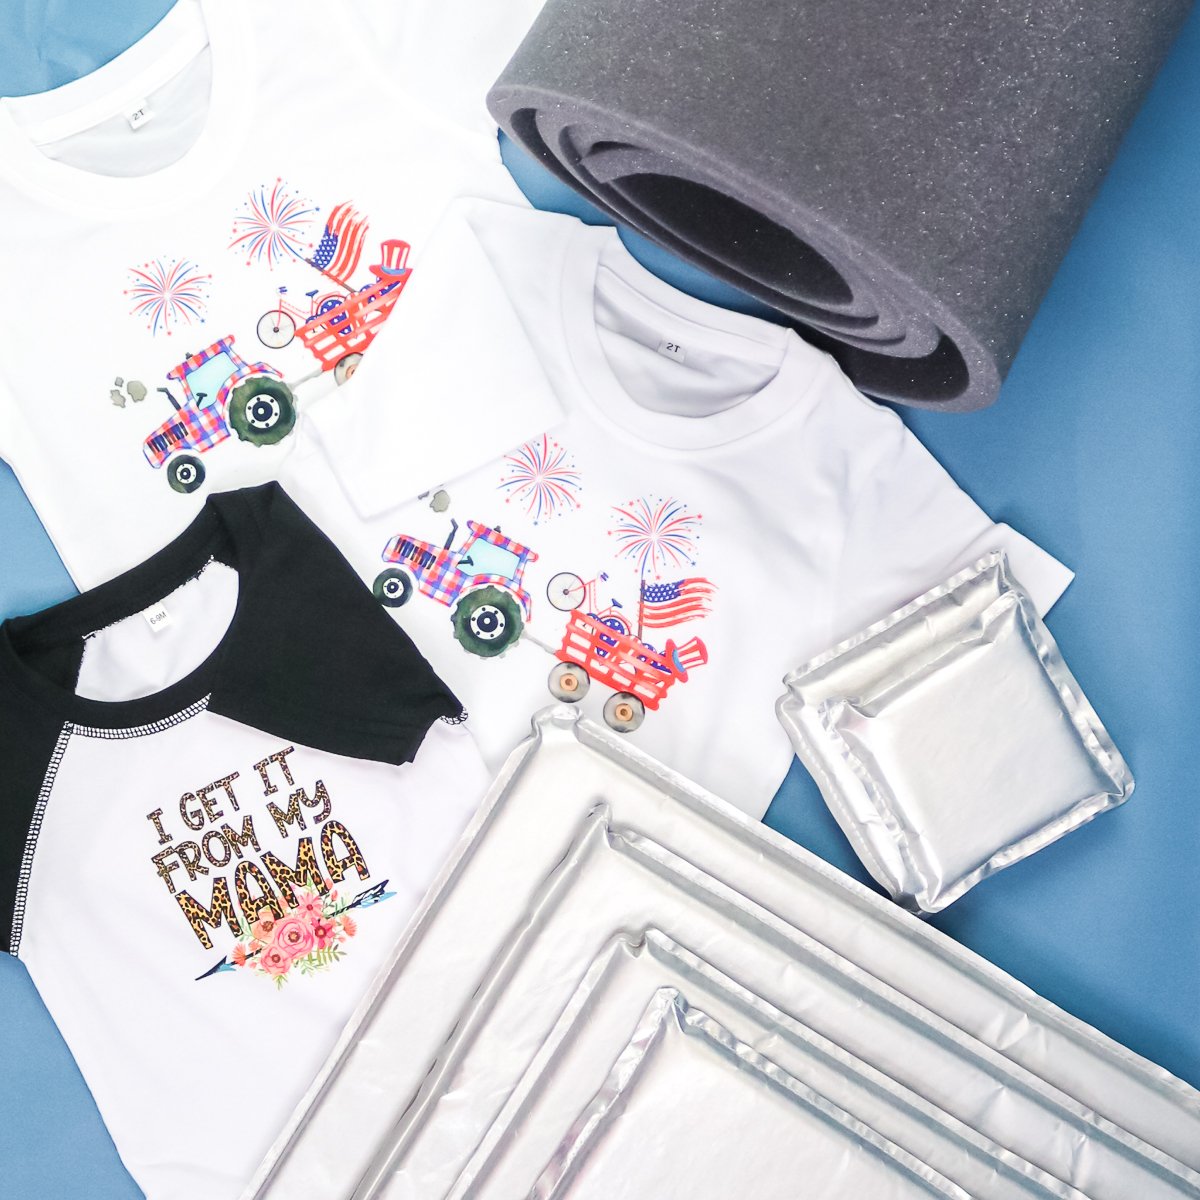
The heat resistant foam can get sublimation ink on it so you will want to cover the foam inside of the shirt with protective paper as well as put paper over your sublimation paper before pressing. So, the entire stack from top to bottom is protective paper, sublimation print with torn edges taped down, front of shirt, protective paper, foam that is larger than design but within with edges of the paper, and finally the back of the shirt.
You can then press your design for the recommended time at the recommended temperature. I will note here that you should set your pressure so that the foam is about 1/2 way compressed. This will give enough pressure to sublimate your design but not so much that you flatten the foam and lose the effect.
How to Use Pressing Pillows
A similar product is a pressing pillow. These pillows are foam with a Teflon cover that is sewn onto the entire thing. They are easy and convenient to slip inside of your shirt when pressing. NOTE: I did prepress my shirt to remove moisture.
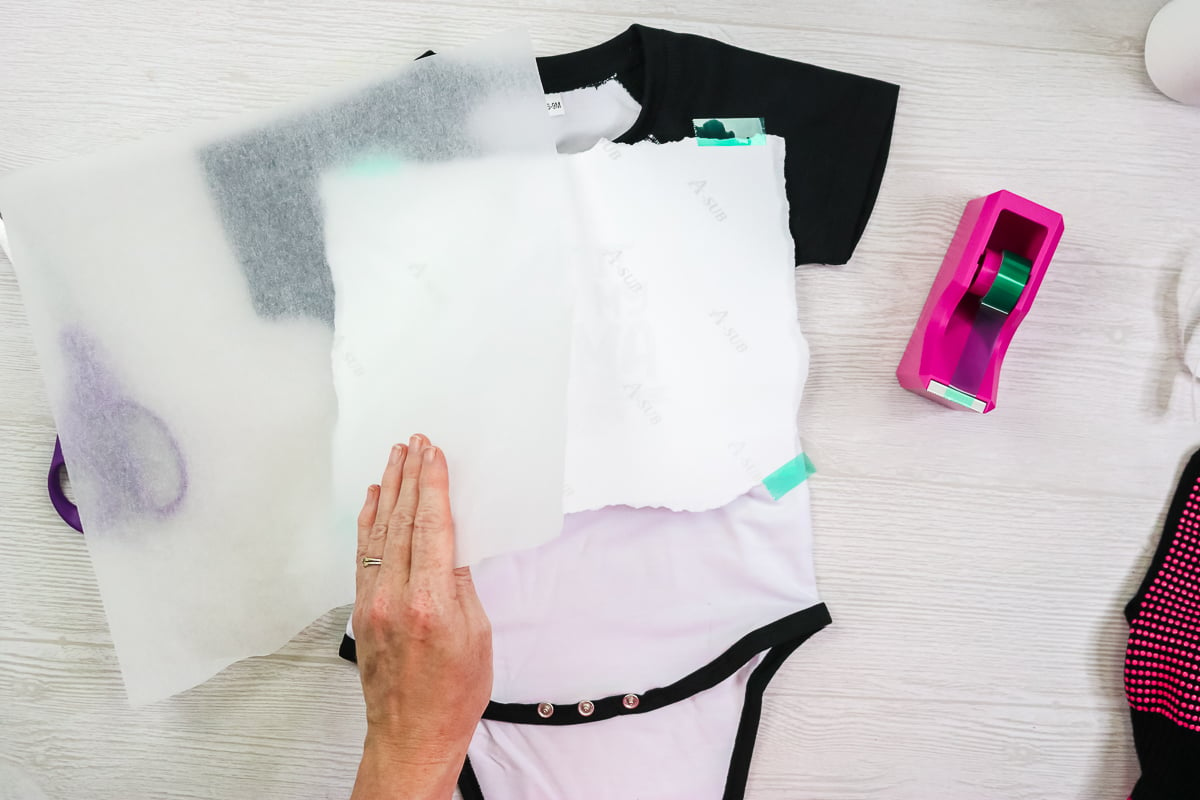
The method for use is basically the same as above. Once again, tear the edges of your sublimation print and tape into place. Be sure to lint roll the shirt before applying! Then slip in a pressing pillow. You will want a pillow that is larger than your design but smaller than your paper. Since you can’t cut these as you can the foam, you will want to leave the paper as large as possible and keep a variety of pillow sizes on hand.
I do cover my pressing pillows with protective paper just in case although they should be protected by their covering. Then add your protective paper on top before pressing. Once again, you want to compress the pillow by about 1/2 when pressing. This will give you pressure and minimize the lines.
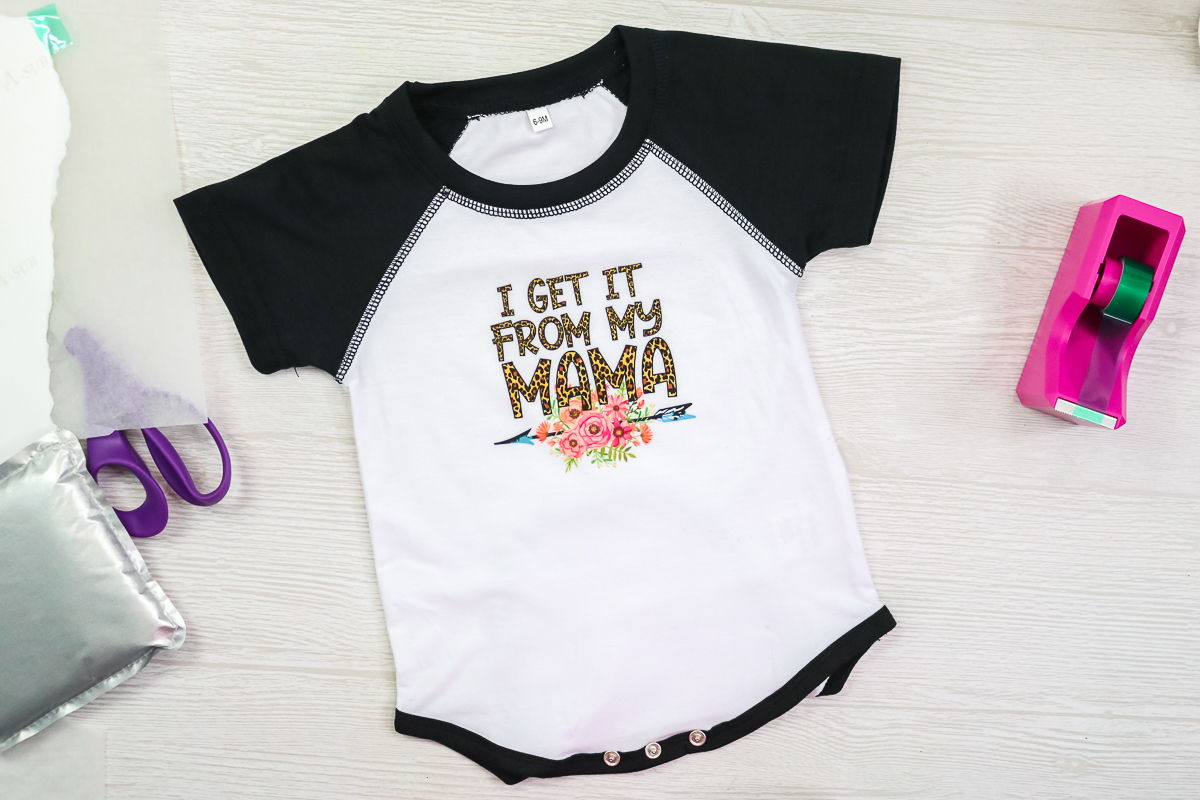
Once pressed, peel back the print to reveal your gorgeous design! I did want to note here that both the pressing pillows and the foam also help with things like the seams on this onesie. Those seams can hold the press of your design causing an uneven press. The pillow inside of this onesie prevented that and I got a nice and even press for my sublimation print.
Pressing Pillows Versus Foam
So, now that you have seen both in action, which should you use? Which is best? Let’s discuss pros and cons of both methods.
- The roll of foam is great as you can cut any size you need when pressing. As we talked about, you need something that is larger than the design but smaller than your paper. That can be tough to ALWAYS have if you just have a selection of pillows.
- With the cutting of the foam, there is a chance of cutting too small or the wrong size. There will probably be more scrap or waste with this option.
- While you can reuse the foam, if you get ANY ink on it, you will need to discard it. I do cover mine with paper but mistakes do happen and sometimes I need to discard it.
- The pressing pillows are easier to insert in your shirt and overall a bit quick and easier to use.
- You would need a bunch of pillows to have every size you need at any given time. You cannot cut or trim these to another size.
- The Teflon sheets on the pillows are really great for keeping ink off of them which should mean a longer life.
- Both are large to store so I am not sure if there is a pro or con there.
Which do I use and keep in my craft room? I will say I keep both on hand. I keep the most common sizes of pressing pillows that I tend to use. Then I keep the foam to cut to size if I need to make something that does not fall within those common sizes. You can definitely make the choice based on what types of crafts you usually make and which sounds like a better option for those.
Pressing Lines FAQ
I know that you may have questions about these products or even the procedure for using them. I am answering a few of the most common questions below. You can also drop down to the comment section and ask any other questions you have.
Do you need to use this with all fabric sublimation crafts?
Polyester is the worst for these types of press lines. The more cotton content your blank has the less likely it is to get and heat press marks.
Can you use these with HTV?
You can! You would follow the same procedure but in that case you will leave the carrier sheet large and fit the pillow or foam inside of the carrier sheet.
My pressing pillows are staining my project! Help!
I have heard of this from pressing pillows purchased from Amazon. Always be careful of the quality of the product you purchase. I have had zero issues with these pressing pillows from Heat Transfer Warehouse.
Is this foam special in any way?
It is heat resistant foam. I would not use just any foam as you will be heating it to a very high temperature during the sublimation process.
Can I use a towel, EasyPress mat, or anything else I have on hand?
I don’t recommend a towel as it doesn’t really have any give. The EasyPress mat would probably work but remember what I said about sizing of the foam or pillow. You are going to be very limited as the EasyPress mat only comes in three sizes.
Now that you know that preventing heat press marks is simple, will you be using these methods for your sublimation projects? I know you will love the professional results it gives you. If you are just getting started with sublimation, be sure to check out our list of other supplies you may need.
GET OUR CRICUT BEGINNER’S GUIDE!
EVERYTHING YOU WANT TO KNOW ABOUT CRICUT DESIGN SPACE IN A FREE PRINTABLE GUIDE!
You have Successfully Subscribed!