This post and photos may contain Amazon or other affiliate links. If you purchase something through any link, I may receive a small commission at no extra charge to you. Any supplies used may be given to me free of charge, however, all projects and opinions are my own.
When it comes to heavy pressure and Cricut AutoPress, will items work that require heavy pressure? The AutoPress has auto pressure, which means it can’t be adjusted for light, medium, or heavy pressure. There is only one pressure and the AutoPress sets it itself. Let’s try a few items that call for heavy pressure and see if they will work!
Want more info about the Cricut AutoPress? Check out my Getting Started Guide here.
Heavy Pressure with Cricut AutoPress
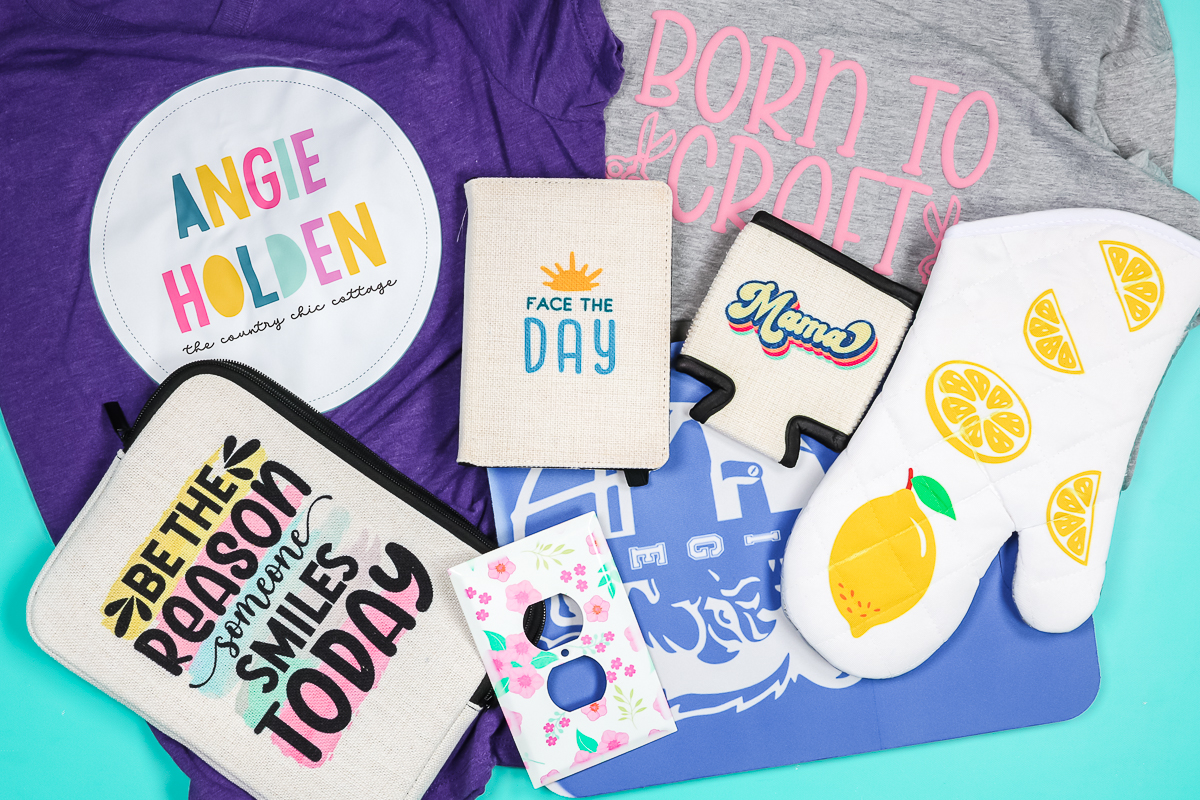
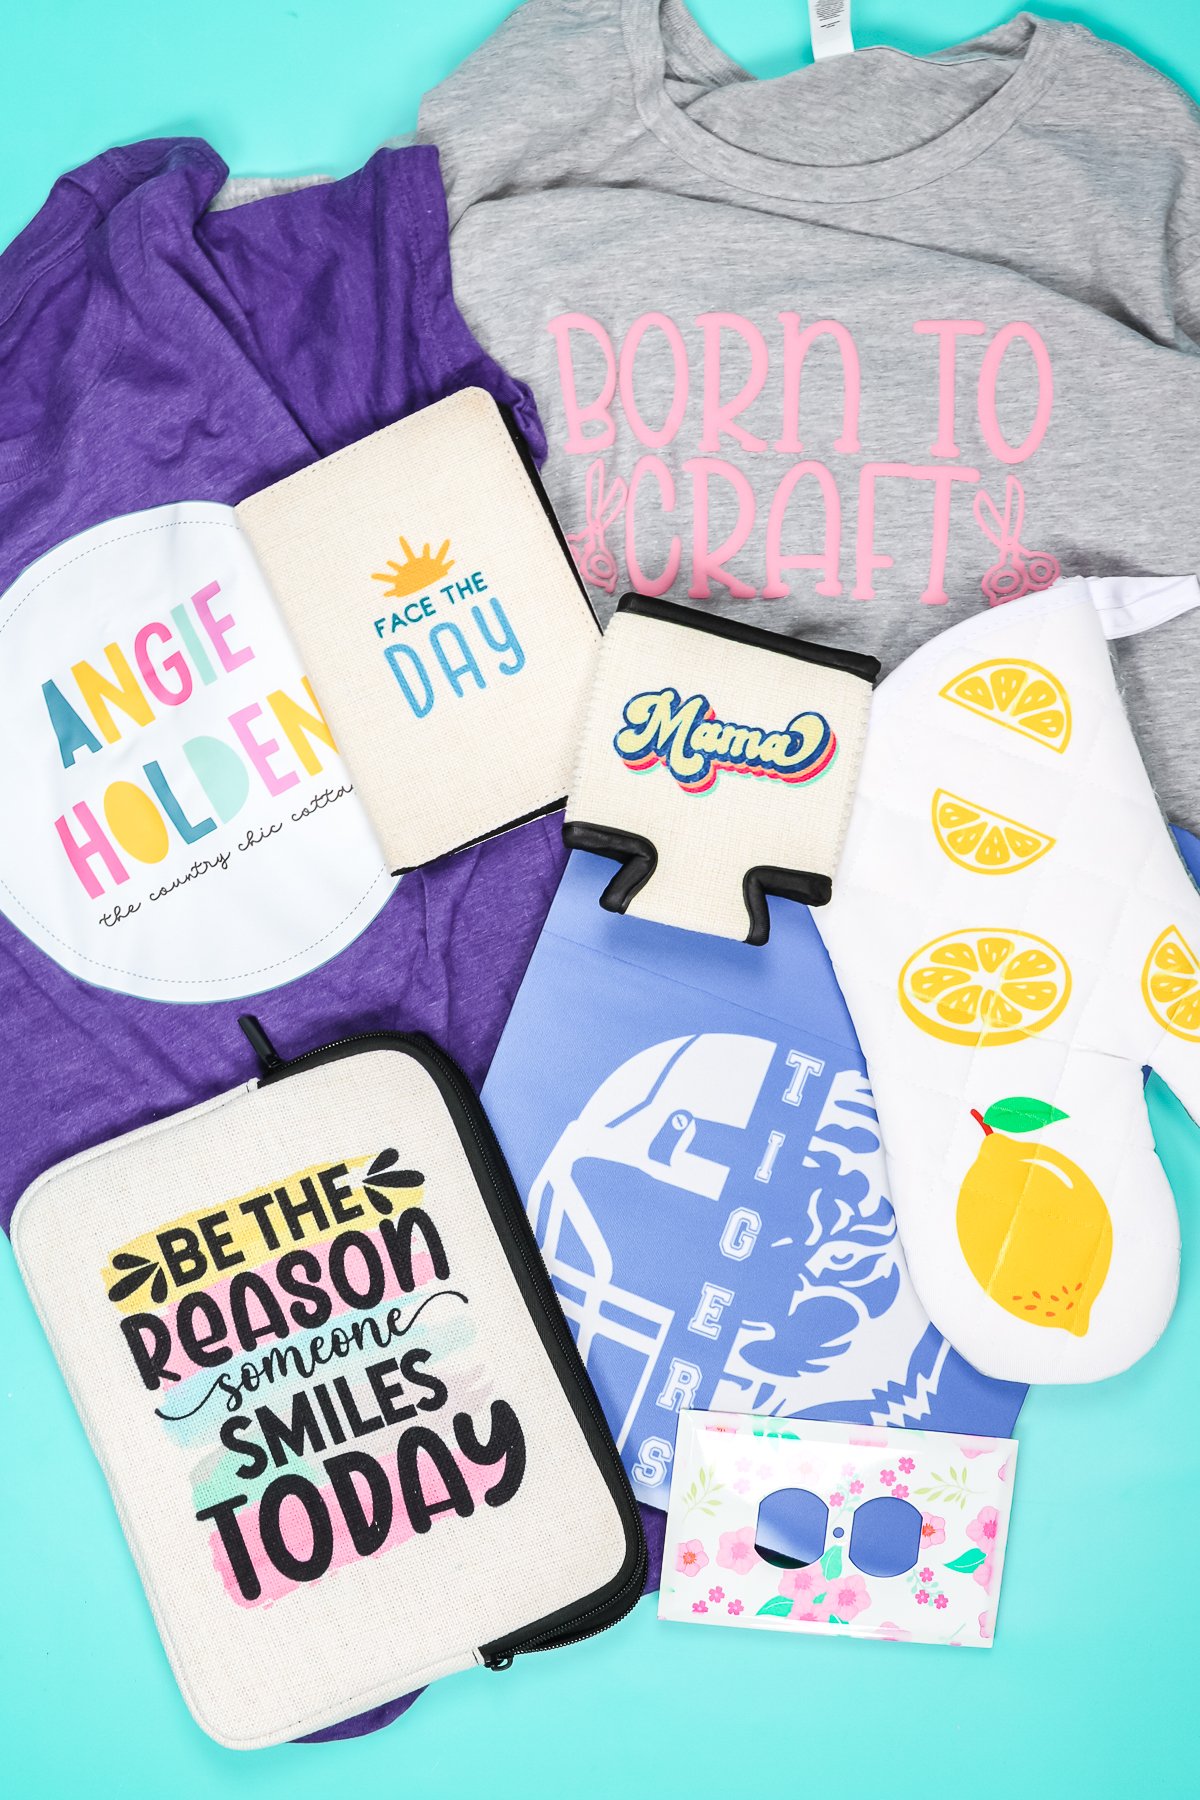
So what are we going to test today? I’m going to test screen print transfers, puff HTV, printable heat transfers, tons of different sublimation blanks that require heavy pressure, as well as a sublimation foil product that I’ve used before that also uses heavy pressure.
You can watch me test all of these heavy-pressure items with the Cricut AutoPress, just click play on the video below.
Supplies Used:
Heavy Pressure Sublimation Blanks
To begin we’re going to test the Cricut AutoPress with Heavy Pressure Sublimation Blanks. Which ones will work and which ones won’t? Let’s find out!
Foil Over Sublimation
For my first heavy-pressure project I’m going to try foil over sublimation. I am using Subli Finishing Foil. You do need to preheat the pad on the AutoPress in order to do this project.
Like other sublimation projects, it’s important to remove any moisture so preheat your cloth. This project calls for speed. Add your sublimation print and press for the required time. Quickly add the Subli Finishing Foil to the top and press again. Then we actually add the foil. You can see exactly how to use this product here.
This all has to happen really, really quickly and calls for heavy pressure. Once the foil is done you need to allow it to cool completely before peeling it back. Normally you need to add a finishing sheet over the top for it to be permanent.
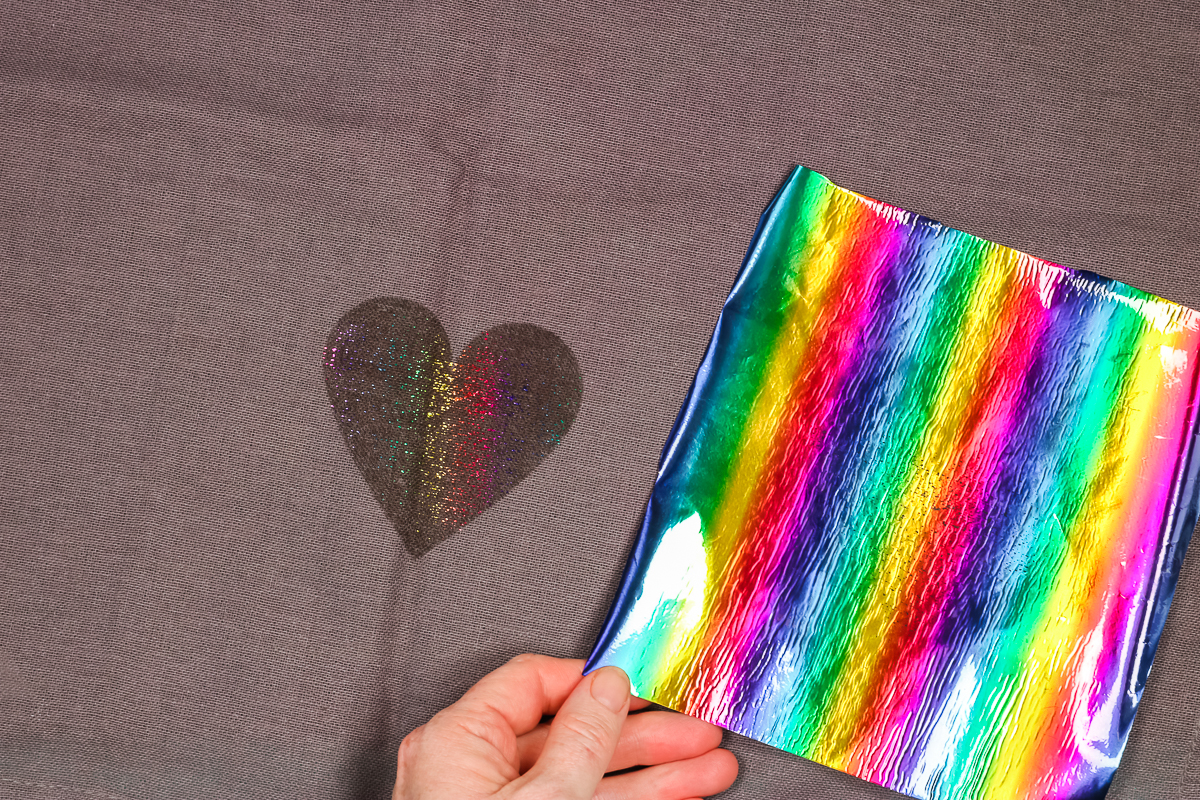
Unfortunately when I peeled back the foil none of it really transferred to the fabric so I’m going going to finish this one. I consider this project a failure with the AutoPress. I did struggle with this product on my regular heat press so I’m not surprised that it didn’t work with the AutoPress but I was hoping it would.
Sublimation Can Koozie
Now let’s try a sublimation can koozie. This can koozie calls for heavy pressure. I followed all the steps. Preheated it, lint rolled it to clean it, then I added my sublimation print. I taped it down well and added protective paper.
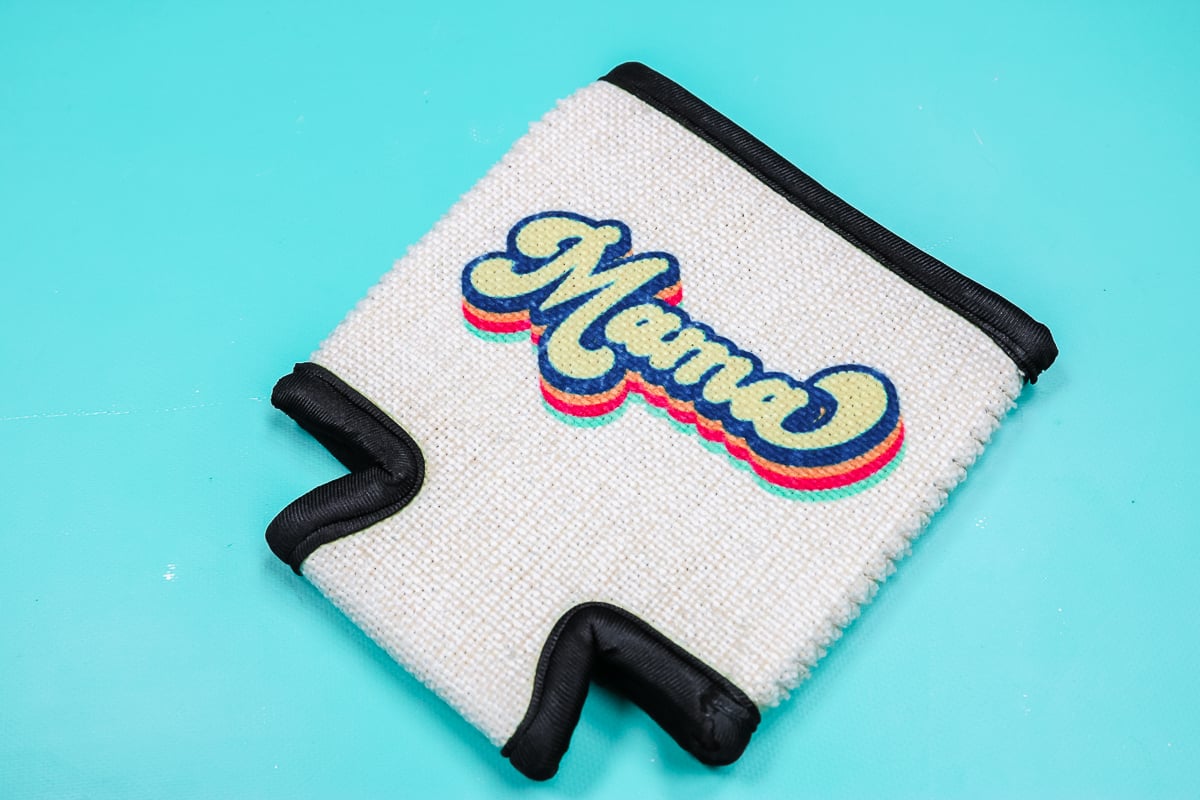
This pressed at 400 degrees for 60 seconds. After the 60 seconds was up, I removed the sublimation print. Here you can see just how good this one turned out. This one looks awesome pressed with the AutoPress.
Sublimation Oven Mitt
This oven mitt is another sublimation blank that calls for heavy pressure. The pressing requirements are 400 degrees for 50 seconds.
Again, I lint rolled and pre-pressed to remove any moisture. Then I added my sublimation print. Now, you shouldn’t have anything touch the silver on the back of this oven mitt, so I did add Teflon to my heat press, and I did not add any tape to the silver portion. You don’t want any of your sublimation print hanging over the side on this blank.
Then I added my transfer and taped it down well. I added butcher paper to the top. Once it was covered with paper, I pressed it at 400 degrees for 50 seconds, then removed my sublimation print from the oven mitt.

There are a few areas where it’s messed up down in the seams, but overall, I’m really happy with the way this oven mitt turned out on the AutoPress.
Sublimation Paper Tablet
This paper tablet is a sublimation blank. For this tablet, you remove the paper pad from the inside, and it calls for pressing at 400 degrees for 60 seconds and once again heavy pressure. You want to pre-press and lint roll. Add your sublimation print, tape it down well, add protective paper over the top, and go ahead and press at 400 degrees for 60 seconds with heavy pressure.
You can get more ideas for sublimation notebooks here!
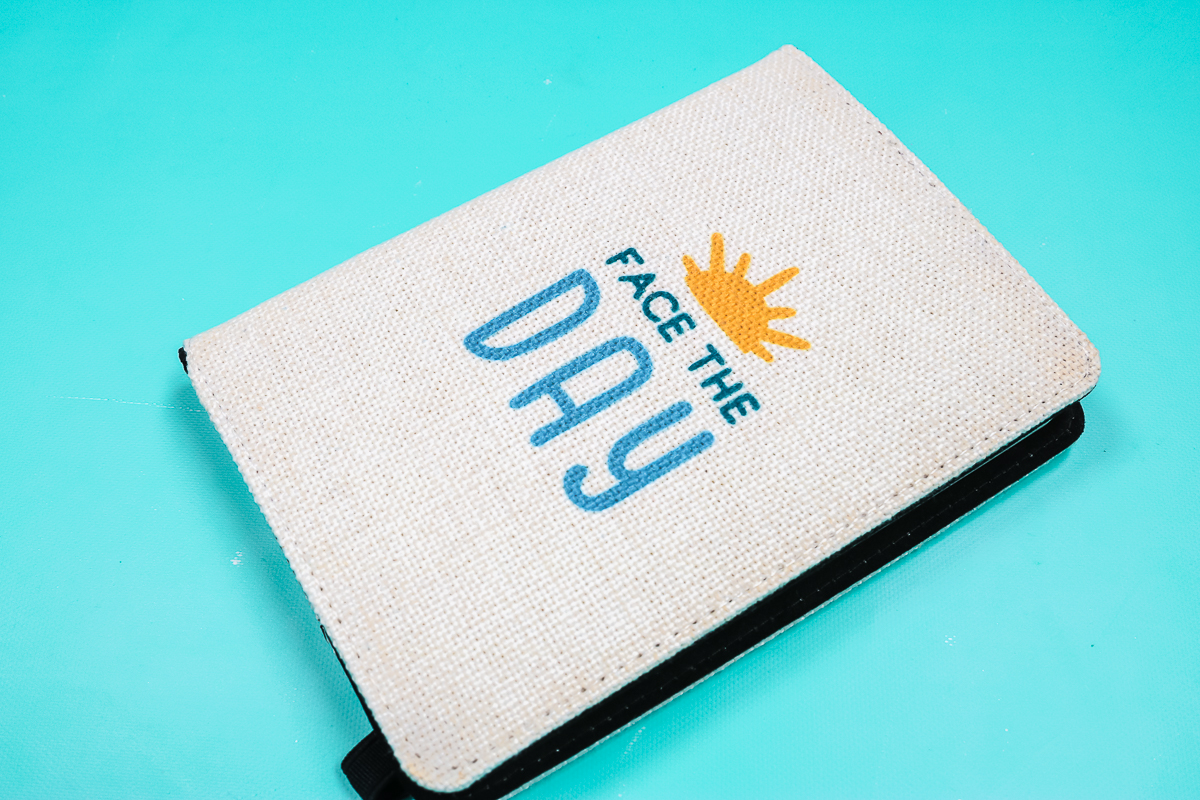
Once it’s done in the AutoPress, remove the protective paper and remove the sublimation print. Then after it’s cool, you can add the paper pad back in, and you have a cute custom notebook. I really love the way this notebook turned out, and I think it turned out perfect on the AutoPress.
Sublimation Linen Tablet Cover
This is a linen sublimation tablet cover. To get a solid press, I added an EasyPress mat to the inside. You could use a pressing pillow or anything like that, you just need to lift the fabric above the zipper.
The steps call for pre-pressing and lint rolling before adding the sublimation print. I added my sublimation print, taped it down well, and added protective paper to the top. I pressed at 400 degrees for 60 seconds.

Then I removed the protective paper as well as the sublimation print, and the EasyPress mat from the inside. You can see how great this one turned out. I’m in love with this tablet cover. It’s perfect for your iPad or tablet to stick inside when you’re traveling, and this makes a great gift. Plus, it turned out great on the AutoPress.
Sublimation Stadium Seat
Are you ready to really push the limits of the size of the AutoPress? This stadium seat is huge. I am going to use a couple of sublimation prints taped together. The sublimation stadium seat calls for 400 degrees and 90 seconds with heavy pressure. Make sure you use protective paper above and below your stadium seat to protect your AutoPress.
I actually did get it a little off on the AutoPress, you need to be very, very careful if you’re pushing the limits of the size to get it exactly in the middle of the AutoPress. I had some of this hanging too far off the edge. It was hard to tell exactly where this was since it’s such a thick blank.
Where I joined the sublimation pieces, you can see a line. I’ve not perfected the art of joining pieces. If I was to do one of these for myself, I would probably just do a different image on one side and leave everything white. I did want to demonstrate if I wanted to sublimate the entire thing what it would look like.
I’m impressed at how the blue is the same throughout except for this edge where I got too far over on one side. I do think that the AutoPress has a consistent temperature, but if you are going to do something that is the full size, you will need to watch the location when you put it into the AutoPress. Overall, I’m impressed with how the AutoPress handled this one, especially given how thick it is.
Sublimation Outlet Cover
Finally, I have this sublimation outlet cover. This outlet cover is a very tricky sublimation blank under any circumstances, so we are going to see what happens. It requires pressing at 400 degrees for 4 minutes. Your sublimation transfer should be completely dry. If you’ve just printed it, be sure to put it under your press for about 10 seconds. Just sort of hover the AutoPress over the top.
You do want to heat up the openings of the outlet itself. Inside of the AutoPress, we’re going to have protective paper, a Nomex pad, more protective paper, the rubber mat, and the outlet plate transfer side down.
They do make a production jig for these outlet covers, so you won’t scratch the top of your AutoPress or heat press. I actually ordered the wrong one. I am going to put the rubber pad over the top as well. Then I’m going to press at 400 degrees with heavy pressure for 4 minutes. Again, you can’t change the pressure on the AutoPress, so we’ll just see how it does.
Now, this does state that you can play with the time and increase it if you have any failures. We will see how this one turns out and go from there.
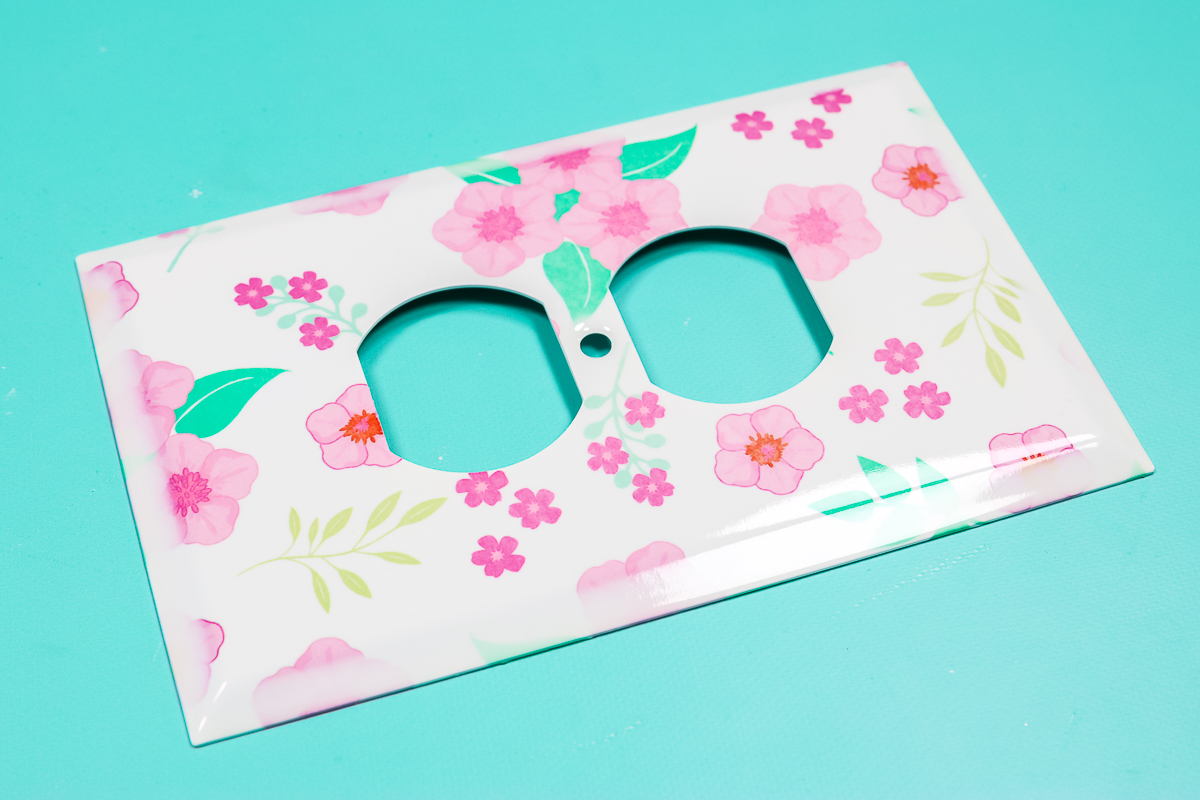
Here is the finished sublimation outlet cover. You can see it really faded around these edges. I would probably go for more time, but I’m not sure if the AutoPress would even do it with more time. There is barely any print on the edge, so I’m not sure if you could even get it to do it. This might be one sublimation blank where you do need a heat press with that heavy pressure.
Heavy Pressure HTV Projects
Now that we have tried some sublimation blanks, what about HTV? Let’s test a few products!
Puff HTV
Next, up we have WALAKut puff HTV. Again, this is a puff HTV and it calls for heavy pressure. I cut the design with my Cricut and weeded the design. I preheated my shirt, then pressed with my AutoPress at the recommended time and temperature, peeling it back immediately.
With the AutoPress, there are a ton of lines in the puff, and it did not puff up as much as it should. I pressed actually a second piece just to see what it would look like in my heat press with heavy pressure, so I could compare the two. The version on my heat press puffed up a lot more, there were fewer lines, and it looked a lot better.
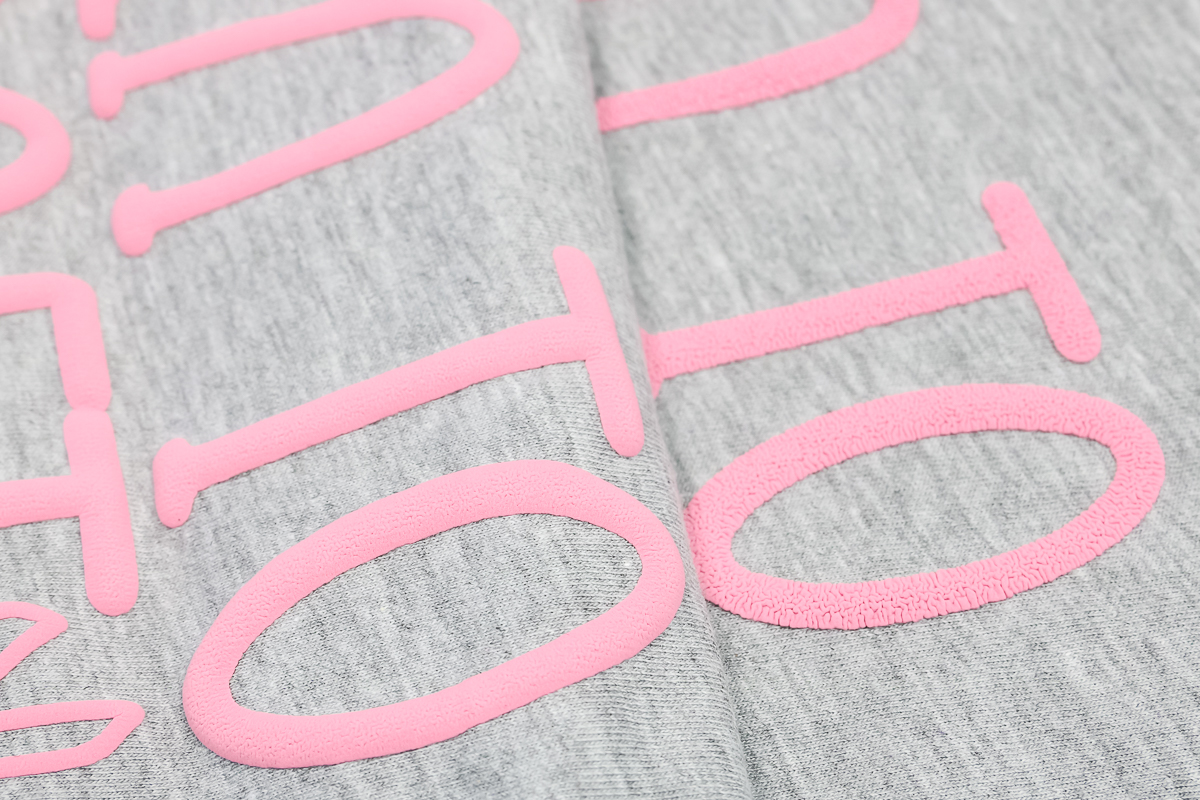
Here you can see that the AutoPress version is on the right, and you can see all of the lines. It almost looks like brains in this pink color, and how it didn’t puff up very much. Then on the left, you can see the version that I pressed in my heat press. You can see that it’s smoother, puffed up more, and looks a lot better. Again, I’m not happy with the results with the AutoPress and this brand of puff HTV.
Supacolor Transfer
For the next heavy-pressure project I’m using a Supacolor Screen Print Transfer. Pre-press the fabric making sure there is no moisture. Apply the Supacolor transfer and place a Teflon sheet over the top. I’m pressing at 320 degrees Fahrenheit for 15 seconds. Once the AutoPress opens you need to peel back the carrier sheet immediately for best results. You can see more about using Supacolor transfers here.
While peeling it back, I noticed that the transfer lifted in a couple of areas. I laid those back down with my fingers, added the teflon sheet back to the top, and pressed for 30 more seconds. Then I removed the shirt from the AutoPress. As you can see, this one is on my shirt. I would be nervous about this because it did lift a little as I peeled it up.
It seems to be stuck down now, but I do get nervous with these when they don’t stick the first time. These transfers should last the life of the garment but in cases like this where there is some lifting I’m not sure they would last that long. Be aware that you may need to test these transfers if you use them with the AutoPress.
Printable Heat Transfer
Next up, we’re trying printable heat transfer paper. This is an inkjet printable paper. I preheat my fabric, then add the printable paper, image side down, and press at the recommended temperature for the recommended time. Again, this one calls for heavy pressure on the packaging.
You’re supposed to peel back the backing sheet immediately once you lift up your heat press. The results were a bit disappointing. The images themselves look dull, they’re not complete, and they look way different from the sheet that was printed from my inkjet printer. I have had trouble with this material before, and I usually use a different transfer paper. I thought I would give it a try with the AutoPress just to see what would happen.
Final Thoughts on Heavy Pressure with the Cricut AutoPress
Let’s talk about what did and did not work. I was really happy with how many heavy-pressure products worked well with the AutoPress.
What Products Worked?
A lot of the sublimation blanks that require heavy pressure did work with the AutoPress. When I tried to push it to the maximum size, like I was squeezing really close to the maximum size, I did get my blank off a little bit. You will need to really concentrate on getting your blank perfectly in line with the AutoPress for larger items.
The AutoPress is rounded at the corners. This is another reason you need to be careful about the placement if you’re pushing it to the limit of that size.
The sublimation outlet cover did not work well with the AutoPress. That’s a really tricky blank. I’m not sure if I can get it to work on my regular heat press. I might be able to, but I’m not positive it would work without the heavy pressure just because it’s so rounded. More rounded than any other blank I’ve ever done in a flat press.
The rest of the blanks all worked great, except the seat which I got slightly off. That’s a user error, but something to note if you are going to use the AutoPress and want to push it to the maximum size.
What Products Didn’t Work
I did have some failures. You might struggle to get a puff HTV to work in the AutoPress.
I struggled with sublimation foil on my regular heat press. I’ve had quite a few failures and had to really ramp up the pressure on that product to get it to stick. I didn’t think it would work in the AutoPress anyway but wanted to try it.
The other failure was the heat transfer paper. I generally use the one for dark materials that does not require heavy pressure. The product for dark materials doesn’t require heavy pressure. It worked on the AutoPress, it works on my heat press, it works on an EasyPress, and you can use it on light fabrics, technically. I usually use the one for dark materials. I wanted to use the one for light to really put the AutoPress to the test, and it did not work.
Finally, the screen print transfers. I would be cautious with those just because they lifted in the corner. A screen print transfer is a life-long thing. As soon as you apply it, if you apply it correctly, it will last for the life of the garment.
When applied correctly means that it requires heavy pressure. If you don’t use heavy pressure, you are not applying it according to the directions. If you use the AutoPress, I don’t think you would be applying it to the directions. Because it lifted in that corner before, I pressed it the second time. I would use extreme caution if you’re going to use the AutoPress for that type of product.
Get some samples, apply them to some fabrics, run them through the laundry, and see what happens. I also have the same results that I had on the AutoPress with the EasyPress. I’ve been able to do it in my heat press without issue, cranking that pressure up.
Varying Results with Heavy Pressure and Cricut AutoPress
I hope that answers your questions about the AutoPress and items that require heavy pressure. I think with these results, you can see that it varies. If an item requires heavy pressure and you’re using the AutoPress, it might work, it might not. I’ve had successes and failures both with the AutoPress with those heavy-pressure items.
If you have any questions about the Cricut AutoPress feel free to leave them in the comments below.