This post and photos may contain Amazon or other affiliate links. If you purchase something through any link, I may receive a small commission at no extra charge to you. Any supplies used may be given to me free of charge, however, all projects and opinions are my own.
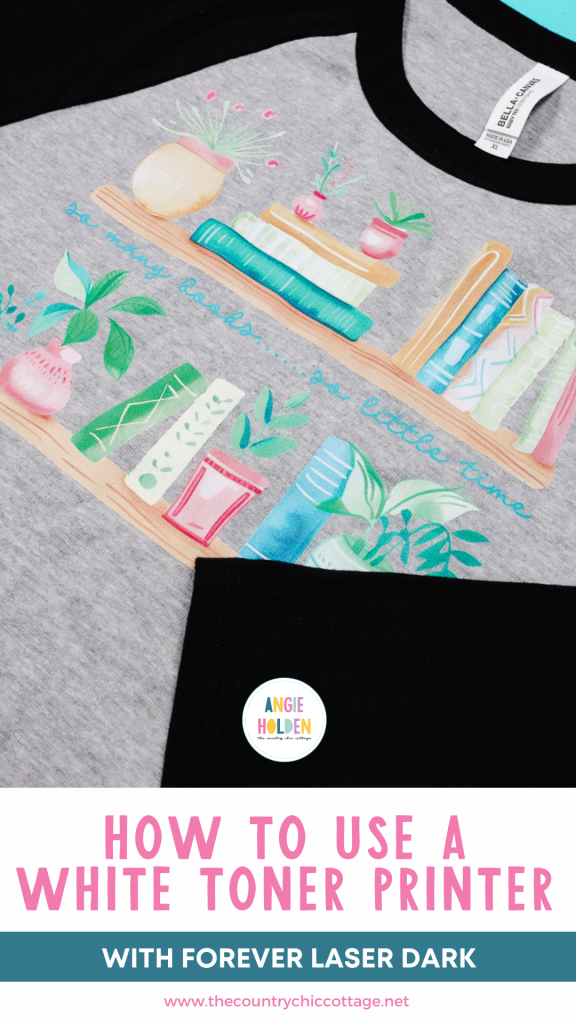
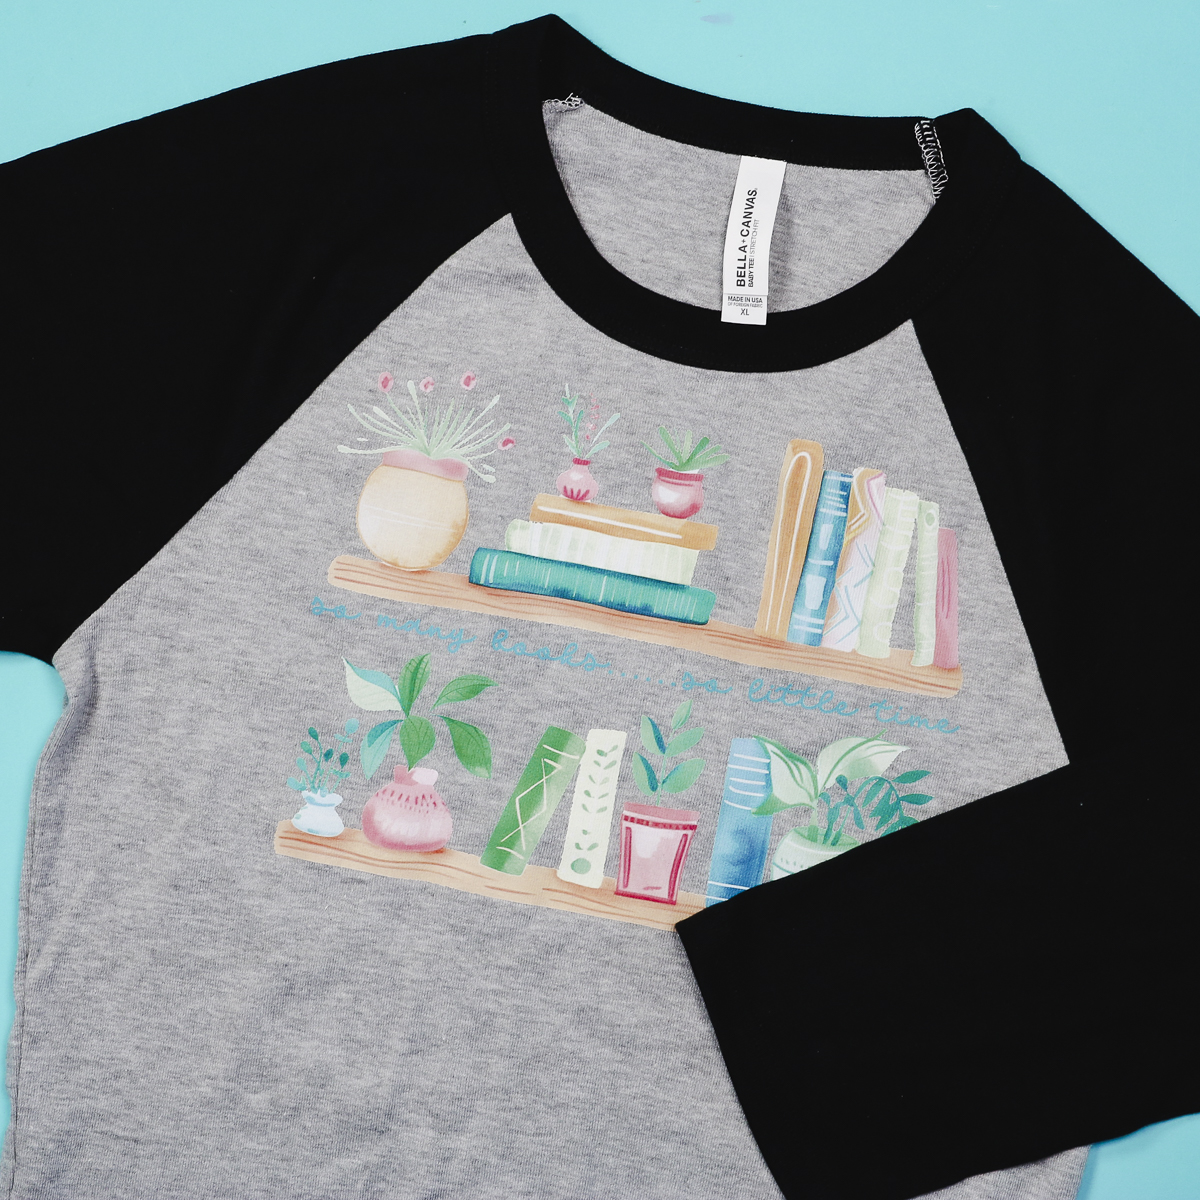
If you’re looking to make full-color professional projects, a white toner printer may be the right choice for you. Today I am going to show you how to use a white toner printer with Forever Laser Dark paper.
You’ll learn step by step how to use Forever Dark paper in a Crio White Toner printer. A white toner printer can use a wide variety of different papers, I am going to use just one in today’s tutorial.
If you haven’t heard of white toner printing, I have another article that explains what white toner printing is and why you’d want to use it.
You can watch this entire process of creating the print and making shirts by pressing play on the video below.
How to Use a White Toner Printer
This tutorial is specifically for making a shirt using a white toner printer and Forever Dark paper. I have future tutorials planned to show how to make different projects with different papers in the white toner printer.
Supplies Used
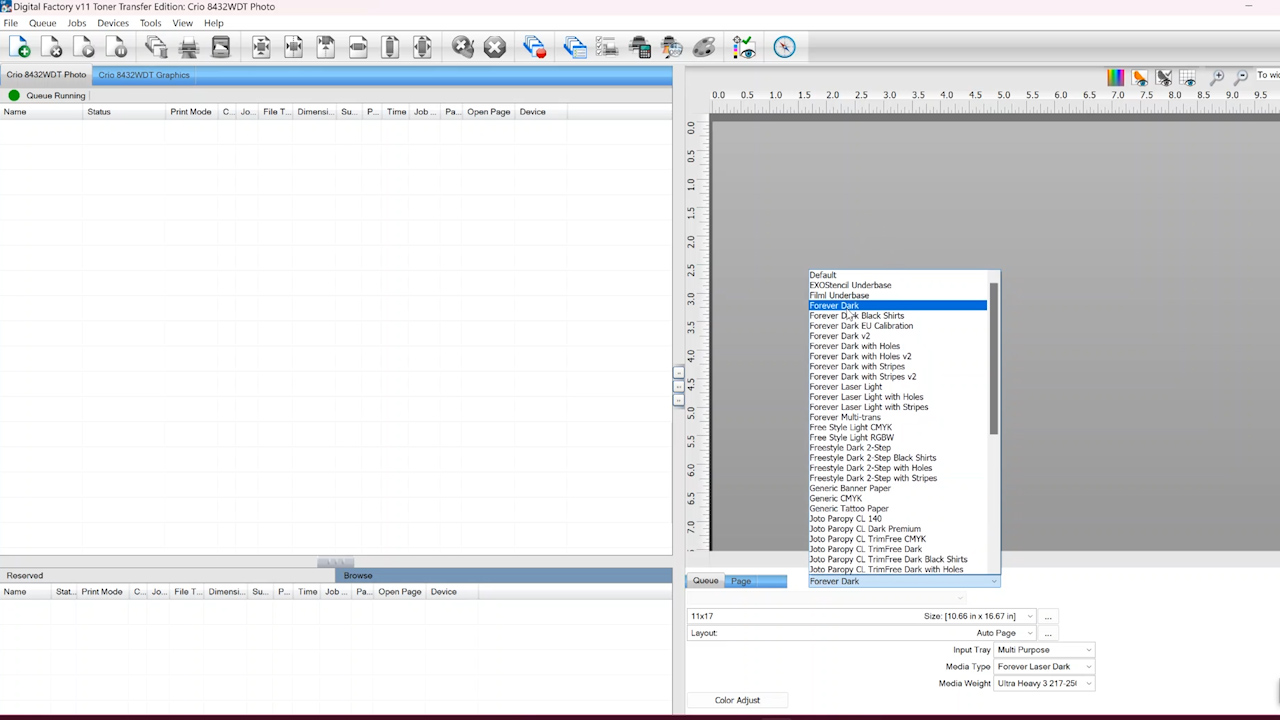
Step 1 – Open RIP Software and Upload Design
Open the RIP software and choose the paper you’re using. You’ll see there are a lot of options available for the Crio White Toner Printer. I am using Forever Dark so I’m going to choose that and choose the right size for the paper I have.
Selecting the paper will automatically change the settings in the RIP software.
To upload the design click File, Import File, locate the design on your computer, and then click Open.
You’ll see the file open in the RIP software and from here you can zoom in and out to see a close-up of the design or the full sheet of paper.
Within the RIP software you can resize the design by pulling on the corners or down in the Jobs tab you can type in the specific size you want your design to be. Make sure Mirror is clicked and that the design is flipped.
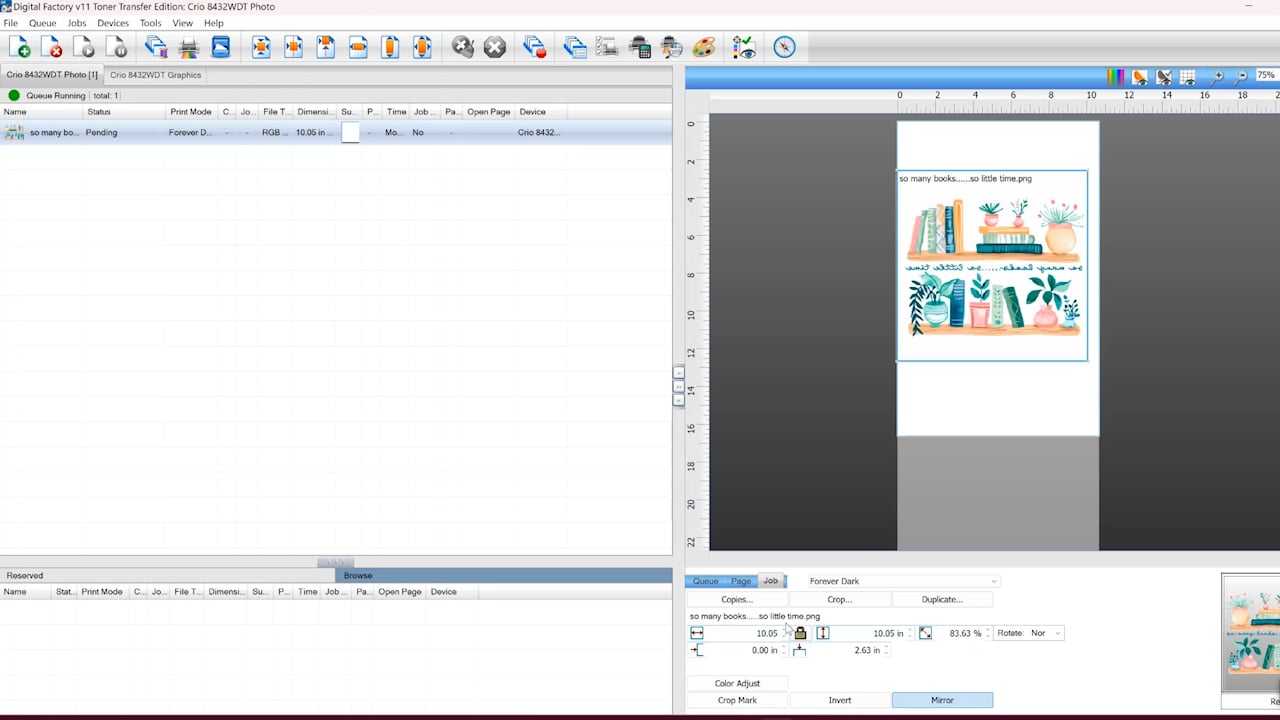
The RIP software doesn’t always place the design right at the top of the paper. You can click on the design and move it around on the paper. This will allow you to add more designs to fill the whole paper if you want to.
From the Job tab, you can click Color Adjust and adjust any colors. If you don’t think the colors are bright enough or they’re too bright you can adjust those in the settings.
You can also adjust the type of image it is. For instance, if I change it from a Photo setting to a Graphics setting it may make all the adjustments you need.
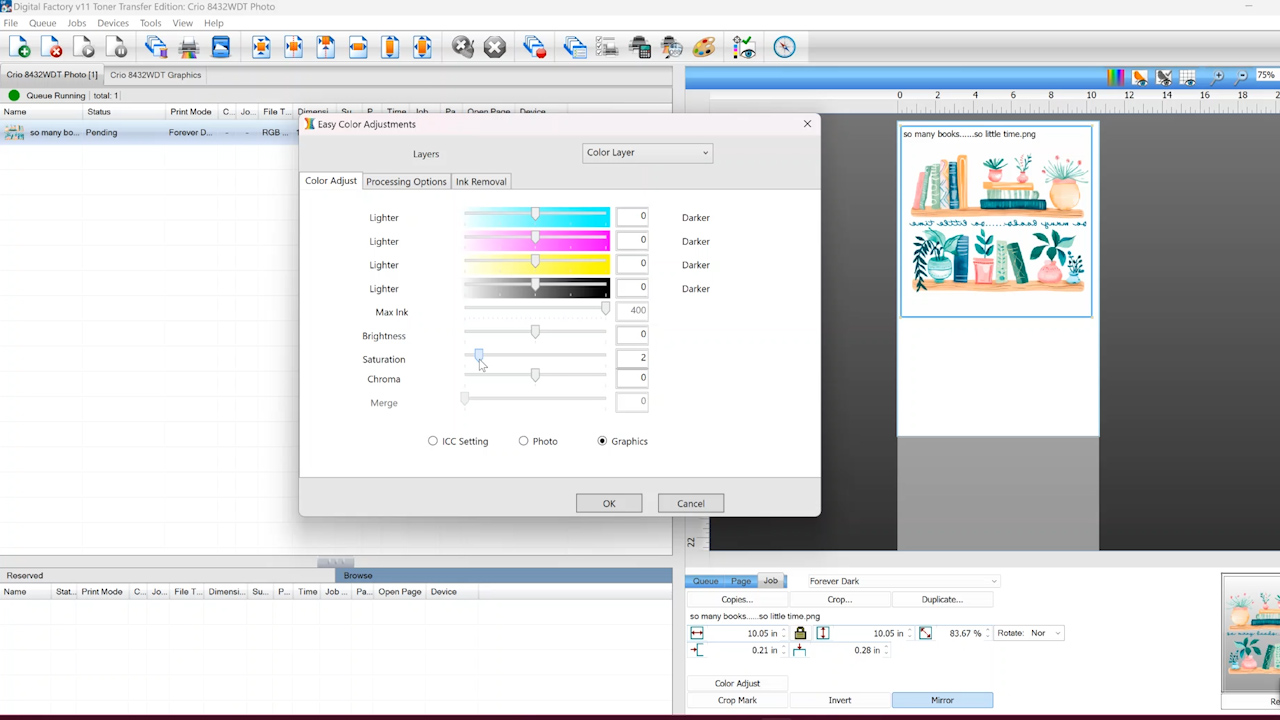
Duplicate your image to get as many of the design as you want to print. When the design looks like you want, we’re ready to print.

Step 2 – Print Design on Crio White Toner Printer
Hook up the Crio printer and click Print Job. The Forever Dark paper pack comes with 3 different types of paper.
There is the clear film that you will print on. One side is matte and the other side is shiny. You print on the matte side. If you’re not sure which side is which, you can gently scrape a corner, if you can see the scratch marks that is the side you print on.
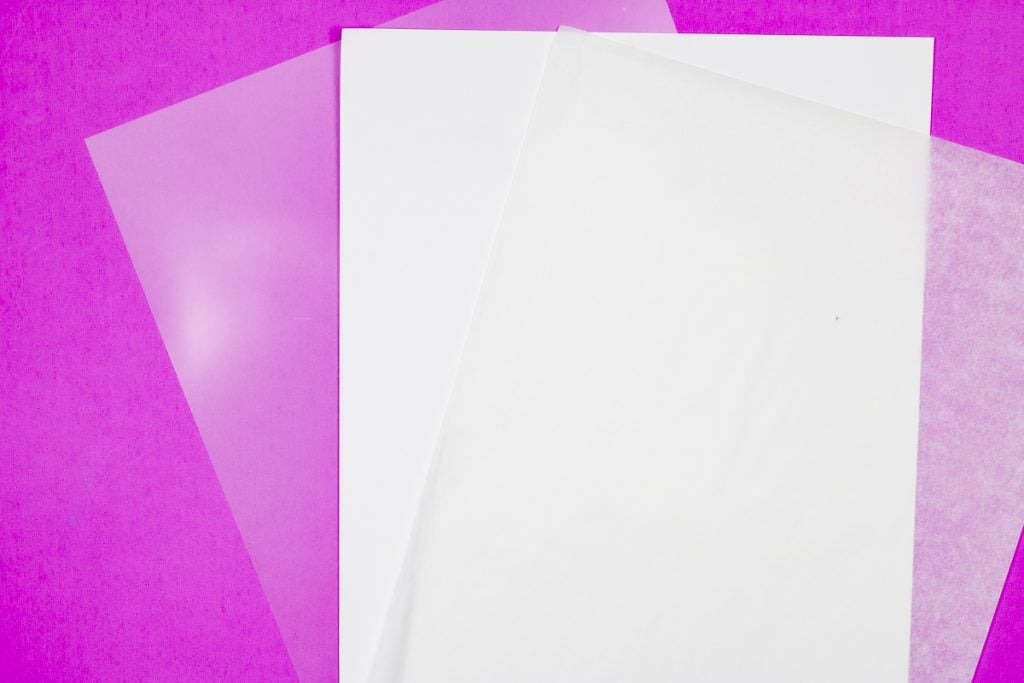
Included in the kit is a parchment-type paper. There are fewer of these than the other papers because you can reuse them multiple times.
The last type of paper is called B-Paper Pro. This is the adhesive for your print. You’ll see that on the backside there is text that says DO NOT PRINT ON THIS PAPER so it should be easy to keep them straight.
The only paper we need to load into the printer is the clear film. I like to use the front feed tray. Make sure you’re loading the paper the correct way.
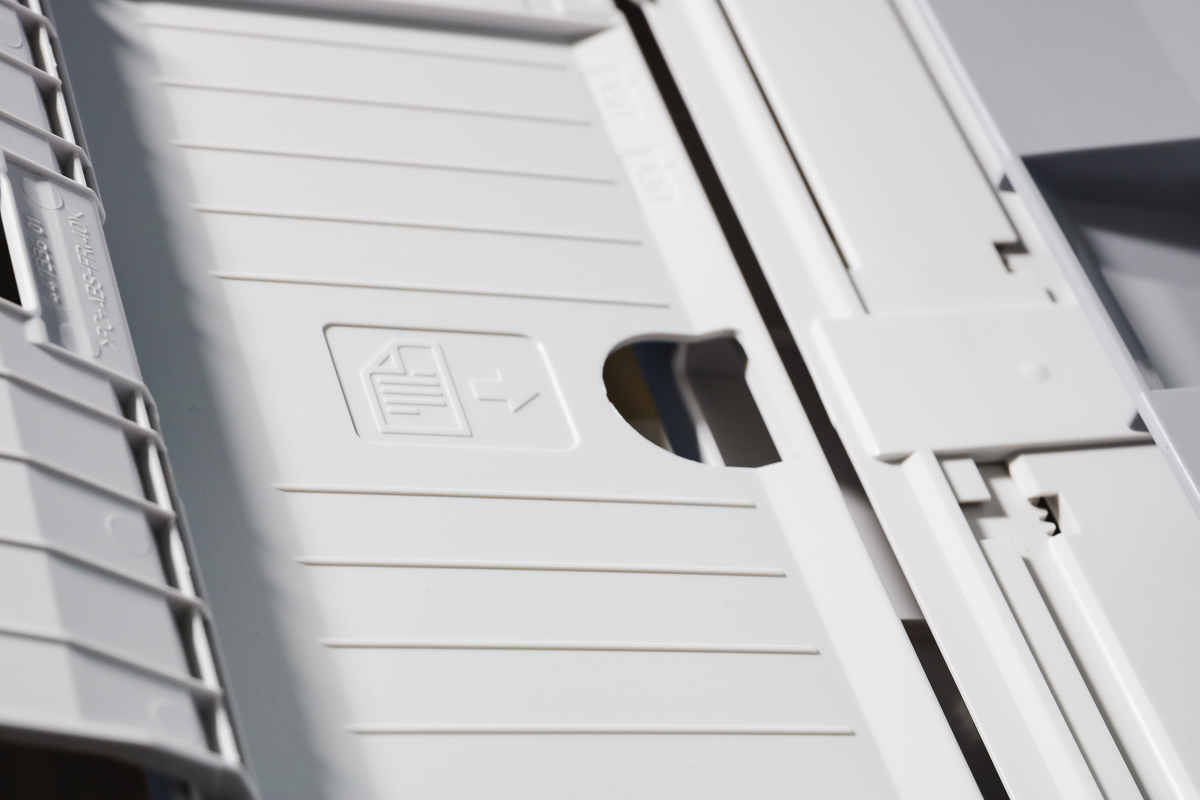
As you can see in the photo above the printer is telling us that it will print on the top of the paper. For this Crio White Toner printer, you’ll load the paper so that the matte side is up as that is the side that the printer will print on.
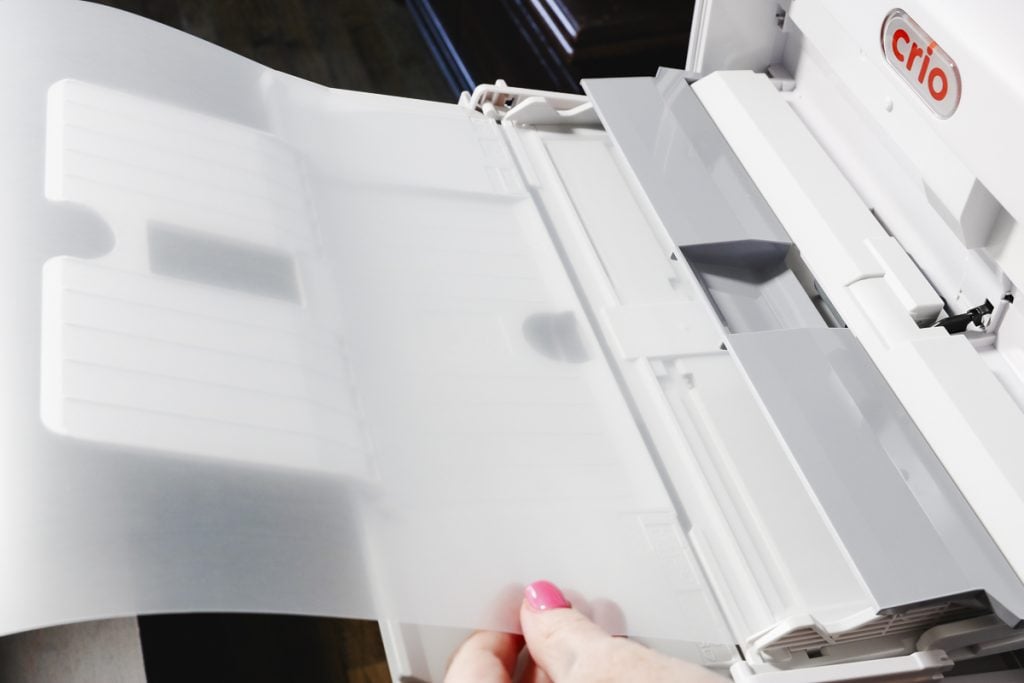
Load the paper into the front feed tray and with the gray flap shut it should recognize the paper. If it doesn’t, lift the gray flap back up and close it and it should recognize it and feed it into the printer.

When the printer is done t,he print will look something like this depending on your print. When the print comes out of the printer, it is completely dry. Because it’s a toner printer and not an inkjet printer, you don’t have to wait for the print to dry.
Note About the Back of the Print
I want to note that the RIP software for the white toner printer lays the ink down in a way that it can be pressed successfully on any color of blank. When you look at the back of the print you may see a lot of white, that is to help prevent the color of the blank from showing through. When you look at the print from the front, you’ll see what the design will look like.
How to Press a White Toner Print
Now that we have our print it’s time to press the design. There are multiple steps to the pressing process for white toner prints so let’s walk through each of them.
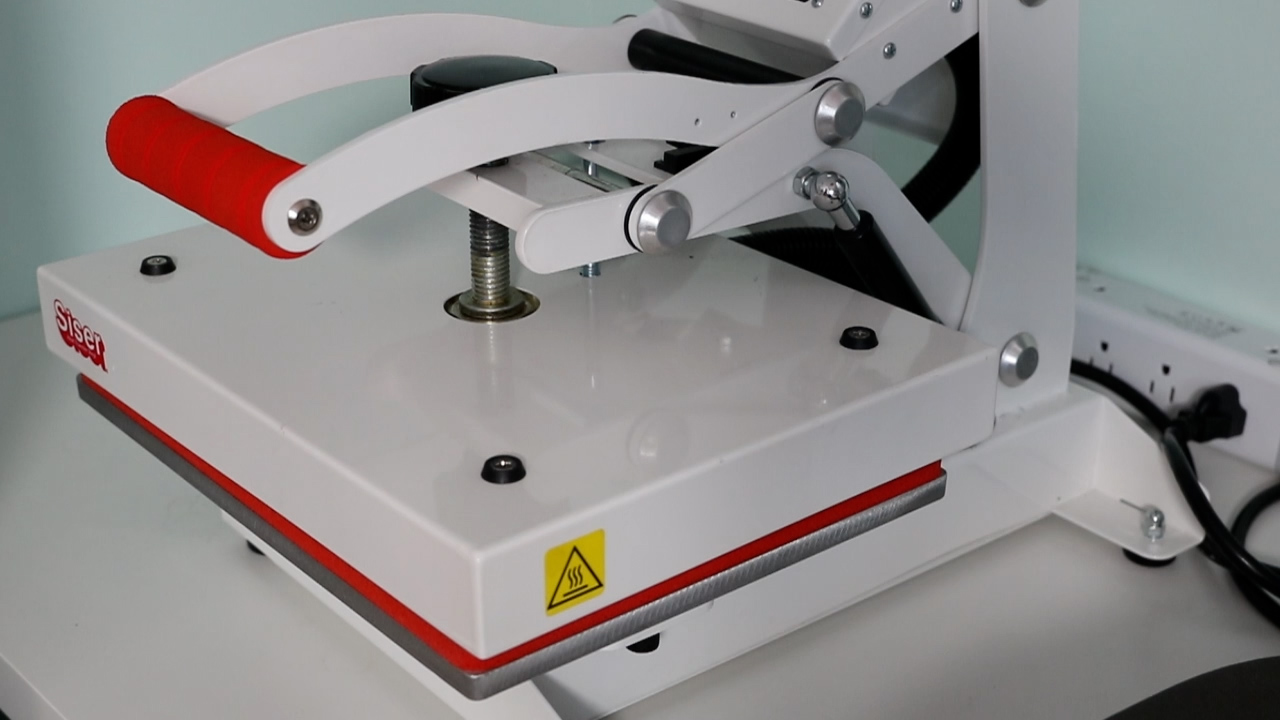
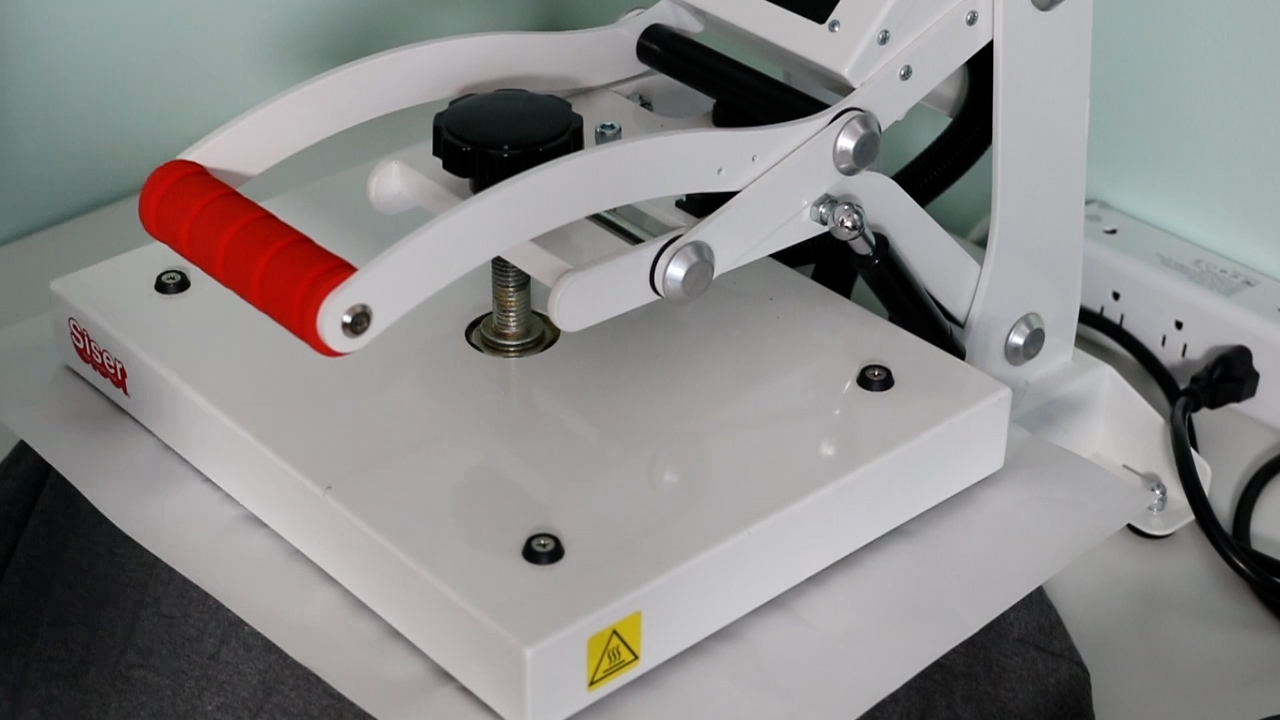
Step 1 – Preheat the Heat Press
I have found that a traditional heat press is easier to use with white toner prints. You could possibly get a Cricut Autopress or EasyPress to work but I would practice on a spare blank first.
Make sure you remove any Teflon sheets in your heat press. Keep both surfaces in the heat press hot. I like to keep my heat press closed while it heats.
Make sure you’re using a firm heat-resistant mat in your press. If you’re using the Cricut Autopress or EasyPress, make sure you’re using a firm mat.
The temperature you need to preheat your heat press to will be determined by the paper you’re using and the surface you’re pressing the design onto. I have my press set to 300 degrees for 90 seconds.
Step 2 – Press B Paper to A Foil
The design is printed on the A foil paper. Place the A foil into the heat press with the back side of the design facing up. Trim the B paper so it’s slightly larger than the print but smaller than the carrier of the A foil paper. This will prevent the B paper from transferring to the press so it doesn’t dirty the bottom pad.
Place the B paper on top with the coated side facing the print. You’ll see the side with all the text on it facing you.
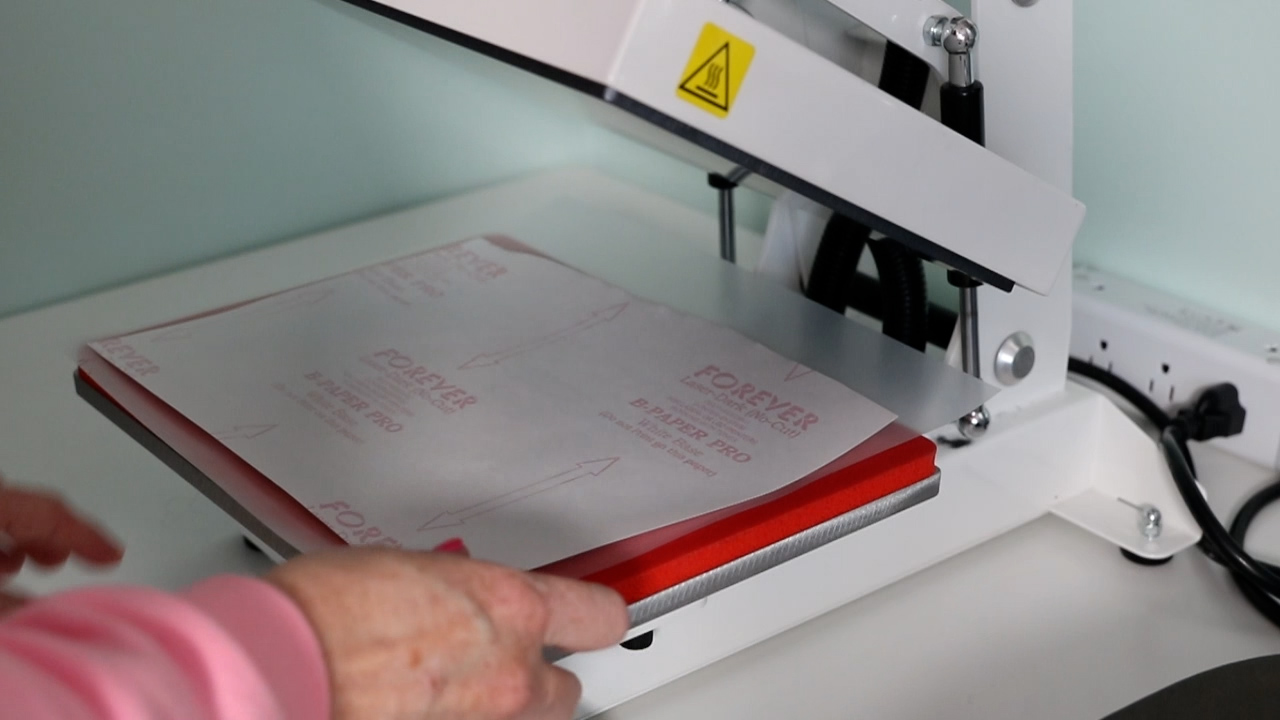
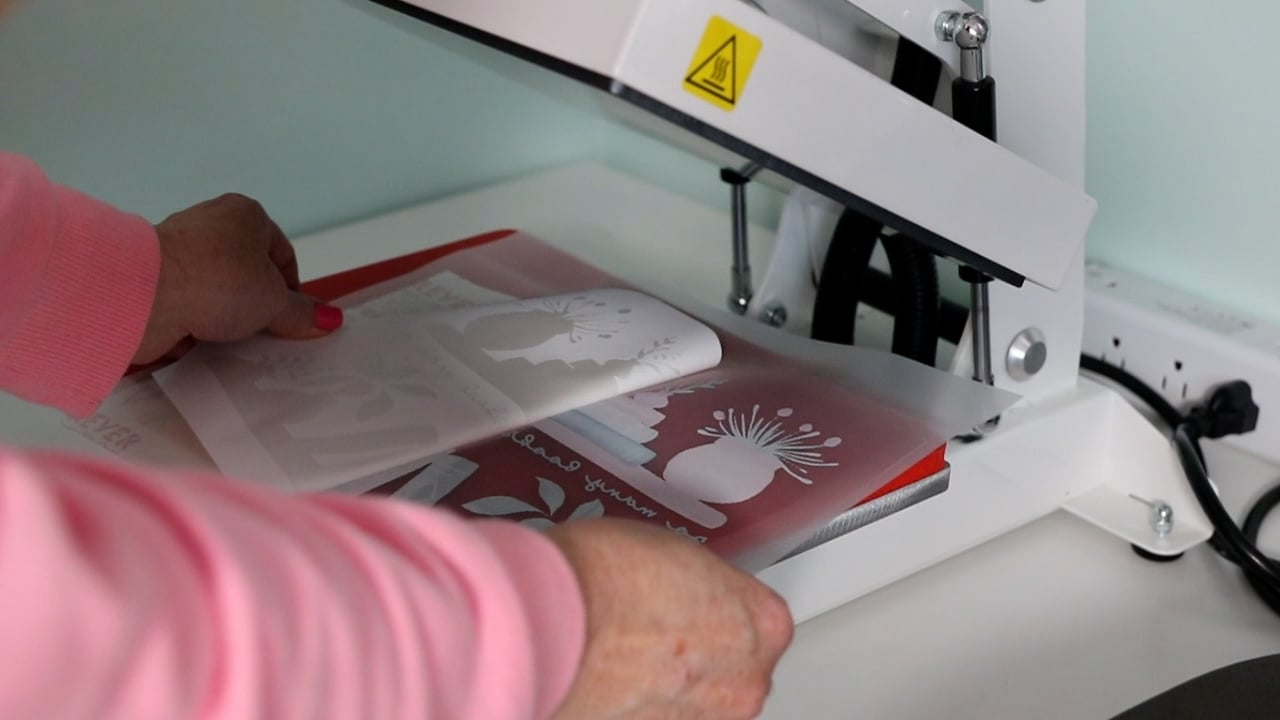
Cover both sheets with the parchment paper that came with the Forever Dark paper pack. Press at 300 degrees for 90 seconds with medium pressure.
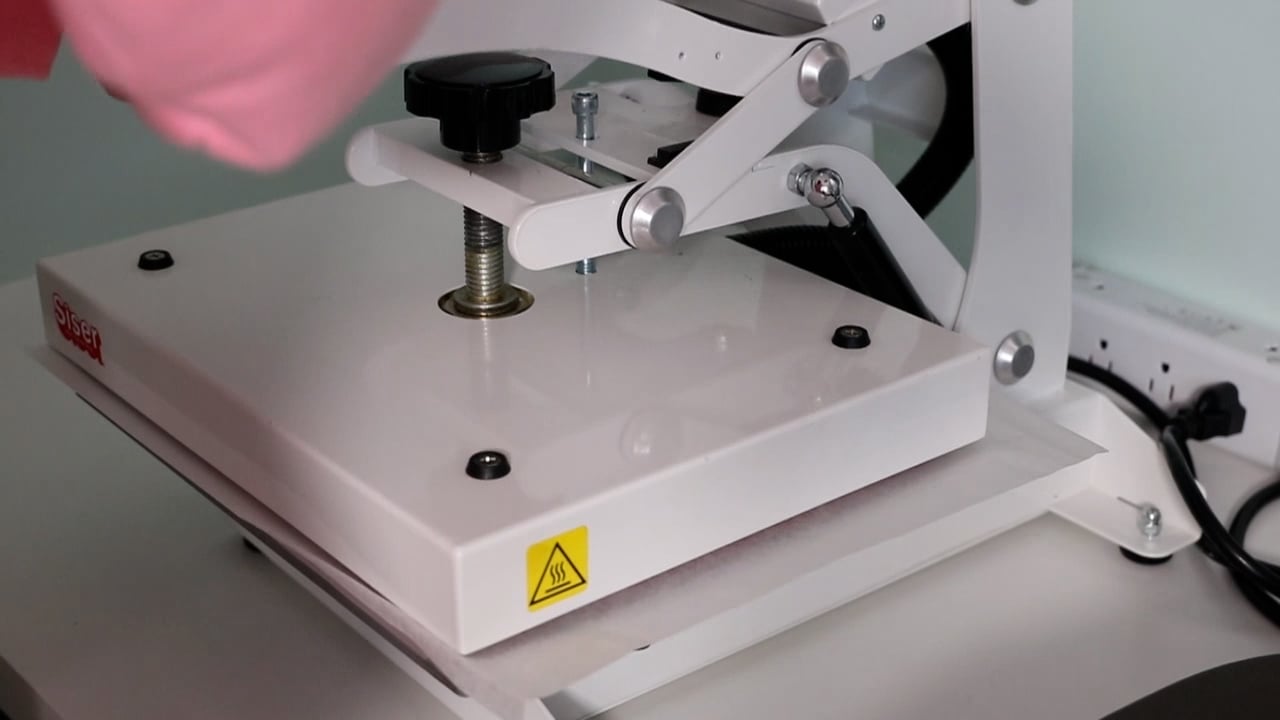
When the time is up, open the press and separate the B paper from the A foil. Keep the print on the bottom plate to keep it warm so the print doesn’t cool too quickly.
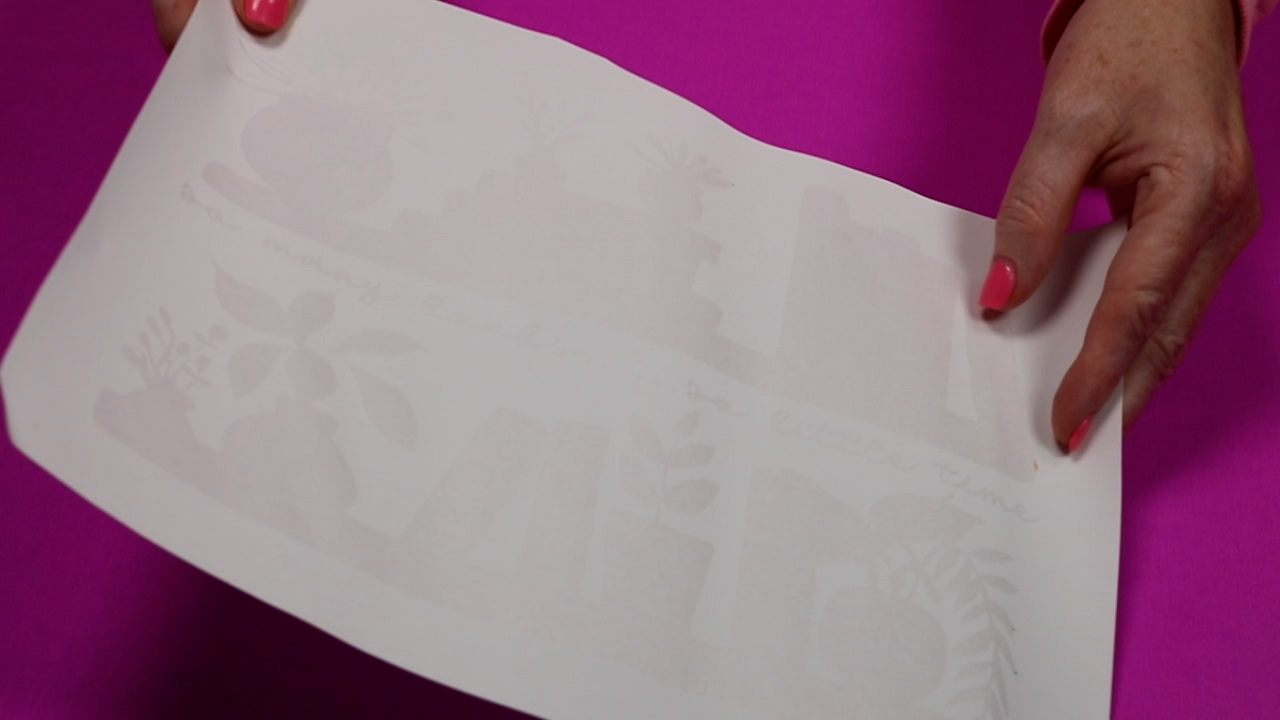
Slowly but fluidly roll the B paper off the print and you’ll see that the adhesive is now stuck to the print.
You should be able to see where the print removed the adhesive from the Bpaper. This is a good indicator on whether you got a good adhesion to the print.
Step 3 – Trim Around Design
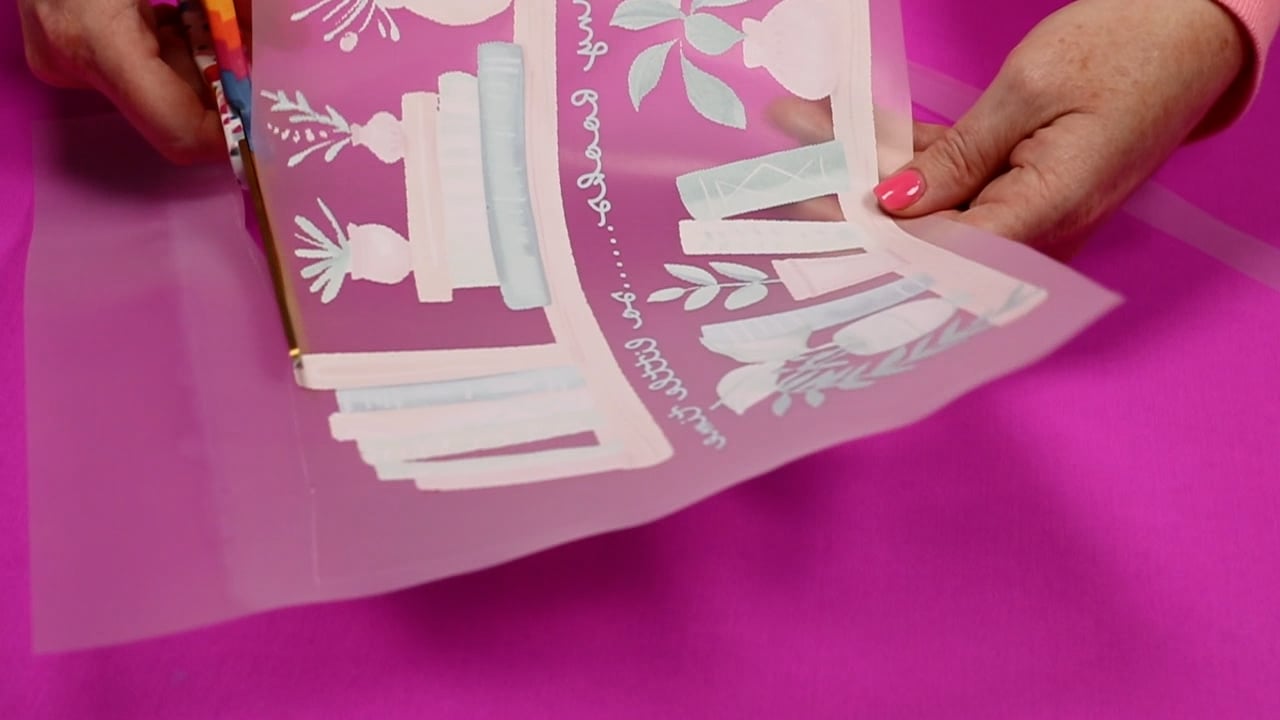
With the heat transfer adhesive now applied to the print, trim around the design. If you look closely, you’ll see there is a coating frame on the A foil that is caused by bleeding from the B paper.
You should be able to see the line around the print, trim inside that line but don’t cut into the print.
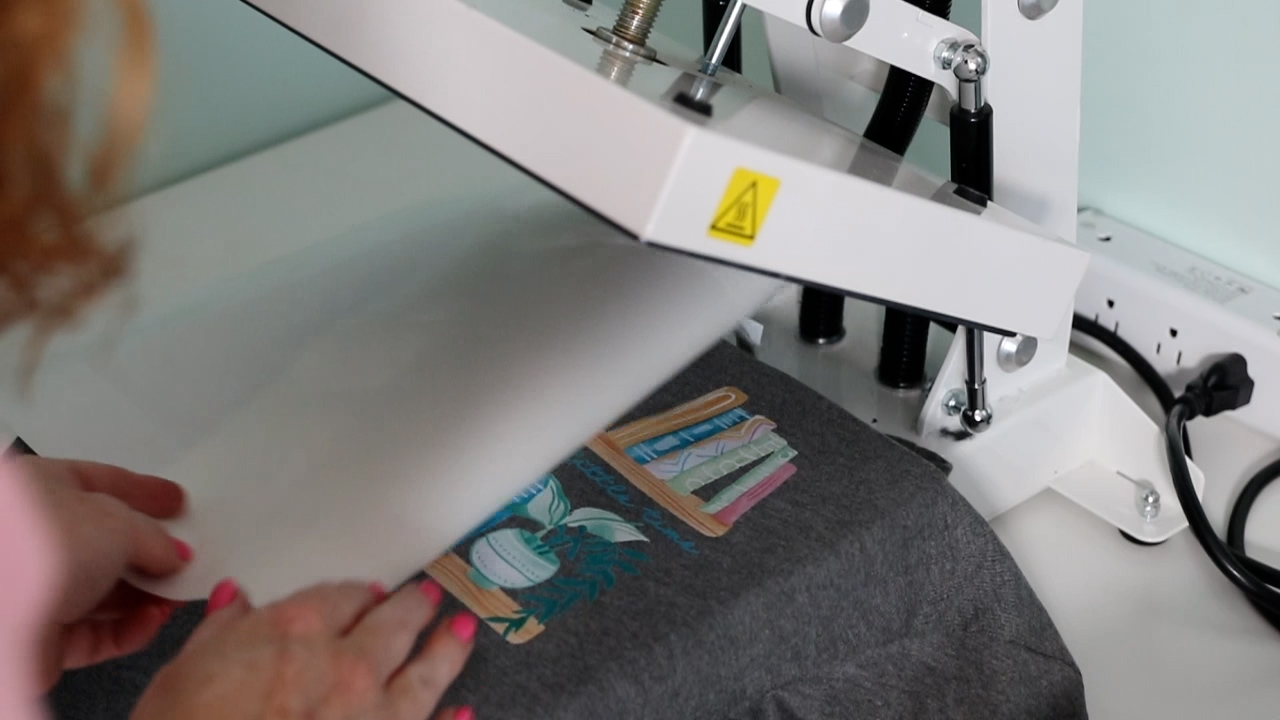
Step 4 – Press White Toner Print onto Blank
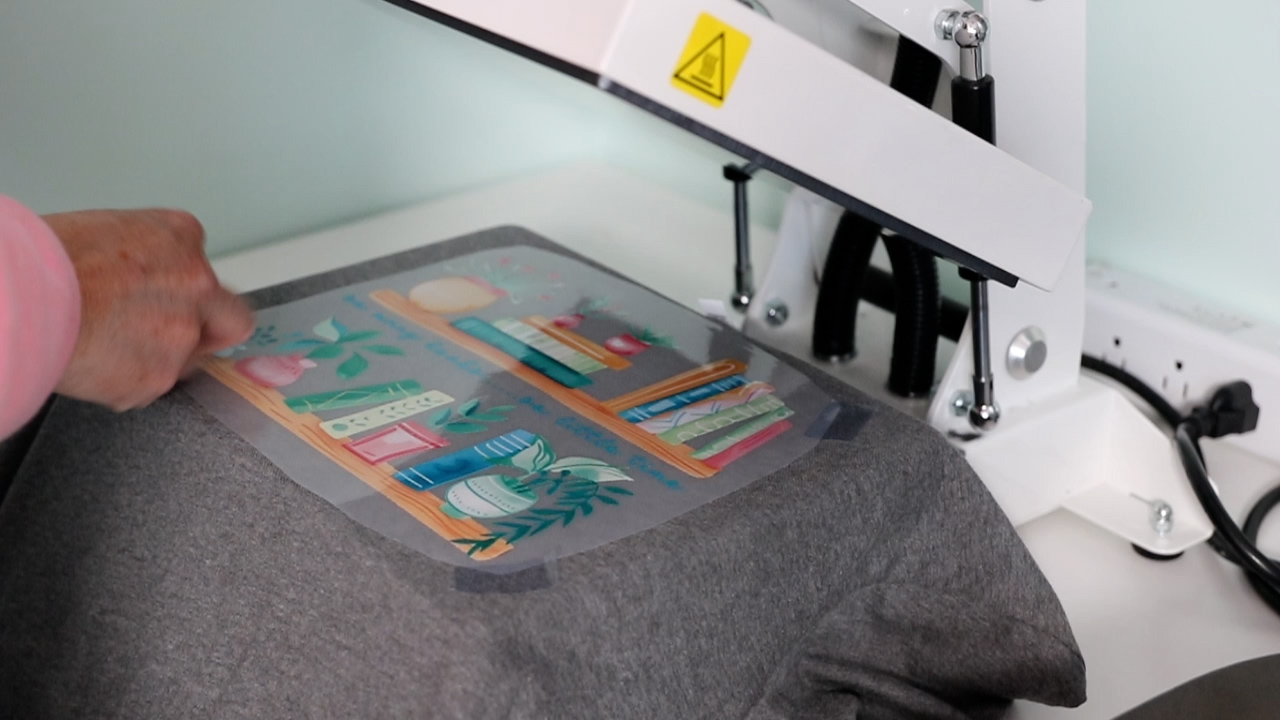
With the print completely cool, we can apply it to the surface. I like to preheat the blank for a few seconds.
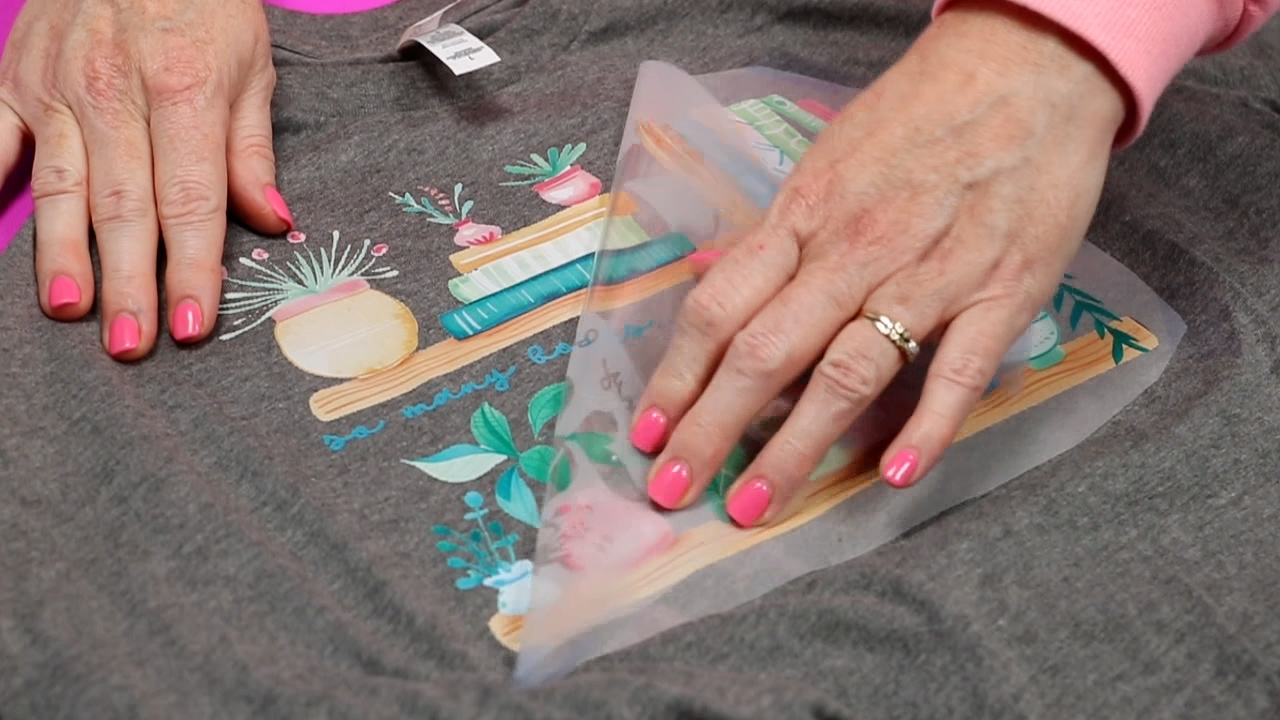
With the shirt preheated and all wrinkles removed, locate the transfer on your blank and use heat-resistant tape to hold it in place.
For all textiles, you will want a medium pressure for the pressing. For cotton fabric, you’ll want the temperature to be about 300 degrees. You can go up to 320 degrees if needed for 30 seconds. If you’re using polyester fabric, you’ll want the temperature lower like 248-266 degrees.
Close the press for the full time at the full temperature and the time is up remove the shirt from the heat press and allow to cool.
Step 5 – Remove the Carrier Sheet
You want the blank completely cool before you remove the carrier sheet. If you have a DTF cooling block, you can use that to help cool the print down more quickly.
When the design is completely cool, roll the foil back on itself. Go slowly but fluidly across the whole surface.
Step 6 – Repress Transfer
After one press, the design will be very shiny. You’ll repress the transfer a 2nd time and this will increase the washability and can soften the feel of the transfer.
I am using a T-Seal sheet for the second press. When looking at the T-Seal Silicone sheet, it looks similar on both sides. When you look closely one side is a shiny white and the other has a coating that has a rubberized feel. The rubberized coating will lay against the design.
I am using a T-Seal Silicone sheet on top of the design and pressing at 300 degrees for 20 seconds.
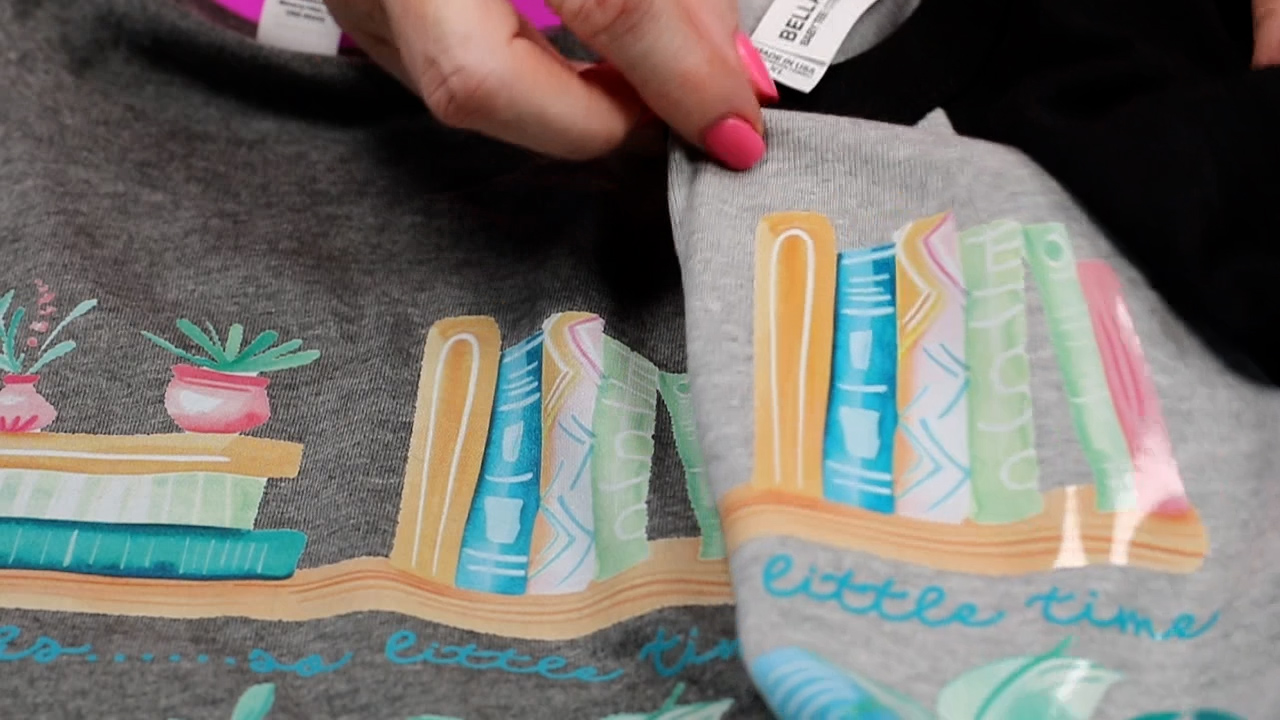
Step 7 – Reveal Finished Product
When the 2nd press is finished you can peel back the T-Seal sheet while it’s still hot and your shirt is done. You don’t need to do anything else.
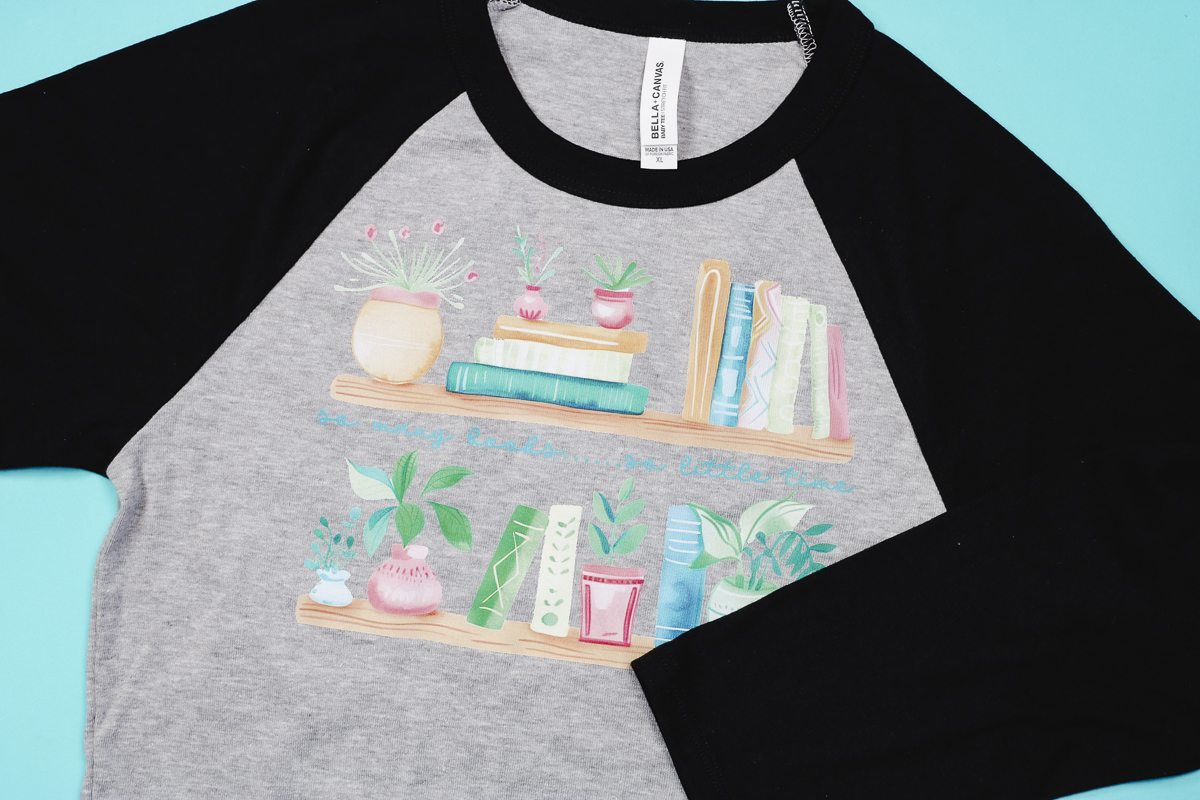
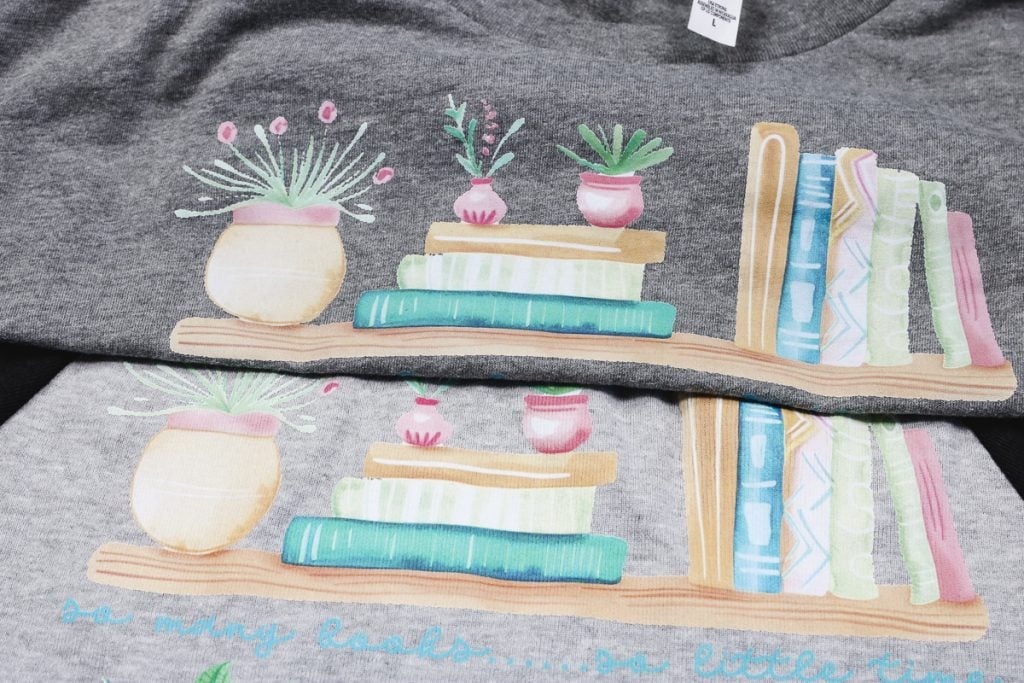
You can see the difference this second press makes below. The shirt on the right is shiny and appears to sit on top of the fabric more. The shirt on the left has a matte finish and is down into the fibers of the shirt.
Frequently Asked Questions About Using A White Toner Printer
Let’s answer questions I’ve been seeing pop up about using a white toner printer.
How Well Do White Toner Prints Wash/Wear?
It is recommended that when washing projects made with a white toner printer you should wash on a cold wash cycle, don’t use fabric softener, don’t use liquid detergent, and do not tumble dry.
Following all of these steps I washed the top shirt in the photo below 10 times and as you can see it looks as good as new.
I am very happy with how well the white toner prints wash. I think as it was washed it became even softer without sacrificing the colors in the print.
Doing the second press embeds the print into the fibers of the shirt more which I believe helps it last longer.
They do say that a white toner print can last up to 50 washes so your shirt should last a long time.
Do White Toner Prints Stretch with the Fabric?
I have to say, I am not impressed with the stretchability of white toner prints. You can see in the photo below that when the fabric is stretched the print actually separates and creates cracks.
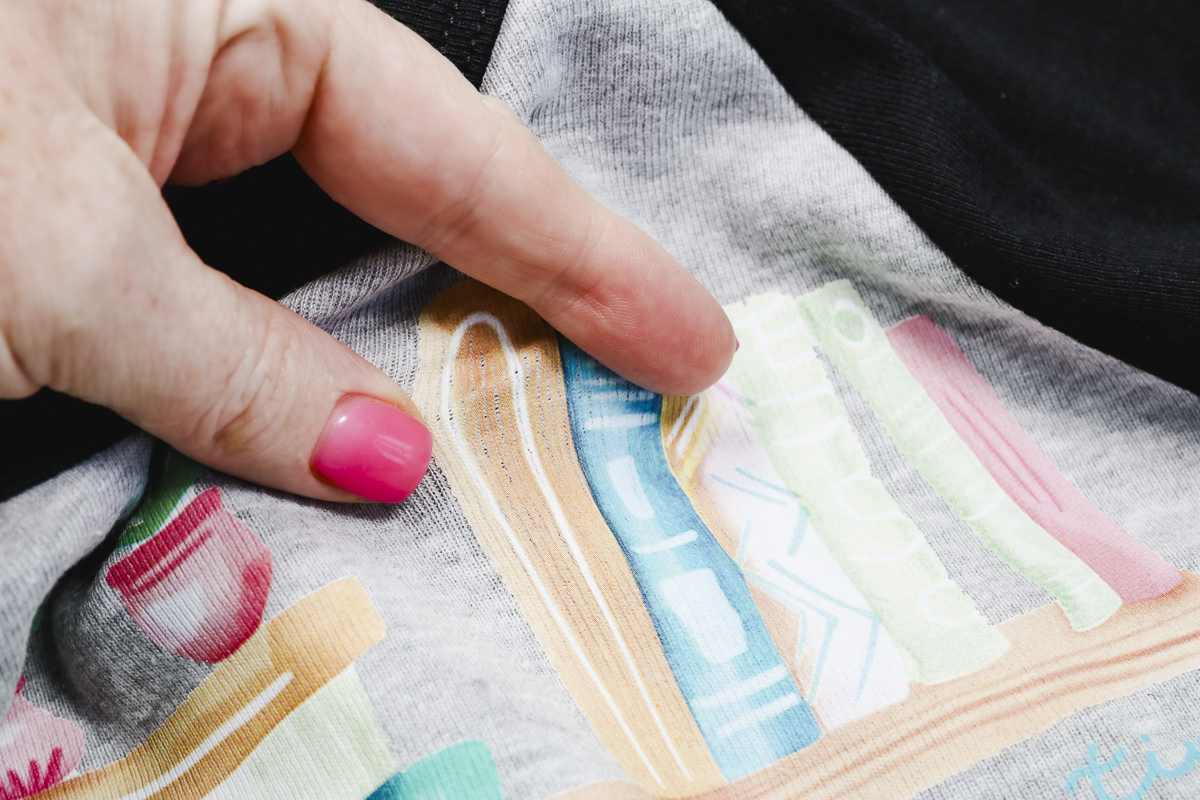
I would not recommend white toner prints for shirts that will be stretched a lot. I don’t think you would be happy with how the print looks on the shirt when it’s stretched.
Can I Print Multiple Designs at Once?
There are two ways to print multiple designs in the RIP software.
If more than one copy would fit on the sheet, you can go up to the copies button and increase the copies. You can increase the copies to fill the whole page if you’d like.
If your design is too large to fit multiple on one sheet, you can go over to Duplicate and enter the number of duplicates you’d like and when you come back to the screen you can see that there are now two pages with the design vs. two designs on one page.
How Do I Find Settings for Other Blanks?
If you’re using blanks that aren’t common fabrics you may have to do some trial and error to find the correct settings.
Forever Dark Paper does have some suggestions that you can use as a jumping-off point and I am sure there are groups developing as we speak where people are sharing their experiences that you may find helpful.
Can I Store White Toner Prints?
Once the A and B papers are married together transfers can be stored for several months or longer. Make sure you’re protecting them from dust, moisture, heat, scratches, etc.
Pros and Cons of Using a White Toner Printer
Now I’m going to share my thoughts on the pros and cons of using a white toner printer to create projects.
White Toner Printer Pros
- A major pro of using a white toner printer is that you can print white so you can put your designs on dark colors easily.
- The printing process is very simple. The printer is very fast, I love how easy it is to print these designs.
- The printer is easy to use and the setup. I love that there is no maintenance for these printers.
- I found the RIP software easy to use. Some may find having to use a different program a con but I did not. It was easy to use and did a great job.
- The white toner prints performed very well in my wash test.
- I think the transfer feels really good on the shirt. It does sit on top of the shirt but it feels soft and is definitely thinner than regular HTV.
White Toner Printer Cons
- You do need a regular heat press to really get the best results.
- The pressing portion is more involved than DTF and Sublimation.
- There is a learning curve to the pressing process and multiple steps. I think in time it will become second nature but as you’re learning you’ll probably need to check and double-check each step.
- I am not impressed with how the print performed on fabrics that stretch. While the print does stretch it also cracks and I did not stretch it a lot so I would think it would look worse if the whole design was stretched.
- The transfer does sit on top of the shirt, this may be a con to some people. I think it feels better than regular HTV and feels similar to a DTF print.
Will I Use a White Toner Printer?
I am really happy with how well this whole process works. In the end, you get a very professional product and since I think most people who are purchasing a White Toner Printer are looking to make a professional product.
I like that you can sell the prints but you need to make sure you marry A Foil sheet and B paper before mailing it and give very clear instructions on the pressing process so they know how to get the best results.
Include the washing recommendations and anything else they should know so they’re happy with their finished product.
If you’re interested in white toner printer content, sign up for my newsletter specifically for white toner printers to make sure you never miss a post.
I hope I’ve answered any questions you have about how to use a white toner printer. If you have any additional questions, feel free to leave them in the comments and I’ll be happy to answer them for you.