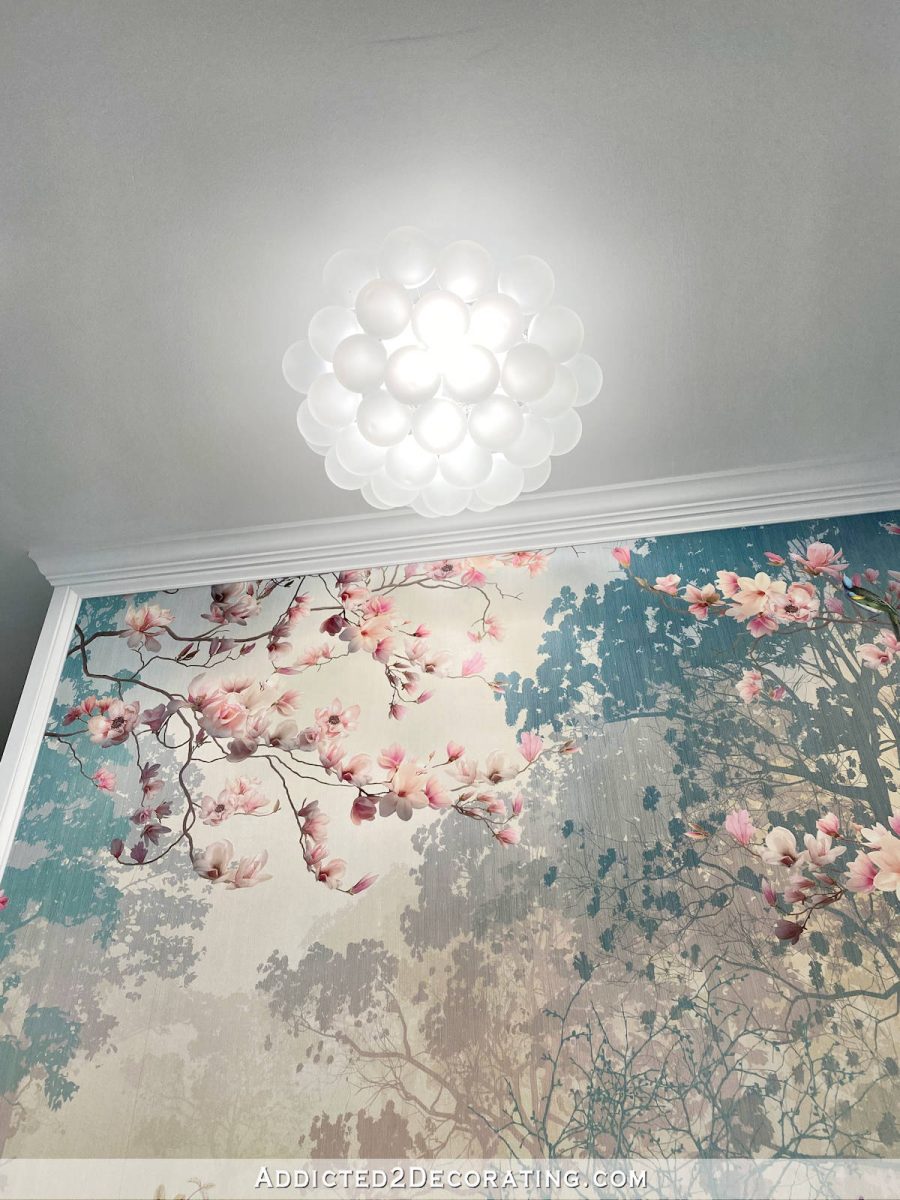
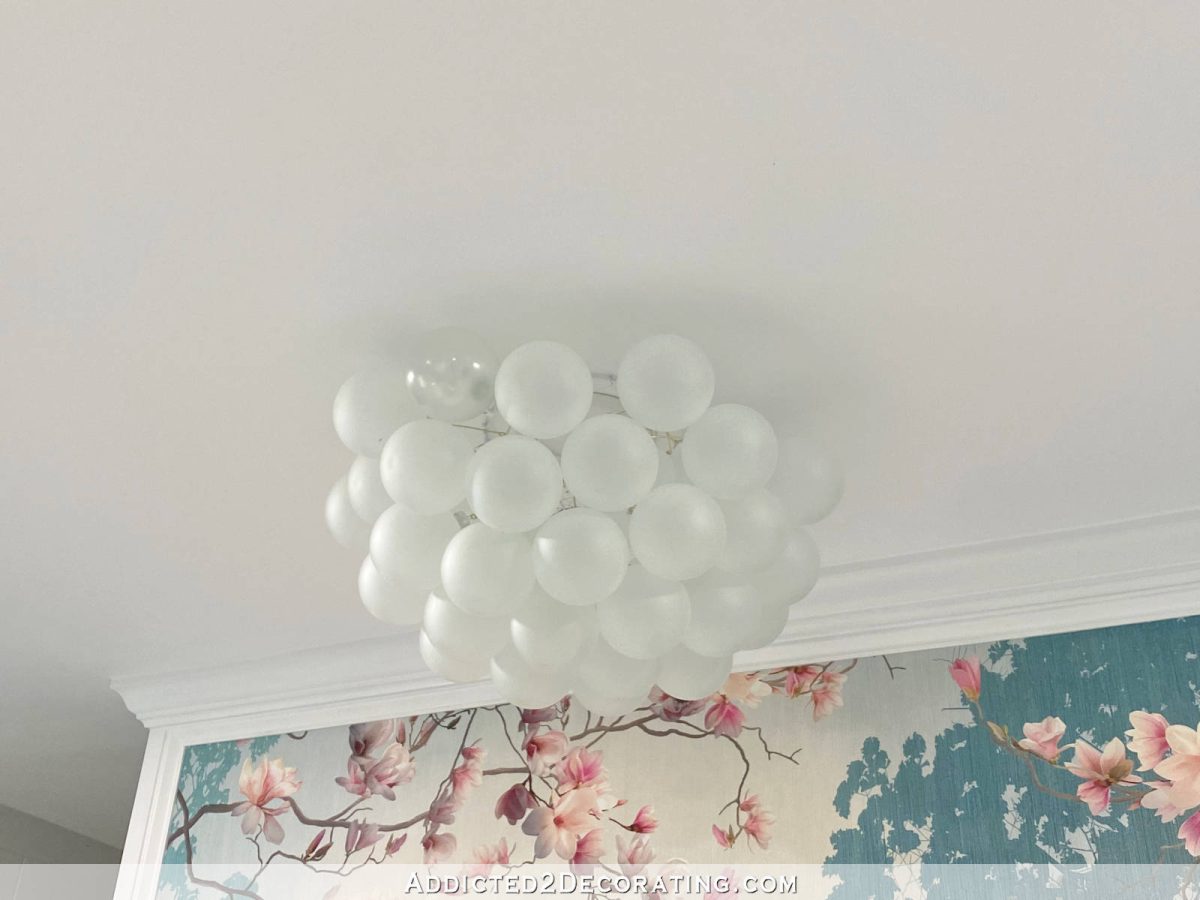
My ceiling medallion finally arrived for the bubble light that I’m making in our master bathroom. So yesterday, I took some time to experiment with different finishes for the bubbles (which are Christmas ornaments).
I can’t say that I have it all figured out yet, but I can say for sure which option isn’t going to work. Here’s what the light looks like in its current state. It’s just all 4-inch frosted ornaments. I didn’t buy enough, so I had to place another order and wait for those to arrive. And then I decided to add a ceiling medallion, so I’ve been waiting on that to arrive. But here’s the general idea…
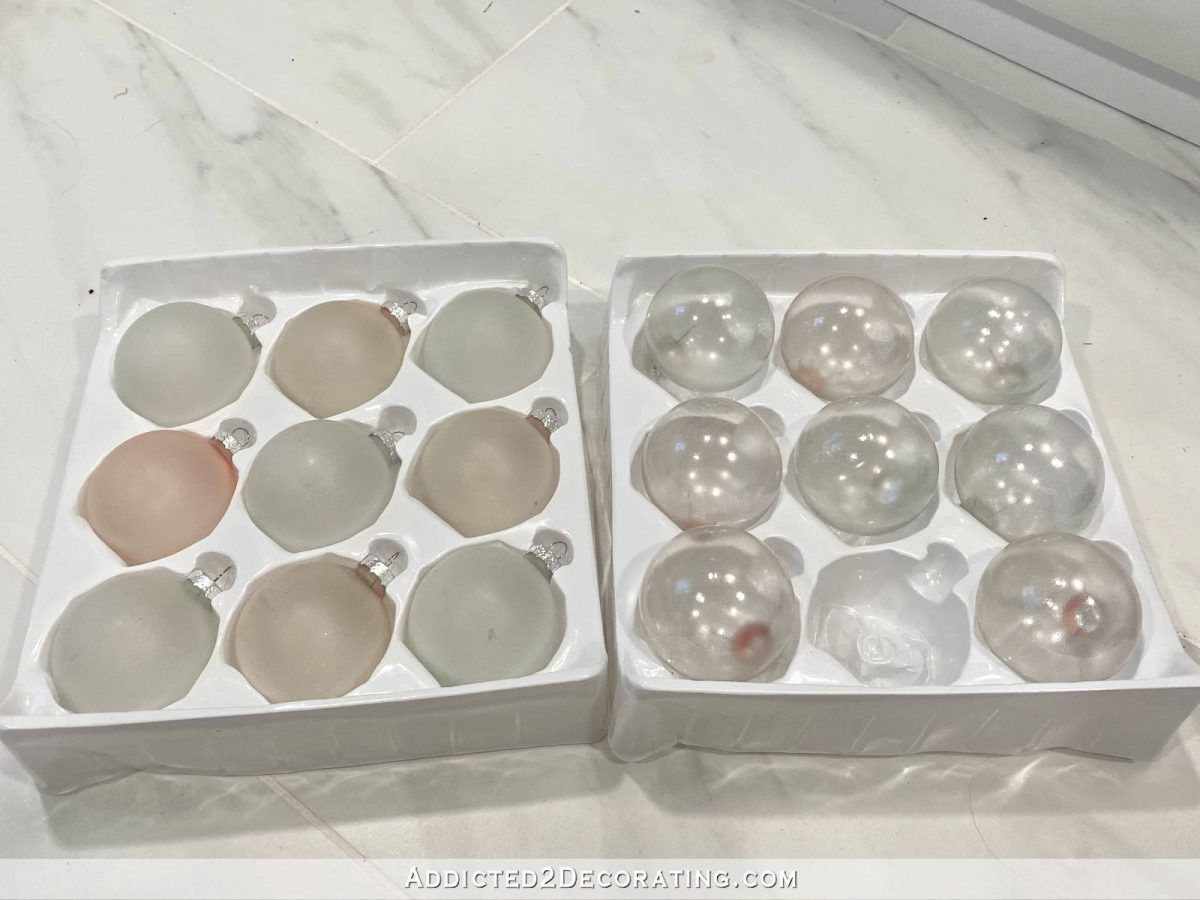
The new ornaments that I ordered were listed as “clear frosted”. That’s a bit confusing because they can either be clear or frosted, but they can’t really be both. But I took the “clear” to mean that they were white. Without color. They had taken clear ornaments and frosted them.
So imagine my surprise and disappointment when every box looked like this…
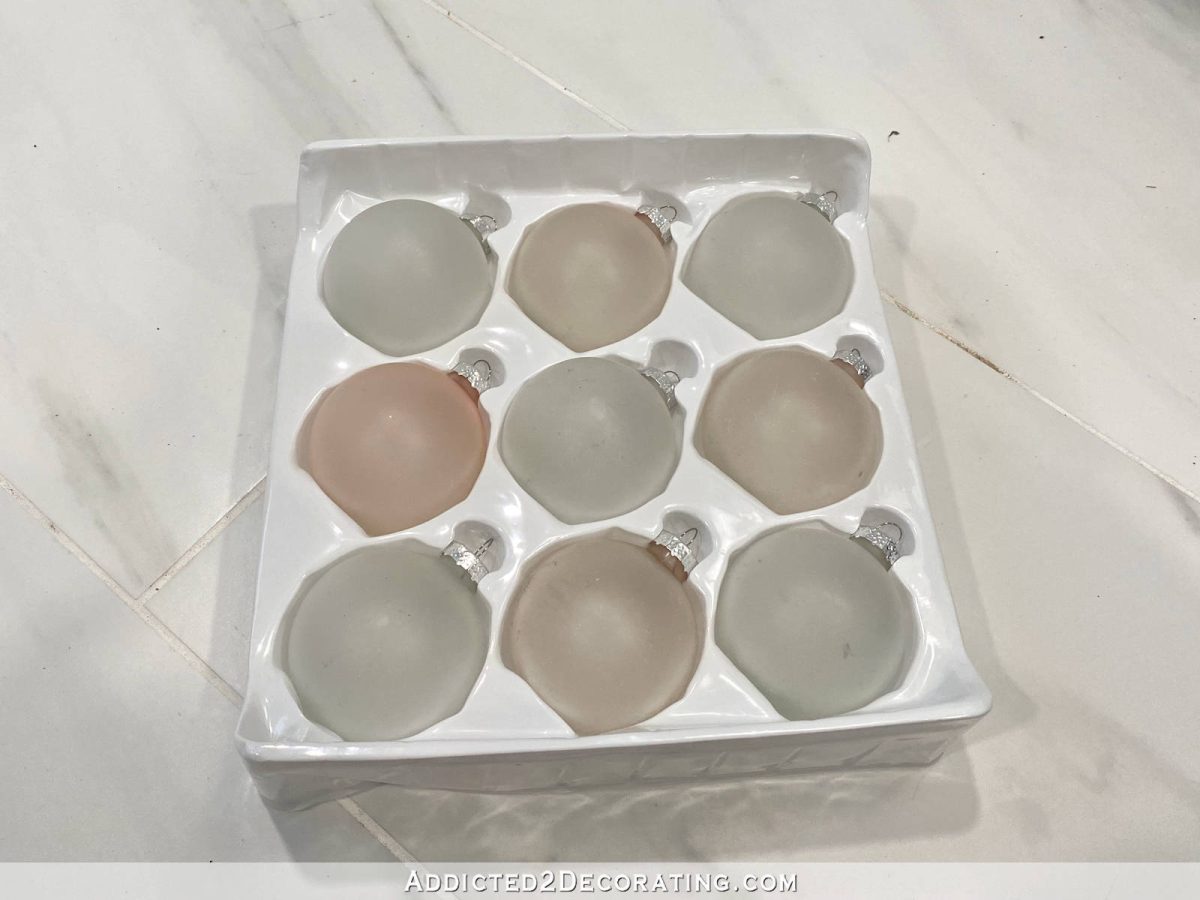
There are five white and four pink/peach ornaments in every box. But I thought that the pink/peach ones might be good for me to experiment on. So many of you suggested that I try a very light pink, and the only way I could think to do that in a way that would not turn the bulbs opaque is with alcohol ink.
So I tried all of the pink alcohol inks that I had on hand, and…well…it didn’t work out.
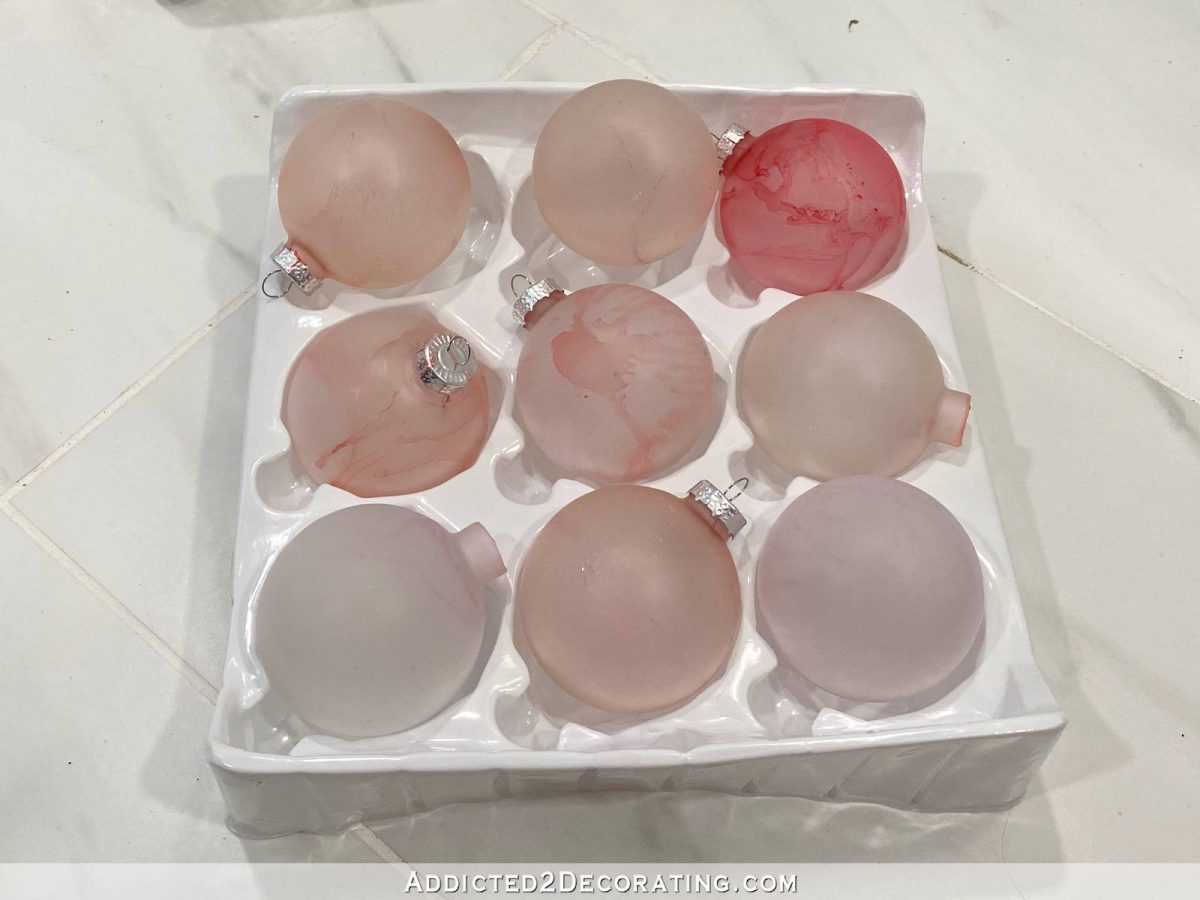
The ones that look really splotchy are ones where I tried putting a few drops of alcohol ink directly onto the bulb, and then pouring a bit of isopropyl alcohol over it to even out the ink and give the bulb a wash of color. They all looked beautiful until I turned them over, and then all of the ink and alcohol that had collected in the little cap ran down the bulb and created those lines. It was a big mess.
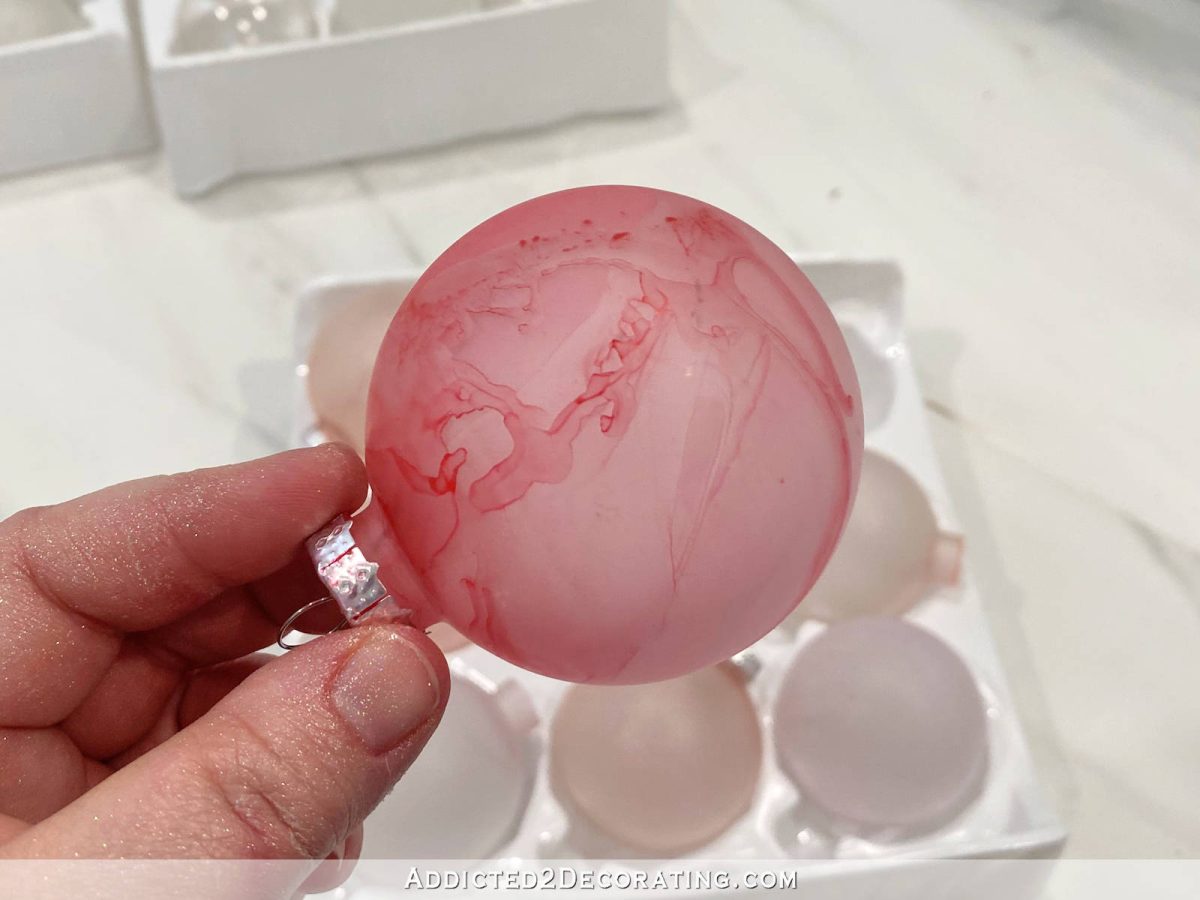
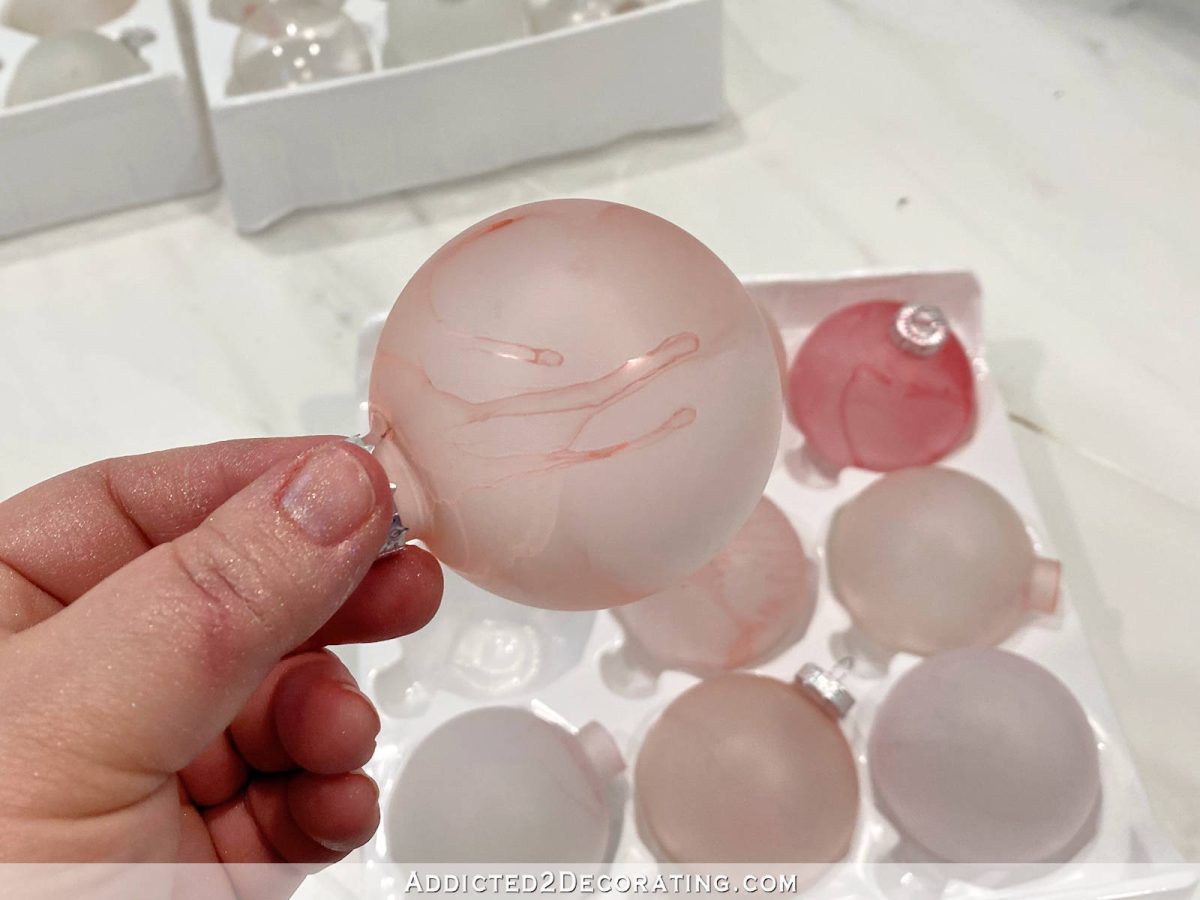
The ones that look a little smoother are ones that I tried to color by mixing up some alcohol ink diluted with isopropyl alcohol in a bowl, and then rolling the bulb in the color wash. Then I used my hair dryer to dry them as quickly as possible to avoid runs. It worked much better, but they all had at least one run on the last side to dry. And I just couldn’t get any of the colors to look right.
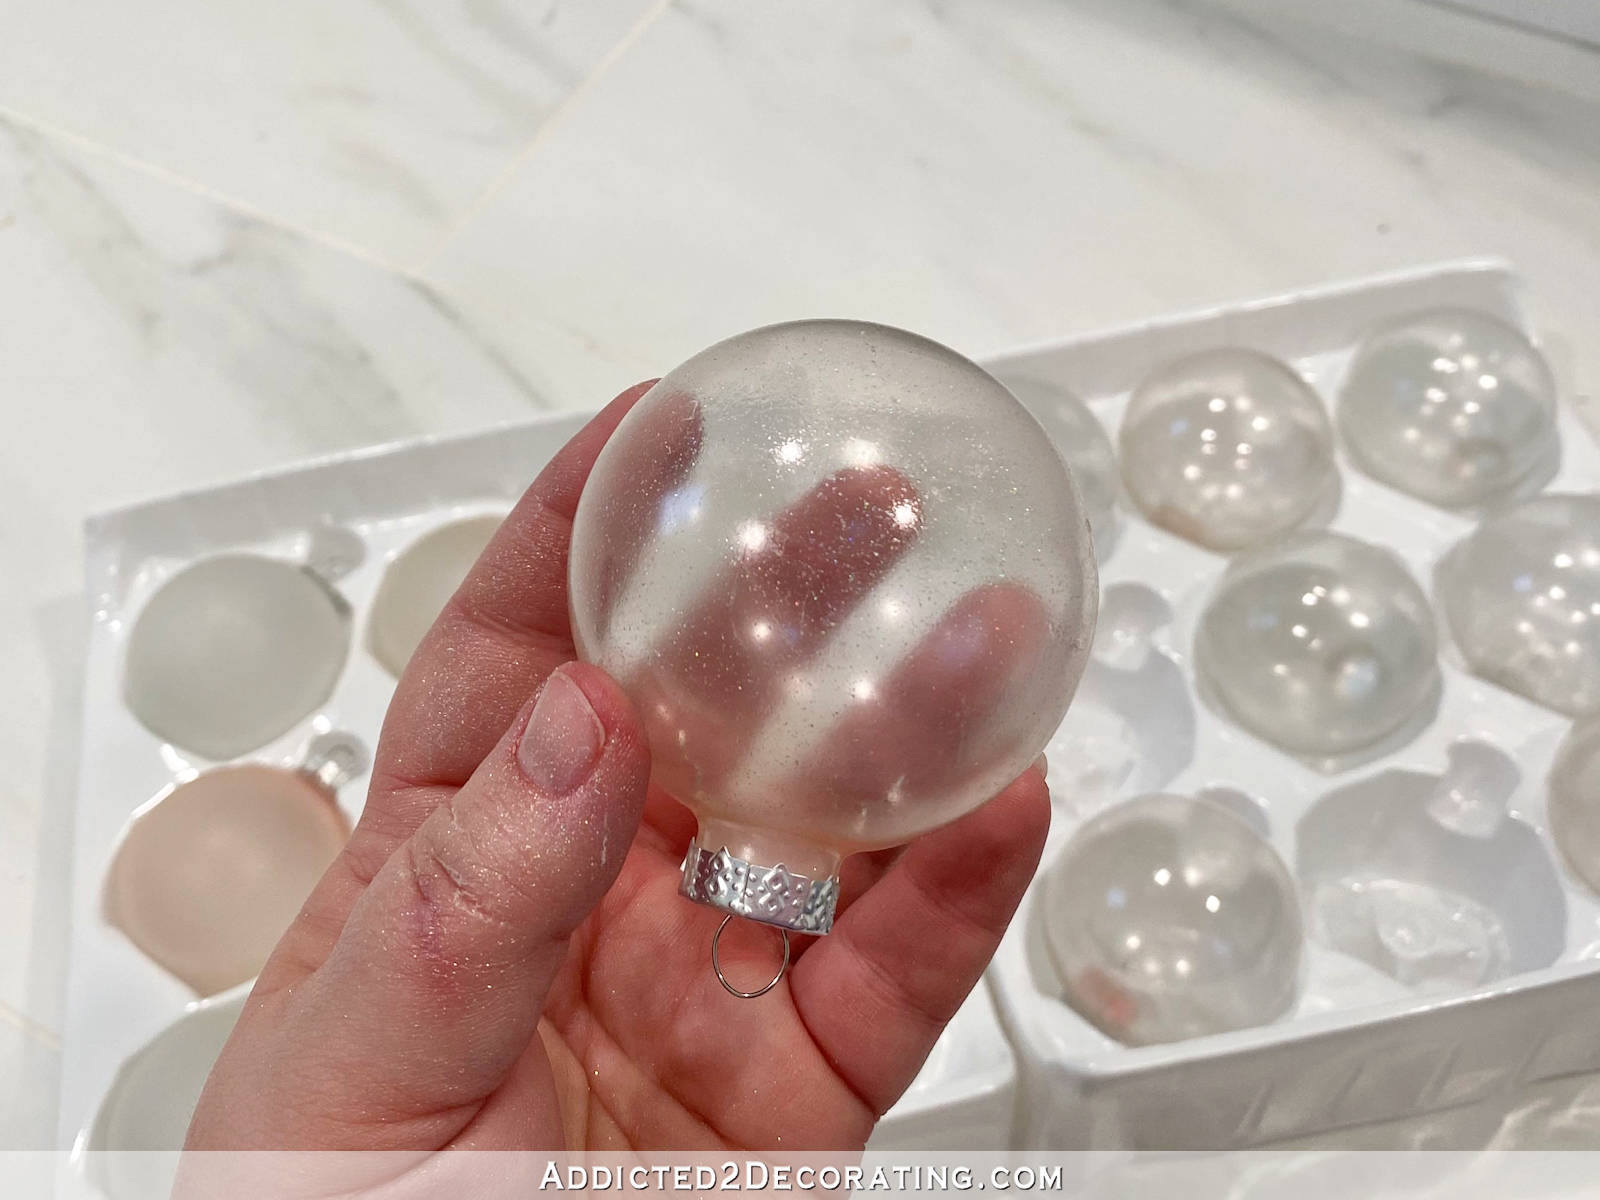
So I abandoned that idea and headed to Michael’s to see what they might have that could work. I found some Mod Podge Iridescent Acrylic Sealer. I was excited to try that out on the bulbs and see just how they would look with an iridescent finish.
Interestingly, here’s what the spray did to the bulbs.

Isn’t that crazy? It turned them from frosted back into almost clear. And I actually love how they look. I don’t really see the iridescent quality of the spray, though. Here’s the original look on the left, and the look after being sprayed with the iridescent spray on the right.
Out of all three looks — the original, the alcohol ink (if I could ever get a smooth finish), and the iridescent spray, the ones with the spray are my favorites.
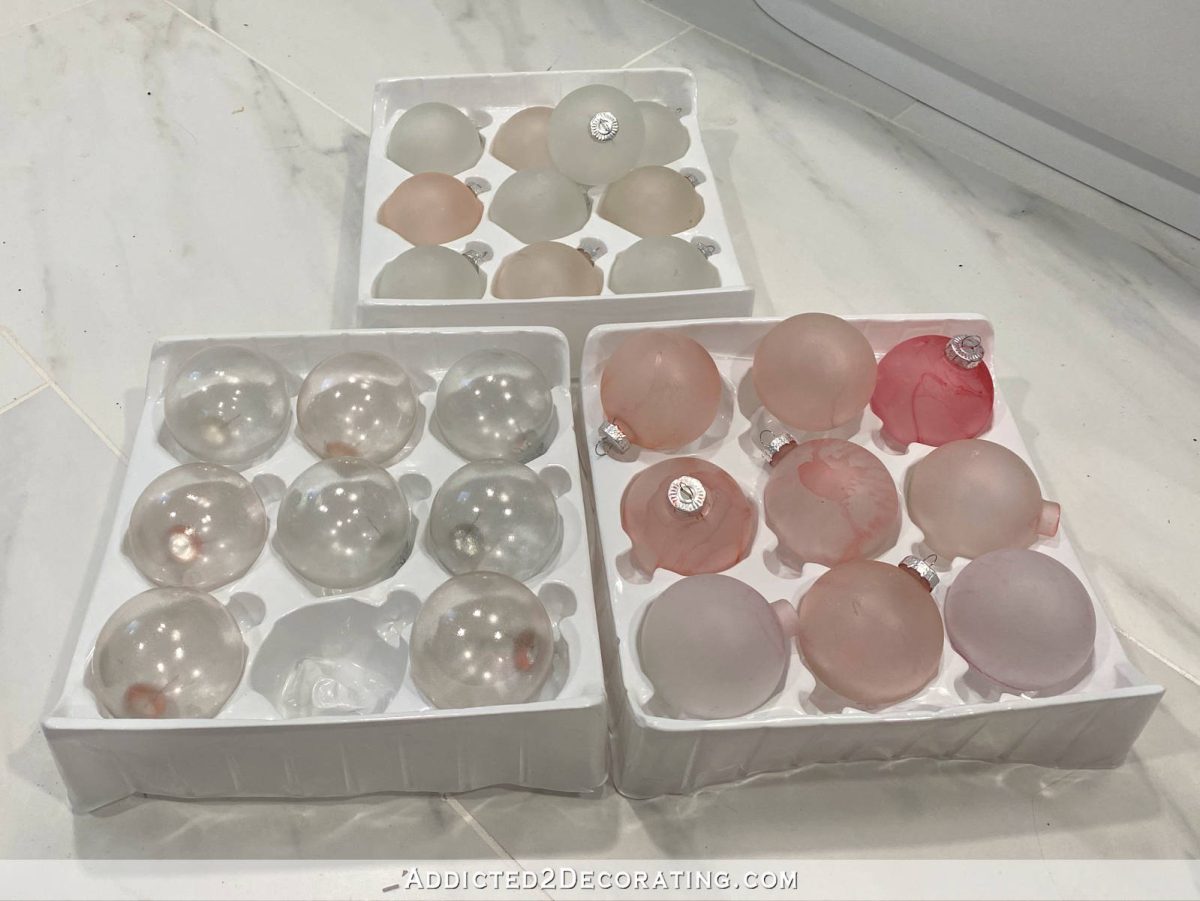
They definitely look more like actual bubbles, but I just wish the iridescent spray looked more iridescent.

I guess you just have to keep spraying in order to build up layers of the tiny glittery iridescent particles in the spray, but at that rate, I’d need about 10 cans of the spray in order to get them to actually look iridescent.

So I just have to decide if it’s worth it to spray all of them, or if I should just stick with the medallion and the original frosted bulbs.
I did spray one of the big bulbs, and it did the same thing. It turned it more clear and shiny. Can you see it here? Without the medallion, it kind of blends right in to the ceiling. It’s on the left.

And here it is on the right. I do really like that it looks more like an actual bubble.

I don’t love that it’s more see through, though.
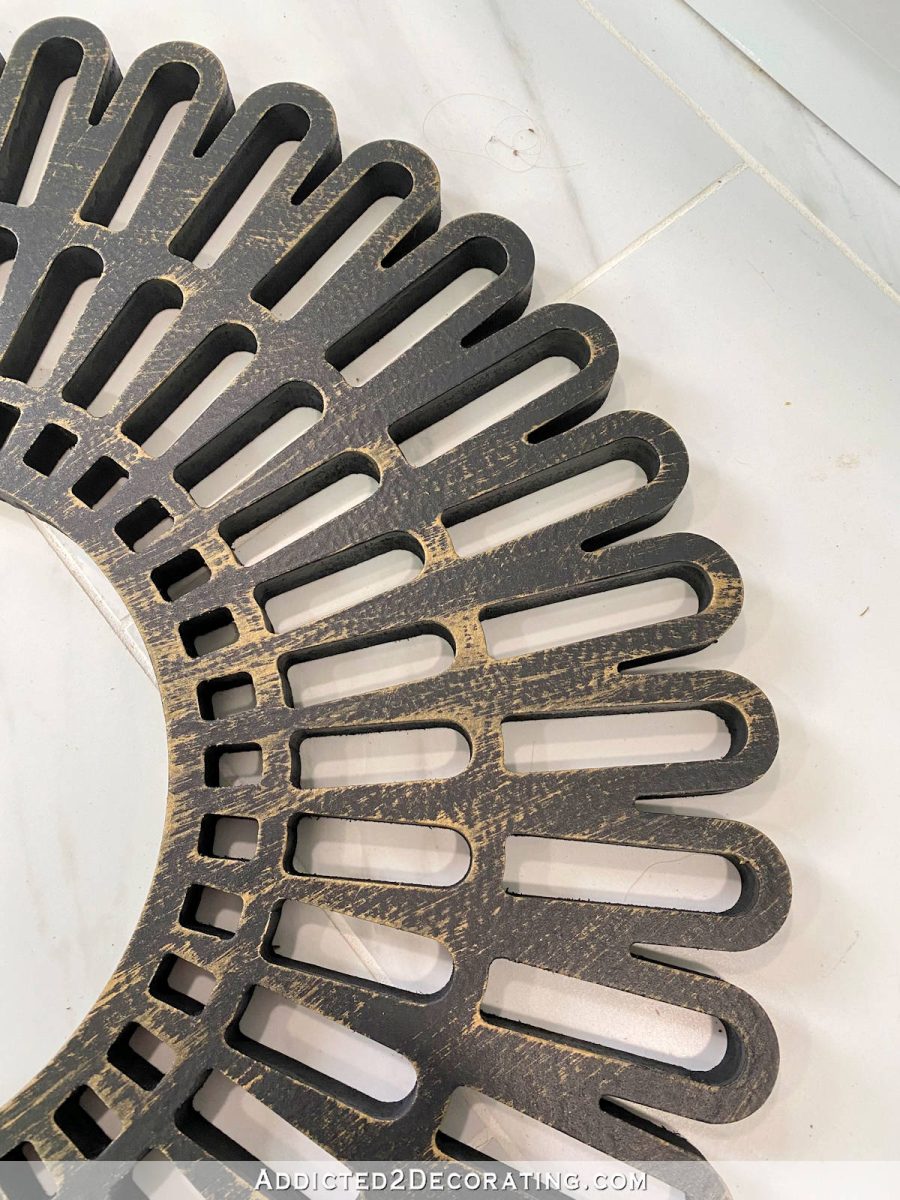
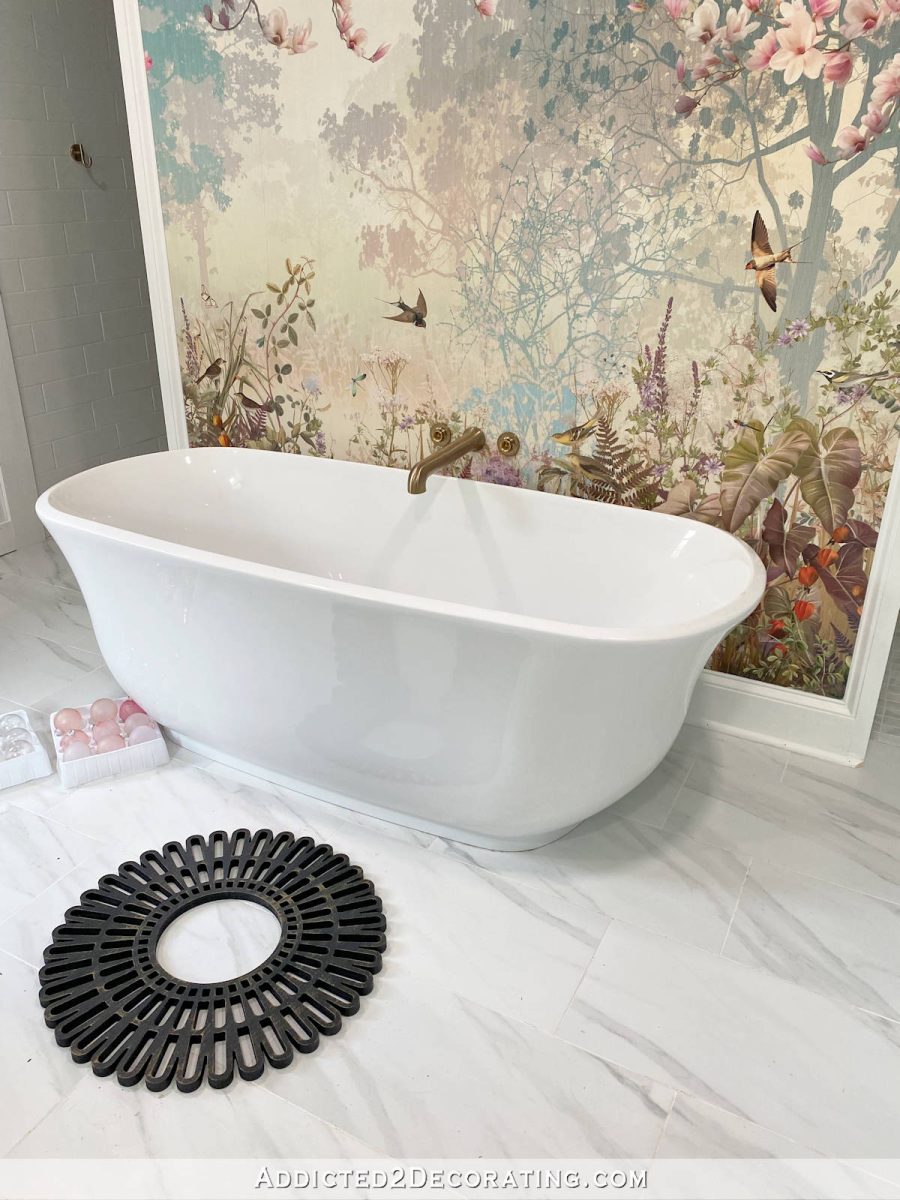
Anyway, here’s the medallion that will go on the ceiling. I ordered the antique brass finish, and this isn’t quite what I imagined antique brass looking like. It’s not what the picture showed.
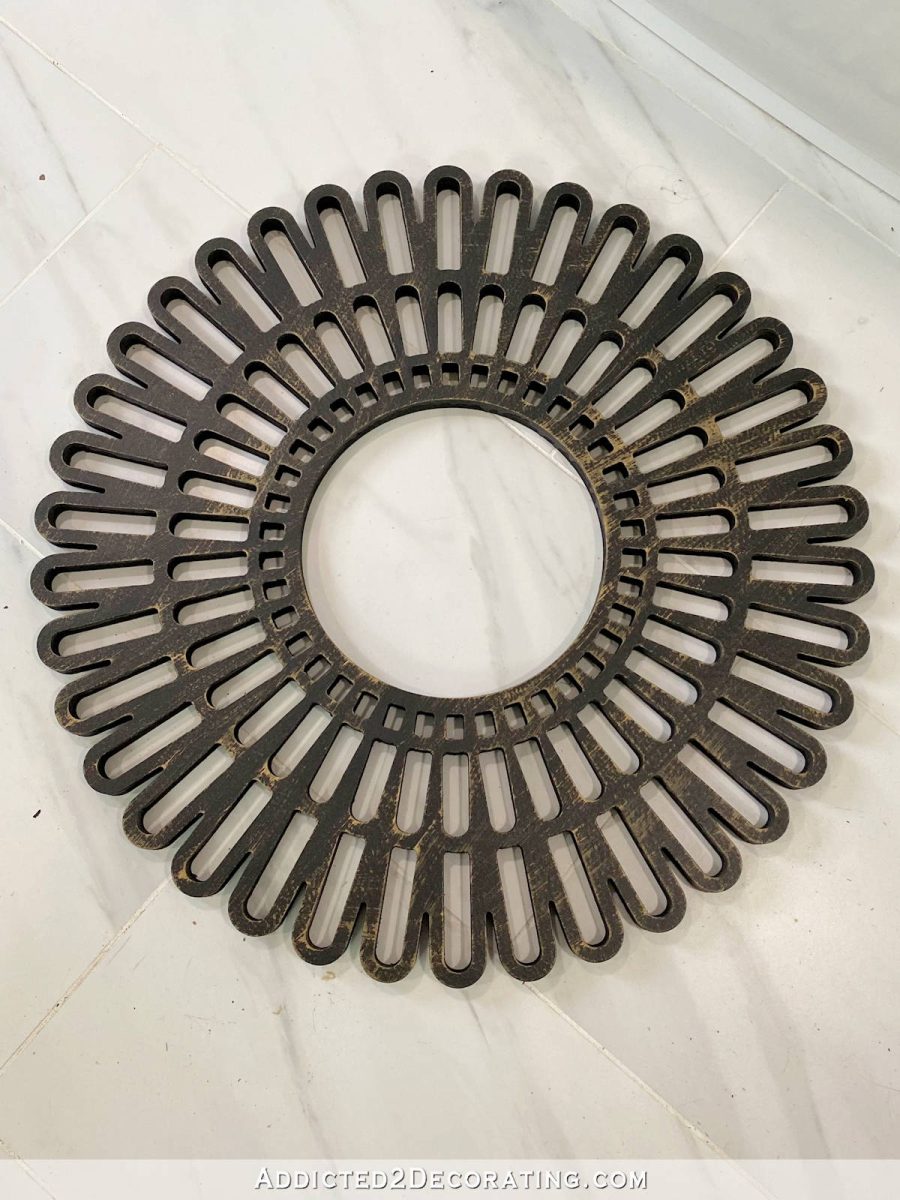
I mean, it just has the tiniest bit of antique brass finish on it, but it’s mostly black.
It’s not a huge deal. It’s nothing that a bit of spray paint can’t fix. But I do want it to be closer in color to the faucet and other plumbing fixtures. (I removed the faucet handles to make some adjustments. That’s why you don’t see them there. 🙂 )
So as of right now, I do think I’ll continue on with the iridescent spray. I just really wish it was more iridescent! Any ideas? There’s not a whole lot of iridescent sprays out there. I think I found maybe two brands, and this one was rated higher than the other. Everything else I found was a brush-on product, and I really don’t want that. So how in the world can I get a subtle iridescent finish on these while keeping them translucent enough for light to shine through? That’s the dilemma, and that’s what I need to figure out.

Addicted 2 Decorating is where I share my DIY and decorating journey as I remodel and decorate the 1948 fixer upper that my husband, Matt, and I bought in 2013. Matt has M.S. and is unable to do physical work, so I do the majority of the work on the house by myself. You can learn more about me here.
I hope you’ll join me on my DIY and decorating journey! If you want to follow my projects and progress, you can subscribe below and have each new post delivered to your email inbox. That way you’ll never miss a thing!