This post and photos may contain Amazon or other affiliate links. If you purchase something through any link, I may receive a small commission at no extra charge to you. Any supplies used may be given to me free of charge, however, all projects and opinions are my own.

Are you having sublimation printing problems? Issues with pressing? Are your projects turning out horrible? Well, I am here to help! I am sharing with you the 10 sublimation issues that I see most often from people and what the problem may be. This video will help guide you to solving your sublimation printing problems yourself so you can start sublimating like a pro! Think of this as your guide to sublimation troubleshooting all in one short video that you can reference at any time!
Just getting started? Try our sublimation for beginner’s post here!
10 Sublimation Printing Problems
You can click play on the video below and watch as I walk you through common sublimation problems and their solutions. You will be sublimating like a pro in no time at all!
Can’t watch the video or missed some of the information? You can follow along below as well!
Supplies Mentioned:
Wrong Equipment
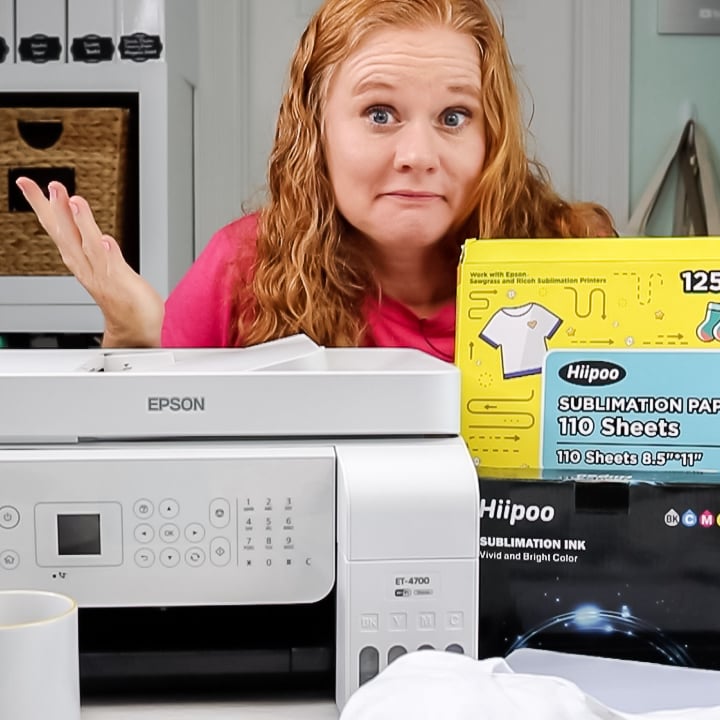
Let’s start with the number one most common thing I see people doing wrong. The first thing you need to do is make sure you are not using the wrong equipment. To do sublimation, you need a sublimation printer with sublimation ink and sublimation paper. What I see people doing is purchasing sublimation paper, running it through their inkjet printer that has regular inkjet ink in it, and expecting it to sublimate onto shirts, mousepads, coffee cups, and tumblers. That will not work.
You do need a sublimation printer with sublimation ink installed in order to transfer a sublimation design. My setup includes a converted Epson EcoTank printer, which is traditionally an inkjet printer, with Hiippo sublimation ink installed. You’ll want to make sure that you have all three in place for proper sublimation – sublimation printer, sublimation ink, and sublimation paper.
NOTE: I do know that some people use copy paper instead of sublimation paper. I see better results with sublimation paper, so that’s what I recommend right now. I hope to do some more experiments in the future and see what happens.
Wrong Blank
The second most common issue that I see is the wrong blank. We have our sublimation printer, and we print the design on sublimation paper with sublimation ink. Guess what? Now you need something to put it on. You need a sublimation blank.
What does that mean? Sublimation is a chemical reaction and it needs polyester to finish the chemical reaction. That can be a 100% polyester shirt, a fabric blank made out of 100% polyester, or something like a coffee mug or a tumbler with a polyester coating on it. You want to make sure that you have a sublimation blank to use with your project. If you go to the dollar store and buy a coffee mug, sublimation will not work on that coffee mug. You need to make sure that the blank you’re using has a sublimation coating. You can find my favorite blanks here!
Printer Settings
The next thing I recommend you check is your printer settings. Whatever printer you have, you want to make sure that you have the right settings. I recommend that you print in the best quality, that you turn any fast printing modes off, and that you change your paper type to some sort of matte paper setting. Lastly, if you want to do any sort of color correction, you need to use an ICC profile with your sublimation printer. Of course, don’t forget to mirror that design because that’s another common issue.

Image Not Bright
The fourth issue that I see is people saying that their image is not bright or vibrant. So the first thing I always say is “when did you get your printer?” If you just got your printer and you just installed the ink and your first print is not bright or vibrant, most likely the ink is not all the way through the printer. Print about five copies, then print the sixth one and try again.
If you’ve had your printer for a while and your print is still not bright or vibrant, it’s probably your time, temperature, or pressure. You need all three in order to sublimate on something – you need the correct time, the correct temperature, and the correct pressure. How do you find that? Usually with the blank.
Go to where you purchased your blank and see what the instructions are. What is the time, temperature, and pressure that they recommend? Be sure to follow those instructions for whatever blank you are using. If your blank has no instructions, what do you do? I would Google the type of blank you’re using and common instructions and sort of go from there.
Be aware that you might ruin a few blanks before you get to a point where you are good at a certain product. Especially if you’re doing a mug and you have a convection oven, and there are no instructions for a convection oven on the mugs you purchased. The mug instructions might be for a mug press, not a convection oven. You’ll just have to play around with convection oven settings until you get it right.
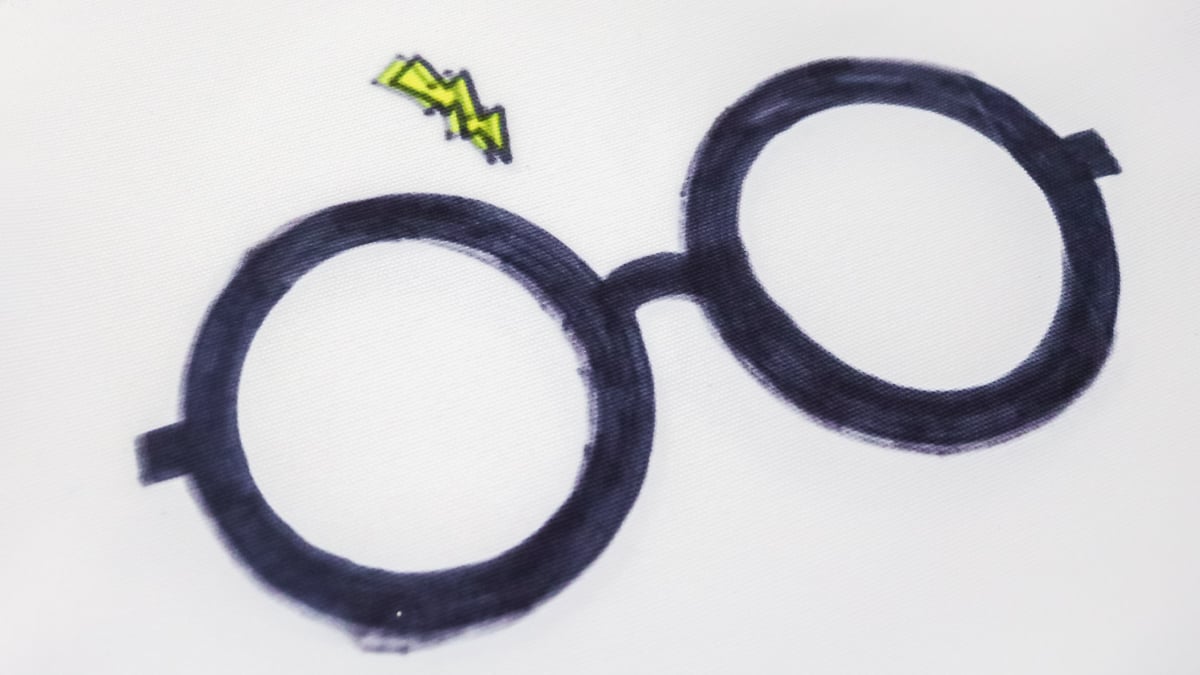
Ghosting
Next on our list of sublimation printing problems is ghosting. What is ghosting? Ghosting is sort of a double print of whatever you’re printing. You’re sublimating your design onto that surface and your sublimation print moves. It makes basically two copies of your sublimation print on your surface. How do you avoid that? Movement is the enemy of sublimation. You want to make sure that your print does not move. Heat-resistant tape is the best way that I found to do that. I would use plenty of tape to hold that sublimation print down onto your surface and make sure that it doesn’t move.
Extra Ink
The next thing I see is extra ink. You’re pressing a design on a shirt and you have a small blotch off to the side. Maybe your printer got a little smudge off to the side, and you didn’t even notice it. You can definitely get that extra ink on your shirt. If you see extra ink on your print, you can cover it with heat-resistant tape before you press. That way the extra bit of ink doesn’t transfer onto your shirt. Remember any ink on that piece of paper is going to transfer to your shirt no matter how small it is.
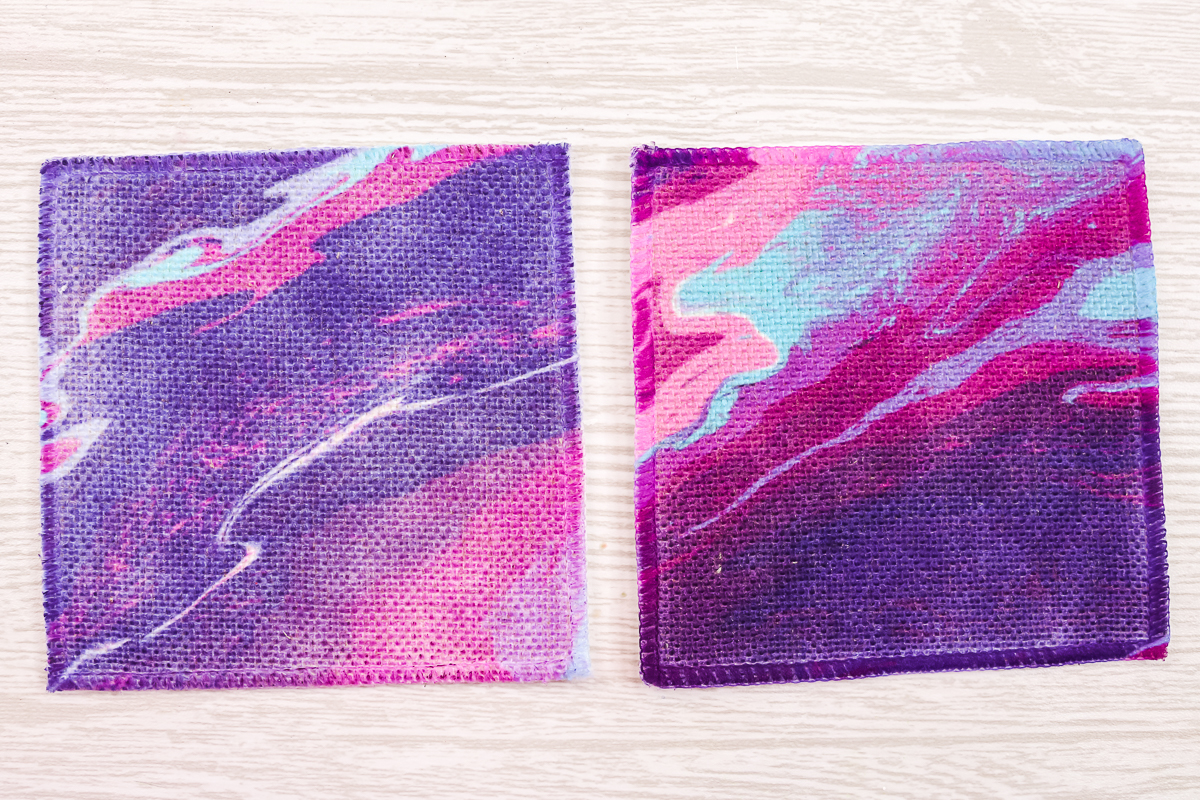
Small Dots
If you see small dots on your sublimation blank after you press, that’s most likely moisture. Moisture is the enemy of sublimation. That is why you want to pre-press most blanks. For any fabric blank, I always use my heat press on it for a few seconds before adding my sublimation print. After that, you can add the sublimation print, tape it down, and press for the recommended time and temperature. All fabrics have some type of moisture, however, you could also see it in things like slate. Anytime you see a pre-press in the instructions for a blank, be sure to do that. On fabric surfaces, I pre-press regardless of what the instructions say.
Blurry Print
Number eight is a blurry print. This can be a couple of causes. The first thing I always want you to look at is the quality of the image you’ve printed. If you downloaded an image off the internet, make sure that the quality was good enough to print at the size you need. If it was a thumbnail image and you blew it way up and it was blurry when it printed, it’s going to be blurry when you transfer it to your blank. Keep in mind the quality of the image first.
If the quality of the image was fine, what else can make it blurry? Most likely it’s too much time or too much temperature. Yes, you can go too far. Don’t think, “Well, Angie said that I wasn’t doing enough time and temperature, and that’s why my images were faded. So, maybe I should add just a ton.” That won’t work either. You need to get in that sweet spot between too little and too much in order to get the optimal sublimation print.
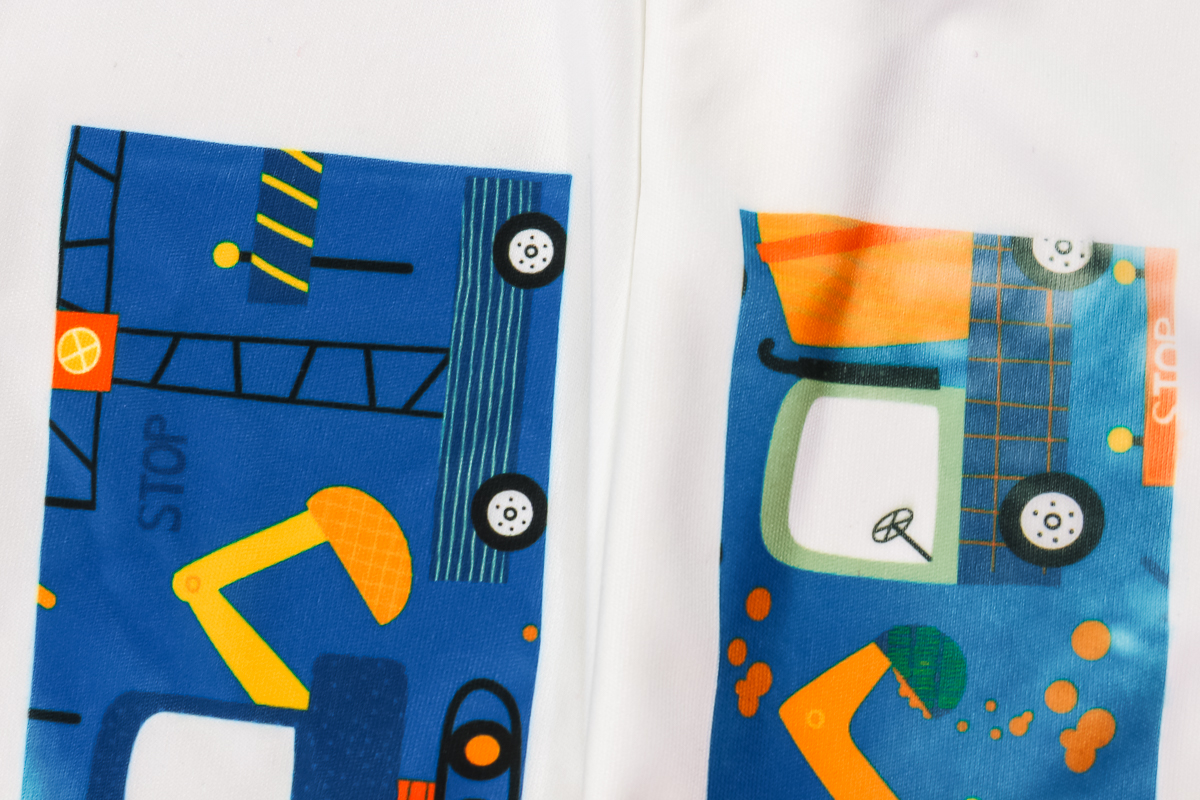
Faded Print
And that brings us to number nine, which is a print that looks faded. Again, too much time, too much temperature, or even too much pressure can make your print look faded. Don’t take the advice too far. Because I said there wasn’t enough, don’t go too far and get too much time, temperature, and pressure because you will get results that you’re not wild about.
Banding
Finally, number ten is banding across your image. You may see lines in your print right off of the printer or they may only come in when pressing. If you see that banding, there are a couple of possible causes. The first thing I would always look at is those print settings that we talked about at number three. I would make sure that those are correct because things like the matte paper setting and the best quality can add banding to your image.
If all of that’s correct, then banding is most likely caused by a printer clog. You have a clog somewhere in your nozzles for your sublimation printer, so you will need to clear that. You can try printing a few images and doing a test press and see if that helps. The last resort would be to run a print head cleaning. I don’t want you to go crazy running printhead cleanings all the time thinking that’s going to fix all your issues because that’s going to cost you more money in the long run with printer maintenance. Do a printhead cleaning as a last resort. Sometimes it’s absolutely necessary to remove that clog and get on with your printing and get the best quality sublimation print that you can get.
I hope that helps explain a little bit of the common sublimation mistakes and issues and helps you get the best quality sublimation print. Now, do you have more sublimation printing problems that I didn’t cover? Ask those in the comments section below. I’d love to do a second round with 10 more common sublimation printing problems and how to fix them.