
This post and photos may contain Amazon or other affiliate links. If you purchase something through any link, I may receive a small commission at no extra charge to you. Any supplies used may be given to me free of charge, however, all projects and opinions are my own.
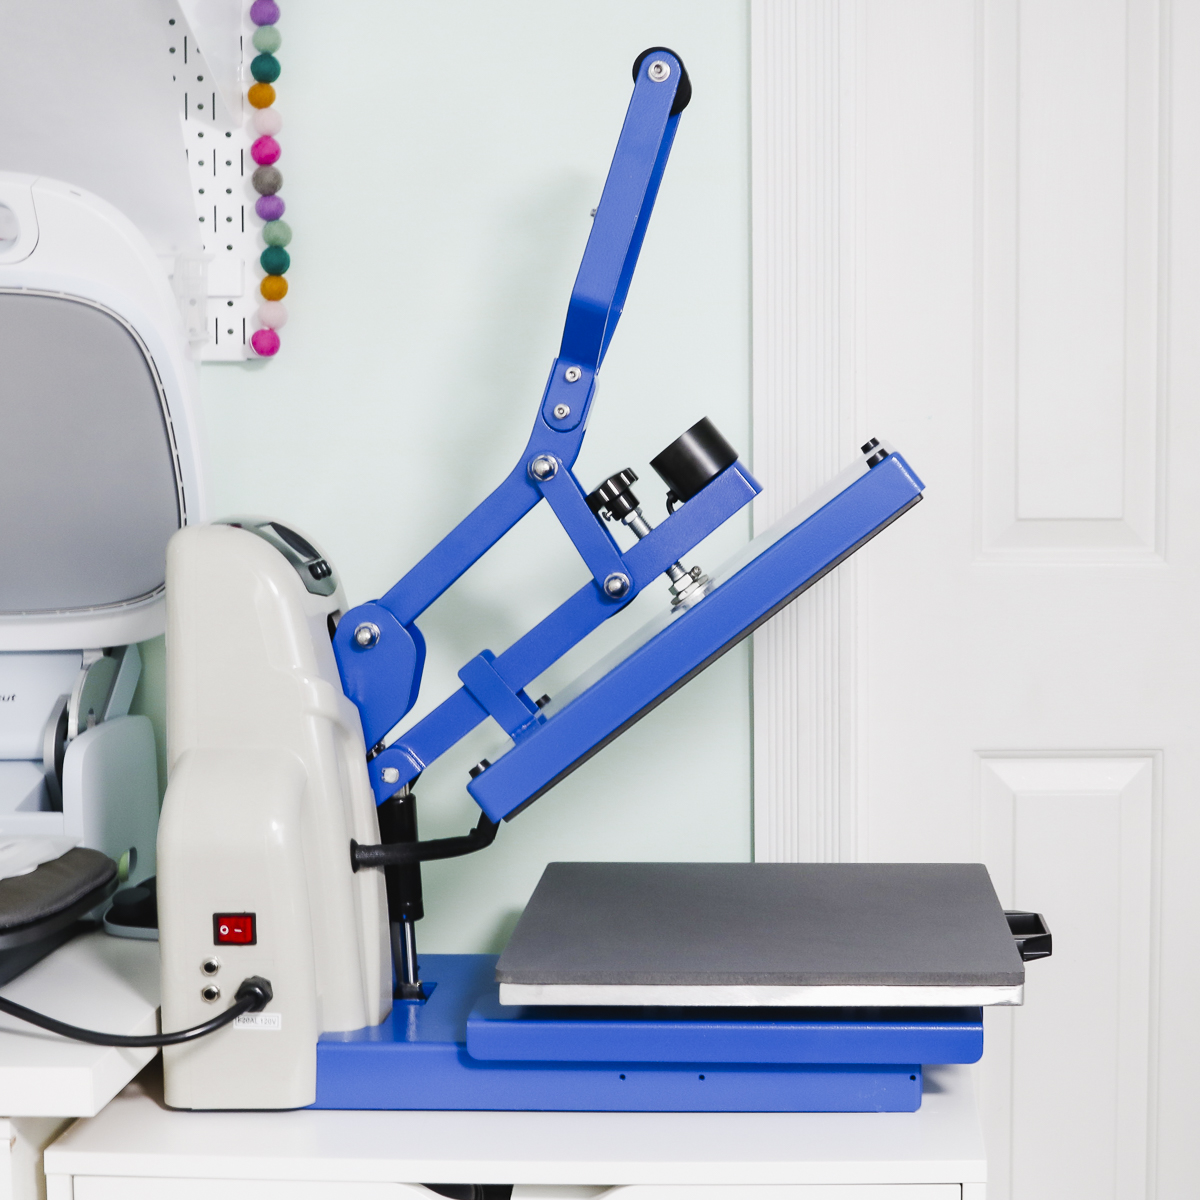
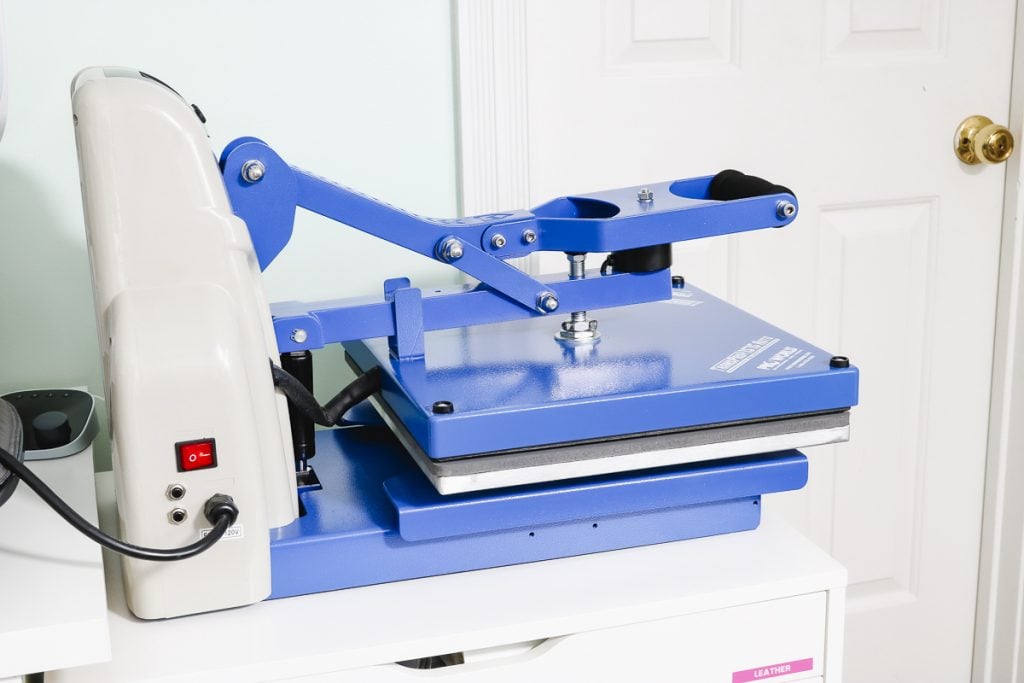
I am always looking for a great heat press to share with you. Which is why I am reviewing the TransPro Select Semi Auto Heat Press by ProWorld. This heat press is a great price point for a 15 by 15 press with an auto-open feature.
A heat press is a necessary tool if you want to do projects with heat transfer vinyl, sublimation, Infusible Ink, DTF transfers, and more.

You can watch me walk you through the press and all the features by pressing play on the video below.
Proworld Transpro Semi Auto Heat Press Features
Let’s take an up-close look at the press and some of the features.
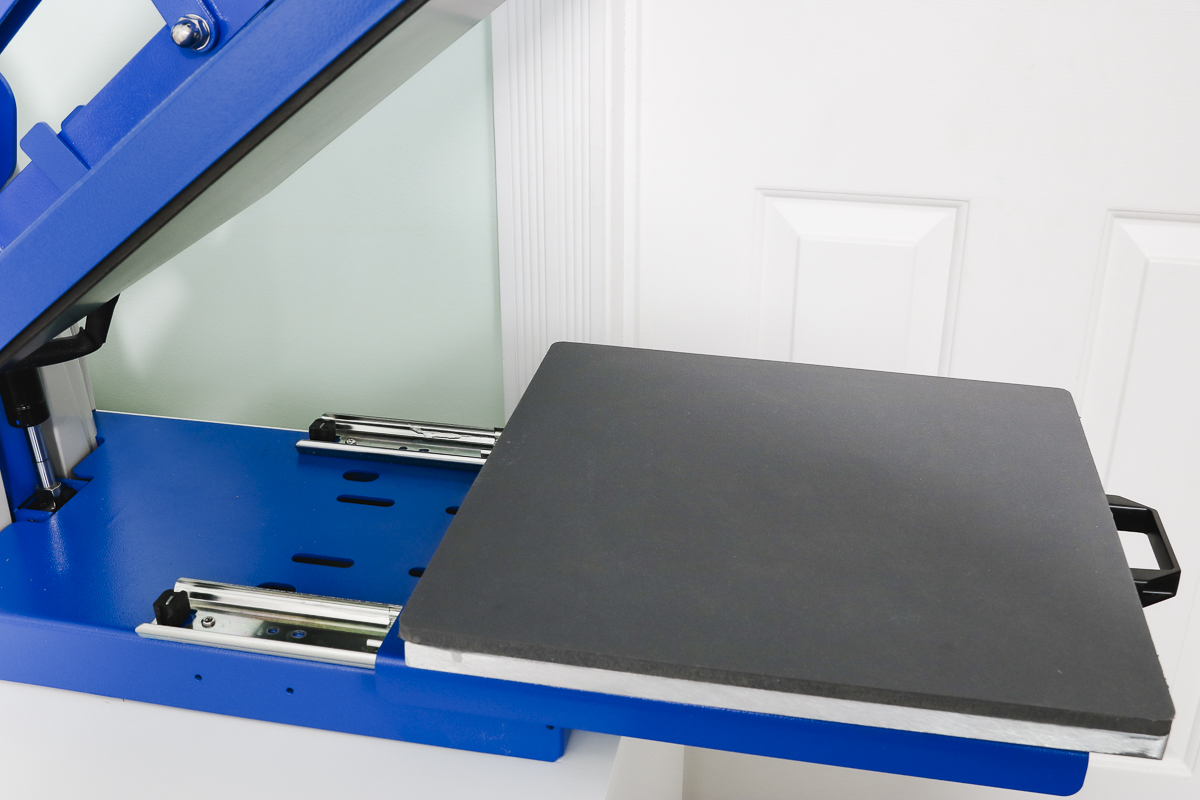
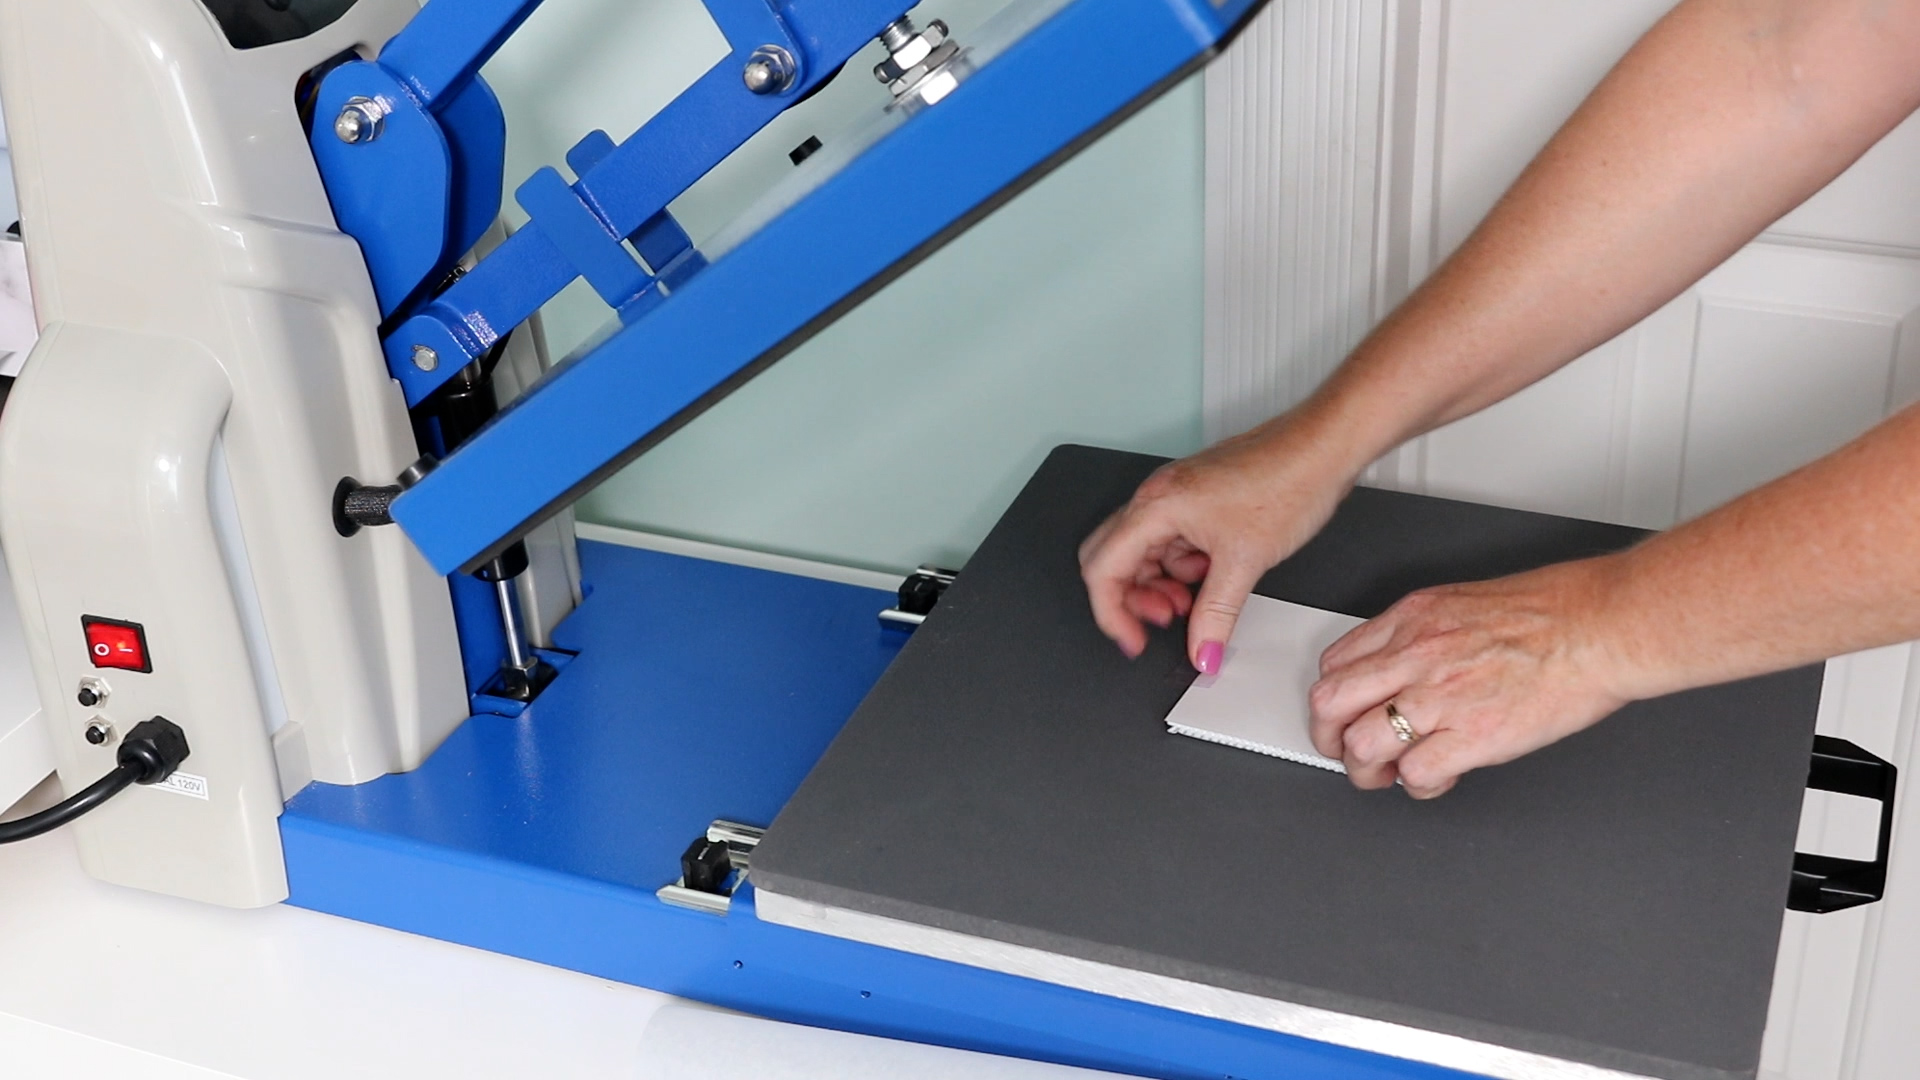
Slide Out Drawer
One of the things I don’t typically love about clam shell-style heat presses is having to get my hands close to the heat plate when placing the blank on the press.
This press has a slide-out drawer-style base that allows you to pull the drawer out and place the blank where you want it while keeping your hands away from the heat.
When you have the blank in place slide the drawer back in place and you’re ready to press.
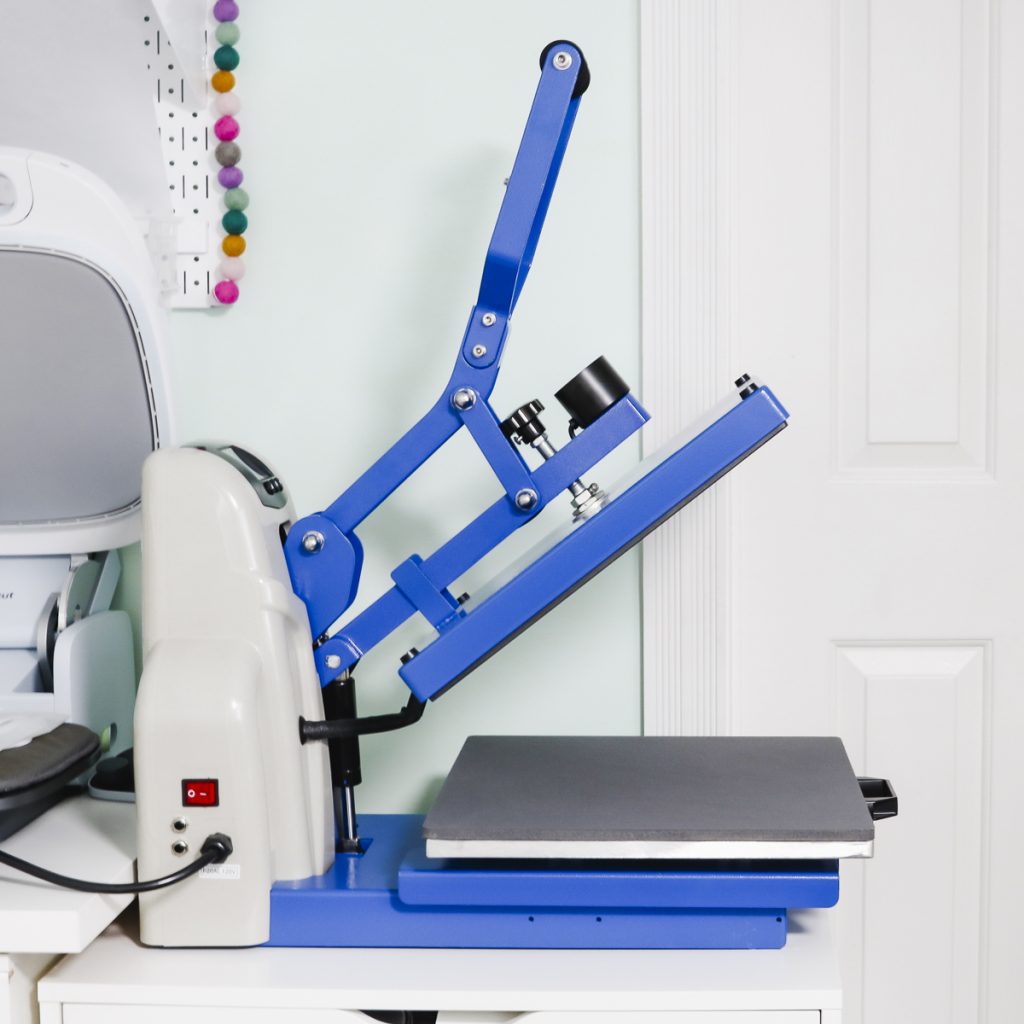
Auto-Open Feature
This press is larger than the Cricut AutoPress but has an auto-open feature similar to the Autopress.
When you close the press all the way, it has a magnet that automatically locks and holds it closed until the time is up.
The magnet will release with either the emergency stop or when the timer is done and the auto-open kicks in.
Emergency Stop
There is an emergency stop on the side that you can press to release the magnet and open the machine before the timer stops.
I hold onto the handle when pressing the emergency stop to prevent the press from opening up on my face while I’m reaching over it.
Manual Press
I really like this feature. You don’t have to close the press all the way for the timer to start.
If you’re doing a pre-press, you can close the press down just shy of the magnet engaging and the timer will start. You can watch the timer and know how long you’ve pressed and then just open it up and add the design.
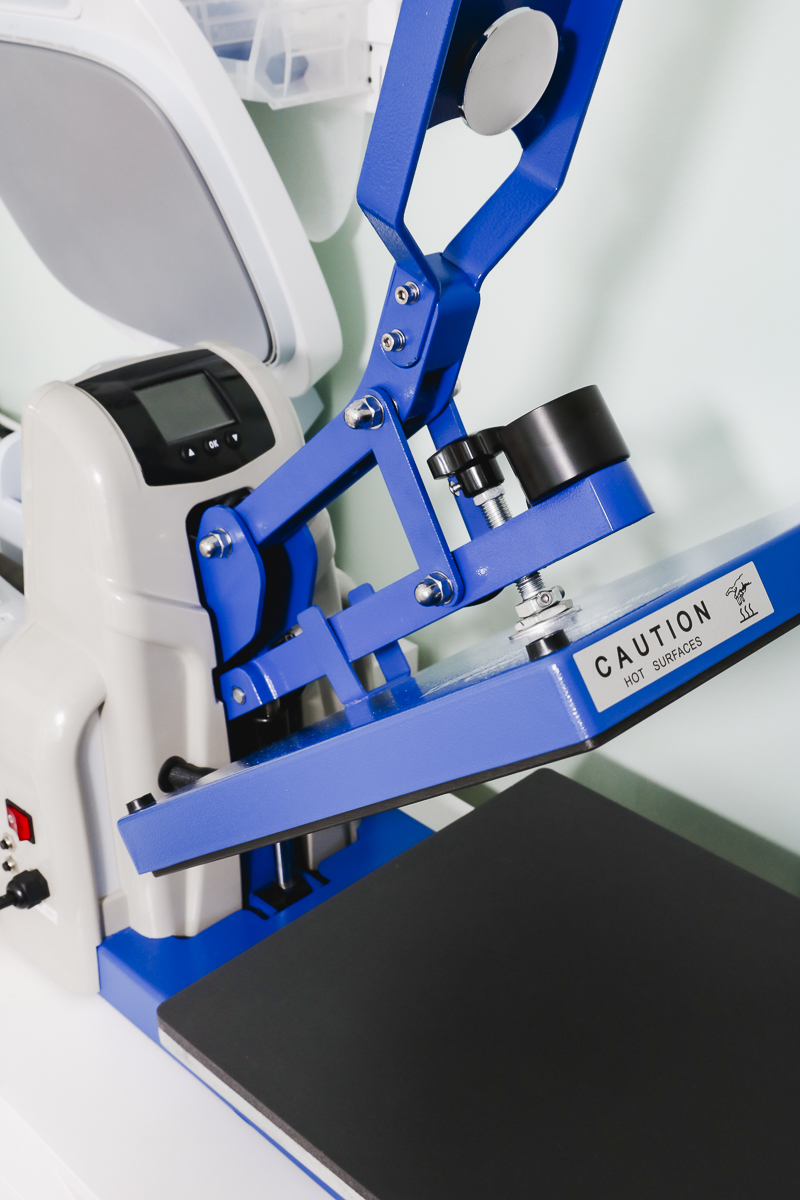
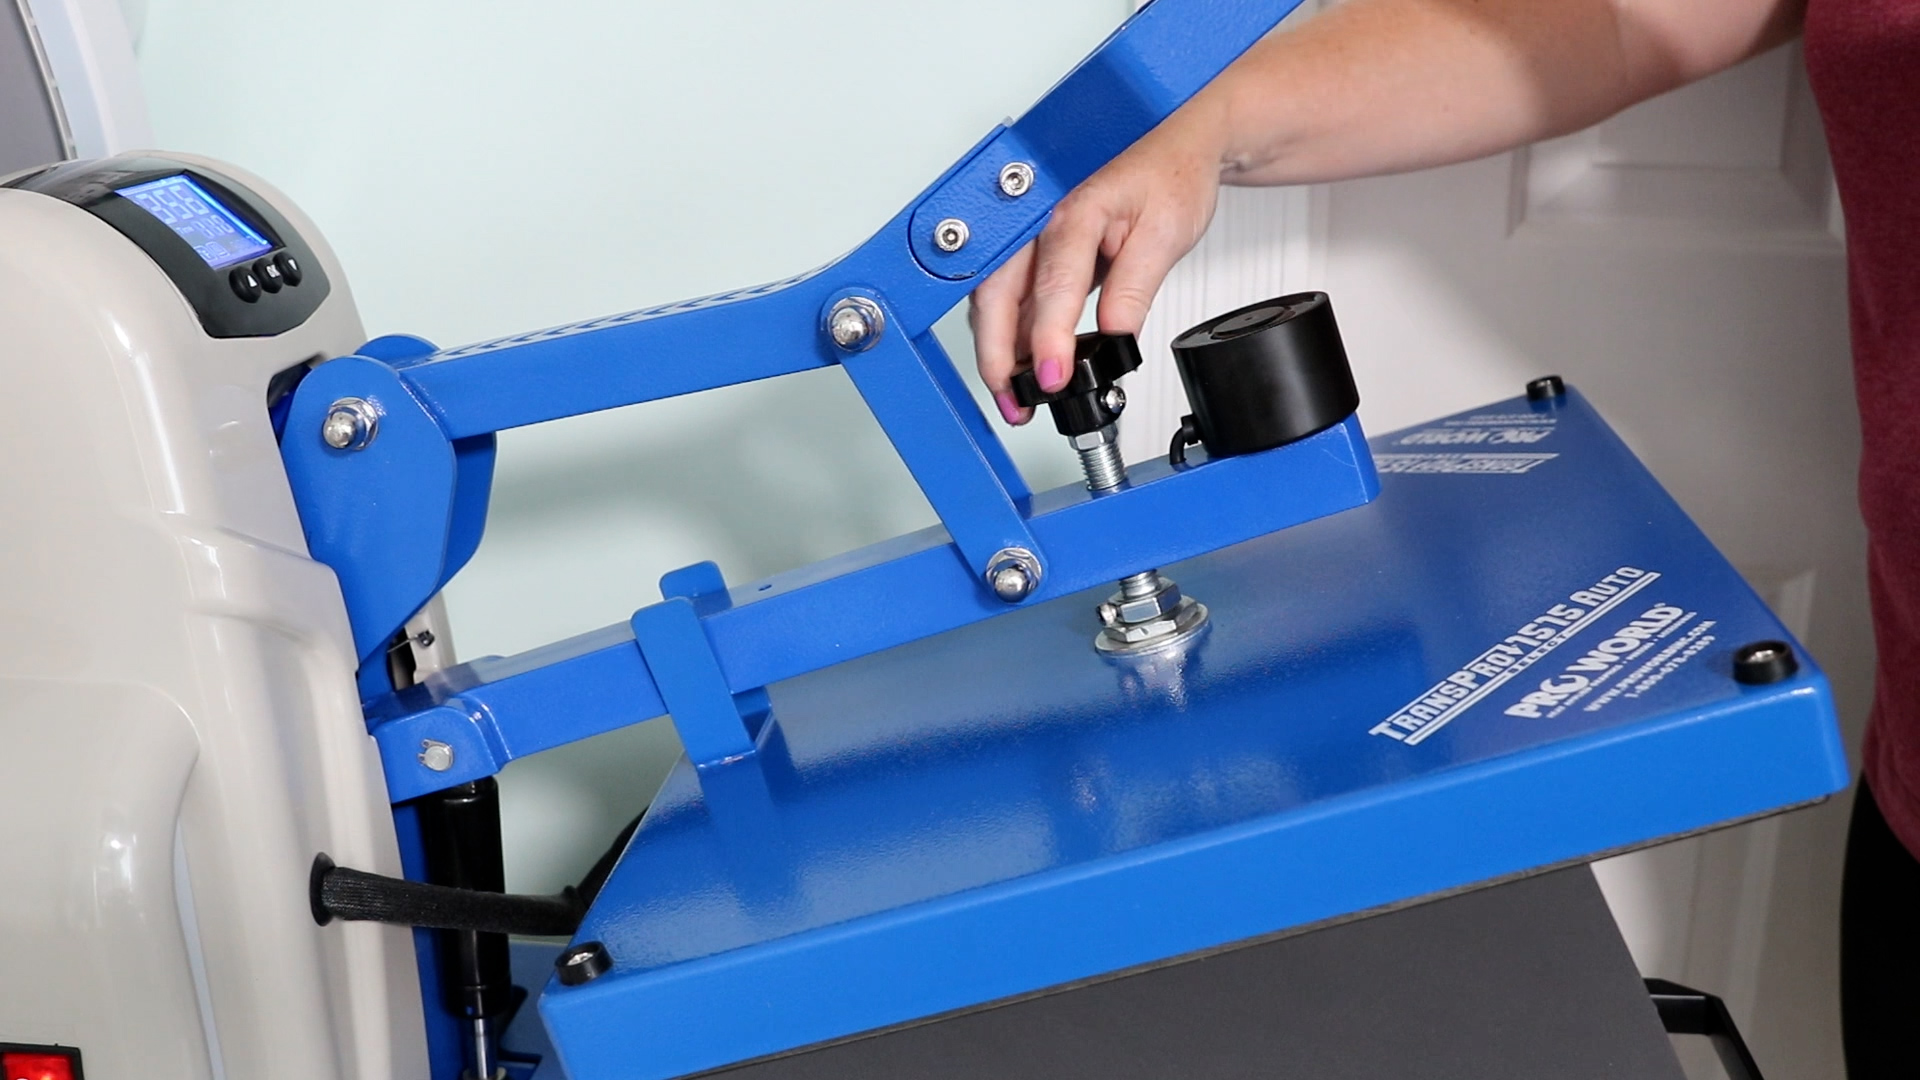
Adjustable Pressure
You can adjust the pressure on this press by turning the knob on the top.
I like to adjust the pressure with the blank inside so I know I have the pressure exactly how I want it.
To adjust the pressure, I close the press about halfway. I find it’s easier to adjust without the press being open all the way.
For more pressure turn the knob clockwise, to decrease the pressure turn the knob counterclockwise.

Not sure which heat press is for you? Heat Press Roadmap has your answer! This extensive course is designed to guide you on your journey to deciding on the best heat press for your needs, space, and budget.
Join Angie Holden and Cori George as they explore 17 heat presses in 27 videos. Get the details and sign up for Heat Press Roadmap here!
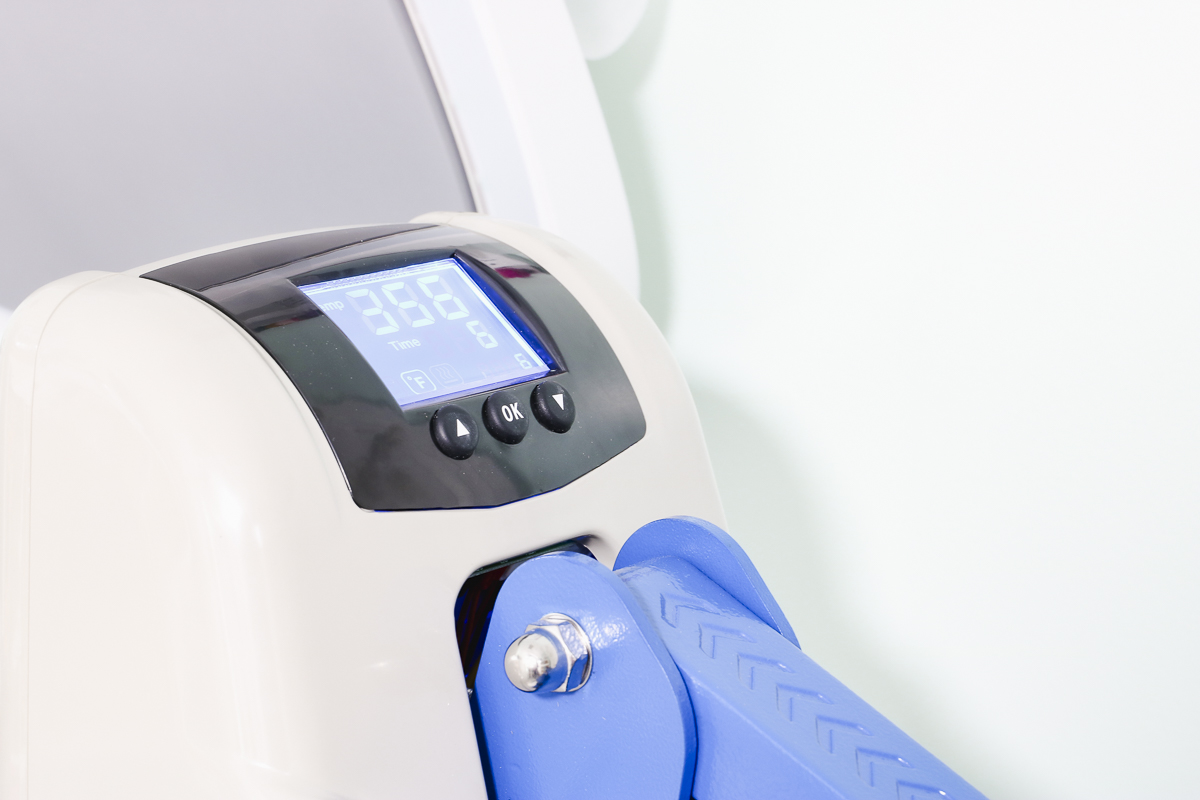
How to Adjust the Time and Temperature
To turn the press on there is an on/off switch on the side where the machine cord attaches. Turn the machine on to adjust the time and temperature.
This press has a digital display on the top. To adjust the time and temperature, press OK in the center and then press OK again and then I can use the up and down arrows to adjust the temperature.
Adjust the time by pressing OK again and then use the arrows to adjust the time.
To increase the time or temperature rapidly, hold the arrow button down, otherwise, press it with a quick press to change the setting one at a time.
Press OK again to lock in the time and temp. You can adjust the temperature from 0 to 450 degrees. The time can be adjusted from 0 to 999 seconds.
Project Examples
Now I’m going to test a few projects. Let’s look at the supplies we’re going to use.
Supplies Used
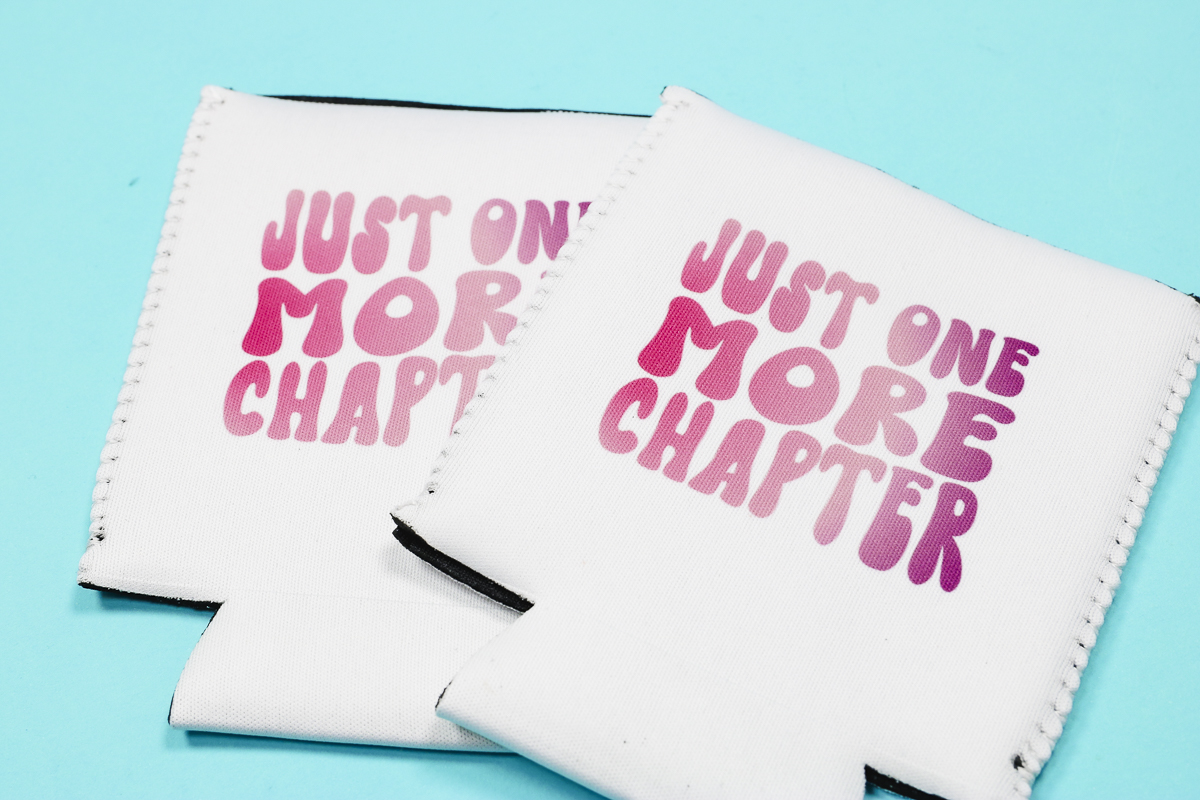
Sublimation Can Koozie
To make a sublimation can koozie with the semi-auto heat press, first I am going to pre-press to remove any moisture. Adjust the pressure if needed and press for a few seconds.
Slide out the drawer and lint roll the whole surface to remove any dust, hair, etc. Slide out the drawer and locate the design. Use heat-resistant tape to hold it in place.
Add protective paper to the bottom and the top and then press for the required time and temperature. I am pressing for 356 degrees for 120 seconds.
When the time is up, slide out the drawer and remove the koozie. Remove the protective paper and sublimation print.
The press worked really well on this blank and the design looks perfect.
Sublimation T-shirt
I like to thread t-shirts onto the press when I can. Because this press has a slide-out drawer I can slide the shirt onto it so only the top of the shirt will be pressed.
Because this is a sublimation project I am adding protective paper under the shirt and pre-pressing to remove any moisture and wrinkles.

Adjust the pressure as needed and apply the design. Make sure you orientate the design correctly because the shirt is facing away from you when it’s threaded on.
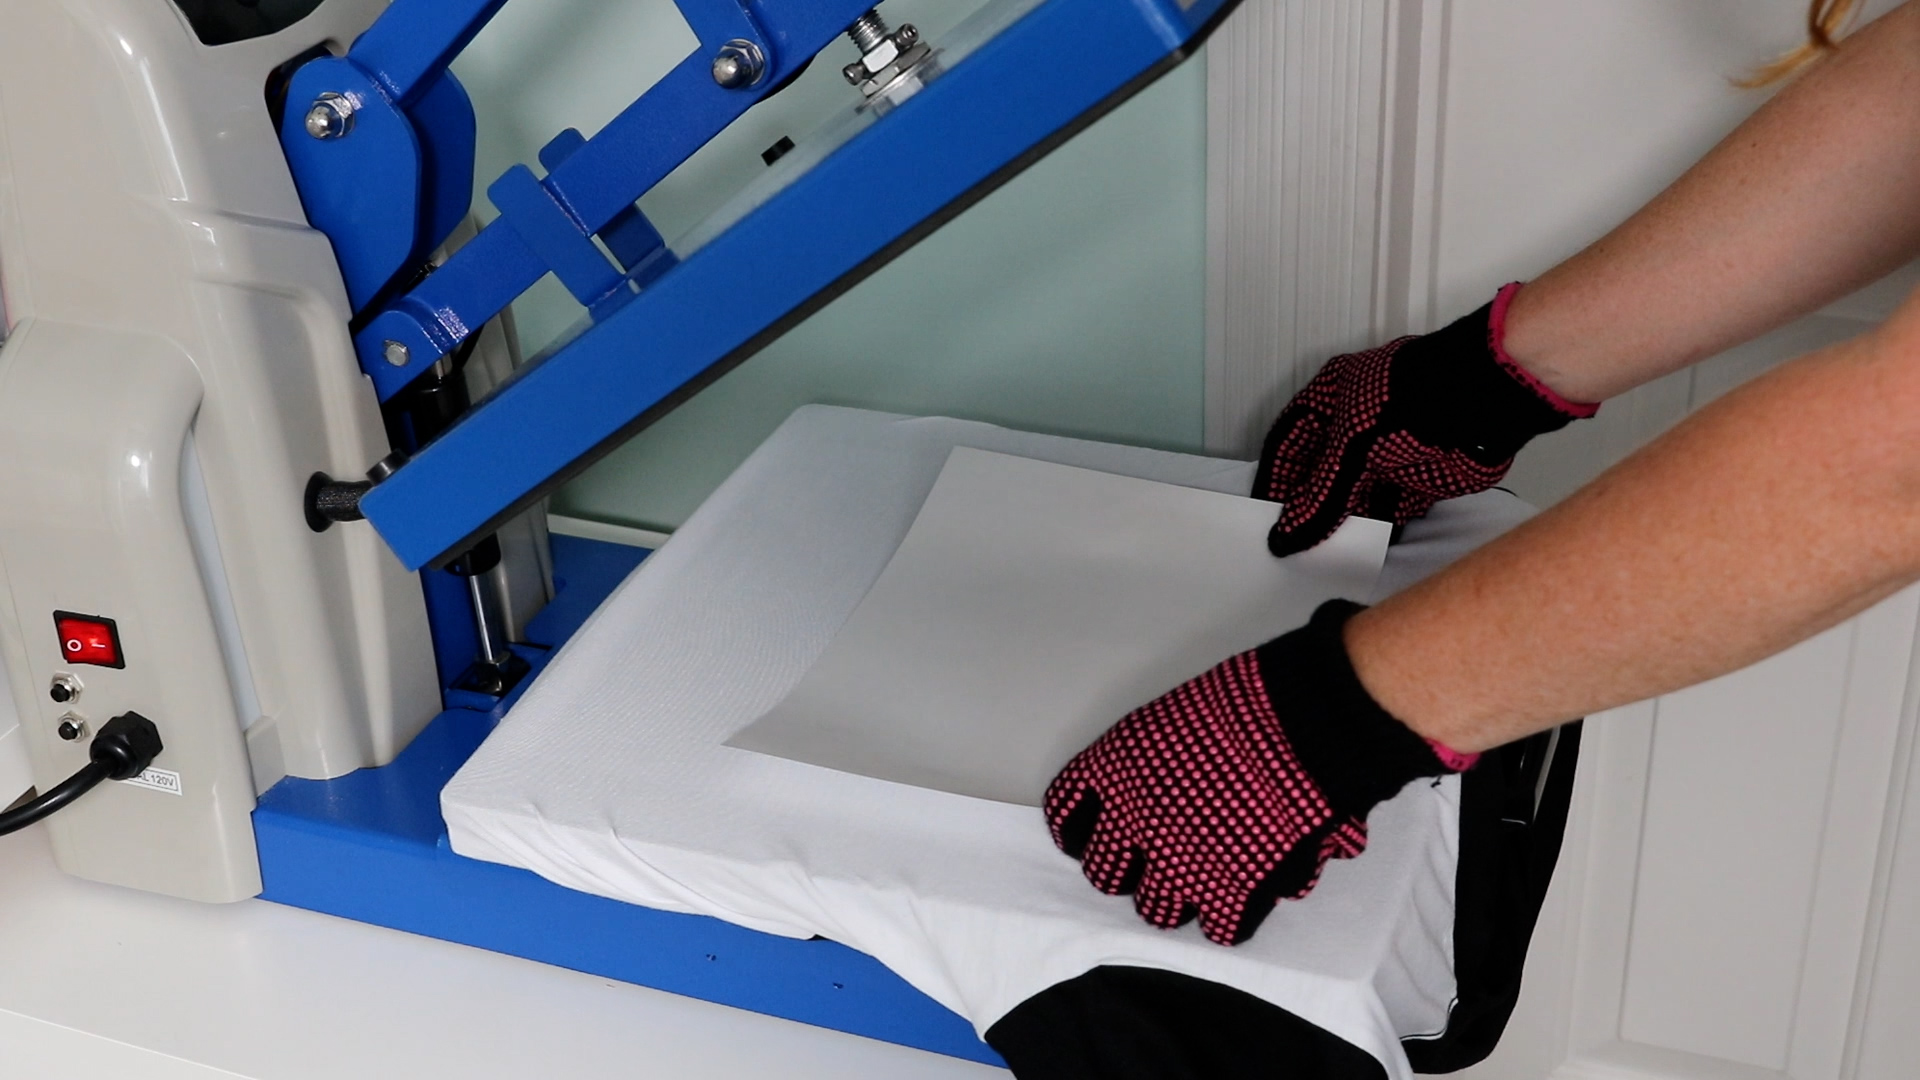
Use heat-resistant tape to hold the design in place and cover with protective paper. Press at 385 degrees for 55 seconds. The press will open automatically when it’s done.
Remove the design and we have a finished shirt that turned out perfectly.

Other Semi Auto Heat Press Projects
I made a variety of other projects to see how each one performed with the ProWorld semi auto heat press.
Here you can see how well this patterned iron-on t-shirt turned out. I pressed this design a second time with a Teflon sheet because the whole carrier sheet lifted up when the press opened. I think this happened due to static. In the future, I’ll place something on top to help hold that carrier sheet in place.

The carrier sheet lifting didn’t impact the finished shirt, it turned out great.
I also made ceramic coasters with a sublimation print. These also turned out great. The sublimation paper did stick to the coaster but soaking the coaster in water lifted the paper off with no problem.

Next, I made a shirt using a DTF print. Just like the other projects this shirt turned out perfectly.

The last project I made was a sublimation luggage tag.
This tag is not bright white but the sublimation print transferred really well and looks great on the blank.

Pros and Cons of ProWorld Semi Auto Heat Press
Now that we’ve looked at how the press worked on a variety of different blanks with different materials let’s talk about the pros and cons of the heat press.
ProWorld Semi Auto Heat Press Pros
- As of the writing of this post, this press is $699 and I think that is a great price point for a semi auto heat press that is 15 inches by 15 inches.
- I like that you can adjust the pressure, so it’s great for blanks that require medium to heavy pressure.
- I like the pull-out tray so that you can adjust the blank without having your hands near the heat plate.
- The size is great for most projects you’ll make and it’s not too large for most craft rooms.
- The auto-open feature is another pro, you can be working on another project while the press finishes and not have to worry about over-pressing.
- Because this press is from ProWorld you can expect great customer service. I always recommend making large purchases from a reliable source and ProWorld is reliable.
ProWorld Semi Auto Heat Press Cons
- I did find that during the pressing process, the handle on the drawer got warmer than I liked. I would wrap something around the handle to prevent any burns.
- Adjusting the pressure was a little tricky. If the press is closed all the way it’s hard to get your hand in to adjust the pressure. When the press is open all the way it can be hard to turn the knob because some of the brackets are in the way. I feel like the knob is in an awkward location for adjusting easily.
Those are the only real cons I have about this press.
If you’re looking for a heat press that will do a wide variety of projects including blanks that require medium to heavy pressure at a great price point, this may be the heat press for you.
If you have any questions about the ProWorld semi auto heat press leave them in the comments and I’ll be happy to answer them for you.
The post ProWorld Semi Auto Heat Press Review appeared first on Patabook Home Improvements.