

This post and photos may contain Amazon or other affiliate links. If you purchase something through any link, I may receive a small commission at no extra charge to you. Any supplies used may be given to me free of charge, however, all projects and opinions are my own.
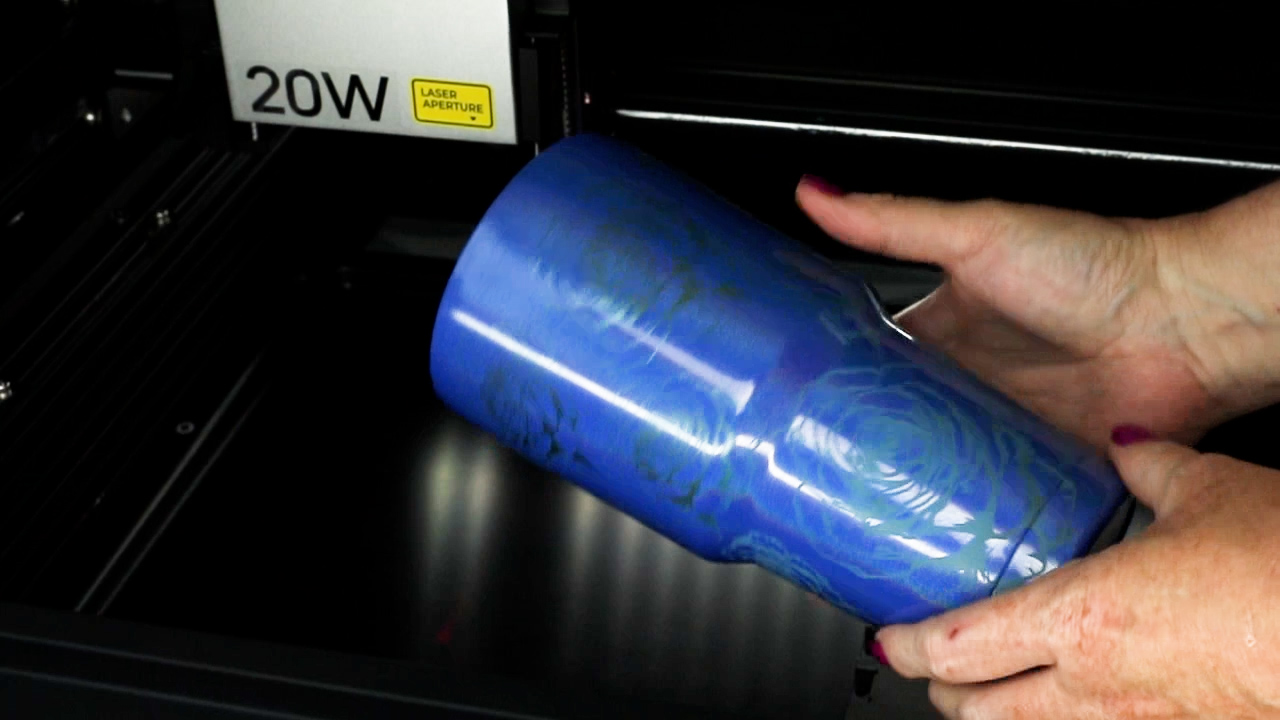
Are you ready to make your own laser-engraved tumblers? Today I’m going to show you how to use the xTool rotary attachment to create customized laser engraved tumblers.
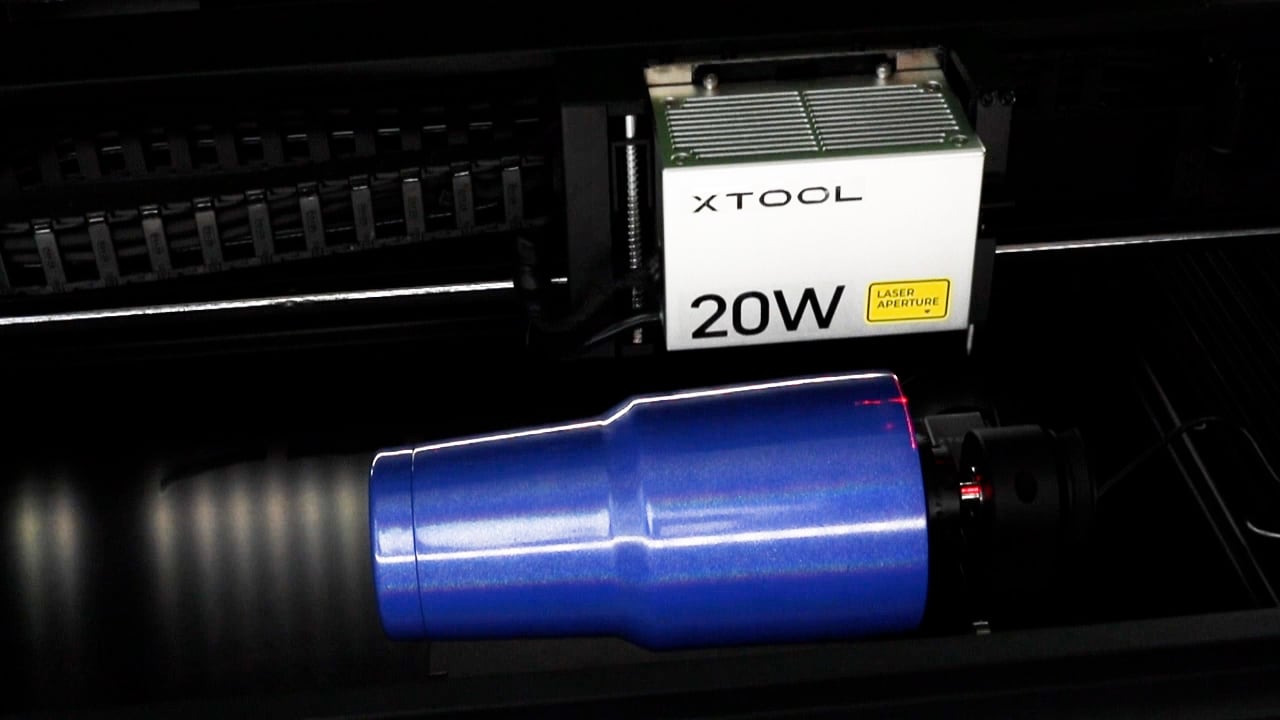
I am using the xTool S1 to engrave these tumblers with the riser base and the RA2 Pro version rotary attachment.
If you don’t have a laser and are trying to decide which laser is right for you, my laser-ready course is a great place to start.

You can watch me set up the rotary attachment and engrave each laser by pressing play on the video below.
Supplies Used
Make sure you have the right rotary attachment for your xTool laser. I am using the RA2 Pro version, there are different rotary attachments depending on which xTool laser you have.
You have to have the riser base added to the xTool laser in order to use the rotary attachment. I followed the instructions that came with the riser base and they were very easy to follow but here is a brief overview.
- Connect riser base corners with four screws.
- Fold the front and back pieces up to add the riser to xTool S1.
- Remove screws around the bottom tray from inside the xTool S1.
- Remove the bottom tray from the laser.
- Set the riser base on the table and place the xTool S1 on top.
- Tighten all screws to attach the laser to the riser base.
- Make sure no light is showing through the front or back of the riser base. If there is, you can use light-blocking strips to control the light. You can use laser safety glasses that are included with the riser base when working with larger blanks.
- Depending on the blank you’re using, you can place the bottom tray into slots A, B, C, or D.
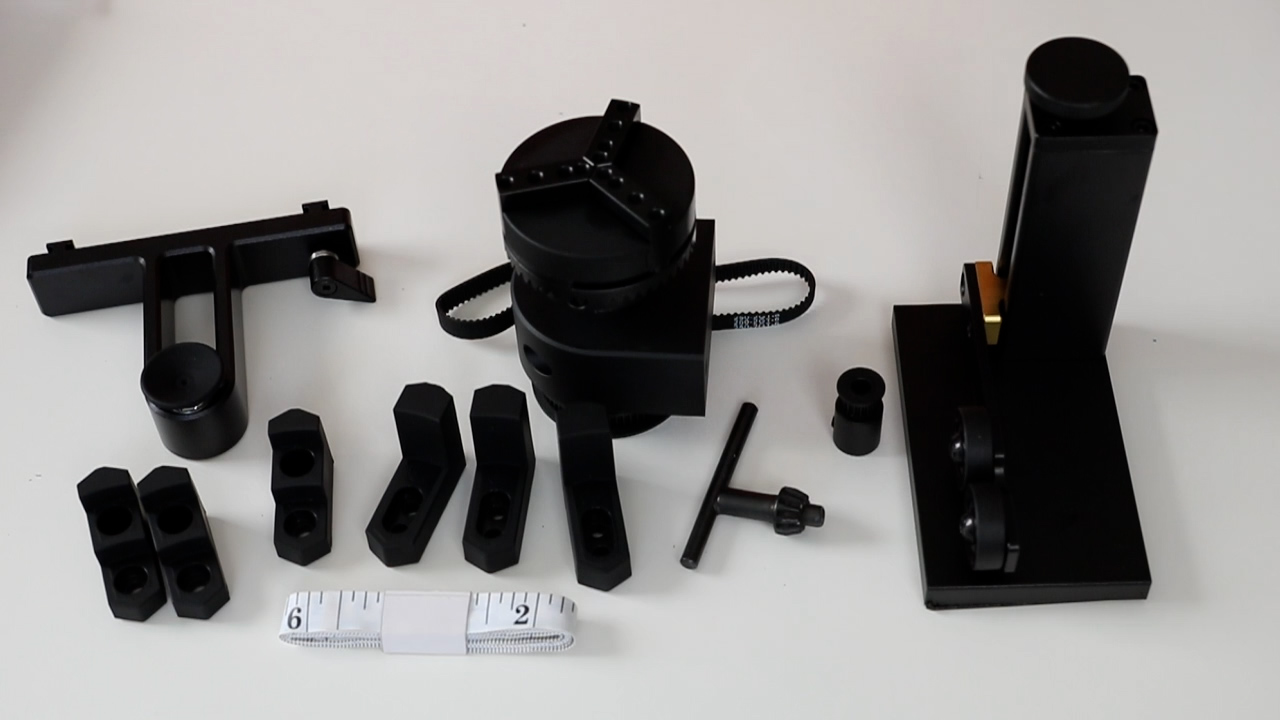
RA2 Pro Rotary Attachment
The RA2 Pro Rotary attachment has a variety of different pieces because you can engrave everything from tumblers to spheres and even smaller items.
There is a chuck attachment that I’ll use for the tumblers that are two different sizes. The rollers will be used for blanks that have a consistent diameter from top to bottom.
Accessories with the RA2 Pro
I am going to use the chuck attachment and rollers for the projects I made today but there are other accessories that come with the RA2 Pro.
There are attachments for blanks that are round at the bottom and different attachments for blanks that are not round at the bottom. There are pieces for engraving rings and different pieces for blanks that are a sphere.
The user manual that comes with the RA2 Pro will walk you through how to install each piece and what they are used for. If you ever have questions refer to the manual.
Tumbler Sizes
When using the rollers, the maximum diameter is approximately 7.75 inches or 198 millimeters.
With the chuck attachment, you can engrave something that has a diameter of up to about 4 inches or 100 millimeters.
How to Set Up the Chuck Attachment
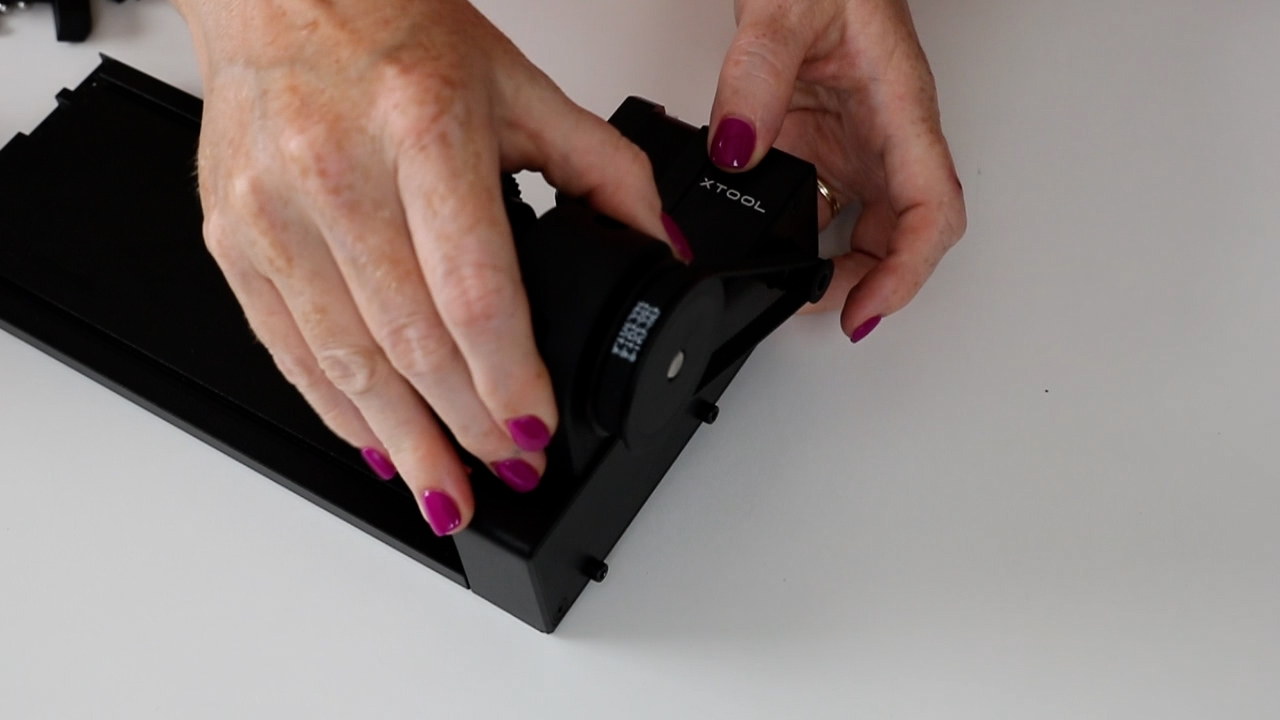
When using the chuck, you will remove the screws and remove both roller bars and brackets that hold them into place.
Add the first piece to the hole on the end of the rotary attachment.
Flip it over. There is a hole on the bottom that has a set screw that you will tighten to hold that piece in place.
The belt on the chuck attachment will go around the piece you just added and the chuck attachment will screw into the two screw holes on the top. Tighten both screws down.
There is a chuck key that you can use to tighten and loosen the chuck itself.

To set up the chuck attachment, we need to assemble the jaw pieces. These pieces hold blanks steady within the rotary tool. There are a variety of pieces you can use depending on the item you are engraving.
Add the brackets to the chuck and screw them into place. These pieces will extend the chuck to hold the tumbler in place.

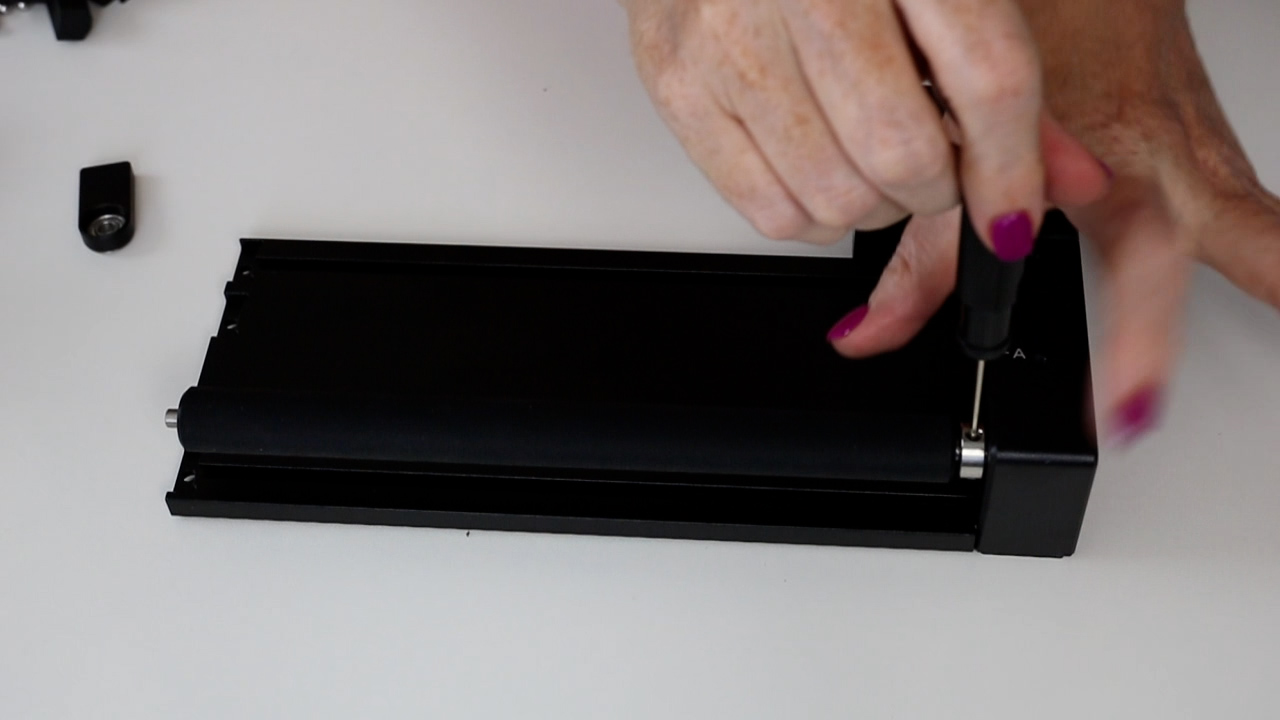
How to Set Up the Roller Attachment
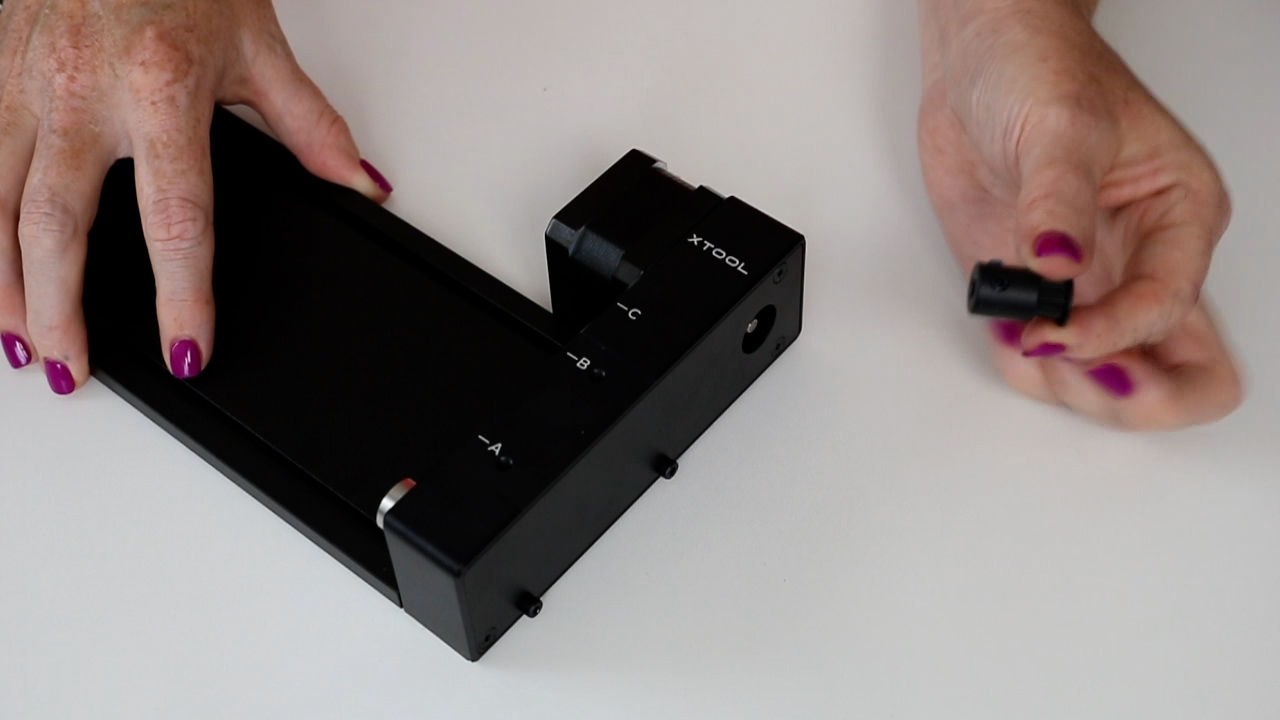
Remove the screws from the bottom of the rotary attachment then move the bars to alter the size of the rollers for different tumblers.
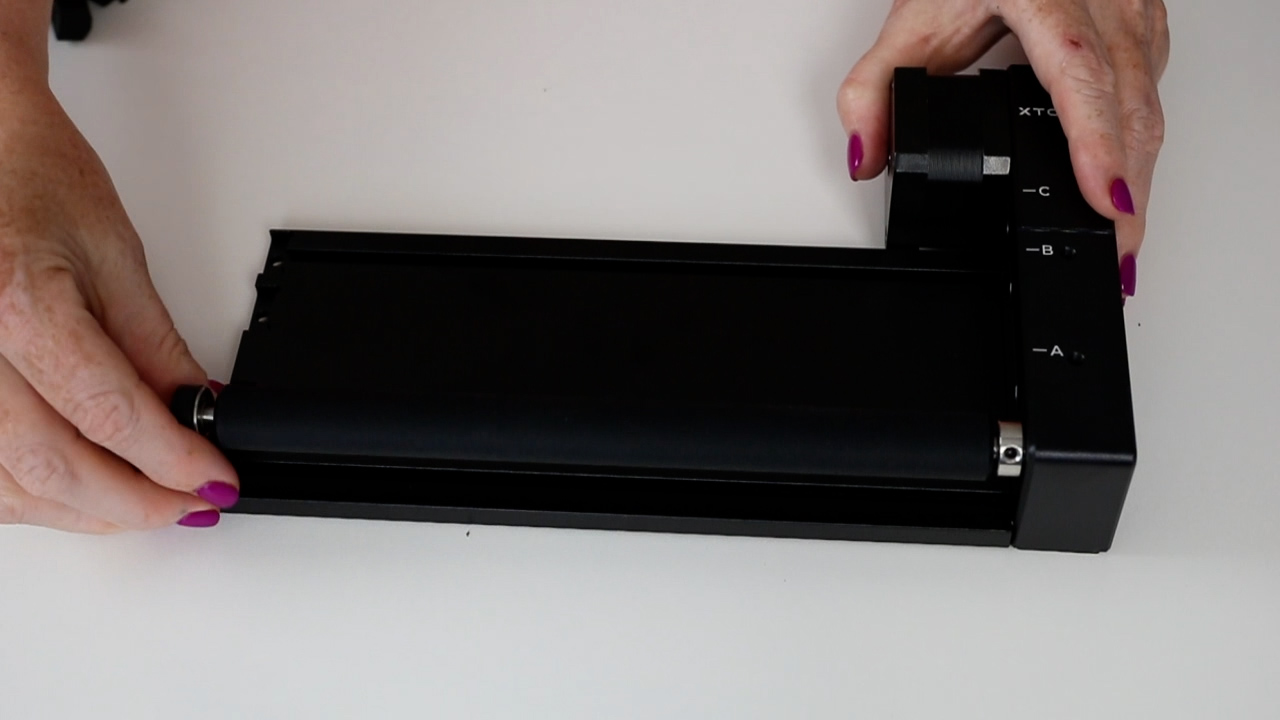
You can adjust the rods to different locations. There is an A, B, and C location, which one you choose will depend on the size of the blank you’re using. Replace and tighten the screw once you have the desired location.
The locations are as follows:
- With the roller in the A location, you can add a blank that is between 3 and 50 millimeters or 2 inches or less in diameter.
- You would use the B location for blanks that are between 45 to 50 millimeters or 2 inches to 2.25 inches in diameter.
- Location C is for anything greater than 60 millimeters or 2.25 inches in diameter.
How to Make a Laser Engraved Tumbler with the Chuck Attachment
Now let’s make a tumbler with the rotary accessory.
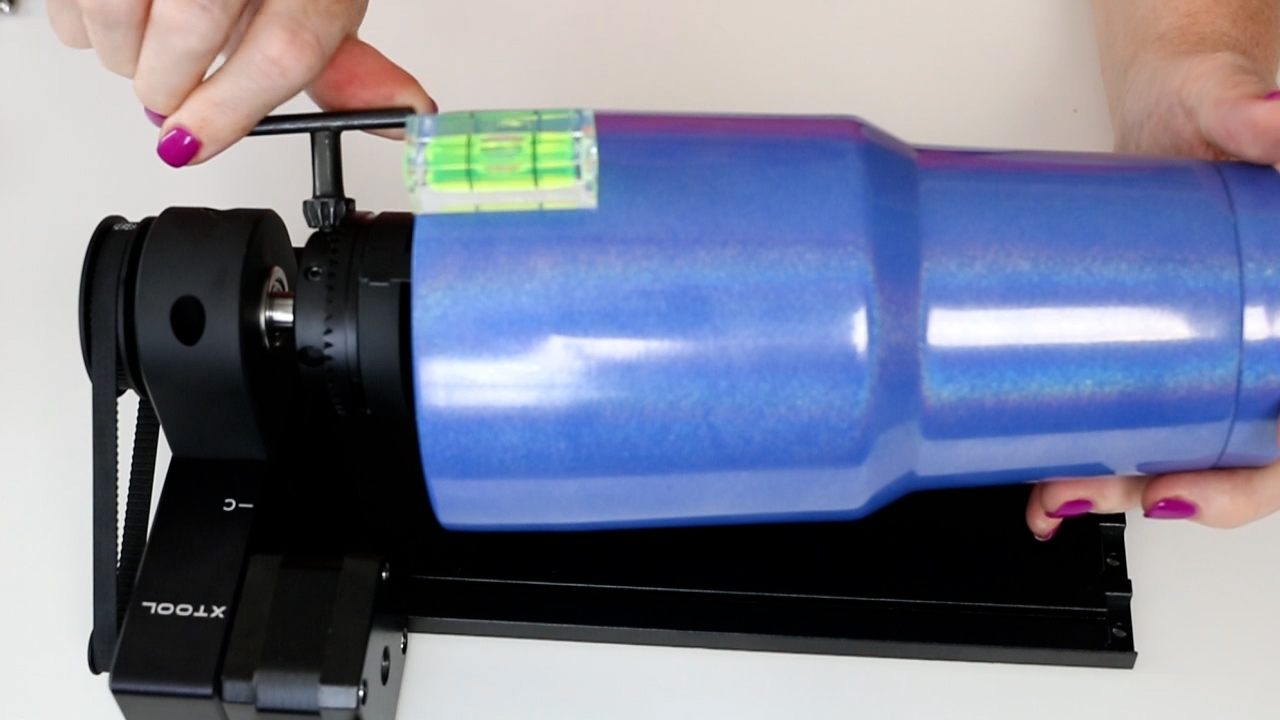
Step 1: Add Tumbler to the Chuck
With the jaw components added to the chuck, I can put my tumbler right on the chuck. Adjust the tumbler until it is straight and turn the chuck key to tighten it so the tumbler doesn’t move.
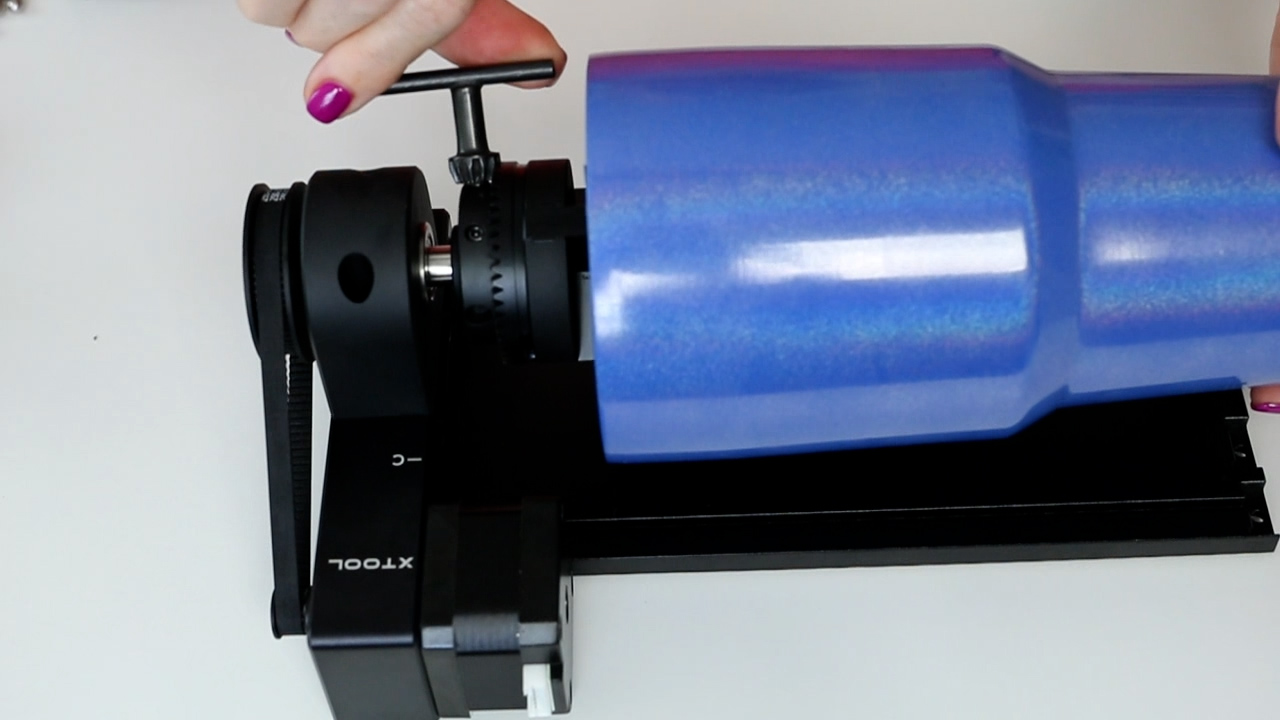
The attachment comes with a level so you can check that the tumbler is level.
If your tumbler has a handle, remove the handle before adding it to the rotary attachment. Bend any brackets down so they don’t hit any part of the rotary tool or laser as it’s rotating.
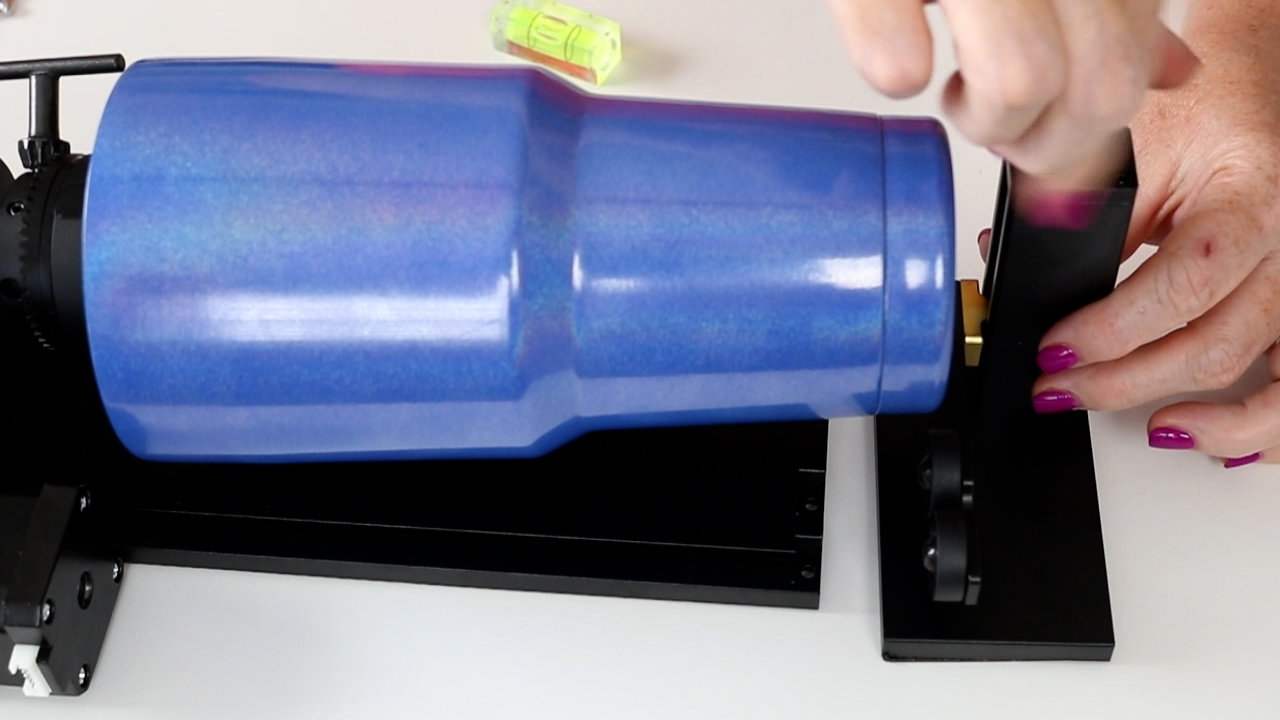
Step 2: Balance the Tumbler with the Bottom Bracket
With larger tumblers, you may notice the tumbler is hanging off the end of the chuck attachment. There is an additional piece that you can add to the bottom end to help hold the end up.
Adjust the piece with the screw at the top so it slides under the tumbler.
With that piece in place, the tumbler is supported on both ends. Use the level to check that the tumbler is level.
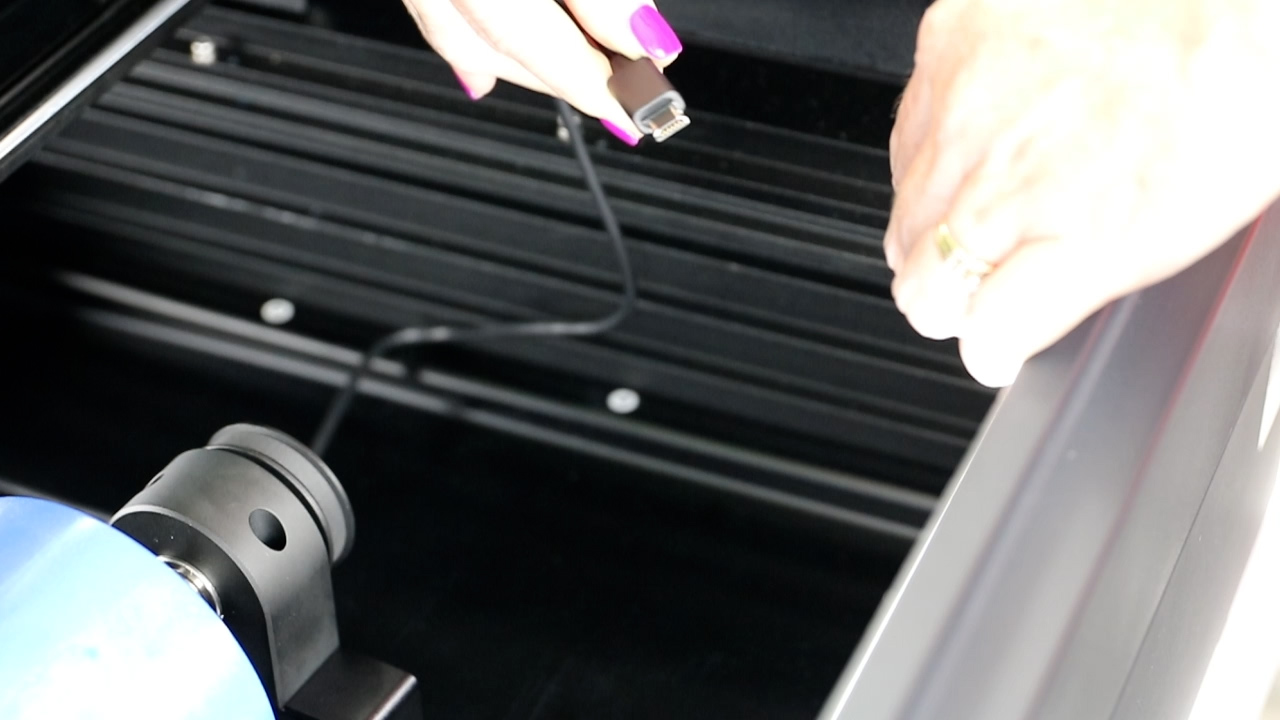
Step 3: Add Rotary Attachment to Laser
The rotary attachment needs power to operate. The rotary tool comes with a cord specific to your laser. One end of the plug attaches to the rotary tool and the other end plugs into the laser. The S1 has an area in the front to plug the cord into.
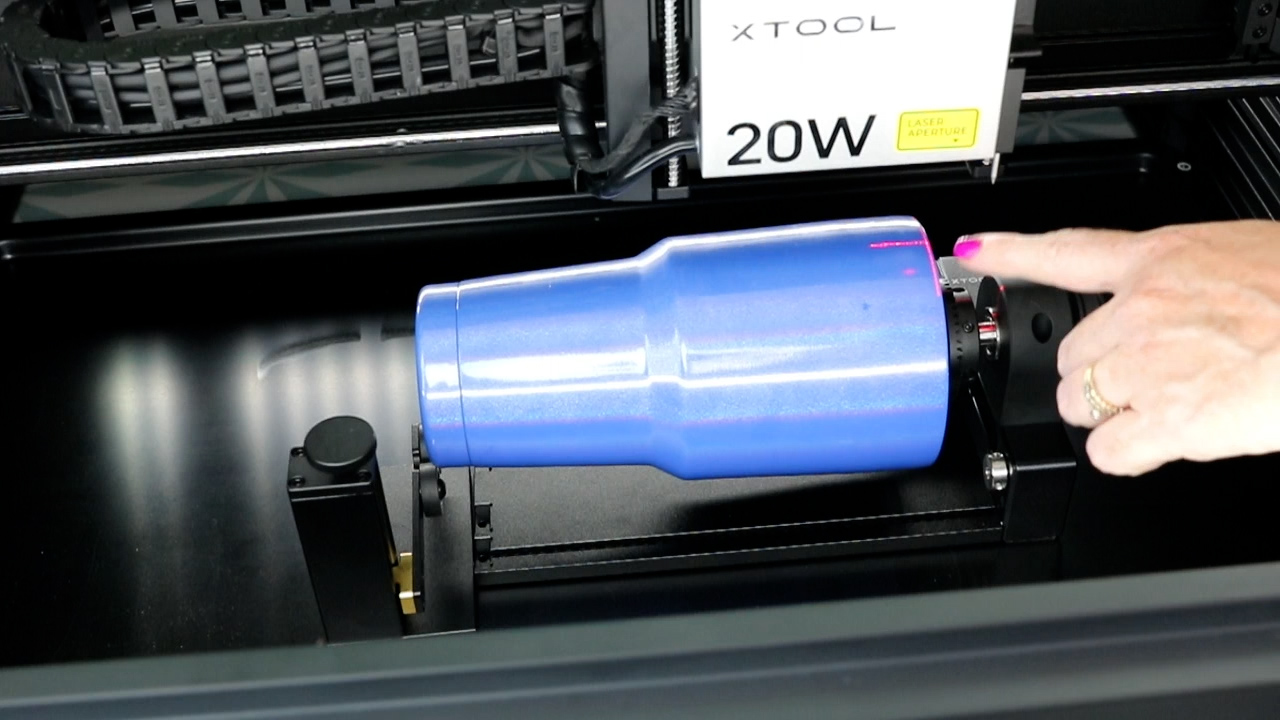
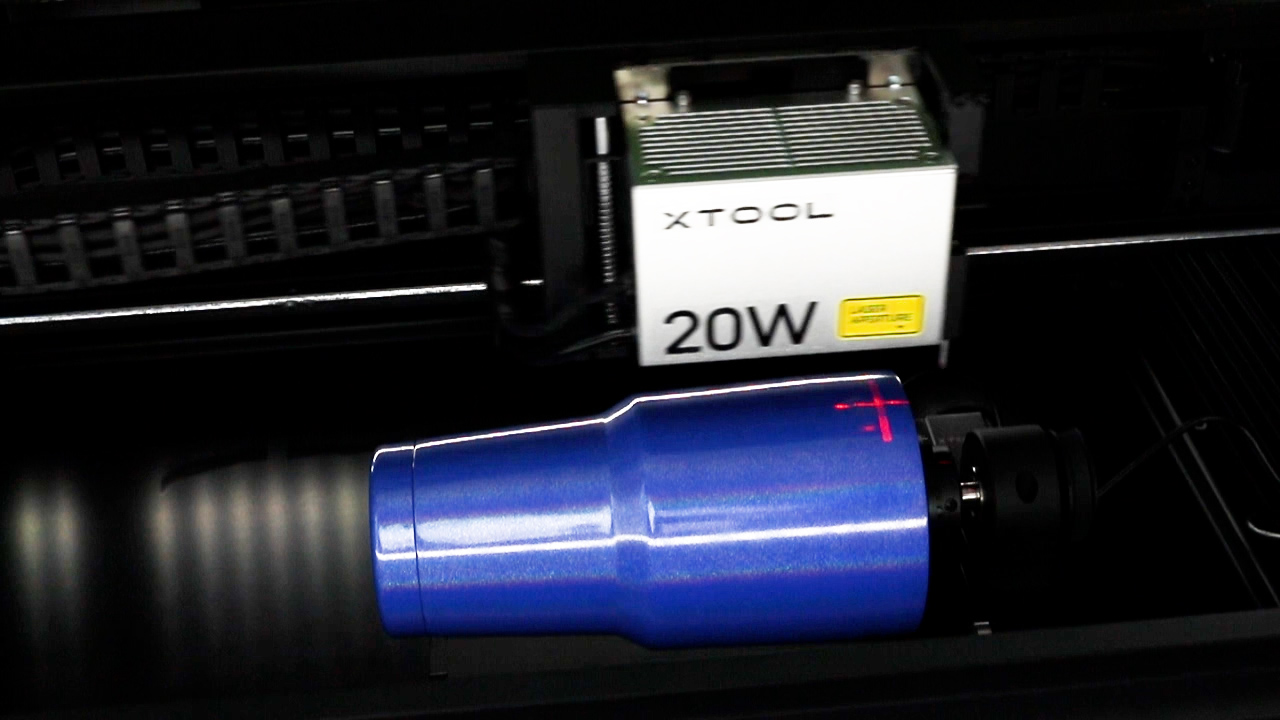
Step 4: Check the Alignment of the Tumbler
With everything inside the tumbler, turn the laser on and move the head so you can see the cross hairs on the tumbler. Line the crosshairs up with the end of the tumbler and rotate the tumbler to make sure it’s straight all the way around.
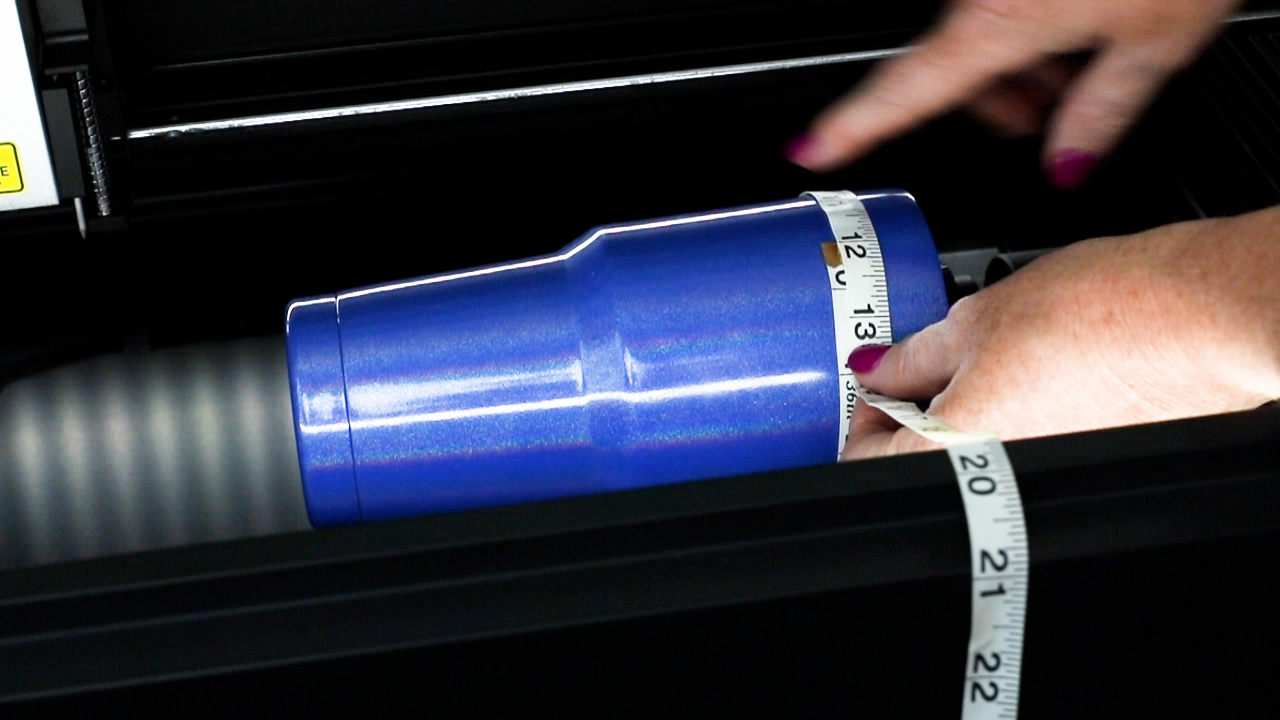
Step 5: Measure the Tumbler
If you haven’t already, measure the tumbler. Measure from the top to the bottom and then all the way around the widest part of the tumbler.
You can do this before you add the tumbler to the rotary attachment but, if you forgot you can also do it now.
Step 6: Perform a Test Cut (optional)
If you’re concerned about the placement of your design or the measurement of your blank, you can do a test cut using painter’s tape. I found a video tutorial from Lily Rose Craft Room that you may find helpful if you want to do a test cut.
Step 7: Design in xTool Creative Space
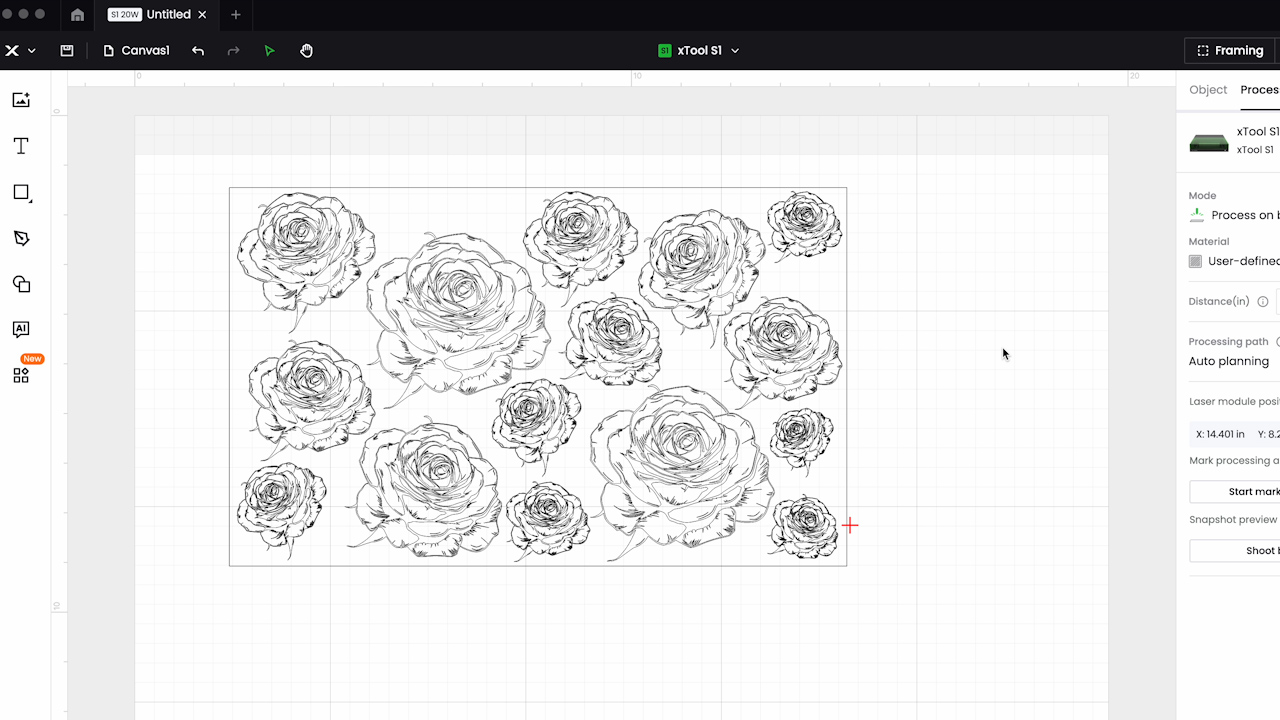
I am using the xTool Creative Space 2.0. Click Upload and find the file that you are using. Click Yes to Scale the design to fit the canvas.
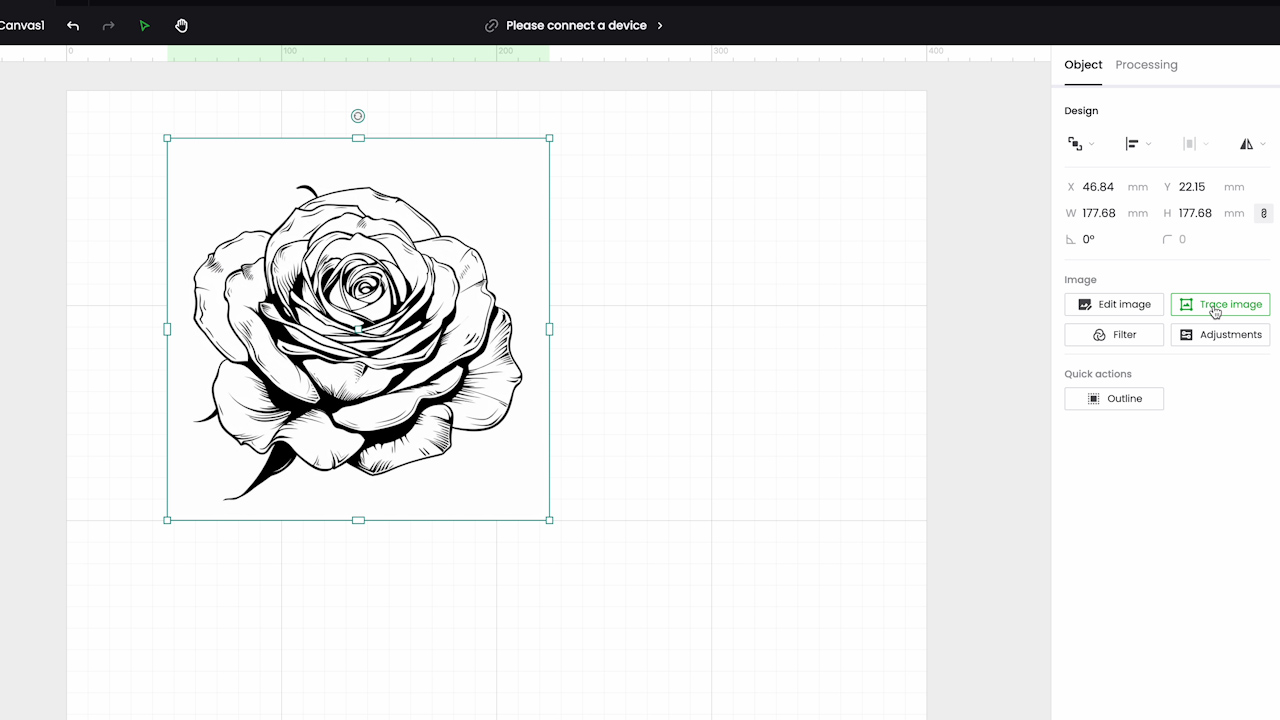
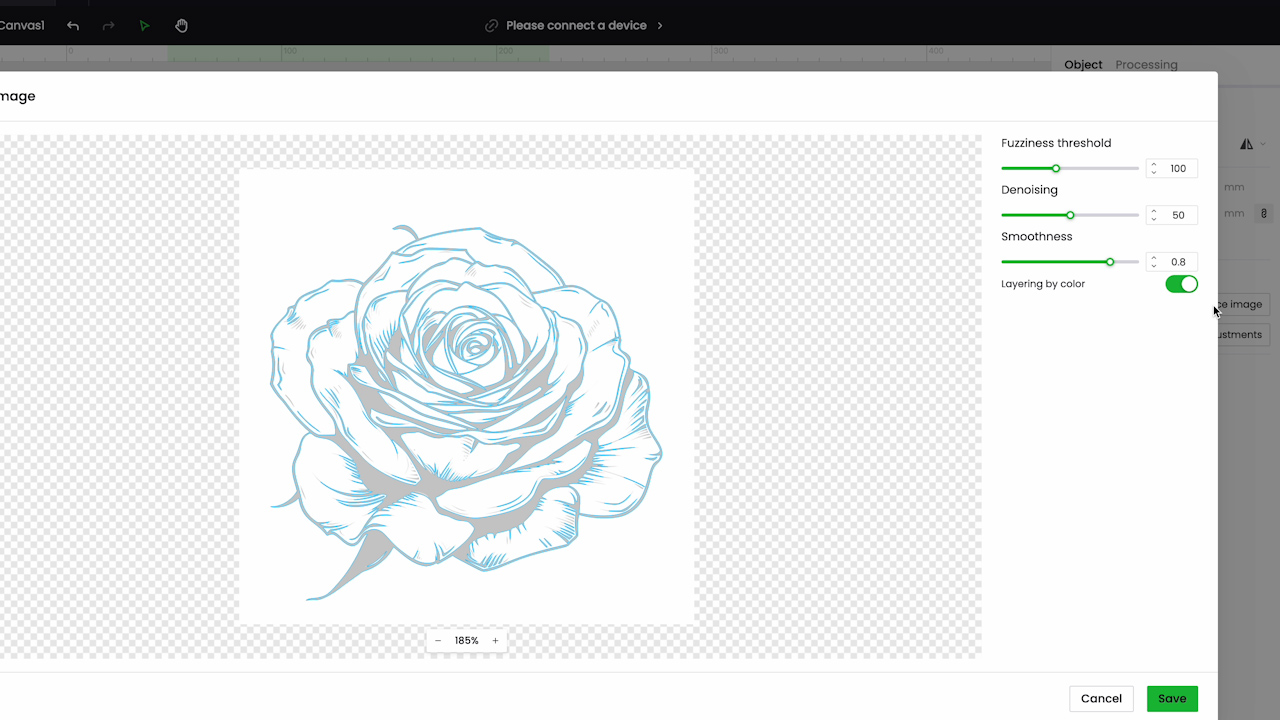
Next, we want to click Trace the image. You can play with the settings on the trace function if desired.
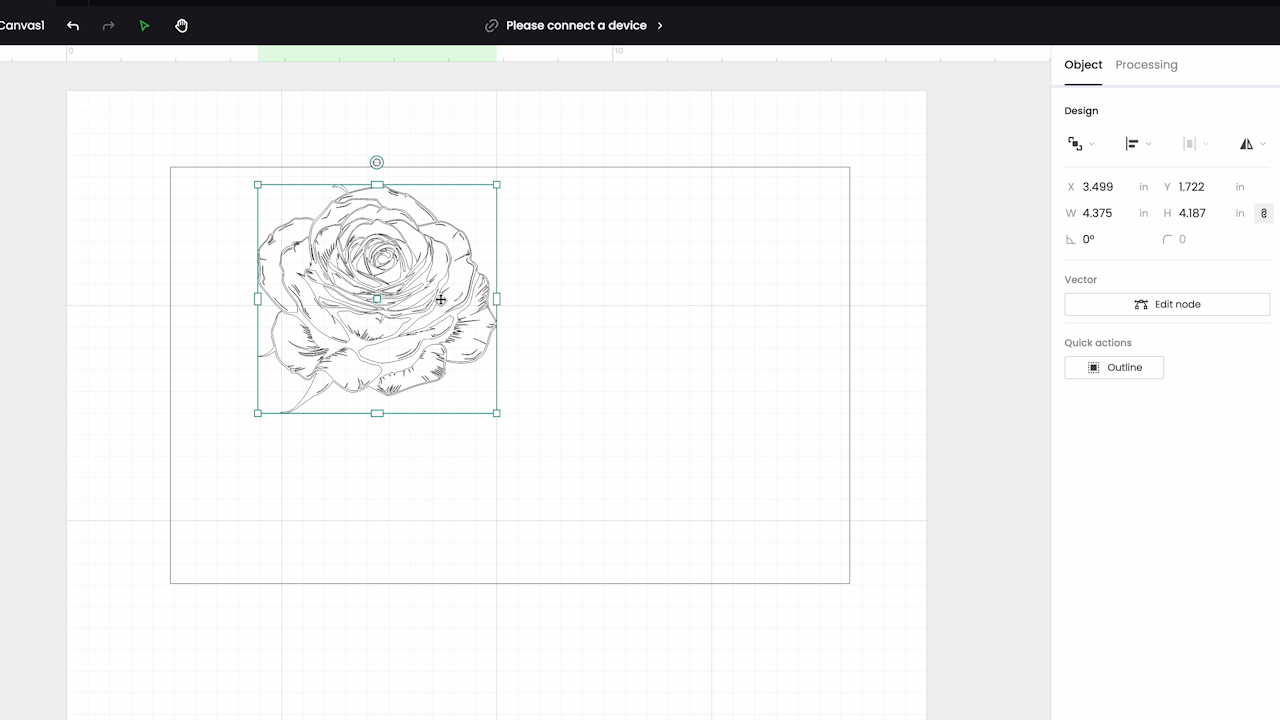
Click Combine and Unite and then you can delete the original file and you have a file that can be used with the laser.
Insert a rectangle and make it the same measurement you took from your blank. Unlock the shape so you can adjust the sides to match your measurements.
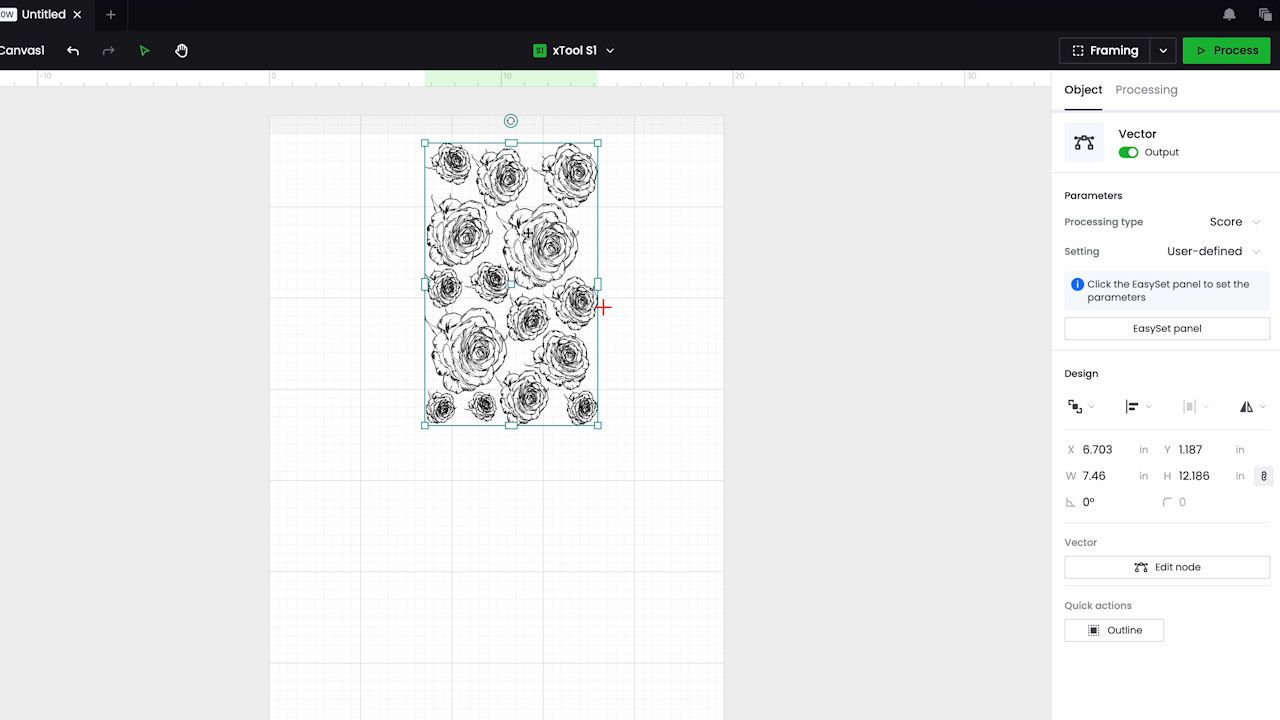
For this design, I am using the rose and I want it to be all over the entire tumbler so I am going to copy, paste, resize, and rotate the roses until I have them laid out on the template how I like it.
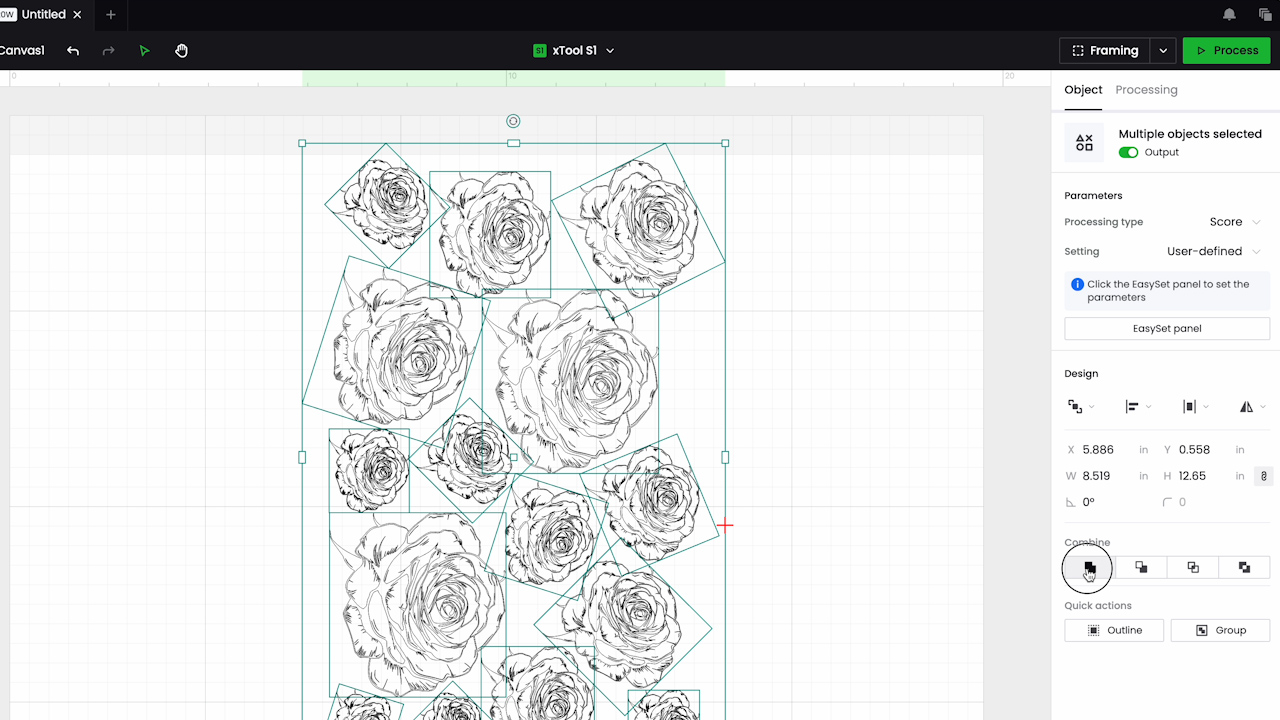
Next, I am going to select all of the roses and the rectangle and rotate the design 90 degrees so that it is oriented correctly for the tumbler.
Click the rectangle and delete it. Select all of the roses and click Combine, Unite.
It may take a few minutes but it will make sure everything is done in one pass.
Step 8: Send the Design to the Laser to Engrave
Now we need to tell the program that we are using the rotary attachment.
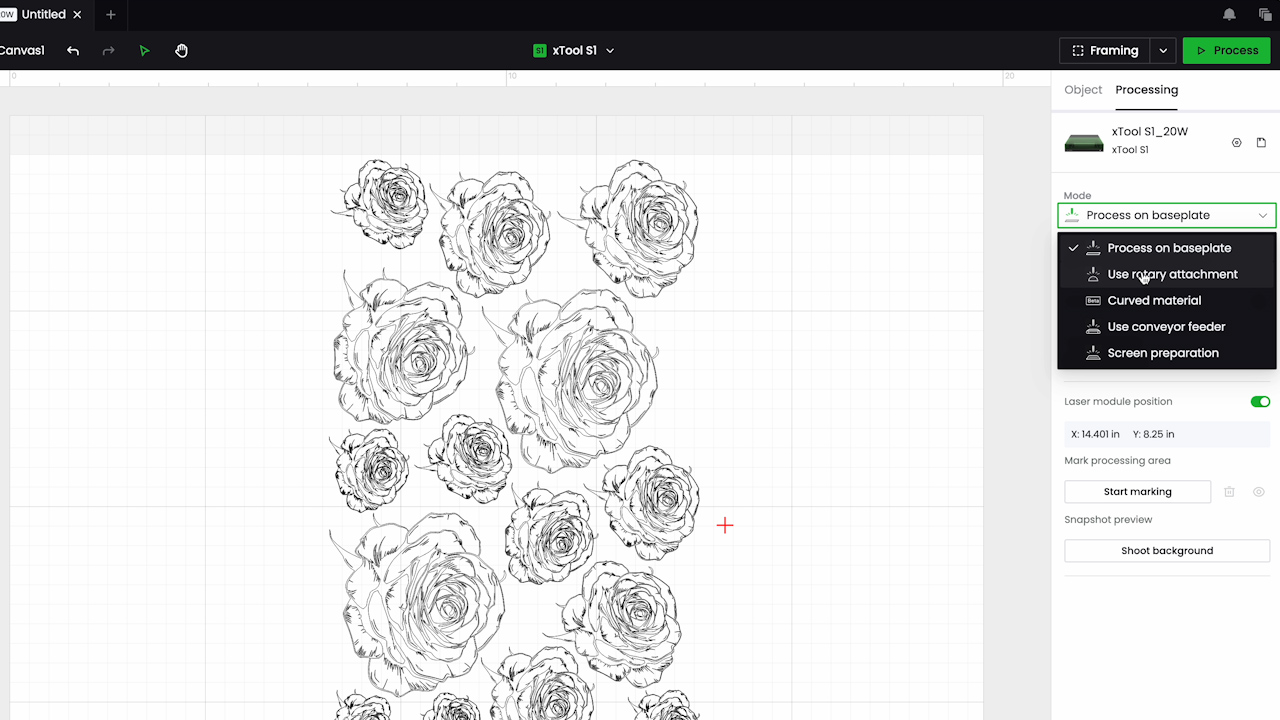
It will open a new screen where we can input the perimeter that we measured. The program will automatically calculate the diameter.
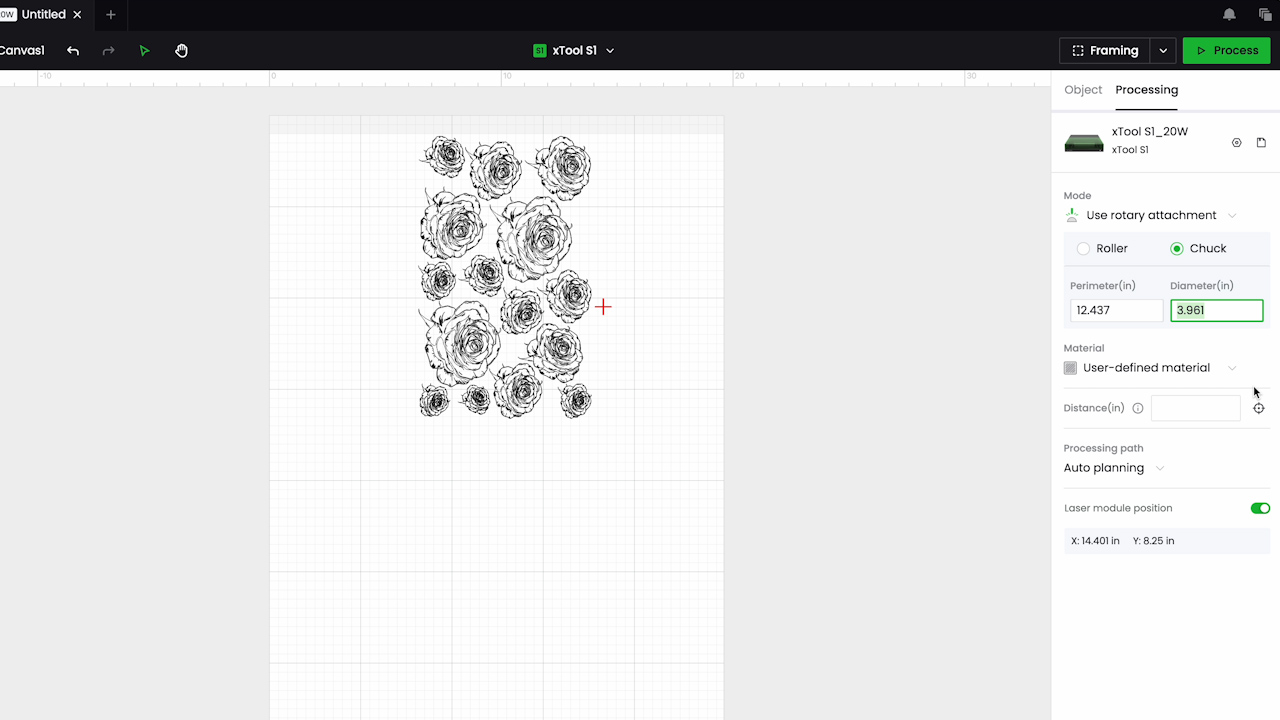
Make sure the design is lined up with the red cross that represents where the laser head is. Make sure none of the design is in the grey area. I move my design slightly to the left of the red cross so it does not go all the way to the top of the tumbler.
Next, we’ll allow the laser to auto-measure the distance. With laser head located click Auto Measure. The laser will do its measurement and the move back to where it started.
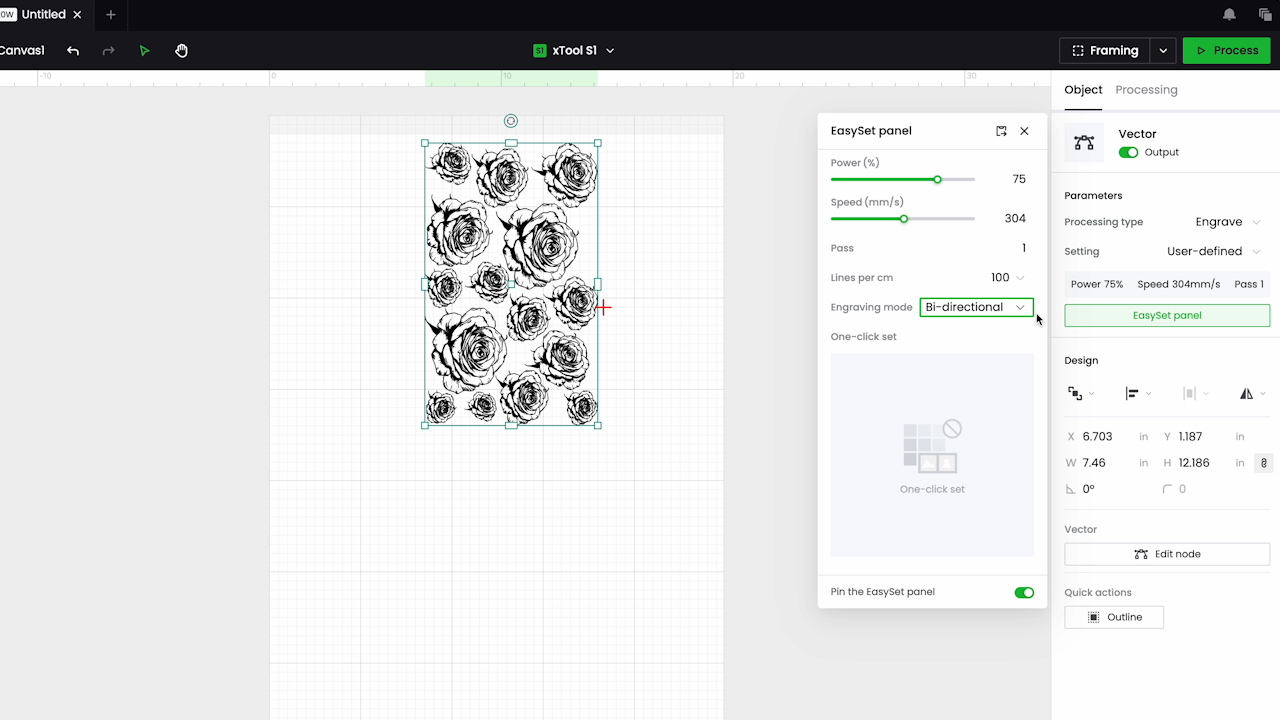
Click on the roses in the program and select Engrave as the Process Type.
In the Easy Set Panel, I am using a Power of 72, Speed of 304, and I have selected One Pass. I have it set at 100 lines per centimeter and Bi-directional Engraving Mode. Now I’m going to click Close.
Step 9: Frame the Design Then Engrave
Next, I want the laser to do what is called framing. Click the framing button and then press the button on the front of the machine to frame the design.
You can watch the crosshairs and that is where the engraving will be. If you want to check it again you can press the button again. If you need to make adjustments, you can do that and the press the button again to do another check.
Close the lid and make sure you have the laser venting either through a window or the air filter.
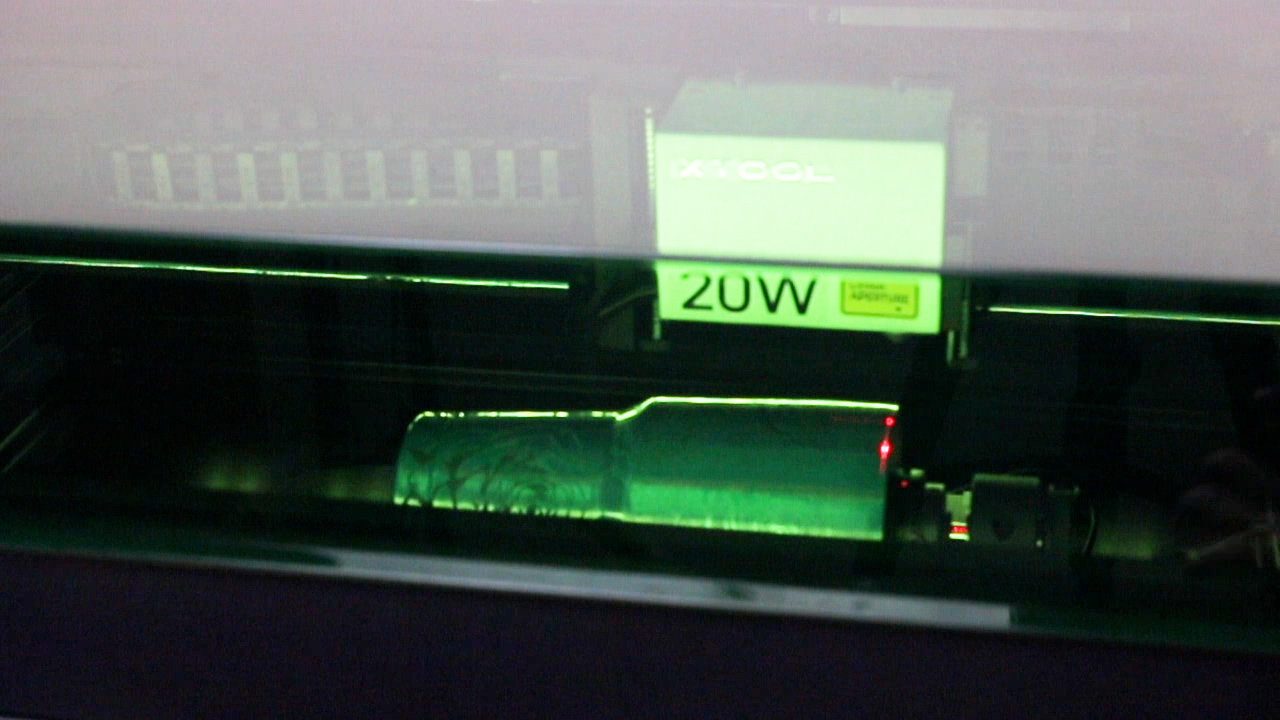
Click Framing Complete and then Process. This tumbler is going to take 40 minutes to engrave. Make sure you have time to stay with the laser the entire time it’s running for safety.
Click Start and when you hear the machine beep press the button on the front of the machine to start the engraving process.
Step 10: Remove Laser Engraved Tumbler when Laser is Complete
When everything is complete, open the laser to remove the engraved tumbler. Move the laser head and rotate the rotary attachment until you can fit the chuck key into the chuck to loosen it up and remove the tumbler.
There will be engraving dust on the tumbler so you’ll want to be aware of that, you may want to wear gloves to remove it and you will need to clean the tumbler after it’s engraved.
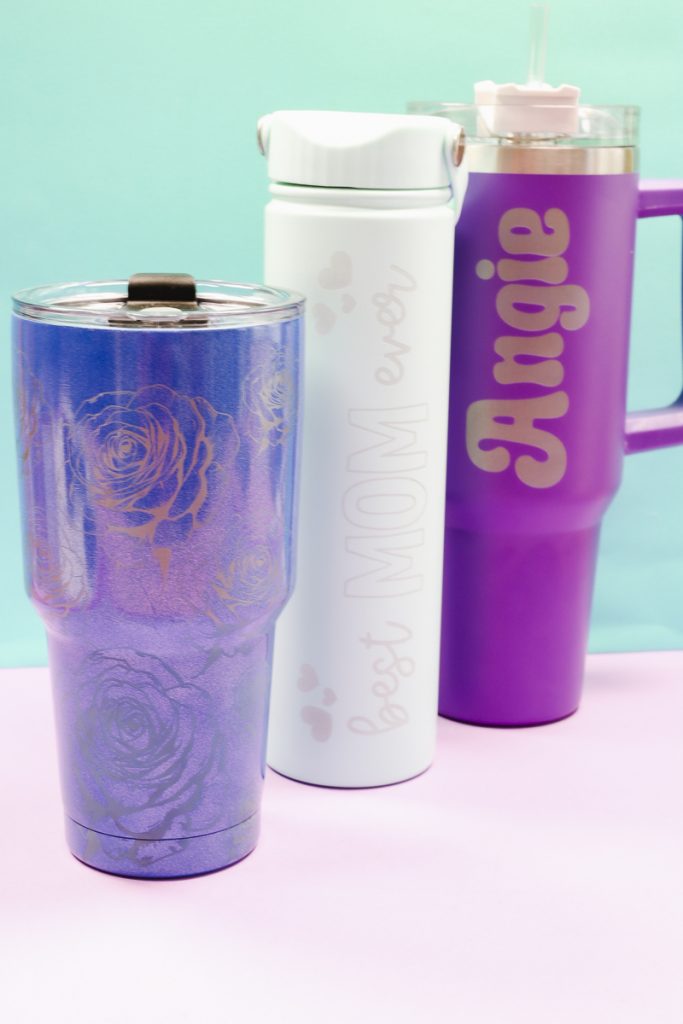
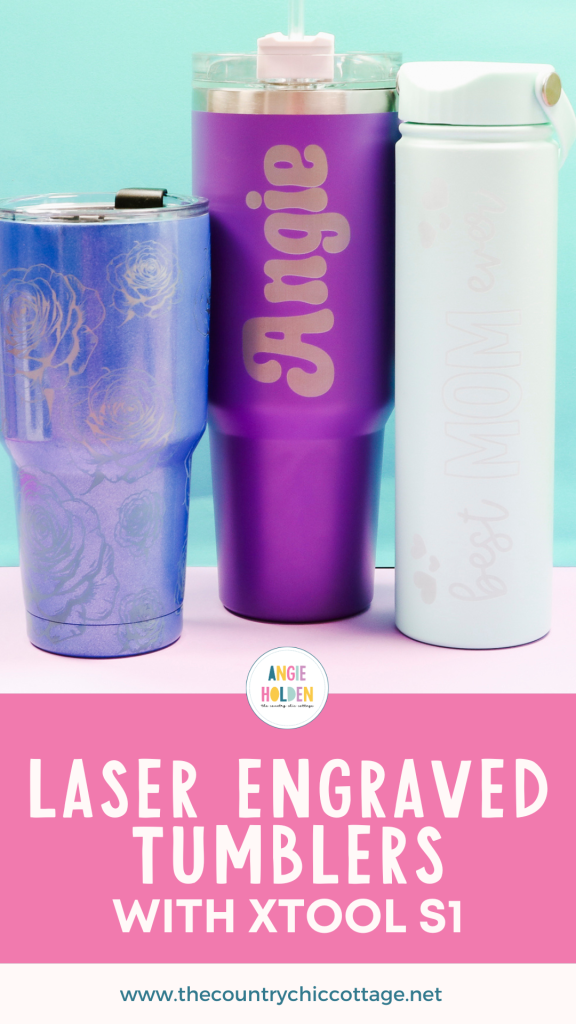
Complete Laser Engraved Tumblers
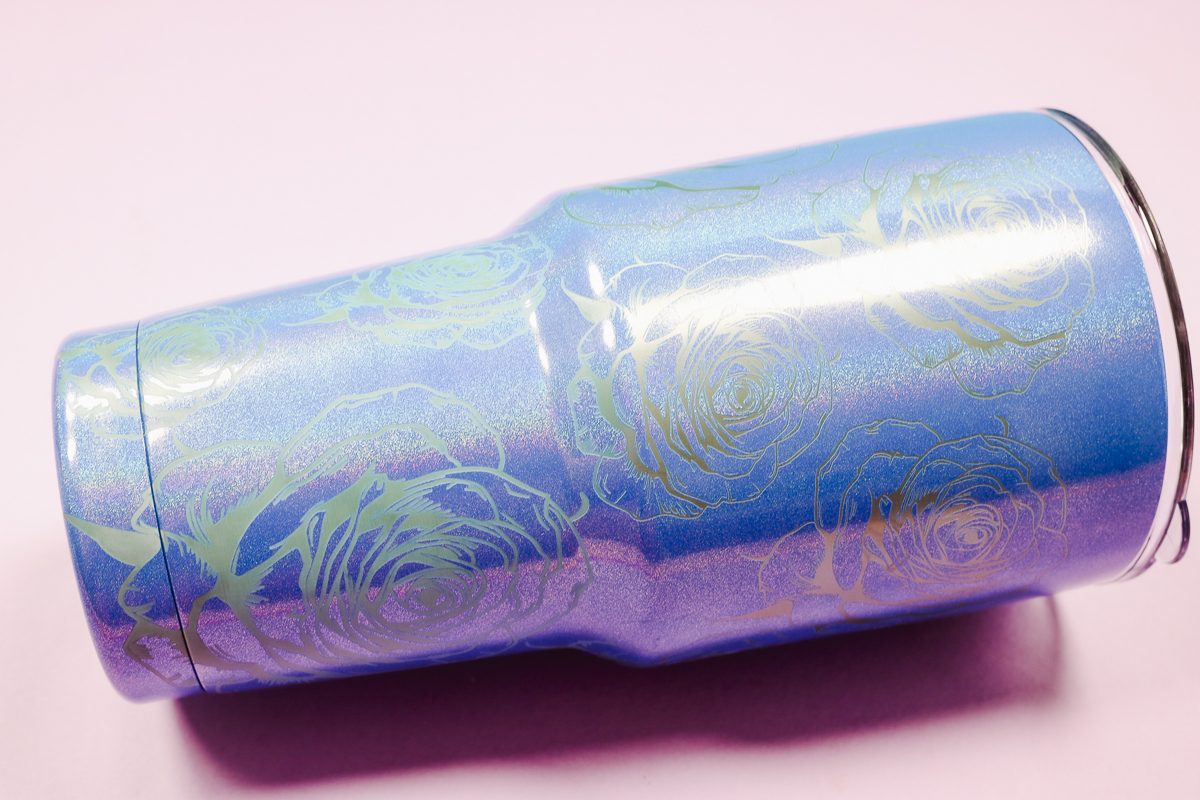
Here you can see how perfectly this tumbler is engraved with the xTool S1 laser and the RA2 Rotary Accessory.
The settings worked perfectly with this tumbler and you can see the rose design really well on both the wide part of the tumbler and the narrower part.
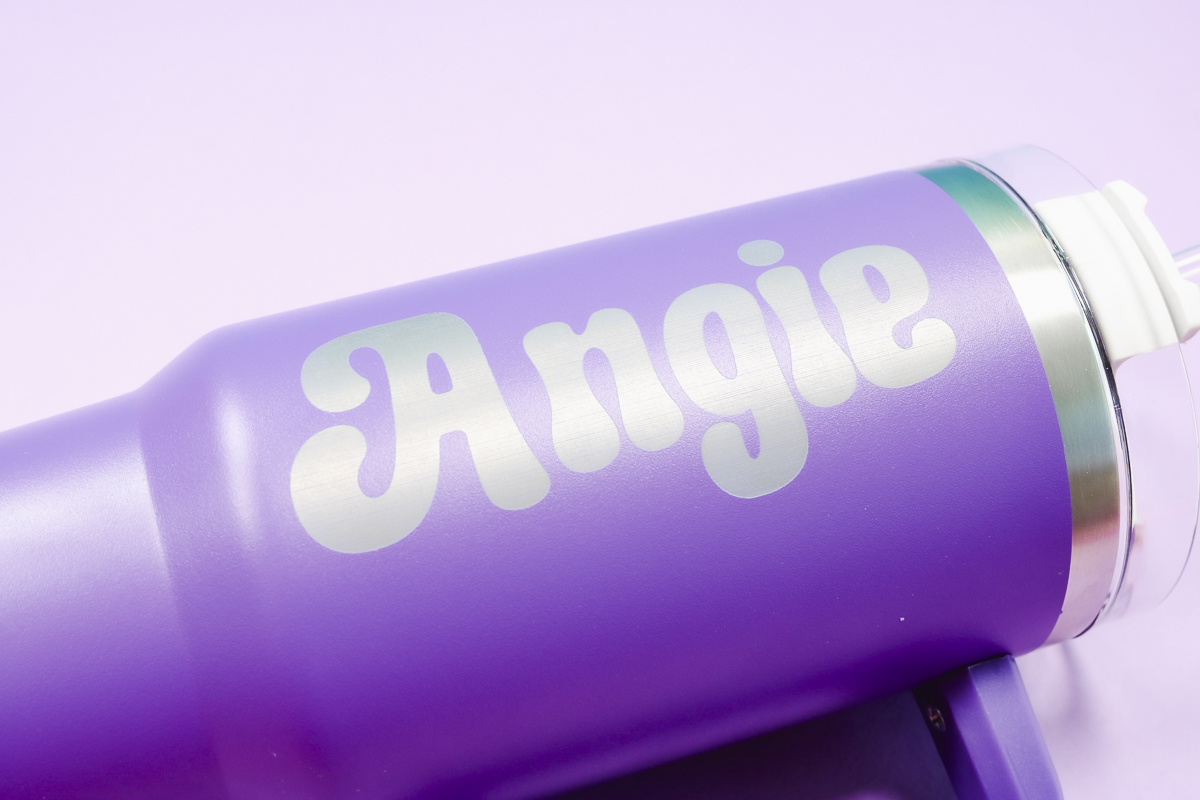
This tumbler has a handle. Remove the handle before adding it to the laser. When adding it to the rotary attachment make sure you rotate it all the way around to ensure the handle tabs don’t hit anywhere.
The rest of the process is the same as the other tumbler above.
The settings I used for the first blank may be a little deep for this tumbler blank. You may be able to see the lines are sort of etched into the tumbler instead of just removing the coating.
It still looks really good but I will make adjustments when I make this type of tumbler again.
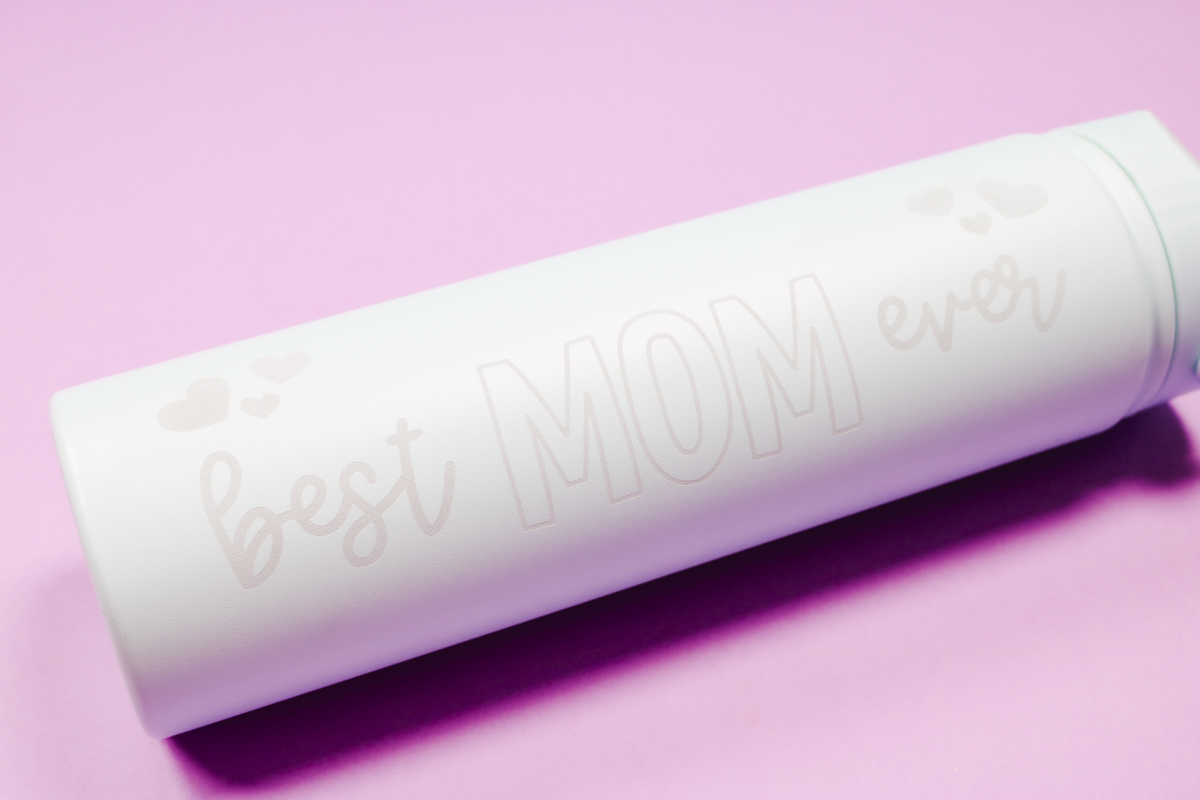
When using a tumbler that is the same diameter from the top to the bottom, you can opt out of using the chuck assembly. The roller portion of the rotary attachment works for straight-walled tumblers.
You will follow the same process we did for the other tumblers to make sure everything is straight.
Here you can see how the design turned out. This design worked so well with this tumbler. I ungrouped the design so I could have it run the length of the tumbler. If you’re using a different tumbler you could keep it as a square design if you wanted.
I do think I could have gone a little deeper with this engraving but it still looks really good.
Tips for Picking the Right Design
I really like how all of these tumblers turned out. You may notice that on the design with the roses, on the more narrow part of the tumbler the roses are a little scrunched. This happens because we measured the wider diameter.
I don’t think that is a problem with this design but it is something you’ll want to be aware of if your design has text or more detail it may get lost.
Tips for Picking the Correct Settings
The setting I used for these tumblers is a great starting off place. I would recommend purchasing an extra blank to do some testing on the first time you’re making a tumbler.
I would probably go deeper on the straight walled tumbler and less deep on the tumbler with my name on it.
The depth that you want to laser engrave the tumbler will be determined by the thickness of the coating on it. That is why I recommend purchasing an extra if you’re using a blank for the fist time. If you’re not sure where to start the settings I used are a good starting point.
You can also use one tumbler with a laser test grid to help you narrow down your settings.

Being able to laser engrave tumblers opens a new world of projects I can make and I can’t wait to try some of the other attachments that came with the RA2 rotary attachment.
If you’re interested in engraving round objects, I recommend a rotary attachment for your xTool, you’re going to love what it can do. Don’t forget, you will need the riser base if you want to use the rotary attachment so get that too.
I hope I’ve answered any questions if you have about making laser engraved tumblers with the xTool. If you have additional questions leave them in the comments and I’ll answer them for you.
The post Laser Engraved Tumblers with the xTool Rotary Attachment appeared first on Patabook Home Improvements.