
This post and photos may contain Amazon or other affiliate links. If you purchase something through any link, I may receive a small commission at no extra charge to you. Any supplies used may be given to me free of charge, however, all projects and opinions are my own.
I am very excited about this project! Today I’m going to show you how to make custom weeding tools with sublimation prints. You’ll learn everything you need to know to make custom weeding hooks, spatulas, and scrapers with both a full wrap and logo design.
If you’re still looking for the right sublimation printer, my sublimation printer comparison guide is a great place to start.
I love these sublimation blanks and they were easier to make than I thought they would be.
You can watch me make all of these projects from start to finish by pressing play on the video below.
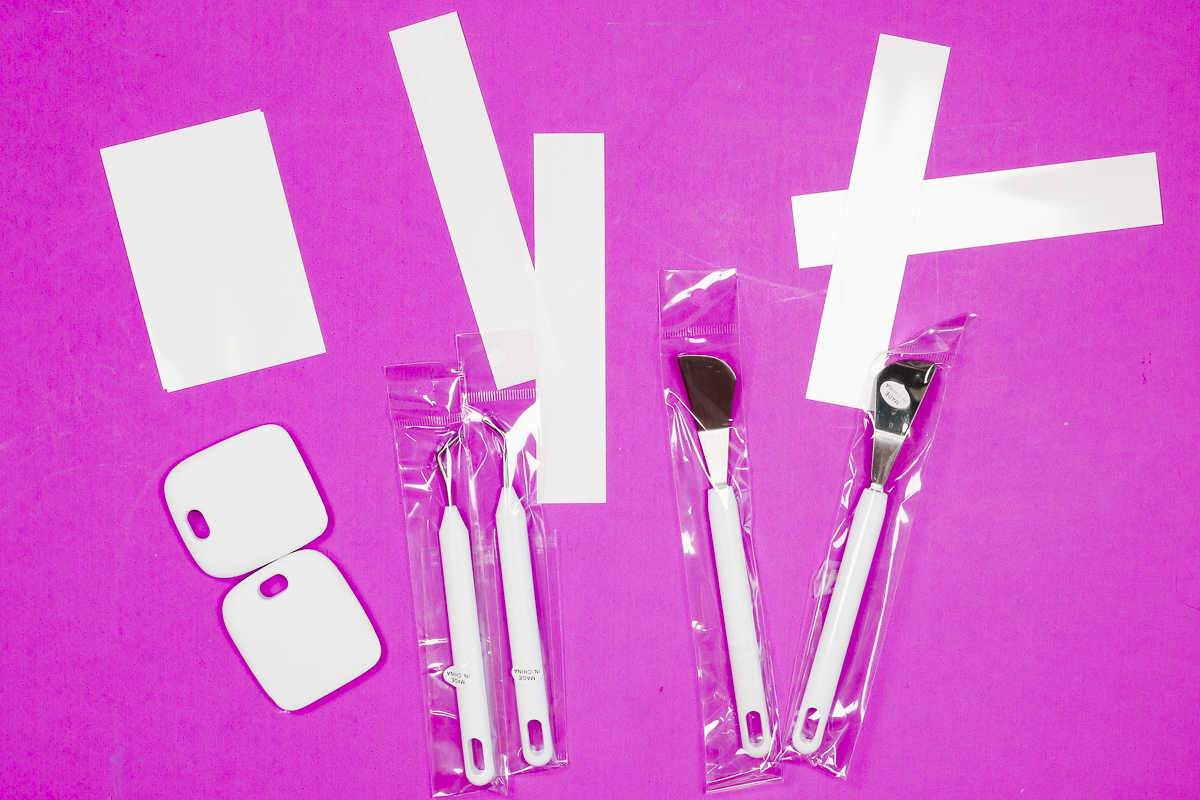
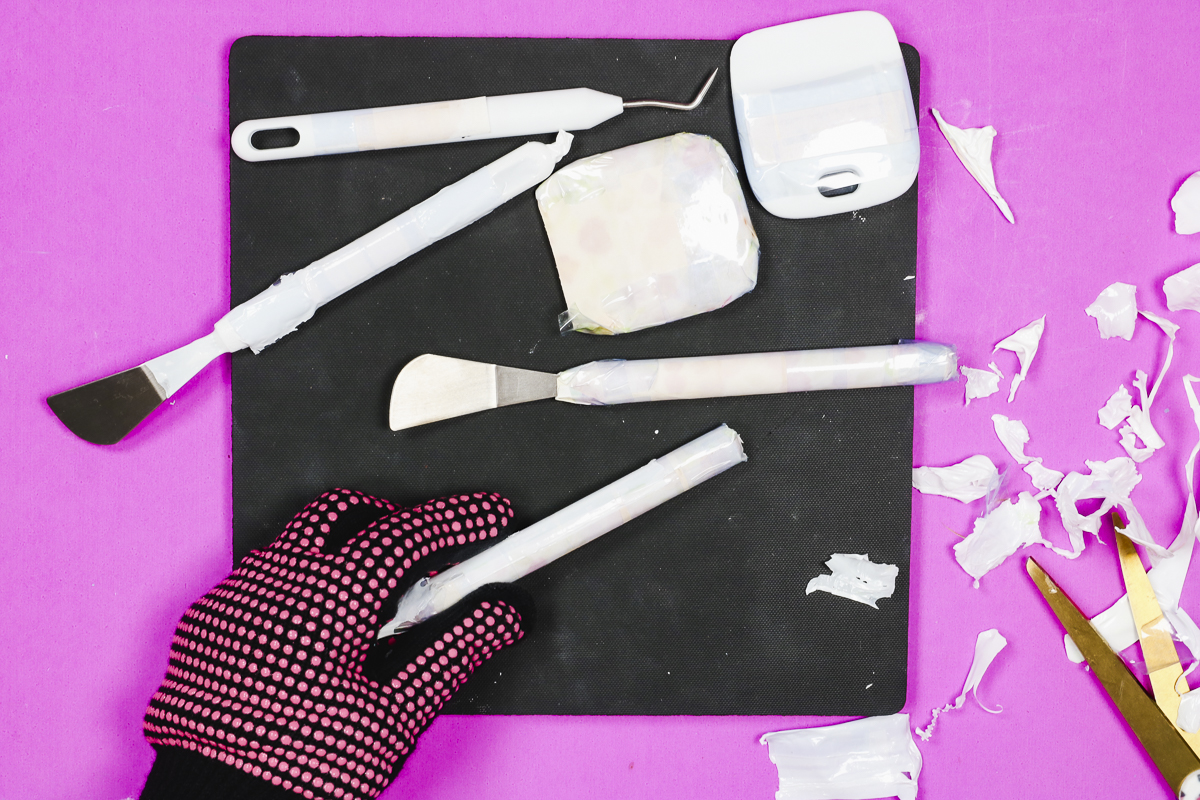
These tools are all sublimation blanks. That means they have a poly coating so the sublimation print is permanent when heat is applied. They are sold in bundles and I love that they come with the shrink sleeves that fit each blank perfectly.
There are weeding hooks, spatulas, and two different sizes of scraper tools. The entire white surface on each blank can be sublimated and I’m going to show you how to wrap each one to get the best finished product.
Supplies Used
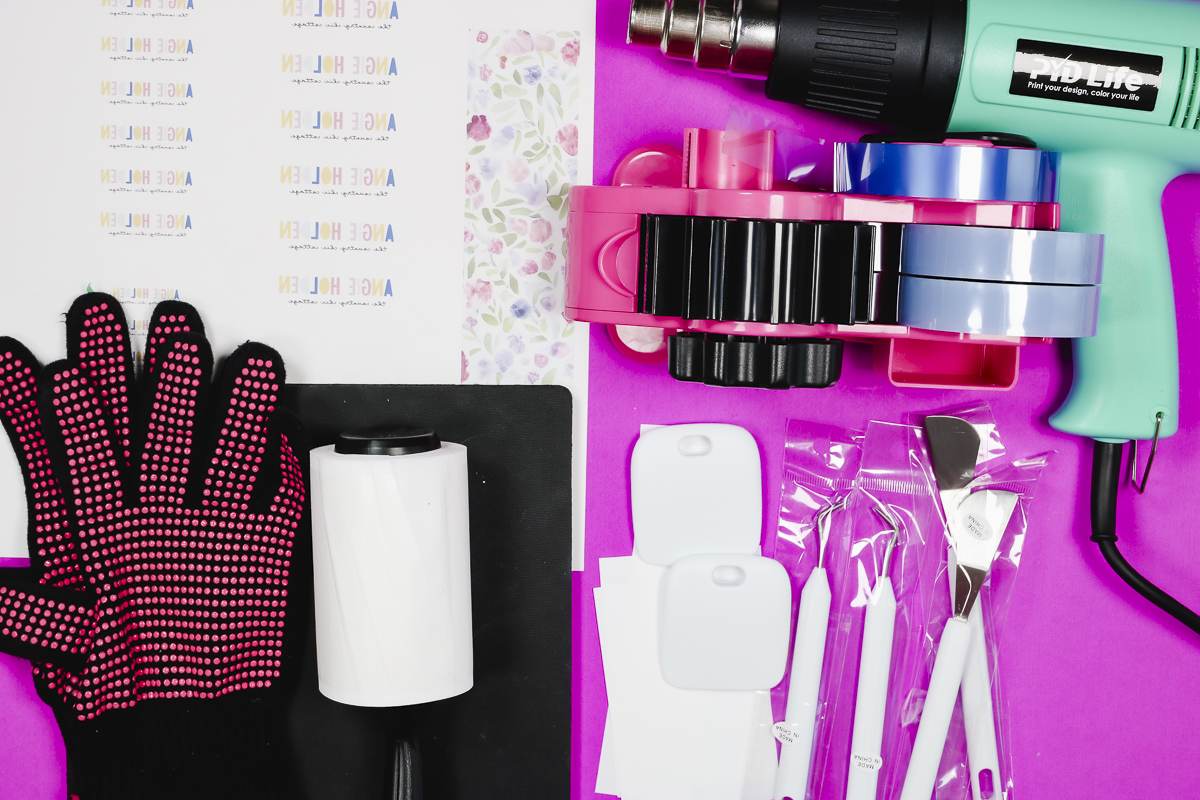
Sublimation Weeding Tools Bundle
I mentioned that these tools come in a bundle. There are a variety of different bundle options so you can choose which option is best for you.
I will be sublimating the weeding hook, spatula, and small scraper. Depending on the bundle you purchase there is also a weeding tool with an extra hook and a large scraper tool. Bundled with each tool is a shrink sleeve that fits the blank.
Because these tools do not have a flat side you will need some type of sublimation oven to make them, you cannot make them in a heat press.
First, remove any packaging. Each tool comes in a little clear plastic bag and the weeding hook has a protective cap on the end. Remove those before sublimating.
The whole white surface on these tools is sublimatable. You can sublimate the entire scraper tool and the whole handle on the weeding tool and spatula. You won’t be able to sublimate the inside of the hole that is on the handle but I think it still looks great.
How to Add a Single Design to a Weeding Hook and Spatula
The first design application I’m going to show you is for a single design. I will also show you how to do a full wrap design on each blank later in this post.
The process for the weeding hook and spatula is the same so I will show you that example first.
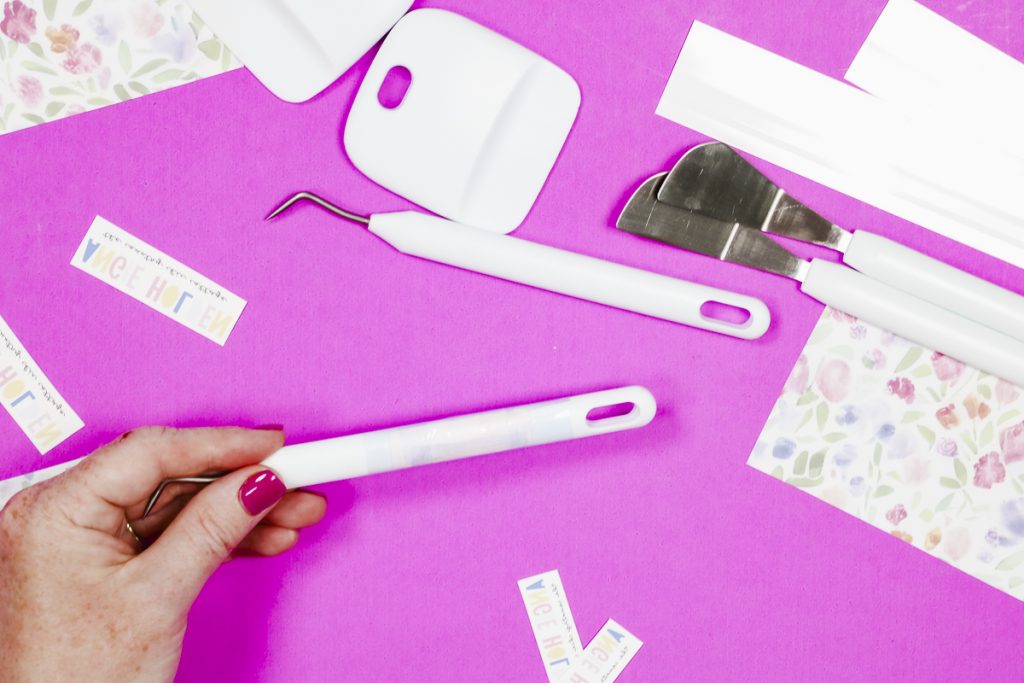
Step 1. Clean the Blank
Make sure the blank is clean. You can use a lint roller or a lint-free cloth and rubbing alcohol.
When using rubbing alcohol, make sure everything is completely dry before adding your sublimation print.
Step 2. Locate Sublimation Print on Tool
For this project, I am using my logo as the design. Make sure you’re using a sublimation print. That is sublimation ink, printed onto sublimation paper from a sublimation printer. The design needs to be mirrored.
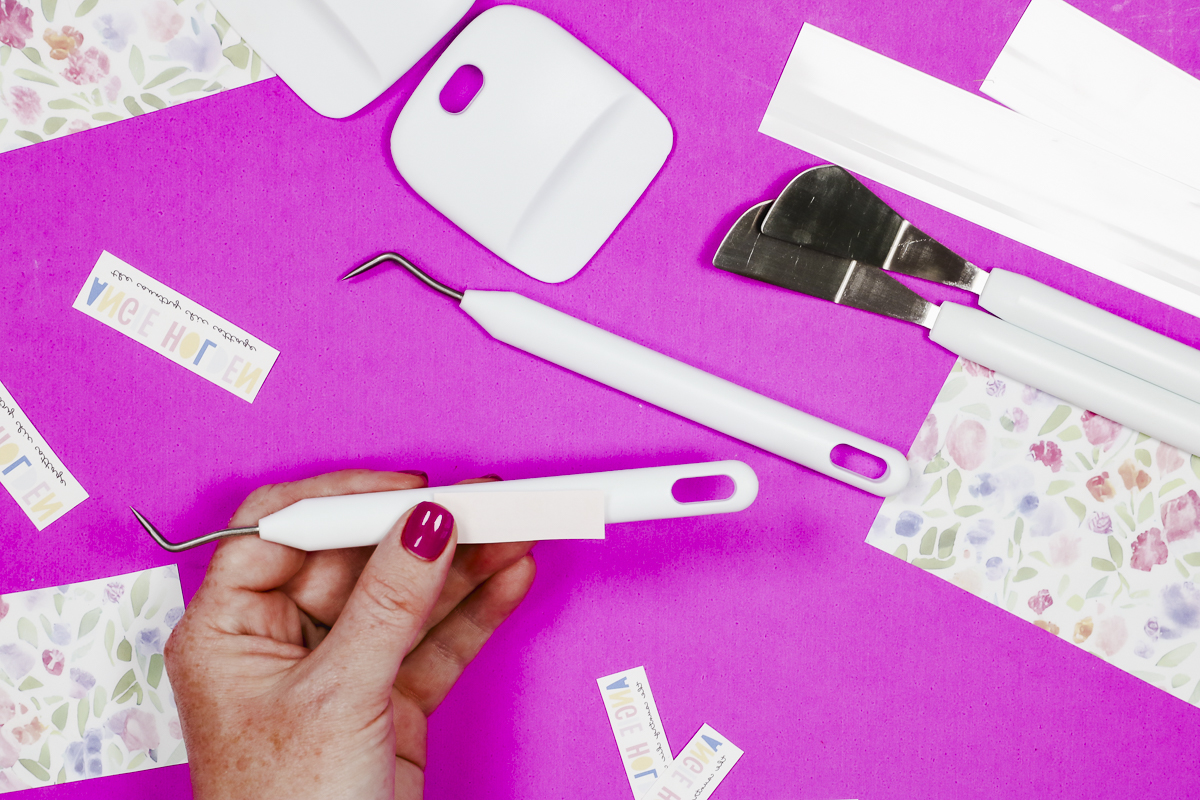
Locate the design where you want it on the blank and decide if you want the design on one side or both.
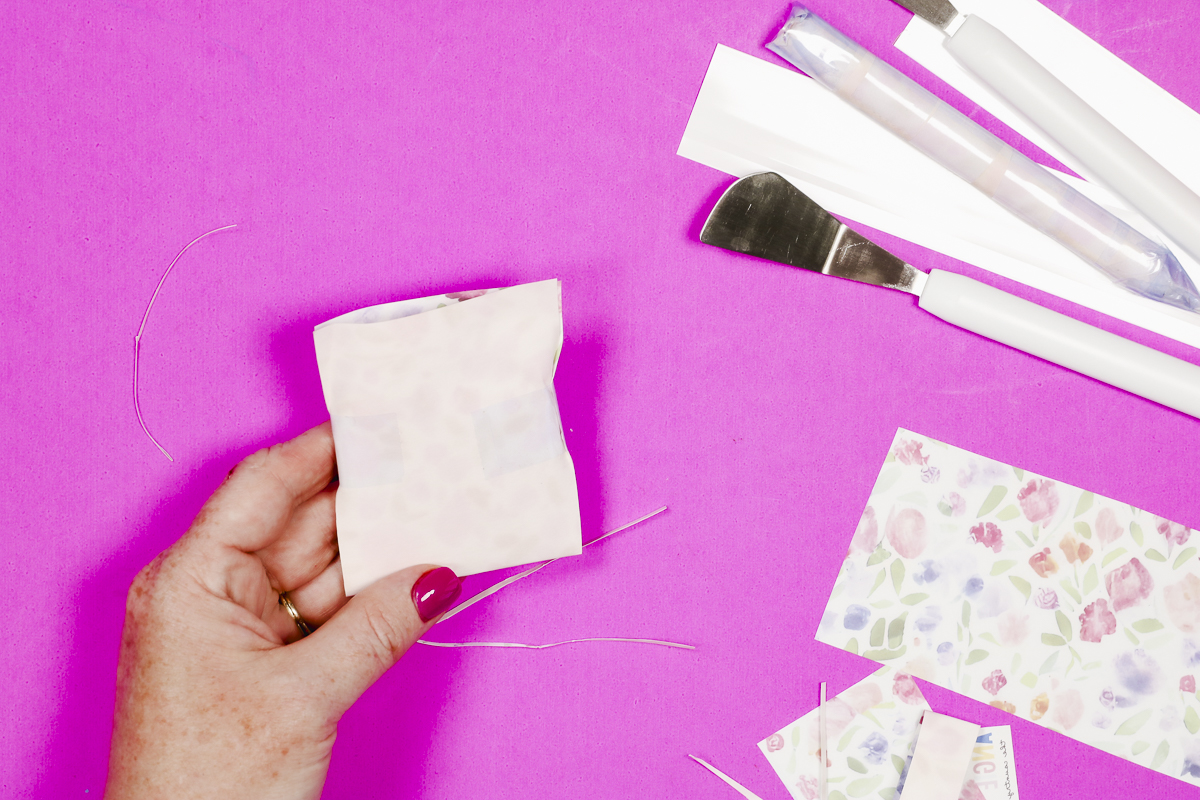
Step 3. Tape Sublimation Design in Place
When you have it located where you want use heat-resistant tape to hold it in place.
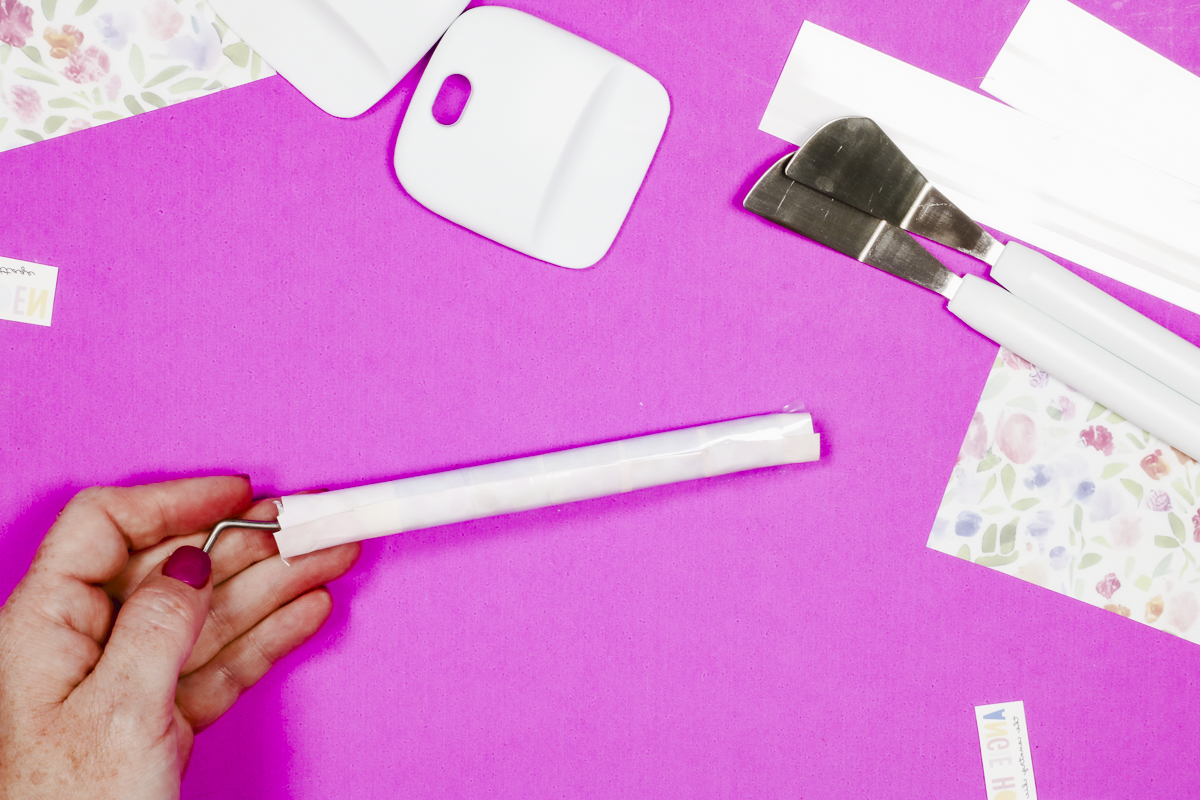
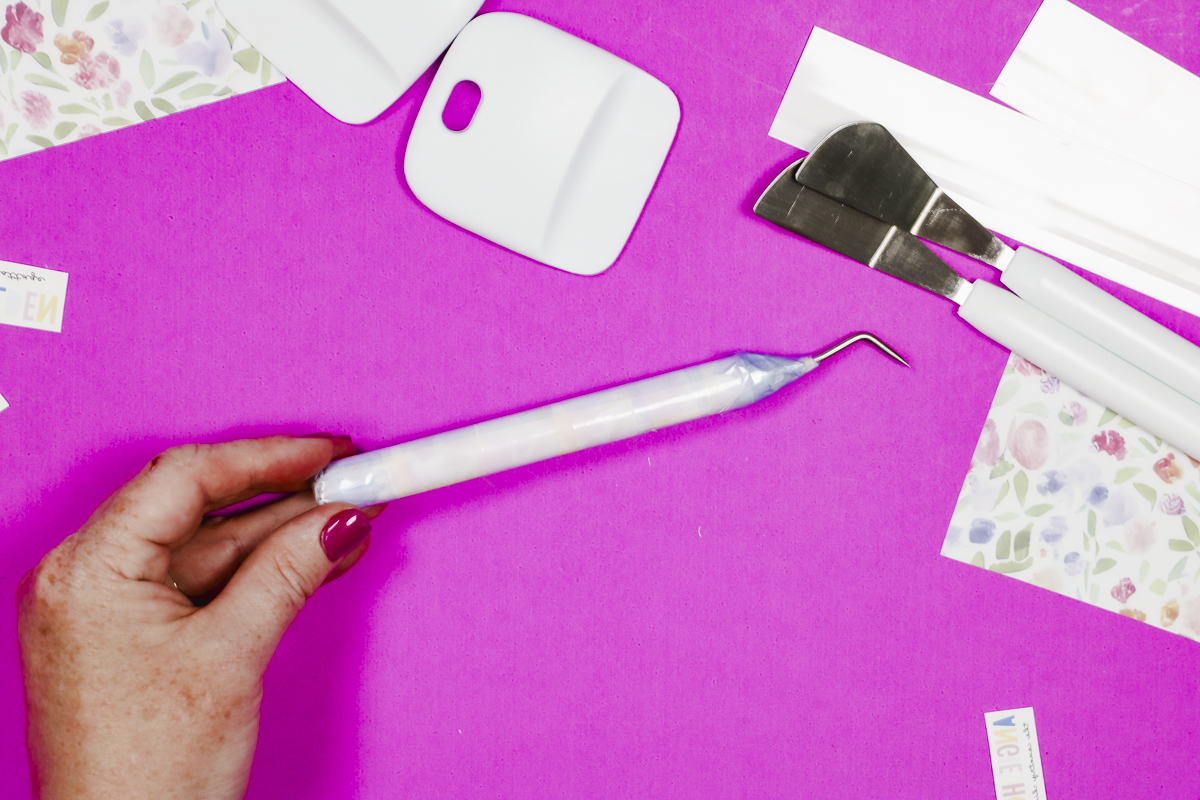
I added my logo to both sides and wrapped the heat-resistant tape around the weeding tool to hold it in place.
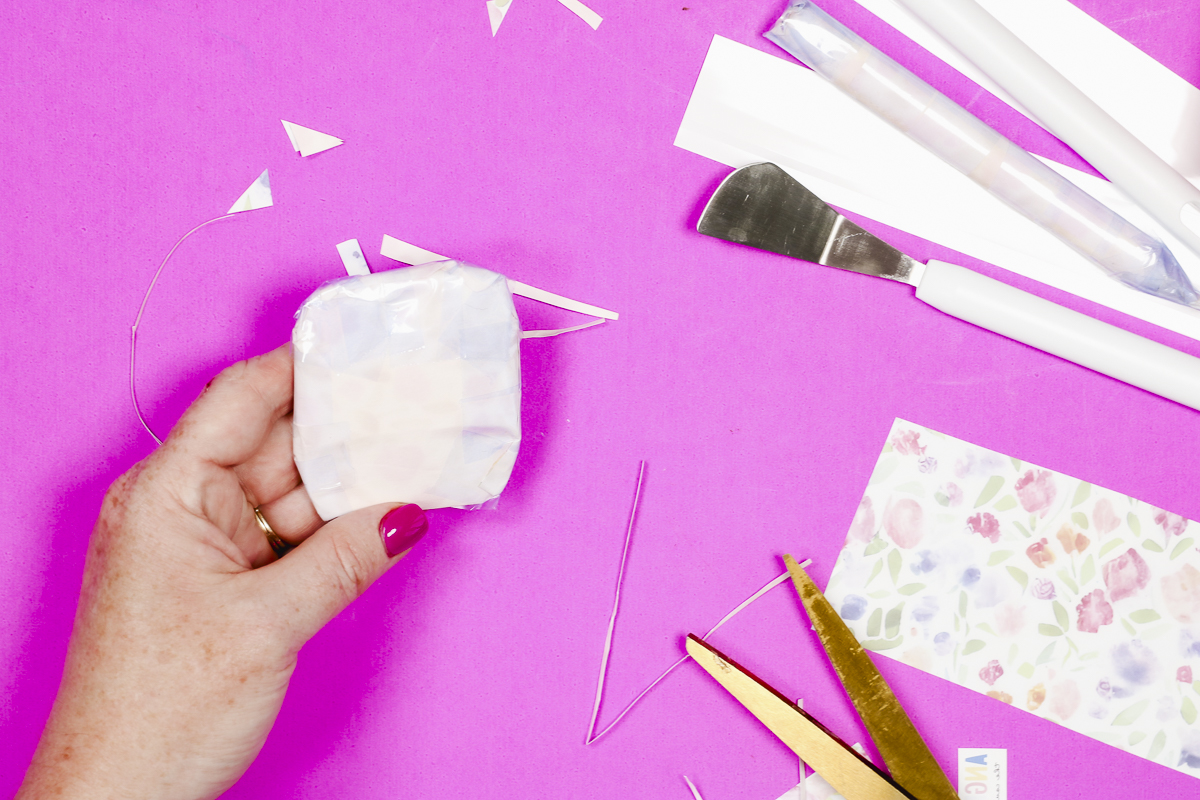
Repeat the process on the other end and I like to add more tape to the middle to make sure it’s taped down really well on both sides.
This one is now ready for shrink wrap. I’m going to set it aside and show you the shrink-wrap process later. Repeat the process for the spatula.
How to Add a Full Wrap Sublimation Print to a Weeding Hook and Spatula
Parts of this process are similar to making a single-design weeding tool so I am going to walk through the differences.
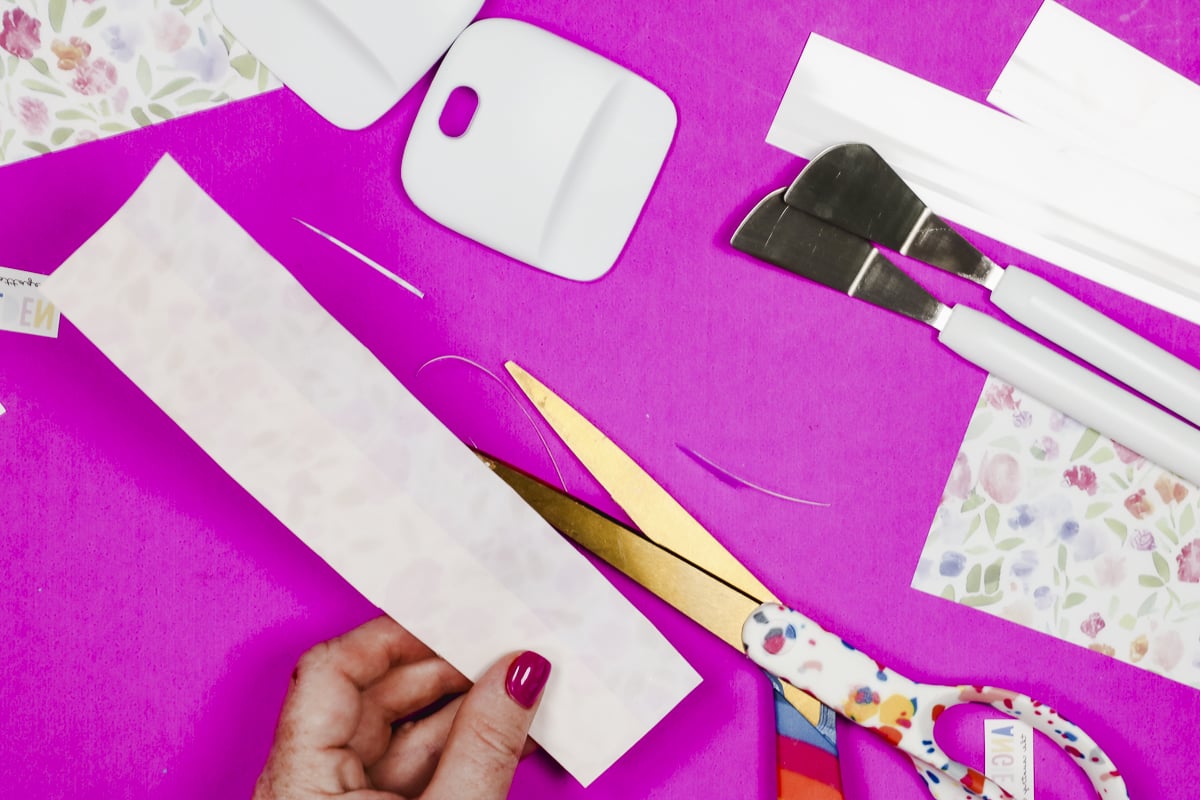
Step 1. Print Full Wrap Sublimation Design
Make sure your print is large enough to wrap around the entire handle. I printed a whole sheet of a sublimation print and then trimmed it so it’s larger than the weeding hook.
Step 2. Trim Sublimation Print to Fit Weeding Tool
Wrap the print around the weeding hook and then trim it so it’s just slightly larger than you need. You do want there to be a little bit of an overlap to get the best seam possible.
When you have it about the correct size add a strip of heat-resistant tape to one edge of the back of the sublimation print. This will prevent any sublimation bleeding through that area. Trim off any excess tape.
Step 3. Clean Weeding Hook
Just like before we want to start with a very clean surface. Clean the weeding tool really well with a lint roller or rubbing alcohol.
Step 4. Wrap Sublimation Print Around Weeding Hook
I had the best success moving the seam to line up with one of the sides. Wrap the print all the way around the weeding tool making sure the piece with tape is on the bottom.
Pull the print very tight and add a piece of tape to the middle. Continue to pull the print tight and tape moving from the middle to the end.
Step 5. Adjust Weeding Hook and Trim Ends
With the side seam taped in place, we can adjust the weeding hook inside the print. I pushed the weeding hook so it was close to the bottom with just a little bit of the print left to wrap over the bottom edge.
Trim in small sections so you don’t trim off too much and then tape in place. You will want a slight overlap so that you don’t end up with any white spaces.
Now, we want to repeat the process at the top of the handle. Trim off any excess print leaving enough to wrap over the end.
I found it helpful to cut a few slits straight down on the end so I could wrap the print over that end and tape it in place around the hook.
Continue to pull the print tight and tape quite a bit so it’s taped tight to the surface everywhere.
The process is the same for the spatula so repeat those steps to wrap the spatula tool.
How to Sublimate a Scraper Tool with a Single Image
Sublimating a scraper tool is different than the weeding tool and spatula. The process will be similar for both the small and larger scrapers. I am going to show you the small scraper today.
Step 1. Clean Scraper
I find using a lint roller is easiest when cleaning a flat surface like these scraper tools. If you use rubbing alcohol, allow everything to dry before adding the sublimation print.
Step 2. Add Sublimation Print
For this first example, I am adding my logo to both sides scraper. This is a very easy process, if you’ve ever done sublimation this will feel familiar.
Add the print to the upper, handle portion of the scraper and use heat-resistant tape to hold it in place.
I am using a lot of tape because the scraper does taper a bit and I don’t want there to be any gaps under the print.
Add the print to the other side if you would like and tape it into place and this one is ready to go.
How to Sublimate a Scraper Tool with Full Wrap
Before we begin I want to show you what happens if you try to do a full wrap on the scraper tool.

On the full wrap, you can see that on the curved area the print does not sublimate well at all. I taped that really tight and that was the result. On the other, I made an adjustment that I will show you the steps of and it turned out much better.
Step 1. Clean Scraper Tool
It’s very important to make sure your sublimation blank is very clean before adding the print, that is why I mention it every time. I don’t ever want to assume everyone knows.
Step 2. Tape Tapered Area of Sublimation Scraper
On the bottom of the scraper where the severe taper starts add heat-resistant tape right along the edge and then cover the whole tapered area with heat-resistant tape.
You want to cover the whole area but keep the tape on this side of the scraper. We can sublimate the backside beautifully.
Use a pair of scissors to trim any excess tape and we’re ready to add our print.
Step 3. Wrap Sublimation Print Around Scraper Tool
I am going to fold this sublimation print around the scraper tool. Line up the bottom edge of the scraper with the fold and make sure it’s down there very tight.
Leave plenty of room at the top and the sides to slightly overlap the print.
Note: When taping, you want a slight overlap but not too much. If you don’t have enough you will see white instead of the pattern. If you have too much of an overlap the print will bleed through the top piece and you will see it on the scraper.
Step 4. Tape Sublimation Print in Place
Once again, I trim off any excess a tiny amount at a time so I don’t cut off too much and have to start over.
I like to tape the top first to ensure I get it nice and tight before moving on to the sides.
Trim the print so you have just enough to overlap and then add tape to the top with the print folded over slightly.
Repeat the same process on each side. Trim off any excess print and then tape in place with a slight overlap.
You want the sublimation print very tight around the scraper so use enough tape to make sure it’s secure and pressed down everywhere.
I did trim the corners to remove the excess print so it could be taped down tight.
Shrink Wrap and Bake Sublimation Weeding Tools
Now, all of our sublimation weeding tools are ready for shrink wrap. They’ll all be added to the shrink sleeves the same way.
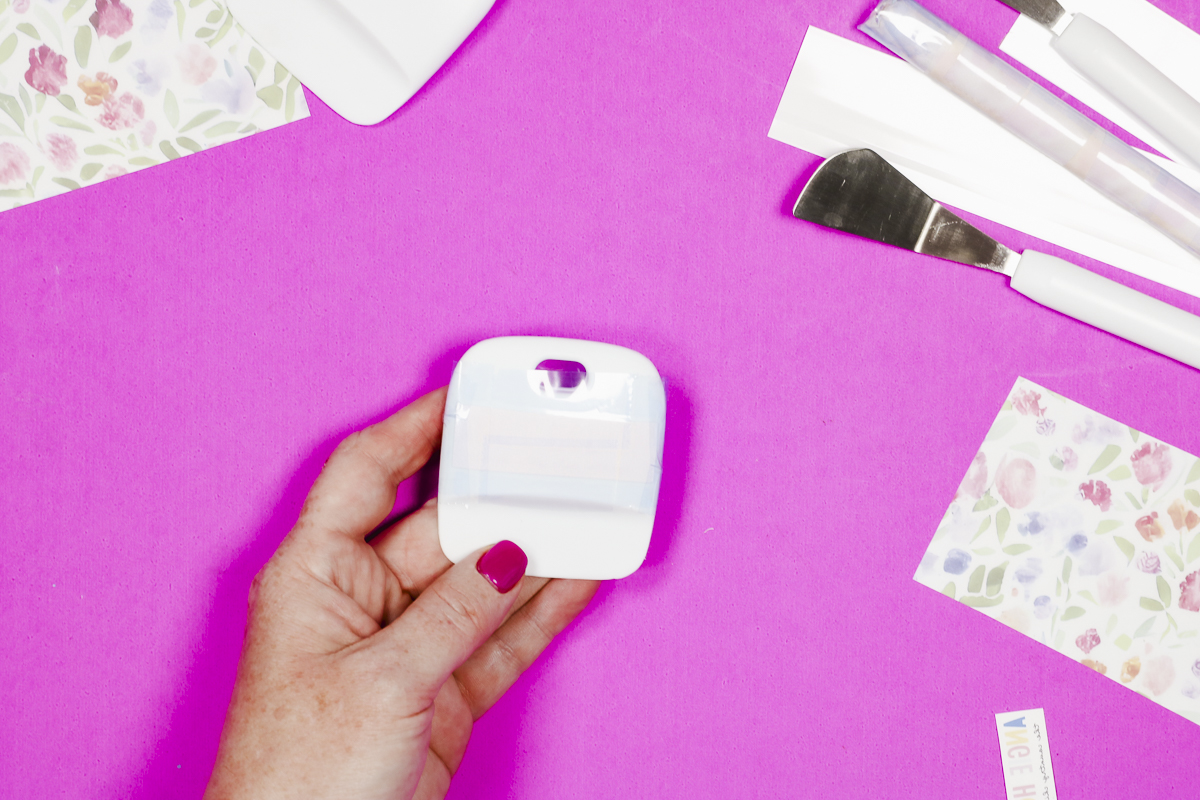
Step 1. Insert Sublimation Weeding Tool Into Shrink Sleeve
These sublimation weeding tools all came with a shrink sleeve that fit each tool.
For the scraper tool, slide the whole scraper into the shrink sleeve.
For the weeding tool and the scraper tool, the end of the tool may stick out of the shrink sleeve a little bit and that is fine.
I actually found that the shrink sleeve stuck to the spatula end of the tool and it was not easy to remove so I would trim the shrink sleeve so it covers the handle but doesn’t come up on the spatula.
Step 2. Use a Heat Gun to Shrink the Sleeve.
When you have each sublimation weeding tool in the shrink sleeve add them to a heat-resistant mat and then, using a heat gun shrink the sleeve.
Continue to apply heat until most of the wrinkles are gone.
Don’t hold your heat gun in one place too long as it can burn the shrink wrap and make holes and you will have to start over.
The shrink wrap will continue to get tighter while they’re in the oven.
Step 3. Bake Sublimation Weeding Tools in Sublimation Oven
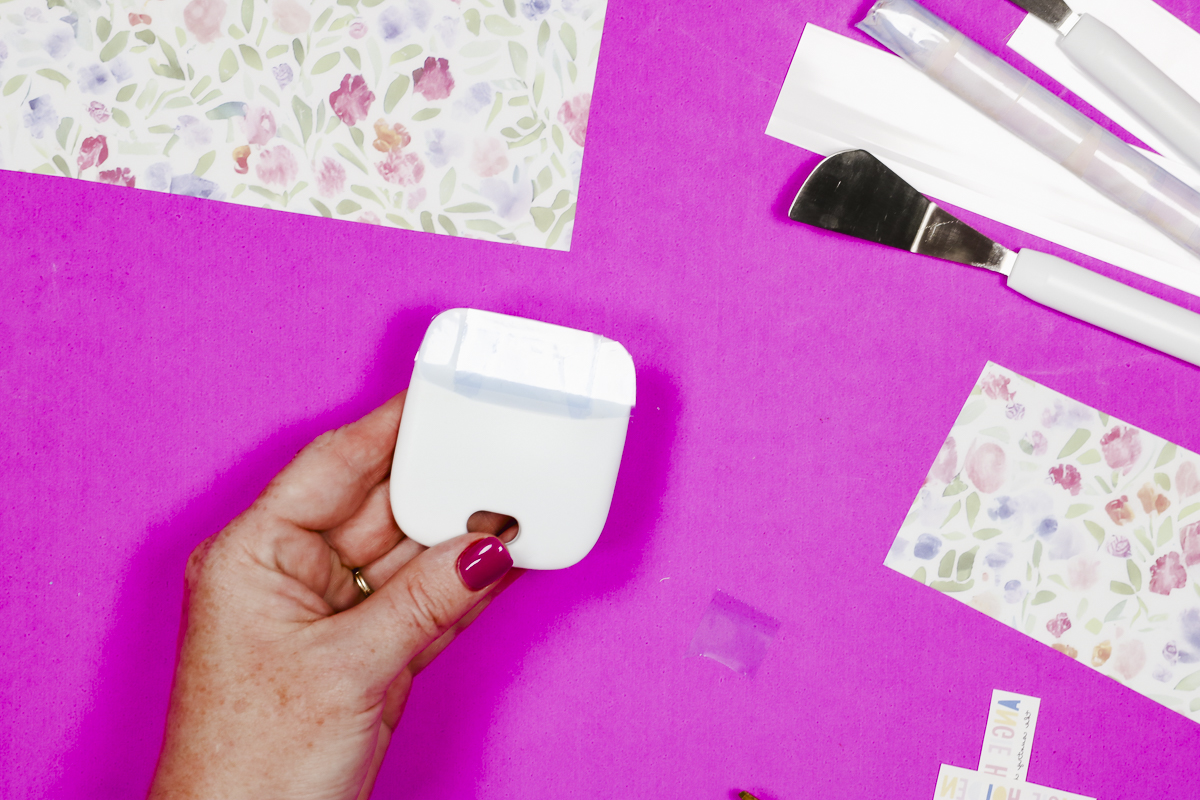
With the shrink sleeves heated and tight to the blank, place them in your preheated sublimation oven. I am heating these at 355 degrees for 11 minutes.
Allow them to bake for the full time and then remove them from the oven and place them on a heat-resistant mat.
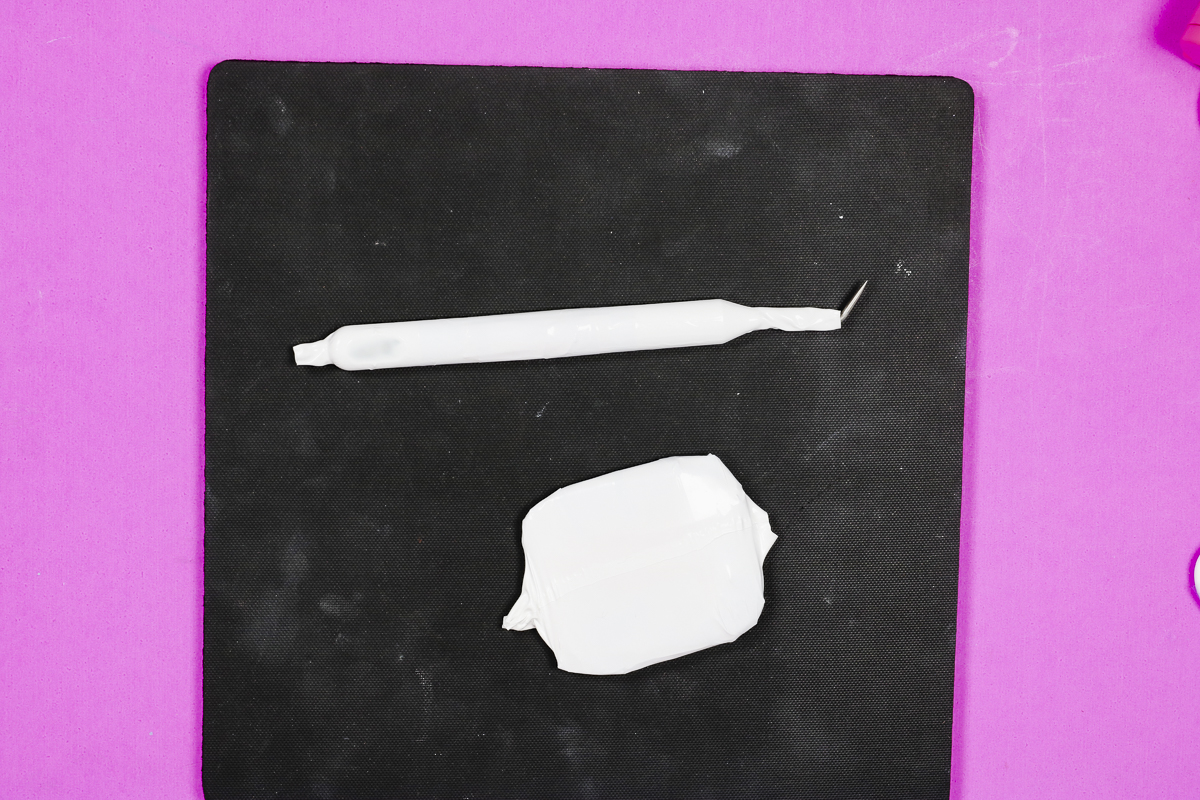
Step 4. Remove Shrink Wrap and Sublimation Print
I like to remove the shrink wrap while it’s hot because it comes off much easier when it’s hot. Remove all of the shrink sleeve and sublimation print to reveal your custom sublimation weeding tools.
Here you can see the two spatulas. As I said before, removing the shrink wrap from the metal portion of the spatula was difficult so I would avoid getting shrink wrap on that portion in the future.
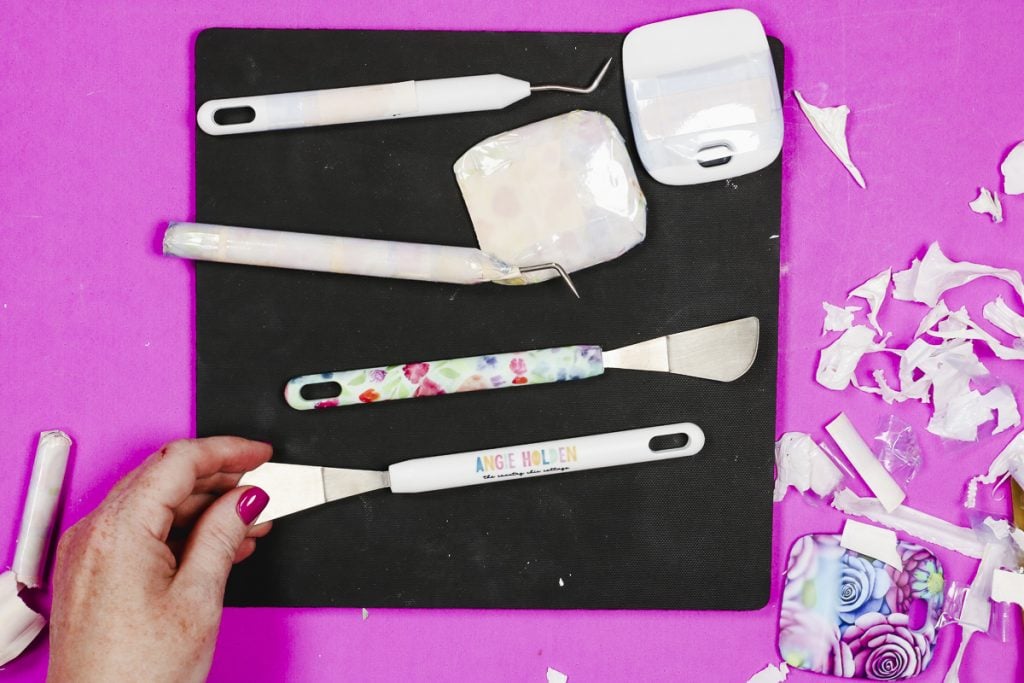
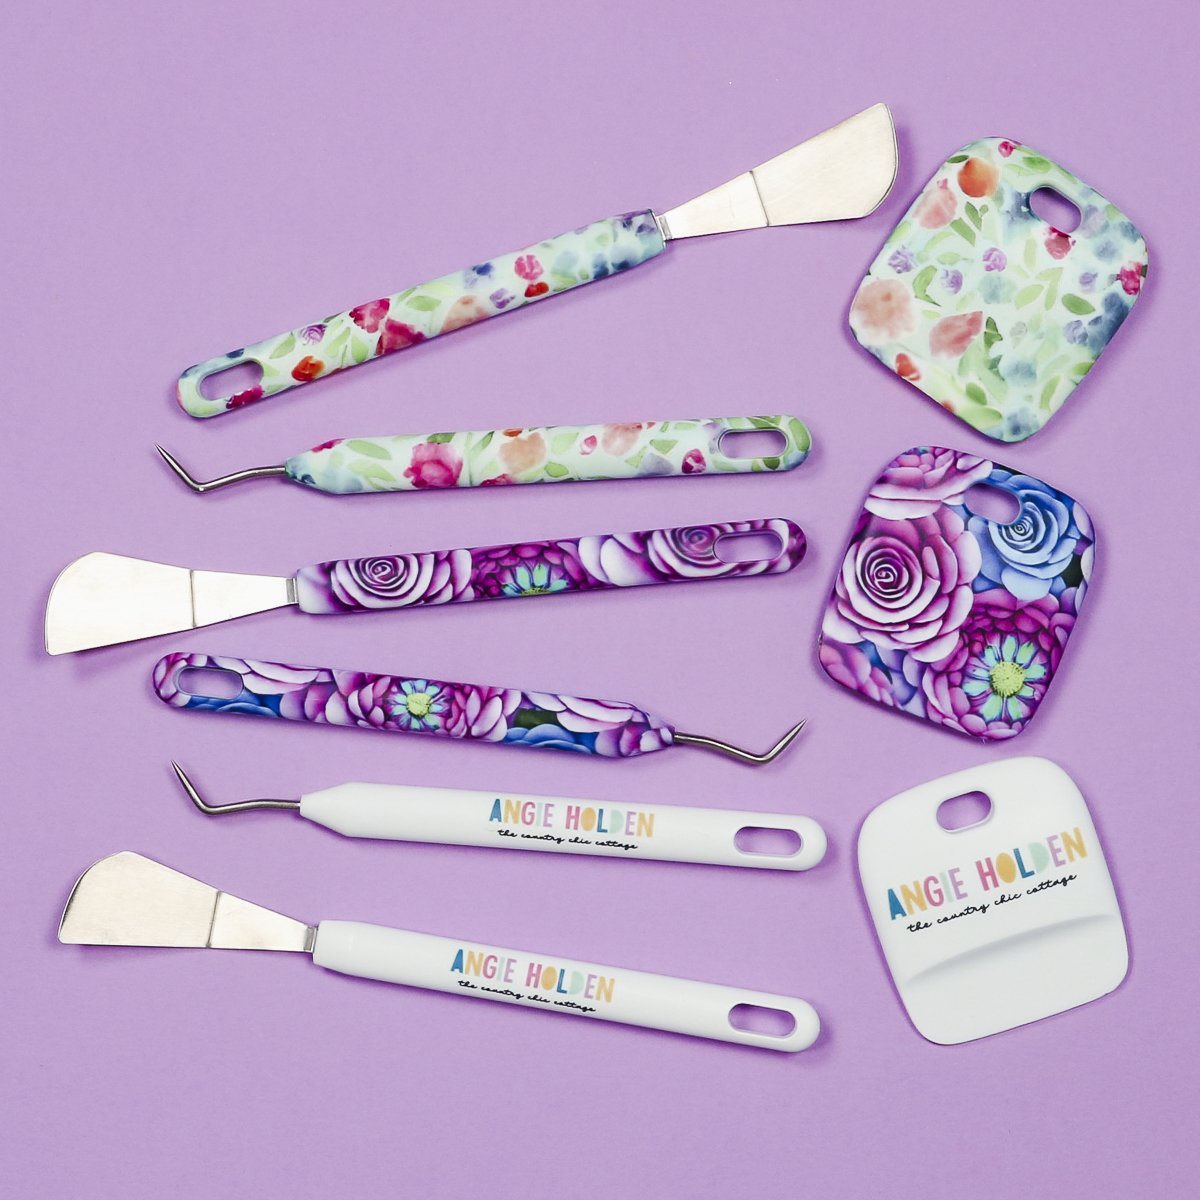
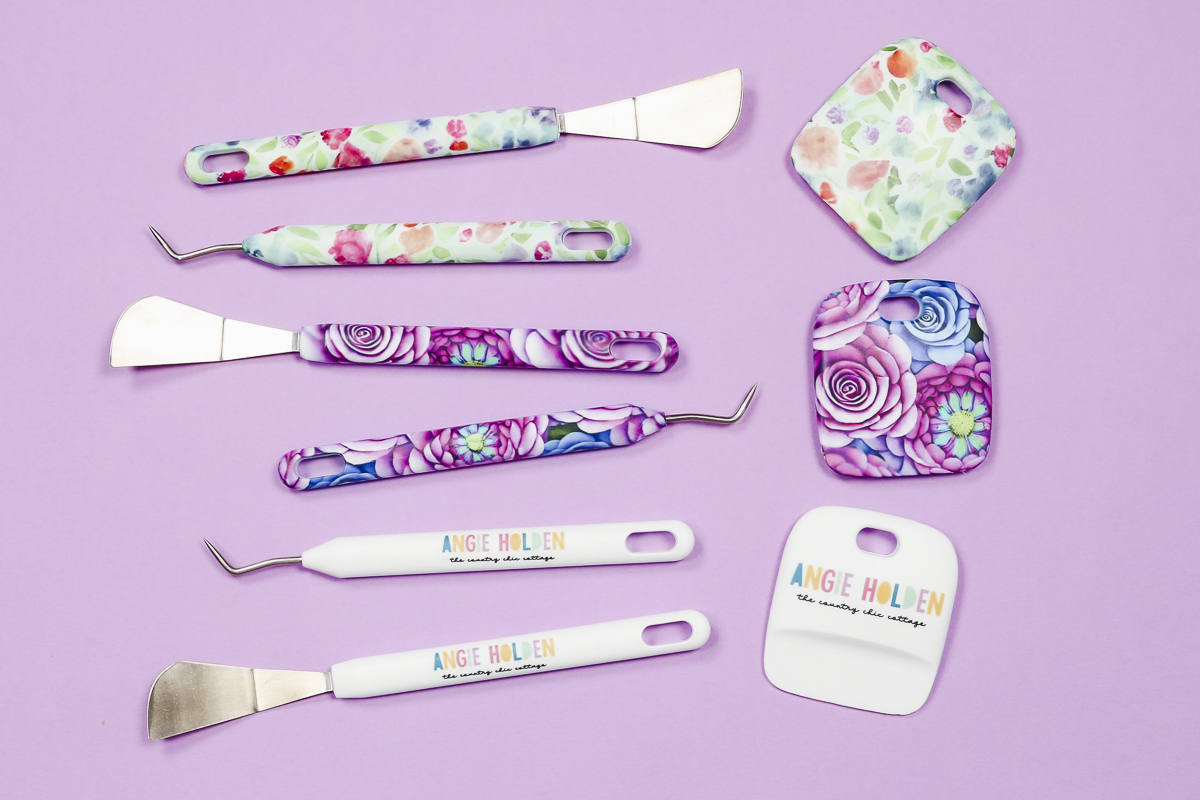
Finished Custom Sublimation Weeding Tools
Now, let’s look at all of the different sublimation weeding tools we made today.
First, we have the logo tools. I love how these turned out. I love having tools with my logo on them. You can see how the colors pop off the surface. They look so good.

Adding a design like a logo is so easy on these blanks. If you’re scared of the full-wrap process, you can try this option instead.
I love how these full-wrap designs turned out. They were a lot easier than I anticipated once I figured out the best process for the scraper tool.
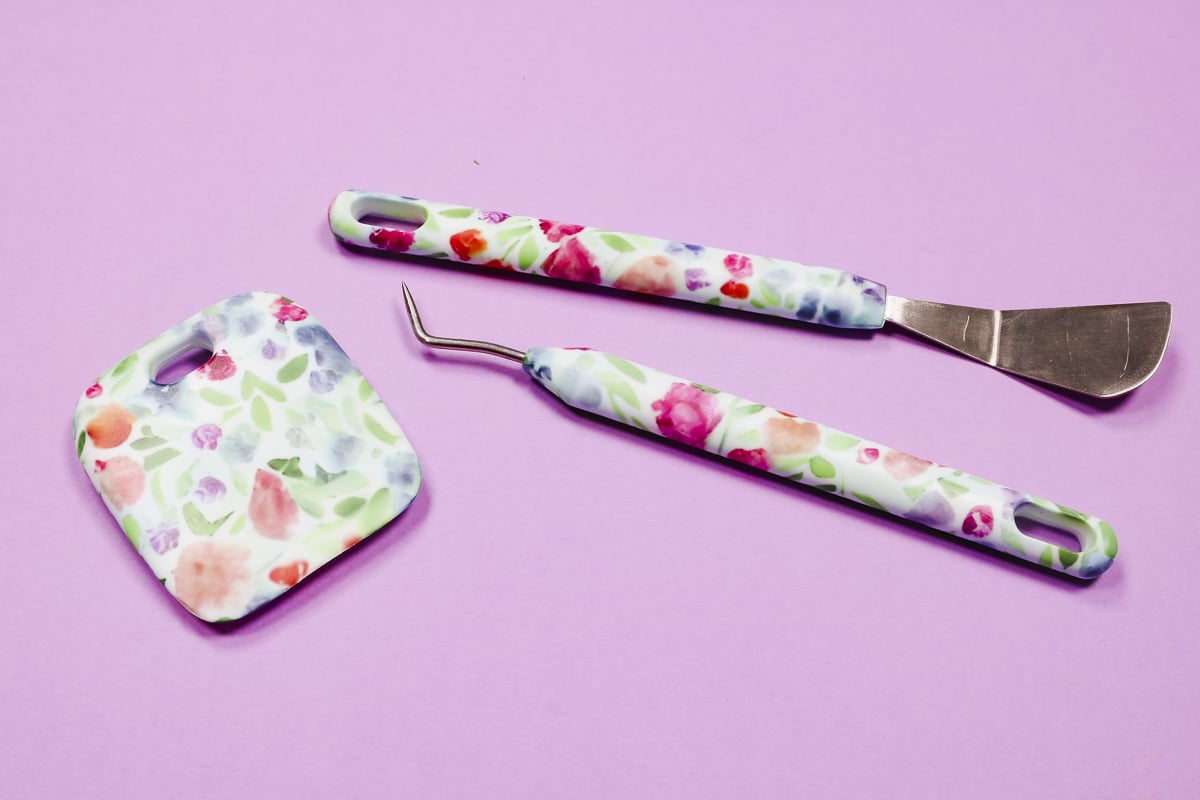
The seam runs along the edge and you can’t even really see it, it looks really good.
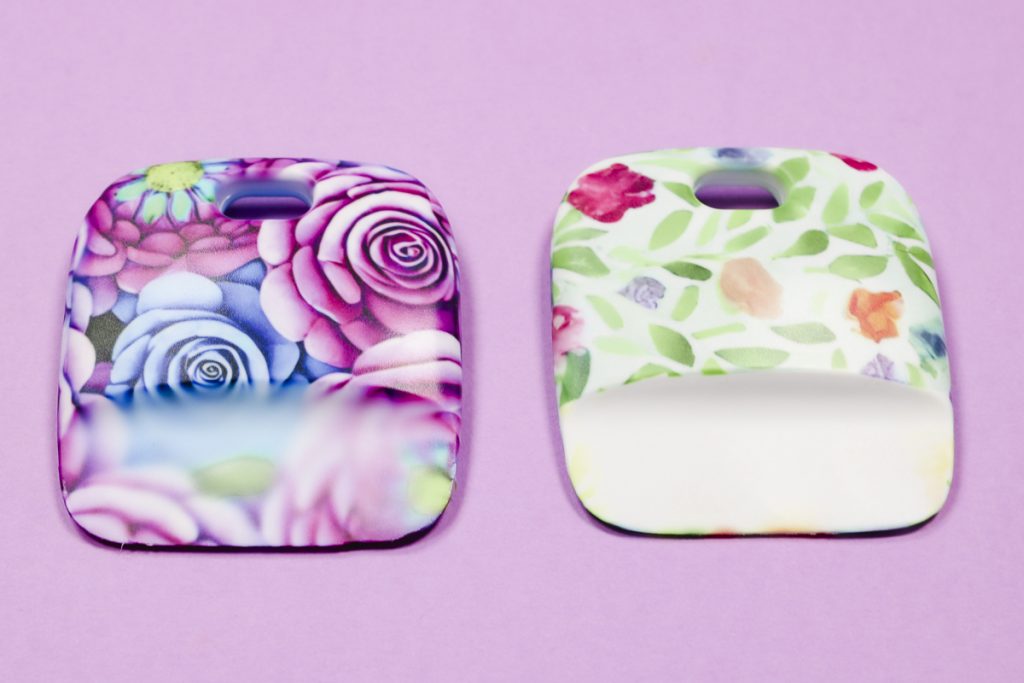
Here is the other set of full-wrap sublimation weeding tools. This print also turned out beautifully. This scraper tool is the one where the other side isn’t perfect but the back is gorgeous.
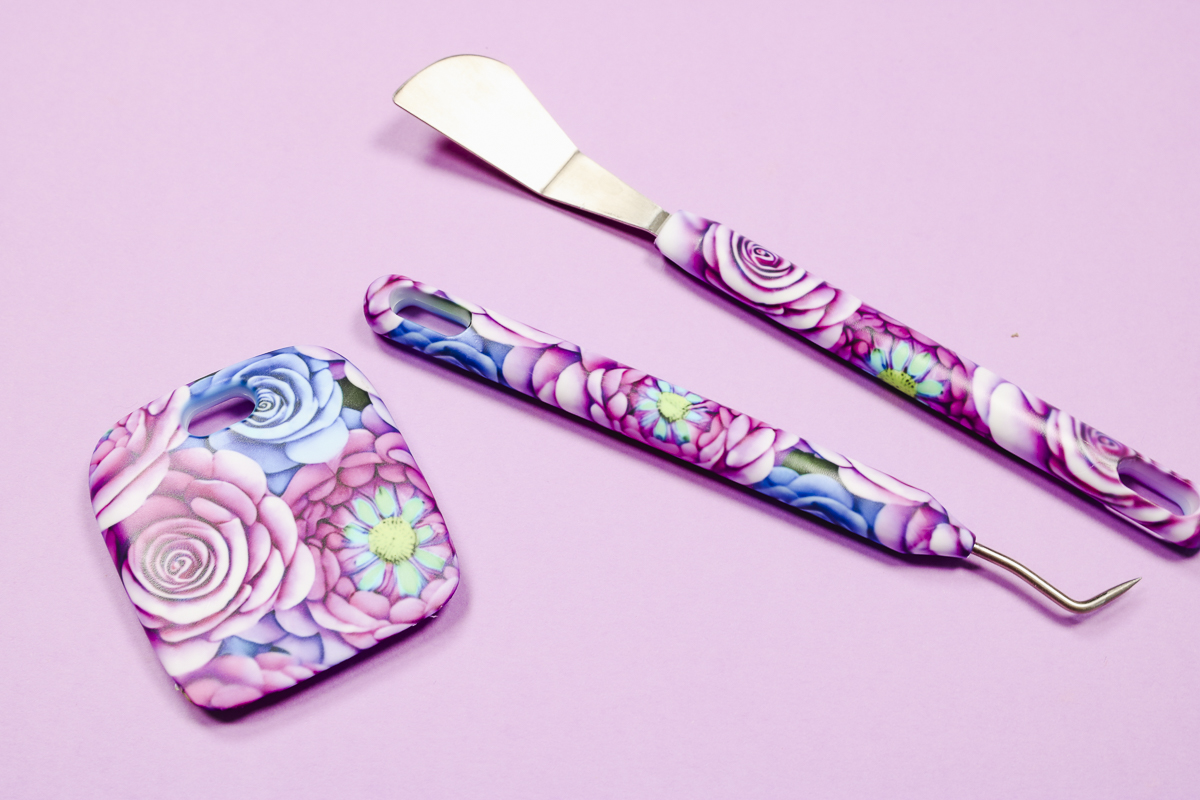
Here we can see how both full-wrap sublimation scrapers turned out on the slanted side.
There is a little sublimation bleed around the edge where it was taped but that doesn’t bother me. I think it looks much better than the other option where there is ghosting/fading.
I love how these sublimation weeding tools turned out. The process is fairly simple and you’ll love the finished product.
I will say the scraper is the trickiest blank to get the full wrap on which surprised me. I thought for sure it would be wrapping around the handle of the weeding tool and spatula.
If you would like more help with how to wrap your sublimation weeding tools, click on the video above. You will be able to watch me go through the process and see how I wrapped each one.
I hope I’ve answered any questions you have about making your own custom sublimation weeding tools. If you have any other questions leave them in the comments and I’ll be happy to answer them for you.
The post How to Make Custom Weeding Tools with Sublimation appeared first on Patabook Home Improvements.