
This post and photos may contain Amazon or other affiliate links. If you purchase something through any link, I may receive a small commission at no extra charge to you. Any supplies used may be given to me free of charge, however, all projects and opinions are my own.

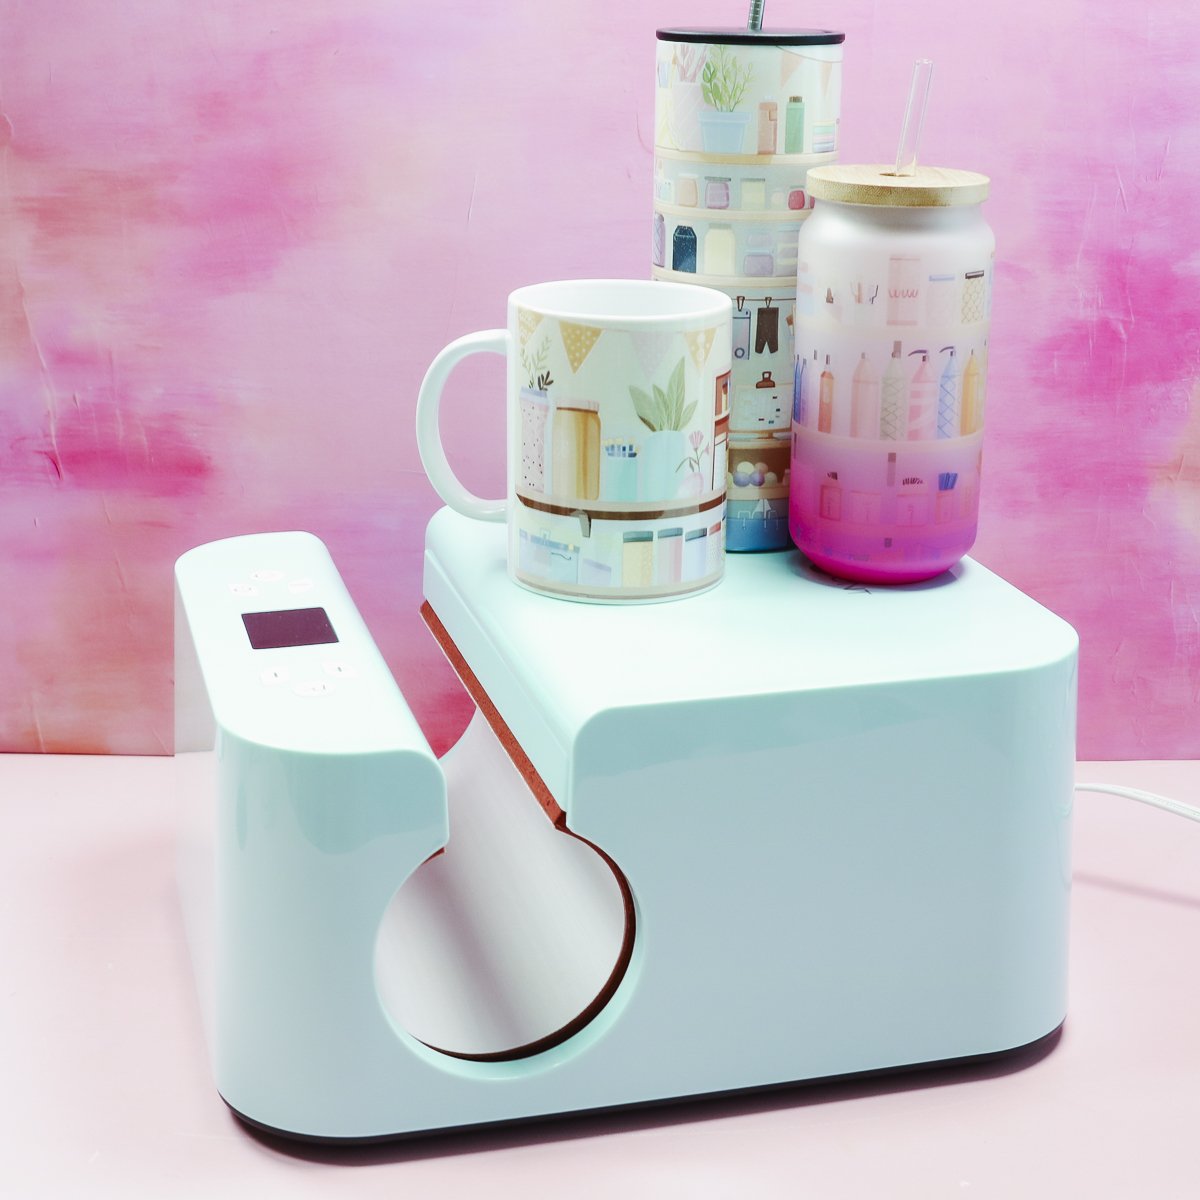
Have you seen the new HTVRont Auto Tumbler Press? I am going to test it with a variety of different mug and tumbler blanks to see how it performs with each one. Can you press more than one item at a time? Does it press different blanks evenly? Let’s try it out and see how it performs.
If you’re new to sublimation and aren’t sure where to start, my Sublimation Beginner’s Guide is a great place to start.
I’m excited to try out this new press to see if you should add it to your craft room or not. Can it do a full wrap design? Does it work well on both mugs and tumblers? We’re going to test it all.
You can watch me go through the whole process and see the HTVRont Auto Tumbler Press up close by pressing play on the video below.
HTVRont Auto Tumbler Press
Let’s take a closer look at this press before we grab some blanks to see how each one does. You can see more about purchasing this press here.
What is Included with the HTVRont Auto Tumbler Press
Unboxing the HTVRont Auto Tumbler Press could not be easier. The tumbler press is one solid piece. The cord is even attached so you don’t ever have to worry about misplacing it.
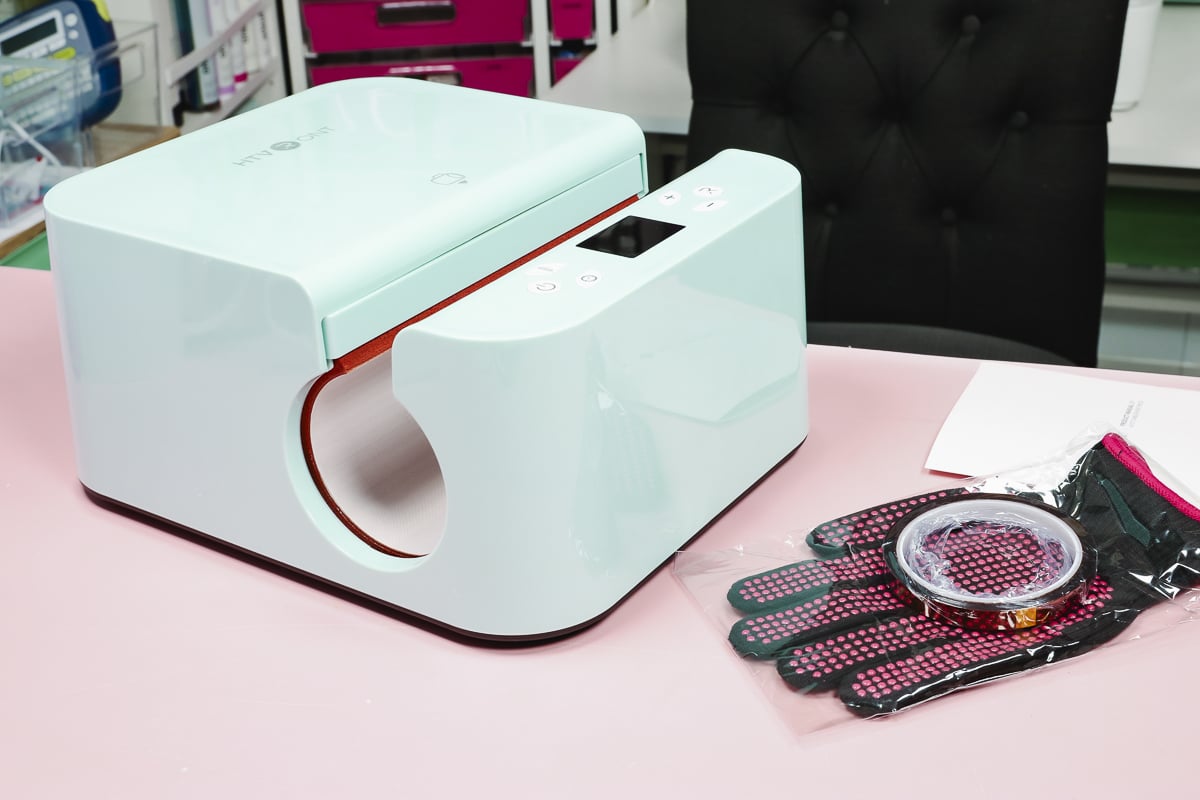
In the box, you will find a product manual, a pair of heat-resistant gloves, and some heat-resistant tape. If you don’t already own these items you’ll be very happy they came with the tumbler press.
Setting Up the HTVRont Auto Tumbler Press
To set up the HTVRont Auto Tumbler Press, all you need to do is plug it in. There are no additional steps required. Once it’s out of the box and plugged in it’s ready to go.
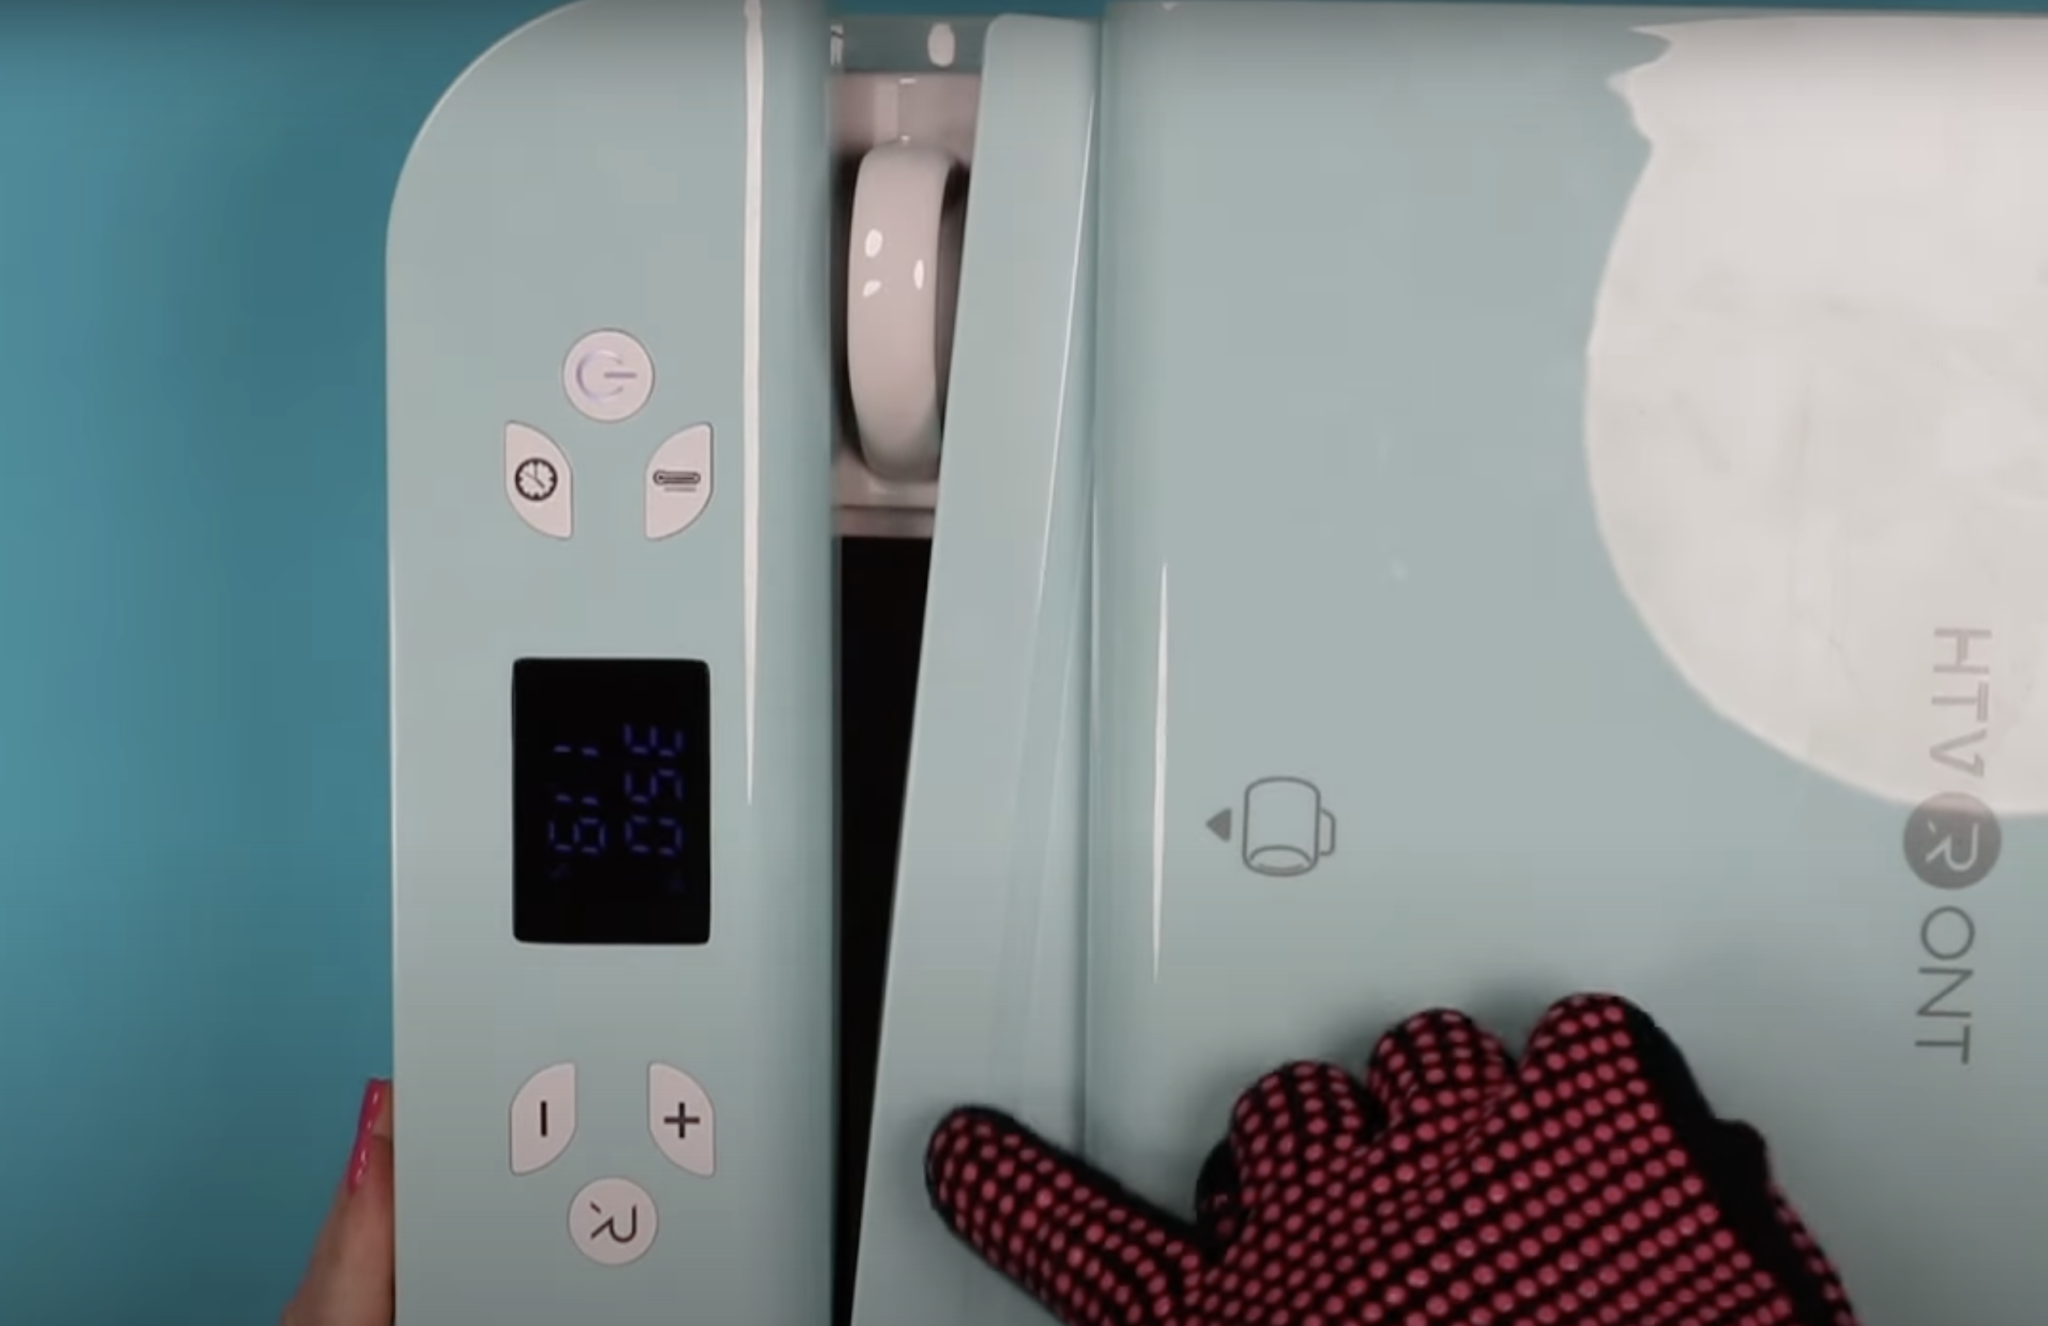
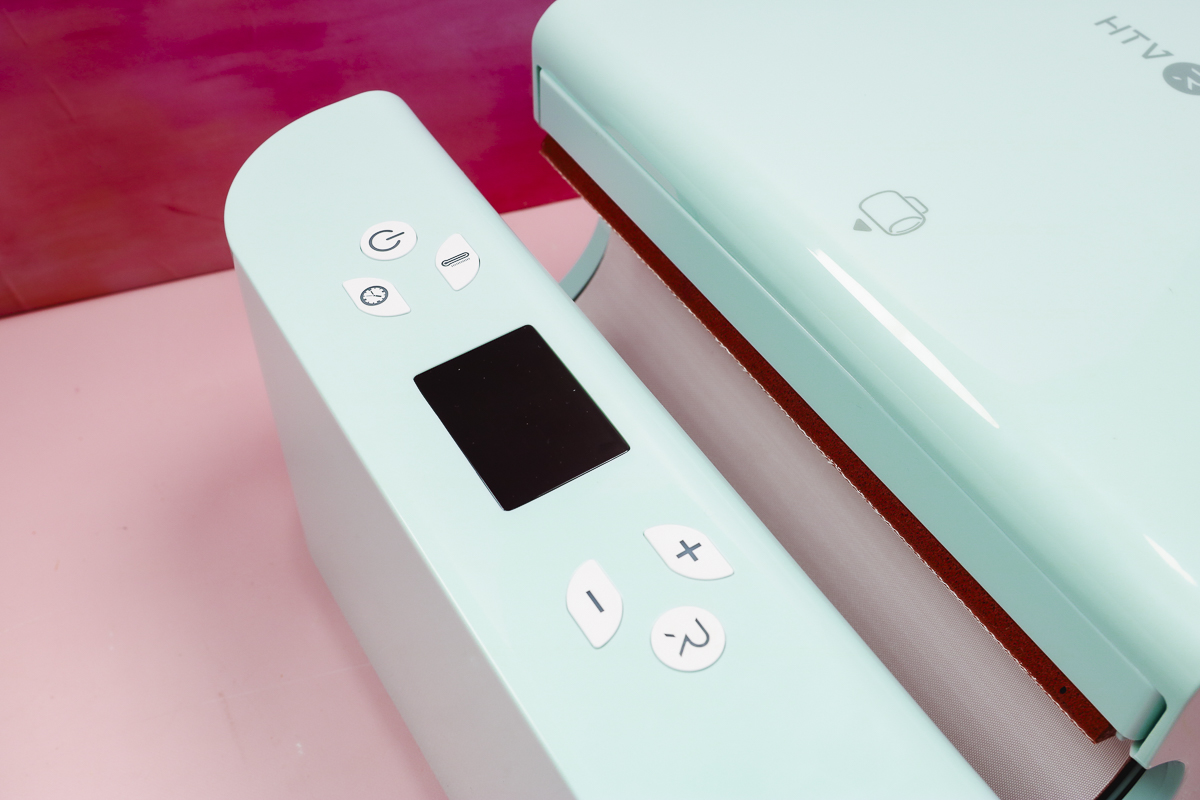
HTVRont Tumbler Press Buttons and Display
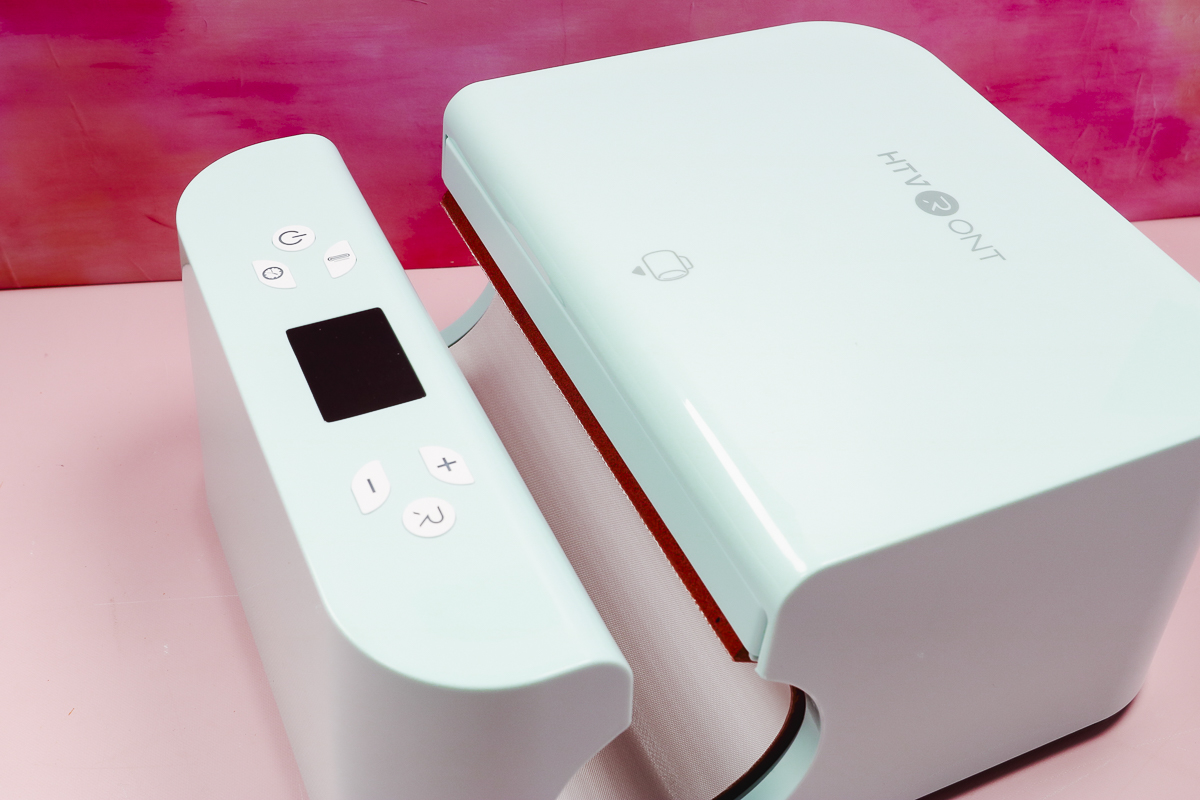
On the top of the auto tumbler press, there is a small display screen and six different buttons.
On the left, there is a power button, a temperature button, and a time button. On the right, there is a + and – button. You will use these to adjust the time and temperature.
The R button is the start or go button. You’ll push that when the blank is in place and the press will auto close.
What Blanks Fit Inside the HTVRont Auto Tumbler Press
The tumbler press itself can handle 10 to 30-ounce drinkware. When you measure your blank across the top, the diameter needs to be 2.95 to 3.35 inches.
You can also see that there is an opening at the top of the press. That is the area where you can slide the handle of a mug into. So this press can press mugs and tumblers.
You cannot do a full wrap on mugs because the handle needs to stick out the opening. You can do a full wrap on drinkware that doesn’t have a handle. To get a full wrap you may need to rotate the tumbler.
HTVRont Tumbler Press Safety Features
There are some safety features on the HTVRont Auto Tumbler Press.
- Auto-off Feature – the tumbler press will turn off automatically if you accidentally leave it on.
- Cool Touch – the only area of the tumbler press that gets hot is the inside area. If you hover your hand over the top you can feel heat but all of the plastic components of the press are cool to the touch so you can touch those areas safely.
- Emergency Open – When you press the R button the press will auto close. It will auto-open when the time is up. If you need to open the press, you can push the R button again and it will open even if there is time left on the timer.
How to Make Projects with the HTVRont Auto Tumbler Press
I am going to make several projects to test this new tumbler press. I am going to make tumblers and mugs and even some glass cans.
Supplies Used
Step 1: Prepare Sublimation Blanks
The process for prepping all of these sublimation blanks is the same.
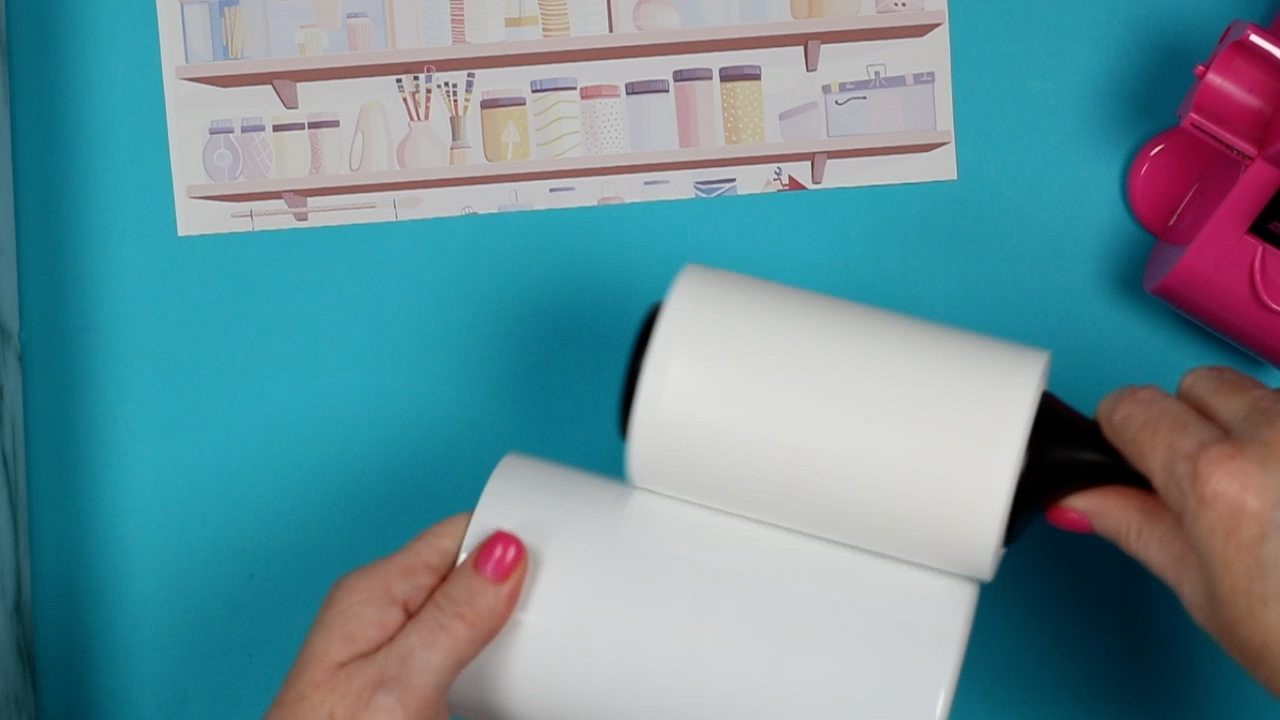
The first thing we’re going to do is clean the blank. I like to use a lint roller to go over the entire surface. You can also use rubbing alcohol and a lint-free cloth. If you use rubbing alcohol make sure the blank is completely dry before adding any prints.
Step 2: Add Sublimation Print to Sublimation Blank
I’m going to quickly show you how to add a sublimation print to a sublimation blank. If you struggle with getting a good seam on the tumblers or have issues taping your blank, I have a full tutorial that will be helpful, so I recommend you go there and review that tutorial before you begin.
I am using this fun craft room print and it is a full wrap design. Remember a sublimation print is sublimation ink printed onto sublimation paper from a sublimation printer.
Trim the print to fit your sublimation blank. I like to add a piece of heat-resistant tape to the backside of one end of the sublimation print.
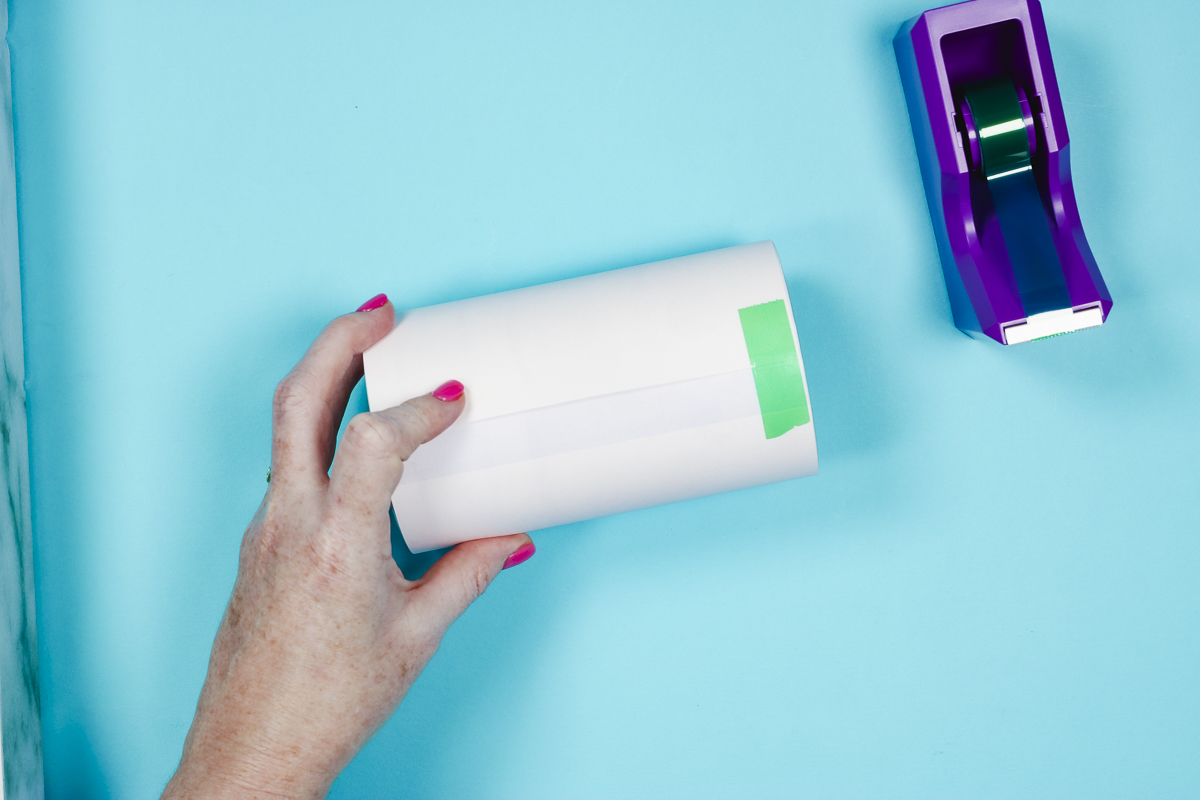
When it comes to wrapping full-wrap designs on sublimation tumblers and mugs I like to use the Artisprix heat-resistant tape because it has some stretch to it. This allows me to get a nice tight fit.
Wrap the design around the blank. Make sure you have it oriented correctly and the end with tape on it is under the end that doesn’t have tape. The tape helps prevent any possible bleed from the top layer resulting in a better seam.
Add the stretchy tape tight across the top and then work your way down the seam. I like to over-tape so there are no gaps in the print after sublimating.

Add another strip of tape along the entire top and bottom edge of the print to seal that down tight.
Step 3: Add Sublimation Tumbler to HTVRont Auto Tumbler Press
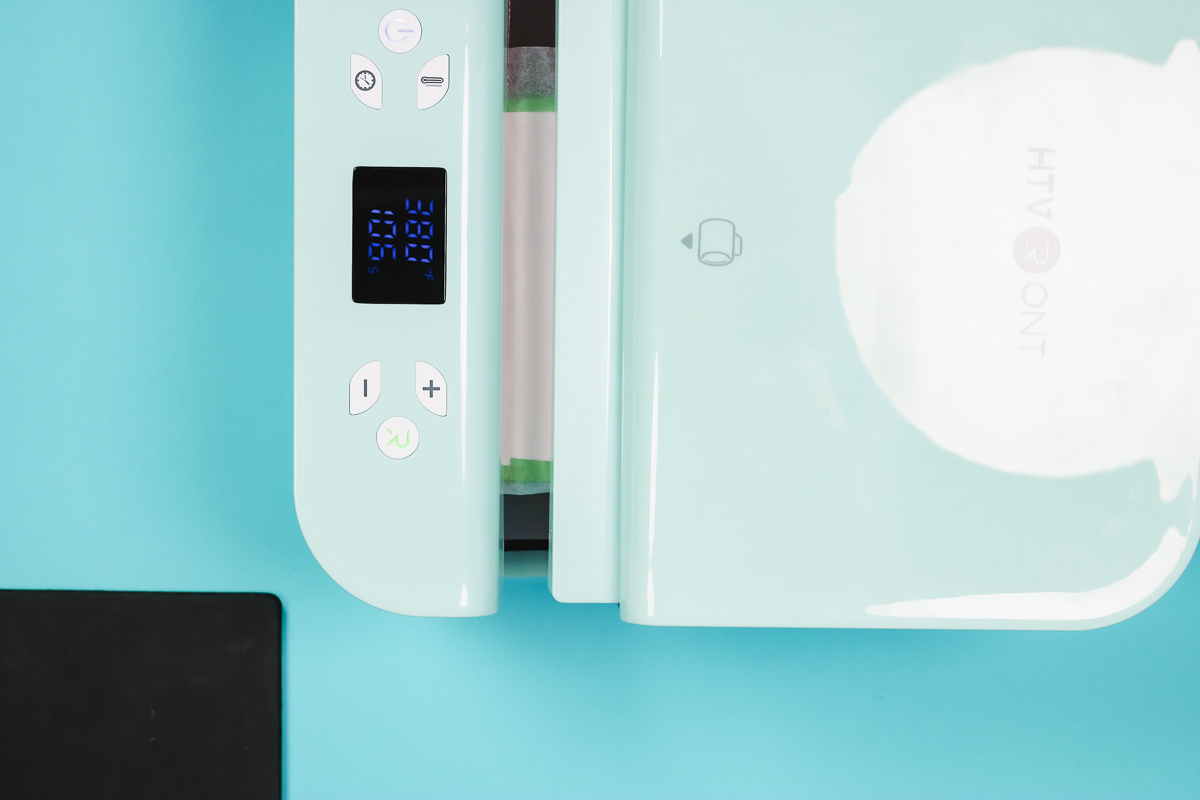
Add a piece of protective paper around the outside to protect the heat press from any ink that may bleed through and hold it in place with a couple of pieces of heat-resistant tape.
Use the buttons on the tumbler press to set the time and temperature. For this blank, I am setting the temperature to 380 degrees for 160 seconds.
Your time and temperature will vary depending on the blank that you are using. Make sure you follow those recommendations. If you cannot find a recommended setting, they do have some suggestions in the book that comes with the press that you can try.
The R button will flash red until the press comes up to temperature. Once the press comes to temperature, the machine will beep to let you know it’s ready.
Because I am doing a full wrap on this I am going to change the time to 120 seconds. I am going to press it once, rotate it, and press it again.
When the light turns green we can add the sublimation blank to the press. I like to turn the seam to the side so it is pressed twice.
Make sure to use heat-resistant gloves when dealing with the interior of the heat press to prevent burns.
Step 4: Press Sublimation Tumbler
With the blank in place press the R button and the machine will close on its own and you’ll see the timer start counting down.
When the time is up you’ll hear the press beep and then it will open automatically. Rotate the tumbler and press the R again for a second time. Pressing twice will make sure the entire design is pressed for the full time.
Step 5: Remove Blank from HTVRont Auto Tumbler Press
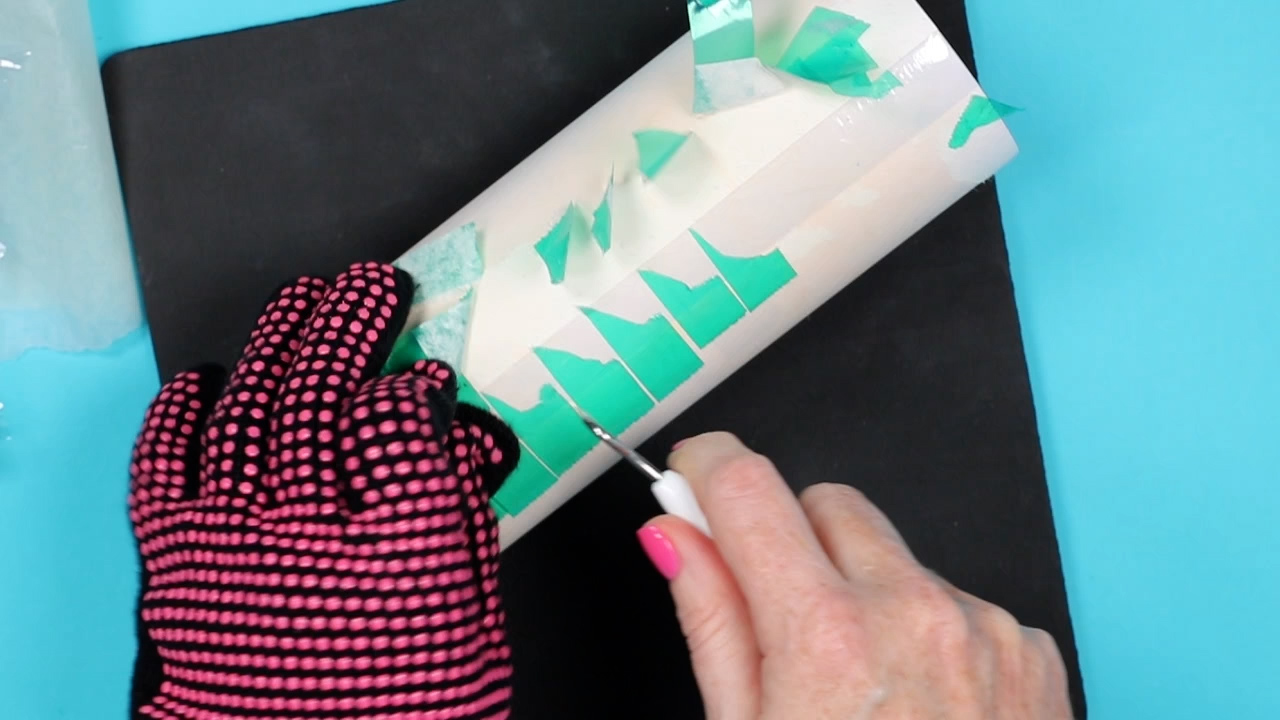
When the timer is up and the press is open use heat-resistant gloves to remove the tumbler and place it on a heat-resistant mat.
I like to remove my sublimation print, while everything is still hot. I use heat-resistant gloves, sometimes a weeding hook, and remove the protective paper, all the tape, and the sublimation print to reveal my sublimation project.
Repeat this process for all additional blanks.
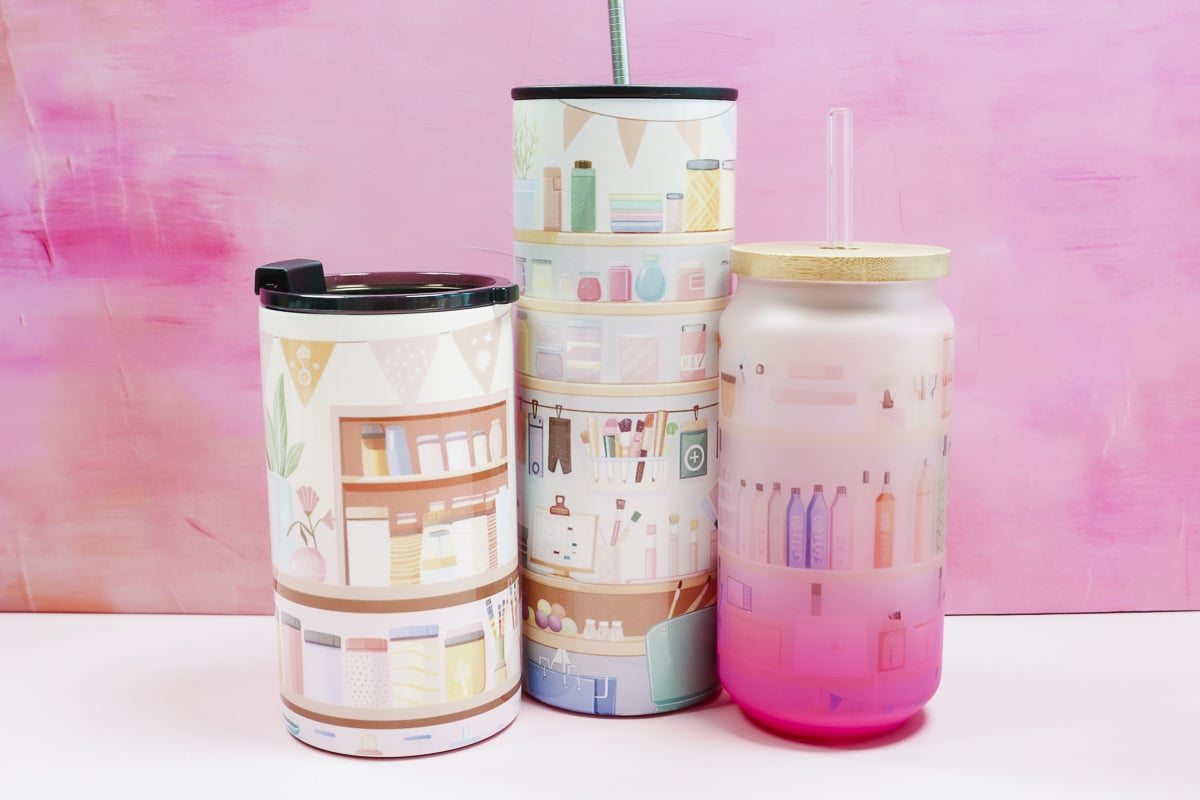
Sublimation Projects Made with HTVRont Tumbler Press
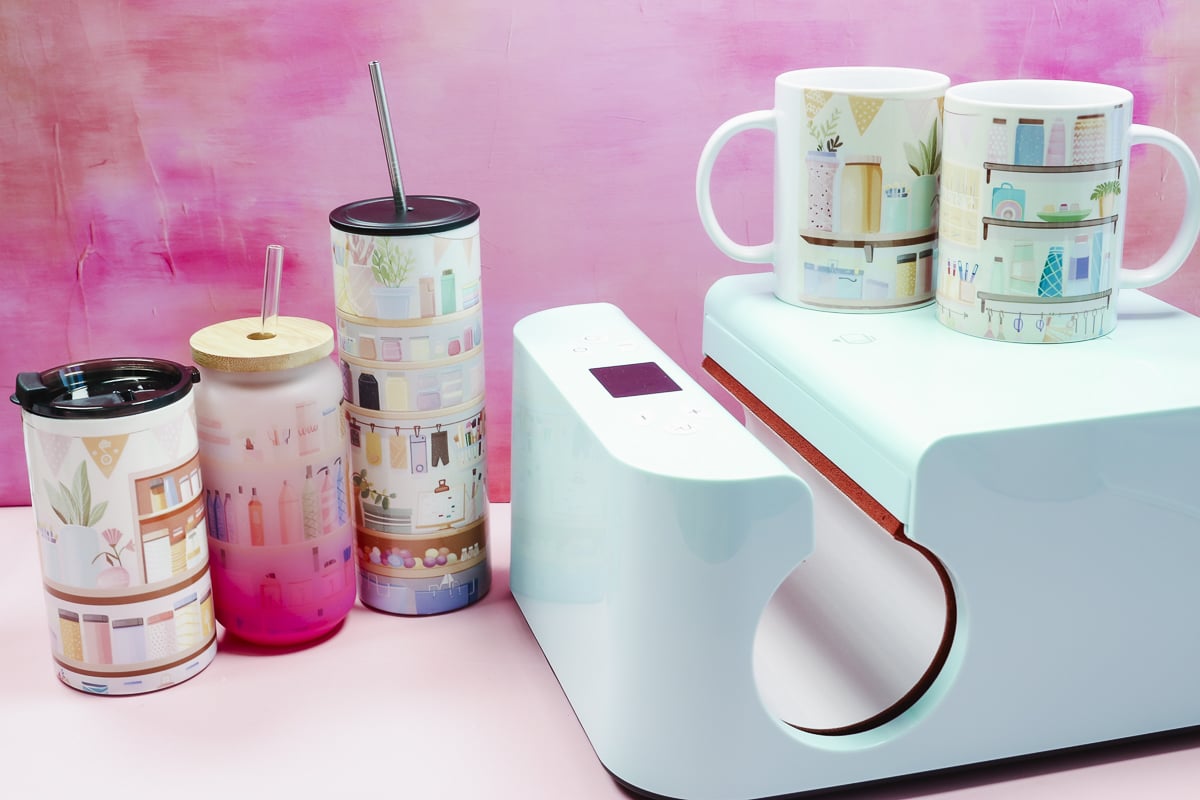
Now we’re going to look at all of the finished projects so I can show you which blanks worked well and which ones I wouldn’t recommend.
20-ounce Skinny Sublimation Tumbler
This is a 20-ounce Skinny Tumbler. I used the same craft room design on all of the blanks so you can see how each one looks.
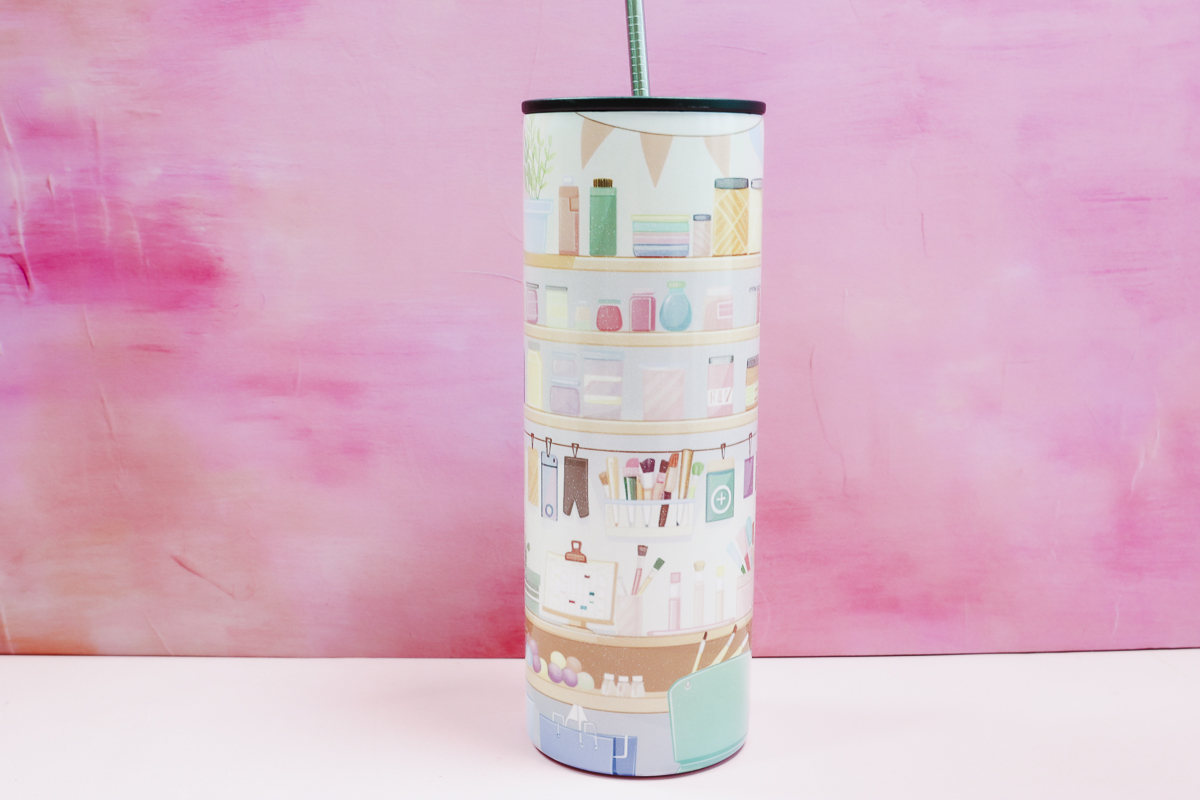
I did rotate and press this blank twice and it turned out amazing. The print looks really good and all the colors are bright and I just love this design.
Shorter Sublimation Tumbler
This is another sublimation tumber option. This tumbler is shorter and wider than the 20-ounce skinny tumbler.
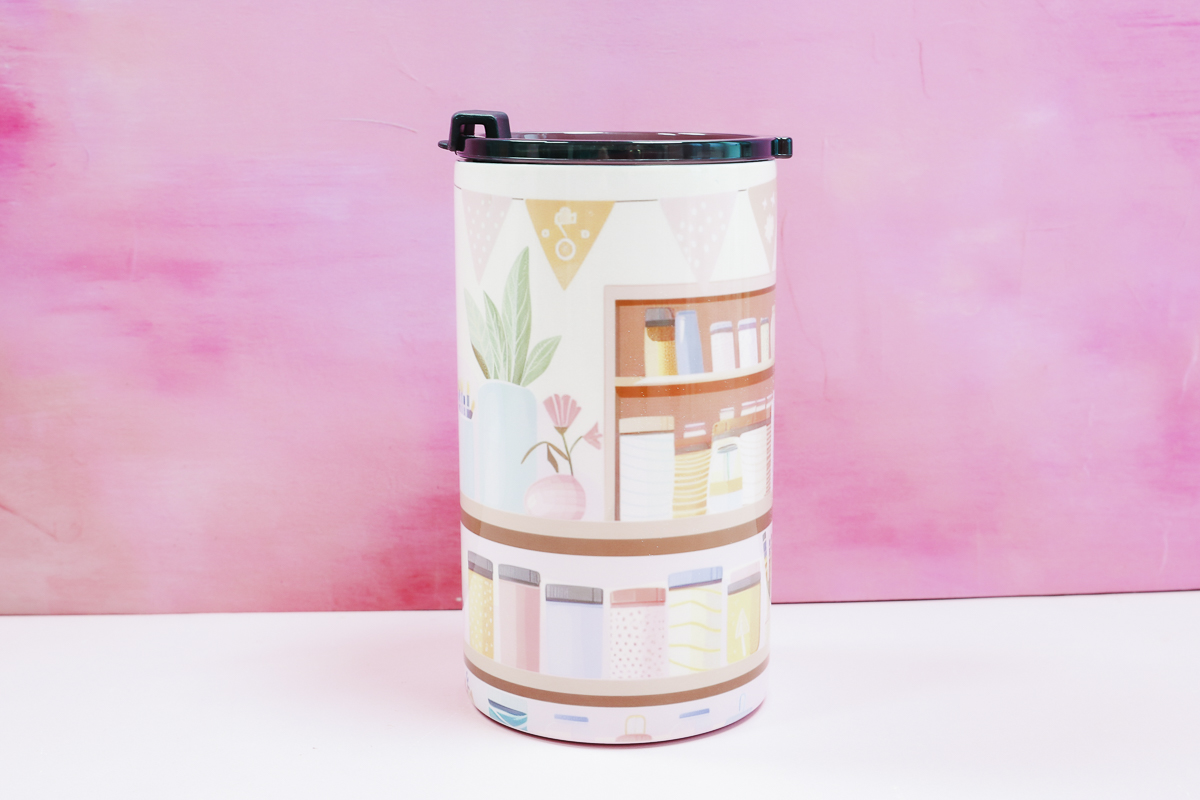
I also pressed this tumbler twice and rotated it in between pressing. Because this tumbler is shorter I recommend placing it into the center of the tumbler press so you don’t get uneven pressure. This tumbler also turned out beautifully.
Large Cricut Sublimation Mugs
This is the larger-sized Cricut mug and I think it’s a pretty standard-sized mug. These mugs do fit in the tumbler press and you can press two mugs of this size at the same time.
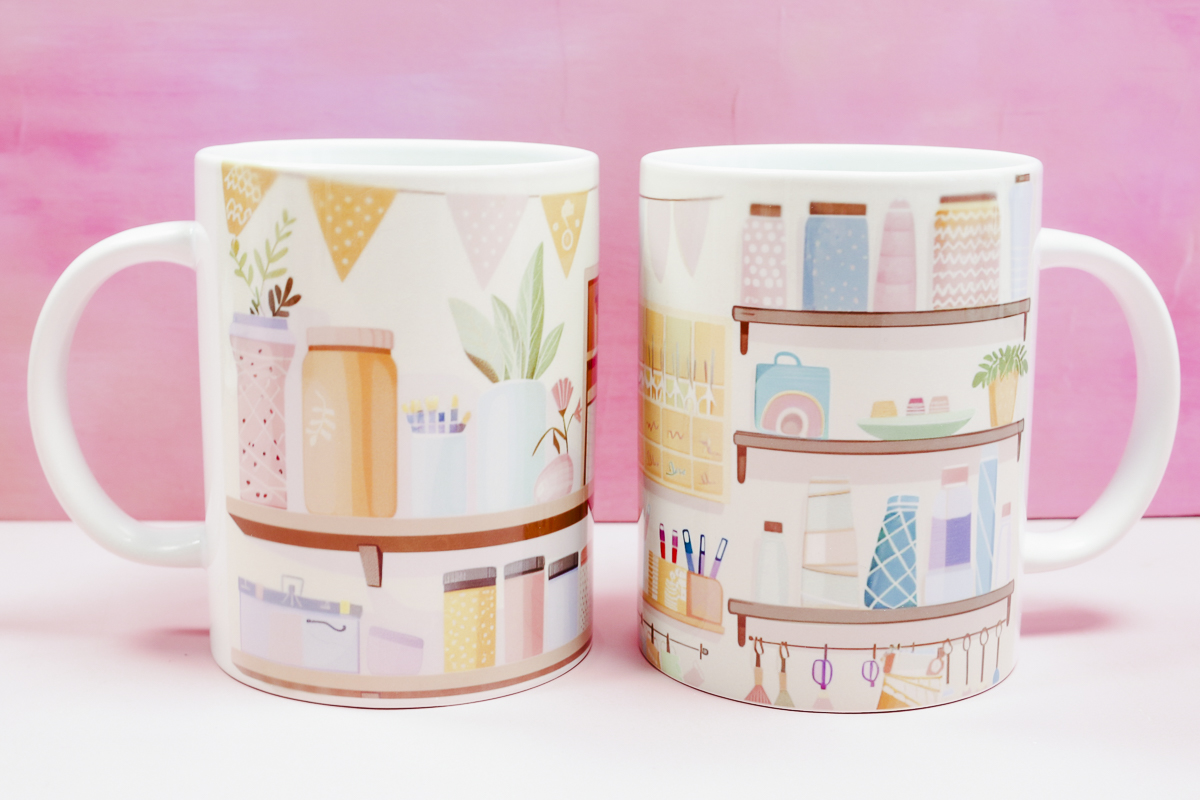
If you’re only pressing one mug, move it to the center of the press to avoid uneven pressure. If you press two at once, you don’t need to worry about that.
You will have the handles sticking out of the side of the press so you will need to size your design to leave room near the handle because that area won’t press.
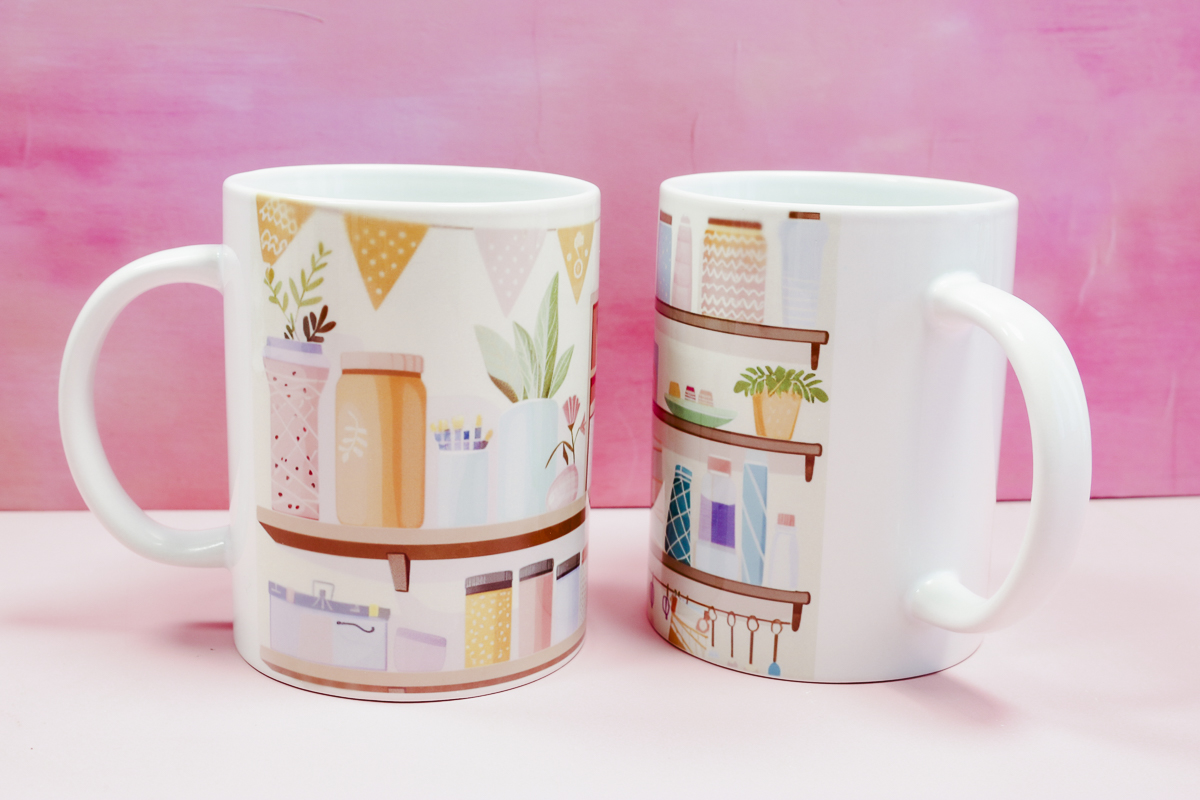
When I was done I realized I could have probably made my design a little larger to get it a little closer to the handle but that will require a little trial and error to get the exact size.
The design turned out really well on these mugs. The colors are bright and it is pressed evenly across the mug.
Camp Mug with Lip
This next blank is a cute camp mug that has a lip around the top.
I promised to show you some of the blanks that didn’t work and unfortunately, this mug is one of them.
Because of the lip on this mug, I could not put the mug in the middle of the press. I had to slide it in on one end.
I have talked about the uneven pressure when placing a blank at one end of the tumbler press. What happens is that the end that doesn’t have a blank in place tries to close tighter than the end that has the mug.
Because of the uneven pressure not much of the sublimation transferred around the top. In the middle, there is a little sublimation but it’s faded and you can’t tell really what it is.
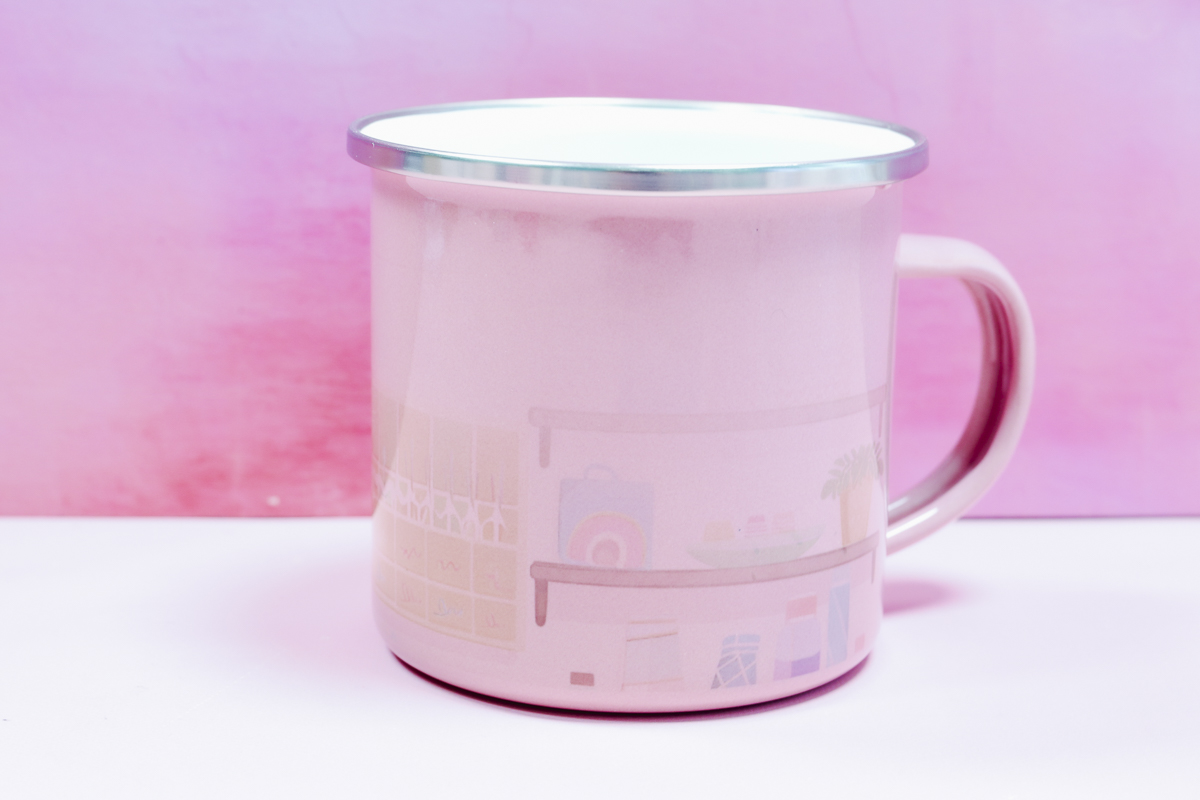
Along the bottom, you can see the sublimation a bit better but it’s still not sublimated well at all.
I’m not sure if this type of mug can sublimate in this tumbler press but if you want to try it I would make sure you put another mug that is the same type and size on the other end so that the pressure is more even.
Glass Can Tumbler
The last blank I wanted to share today is the Glass Can Tumbler. These are definitely on trend right now because they are so cute.
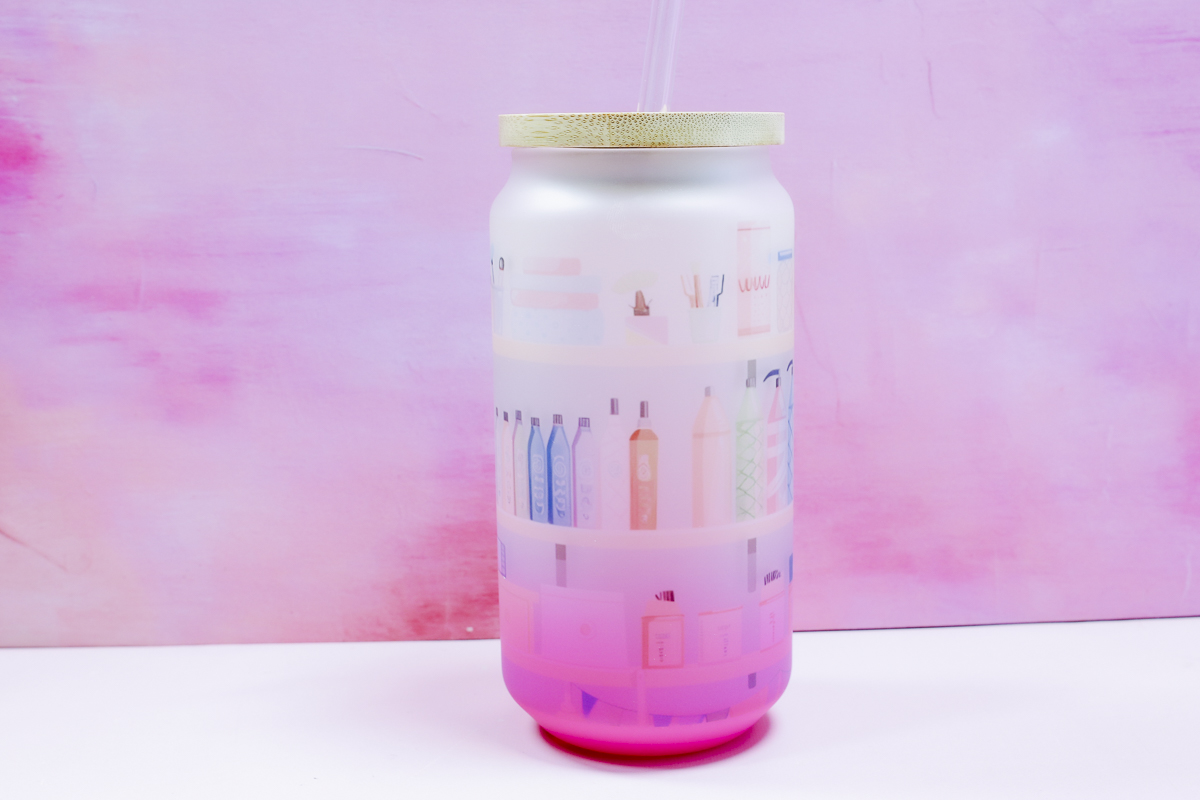
The glass can tumbler did sublimate well in this tumbler press. Make sure you slide it to the middle of the tumbler press for the most even pressure.
HTVRont Auto Tumbler Press FAQ’s
There are a few questions that came up while I was using the press so I am going to answer those for you.
What Settings Worked for the Different Blanks
I tested a variety of blanks today. I’m going to share the time and temperatures that I used. These can be jumping-off points for you if your blank doesn’t have recommendations.
- Metal Tumbler – 380 degrees, 120 seconds, rotate the tumbler, and press for another 120 seconds.
- Mugs – 390 degrees for 480 seconds.
- Glass Tumbler – 380 degrees for 240 seconds, rotate the tumbler, and press for another 240 seconds.
How Hot Does the Tumbler Press Get?
The maximum temperature is 390 degrees Fahrenheit which should be hot enough for sublimation blanks.
How Do You Know if a Blank Will Fit in the Auto Tumbler Press?
You can test if a blank will fit by placing it inside the press and closing it. Unfortunately, you cannot test the size without having the heat on so you will need heat-resistant gloves to test it.
Place the blank inside the press and close it. Try to move the blank and if the press has closed tight around the blank and you can’t rotate it or pull it out it fits.
A blank that is too small will move easily within the press. A blank that is too big won’t fit inside at all.
Can I Do a Full Wrap Mug in this Press?
You cannot press right up to the mug handle or under the mug handle with this press. Because the handle sticks out of the press that isn’t possible. I do have a tutorial that shows how you can get a full wrap on a mug using a sublimation oven so if you want to do that check that tutorial out.
HTVRont Auto Tumbler Press Pros and Cons
Let’s go through the pros and cons of this tumbler press.
Tumbler Press Pros
- I do like the overall design and the color. The press laying flat I feel is more convenient than something like the Cricut Mug Press. The buttons are clear and easy to use.
- This press works for both tumblers and mugs and I like that you can slide either blank in easily. Because of the length of the tumbler press, it can fit 20-ounce tumblers without having to do any type of hack.
- I like that you can do multiple sizes of blanks without having to change anything.
- The safety features are definitely a pro. Being able to open the press with the push of a button makes me feel better if anything should ever get in there that shouldn’t be.
- I also like how cool all the plastic areas remain even when the press is at 390 degrees.
- Being able to set the exact time and temperature is a pro for me. With the Cricut Mug Press, there are no settings, that can be nice but sometimes you need to be able to make adjustments to the settings. This press allows you to do that.
Auto Tumbler Press Cons
- While this press does fit a variety of different-sized blanks it is still very restrictive.
- The uneven pressing is another con. You need to be careful of where you place the smaller blanks in the press to make sure you get even pressing.
- Like the Cricut Mug Press, your blank needs to have a straight side for the press to work properly. Something with a tapered surface will not get even pressure.
- Some sublimation blanks may call for a temperature of 400 degrees. This press only goes up to 390 degrees. I don’t think that is a big con because you can adjust the time to make up for the lower temperature.
- The auto-close feature makes a weird popping noise that I do not like. I honestly thought I broke it the first time I heard it and even after using it multiple times I still feel like it’s breaking when it makes that noise.
- Another thing that may be an issue is having to rotate tumblers. I don’t consider this a con because you have to do this with most of the types of presses.
Is the HTVRont Auto Tumbler Press Worth it?
Because I know I’ll get asked. Do I think this press is worth it or not?
For my money, I would probably save a little longer and get the PYD Life Tumbler Press. It can do similar things like two mugs at once. The PYD Life Tumbler Press has inter-changeable coils so you can do even more blanks by purchasing different coils later. These different coils include more sizes, tapered tumblers, etc. I think a traditional tumbler press is more versatile than this Auto Tumbler Press.
If you’re looking for an inexpensive option that can do straight-sided mugs and tumblers and don’t mind the restrictions I’ve mentioned in this tutorial, this might be the right press for you. I think it worked well and the heating seemed consistent for the different blanks I used when I made the adjustments such as placing smaller items in the middle or pressing two at once.
I hope I’ve answered the questions you have about the HTVRont Auto Tumbler Press and helped you decide if it’s the right tumbler press for you. If you have any additional questions, feel free to ask them in the comments and I’ll be happy to answer them for you.
The post HTVRont Auto Tumbler Press Review with Mugs and Tumblers appeared first on Patabook Home Improvements.