
Y’all, don’t even ask about my pendant light. I can’t even go there today. Just know that when it’s done, I’ll show you. Until then, I don’t even want to talk about it. What I do want to talk about is faux rocks and boulders! Specifically DIY faux rocks and boulders!! Until a few days ago, I didn’t even know one could DIY a faux rock or boulder. I mean, had I given it some thought, I would have guessed that there certainly has to be a way to DIY such a thing. But I had never even thought about it. But now, thanks to my mom, it’s all I can think about. It’s all I want to think about. So let me back up a bit and explain.
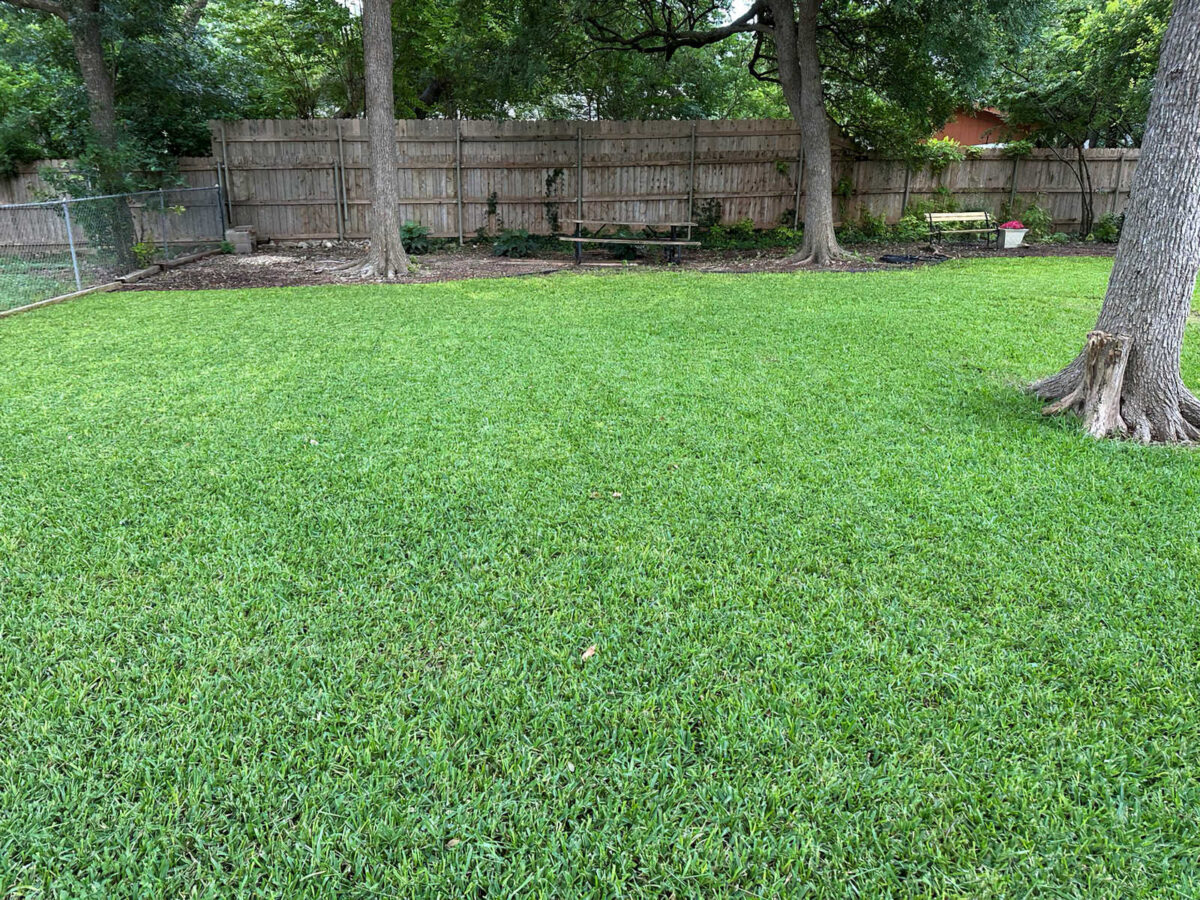
My mom has been working nonstop on her back yard for what seems like weeks now. The back area of her yard along the back fence is shaded, and her St. Augustine grass doesn’t grow well back there. Plus, her neighbor behind her has done this crazy thing with the fence, and they painted their building (storage building?) this ugly burnt orange color. So my mom has been on the lookout for plants that will either climb or grow high and wide to cover all of that up. Plus, since her grass wasn’t growing well in the shade, she has marked off a large area at the back along the entire width of the back fence (only about half of which can be seen in this photo below) as a planting bed. She has marked it off with a curvy design using some sort of edging product, pulled up all of the grass back there, and is in the process of adding plants.
So she’s been sharing her ideas with me, but because plants and landscaping aren’t in my wheelhouse, I just didn’t have vision for it. I even went with her to the nursery to buy something that would grow high and wide to cover up that view of that orange building, but beyond that, I didn’t really have any input for her because I just don’t have vision for stuff like that.
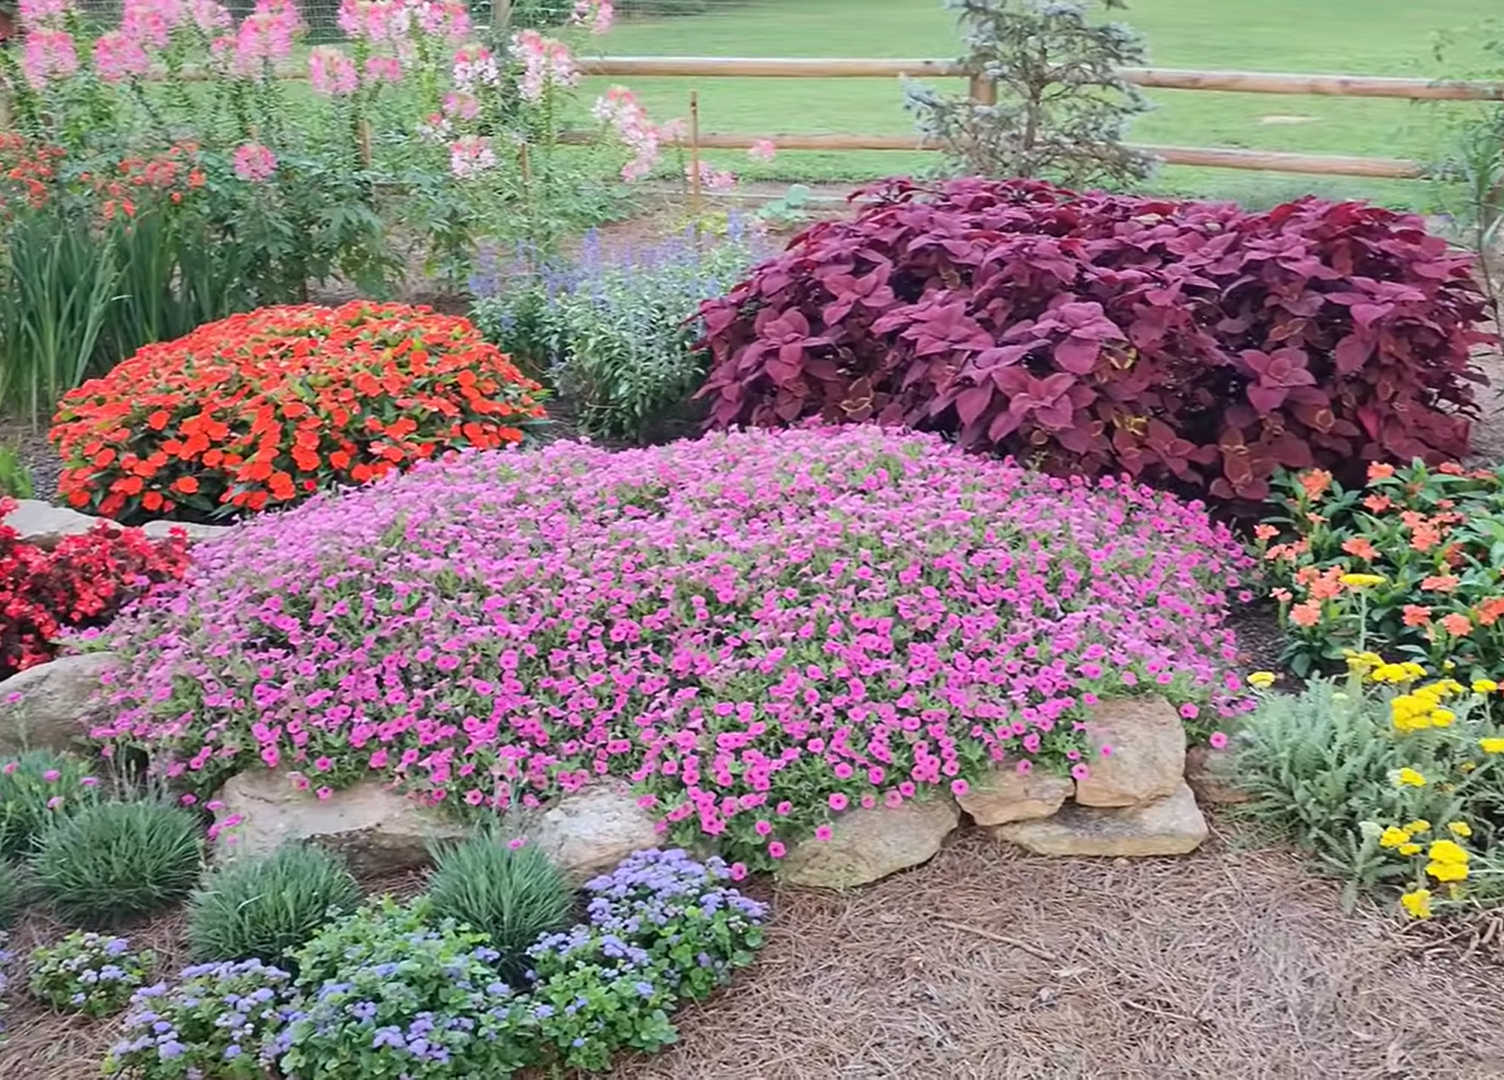
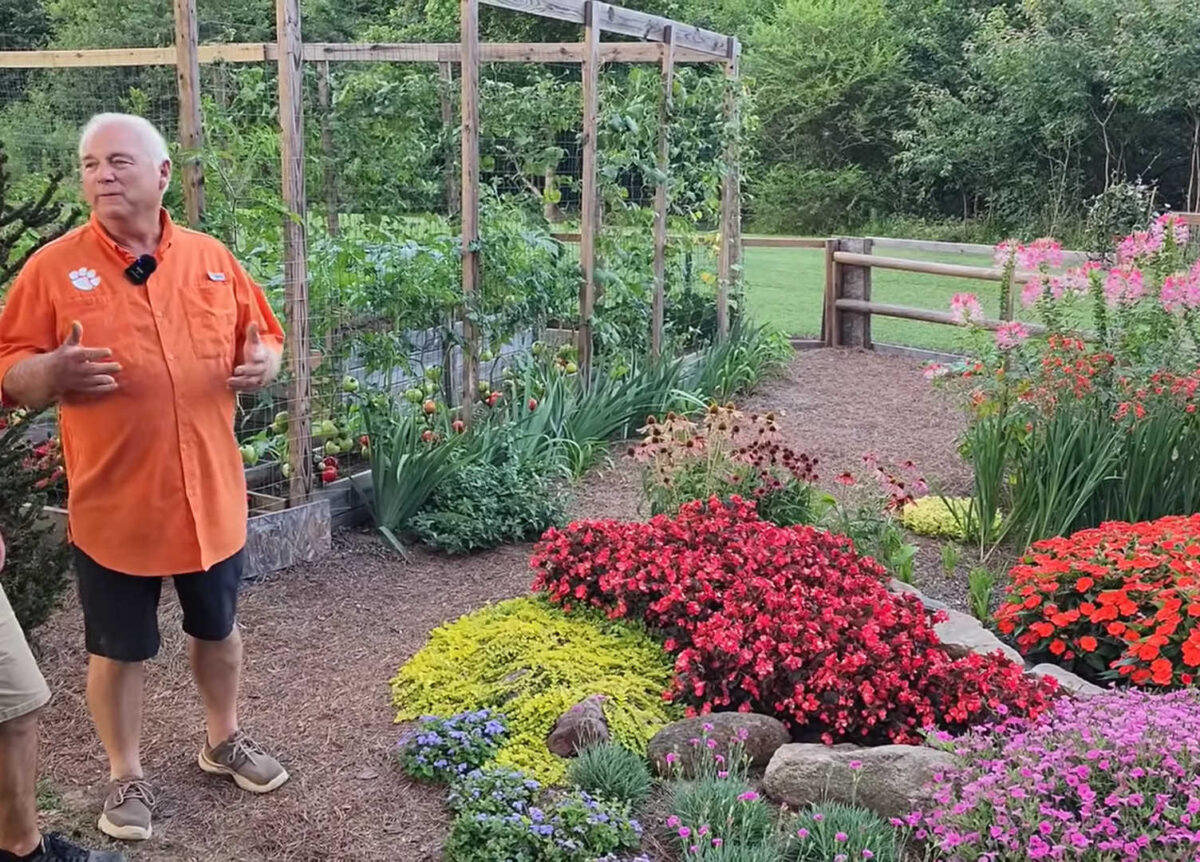
Then she sent a video and said it was a must watch video because this man has the most beautiful planting beds, and if I’m not mistaken, almost all of the plants he used will grow in our zone. This is the video from the S & K Greenhouse YouTube channel that she sent, and I agree with her. It’s a must watch! I learned so much from watching this. And I just loved seeing how he planted things in groups in his beds. But what really caught my eye was his use of rocks in the planting beds. They’re not used as the border for the bed itself. They’re used as rows of decoration within the beds, like this…
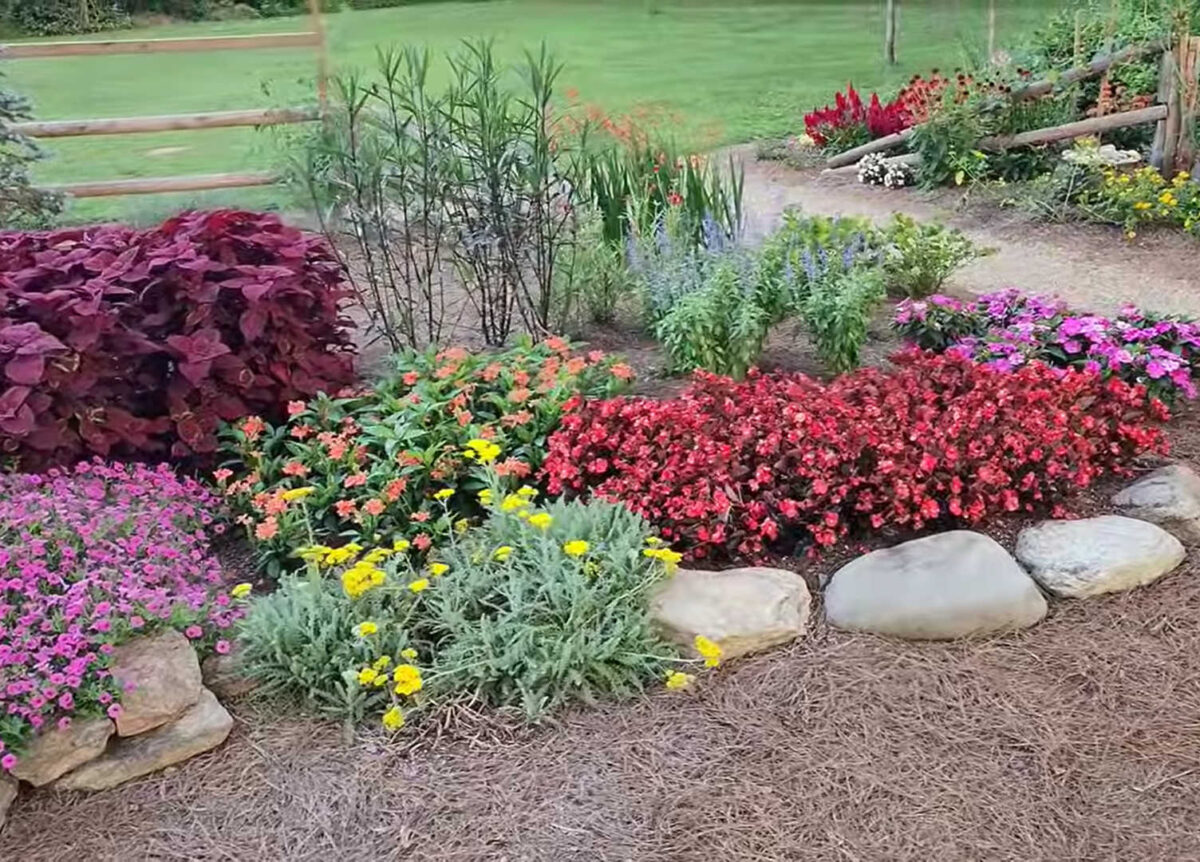
And here’s another screenshot…

And here’s another view.
You see what I mean? I just love how he uses rocks inside his planting beds.
So the two things that really stuck out to me were (1) how he planted things in groups, and (2) his use of rocks within the planting beds. As far as planting things in groups, he said that his advice is not to be afraid to plant things too close together. He said he’ll plant ten of one plant in a group to get that impact that he likes.
I learned a lot from him, and after watching the tour of his yard, I felt like I had more vision for what my mom wanted to do in the back area of her yard where she has now pulled up all of the grass to create a large area for plants. But the only thing we’ve really talked about for that area is plants. So I texted her and said, “After watching that video, I think you need to add some rocks to your back yard fence area, and then find some of those low growing plants that he had in mounds around the rocks. That was so pretty!”
She responded that she wondered how much that would cost, but I didn’t have any idea. (I have since learned that rocks and boulders can cost anywhere from $150 to $600 per ton, depending on the type of rock, the size(s), etc.) And also, she didn’t think she could lift a bunch of rocks and put them in place, so that would be something she’d have to hire out.
And then, the next thing I know, she’s sending me videos about making your own DIY rocks and boulders! At first, I thought it was a crazy idea. There were a couple of videos that I honestly wasn’t that impressed with. One person used spray foam as the base, but didn’t try to shape it at all before covering it with concrete, so the end result looked like a huge gray cow patty. That’s not exactly something I’d want in my yard or next to my pretty flowers. 😀
But then I watched the video from this guy from the YouTube channel Faux Rock Training, and oh my goodness, I was impressed!! He has several different methods for making faux rocks and boulders, but the main one he teaches is to start with cardboard boxes as the base…
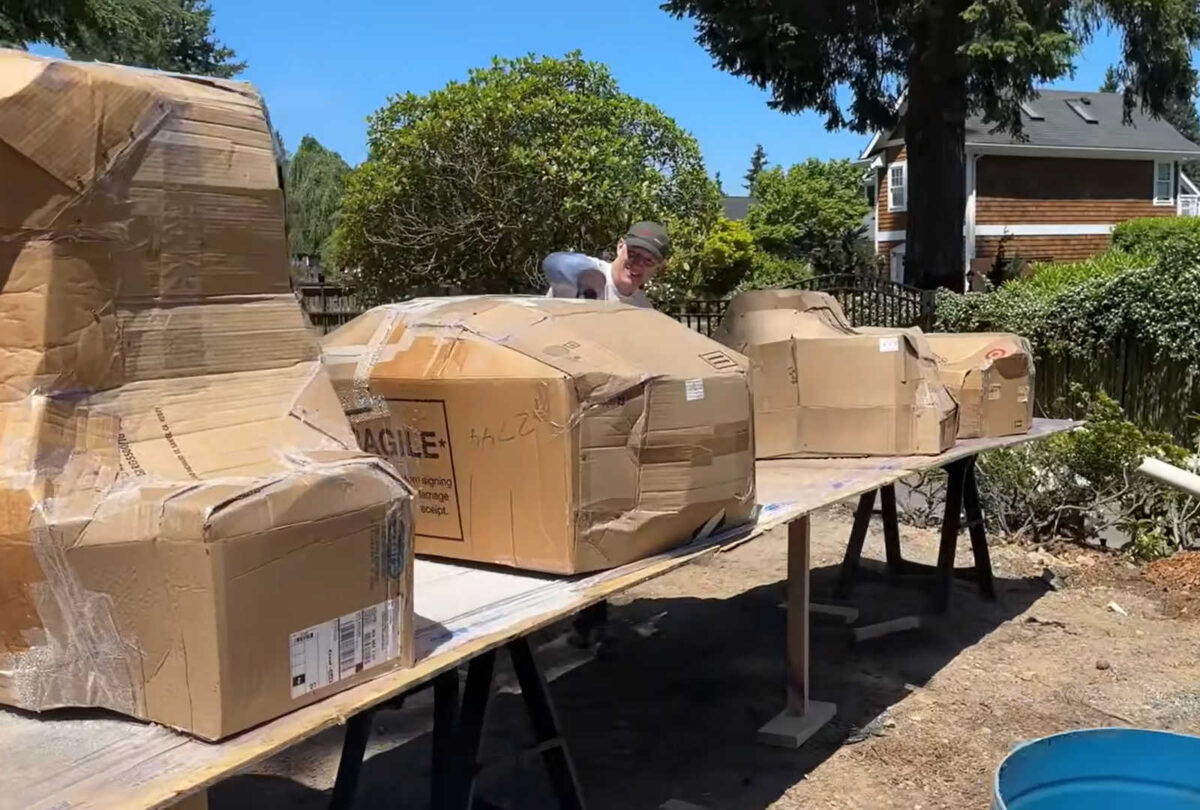
And then, he uses fiberglass reinforced concrete, some type of mesh for more reinforcement, paint, sealer, etc., and he ends up with these amazing faux rocks! Just look at this one…
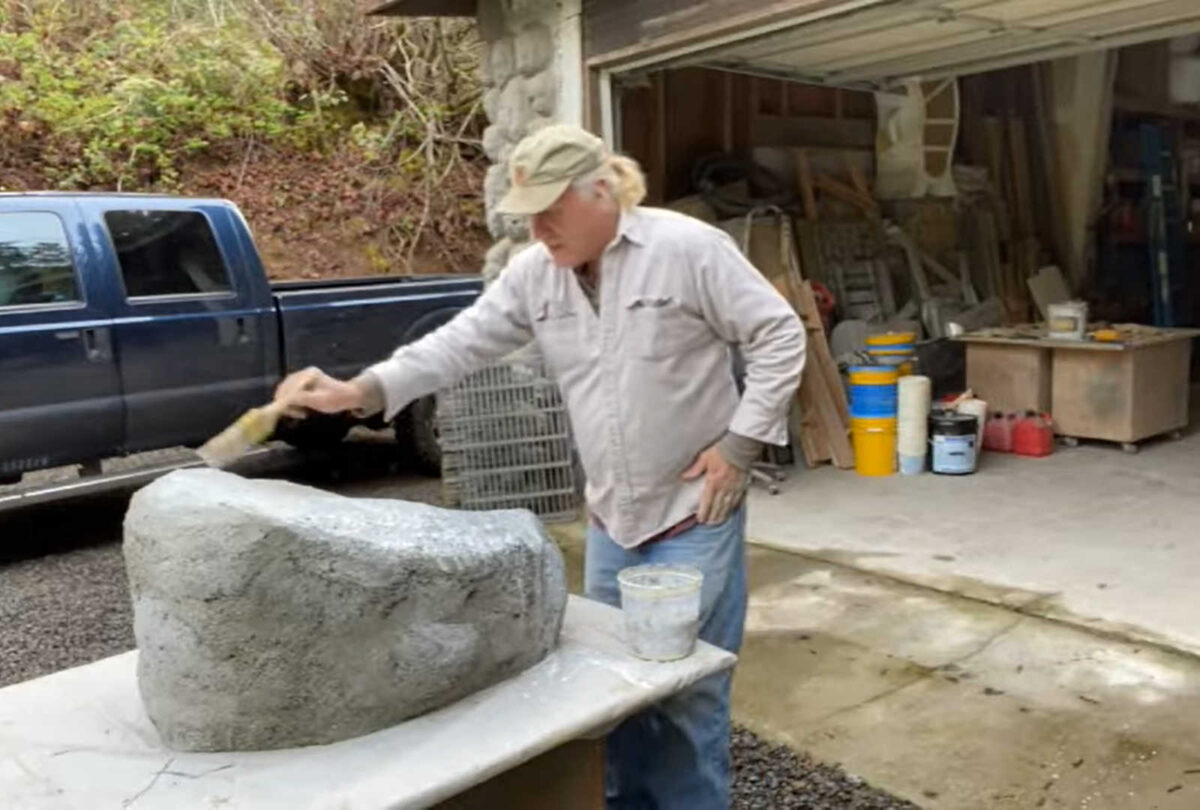
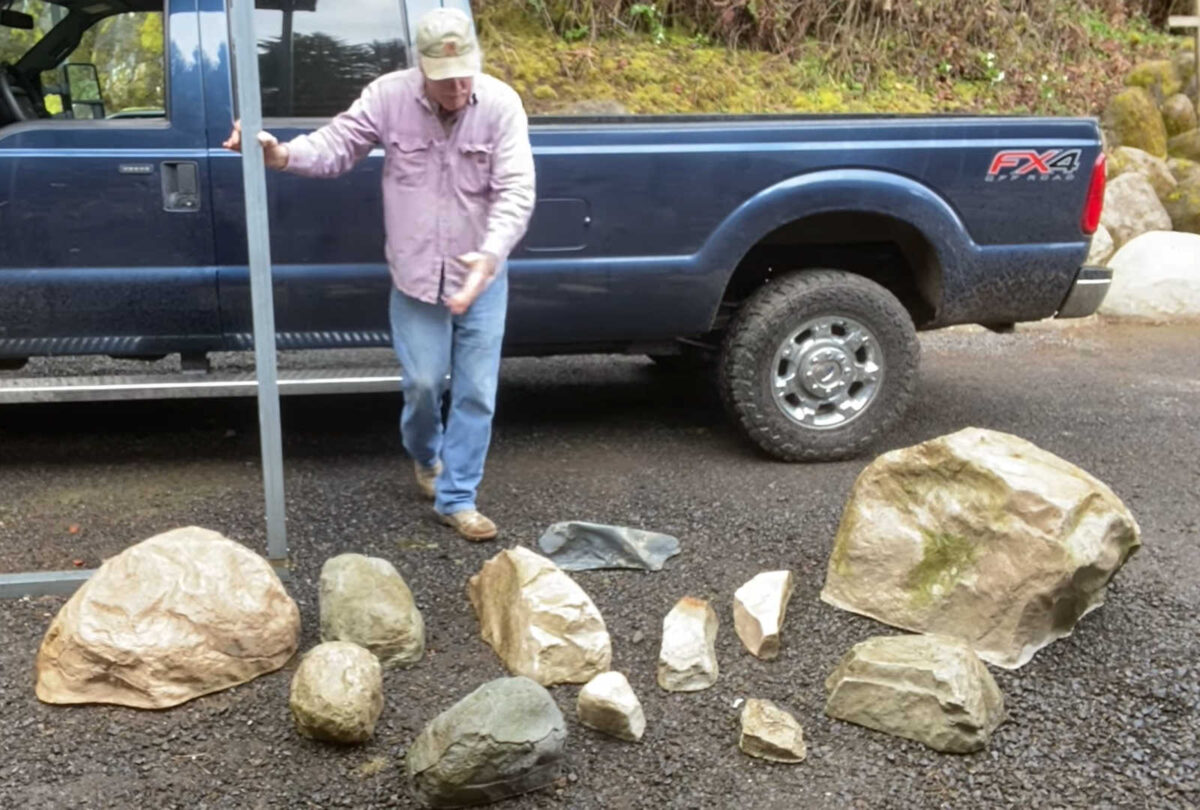
If that were a real solid rock, can you even imagine how heavy it would be? I mean, wherever the landscaping company dropped it off, that’s where it would have to live forever, because it would be too heavy for me to move around on a whim. But because these are hollow, they’re relatively light, and can be moved around as needed.
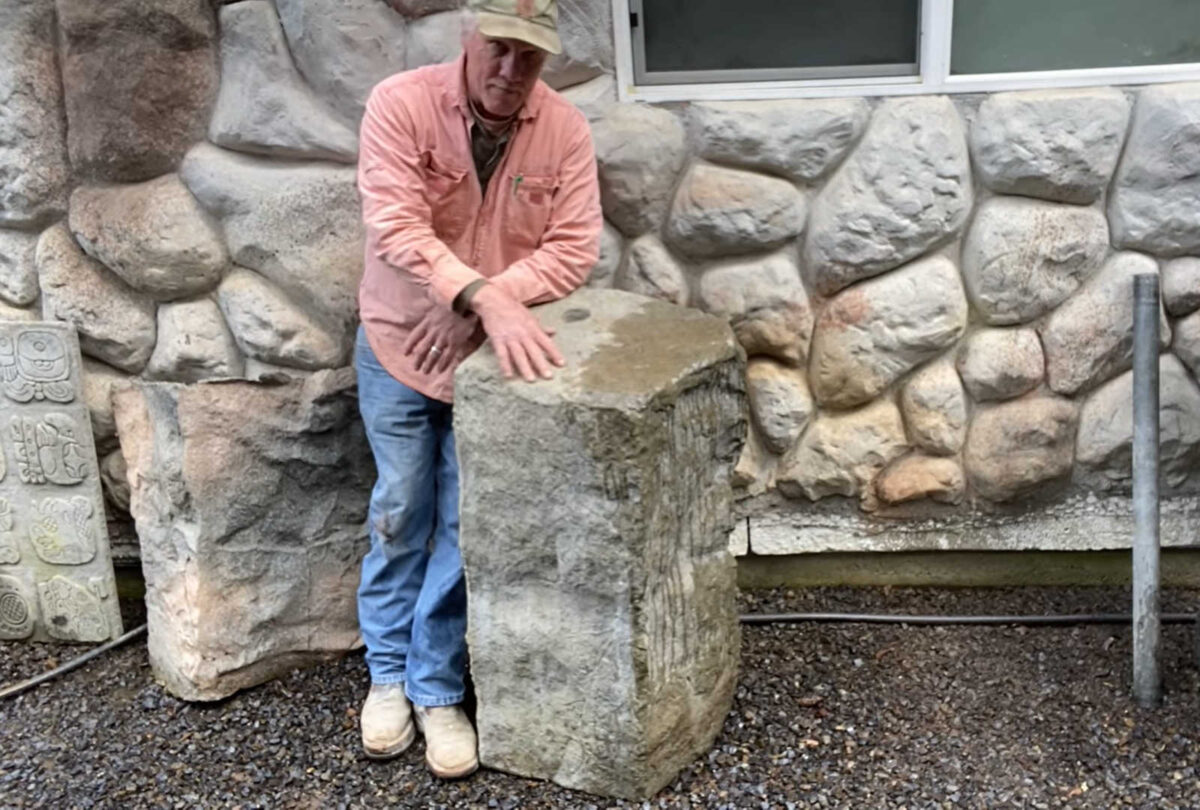
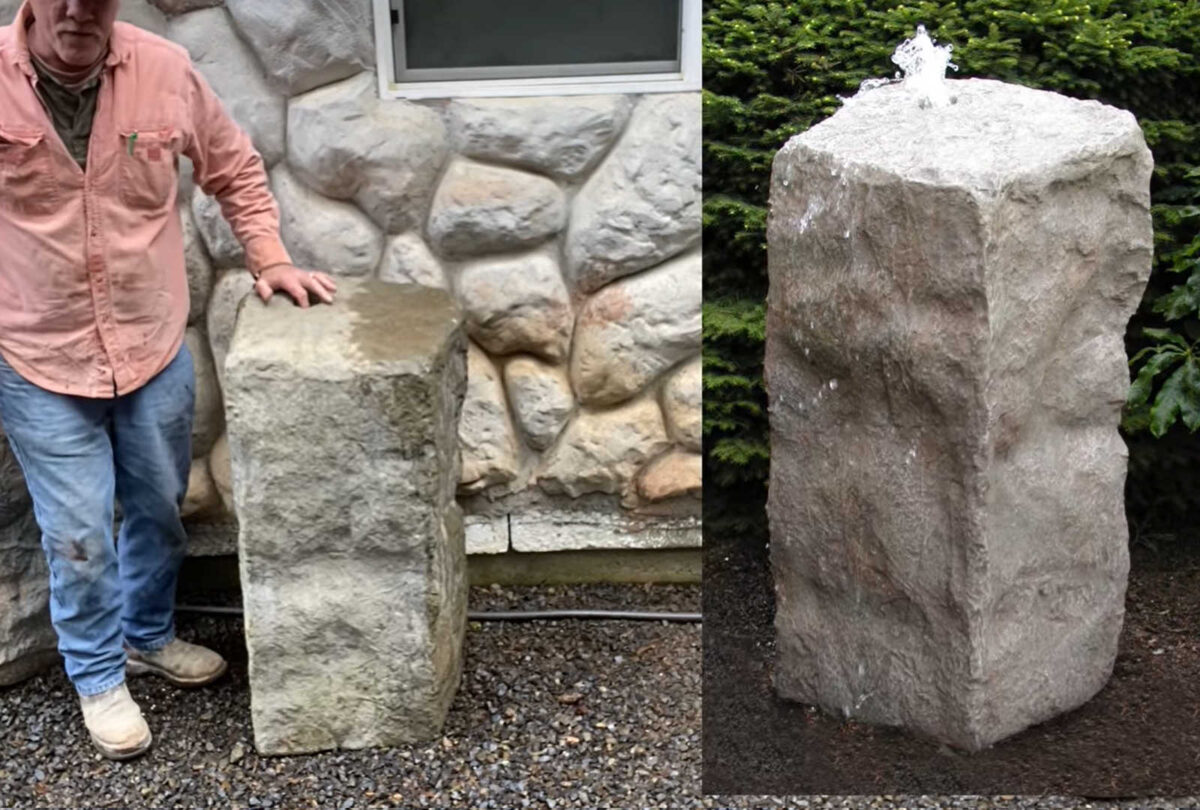
Here’s one that he made with a different technique, but it’s completely hollow inside. He picked it up and moved it around on the video (which you can see here).
And you can see that it has a hole in the top because it’s actually used as a fountain…
Here’s a screenshot of a few that were made with the cardboard box method…
And then this one that he’s pointing to in this screenshot is a faux rock (completely hollow inside) that he made to look like the real rocks in this area.

Anyway, as you can probably imagine, my mind is now spinning. All I’ve really wanted to do for the last three days is make faux rocks and boulders. I’m trying to stay focused on my studio and getting it finished, but you better believe that as soon as I have the opportunity, I’ll be outside, elbow deep in concrete, making faux rocks. I won’t be throwing away any cardboard boxes in the near future.

Addicted 2 Decorating is where I share my DIY and decorating journey as I remodel and decorate the 1948 fixer upper that my husband, Matt, and I bought in 2013. Matt has M.S. and is unable to do physical work, so I do the majority of the work on the house by myself. You can learn more about me here.
The post Faux DIY Rocks & Boulders? Yes, Please! appeared first on Patabook Home Improvements.