

I still need to paint the baseboards, but as far as the decorative elements on the big studio wall go, those are finally finished! I was determined to get all of these items finished this last weekend so that I could move on to something else this week (like painting my work tables or giving my desk a makeover), so I put in some long days to get it done, and I had such a good time doing it.
First, let me remind you what the wall looked like on Friday after my day of fails. Eleven of the twelve months of my calendar had fallen off the wall. I had made my TV frame way too big. I wanted to do a makeover on the clock, but I couldn’t figure out what I wanted to do. And the shelves were giving me problems.

But everything is finished now, and this is what the wall looks like. I’ll probably move the TV up on the wall about three inches (if I can, but it’ll depend on the outlet behind the TV). But other than that, the decorative items on this wall are finished.
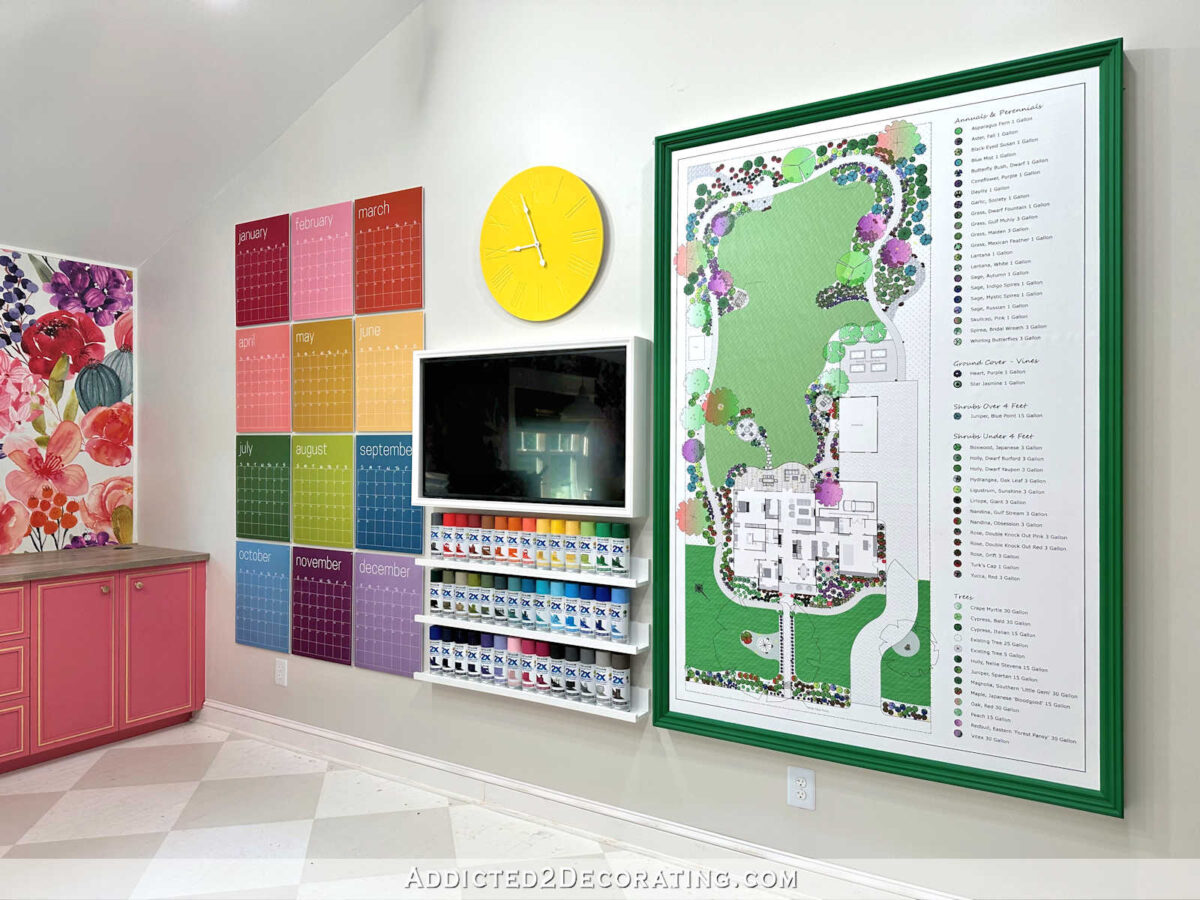
The star of the wall is the big print of our landscape design. I can’t even count the number of times I’ve walked into this room and just stood and stared at this beautiful print. I love being able to see the plant key and easily find those plants on the plan. I find that nearly impossible to do when I’m looking at the plan on my computer.

Mounting and framing a print this size was no simple task. I mean, it wasn’t difficult at all, but it wasn’t quick. It took several days to get it done, but I’m so incredibly happy with how it turned out.
Below the TV, I wanted to add shelves. I had originally planned to make my on shelves, but then I found these shelves on clearance at Lowe’s for $12 each, so I opted for the easy route.

But in the end, I didn’t like how top heavy the narrower shelves made that section look, so I went back to my original idea and I made my own shelves to fit the width of the available space. I think these fit so much better and make the area look more balanced. I have another idea for the Lowe’s shelves. They’ll make an appearance in a different room.
I made these shelves in the exact same way that I made the picture ledges for the breakfast room with one difference. On the breakfast room shelves, I used 1-inch lumber (which is actually 3/4-inch thick).

I like how those turned out, but I wanted the studio shelves to be more like the Lowe’s shelves that I bought, and those are made out of 1/2-inch material. So before putting the studio shelves together, I ran all of the boards through my planer twice to plane them down to 1/2-inch thick. But other than that, the rest of the process was the same.
When I decided to put shelves under the TV, I didn’t know exactly what I wanted to use them for, but I knew two things. (1) I wanted the shelves to hold something useful, and not just be picture ledges to hold decorative things, and (2) I wanted the shelves to hold something very colorful.
This is a studio, and when I think of colorful items that are used in a studio, my mind goes to paint. I have shelves filled with latex paint in the sunroom, but in order for that paint to fit onto narrow shelves, I’d have to transfer all of that paint into jars. But then the jars wouldn’t hold all of the paint, so I’d still be left with gallon containers that need to be stored, and then the jars of paint would really only serve decorative purposes. That seemed like a waste.
Then I thought of craft paint. I have a big box filled with bottles of craft paint. But they wouldn’t really be pretty displayed out in the open since they’re all different brands, different sizes, etc.
And then I took another look at my shelves in the sunroom, and the answer became obvious. Spray paint! I LOVE spray paint, and when it comes to buying colors, I almost always buy one brand. About 98% of the time, I’m pretty loyal to Rust-Oleum Painter’s Touch from Home Depot. (I venture out to other brands when it comes to metallic paints or specialty paints.)
All of the Rust-Oleum Painter’s Touch cans are uniform in size, I have a ton of colors, I use spray paint regularly, and they look pretty lined up on shelves. At least they do to me! That option just seemed to make the most sense to me. So I made the shelves specifically to hold my collection of spray paint, arranged in rainbow order for the most part. And you better believe that I took this opportunity to make a trip to Home Depot to buy the colors that I needed to fill in the holes in my rainbow assortment of spray paint for my shelves. 😀

And then there’s the TV frame. I ended up having to remake the TV frame not just once, but TWICE!! I have no idea what my problem was, but I just kept messing up on the measurements. Thank goodness I kept making it too big, so I could cut down what I had.

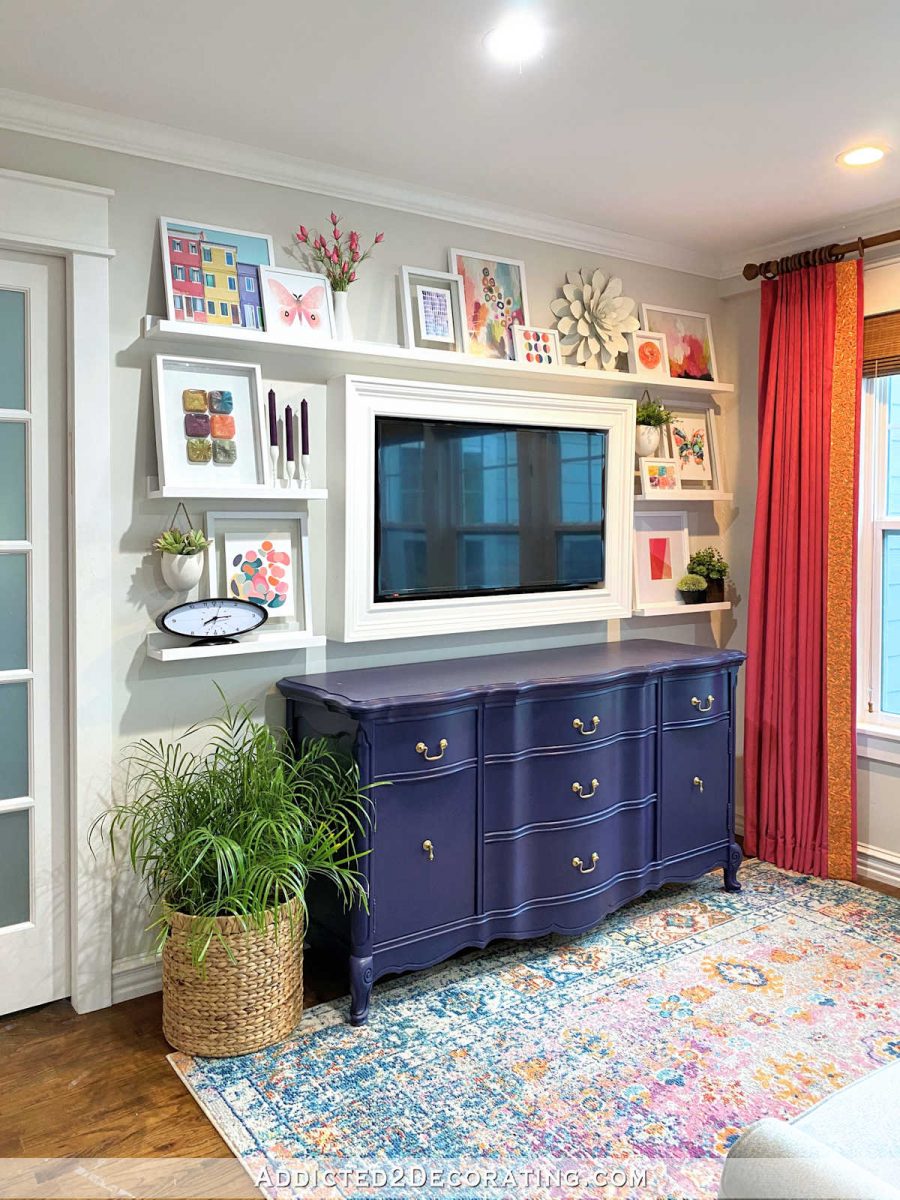
The TV frame I made for the studio wall is quite a bit smaller than the other ones I made. The one for the breakfast room wall is pretty thick, and I think it fits perfectly with the picture frame ledges filled with colorful artwork.
But for the studio wall, not only did I not have room for such a thick, chunky frame, but I also just wanted something much thinner and understated.
The clock is one that I purchased on Amazon. You can find it here (affiliate link). The clock originally looked like this…

I wasn’t looking for a farmhouse style clock. That’s not really my style. But I bought this one because I knew I could work with it. I liked the size and the routed Roman numerals. And no, I couldn’t have made this myself. Or maybe I could have, but it would have taken me two days to buy the plywood, cut the perfect circle, and then try my hand at using my router to route those perfect Roman numerals into the plywood. I probably would have messed up on at least the first one, which means re-cutting the circle, and starting over. So paying $45 for someone else to cut the perfect circle, route the Roman numerals, and include the actual clock mechanism in the price, seemed very reasonable to me.
But what I wanted wasn’t rustic farmhouse. I wanted color. So I removed the clock hands, sanded the face of the clock with 150-grit sandpaper, and painted it Rust-Oleum Sun Yellow. Then I topcoated it with Rust-Oleum clear gloss spray. I had originally planned to paint the routed Roman numerals white, but by the time I had it to this point, I loved how subtle the Roman numerals were, so I decided to keep it this way. I did paint the clock hands white, though.

And finally, there’s the calendar. After all but one month fell off of the wall when the 3M sticky squares failed, I went to Home Depot and purchased Command Picture Hanging Strips. I spent about 90 minutes adding four picture hanging strips to each month, and then rehanging all of the months on the wall. And then they started falling off of the wall AGAIN.
Y’all, I was so frustrated. I’ve used Command Picture Hanging Strips many times, and I don’t ever remember them failing. I have actual framed pictures, with frames, glass, and all, hanging in my house with Command Picture Hanging Strips. The frames on the gallery wall inside the door of our home gym are hung with Command Picture Hanging Strips. The pictures on the entryway wall in our house are hung with Command Picture Hanging Strips. I’ve used these a hundred times, and none of them have ever failed. And yet, they weren’t holding these paper calendars mounted on foam board to the wall. I was baffled.
I like picture hanging strips because they’re a two-piece system that fit together like Velcro and allow you to remove the picture from the wall. But I just couldn’t get them to stick for some reason. So I ended up going back to Home Depot and purchasing some T-Rex Super Glue Tape to tape the picture hanging strips to the back of the foam board, and then tape the picture hanging strips to the wall. And that stuff is SUPER sticky! I don’t see any way that these will fall off of the wall again. So in the end, what should have been a one-and-done project had to be done three times. Talk about frustrating!

And because they kept falling off of the wall, some of them now have dinged corners. You have no idea how hard it was for me to put this out of my mind and move forward. I wanted so badly to order another calendar and redo the months with dinged corners, but I forced myself to move on. I’m the only one who will ever be bothered by those corners, and I need to stop obsessing about those tiny things. (The checkmarks were to signify which months had the T-Rex tape. I forgot to go back and wipe off those checkmarks.)

So that’s it! The decorative part of this huge wall is done. I’m going to move the TV up a bit if I can (again, I’ll have to see if the outlet will allow for the TV to be moved up), and then I need to finish painting the baseboards. But then I’m on to another project in a different part of the room. Slowly but surely, I’m getting the final projects checked off of my “to do” list for this room!

Addicted 2 Decorating is where I share my DIY and decorating journey as I remodel and decorate the 1948 fixer upper that my husband, Matt, and I bought in 2013. Matt has M.S. and is unable to do physical work, so I do the majority of the work on the house by myself. You can learn more about me here.
The post The Big Studio Wall Is Finished! appeared first on Patabook Home Improvements.