This post and photos may contain Amazon or other affiliate links. If you purchase something through any link, I may receive a small commission at no extra charge to you. Any supplies used may be given to me free of charge, however, all projects and opinions are my own.
Today I’m going to teach you how to make sublimation cutting boards that are food-safe. This means you can use these cutting boards in your kitchen without any concern for food safety.
If you’re new to sublimation, picking the right printer is very important. Learn about sublimation printers and which one is right for you in my guide to sublimation printers blog post.
You can watch me make these cutting boards from start to finish by pressing play on the video below.
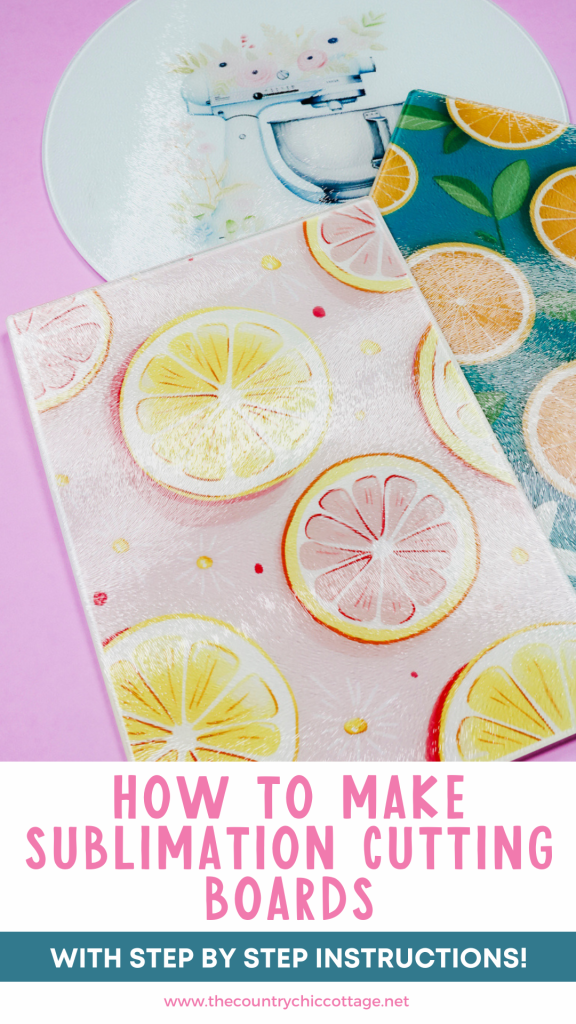
How to Make Sublimation Cutting Boards
I’m going to show you how to make a round sublimation cutting board with an individual image in the middle and rectangle cutting boards with a full design.
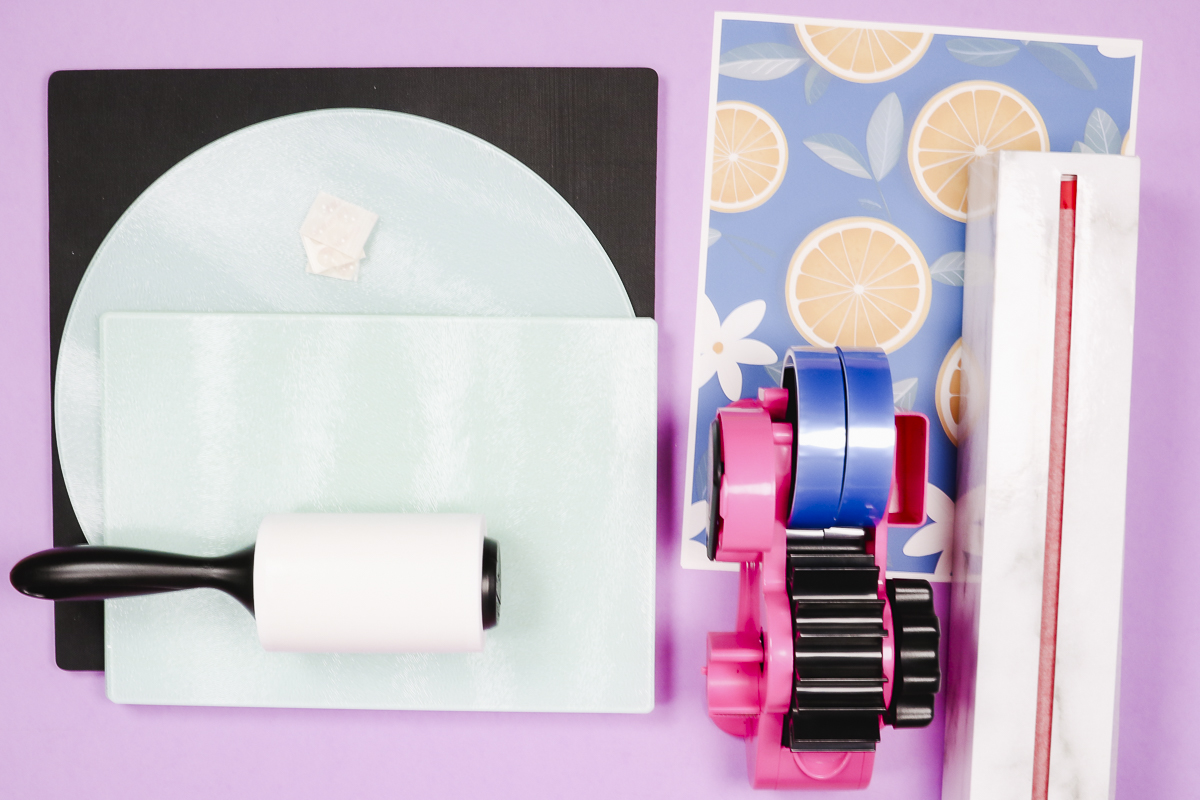
Supplies Used
Step 1: Pick and Print a Design
Remember, a sublimation print is sublimation ink printed onto sublimation paper from a sublimation printer.
The first cutting board we’re going to make today is round. This cutting board is larger than my sublimation printer can print so doing a full design on this board wasn’t an option. For this project, I’m going to add a single stand mixer design to the middle of the blank.
For these cutting boards, we are sublimating on the back and it will show through to the front. That means you DO NOT have to mirror your design when printing.
I have details on printing larger designs that cover the cutting board further down in this post. You can get all of the designs I am using here.
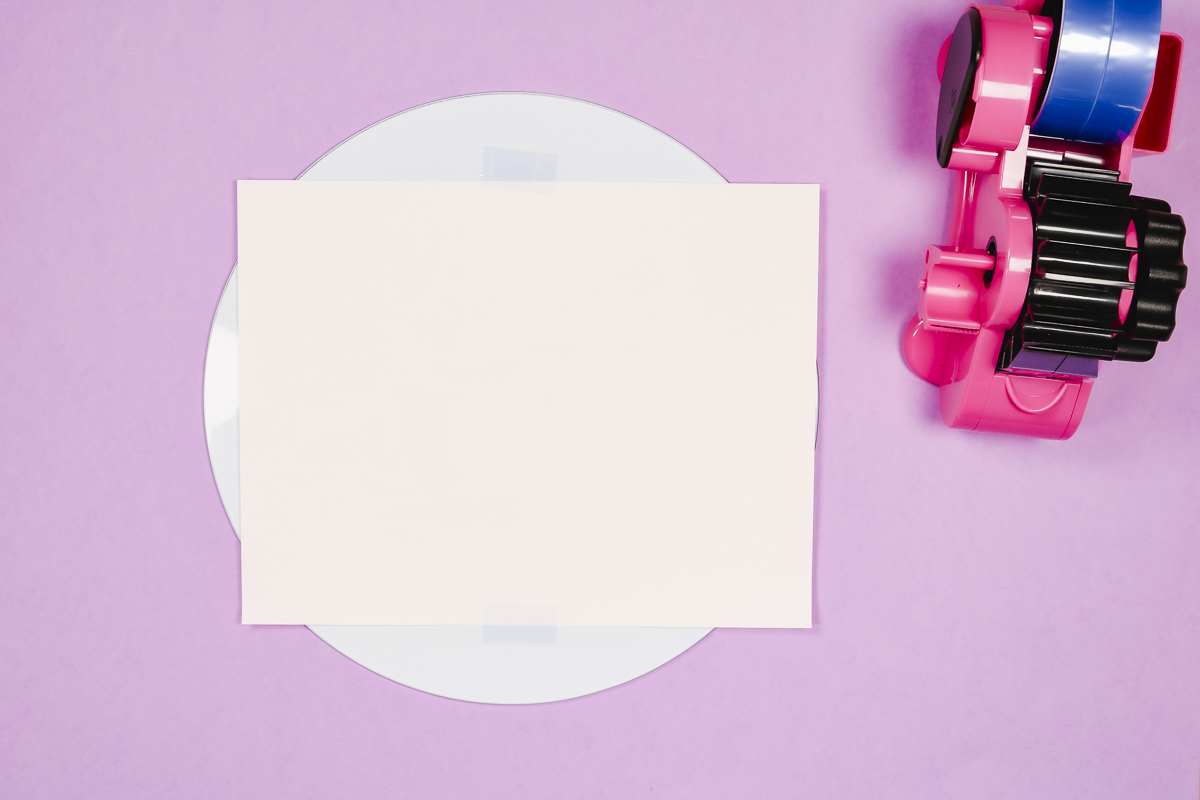
Step 2: Prepare Blank
Before we begin we need to clean the surface really well. I am using a lint roller, you can also use a lint-free cloth and rubbing alcohol but make sure it’s completely dry before adding the print.
Locate the print where you want it and use heat-resistant tape to hold it in place. It is possible to see the design through the cutting board which will help get the placement correct.
Step 3: Press Glass Sublimation Cutting Boards
Because my design doesn’t go over the edges of my blank at all I am not adding protective paper to the bottom but I am adding it to the top to prevent any transfer to my heat press.
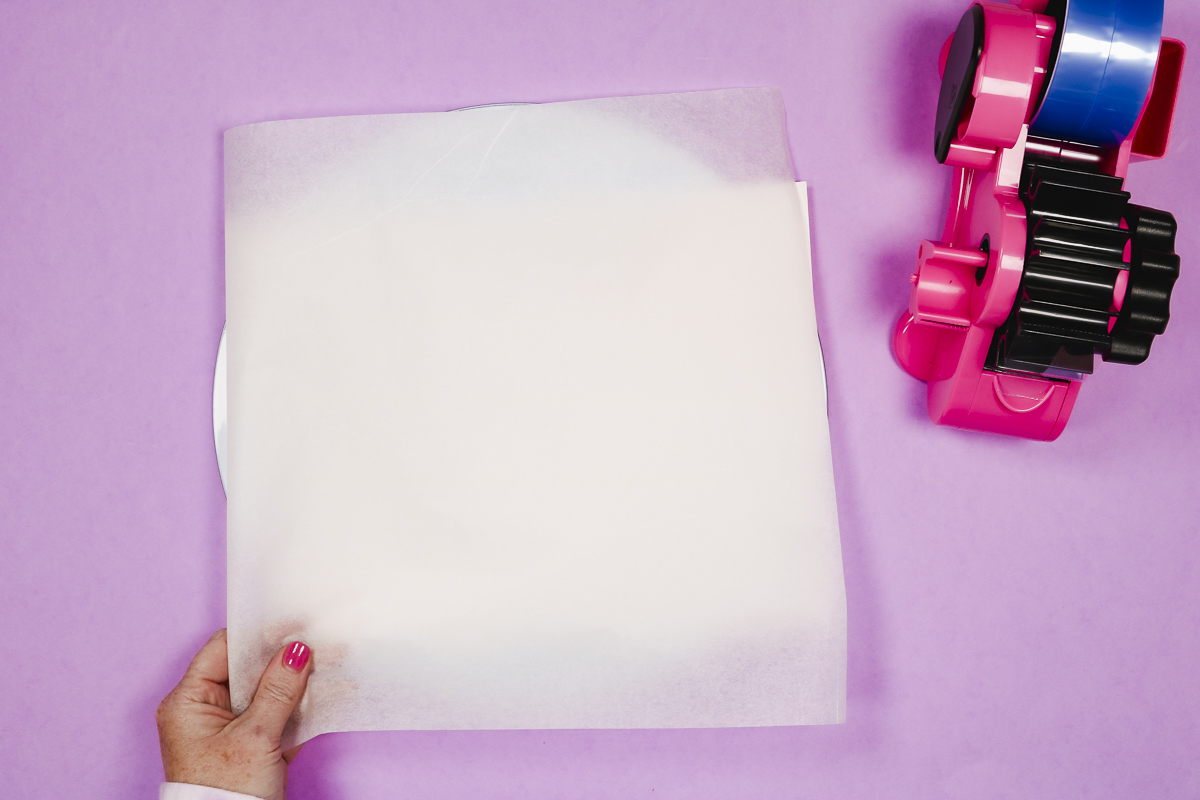
I am using my Autopress for today’s projects. When using a blank that calls for medium to firm pressure, I like to use a firmer heat-resistant mat. It helps give the pressure needed for these blanks.
This sublimation blank calls for a pressing temperature of 400 degrees for 200 seconds. Be sure to check for the time and temperature of the blank you are using. For instance, the rectangular cutting board has a recommended pressing temperature of 375 degrees and a pressing time of 3 minutes.
Both cutting board options worked perfectly for the time and temperature recommended by the manufacturer with the Autopress and the firmer heat-resistant mat.

Step 4: Finish Cutting Board
Once done, remove from the press and remove your sublimation print. That is it! Your cutting board is done! It is ready to use by cutting on the glass surface.
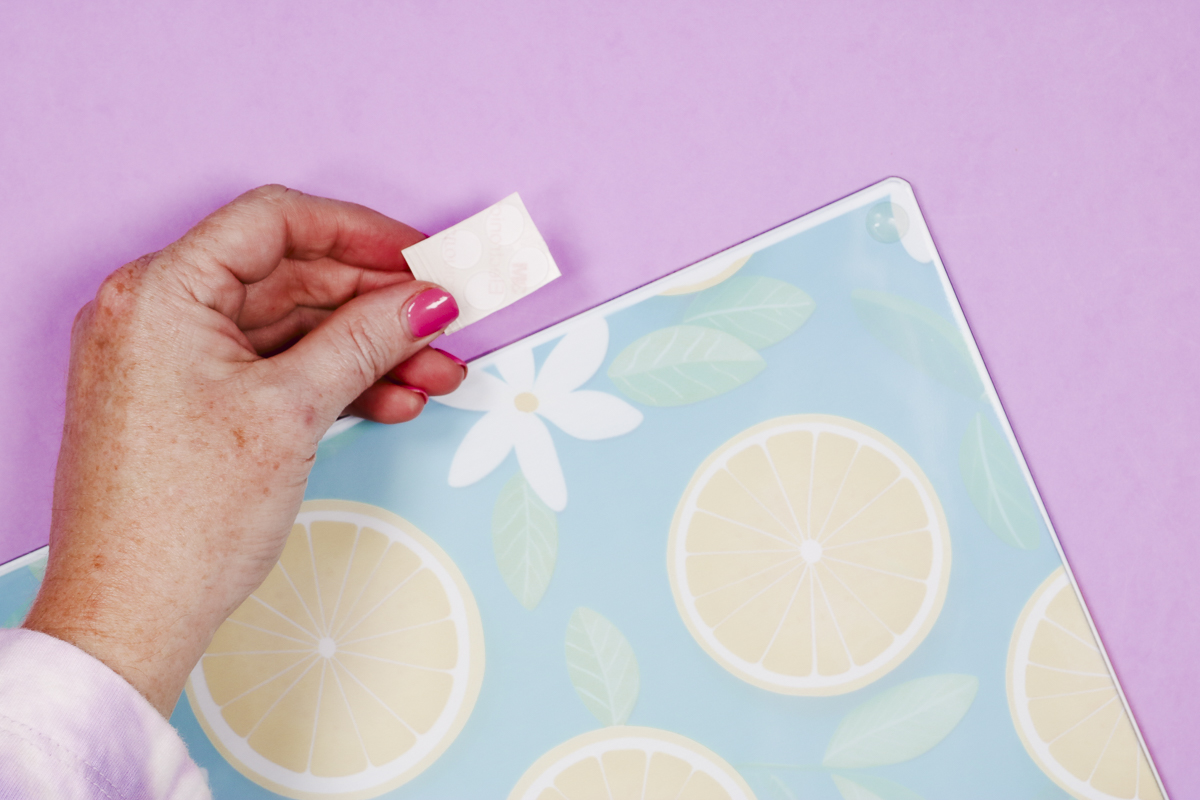
These cutting boards came with self-adhesive feet to add to the bottom. Don’t add the feet until after you sublimate and the cutting board has had time to cool
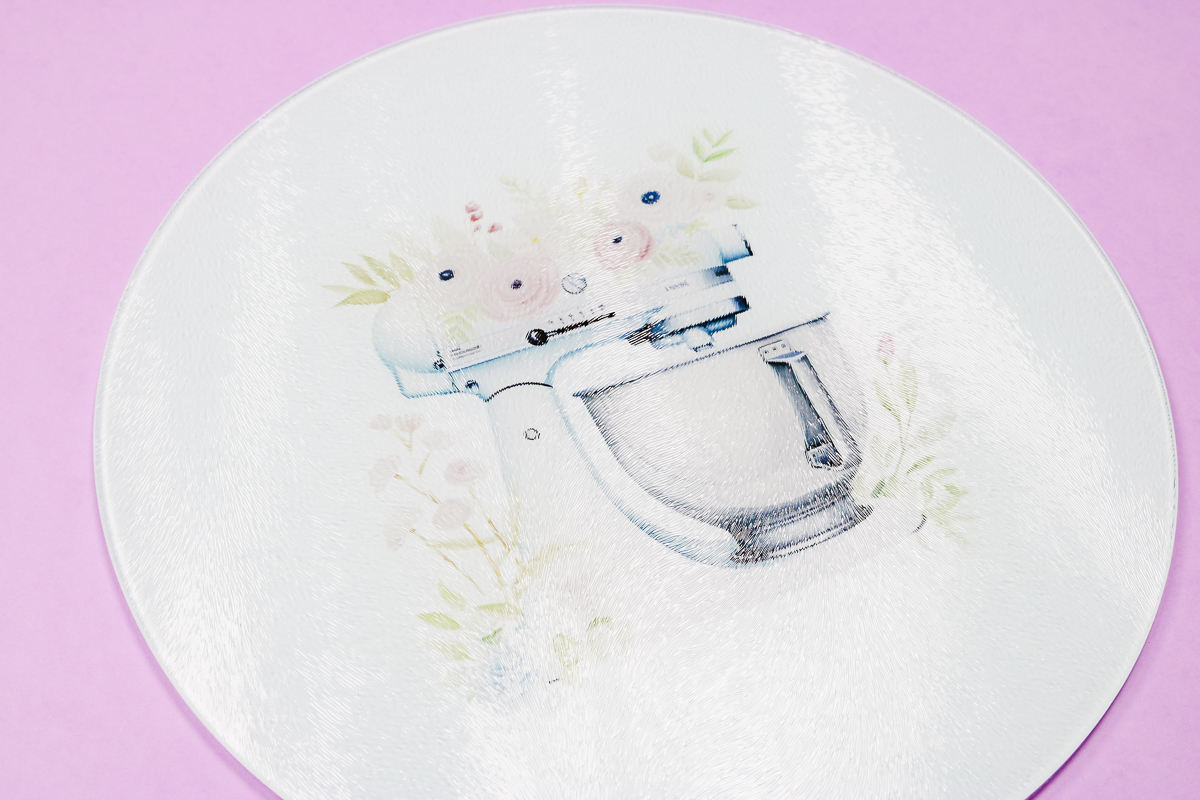
You can see that the print transferred beautifully. I am really happy with how this cutting board turned out. Using a single image was perfect for the cutting board that was larger than my printer could print.
FAQ for Sublimating Glass Cutting Boards
Here are answers to some common questions I get for this project.
How to Pick a Sublimation Cutting Board
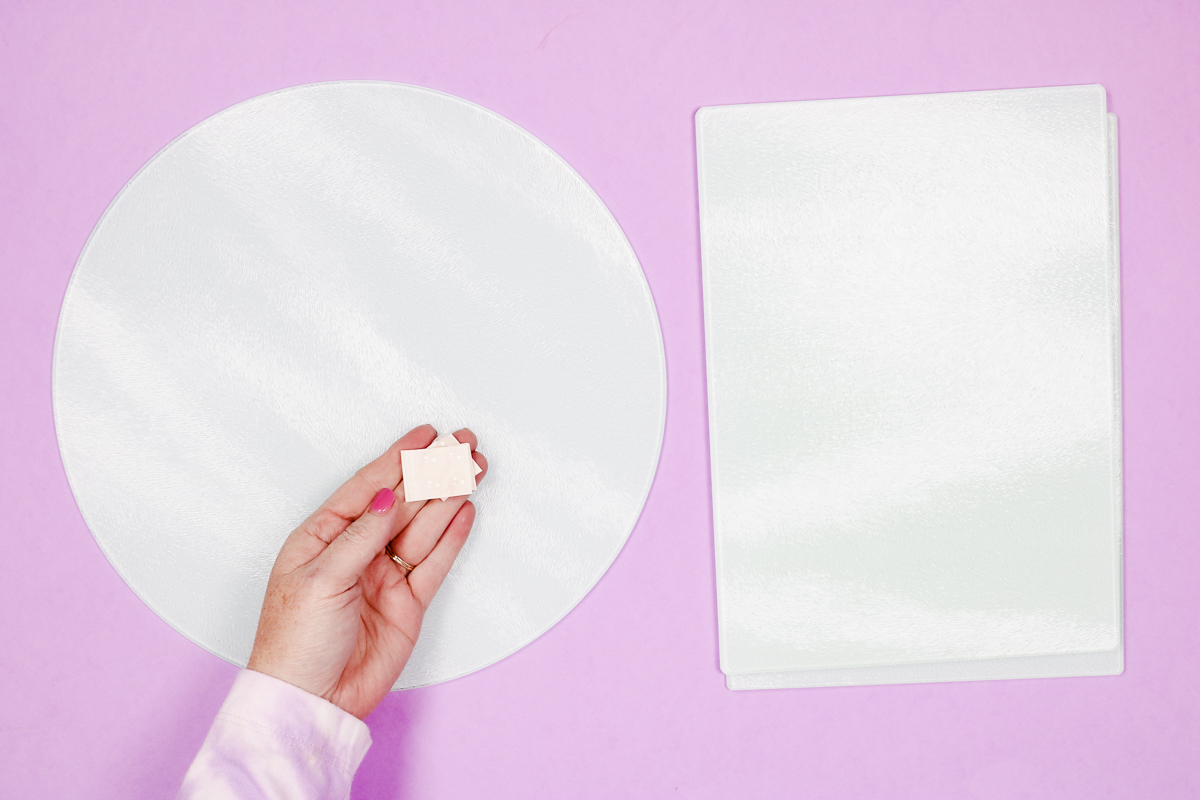
I chose two different types of sublimation cutting boards to test today. These are glass cutting boards that are specifically made for sublimation.
The back side of these cutting boards has a white sublimatable surface. Because we’re sublimating the back of these cutting boards we do not need to mirror our prints.
How to Adjust Prints for Full Wrap Design
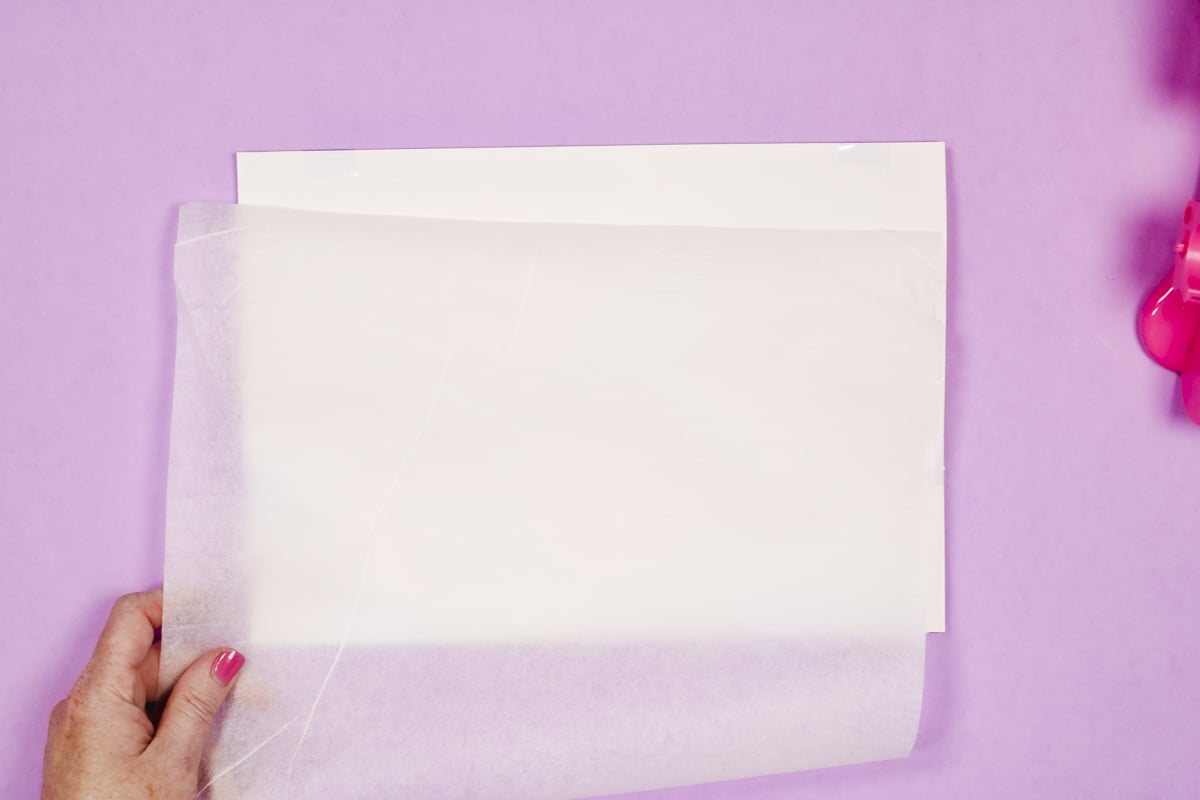
For the rectangle cutting boards, we’re going to do a little hack with our sublimation print so it fits on the cutting board correctly. Here you can see that the sublimation cutting board is the same length as my sublimation print. If your printer does not print large enough to cover your cutting board, you may want to try this!
My printer prints a small border around the print which means I can’t actually print long enough to cover the entire area.
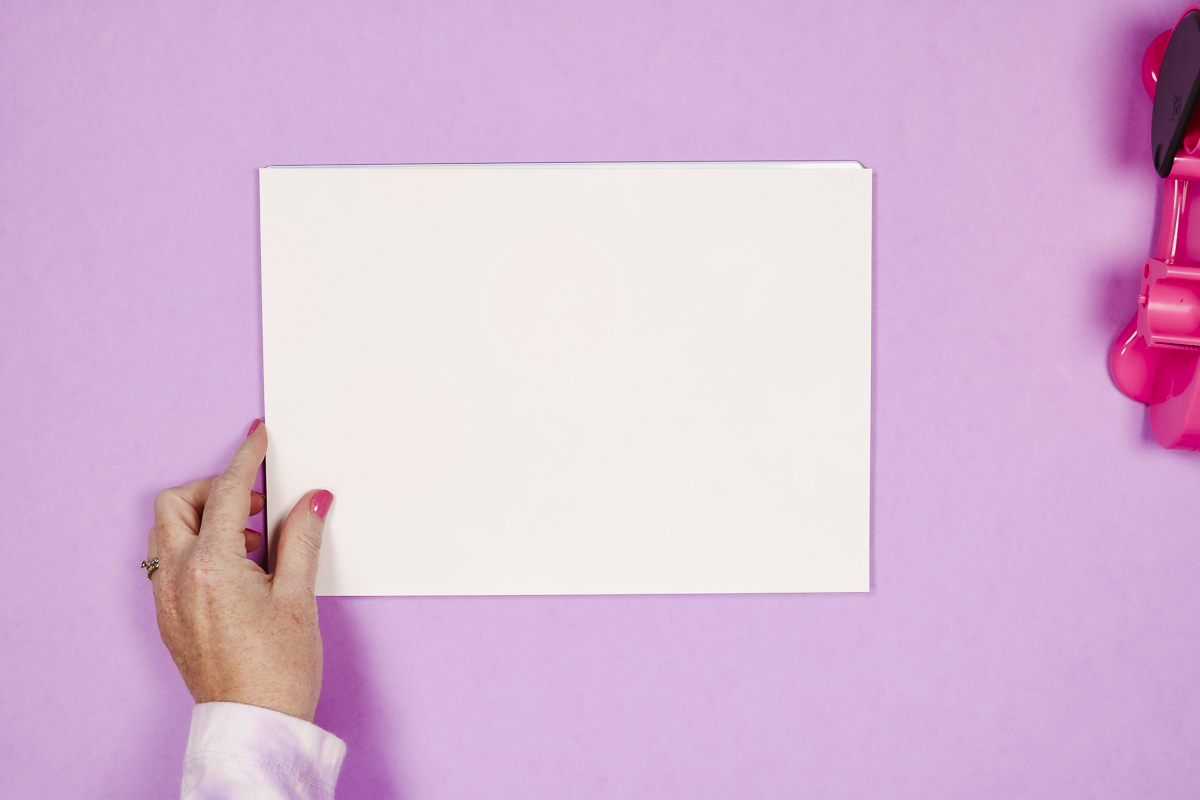
To make the white border look intentional, I’m going to trim my print so it has a white border on all four sides. Now it will look like it is part of the design after sublimating!
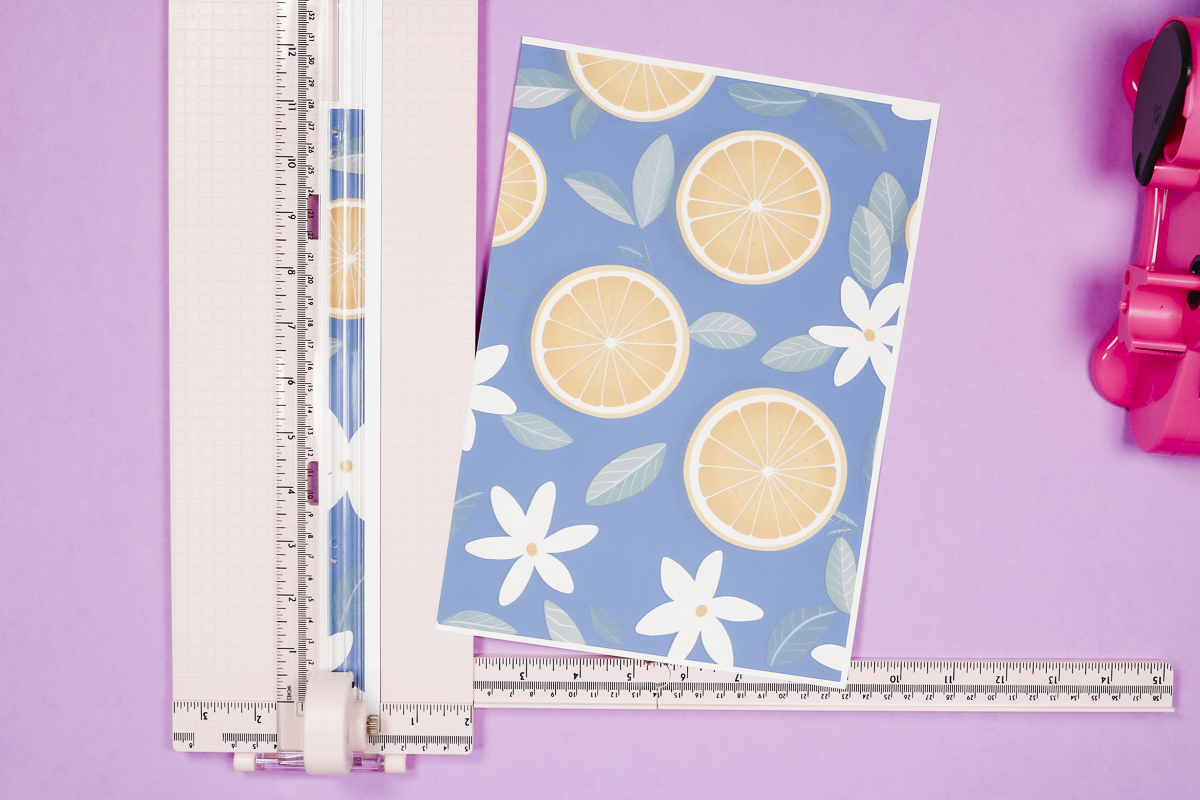
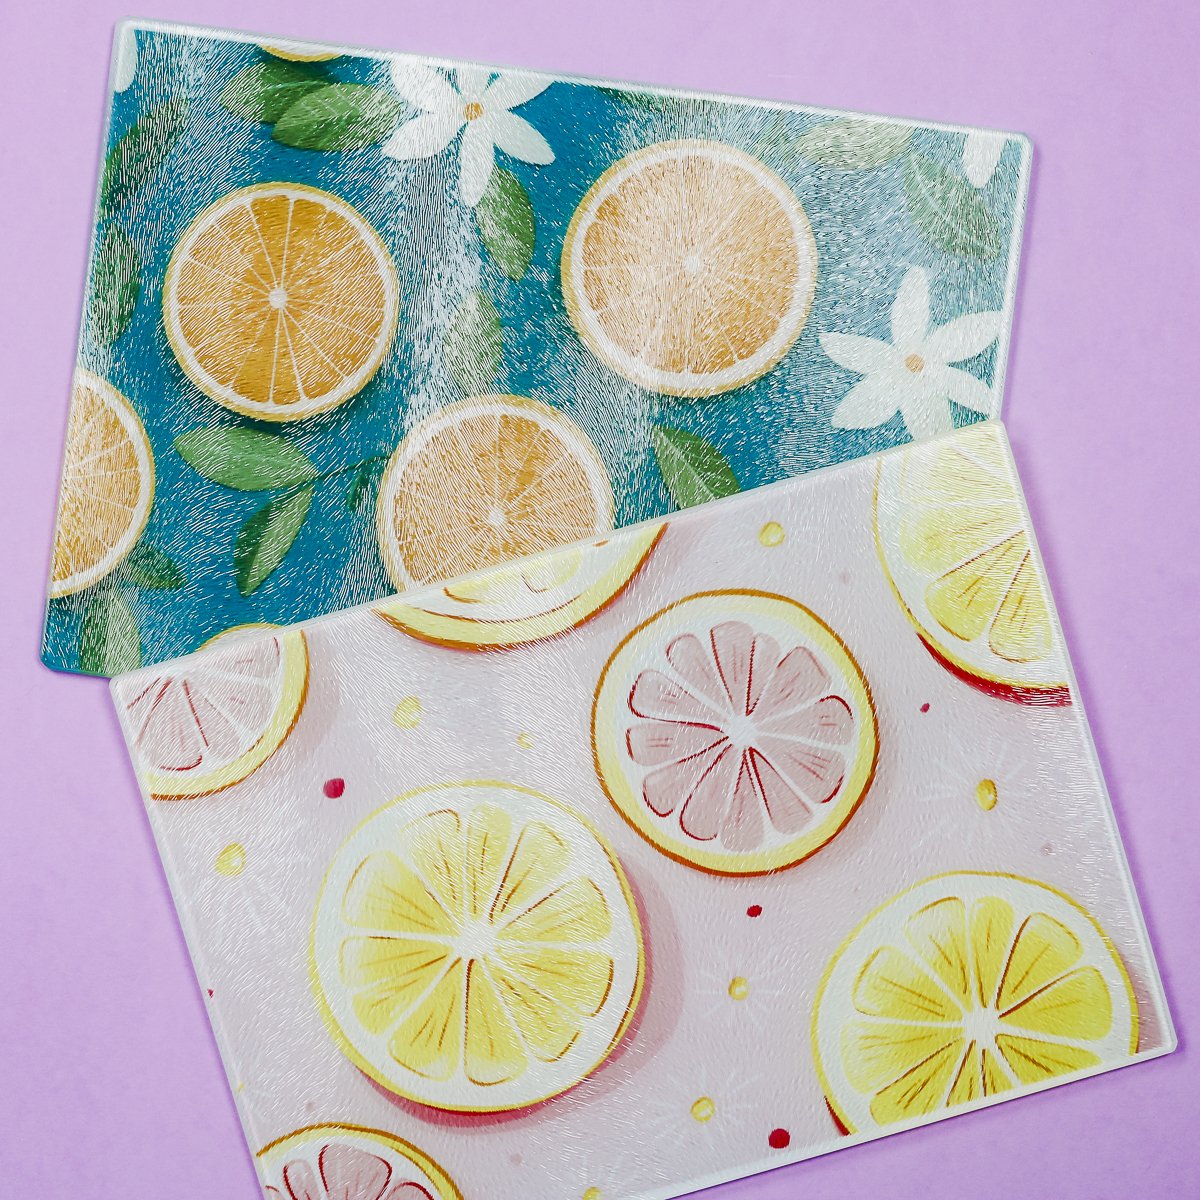
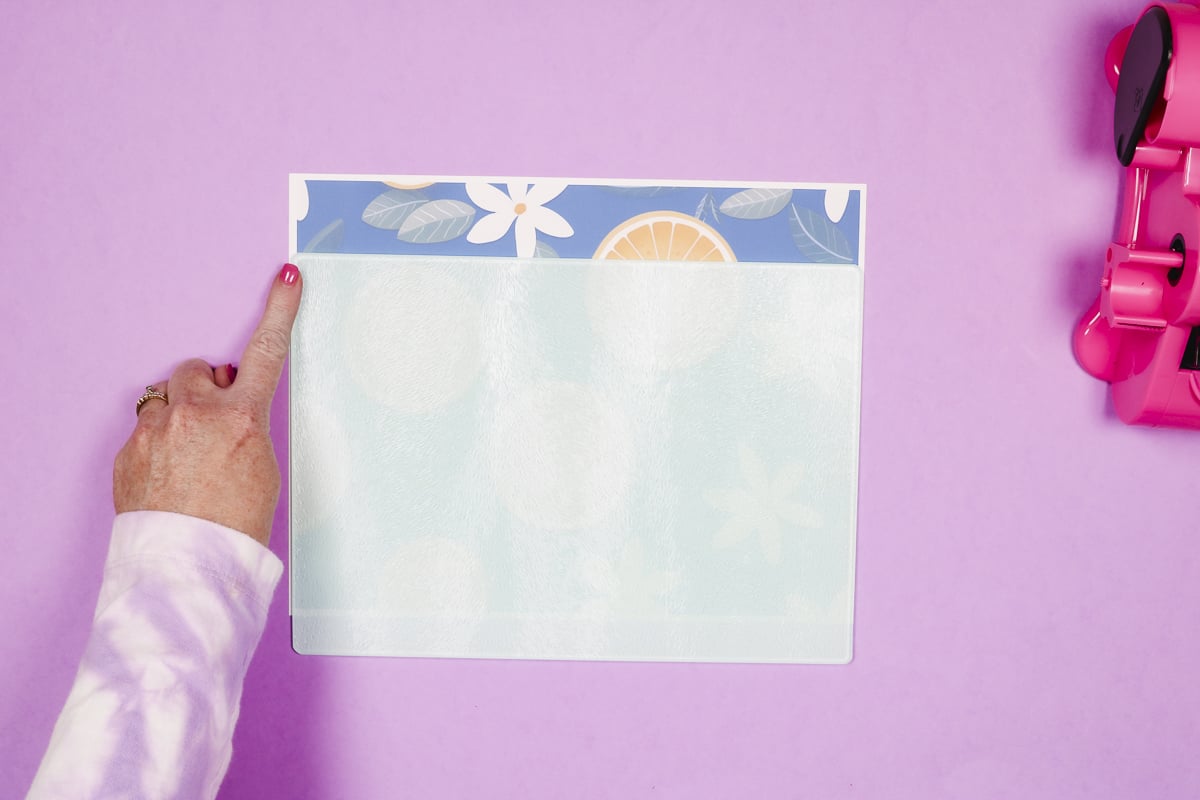
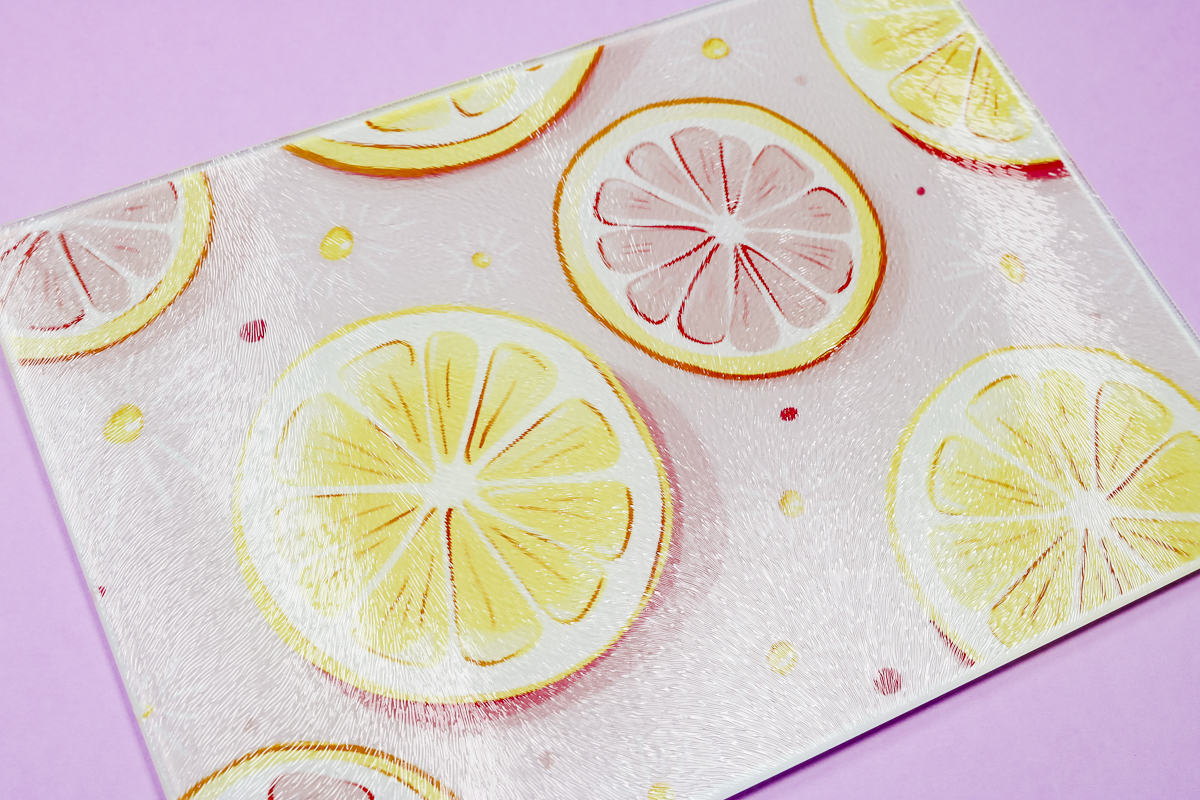
This pink design with lemons and grapefruit is a perfect example of how you can make the white border look like an intentional part of your design. The white border is the same all the way around and no one would know that it wasn’t always part of the plan.
Fixing Issues Taping Sublimation Print in Place
You may find the sublimation print hard to tape into place because there is very little area to tape to. You can use heat resistant tape to wrap the edges of the print a little if needed to the other side of the cutting board.
Be careful when taping the print in place, don’t get the tape between the print and the sublimation area.
I did want to show you an error in this project. In the photo below, you can see there is a white rectangle where the design didn’t transfer to the blank. This happened because I accidentally got a piece of heat-resistant tape between the print and the sublimation blank so the ink couldn’t transfer.
Do You Need Protective Paper on Both Sides of the Blank
I did not add protective paper to both sides for the round cutting board above. However, if your sublimation print goes right to the edge of the blank or overhangs, we need to protect our heat press. Add protective paper to both the bottom and the top of the blank before pressing.
Applying Feet to Cutting Board
After the sublimation cutting board has cooled, you can add the self-adhesive feet to the back which will protect the surface and cutting board when in use. This is optional but I find it helps to keep the cutting board in place while in use.
Be sure to wait until the surface is cool so the feet will adhere properly!
Which side is used for cutting?
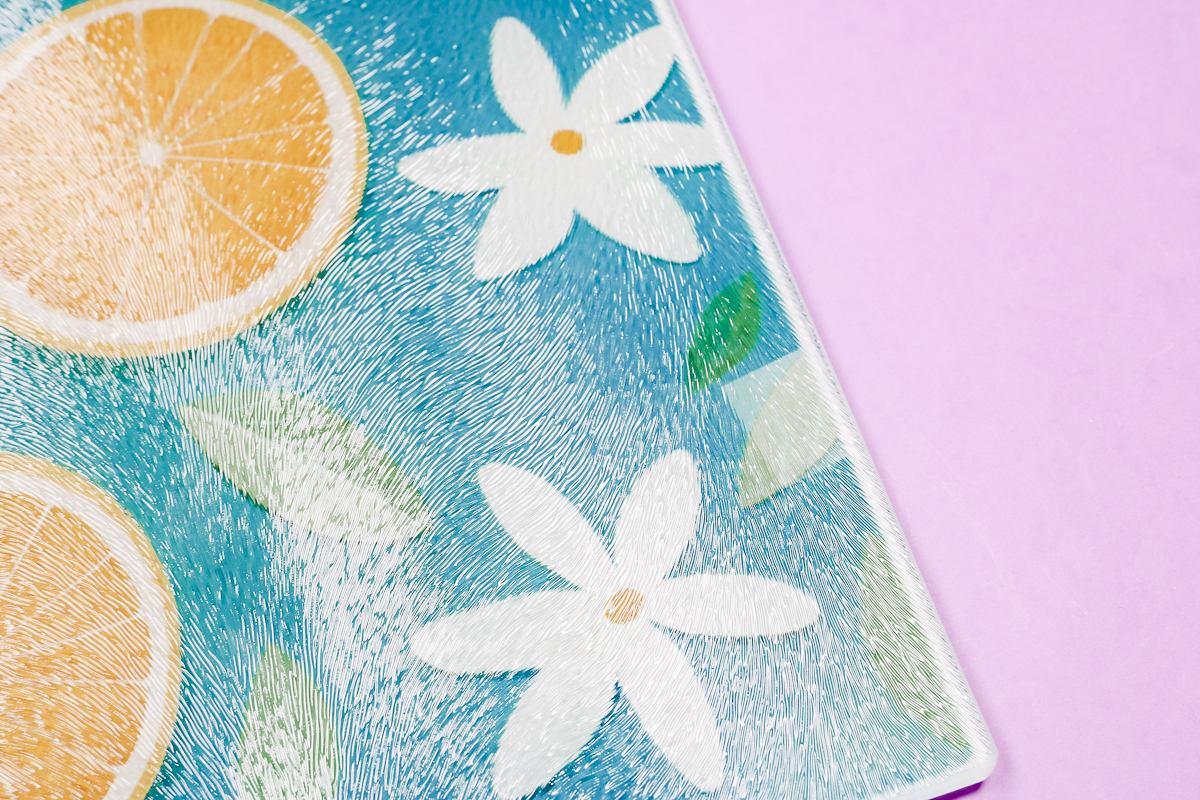
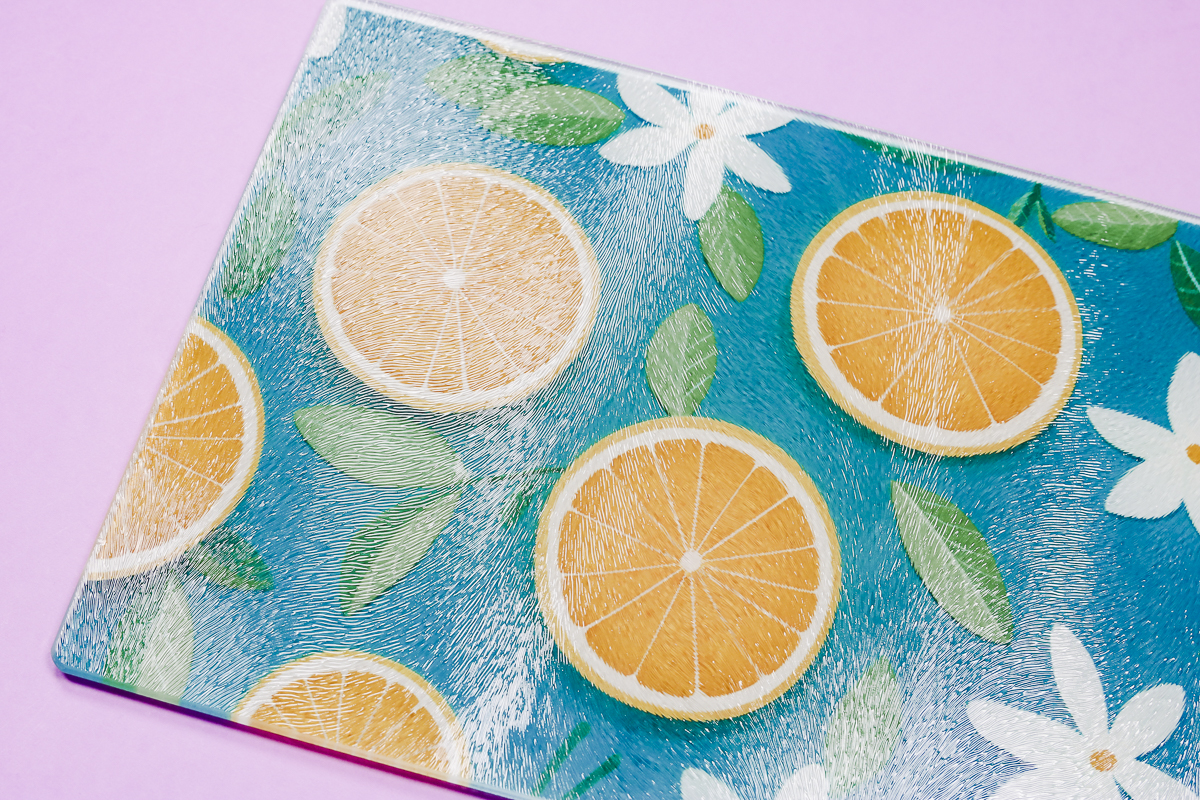
Here is the blue design with oranges on it. It turned out really well. The design transferred beautifully and I love it. The design is on the back of this cutting board. If you flip it over, you will see the glass on the front that is your cutting surface.
Always cut on the glass side as it is food safe and you will not damage your design.
Are these food safe?
I am also a fan of the fact that this process makes these cutting boards completely food-safe. Since the sublimation print is on the bottom of the cutting board it will never come into contact with food, so you can use it without concern.
Will the design scratch if I use these?
Because you are cutting on the opposite side of the design, it will not scratch from use. This makes these extremely durable and able to withstand use in your kitchen.
Can I use Dollar Tree cutting boards?
I am using cutting boards with a sublimation coating already applied. To use another cutting board blank, you would need to add something to make your sublimation print stick. I have not found a method I like, however, you can see this post from Hey, Let’s Make Stuff for one option.
More Design Ideas
I am a big fan of this option for customized sublimation cutting boards. I used more generic prints for today’s projects but you can make these cutting boards with any design.
You could add a name to any of these designs or even upload a handwritten recipe to make a thoughtful personalized gift.
I hope I’ve answered any questions you have about making sublimation cutting boards. If you have any additional questions, feel free to leave them in the comments and I’ll be happy to answer them for you.