
This post and photos may contain Amazon or other affiliate links. If you purchase something through any link, I may receive a small commission at no extra charge to you. Any supplies used may be given to me free of charge, however, all projects and opinions are my own.
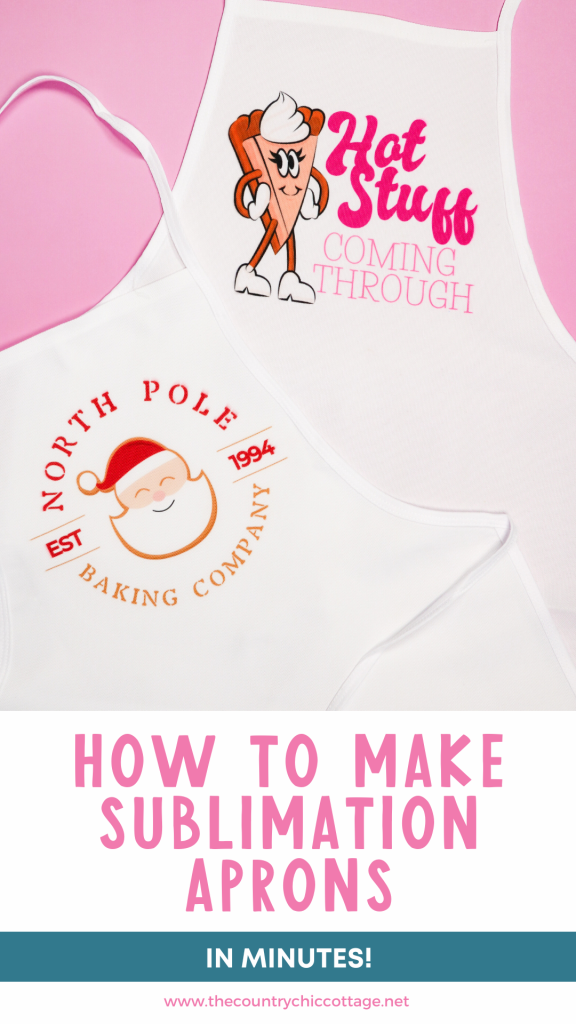
Are you ready to make the perfect holiday hostess gift? Today I’m going to teach you how to create sublimation aprons. If you have a Christmas cookie-baking tradition or want something fun to wear while prepping Thanksgiving dinner, you’re going to love creating your own custom aprons.
I’m using my Sawgrass printer and Sawgrass DesignMate for today’s project. If you’re interested in learning more about Sawgrass printers, my Start Guide is a great place to start.
Customized Sublimation Aprons
The designs I’m using today are from the Sawgrass DesignMate program. I am using the pro account, if you have the free account you may not have access to all of the same designs.
If you’re interested in these designs, you can use coupon code MAKEWITHANGIE30 and that will get you 30% off your first month.
If you’re looking for something else, you can use designs you’ve created yourself or designs you find on places like Creative Fabrica or Design Bundles. The technique will be the same regardless of what design you use. You can watch me walk you through the whole process by pressing play on the video below.
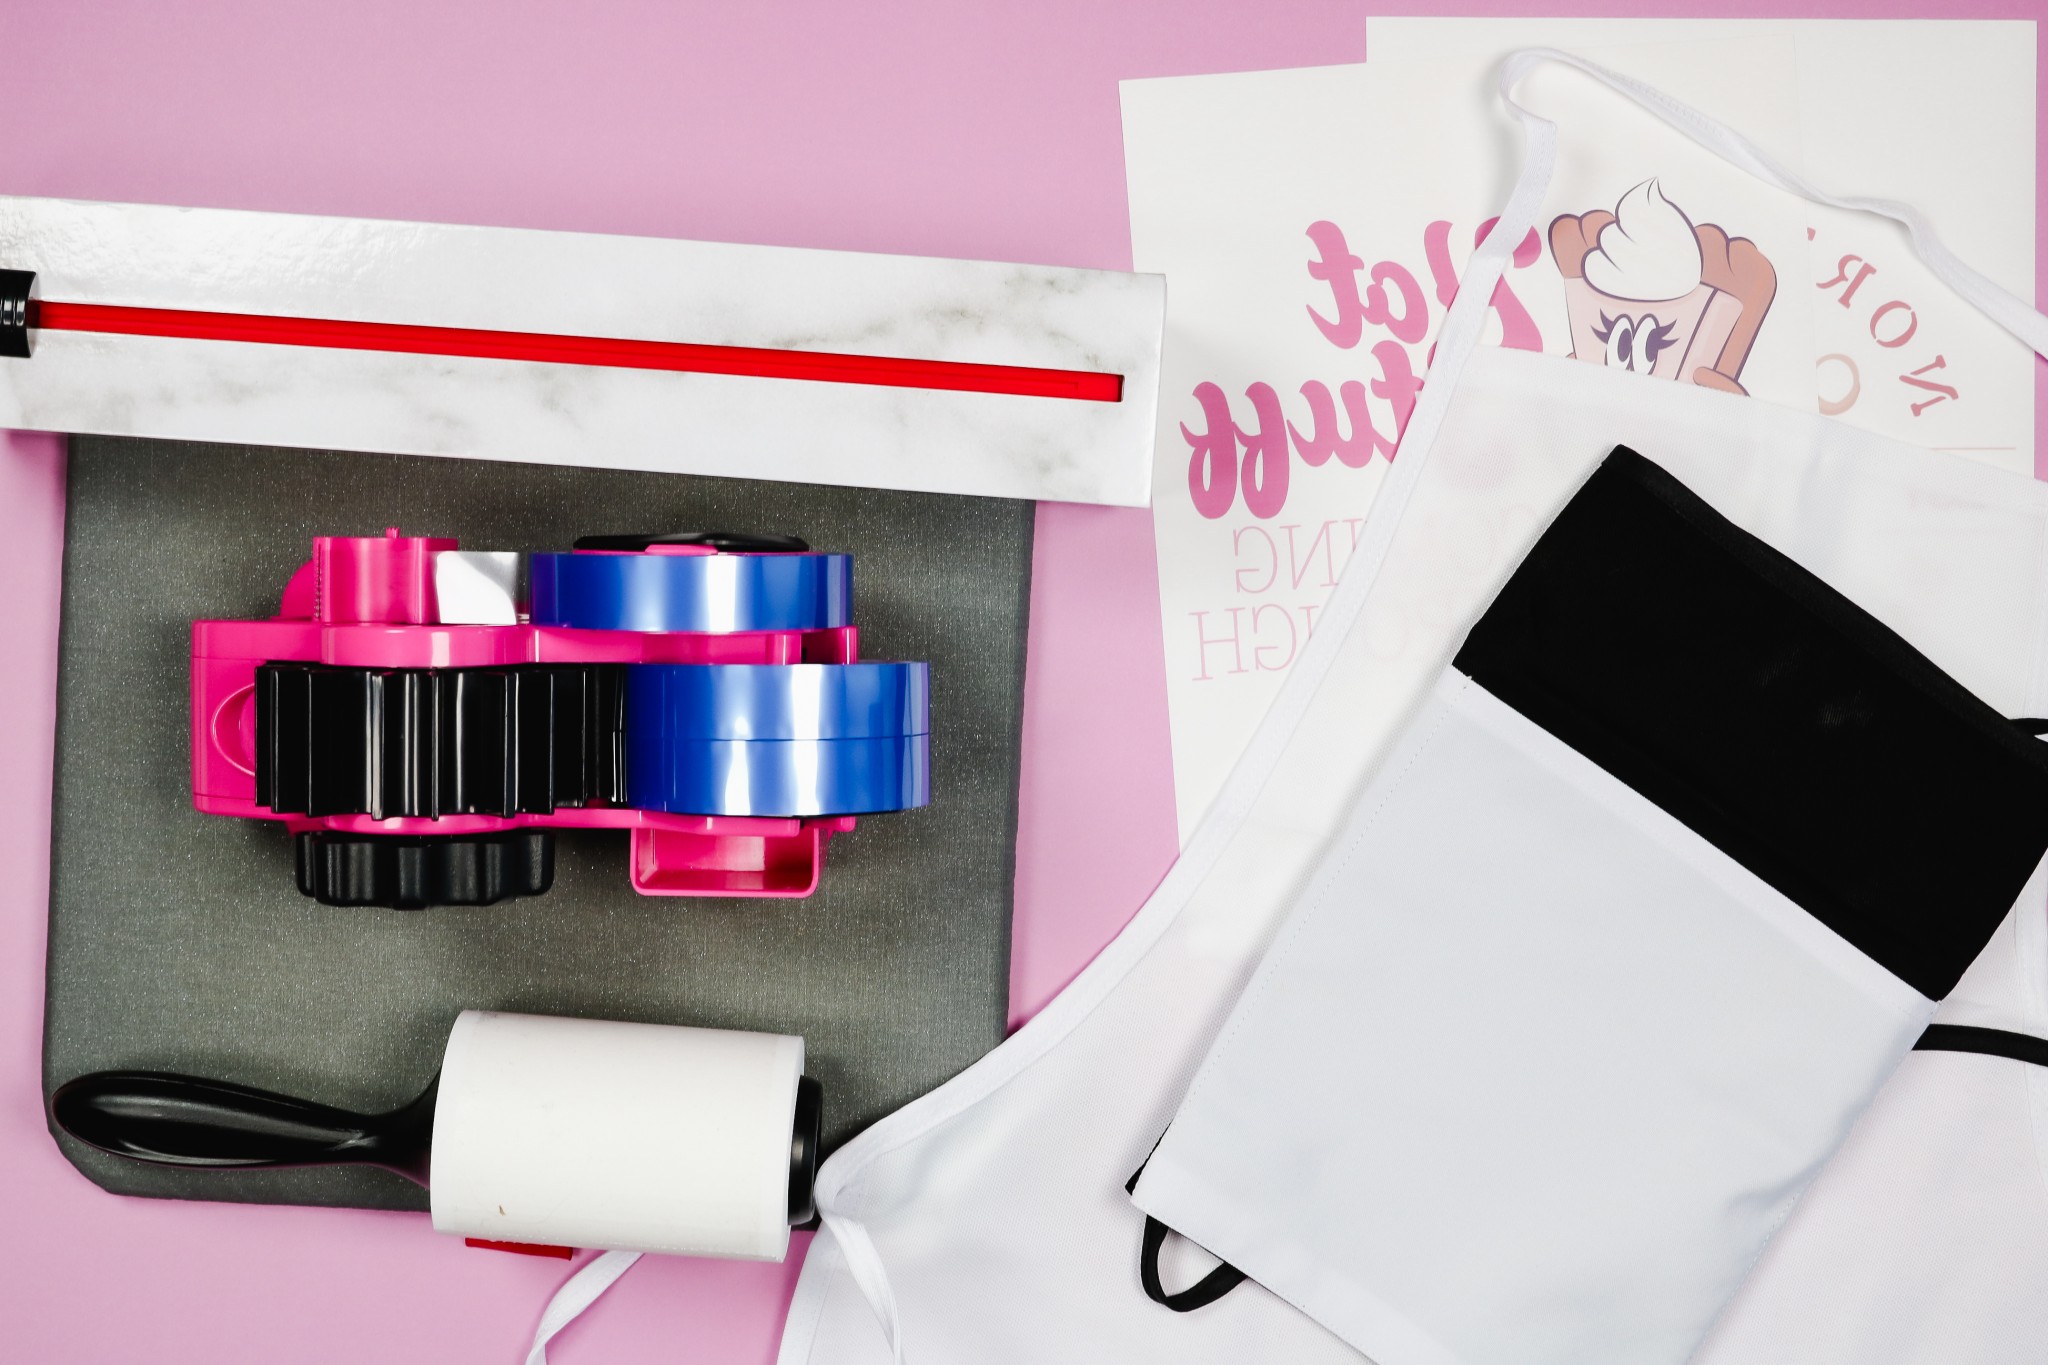
Supplies Used
NOTE: The designs used are all in Sawgrass DesignMate.
Blanks Used
Other Supplies
Choosing the Right Blank
For my projects today I’m using the full bib type apron. There are a lot of different apron options out there including half aprons that are perfect for creating a craft apron.
I do recommend choosing an apron that is light in color and 100% polyester. I’m a fan of this version from Heat Transfer Warehouse. It is 100% polyester but it has a great canvas feel that I really like.
Sawgrass DesignMate Designs
I am using my Sawgrass printer and I found both of these designs in DesignMate.
For the Thanksgiving design, I found it under Designs and then scrolled to Thanksgiving and chose the design I wanted to use. Click on the design and add it to a custom canvas. DesignMate does have several templates for common blanks but they don’t have one for an apron.
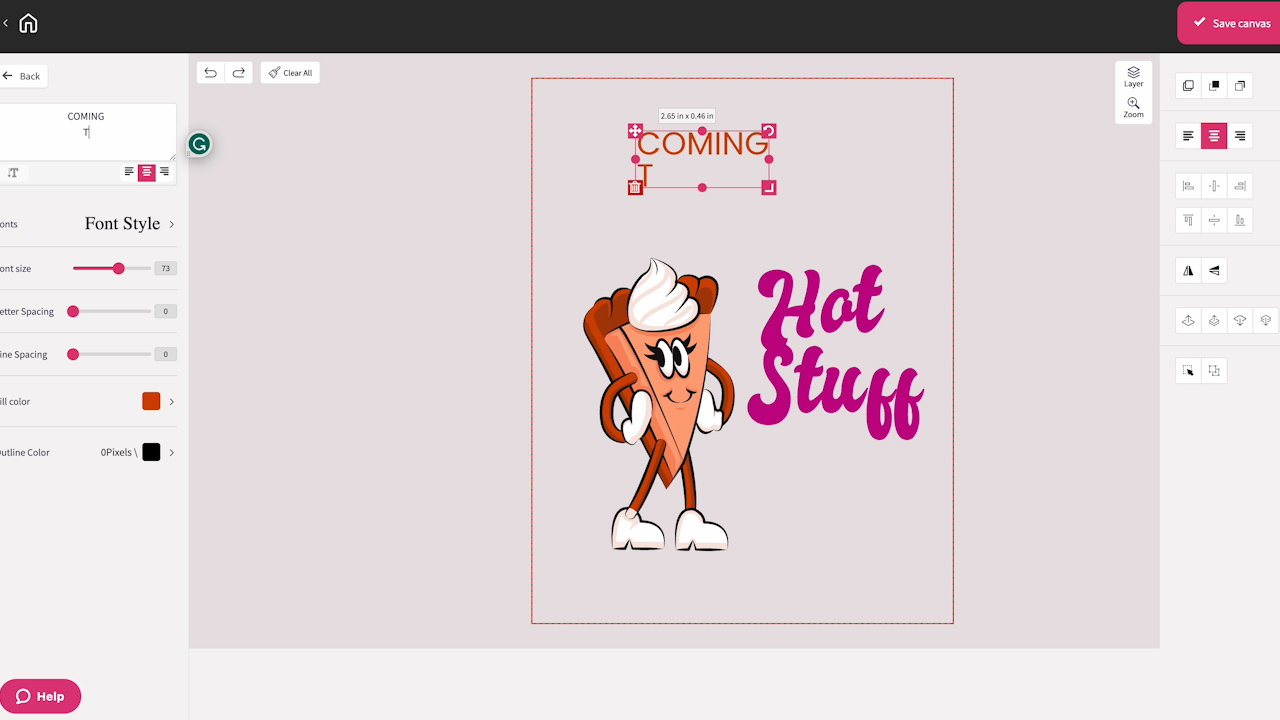
Create a custom canvas that is close to the size of your blank. I’m resizing the design so it’s as large as possible on an 8.5 by 11-inch canvas.
Within DesignMate you can customize every design. I was able to remove layers and change the font type, font color, and even the text.
Keep making adjustments until you have the design exactly how you want it and then save the canvas. See more about using DesignMate here.
You can name the design whatever you want. Click print and print out the design.
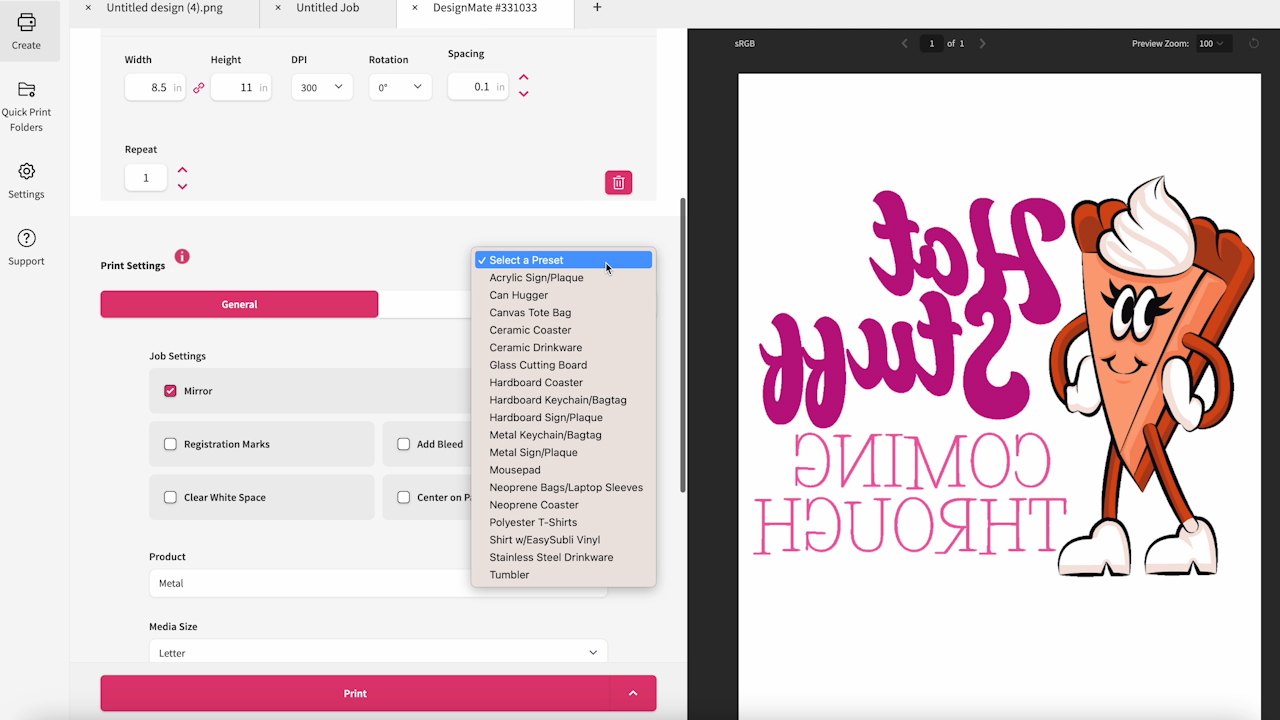
Since I’m using a polyester apron I am choosing the polyester t-shirt preset. Make sure it’s mirrored, and high quality is clicked on, and then under color management, select vibrant, and print.
I followed the same process for the Christmas design so now we can sublimate the aprons.
Add Sublimation Print to Apron
First, we need to prepare our sublimation print. A sublimation print is sublimation ink printed onto sublimation paper from a sublimation printer.
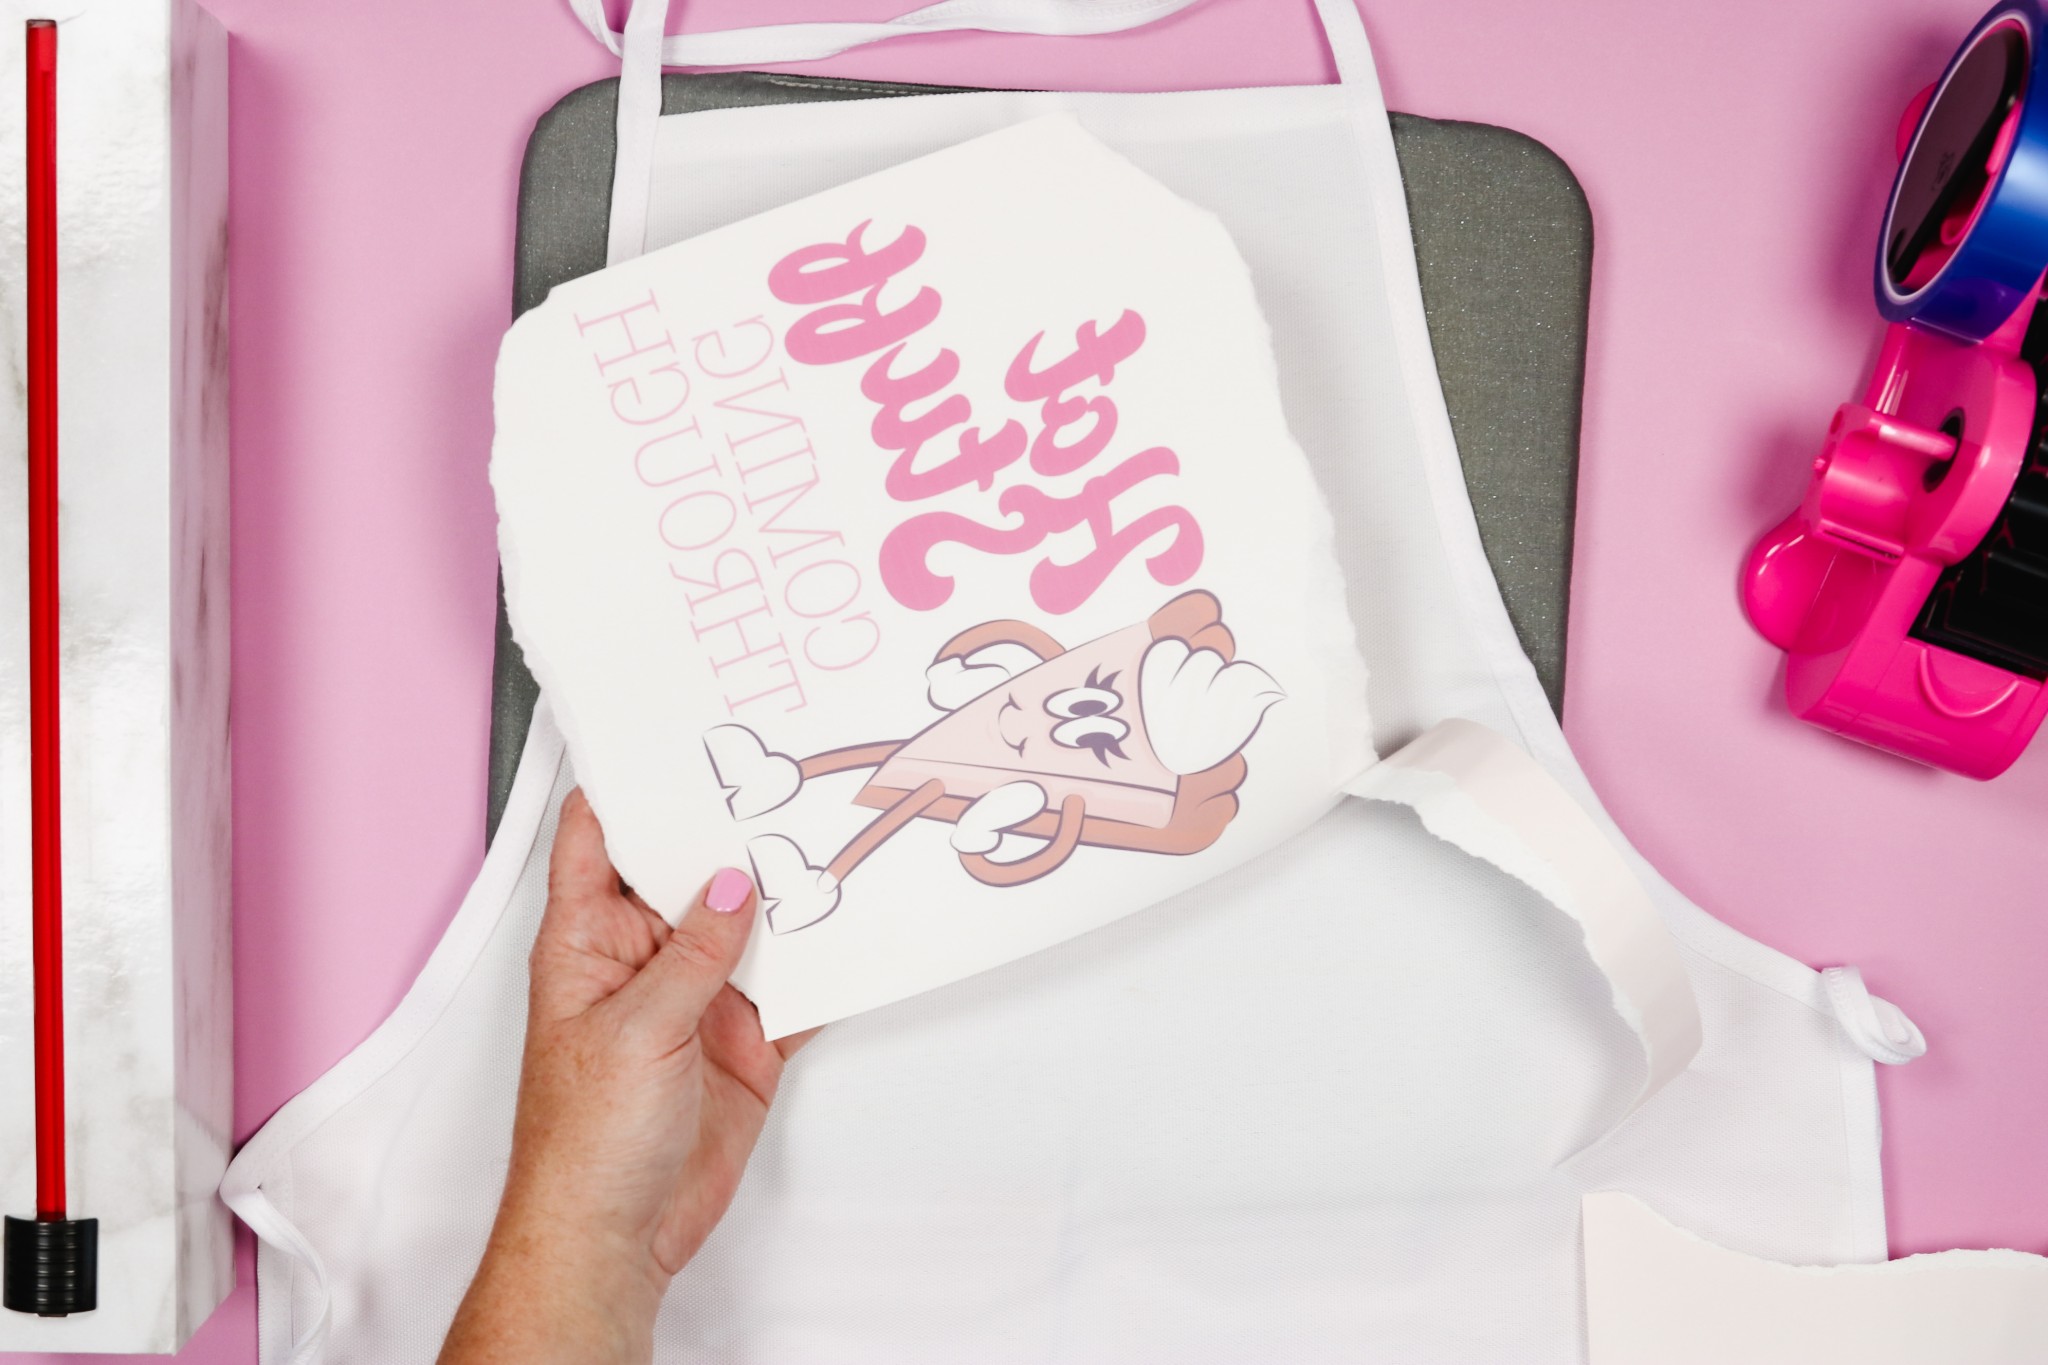
To reduce press marks from the edge of the paper, I like to feather the edges by tearing the paper close to the print.
I am using my EasyPress for today’s project. You can also use a traditional heat press if that is what you have.
You do want to be aware of where the seams are on the apron. The great thing about using the EasyPress is that it fits right between the seams.
If you’re using a heat press you’ll want to add a pad under the design area to lift it above the seams. It’s important that the design area comes in flat contact with the heat plate.
Regardless of what you’re using, you need to preheat the surface to get out any wrinkles and moisture.
After the prepress, lint roll the area to remove dust, hair, lint, etc. Add the sublimation print to the apron and secure it with heat-resistant tape.
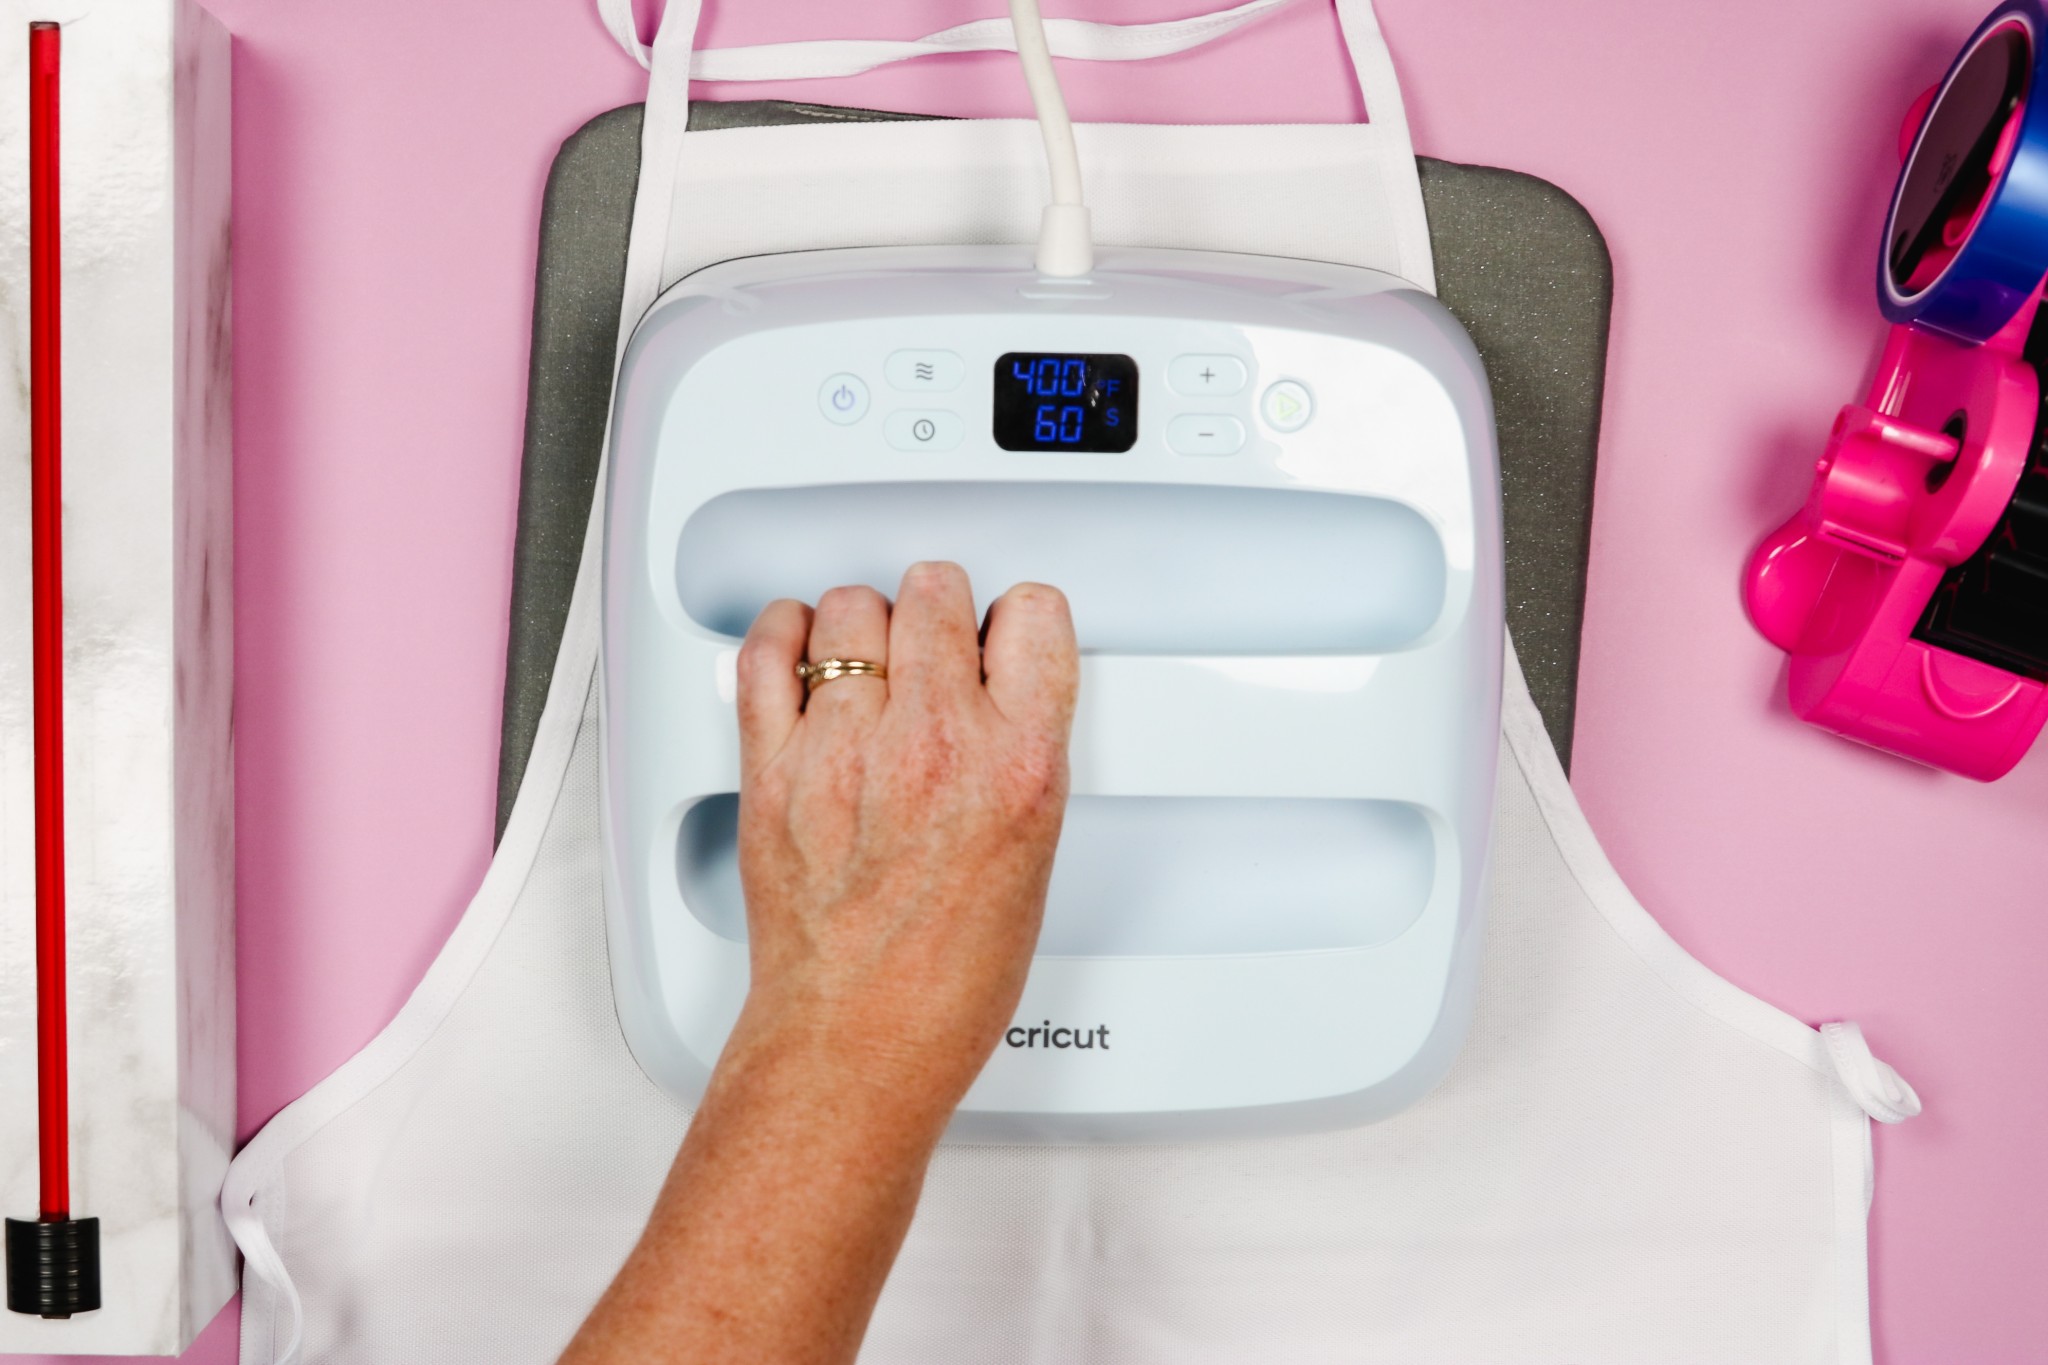
Add protective paper below the apron and on top of the sublimation print and press for the full-time. My setup calls for 400 degrees for 60 seconds and medium pressure.

Remove Press Marks
When the time is up, lift the EasyPress and remove the protective paper and sublimation print.
Polyester fabric can have a memory. If you notice any press marks from the tape or the edge of your paper, I like to press them out using my EasyPress Mini.

If you don’t have an EasyPress Mini, you can use a regular iron set on high or even use your EasyPress itself. I’ve found that going over those press marks with heat removes those marks easily.
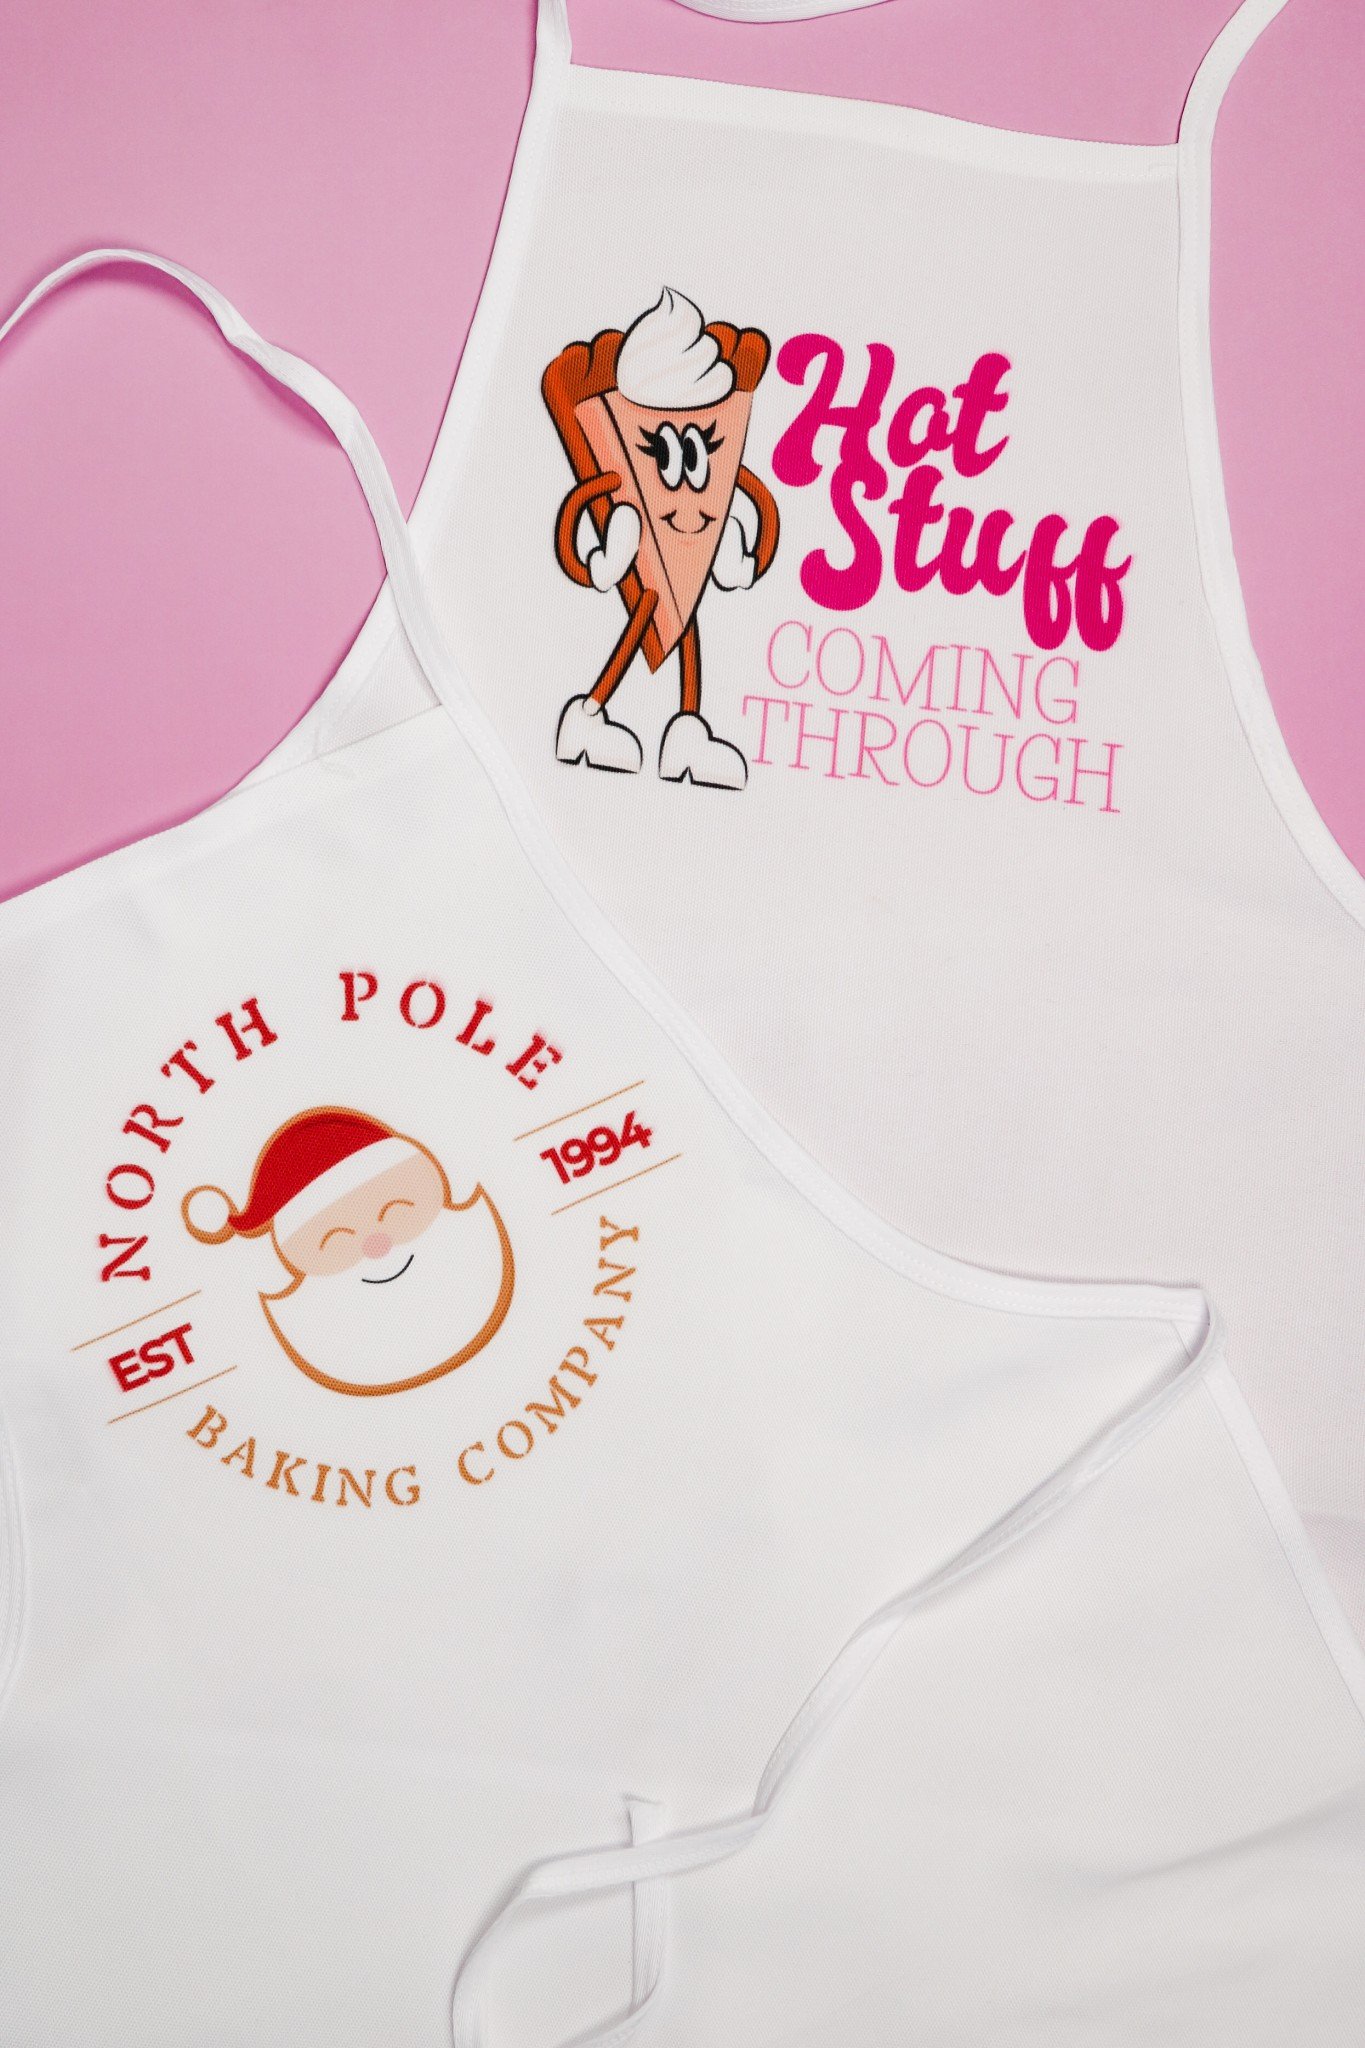
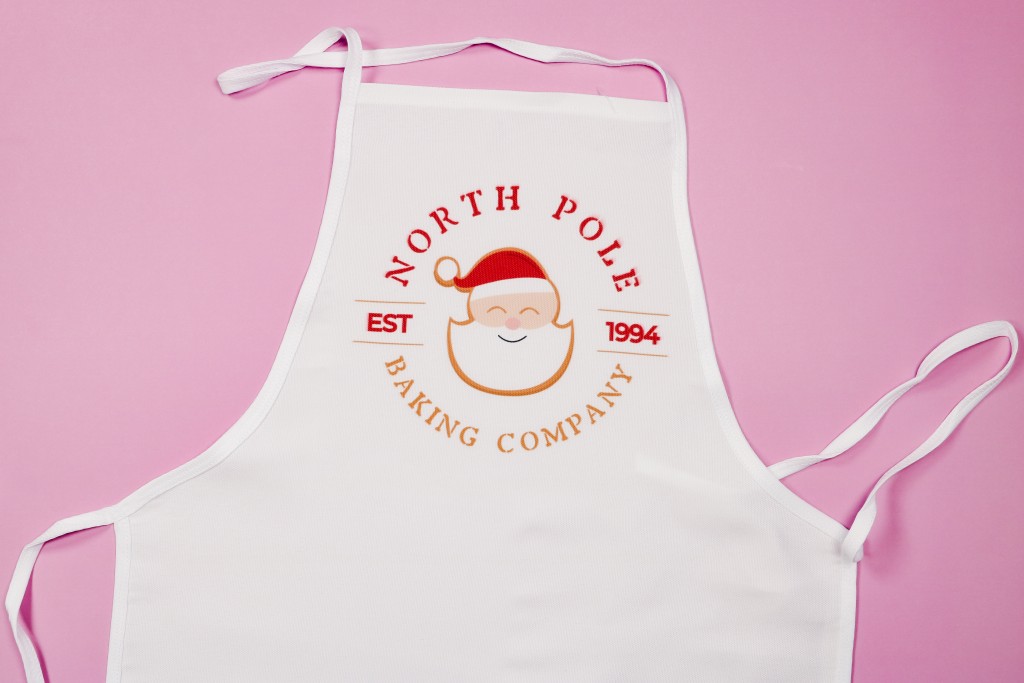
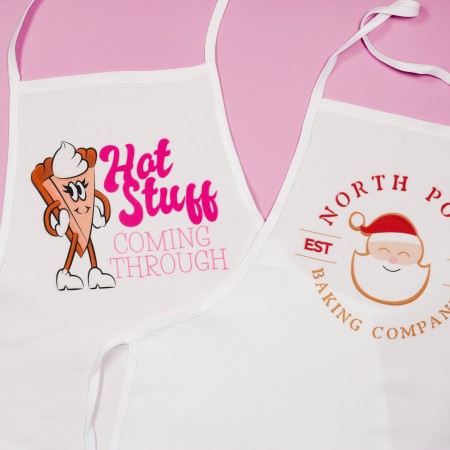
Christmas Sublimation Apron
I repeated the whole process for my Christmas sublimation apron. This design was also created within Sawgrass DesignMate. The only thing I customized on this design was the year.
There are so many fun different designs in DesignMate. I love how customizable they are.
Final Thoughts on Sublimation Aprons
I really think you’re going to love how easy these sublimation aprons are to make. The design options are endless. You can find free designs or create your own and of course, DesignMate has so many options you can customize.
I can think of a dozen different reasons to create sublimation aprons, especially for the holidays.
From hostess gifts to teacher gifts and custom aprons for holiday baking to gifts for grandma, I’m sure there is someone on your list who would love a custom sublimation apron.
If you have any questions about how to create your own sublimation aprons, leave them in the comments and I’ll be happy to answer them for you.
Print the full set of instructions below!
Custom Sublimation Aprons
Instructions
Sawgrass DesignMate Designs
-
I am using my Sawgrass printer and I found both of these designs in DesignMate.
-
For the Thanksgiving design, I found it under Designs and then scrolled to Thanksgiving and chose the design I wanted to use.
-
Click on the design and add it to a custom canvas. DesignMate does have several templates for common blanks but they don’t have one for an apron.
-
Create a custom canvas that is close to the size of your blank. I’m resizing the design so it’s as large as possible on an 8.5 by 11-inch canvas.
-
Within DesignMate you can customize every design. I was able to remove layers and change the font type, font color, and even the text.
-
Keep making adjustments until you have the design exactly how you want it and then save the canvas.
-
You can name the design whatever you want. Click print and print out the design.
-
Since I’m using a polyester apron I am choosing the polyester t-shirt preset. Make sure it’s mirrored, and high quality is clicked on, and then under color management, select vibrant, and print.
-
I followed the same process for the Christmas design so now we can sublimate the aprons.
Add Sublimation Print to Apron
-
First, we need to prepare our sublimation print.
-
A sublimation print is sublimation ink printed onto sublimation paper from a sublimation printer.
-
To reduce press marks from the edge of the paper I like to feather the edges by tearing the paper close to the print.
-
I am using my EasyPress for today’s project. You can also use a traditional heat press if that is what you have.
-
You do want to be aware of where the seams are on the apron. The great thing about using the EasyPress is that it fits right between the seams.
-
If you’re using a heat press you’ll want to add a pad under the design area to lift it above the seams. It’s important that the design area comes in flat contact with the heat plate.
-
Regardless of what you’re using, you need to preheat the surface to get out any wrinkles and moisture.
-
After the prepress, lint roll the area to remove dust, hair, lint, etc.
-
Add the sublimation print to the apron and secure it with heat-resistant tape.
-
Add protective paper below the apron and on top of the sublimation print and press for the full-time. My setup calls for 400 degrees for 60 seconds and medium pressure.
Remove Press Marks
-
When the time is up lift the EasyPress and remove the protective paper and sublimation print.
-
Polyester fabric can have a memory. If you notice any press marks from the tape or the edge of your paper I like to press them out using my EasyPress Mini.
-
If you don’t have an EasyPress Mini you can use a regular iron set on high or even use your EasyPress itself. I’ve found that going over those press marks with heat removes those marks easily.