This post and photos may contain Amazon or other affiliate links. If you purchase something through any link, I may receive a small commission at no extra charge to you. Any supplies used may be given to me free of charge, however, all projects and opinions are my own.
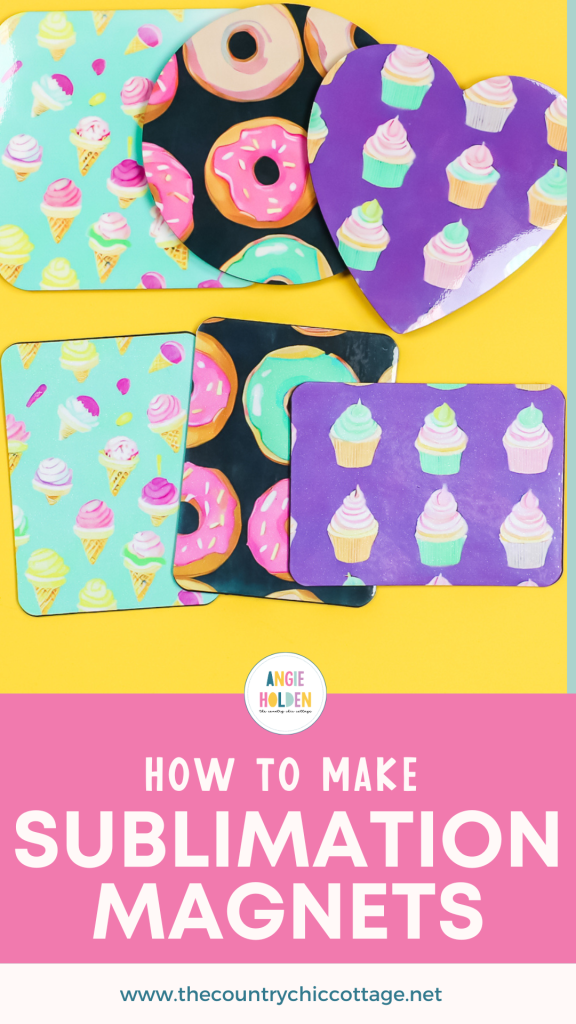
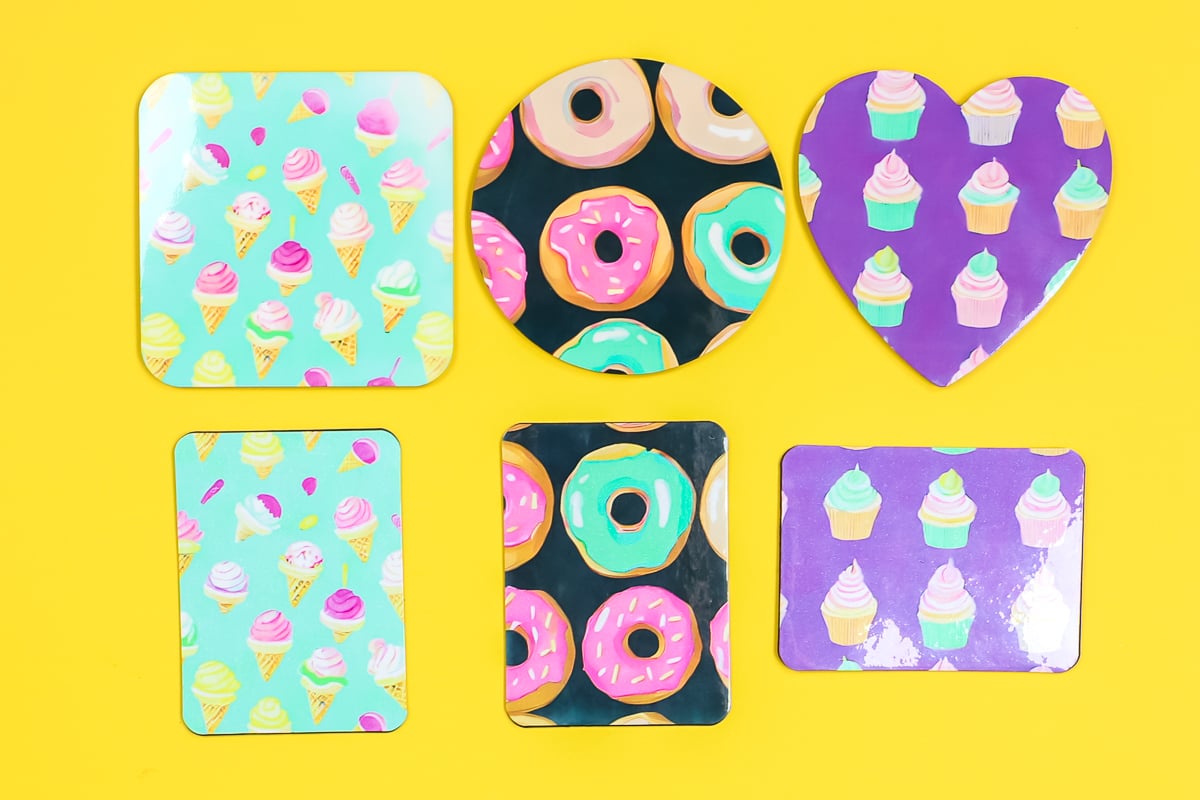
Today I’m going to show you how to make two different types of sublimation magnets. I’m going to walk you through a few tips to ensure you get the best finished product you can. I am also including three free sublimation print designs. These are all food-related with cute donuts, ice cream cones, and cupcakes.
If you’re just starting out with sublimation, check out my post filled with tips to save you money while sublimating.
Sublimation Magnets
You can watch me make two different types of sublimation magnets by pressing play on the video below. These magnets are perfect for adding to your fridge or using in your craft room. I’m sharing free prints you can use but you can also add text or even photos.
Supplies Used:
IMPORTANT: To make these magnets, you need a sublimation print. This is sublimation ink printed onto sublimation paper from a sublimation printer.

How to Make Sublimation Magnets
We’re sublimating two different types of magnets today. Just like other sublimation blanks, we want to prep these before adding our sublimation prints.
I am following the recommendations for the listings of both of these blanks. If you choose to use something different, I would make sure you check the recommendations for the blank you’re using.
Today I am using my Cricut EasyPress. I like to use a firm heat-resistant mat instead of the EasyPress mat when working with sublimation.
How to Make Chipboard Magnets
First, with the chipboard magnets we want to remove the protective film from the white side of the blank. You always want to check your sublimation blanks to see if they have a protective film on them before proceeding.
This particular magnet comes in two pieces. The chipboard piece itself and the magnet piece. The settings for the chipboard magnet are 375 degrees for 60 seconds.
Don’t apply the magnet piece until after you sublimate the front.
Prepress Sublimation Blank
In my experience, chipboard tends to hold a lot of moisture. I am going to prepress this blank for quite a while to remove as much of that moisture as I can.
Place a sheet of protective paper on top of the heat-resistant mat and lay out the magnet pieces. I always place another sheet of protective paper over the top just in case.
Then place the EasyPress on top of the blank and let it sit. I ended up preheating mine for 120 seconds at 375 degrees.
Prepare the Blank
Once the prepress is complete, remove the heat and allow the blanks to cool completely before applying the print.
You also want to clean your blank. I am using a lint roller but you can also use a lint-free cloth and rubbing alcohol. You just want to make sure it’s free of any dust, hair, or other debris.
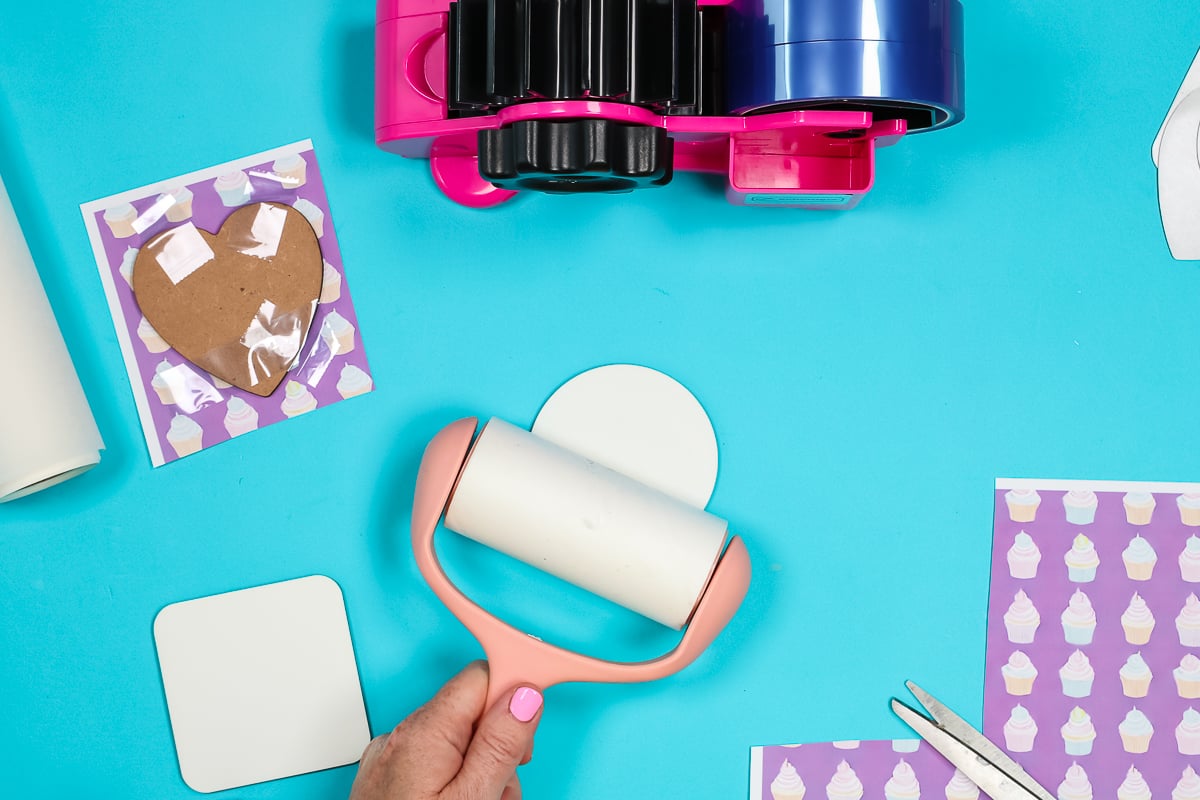
Apply the Sublimation Print
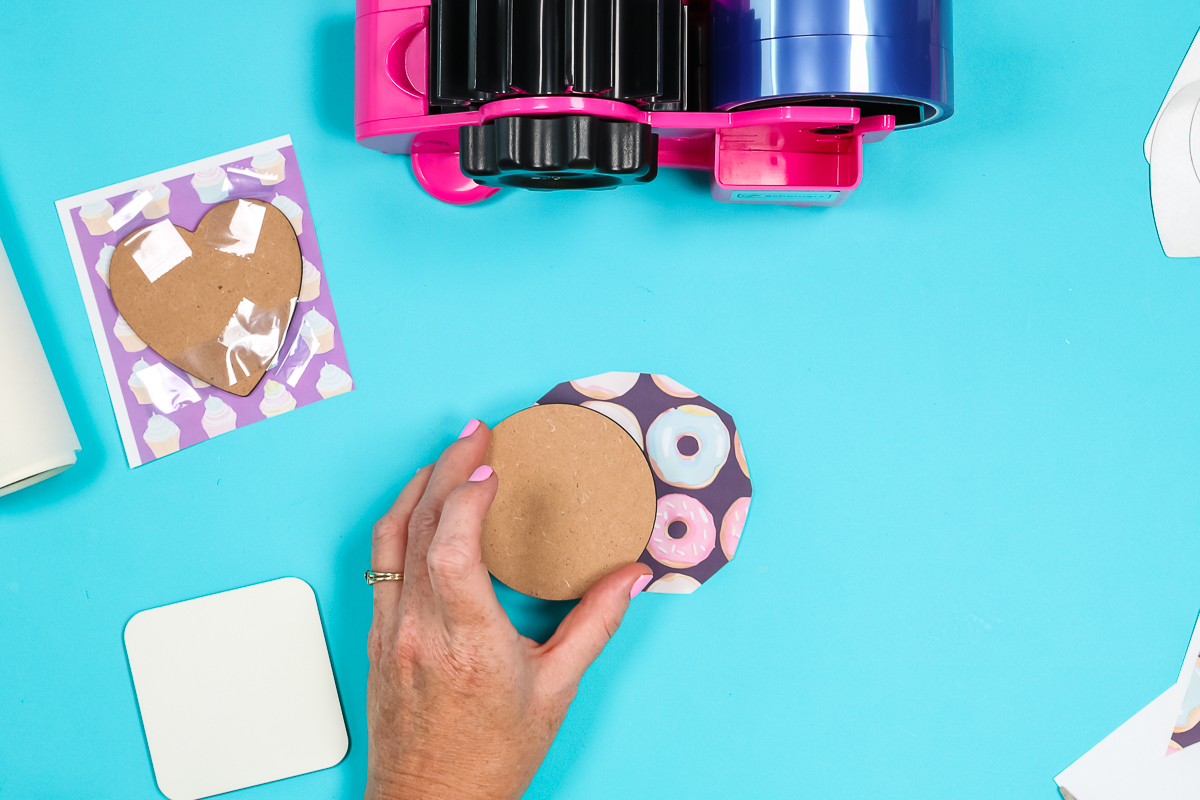
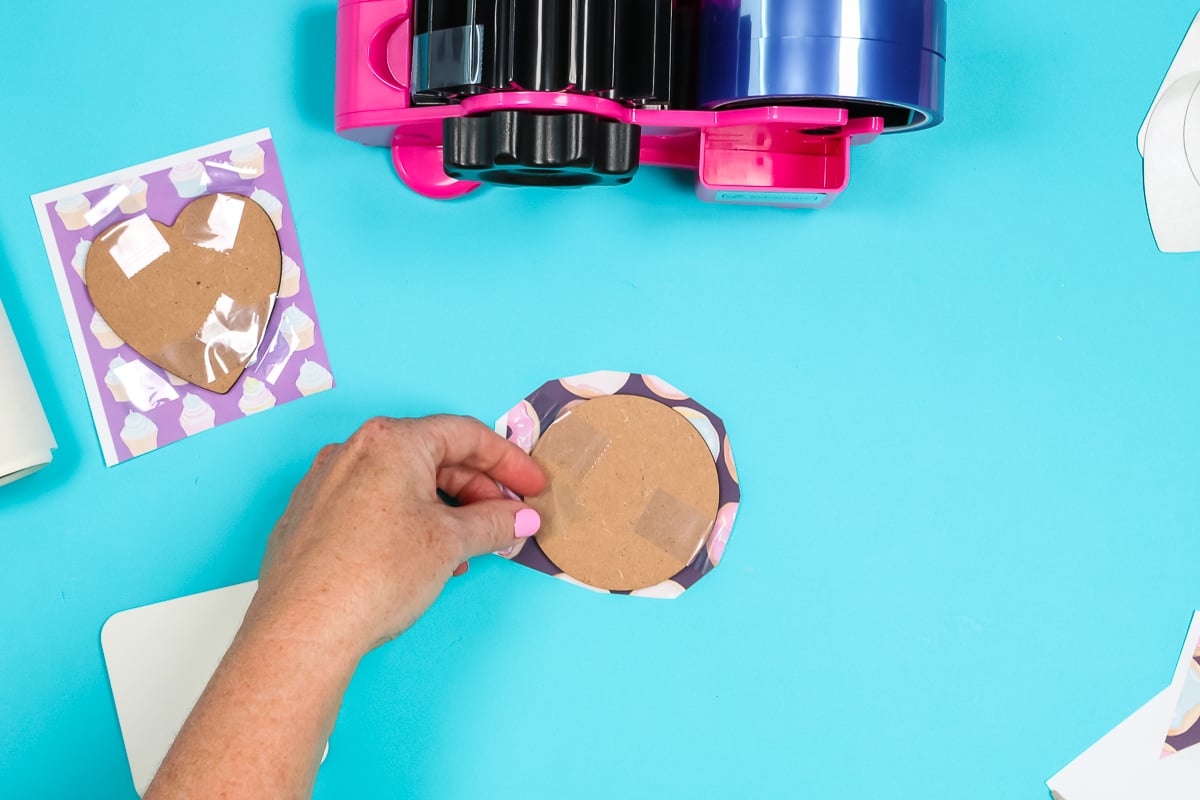
With this blank, I am placing the magnet white side down onto the printed side of my sublimation print.
I like to have my print slightly larger than the magnet so I can use heat-resistant tape to hold it into place by adding the tape to the back of the magnet. This allows me to sublimate my design on the entire front of the magnet.
Because all of these chipboard blanks are the same thickness I can press them simultaneously.
How to Apply Heat to Chipboard Sublimation Magnets
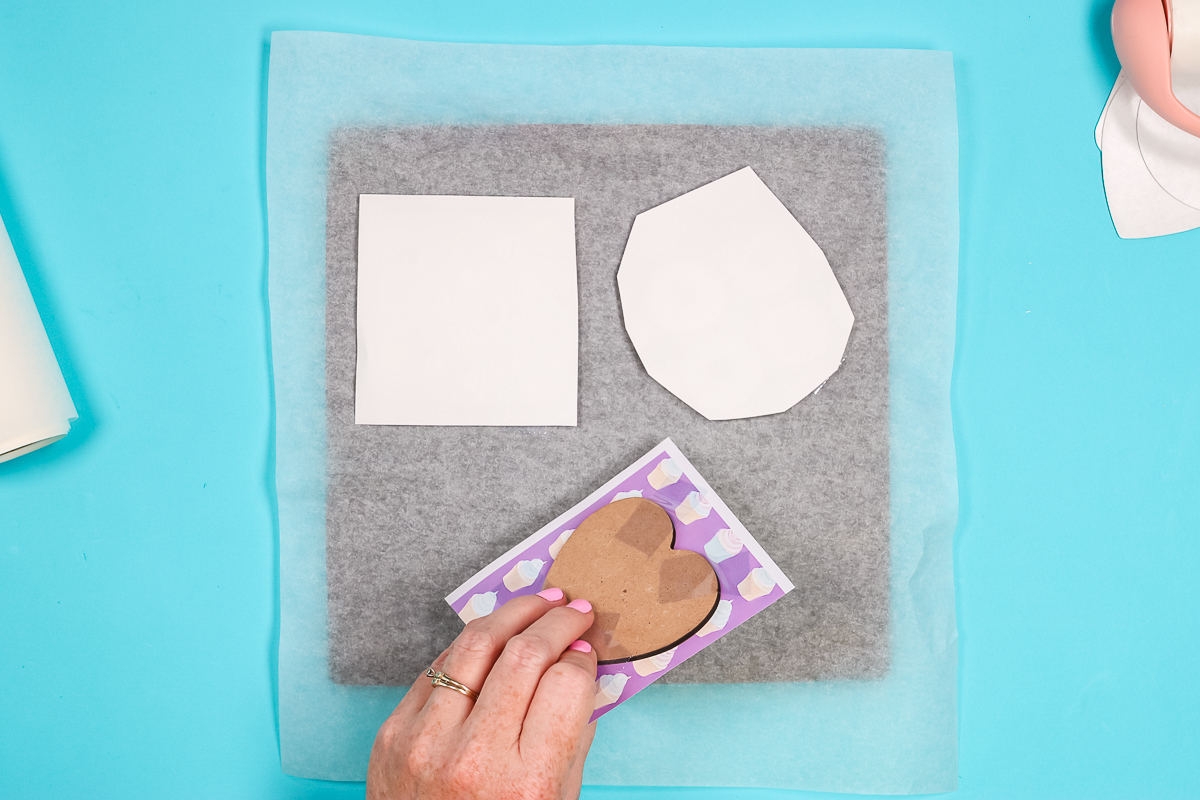
For the chipboard sublimation magnets, I am pressing with the sublimation print side up. Remember to add a protective sheet below the magnets and above to protect your heat surface and heat-resistant mat from any sublimation ink blowout.
These blanks call for a very firm pressure. That means, since I’m using the EasyPress, I need to apply heavy pressure across the whole thing to ensure heat is applied evenly.
Press at 375 degrees for 60 seconds and then remove the heat and allow the magnets to cool.
How to Make One Piece Magnets
The process for making one piece magnets is similar to the chipboard magnets. The setup is the same but the temperature is lower.
This blank calls for a temperature of 355 degrees for 60 seconds. I would make sure, when you’re doing the prepress that you don’t press too long. This material can warp if the temperature is too high or you apply the heat for too long.
Once again, we can press all the one piece sublimation magnets at the same time because they are the same thickness. When the time is up, remove the heat and allow the magnets to cool.
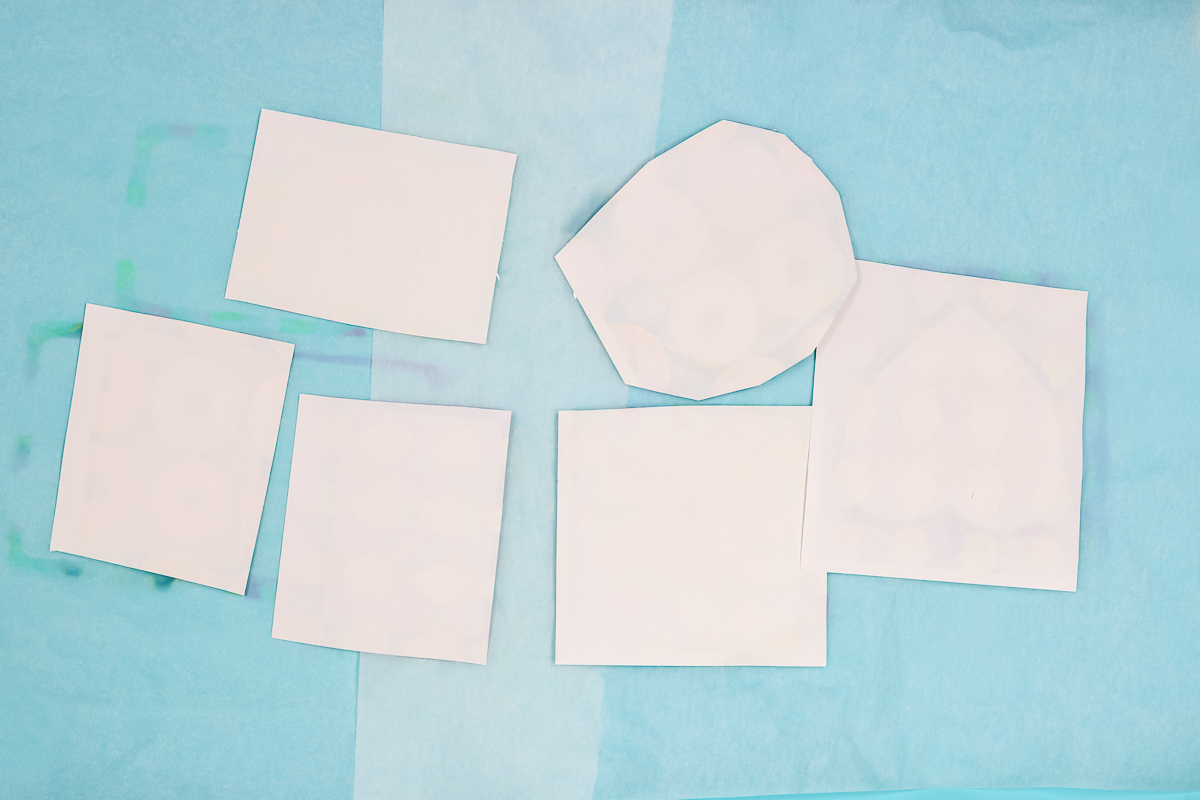
Now we can remove the sublimation print and take a close up look at the magnets.
Final Sublimation Magnets
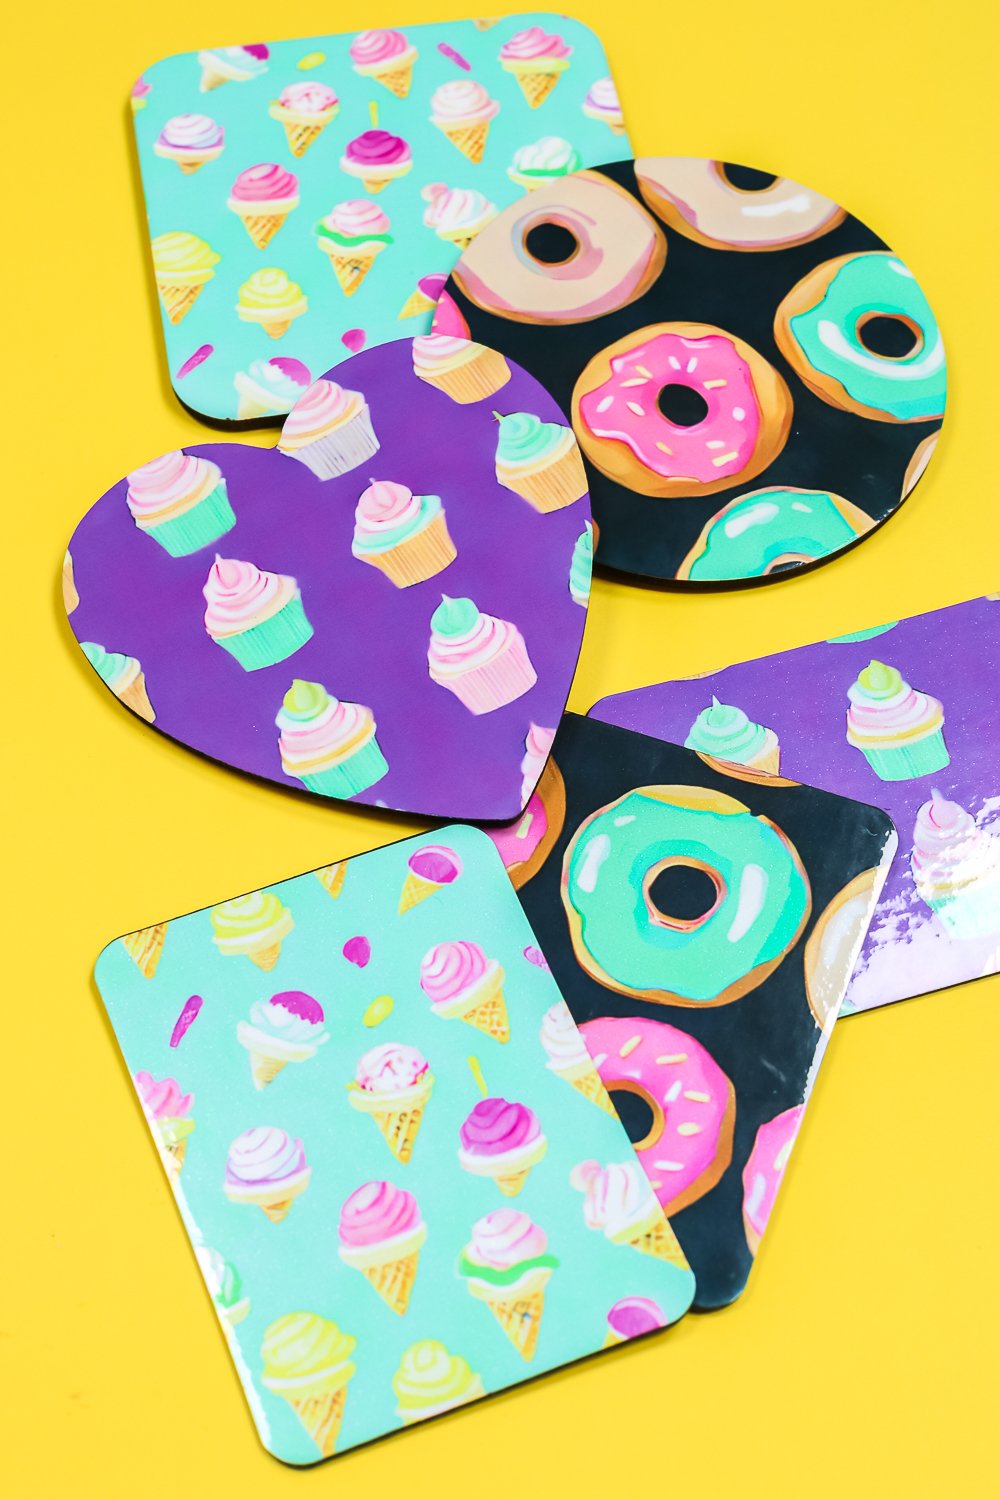
Here are all the magnets I made today. All of the one-piece magnets turned out really well. I am so happy with how they look.
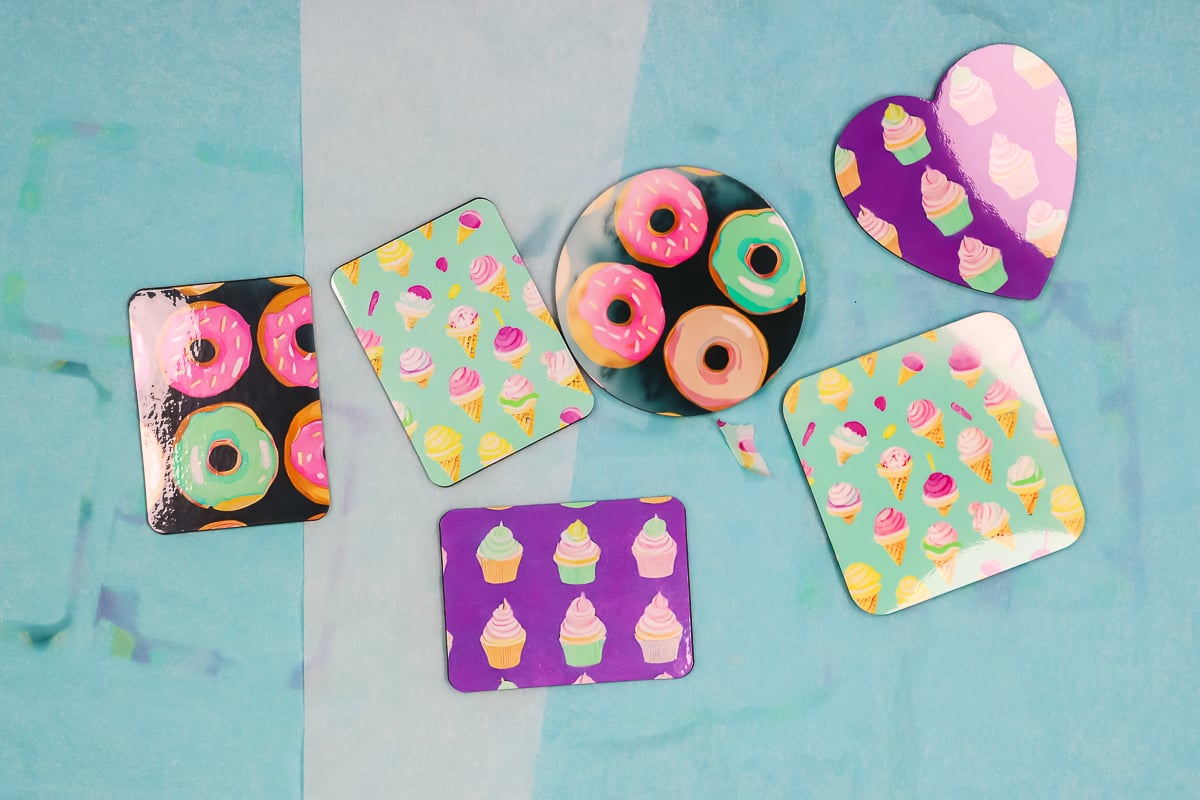
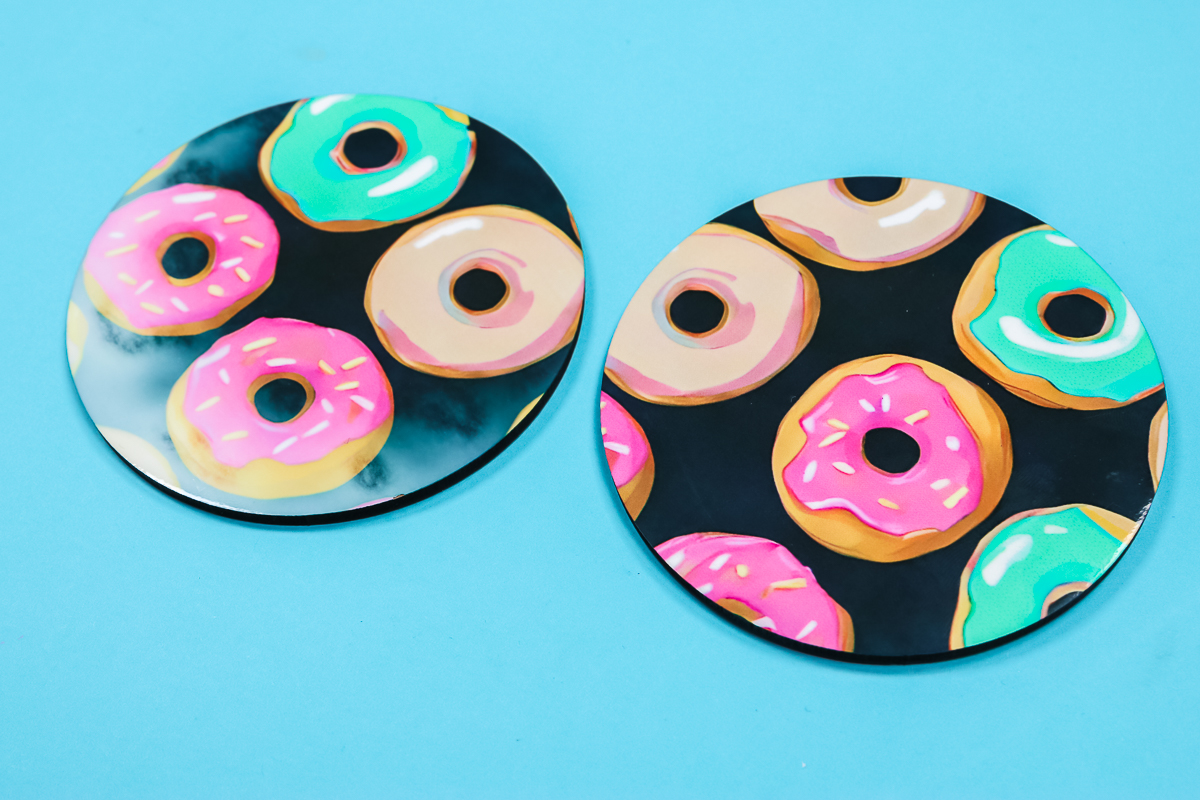
The chipboard magnets also mostly turned out really well. You can see on the black donut there is some fading/ghosting on one of the magnets.
This was the first chipboard magnet I made and I didn’t prepress long enough. On the second one, I prepressed for the full 120 seconds and the sublimation transferred beautifully.
I do want to note that when using the EasyPress you may end up with ghosting if you aren’t applying enough pressure. This ice cream cone magnet looks really good except for that one corner.
I think this happened because I didn’t have enough pressure on that section of the magnet.
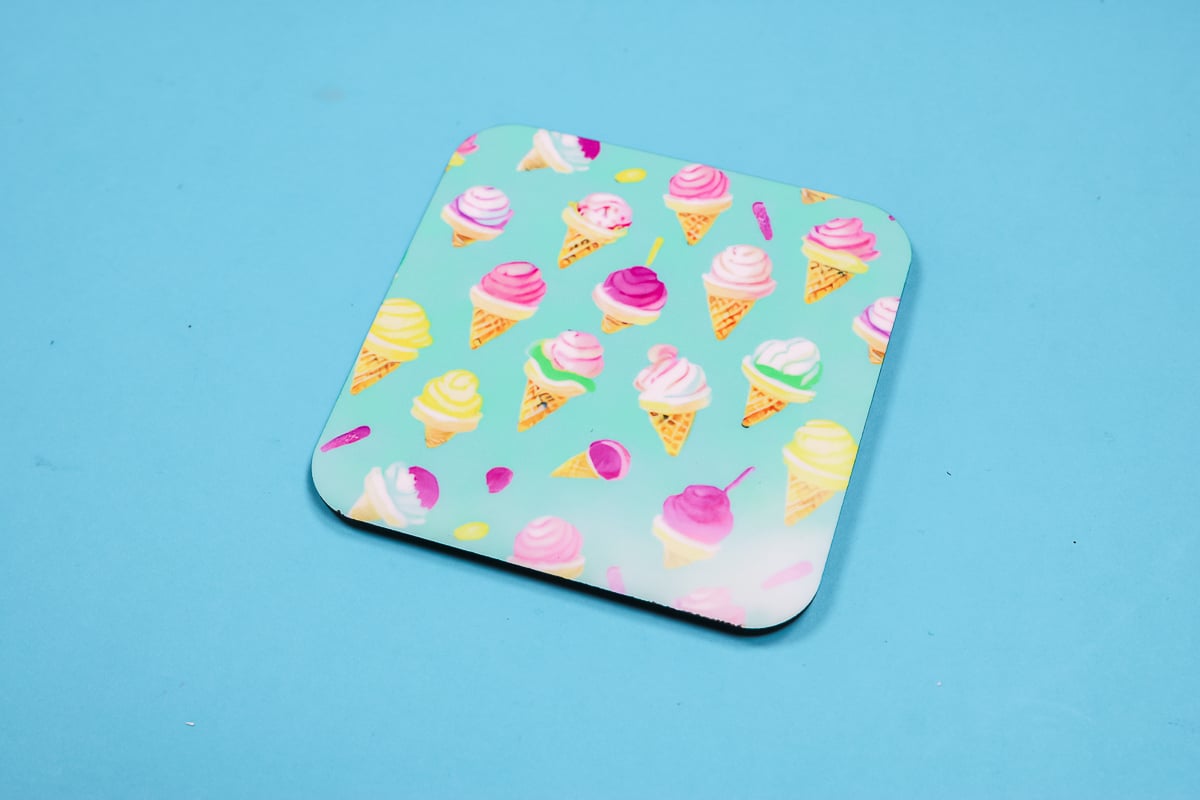
The one piece magnets turned out pretty much perfectly across the board.
The only time I really had a problem with them was when I did my prepress at a higher temperature, that did warp the surface a little bit.

How to Assemble Chipboard Sublimation Magnets
The one piece magnet is ready to go as soon as you remove the heat source.
The chipboard magnets came with the magnets not attached. Applying the magnet is simple, peel the cover off the adhesive on the magnet piece and then center it onto the back of the chipboard. Since the chipboard is slightly larger than the magnet piece, you don’t have to worry about lining it up exactly.
Final Thoughts on Making Sublimation Magnets
These sublimation magnets are really fun and easy to make. I love that you can make them with fun prints like I did or even photos of your loved ones. Since these can be made with an EasyPress you don’t even have to have a heat press to make these.
I do recommend following all the steps I laid out here to ensure you get the best results. If you use a sublimation magnet different than the ones I used, make sure you follow the time and heat settings for your specific blanks.
I hope I’ve answered any questions you have about making sublimation magnets. If you have any additional questions, feel free to leave them in the comments and I’ll be happy to answer them for you.