This post and photos may contain Amazon or other affiliate links. If you purchase something through any link, I may receive a small commission at no extra charge to you. Any supplies used may be given to me free of charge, however, all projects and opinions are my own.
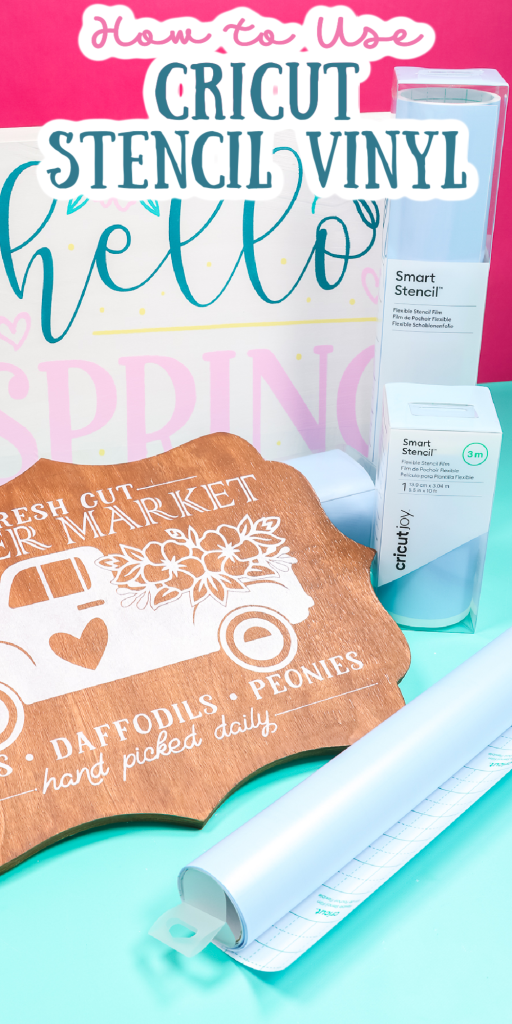
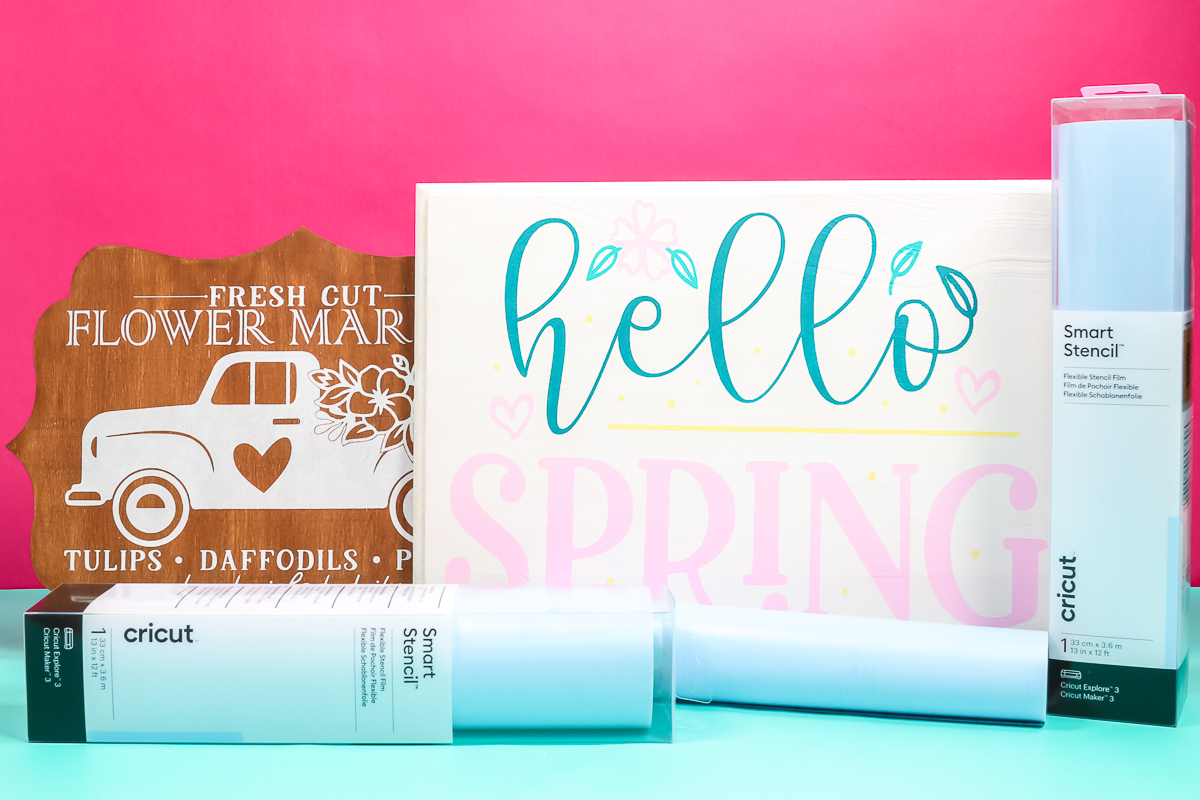
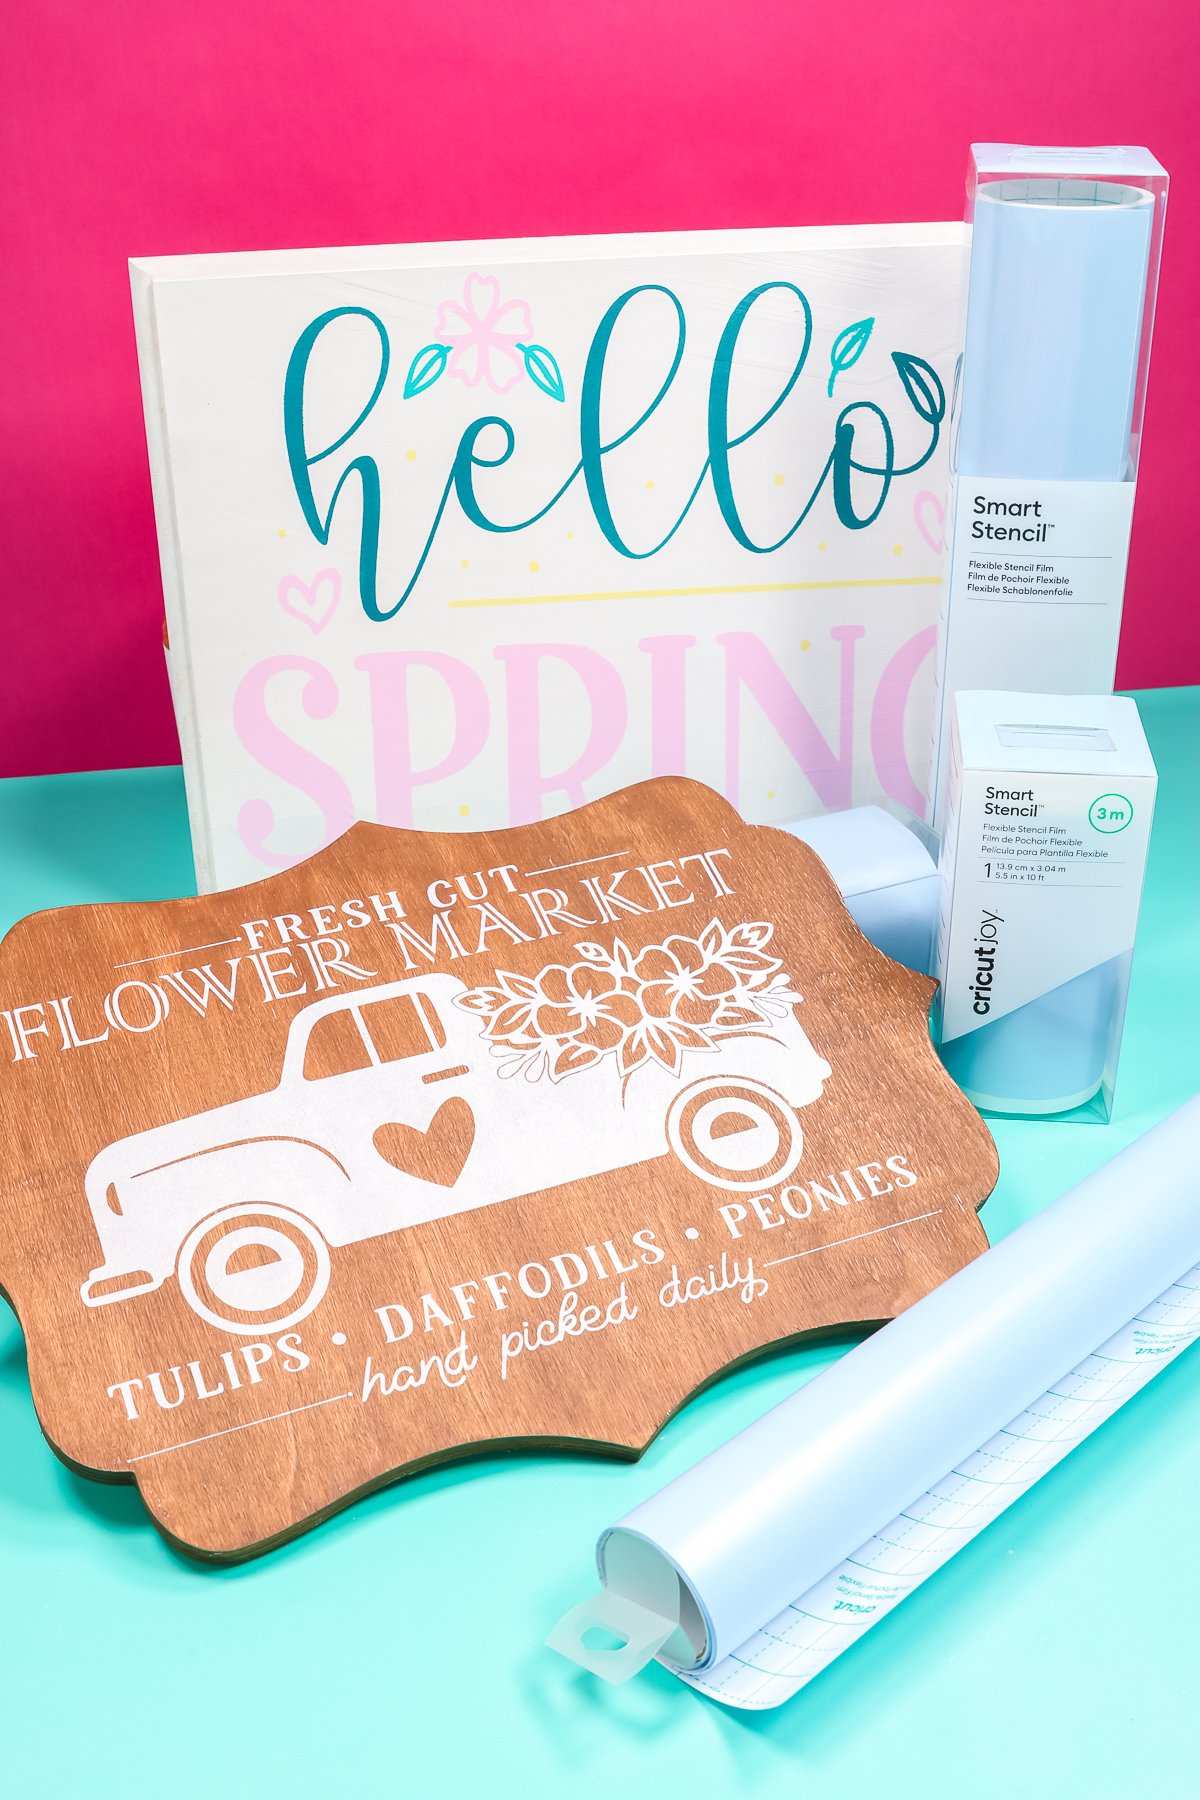
Have you seen the new Cricut Stencil Vinyl? There is a Smart Stencil Vinyl that works with Joy, Maker 3, and Explore 3 machines. There is also a new Stencil Vinyl that works on a mat with any Cricut machine. Keep reading to learn all about Cricut Stencil Film and find out if it will work for your next stenciling project! I love creating custom signs. I regularly use my Cricut to cut stencils for painted signs so I was excited to try Cricut’s new Flexible Stencil Film to see how well it works.
Want to learn more about creating stencils with your Cricut machine and other materials? Check out my post here.
Small disclaimer: I purchased this Cricut Stencil Vinyl myself and Cricut is not paying for this video or post. These are my true and honest opinions.
Cricut Stencil Vinyl
You can watch me test the new Cricut Stencil Vinyl and make two different signs, just click play on the video below.
Can’t watch the video or miss some of the information? You can also follow along below!
What is Cricut Stencil Vinyl?
Cricut Stencil Vinyl is a vinyl that is a little thicker than regular vinyl and is made specifically for creating stencils. Stencils created with Cricut Stencil Vinyl are single-use stencils which means they aren’t recommended for use more than once.
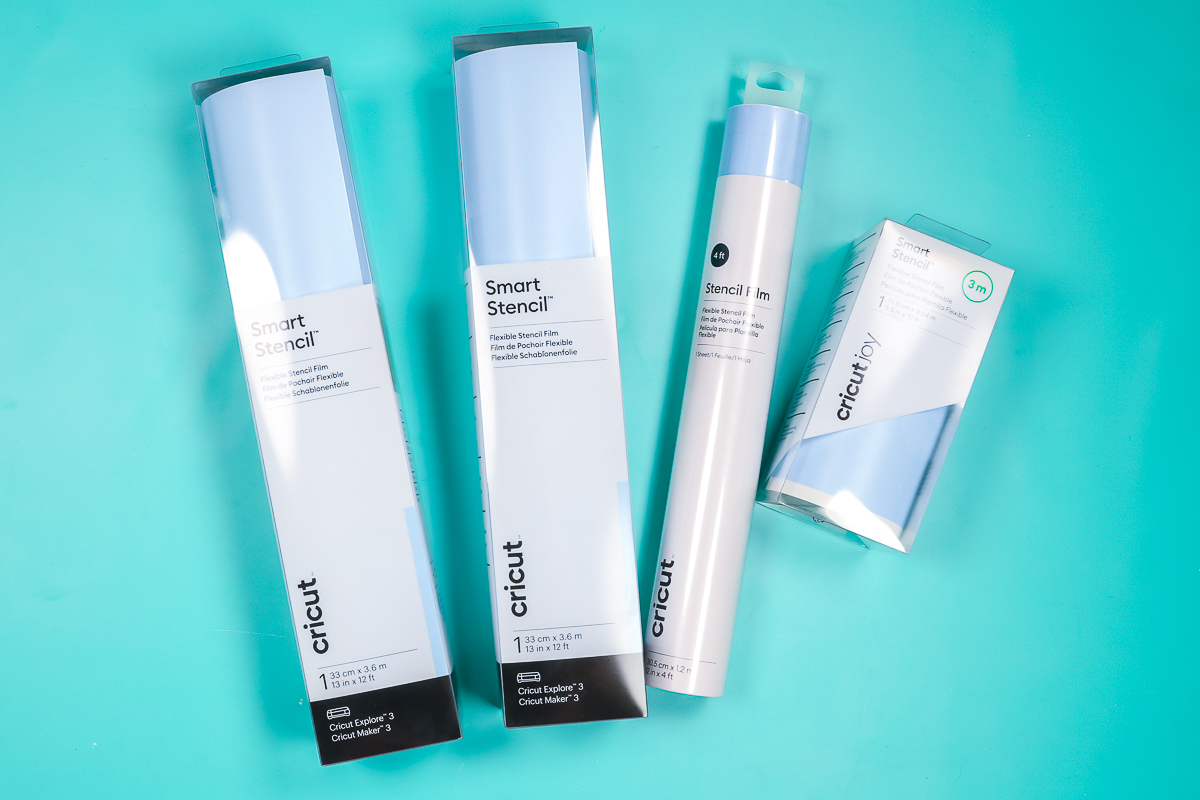
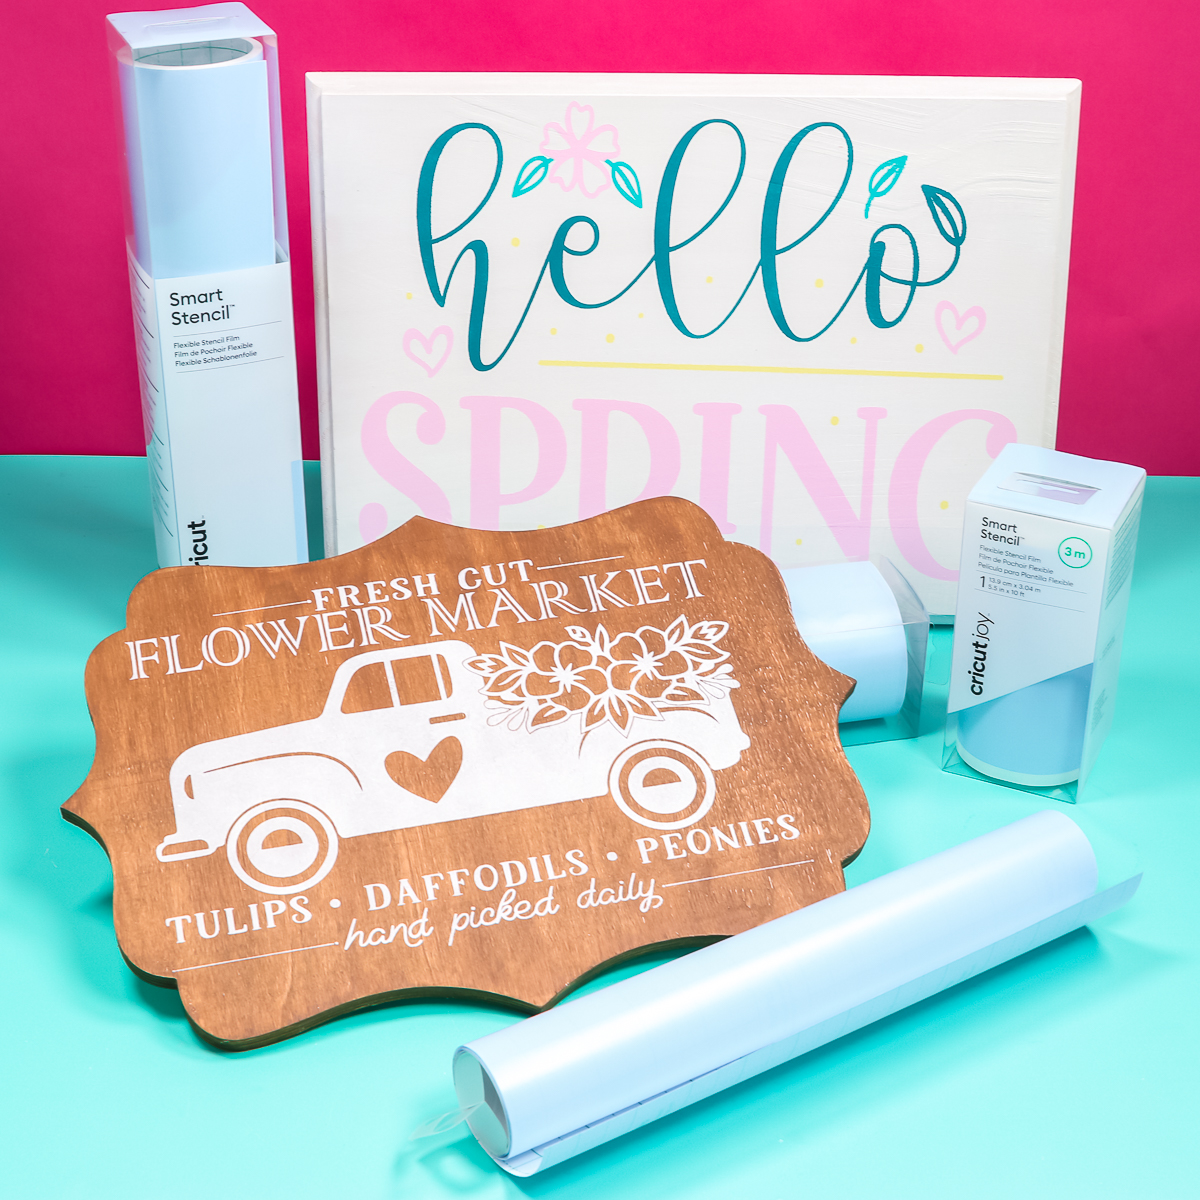
Cricut Stencil Vinyl Types
Cricut has had stencil vinyl for years. However, recently they released a product they are calling Flexible Stencil Film. It comes in the following sizes:
- Smart Stencil is that is sized to fit Maker 3 and Explore 3 and cut without a mat.
- Smart Stencil that is sized to fit the Cricut Joy and cut without a mat.
- Flexible Stencil Film that is sized to work with any Cricut machine on a Cricut mat.
Stencil Vinyl vs. Mylar Stencil Film
Mylar stencil film is different than Stencil Vinyl in one main way, it is thicker than stencil vinyl and can be reused. In order to reuse the mylar stencil, you’d want to make sure any centers of letters, flowers, or other designs are connected to the outside so they aren’t lost. With Cricut Stencil Vinyl, you don’t have to worry about the fonts or images you use. You’ll be using transfer tape to transfer the stencil to the sign.
What You Need to Stencil With Cricut Stencil Vinyl
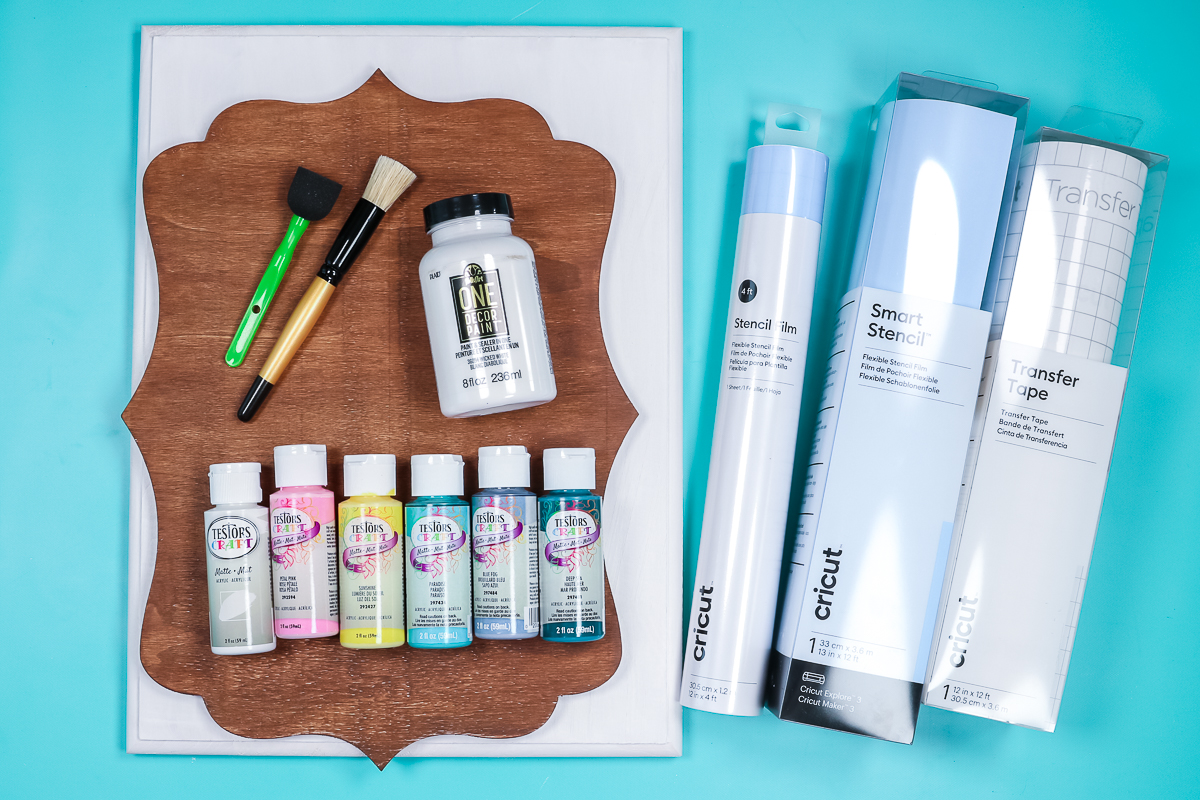
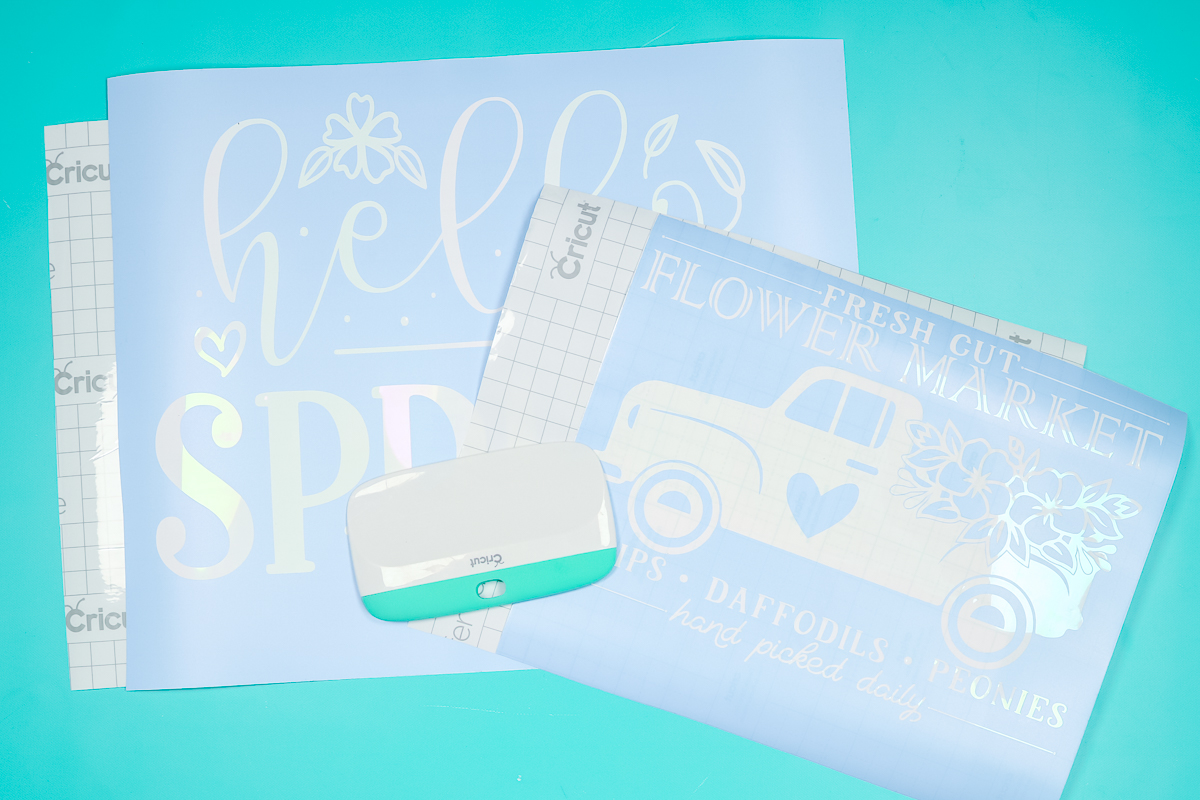
Designs Used
Prepping Your Blanks for Your Stencil Project
I’m going to test out Cricut Stencil Vinyl on two different projects. I will use the Maker 3 to test the Smart Stencil and cut it matless. I will also use my Maker 3 to cut regular Stencil Vinyl (also called Flexible Stencil Film) on a mat. Here is what I recommend for stenciling prep:
- I stained/painted both of the wood pieces at least 24 hours before applying any Stencil Vinyl to allow the paint and stain time to cure.
- After painting/staining, I went over the top of the base with very light grit sandpaper, like 600 grit. The smoother the surface, the better luck you will have with the stenciling. This step helps prevent bleeding under the stencil vinyl.
- If you’re going for a more rustic look to your sign you can use rougher sandpaper and really smooth out your surface. Your paint will have a more worn look to it. If that’s the look you’re going for, this is a great way to get it.
These tips and tricks are the same no matter what stencil material you’re using.
How to Cut Stencil Vinyl with a Cricut
I’m using two different designs for my projects. You can use any design for your stencil projects and the process will be the same as most other Cricut projects. I always recommend doing a test cut before cutting out an entire project. I cut both of these materials on the default setting and it cut a little deep. They were both usable but in the future, I will likely decrease the pressure to “less”.
Working with Smart Stencil Vinyl
For my first project, I’m using my Maker 3 and Smart Stencil Vinyl. I’m using the Roll Holder and loading the Smart Stencil with the blue side up.
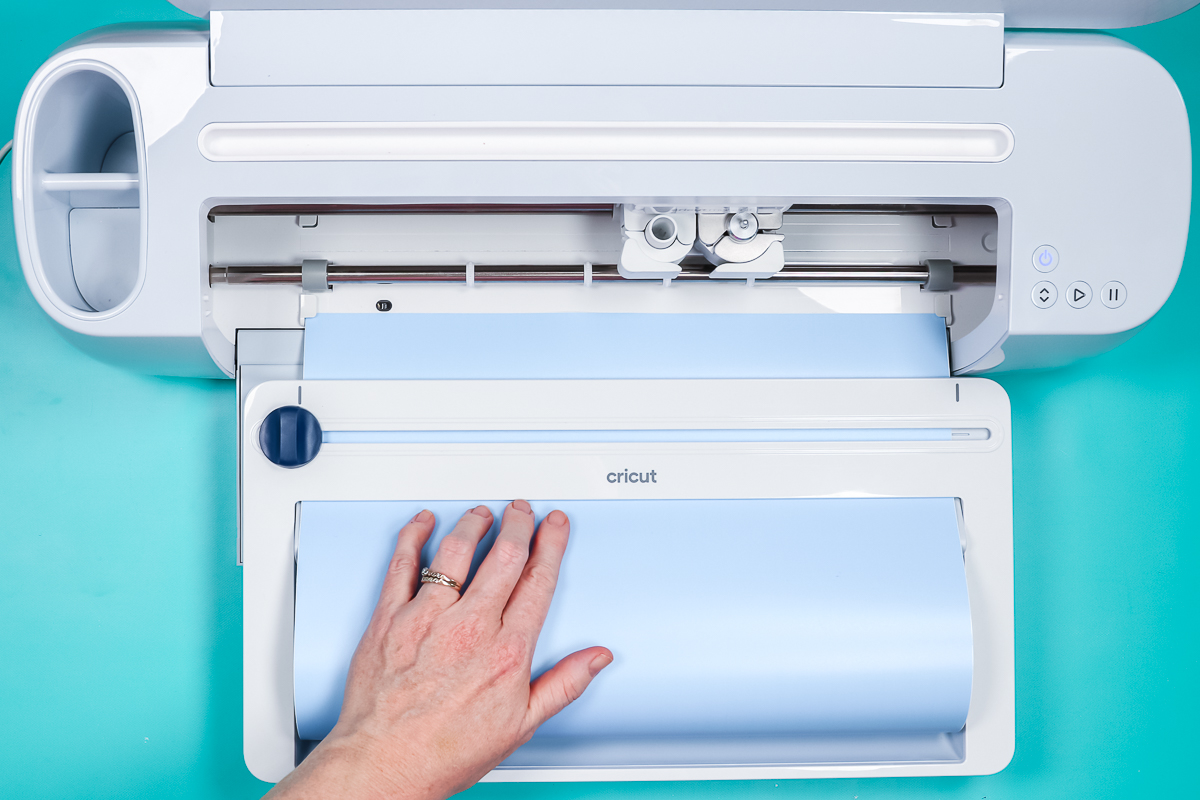
- From the cut screen select “Smart Stencil” as your material.
- Load the material into your machine.
- Press Go to cut. You do not have to mirror Smart Stencil material.
- When it’s done cutting, unload the material.
Working with Regular Flexible Stencil Film
For my second project, I’m still using my Maker 3 and regular Cricut Stencil Vinyl. I’m using the blue, LightGrip mat to cut the Stencil Vinyl
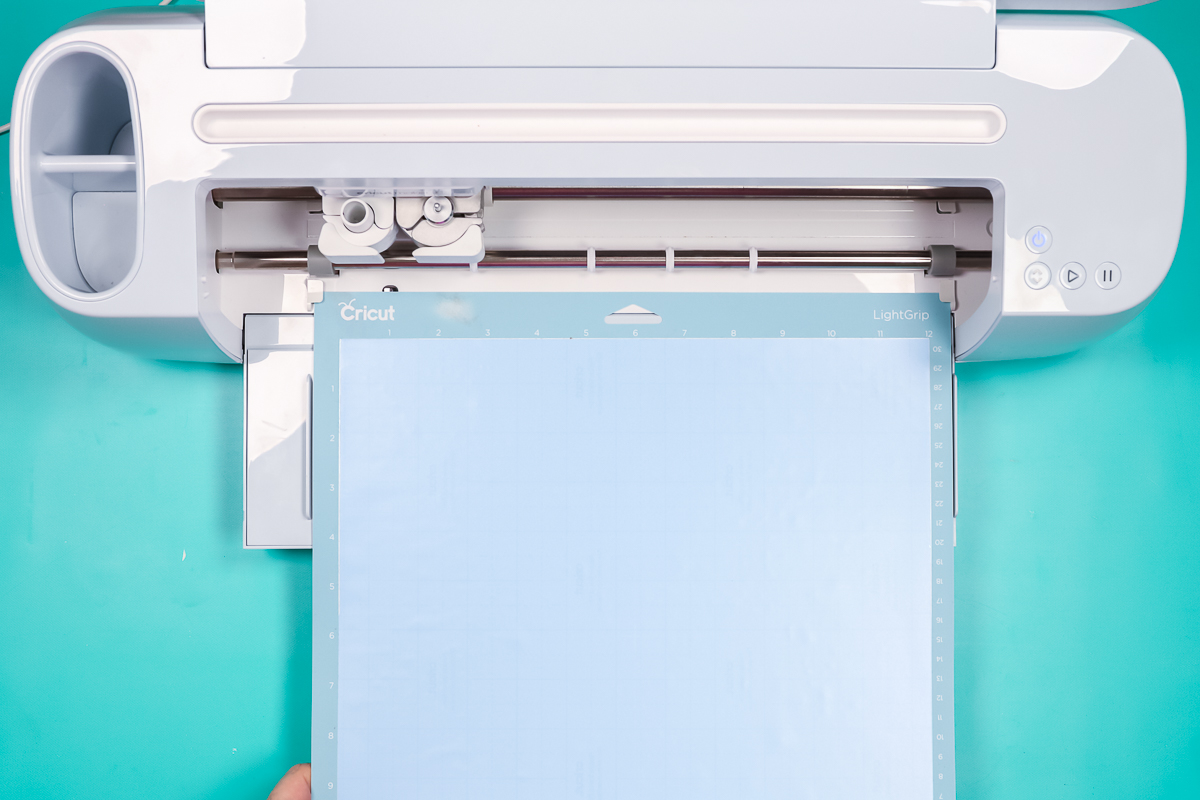
- The material setting in Design Space is called “Flexible Stencil Film” (please note the change in name if you used this material in the past).
- Load the mat and cut your design out (again, you do not have to mirror).
- Press the Go button to cut.
- Once it’s done, unload the material to remove it.
How to Weed Cricut Stencil Vinyl
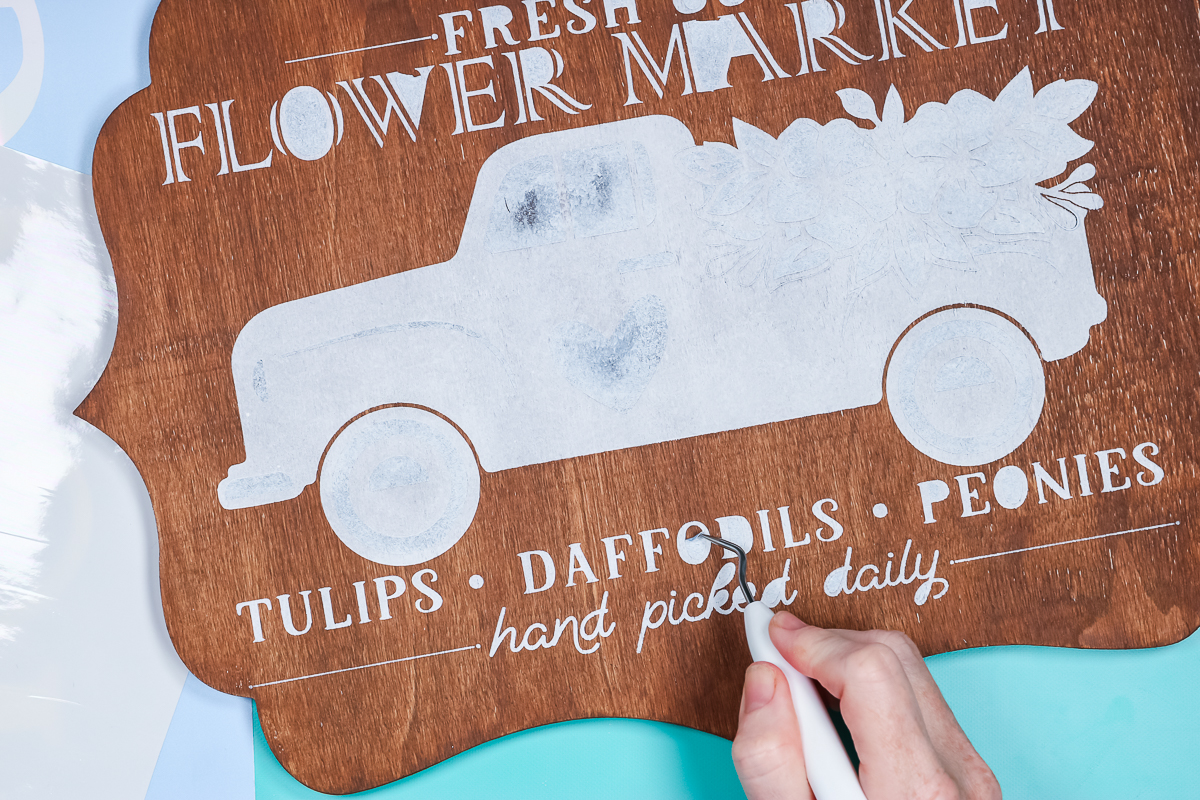
Weeding Cricut Stencil Vinyl is similar to weeding other vinyl types. Use a weeding tool to remove everything you don’t need. In this case, we’ll be weeding everything that we want to be painted on our sign. Make sure to leave things like the centers of letters and any images.
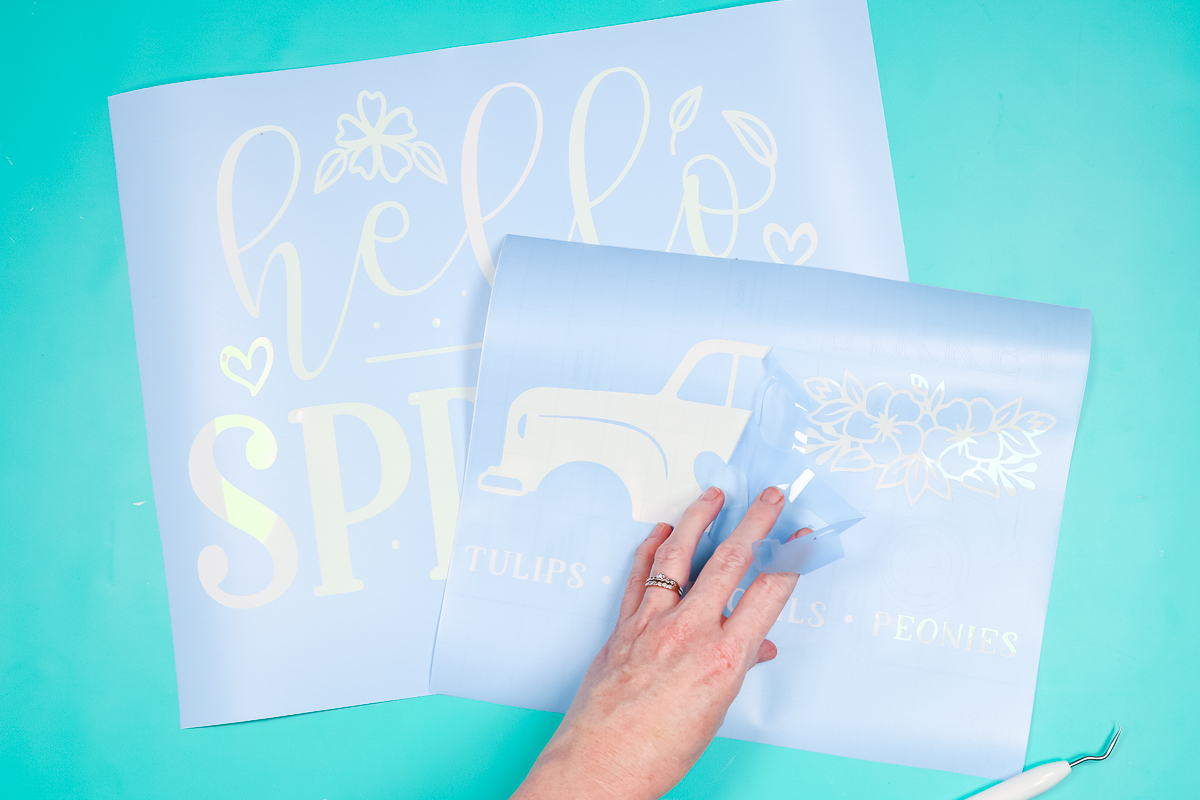
Thoughts on Weeding Cricut Stencil Vinyl
I found that both stencil films I used were very easy to weed. I do think the two materials are the same but they are on a different backer. The Smart Stencil Vinyl has a much thicker backer than the regular Stencil Vinyl. This can make it a bit trickier to weed.
Placing the Stencil Vinyl
Placing Cricut Stencil Vinyl onto the surface requires a few steps. Take your time and follow the steps below for a picture-perfect finished project.
STEP 1: Apply transfer tape to your stencil. I’m using Cricut Standard Grip Transfer Tape. I like to use a piece of transfer tape large enough to cover my entire stencil surface.
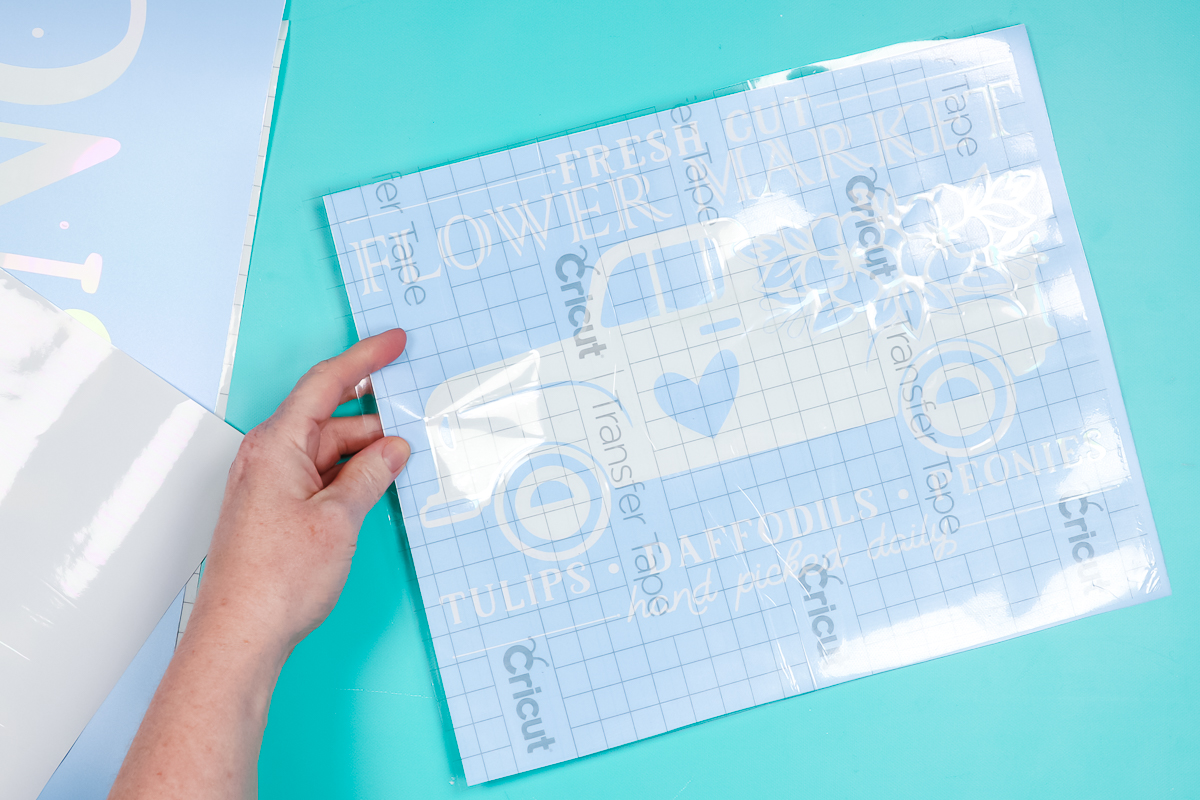
STEP 2: Use a scraper tool to really press the transfer tape onto the stencil. Burnish it across the top and then flip it over and burnish it from the back as well.
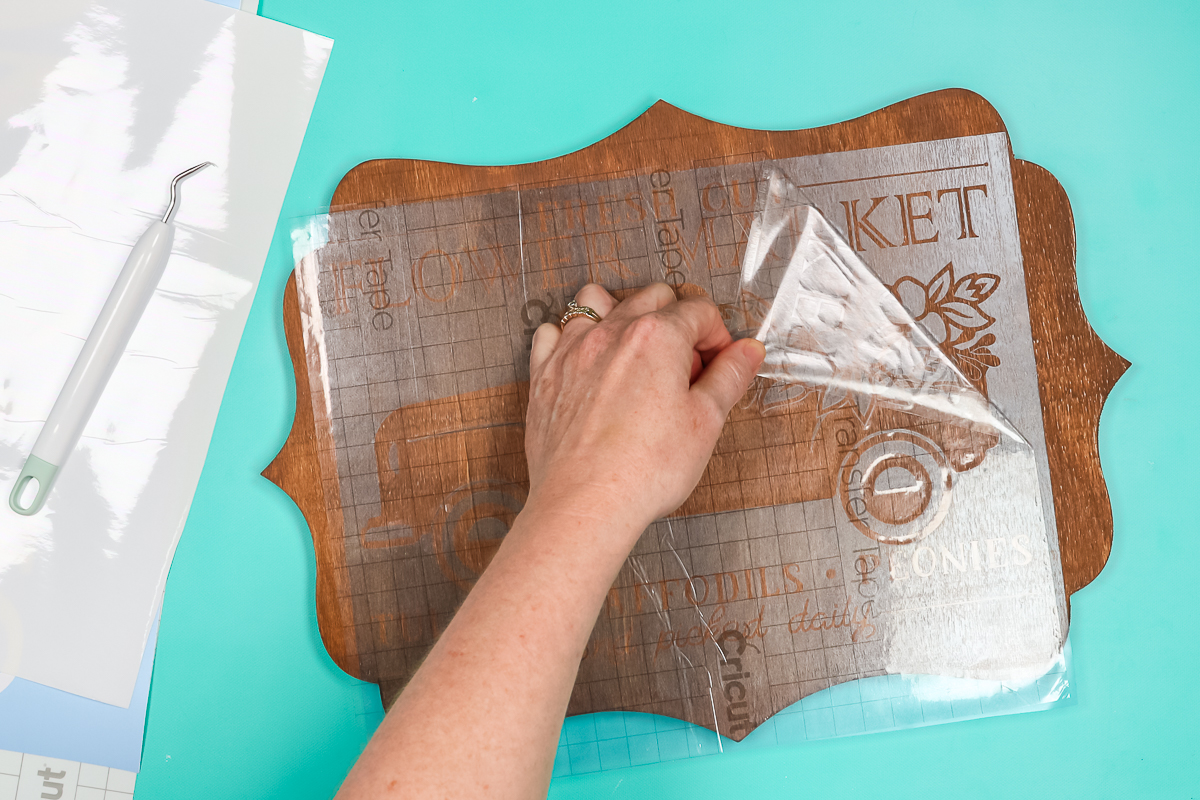
STEP 3: Try to peel back the stencil backing sheet. Remember, the backer on the Smart Stencil Vinyl is much thicker than the regular. The regular Cricut Stencil Vinyl backer is very easy to remove. The Smart Stencil backer takes a little more work just because it’s thicker. Take your time, go slowly and make sure to pick up centers of text and images on the transfer tape.
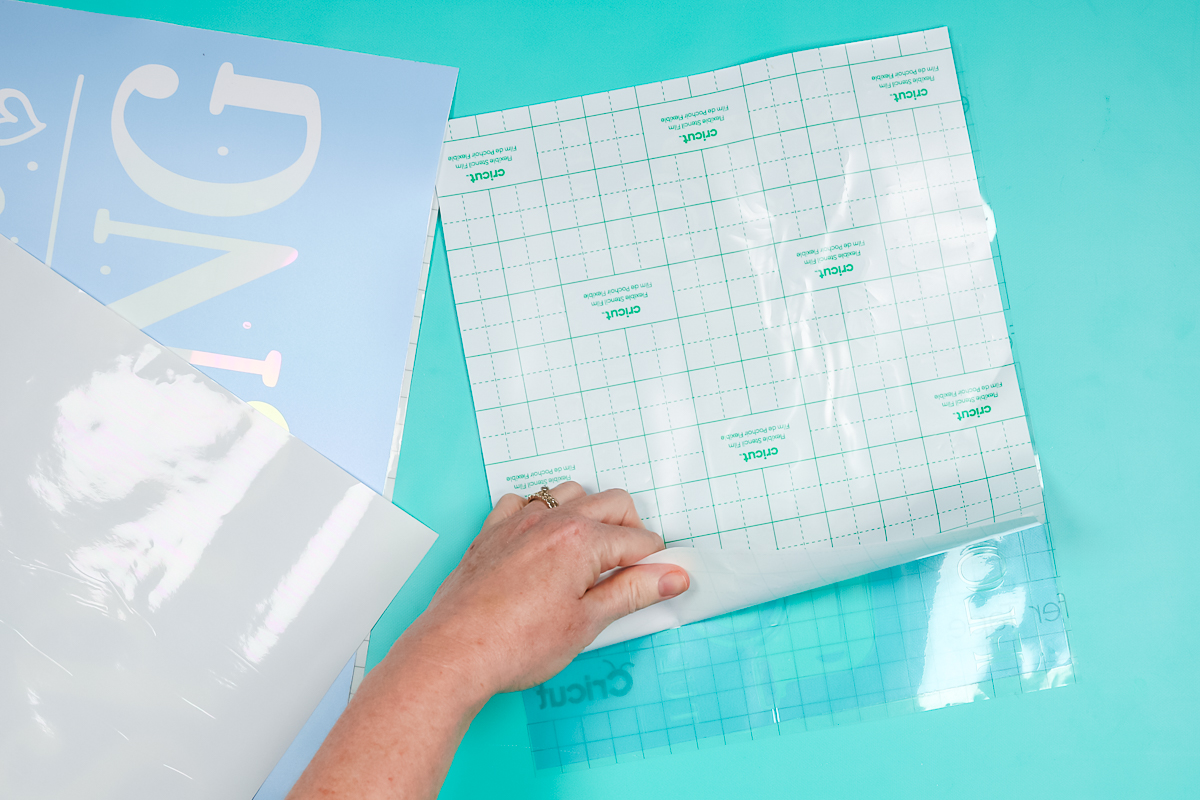
STEP 4: Peel the whole stencil away from the backer. Look at your blank and decide exactly where you want your stencil placed.
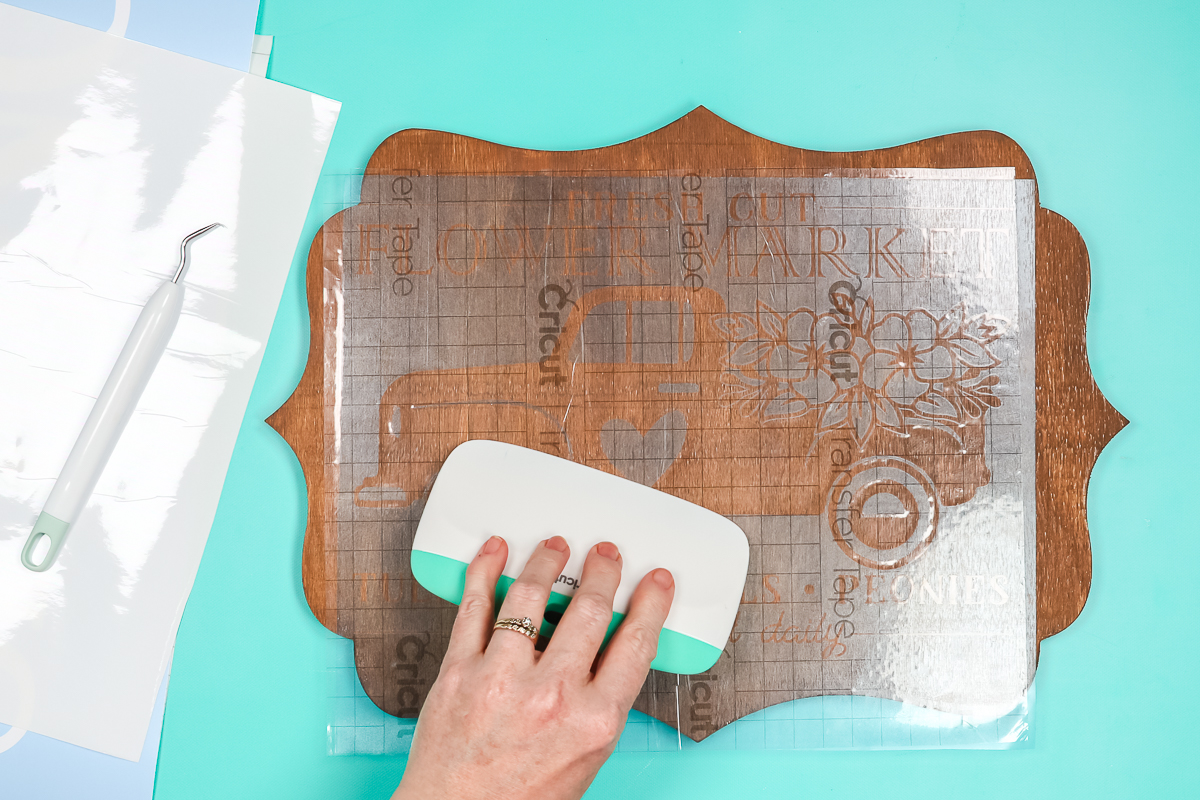
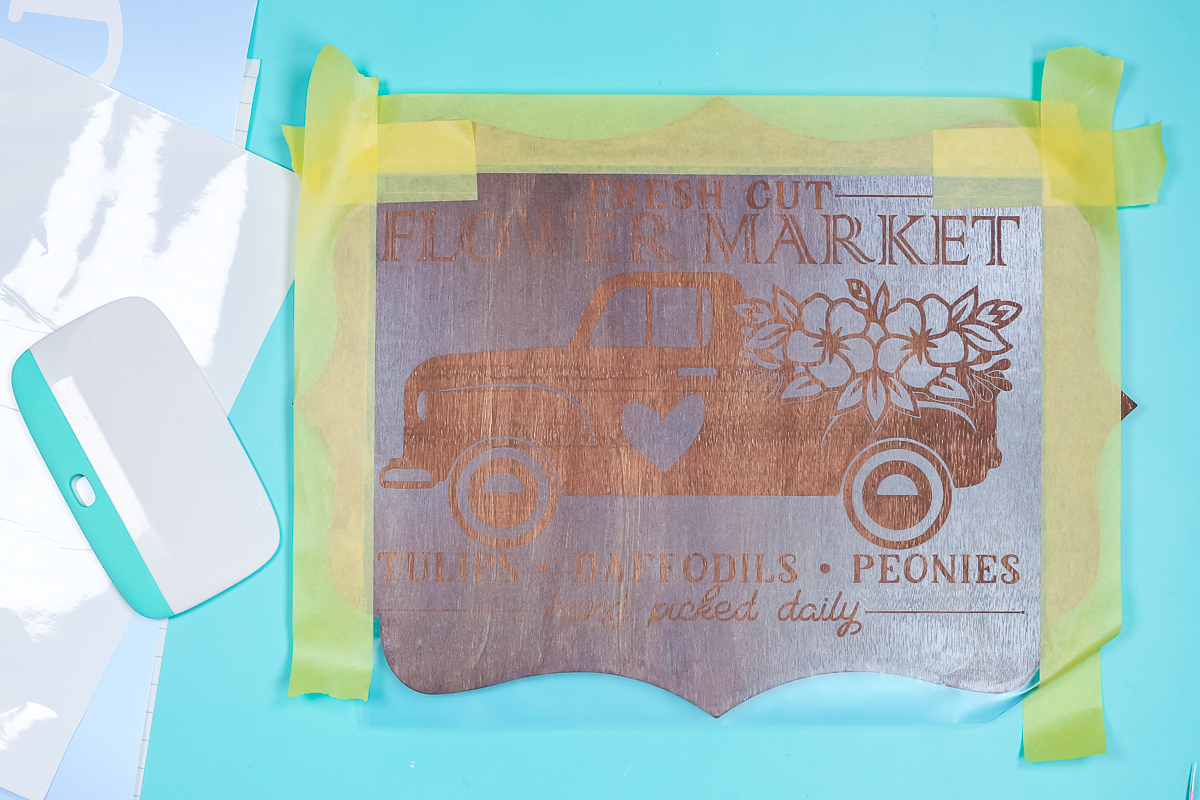
STEP 5: Locate the design on the sign. Once it’s located, press it down. Take your time in this step, it’s critical to get the stencil as flat as possible with no bubbles or wrinkles.
STEP 6: Starting at a corner peel up the transfer tape leaving the stencil on your sign. If the vinyl starts to peel up, burnish more then try to peel again.
STEP 7: After peeling off the transfer tape I went over the entire stencil with my scraper making sure each piece was stuck down really well.
STEP 8: Make sure all areas you don’t want to be painted are covered. I used painter’s tape along a couple of sides where my stencil vinyl didn’t cover.
The Best Way to Paint Using a Vinyl Stencil
Before you start painting, decide if you want to use one color of paint or multiple colors. If you’re using multiple colors, you may want to look at your stencil and decide if you need to cover any areas between colors.
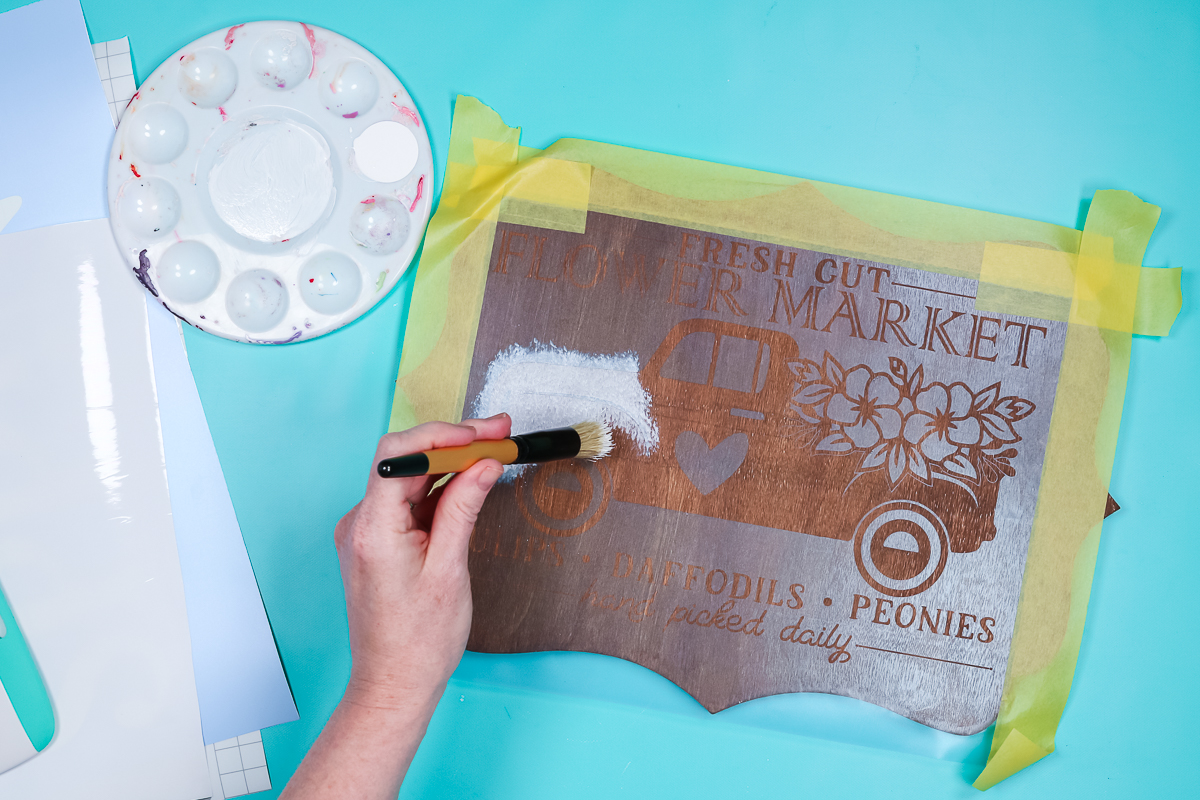
I’m using a stencil brush to apply the paint. Load the stencil brush with just a little bit of paint. It’s better to do multiple light layers that dry quickly. Start from the edge using a tapping motion and work your way to the center. Keep painting over the stencil using light coats until you have the coverage you want.
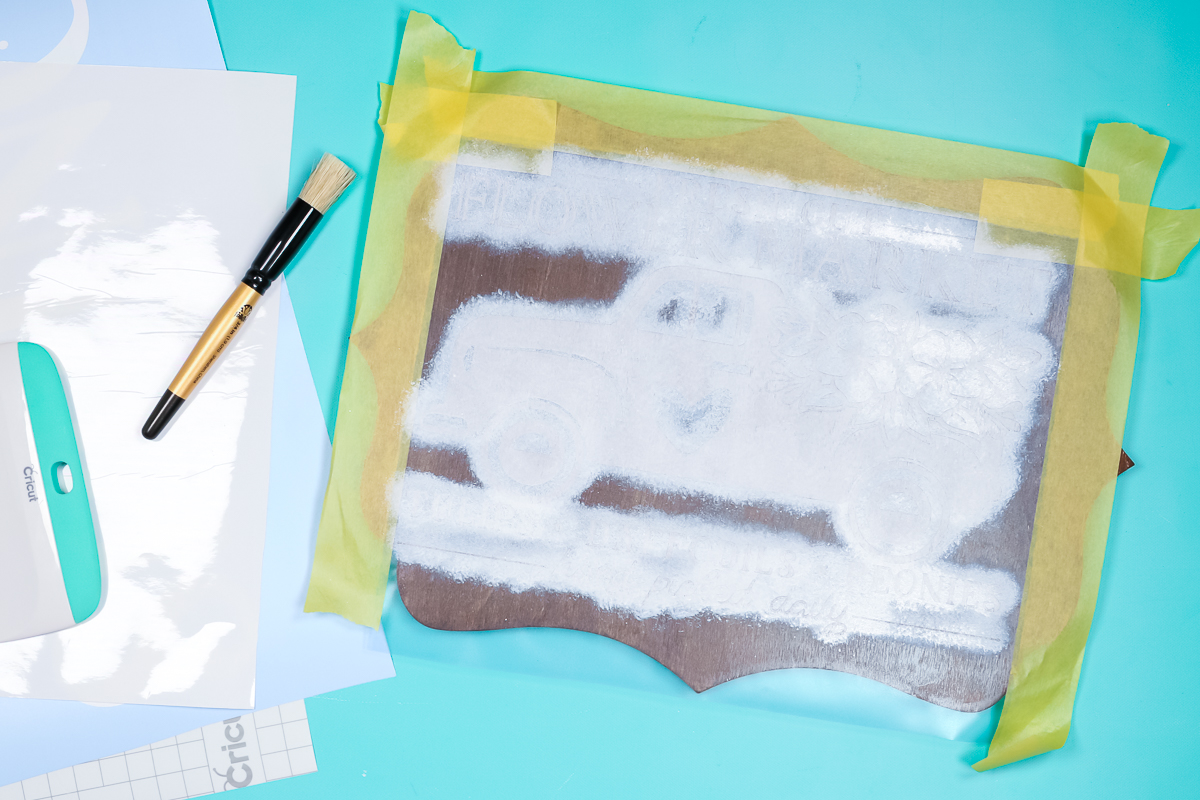
When you have the paint how you want, start peeling the stencil film back. The stencil will likely tear as you’re peeling it off, that’s fine just take your time and remove the entire stencil. Use a weeding tool to remove any pieces left on the sign. Make sure you don’t dig your weeding tool into your sign and scratch the paint.
Tips for Painting Stencil Projects
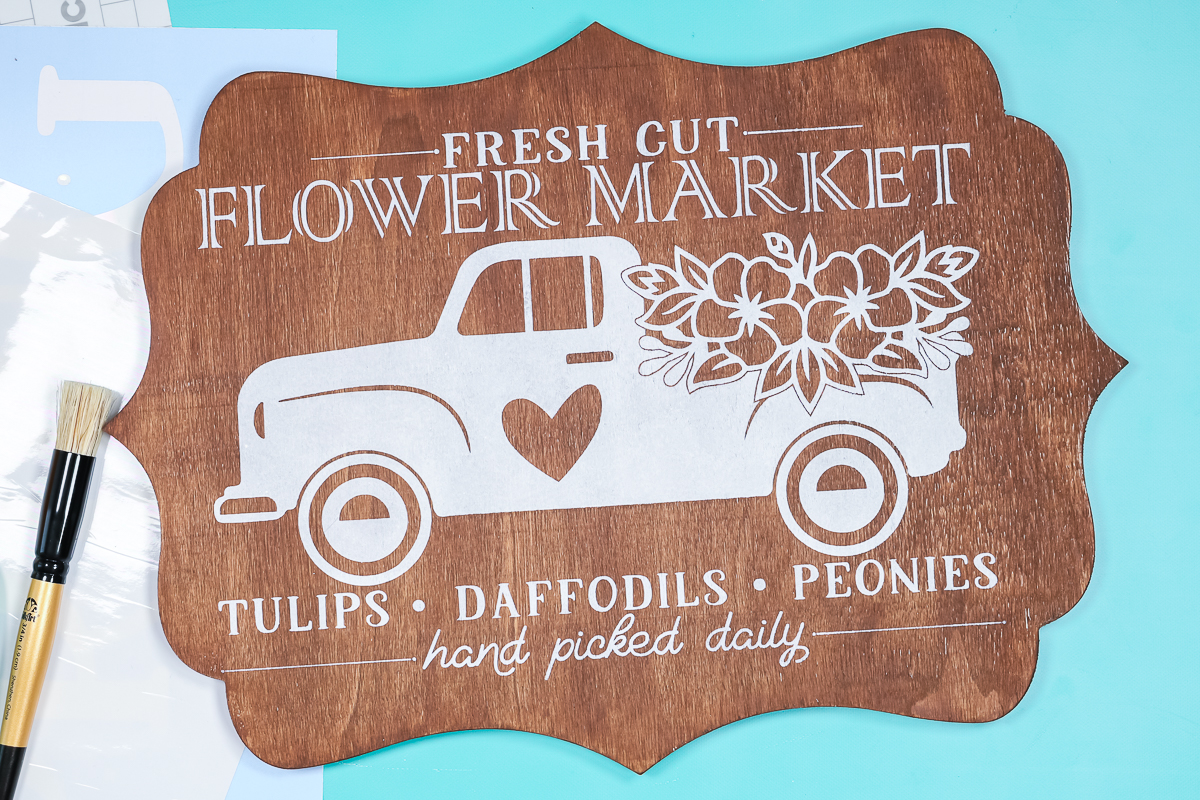
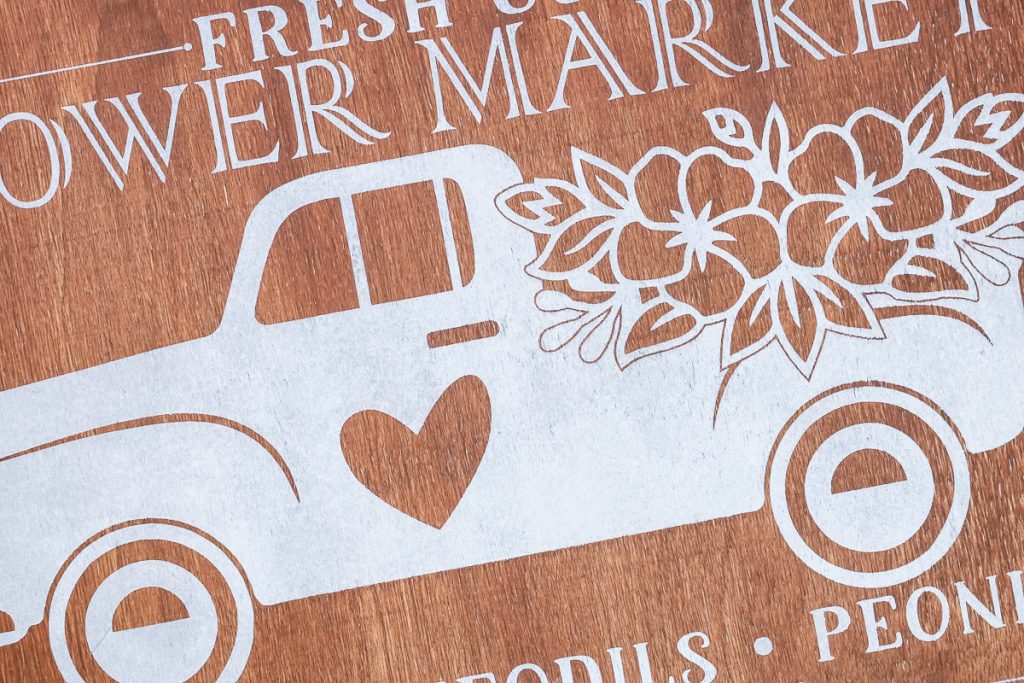
I tried two different surfaces for my Cricut Stencil Vinyl projects. The first project is a stained wood sign. The second project is a painted wood sign.
The stained wood sign was perfect. I had no bleeding under the edges of the Stencil Vinyl and would highly recommend this project.
The painted wood sign was a little less perfect. I had some bleeding along the edges and they’re not nearly as clean as the stained sign.
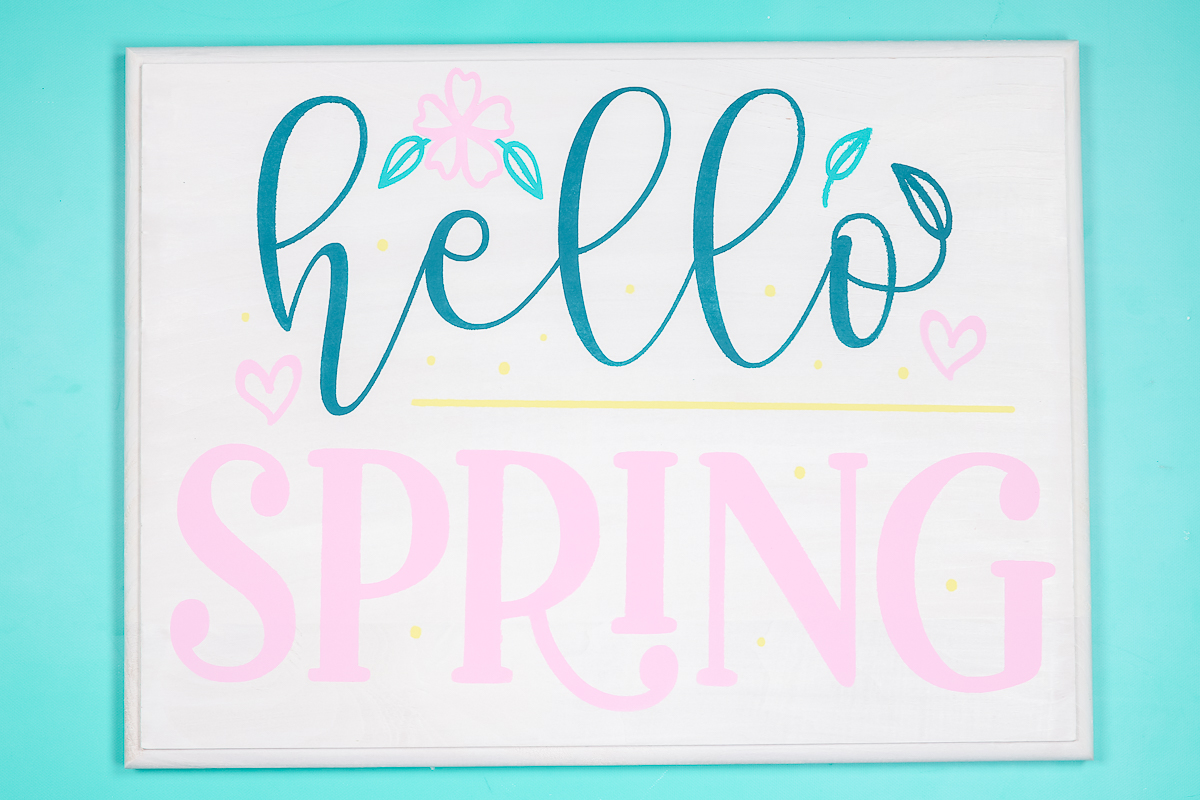
One of the best ways to prevent bleeding along the edges is to use the same color paint as your sign and lightly paint over the stencil. Once the paint is dry proceed with the other colors of paint. I didn’t do that for this project because I really wanted to put this new material to the test.
For a painted board, I would probably use a base coat that matches your sign paint color before you start stenciling with your color(s). I recommend applying one coat of the base coat, allowing it to dry, then adding your colors on top of it.
Final Thoughts on Cricut Stencil Vinyl
What do I think of Cricut Stencil Vinyl material? Performance-wise I found it fairly similar to the stencil vinyl Cricut had before. The new Cricut Stencil Vinyl is more flexible which made it easier to weed. I think the material itself changed a little bit but it works about the same as it always has.
There didn’t appear to be a difference between the Smart Stencil Vinyl and the new regular Cricut Stencil Vinyl. Both seem to be the same material but the Smart Stencil Vinyl backer was thicker. All Smart Materials have a thicker backer so the machines can pull it through.
On my machine, I felt like the default setting for each material cut a little too deep. I highly recommend always doing a test cut when using a new machine, new blade, or new material. In the future, I’ll use the less pressure setting.
As far as stenciling, it worked great and worked the same as any other stencil vinyl that I have personally used. Again, I thought it worked better on the stained wood piece. It worked better without adding any kind of base coat. If you feel like your stained wood project isn’t really smooth and needs a base coat you would probably want to use Mod Podge to seal the edges before painting.
If you have any questions about Cricut Stencil Vinyl feel free to leave them in the comments. I have made many different stencils with my Cricut machine over the years and have a lot of experience. I’m happy to answer any questions you have.