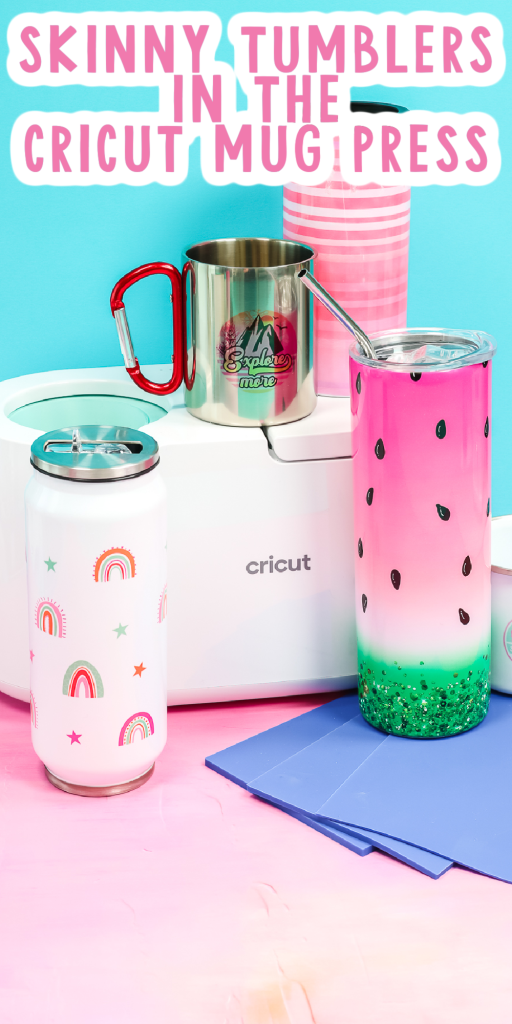
This post and photos may contain Amazon or other affiliate links. If you purchase something through any link, I may receive a small commission at no extra charge to you. Any supplies used may be given to me free of charge, however, all projects and opinions are my own.
Who is ready to make skinny tumblers in the Cricut Mug Press? This post has been over a year in the making because you’ve been asking for it that long. You’ve asked me how to make 20 oz skinny tumblers in the Cricut Mug Press and before now I didn’t know how to answer that question. I’m happy to say I finally found a solution that works. I have successfully made 20-ounce tumblers in the Cricut Mug Press! Keep reading to learn more.
Looking for more tumblers you can make in the Cricut Mug Press? Check out this post here.
Using my method you can make your own skinny tumblers in the Cricut Mug Press. Click play below to watch me make skinny tumblers in the Cricut Mug Press.
Can’t watch the video or miss some of the information? You can also follow along below!
How to make Skinny Tumblers in the Cricut Mug Press
I’ve been trying to figure out how to make skinny tumblers in the Cricut Mug Press pretty much since it came out. It was a lot of trial and error and frustration but with the help of the PYD Life inserts, I finally have skinny tumblers made with the Cricut Mug Press that I’m happy with.
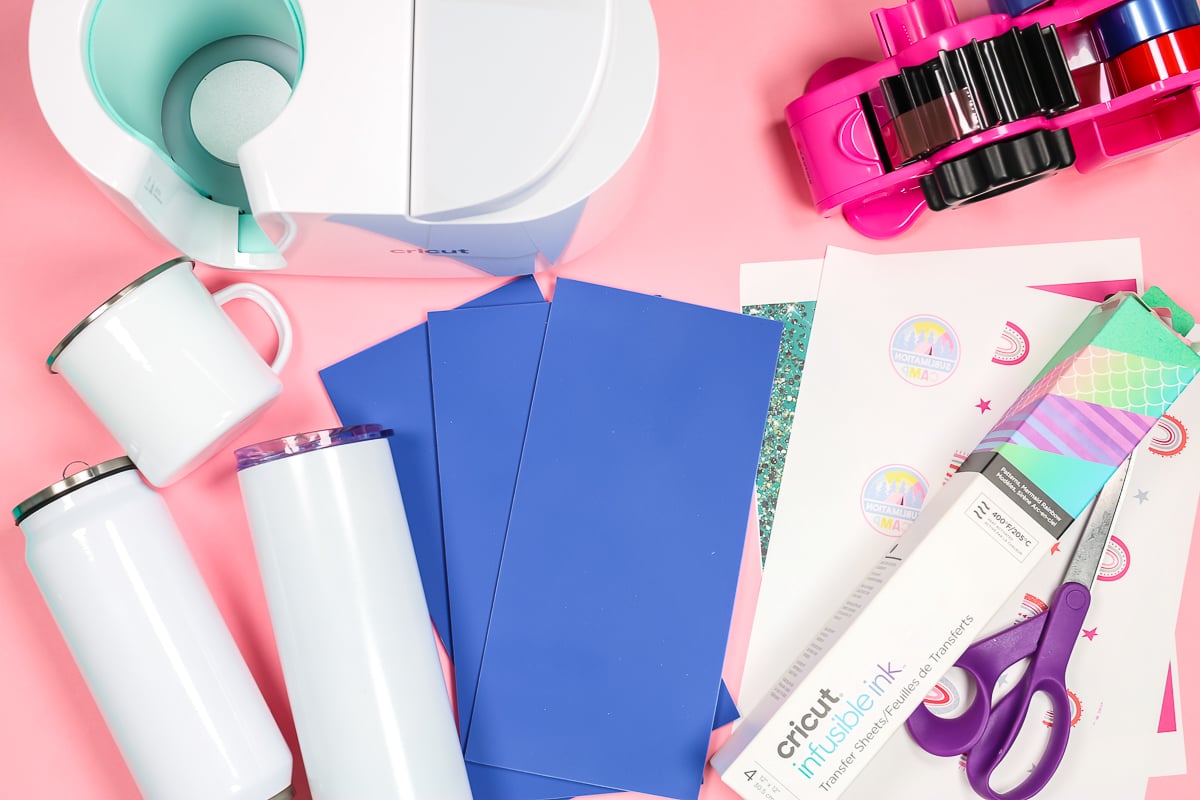
Supplies used:
Blanks used:
Designs used:
Using Sublimation Blanks
I’m using sublimation blanks, which means they have a poly coating on the outside to accept sublimation or Infusible Ink. All of these are too small for the Cricut Mug Press currently, so I am going to use the PYD Life inserts. You can pick out other blanks, however, you will want to make sure they have a sublimation coating for this process.
What do I use to make Skinny Tumblers in the Cricut Mug Press?
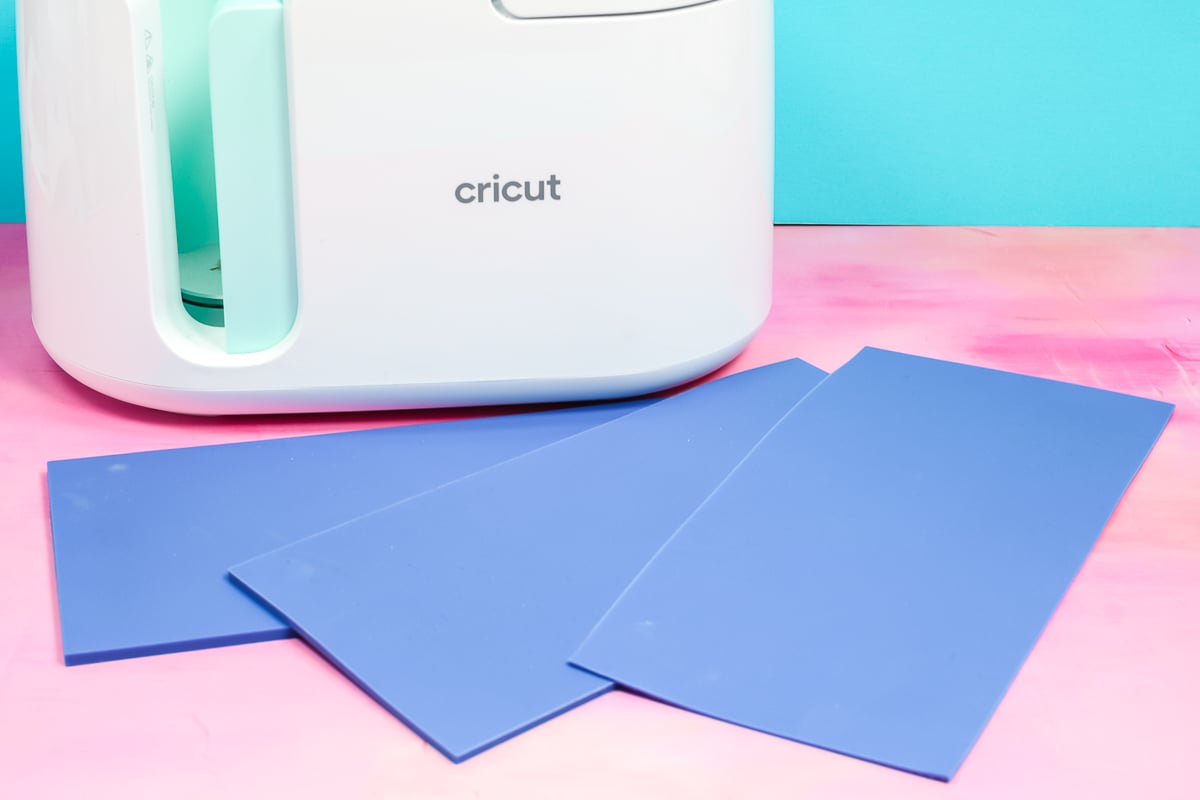
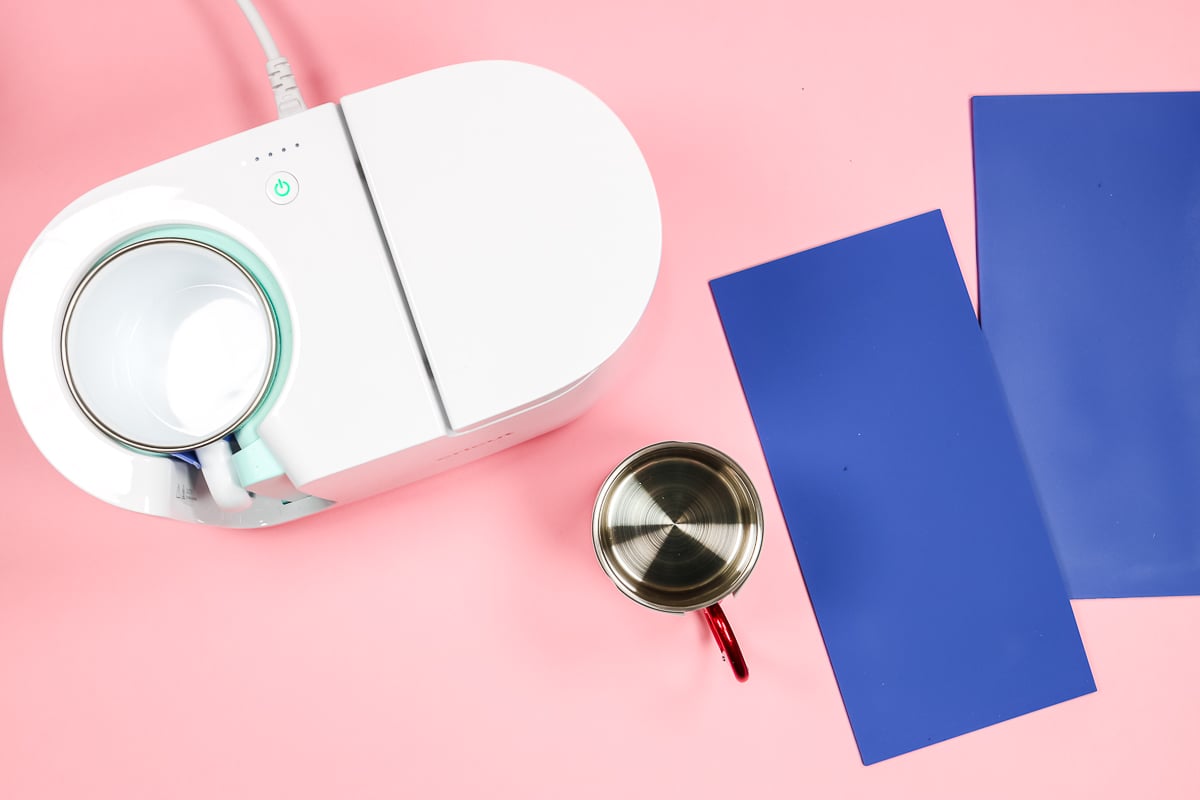
PYD Life has a set of heat-conductive inserts in various thicknesses. They come in a set of three. Once you get these inserts, you can use them to expand the size of whatever you’re pressing to fit in the Cricut Mug Press.
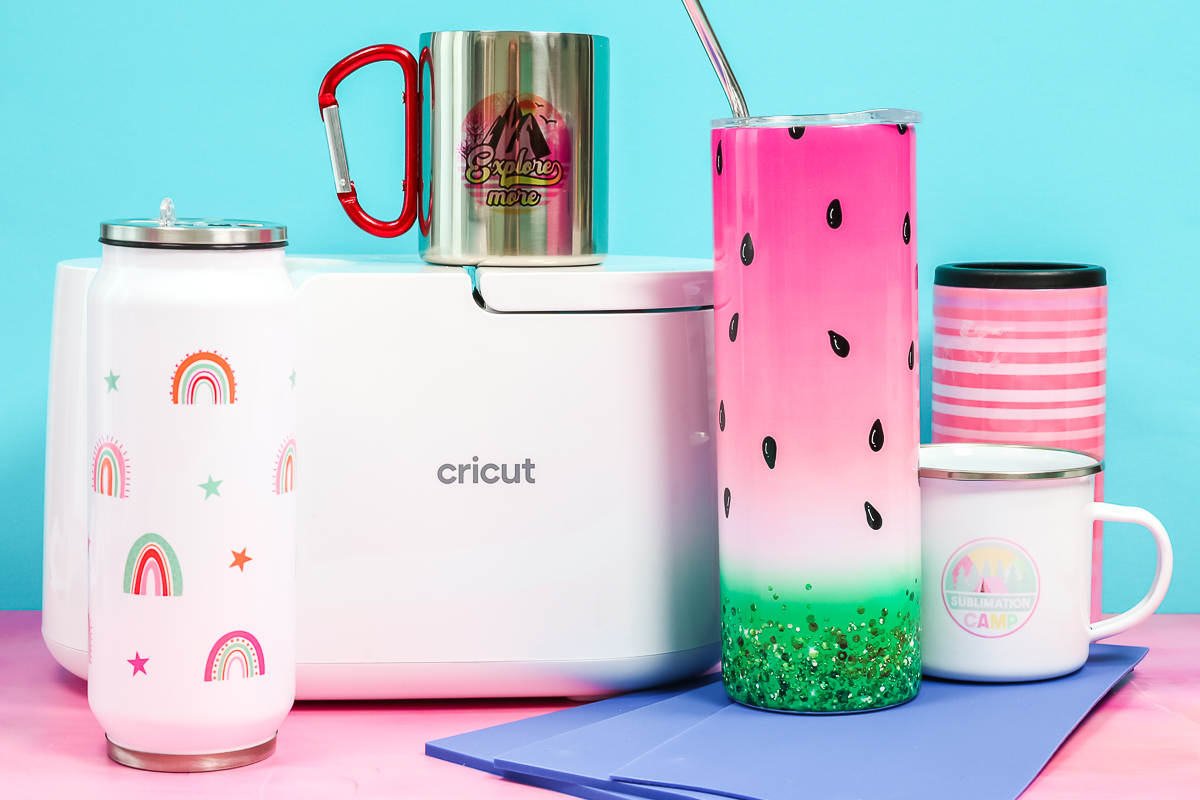
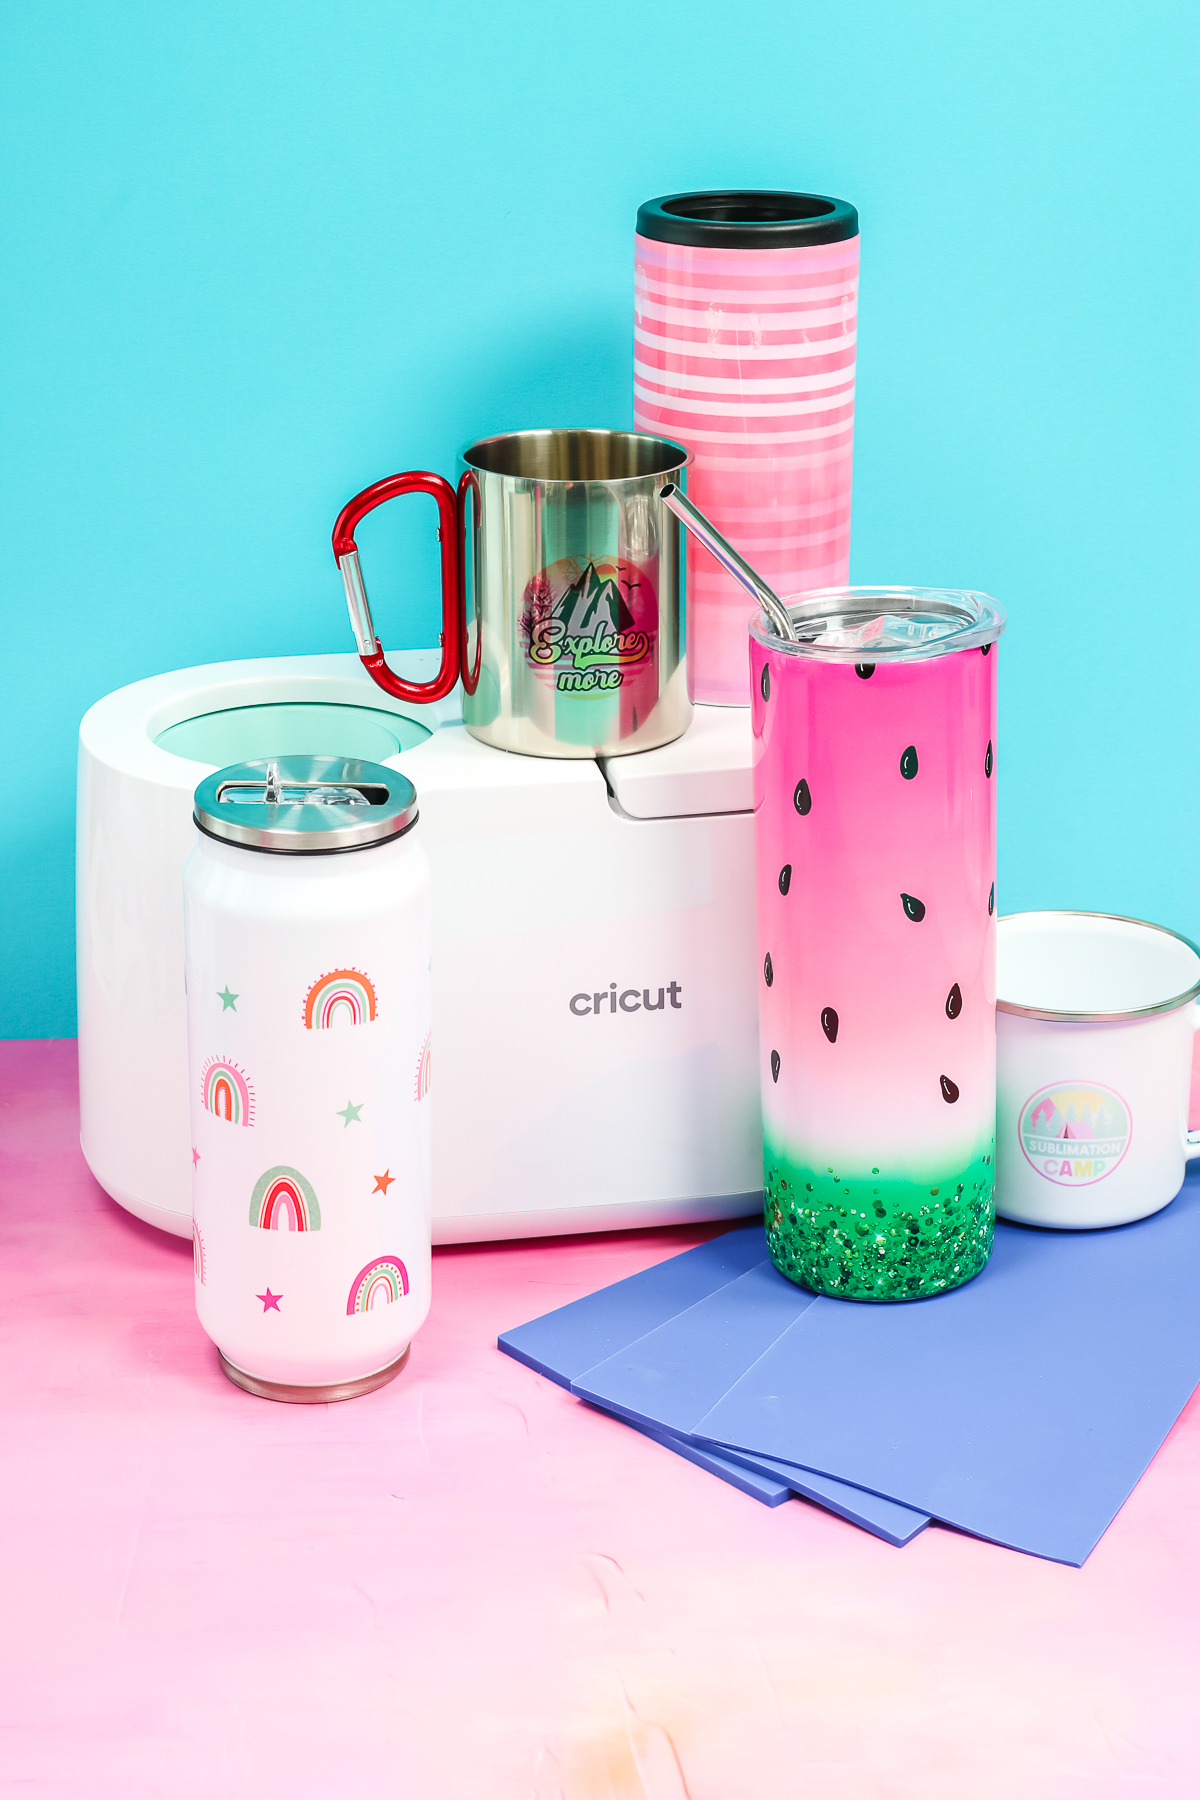
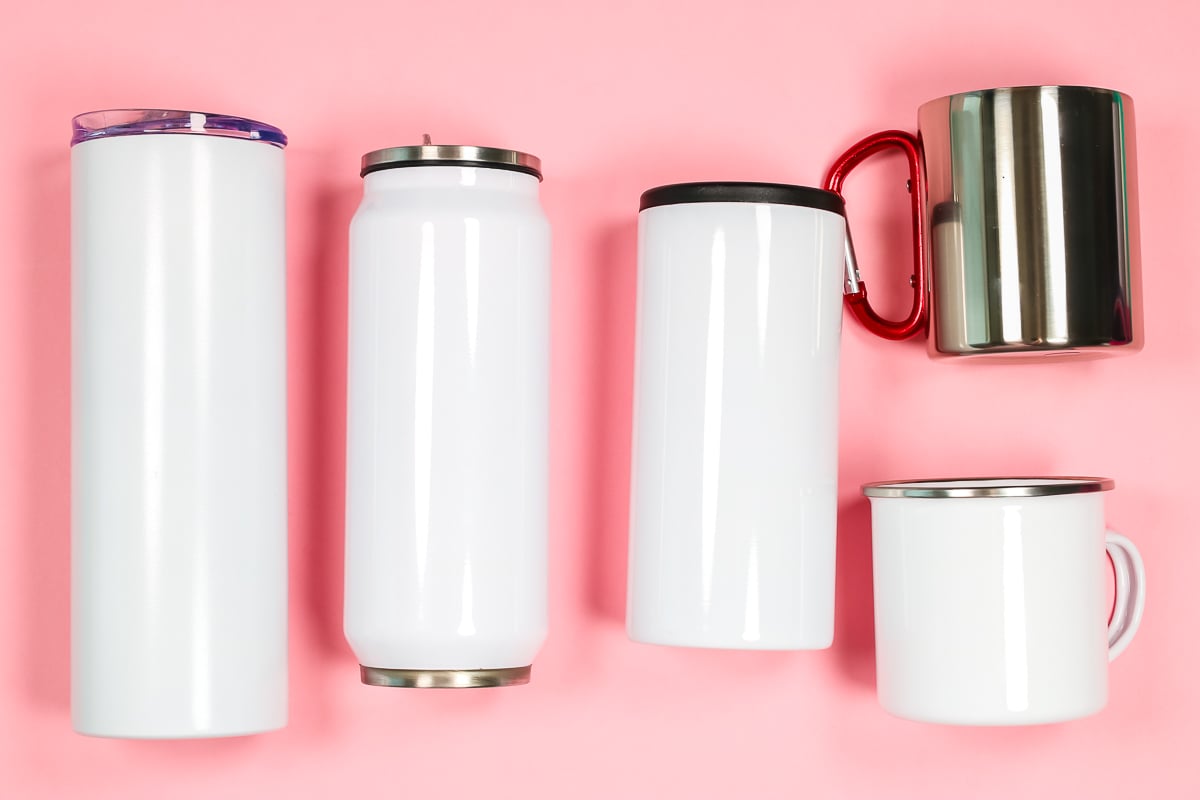
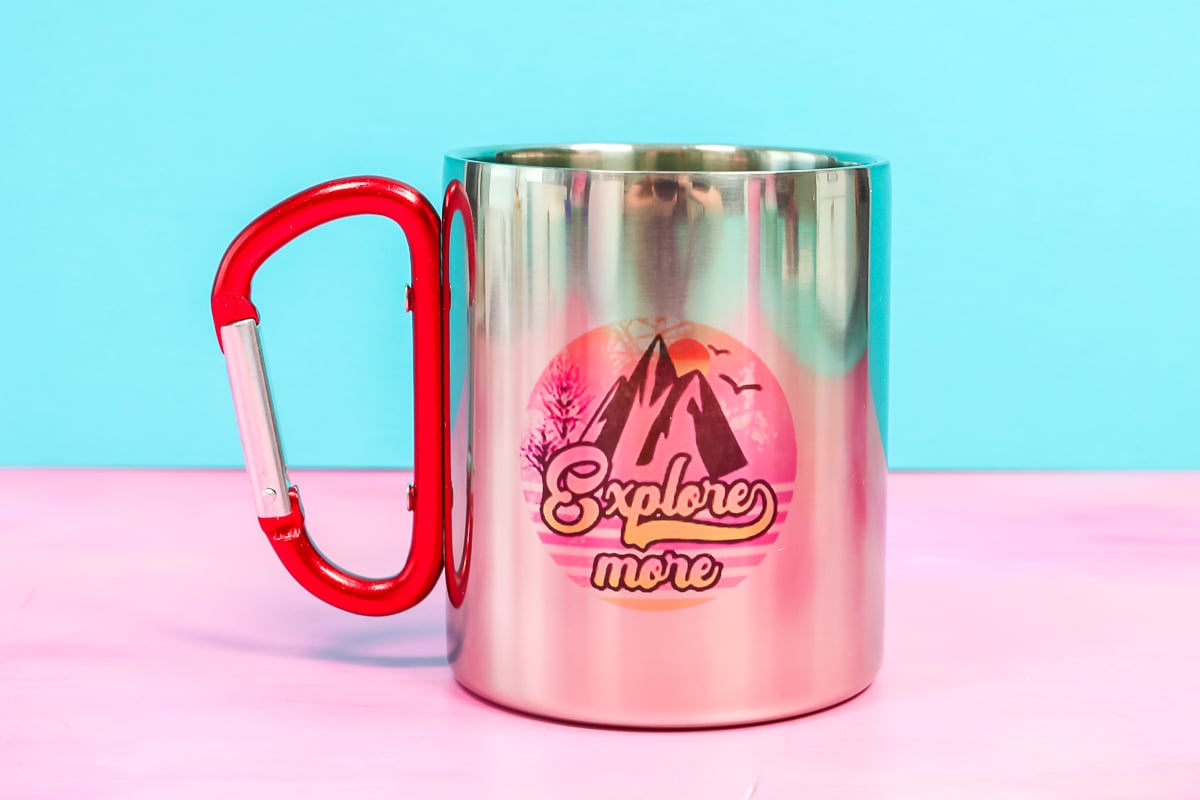
That means that not only are we able to make skinny 20-ounce tumblers, but we can make a stainless steel can, a tall can cooler, a camping mug, and even a steel mug. All of these were too small for the mug press when I started, but by wrapping these inserts around them, I was able to successfully do sublimation on these blanks.
The package comes with three PYD Life inserts and they are of various thicknesses. You have one that is small, one medium, and one large, they step up in thickness. You can also use more than one on a blank to expand the size even more.
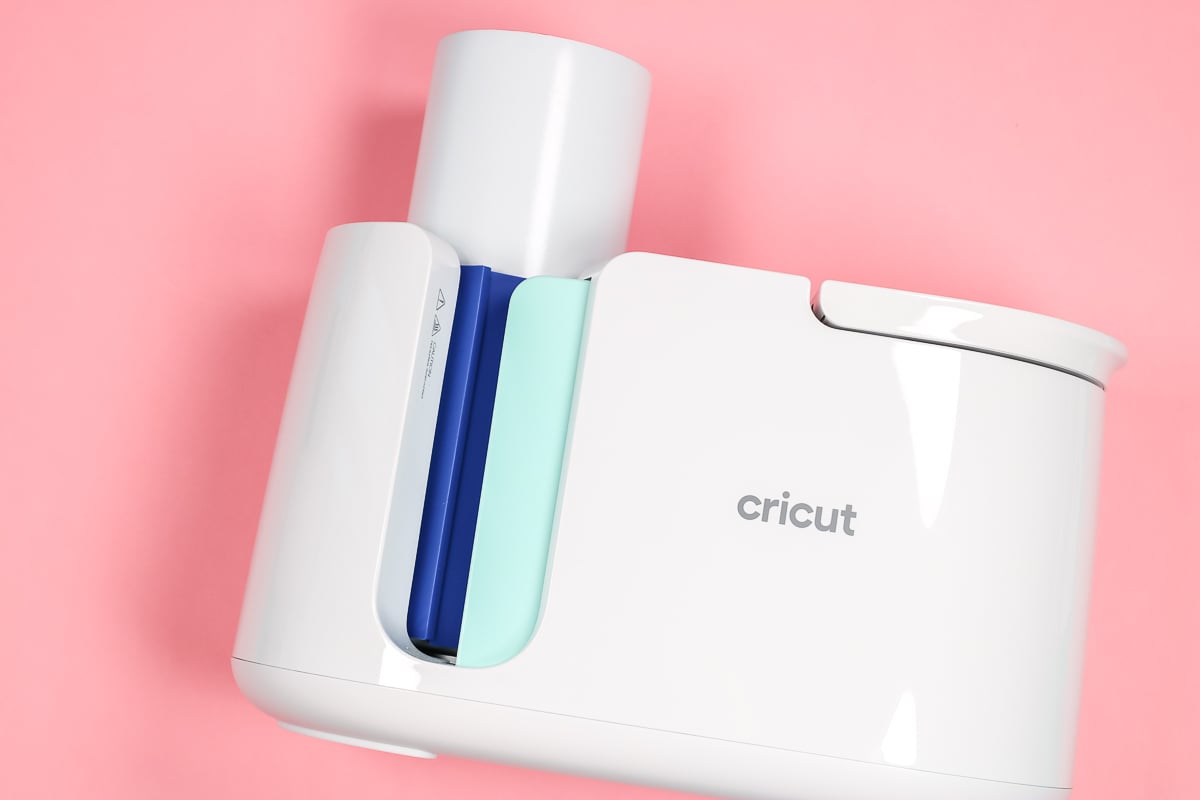
How to Use the Silicone Sheet Inserts
First, let’s look at what the PYD Life inserts do with the Cricut Mug Press and what a difference they make. If I add any of these items to the Mug Press and closed the handle it wouldn’t be tight enough. In fact, I can pull them out without even opening the handle of the Mug Press.
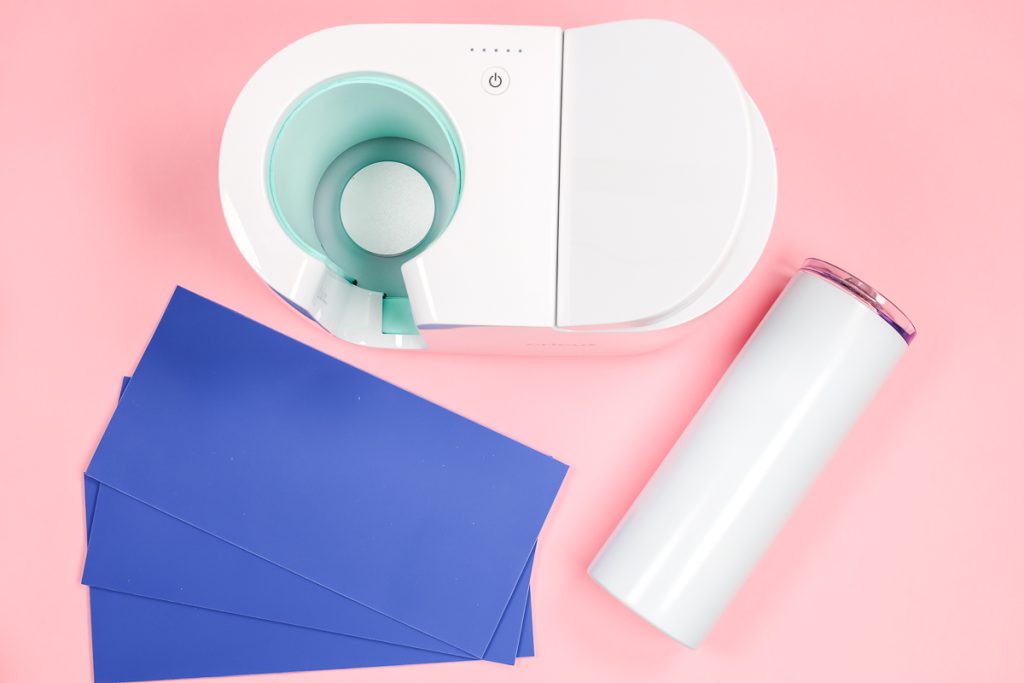
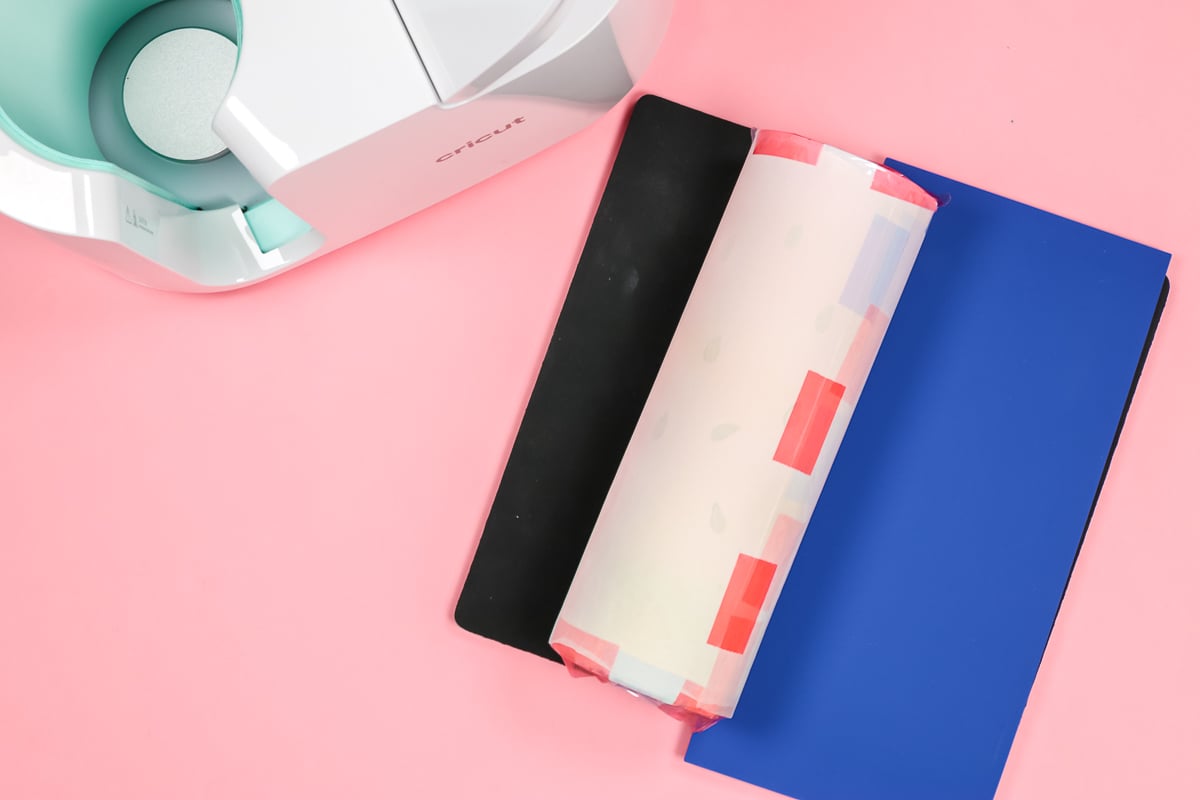
If I was to use this medium thickness insert and wrap it around this skinny tumbler, it goes all the way around, and it even overlaps just slightly (that’s okay), I’m just going to put the overlap to the outside of the mug press and add the tumbler with the wrap in place.
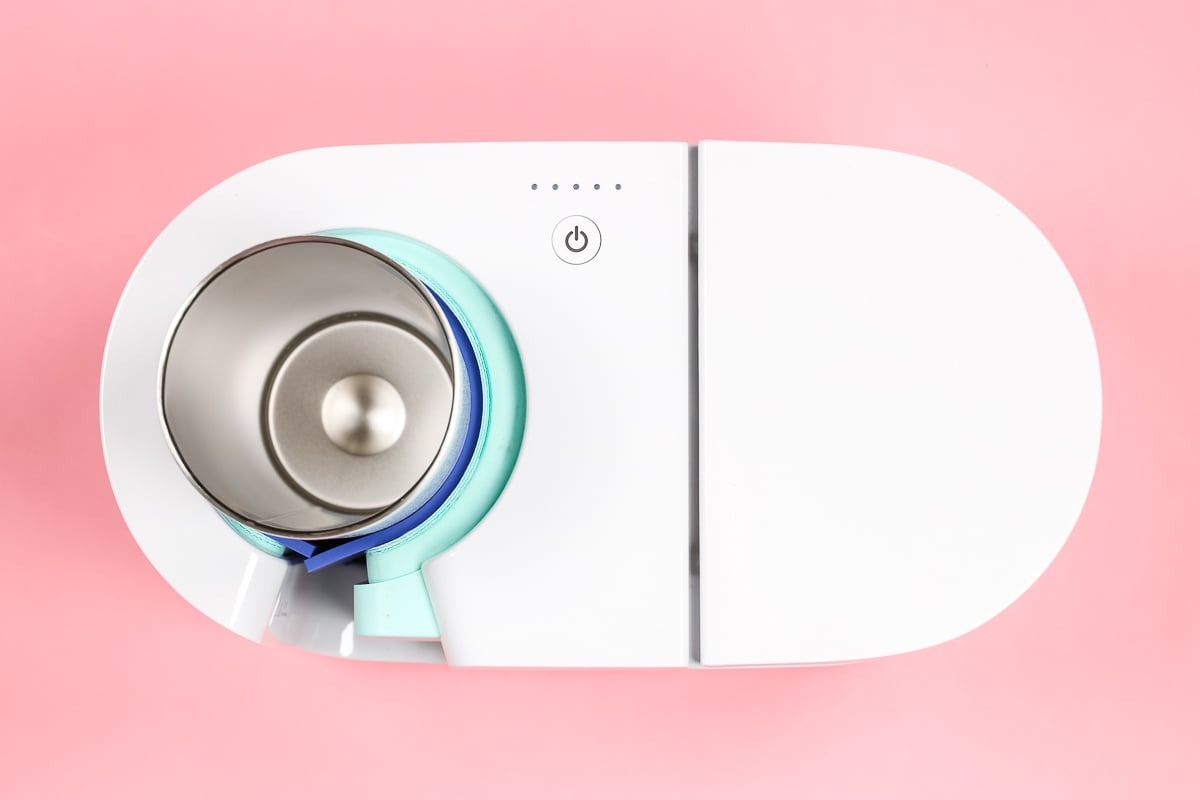
I have a variety of blanks that we’ll use with all three of these inserts, small, medium, and large, depending on the blank itself. You can see that I locate any overlap of the insert to the front of the mug press so the blank is held tightly. Also, these inserts slip down so I use heat-resistant gloves to make sure it is up near the top of the mug press once closed.
Prepping Your Sublimation Blanks
Let’s prepare these blanks for the mug press.
- For each of these blanks, you’ll want to remove any plastic pieces, straws, or things that might melt and damage the machine.
- Next, you will want to clean them well. I used a lint roller to clean these.
- Once it’s clean, and you have all the dirt and debris off, you’ll add either your sublimation print or your Infusible Ink. To do this, I like to stand the tumbler up to make sure everything is on straight.
- Then, I like to pull everything tight and add heat-resistant tape along the seam first. Then, I like to tape the entire bottom. Tape it all down and then press it down on the bottom, ensuring the sublimation is formed along that bottom edge.
- I continue around the bottom of the tumbler, adding tape around and pressing it down well. Then add a few pieces at the top. I just add these to make sure everything is held still.
- Next, I add protective paper around the outside to protect my press. Then, I add just a few pieces of tape to hold the paper into place. Now, this tumbler is ready for the mug press.
How to Press The Skinny Tumbler
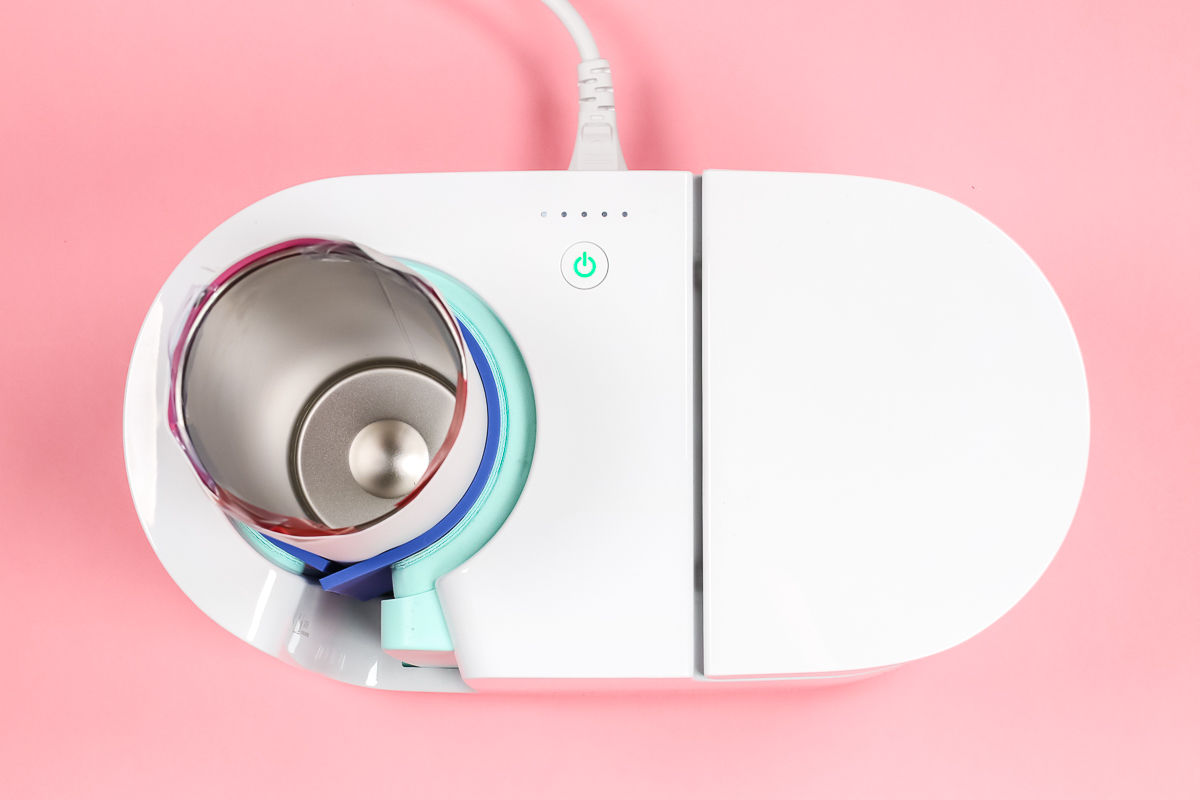
Let’s start with that skinny tumbler and the medium insert. My mug press has completely heated up. Wrap the insert around and drop it into the mug press. Go ahead and close the mug press, then wait until the lights go across. Once it beeps, use heat-resistant gloves, rotate it 90 degrees, and press down again. This time the timer may not work. I just use my phone to time for 2 minutes.
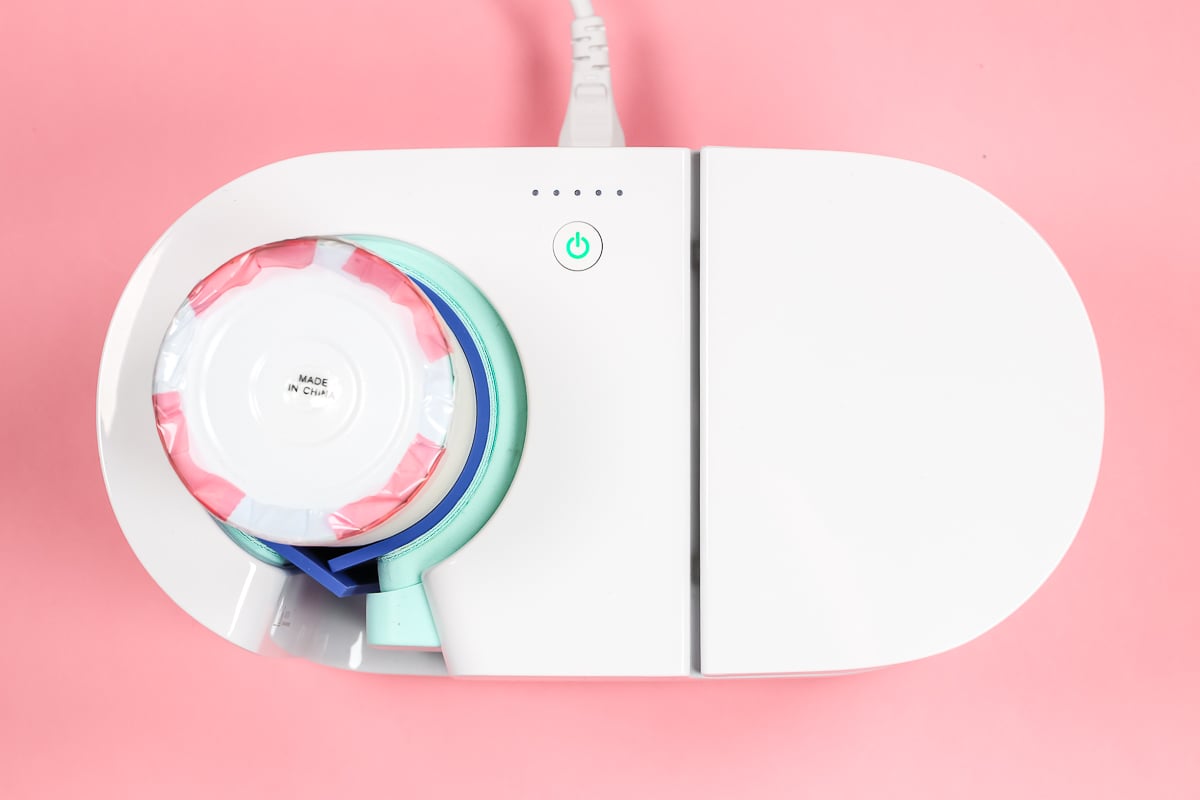
Next, you can flip it upside down and repeat the same process twice. Once at this angle and once rotated. When rotating the tumbler, make sure the insert does not move. Leave the insert opening aligned with the opening of the mug press itself. After flipping, press for 4 minutes on the first side and 2 minutes after rotating. Chances are your mug press will be too hot to time your press.
The only thing about these inserts is that you may have to adjust them each time because they tend to slip down in the mug press. They do fall down, and you will need to adjust them back up. Be sure to use heat-resistant gloves to do this.
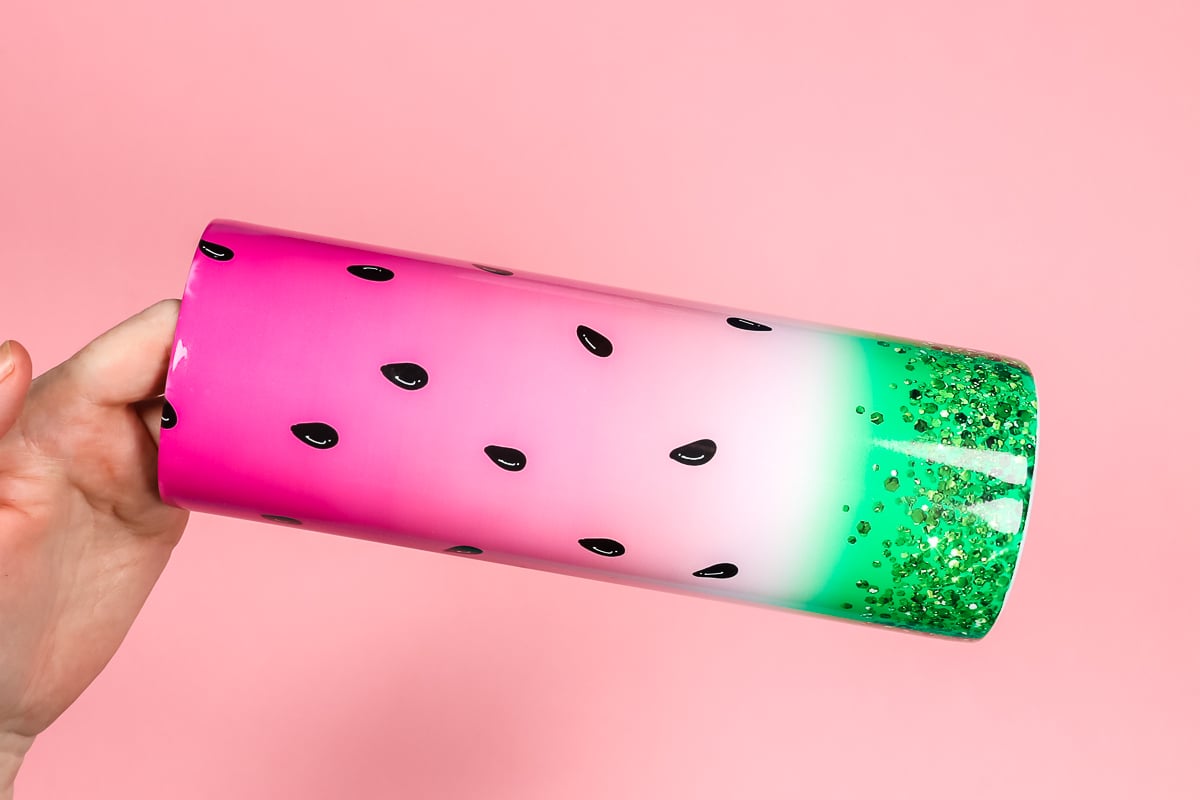
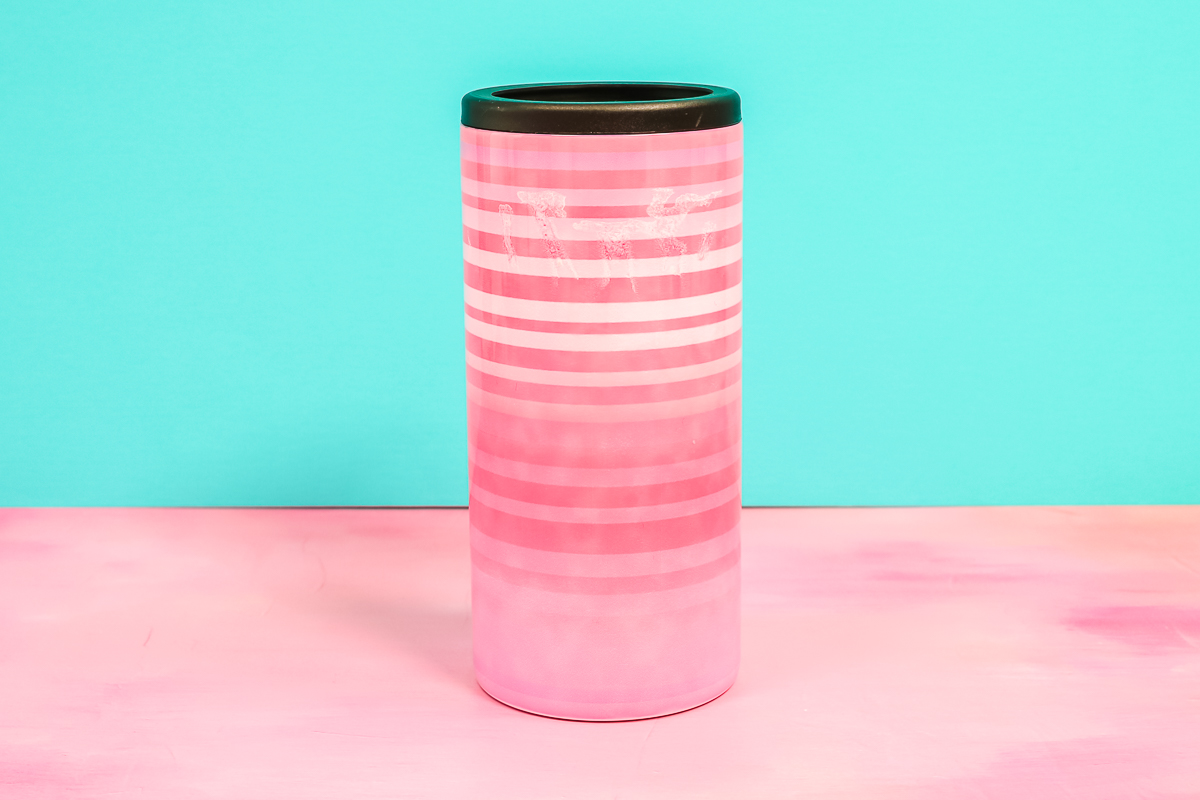
Now we can look at the finished tumbler and see how it looks. Make sure you use heat-resistant gloves to remove the tumbler from the Mug Press and place it on a heat-safe surface to cool. You can see, there is a little fading at the top of this skinny tumbler.
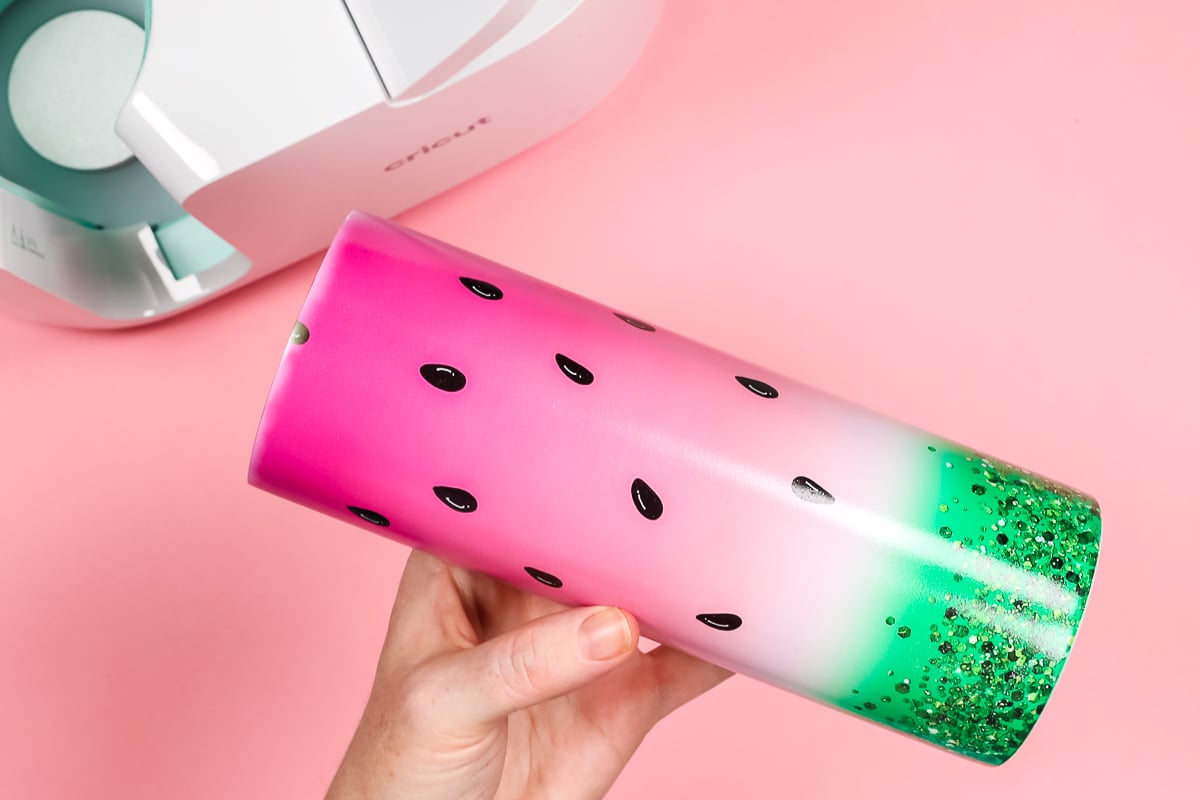
I found that raising the tumbler up slightly after you flip it helps with this issue. The bottom of the mug press has a ring and that tumbler top slips right over that forcing the top too low into the mug press itself. By holding up the tumbler and closing your press on those last two presses, you should see better results! Here is a skinny tumbler after I used that procedure and it is so much better!
How to Press Small Mugs
Now that you have seen that skinny tumblers in the Cricut Mug Press are possible, what else can it do? Small mugs can also be tricky with the Cricut Mug Press. The PYD Life inserts allow you to create permanent customized mugs in even more sizes. Things like camping mugs do not fit tight enough on their own to add a design. Add an insert or more than one insert to get the look you want on smaller mugs.
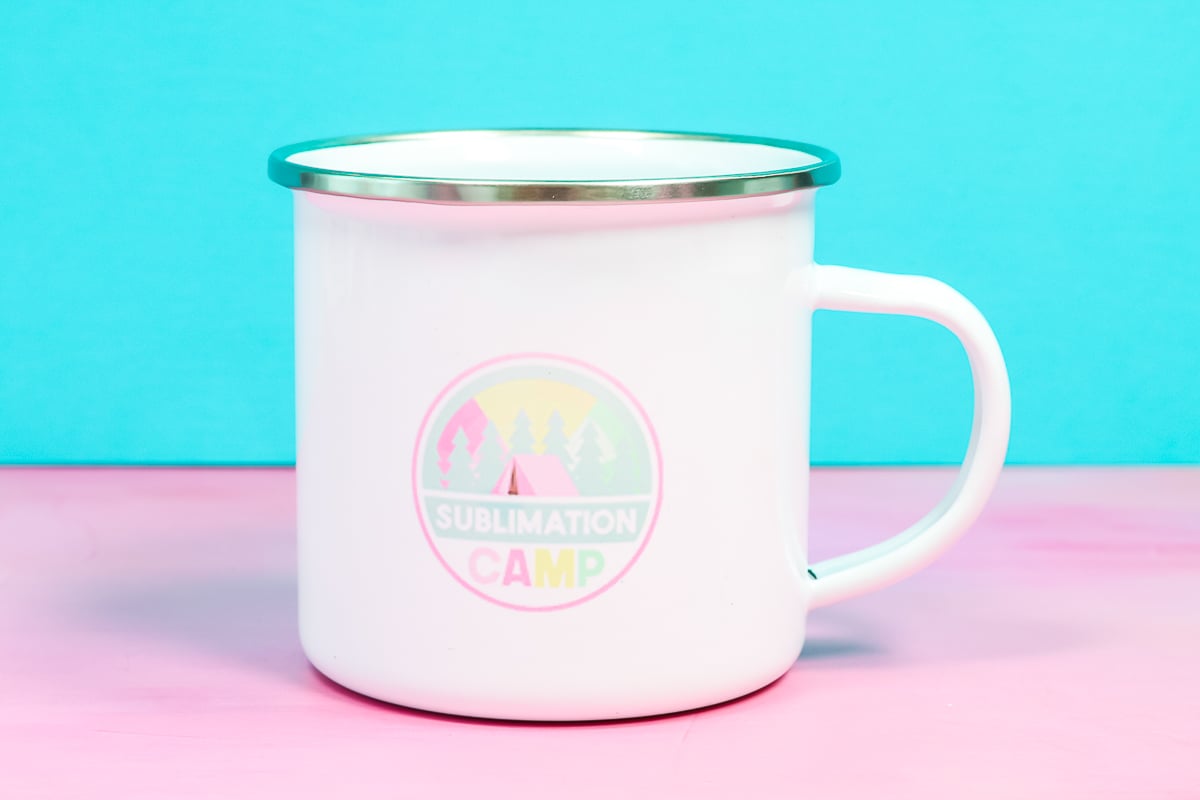
The smaller mug sizes are easier to make than the skinny tumblers. You don’t have to flip or rotate the smaller mugs. They can be pressed one time. Just add your wrap around the mug and put it in the mug press. Press down the handle and wait for your mug press to beep! Then you are done!
Then just remove the sublimation paper from your mug to reveal your gorgeous design. You are going to love using these Cricut Mug Press inserts to make camping mugs and so much more!
Final Thoughts on Using the PYD Life Mug Press Inserts
Look at all the different-sized tumblers and mugs I made with the Cricut Mug Press. I can’t wait to see what you make now that you know you can make skinny tumblers in the Cricut Mug Press. I will say that I really liked the inserts overall! They are a great way to expand the items you can make with the Cricut Mug Press.

However, I was not able to use the Infusible Ink sheets with this method. Regardless of how many times I pressed these inserts, they always released a LOT of moisture. The only time that was visible on my project was when I pressed a full design made from Infusible Ink Transfer Sheets. So, if you are going to use those sheets, I would recommend using a small design and not a full wrap.
Otherwise, I was able to make all sorts of projects successfully using these inserts. You may find a bit of trial and error is required. But overall, these inserts are a great addition to your Cricut Mug Press. I hope this has helped you, and if you have any comments or questions, leave them in the comments and I will happily help you out! I know you will love making skinny tumblers in the Cricut Mug Press.