This post and photos may contain Amazon or other affiliate links. If you purchase something through any link, I may receive a small commission at no extra charge to you. Any supplies used may be given to me free of charge, however, all projects and opinions are my own.
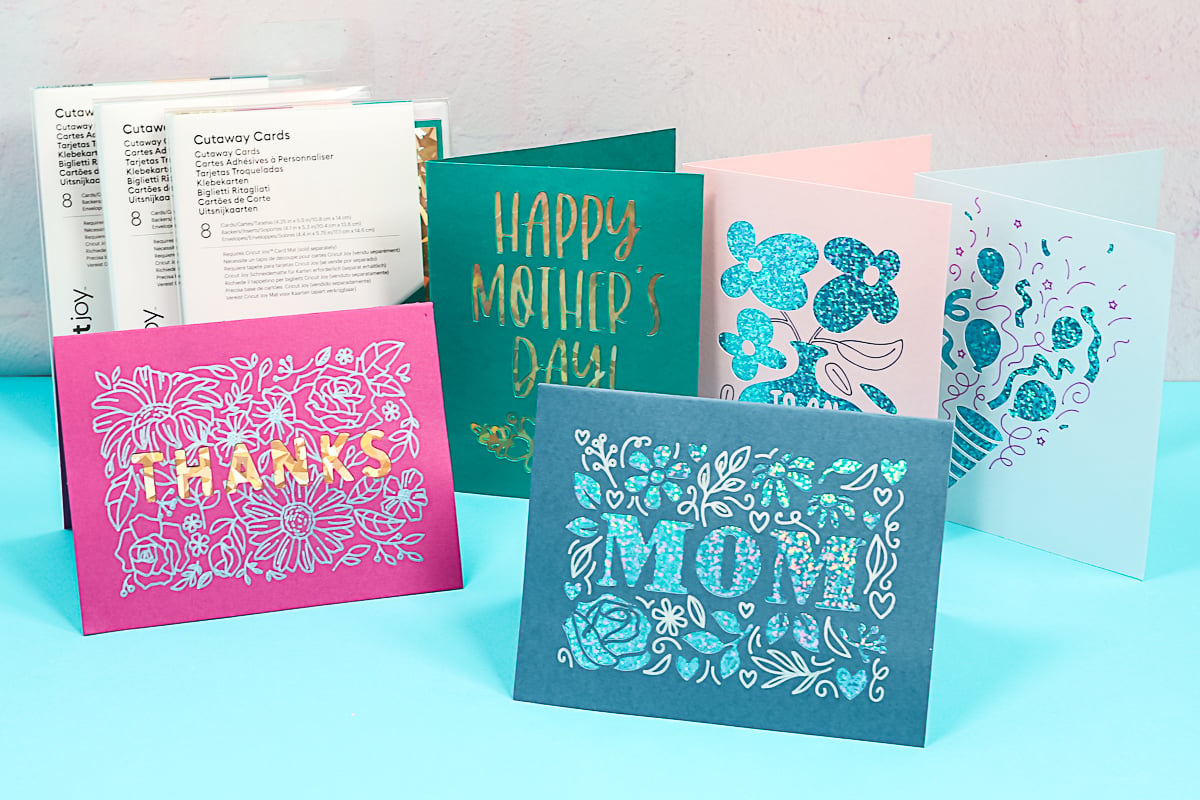
Have you seen the new Cricut Cutaway Cards? These were released for the Cricut Joy a few weeks ago. I’m here to show you how to use Cutaway Cards on your Cricut Joy, Cricut Maker, Cricut Explore, Explore 3, Maker 3, and any machine that you might have. If you’re familiar with the Insert Cards for the Joy, Cutaway Cards are similar, but in my opinion, even better. They take it to a whole new level and make it even easier to make cards with your Cricut machine. I am in love with this product!
Cricut Cutaway Cards
In the video below, I am making a huge, wide variety of cards. I’m going to show you how to make cards they already have in Design Space, as well as design your own cards right in the Design Space application. Click play to watch!
Can’t watch the video or miss some of the information? You can also follow along below!
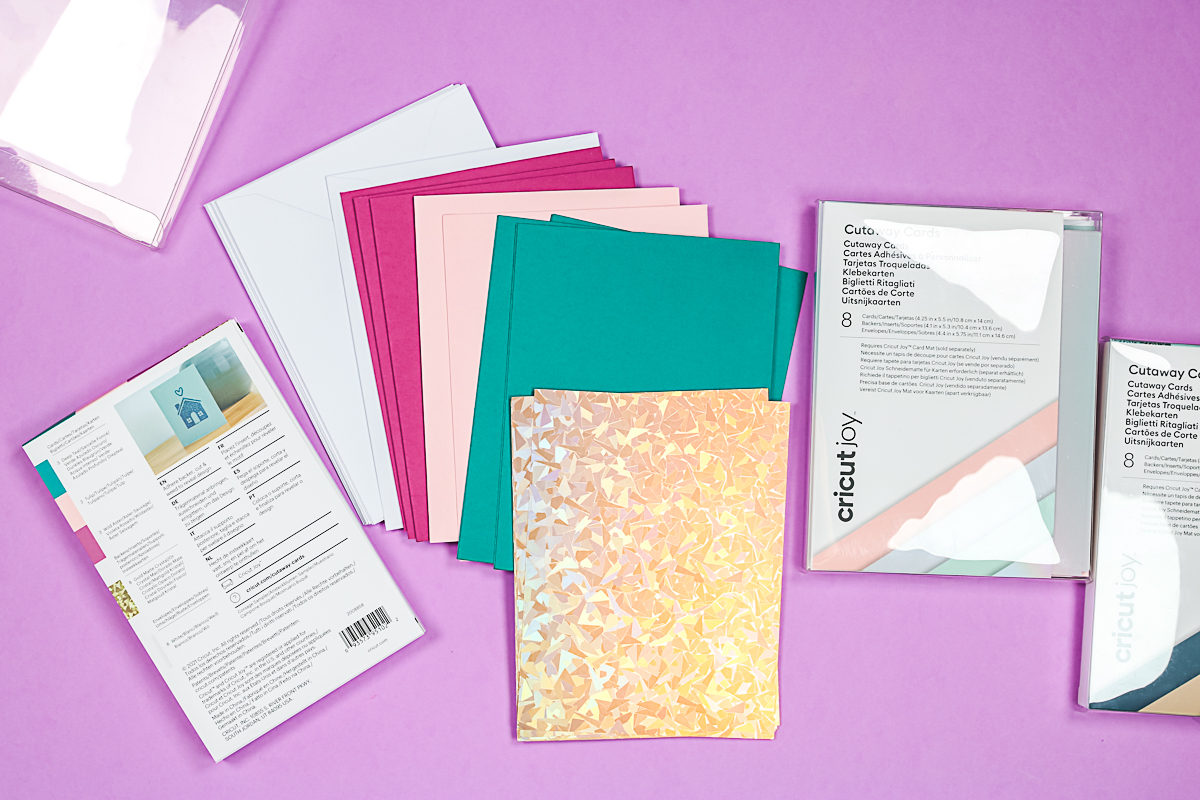
Supplies Used
NOTE: After I filmed this video, Cricut released a card mat for the Explore and Maker. You can see how to use it with cutaway cards here!
What are Cricut Cutaway Cards?
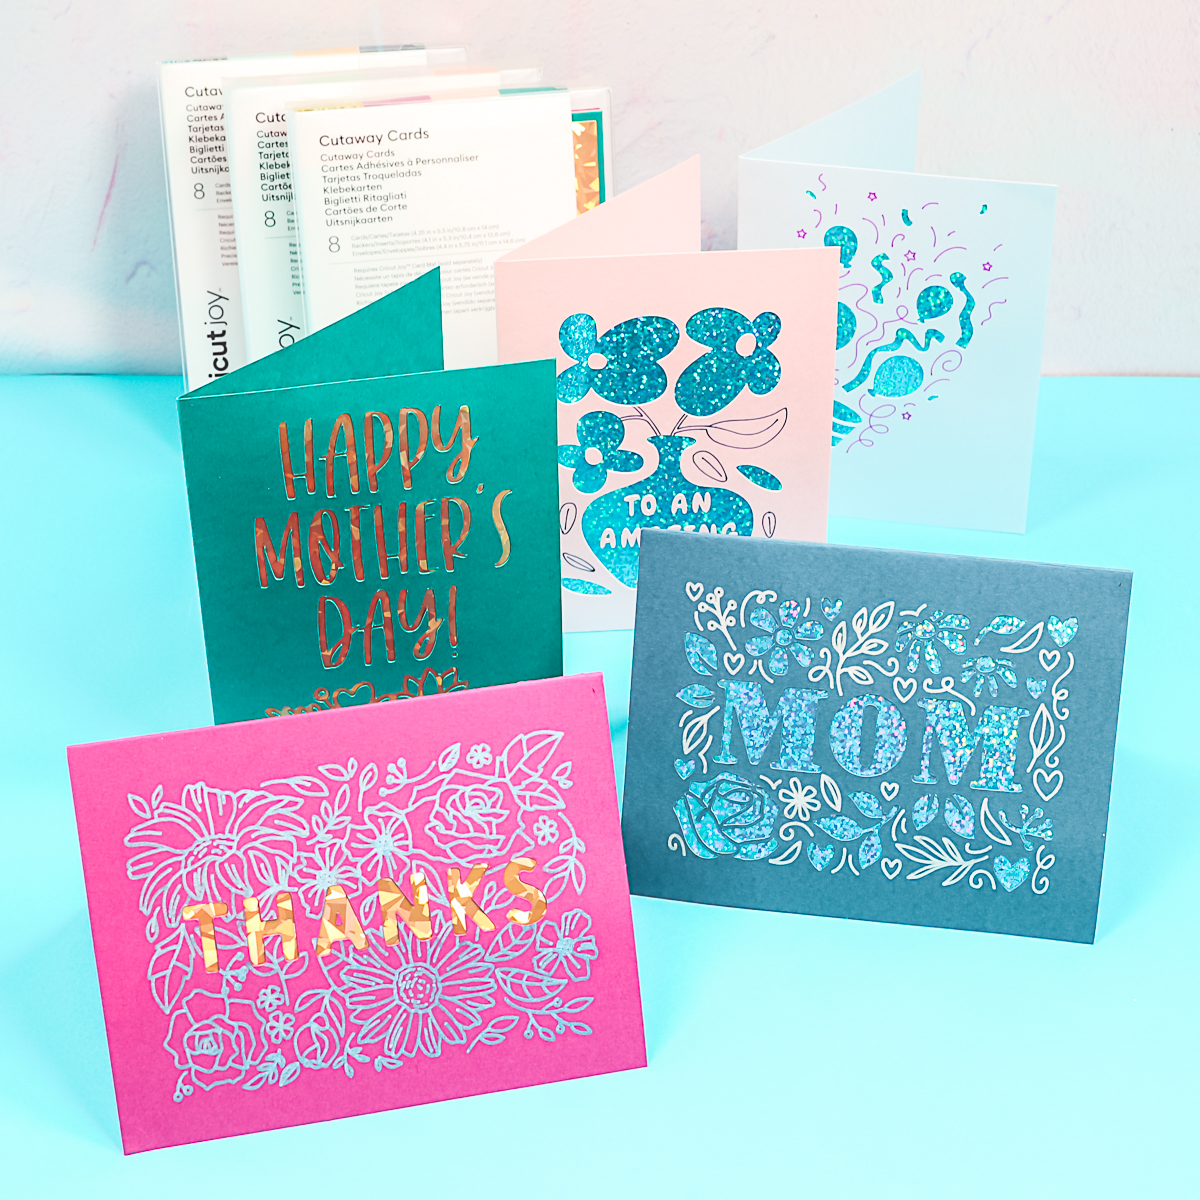
These are the Cricut Cutaway Cards. You do want to look for boxes that say Cutaway Cards. You get eight cards, along with eight backers and eight envelopes. They do come in different color packs.
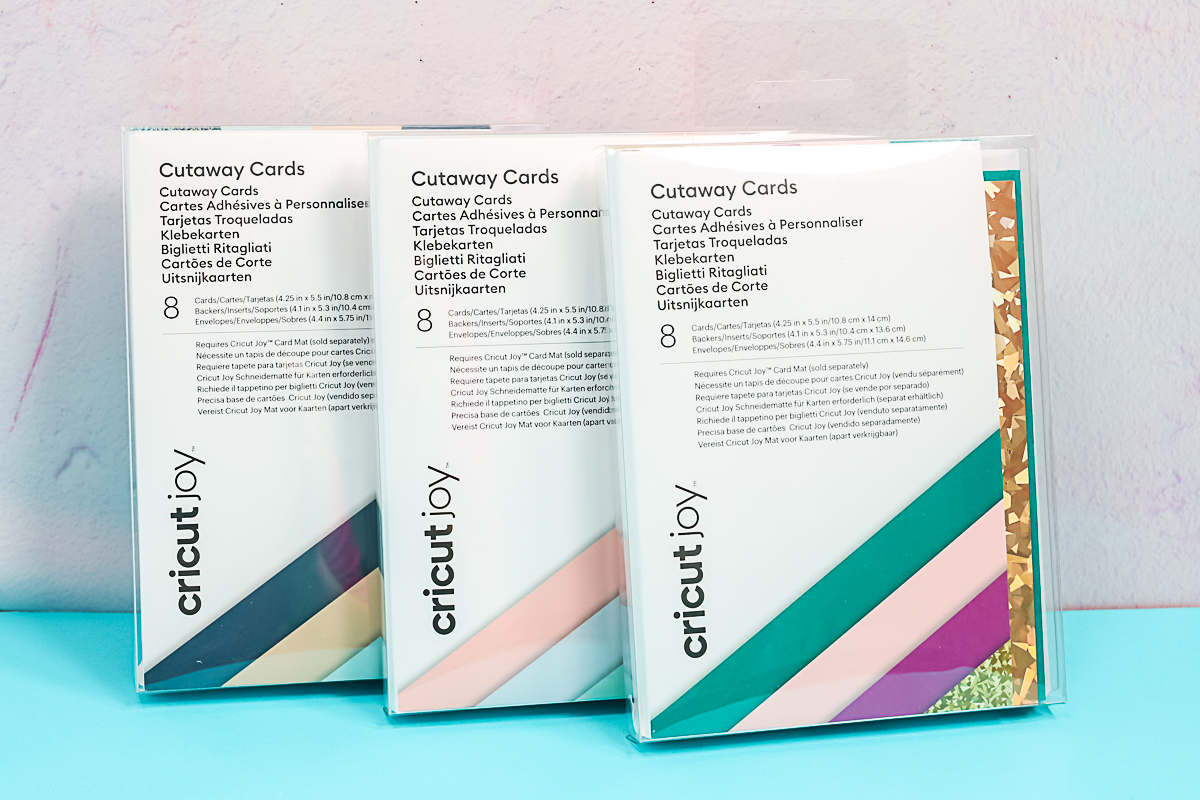
On the back, you can see which colors are the cards, and which are the backers. In this case, I have white envelopes, three different colors of cards, and gold backers.
How Do They Work?
On the inside of each card, you’ll find an adhesive layer, and then you will need your backer sheet. Peel the backing sheet off of the adhesive layer on the inside of the card. This leaves a layer of adhesive on your card.
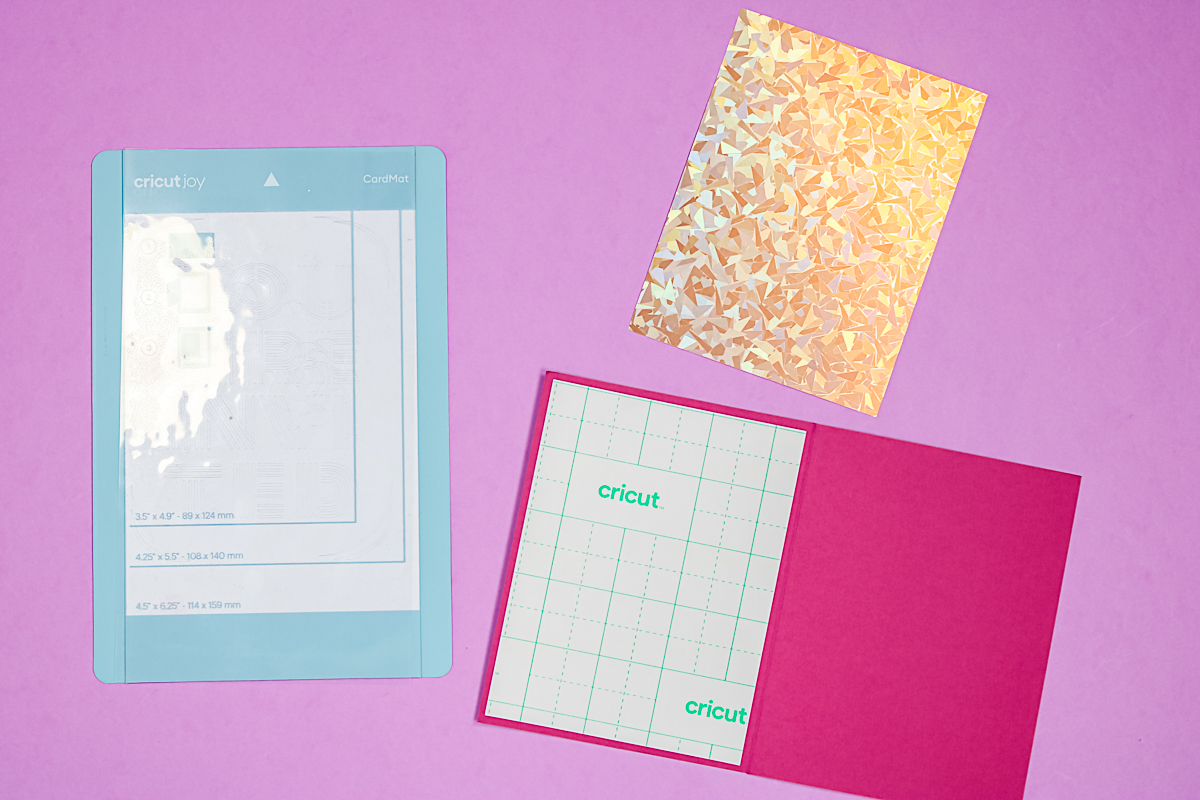
Put the backer with the good side down on the adhesive, making sure that you don’t go over the fold line in the card. Once your backer piece is in place, press it down well. Now, your card is ready to cut.
Cutting Cricut Cutaway Cards with the Cricut Joy
For this first batch of cards, I’m using the Cricut Joy with the Cricut Joy card mat. Follow along to see how to use these new Cricut cards.
Adding the Cards to the Card Mat
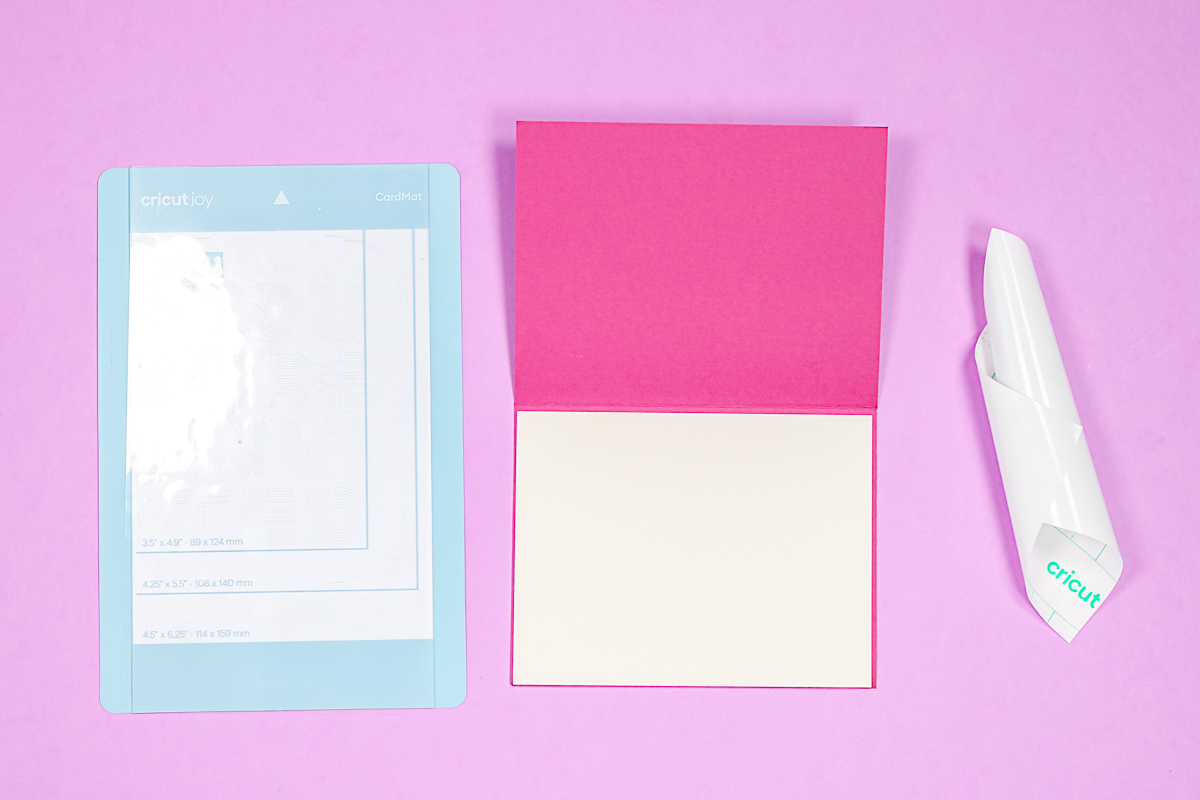
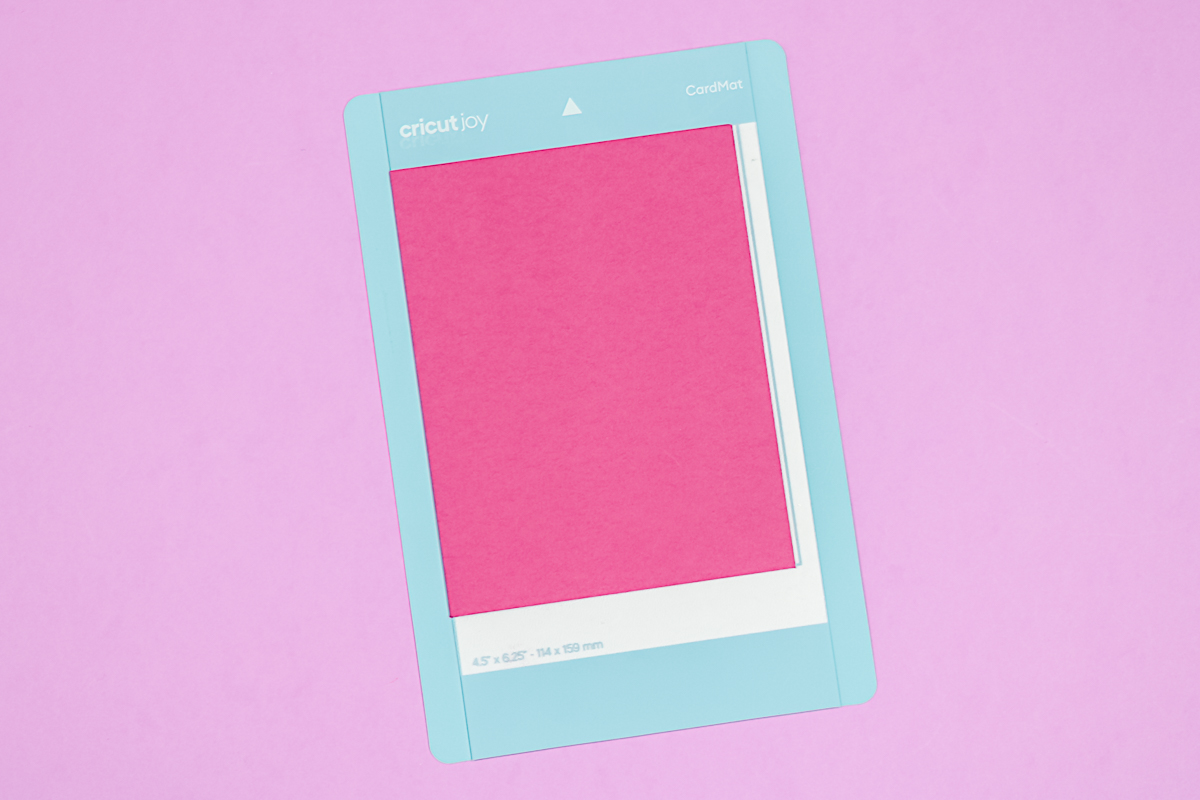
You want to remove the protective piece from the card mat. Add the back of the card inside the mat so that the side with the backer is on the mat adhesive. Be sure to push the card all the way up and make sure the fold line is all the way over. Press the card down well and make sure the backer is stuck against the card mat with the card front on the top.
Finding Designs in Cricut Design Space
You can find designs in a few different ways:
- Click “projects” with Joy as your machine. Search for “cutaway” and you’ll get a variety of cards that are already made in Cricut Design Space. Pick a card and click “make it” or “customize”. If there is a “customize” option, you can then alter the design or customize it on your canvas. This is all you need to make a Cutaway Card. There is no need to resize, as they are the right size in Cricut Design Space when you pick the correct projects.
- Click “images” and type “cutaway” for even more Cutaway Card designs.
- Design your own card. We will take a look later in this post at designing our own cards.
Picking Cut Settings
Once you have your card design chosen, click “make it” and pick the card mat on the next screen. Design Space locates the designs according to your card size. You can change the card size on the left-hand side if you need to. Always be sure that the material size matches your card size before clicking continue. On the next screen, pick Cutaway Card as your material setting.
Cutting and Drawing on a Card
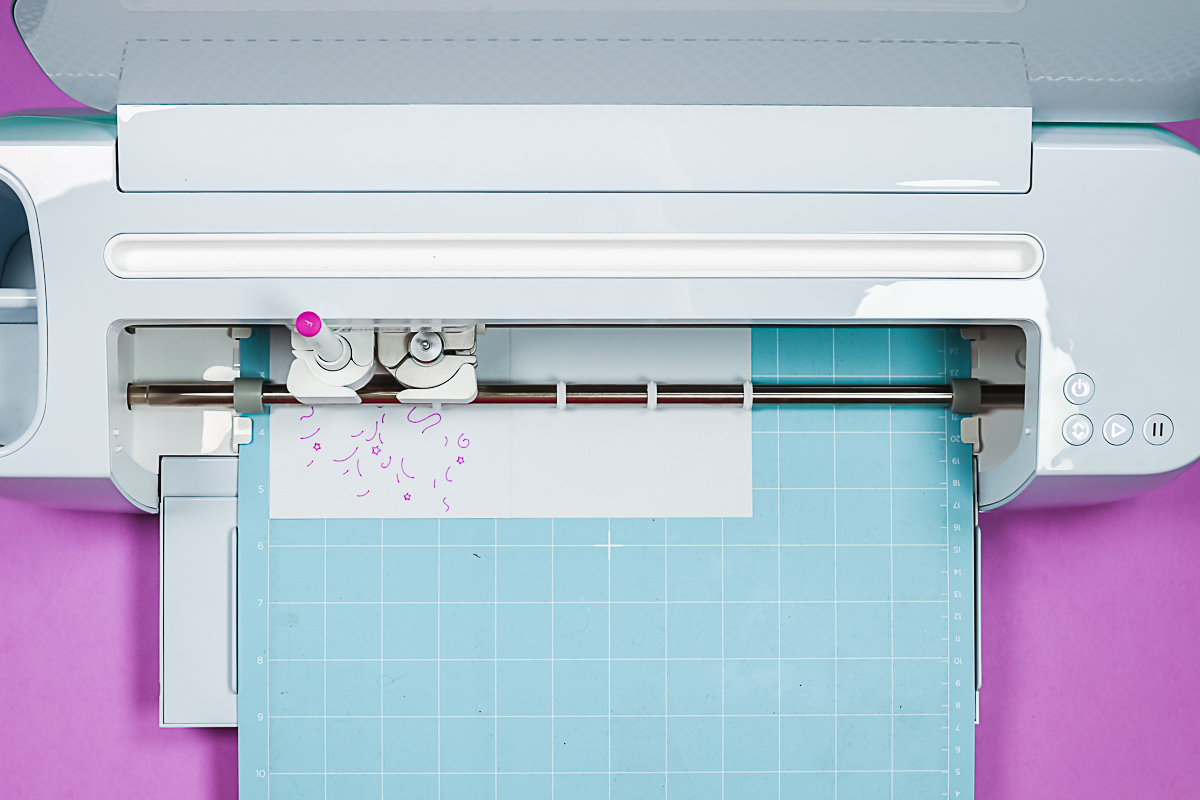
The first thing the Cricut Joy is going to do is draw so add the pen of your choice into the clamp. Load the card and press “go” right in Cricut Design Space.
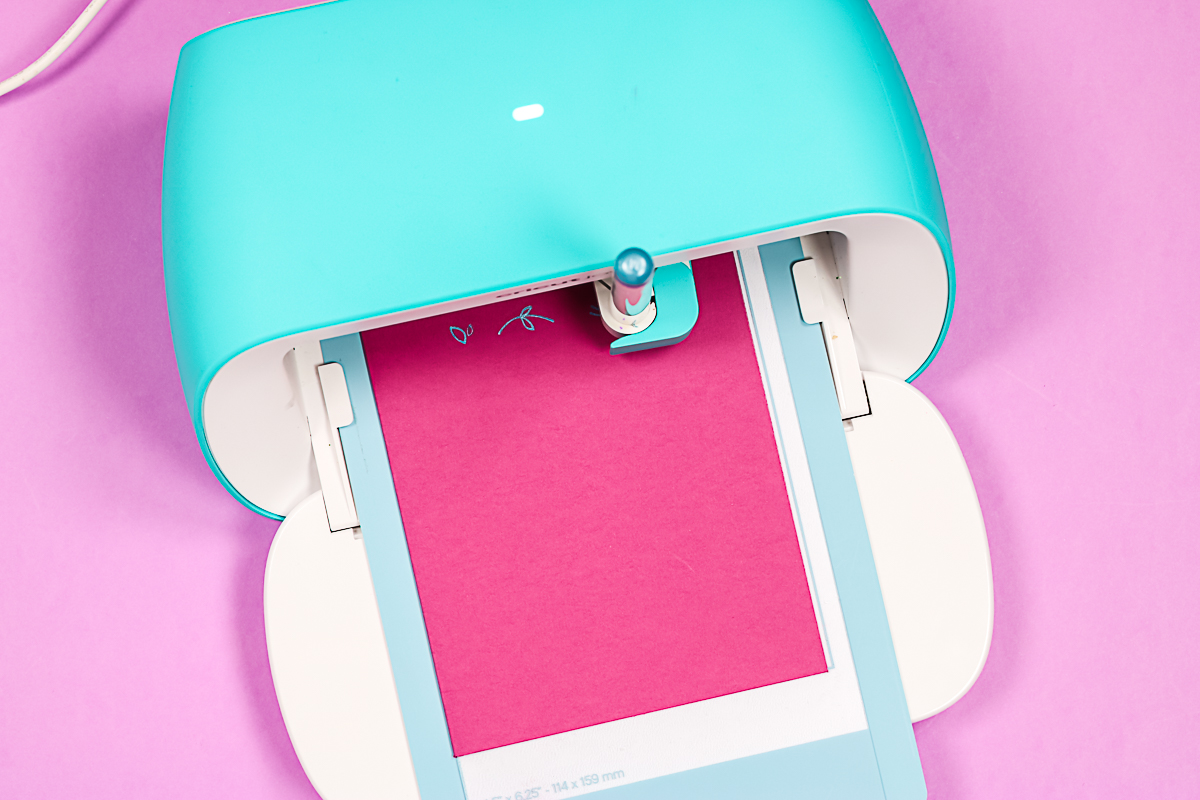
Once it’s done with the pen portion, remove the pen, add the blade to the machine, close the clamp, and click “go” in the app. Once that’s done, click “OK” in the app to unload.
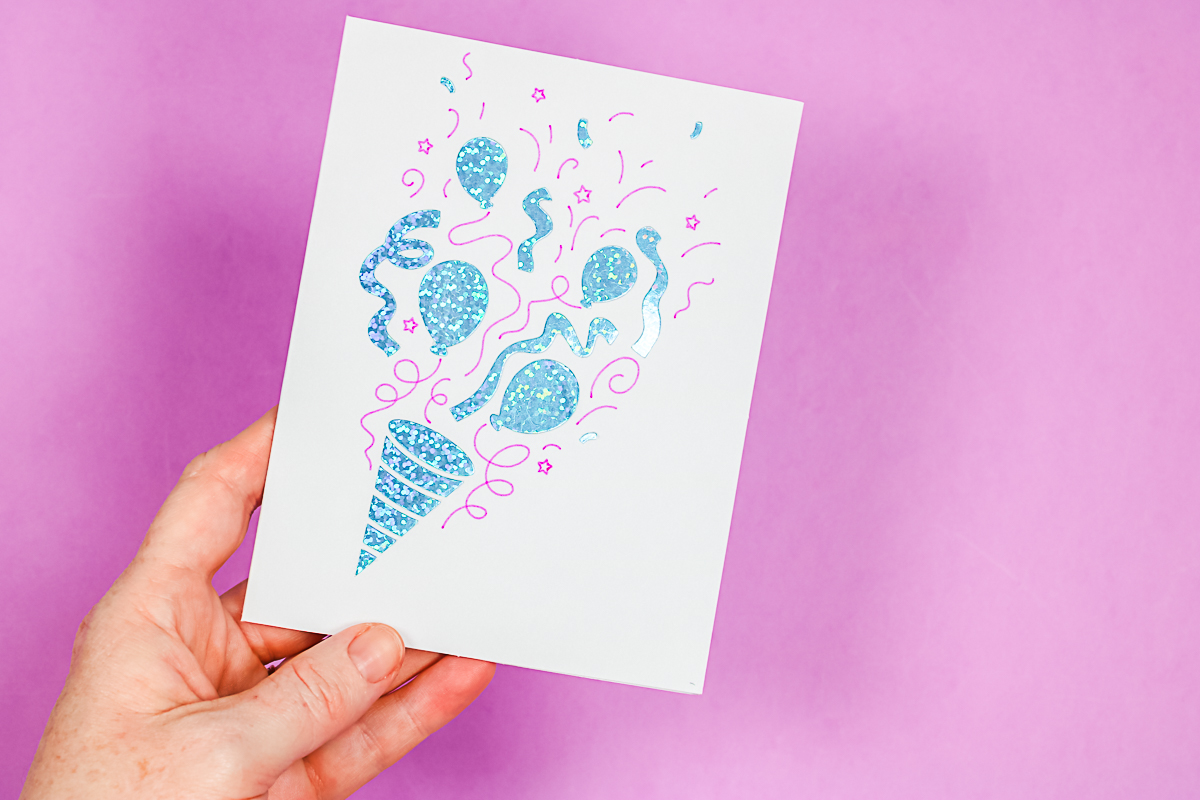
Weeding the Card
I do find it easier to remove the card from the mat to weed the cut areas. The cut pieces are only cut through the top layer. It did not cut through that backer.
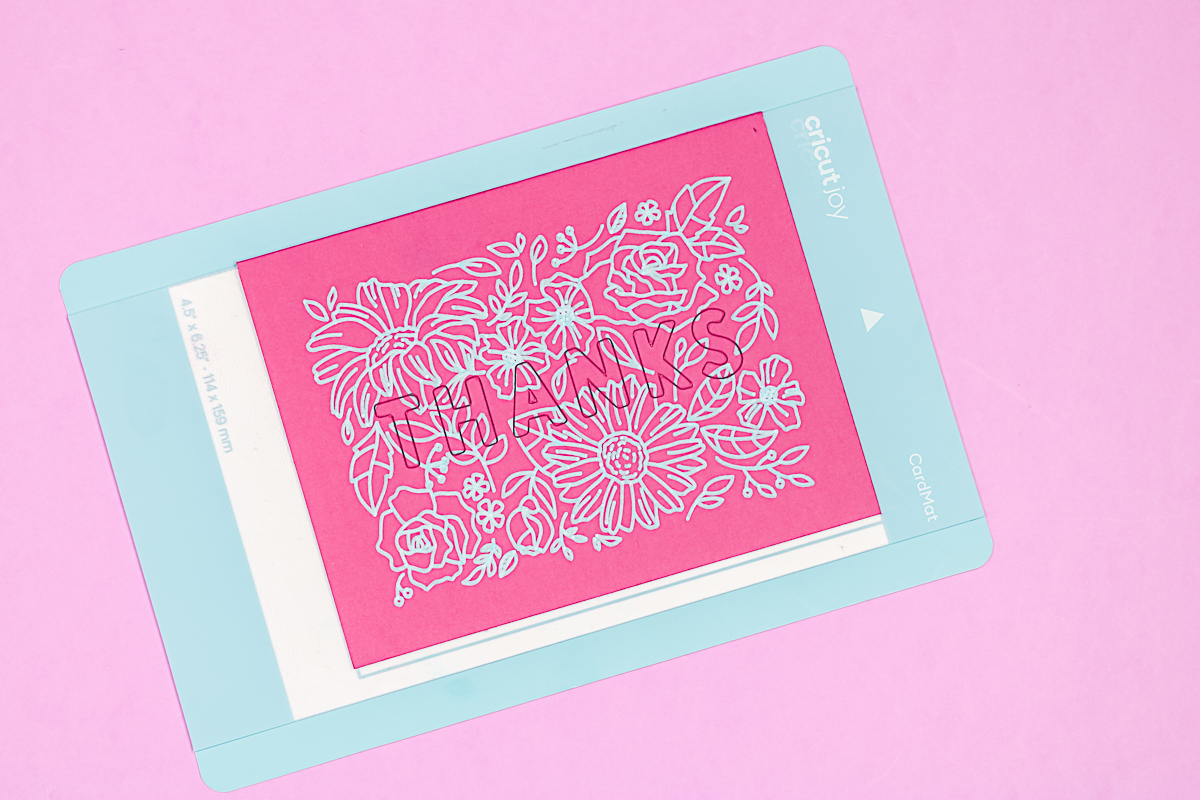
You can use weeding tools for this or just use your hands. I like to use my hands only if I can. If you can get the pieces up with no damage, you can even use them for other projects. If you do use weeding tools, use them carefully so you won’t scratch the paper. Here’s that card completely weeded and done.
Designing Cutaway Cards
Want to make your own card designs? Here is the method that I used!
- Pick projects, have Joy chosen as your machine, and type “cutaway”. Then you’ll find a project that is a Cutaway Card design setup. Click that and click “customize”. This gives you the size that you want for your design. Instead of trying to find the size yourself, it’s easy to just pop this into Design Space. You’ll delete this layer before you click “make it”. You want to stay within the dotted line with your design. Be sure to rotate if you are making a horizontal card.
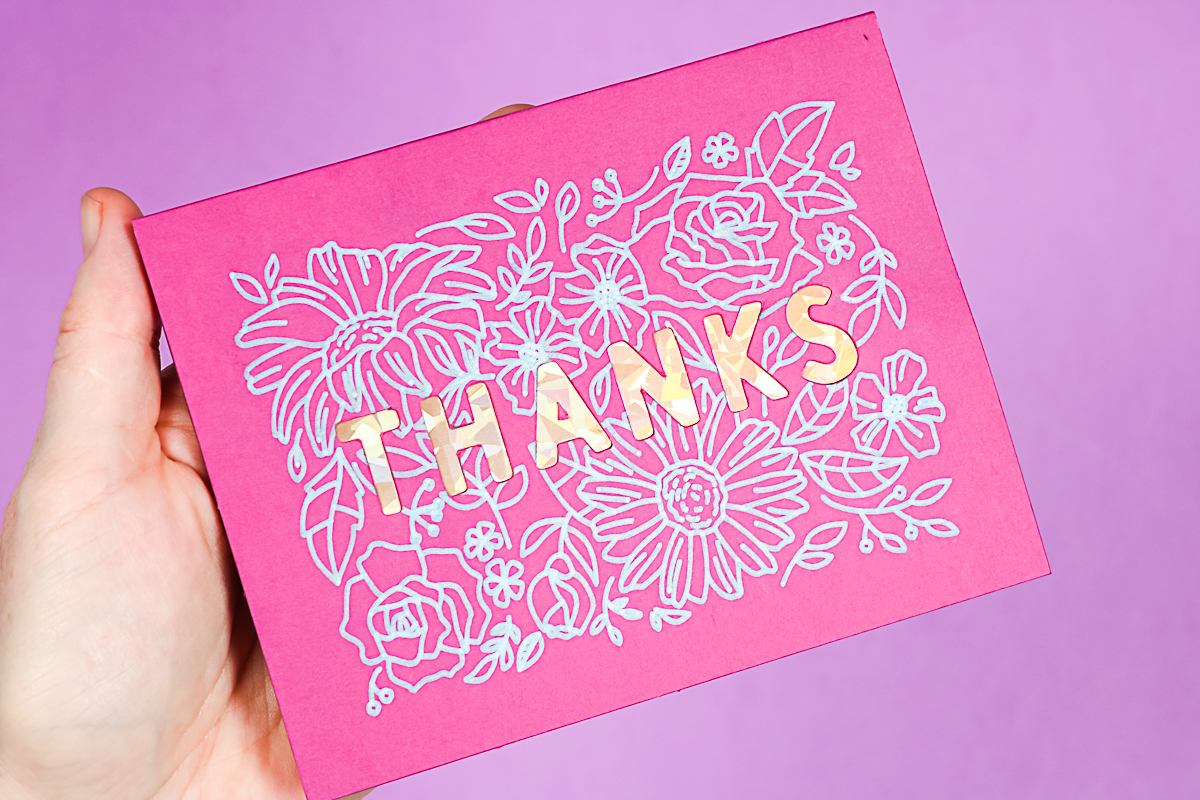
- Add a design to the front of your card. What kind of design can you put on the front? You can put anything you would like. You can put fonts or images. I added a floral design, as well as some text.
- Don’t just want cut areas? Add some pen designs if I would like to.
- Once you like your design, be sure to pick everything and click “attach”. Then you are ready to click “make it”.
I intentionally had some really small, small details on this one, and some of those got messed up. You might want to stay away from the super small details, but overall, I’m super impressed with Cutaway Cards.

Cricut Cutaway Cards Weeding Tips and Tricks
Having issues weeding the Cricut Cutaway Cards? Here are some things that I found helpful!
- Weed as much as you can with your hands.
- If you have to use weeding tools, do so carefully so you do not scratch the paper.
- If you are peeling away the cut pieces and some of this backer sheet is coming up, peel from the opposite side. I found that peeling from the opposite side works every single time.
- You may find that it cut into the backer sheet in a few places, but generally, it doesn’t happen very often. Try peeling from another direction if this starts to lift.
- If you find your top layer of cardstock is ripping, try to peel from the opposite direction. As a last resort, use the blunt end of your weeding tool to remove any areas that remain on the card.
Using with Other Machines
If you have the Maker 3, Explore 3, any of the Explore family, or the original Maker, just pick the machine you want to use. I’m going to use my Maker 3 today. In the same way, we talked about finding these Cutaway Cards for the Joy, you just find them for your Maker or Explore. I just searched “cutaway”, and I picked my card. It pops it onto your canvas. No need to resize or do anything to it. We’ll click “make it”.
NOTE: After I made this post, Cricut released the new Cricut Card Mat that works great with these cards. If you have it, click here! The post below will explain how to use the regular mat with these same cards.
Cut Settings for Other Machines
In Cricut Design Space, pick “on a mat” and click “continue”. To use a regular light grip mat, we do need to trick the machine a bit. Flip the design over then we want to center it on the card itself. You will want to look at where the card is on your actual mat and match that in Design Space. You might have to play with this location a little bit for your particular machine. Be sure to put the card all the way in the corner of the mat with the backer side to the left.
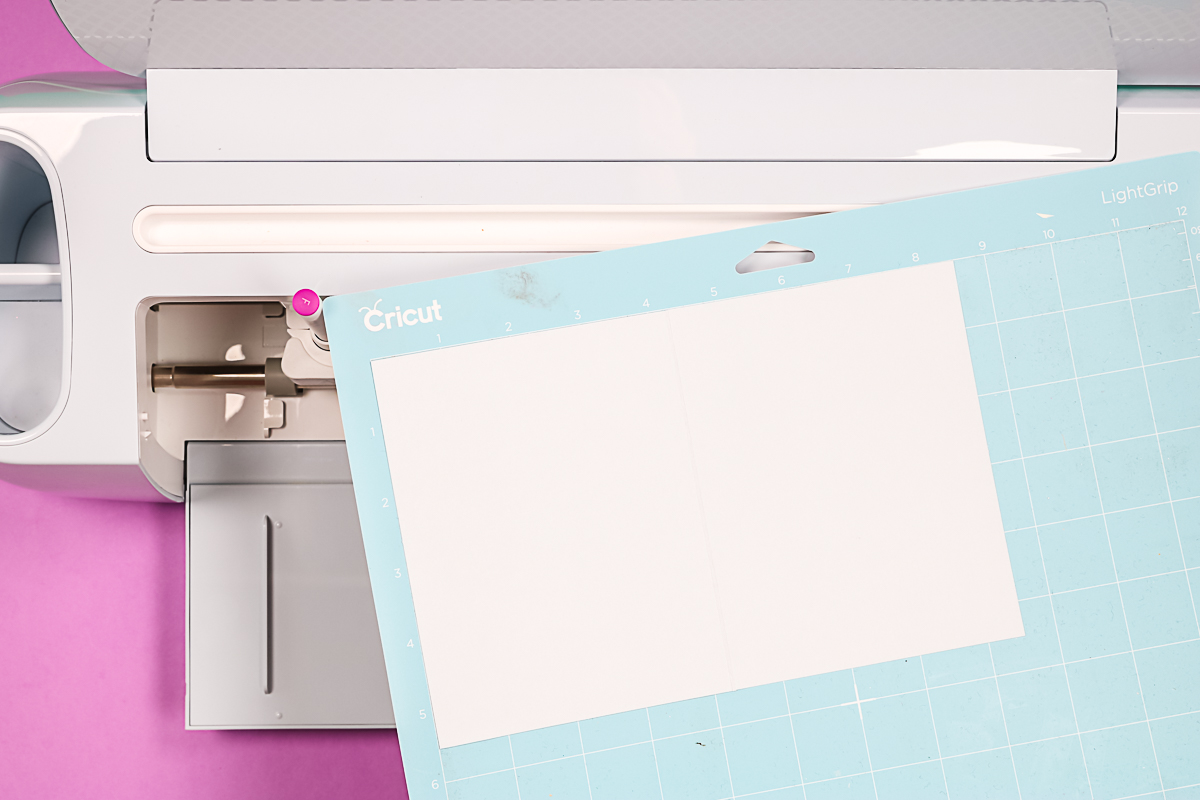
When you’re loading it into your Cricut machine, be sure to push the mat all the way to the left when loading. That way, it’s in the right location all the time. For Maker 3, I used a medium card stock setting. I found that this works fine with the Cutaway Cards. If you find this is cutting too deep or not deep enough, you could try a different setting or pressure for your cards. Add a pen to clamp A if you have draw lines and your fine-point blade to clamp B. The just cut your card!
Finishing the Cards
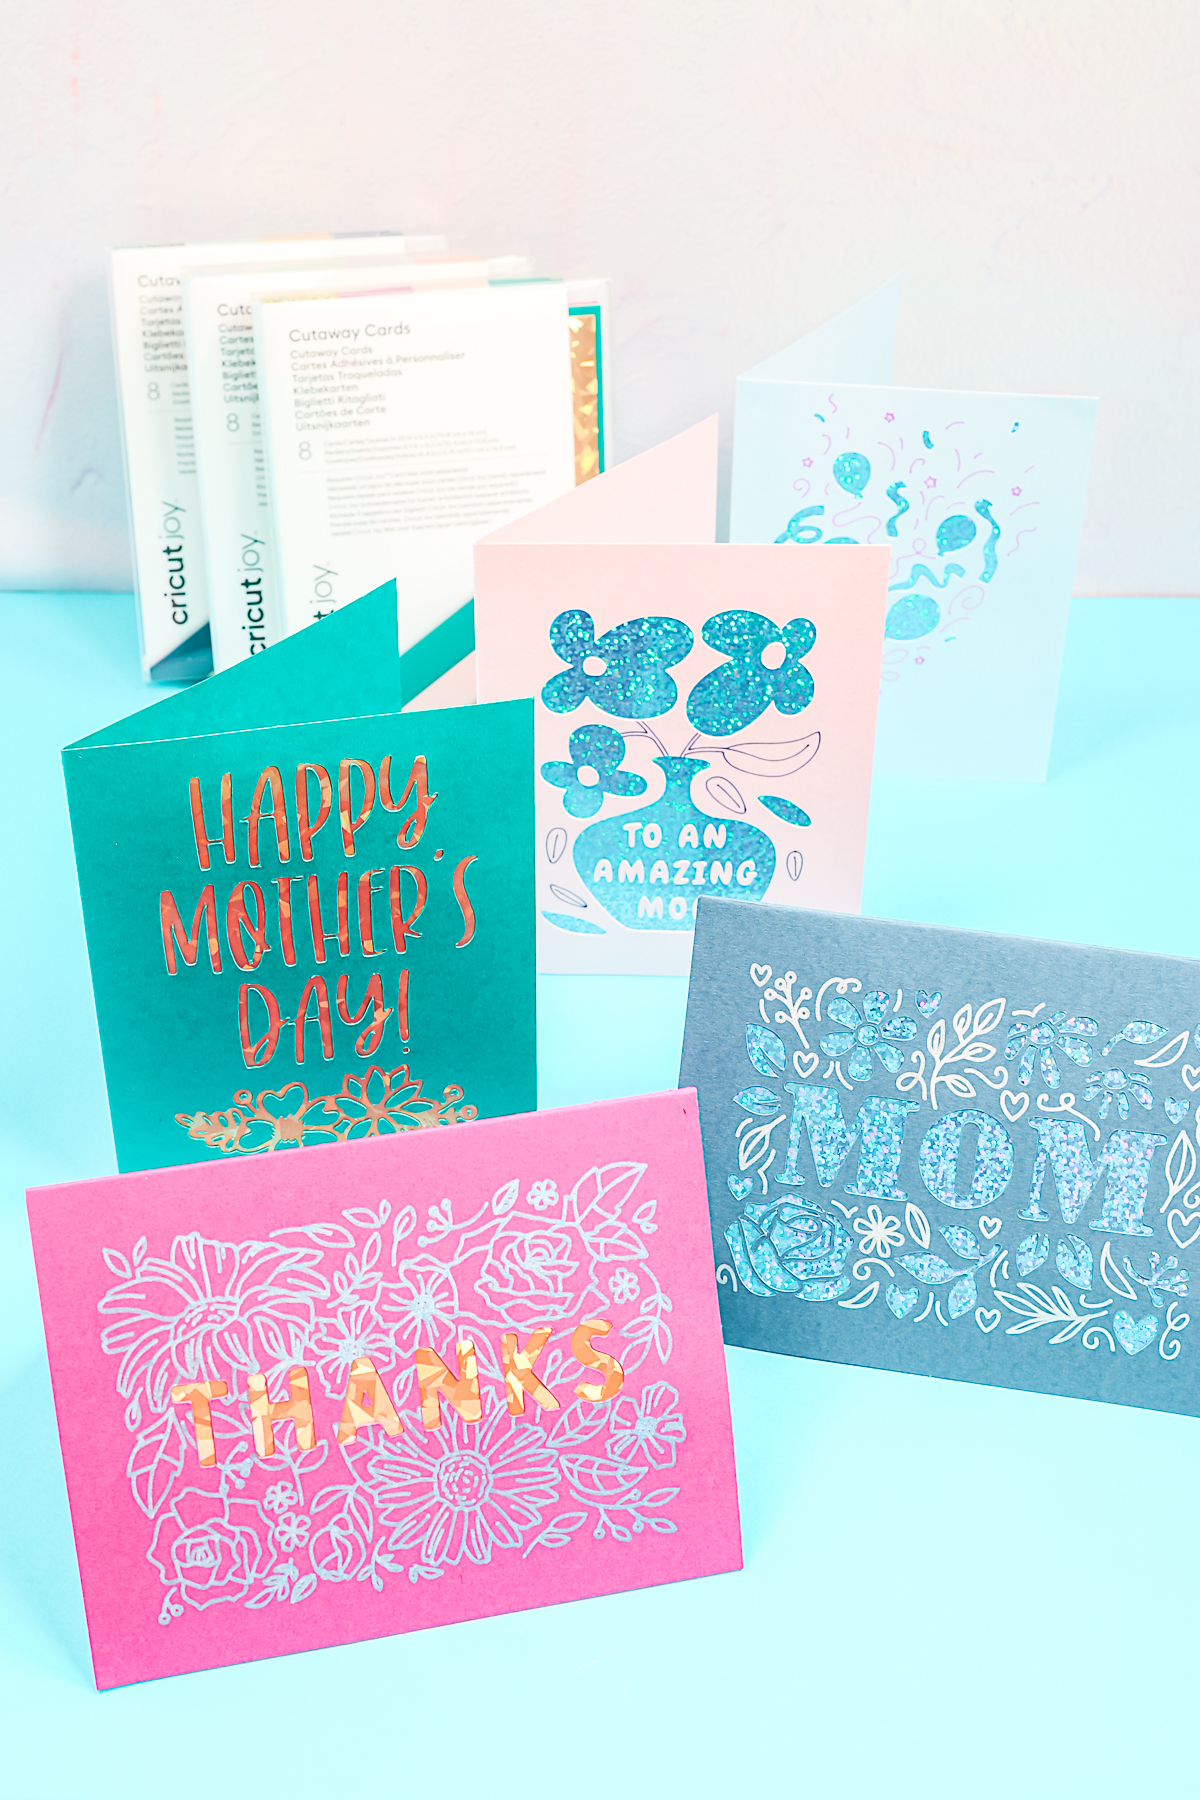
In the same way as we did with the other cards, you’ll just want to weed away all the pieces. You should be able to just pull them back with your hands. For small pieces, I like to use a weeding tool, but for the most part, I just use my hands to peel away all the pieces. Here’s that card I made on my Maker 3. As you can see, it looks amazing.
Are Cricut Cutaway Cards Worth It?
I know that I will be using Cutaway Cards from now on. To me, it makes the process even simpler. With insert cards, you had the cuts in the four corners, and those could get off sometimes. Then the entire card would look just a little bit off. These are so much easier as far as location goes!
I do think you might have to fine-tune the location with your Maker or Explore a little bit if you are using the standard light grip mat. With the Cricut Joy, I found the location spot on, but with these cards, even if the location is a little bit off, the card is still fine.
The only thing I would suggest for the Joy is always remember to make sure that the card size is the size of the card you’re using. I messed a few up like that. Otherwise, have fun creating with Cricut Cutaway Cards!