
This post and photos may contain Amazon or other affiliate links. If you purchase something through any link, I may receive a small commission at no extra charge to you. Any supplies used may be given to me free of charge, however, all projects and opinions are my own.
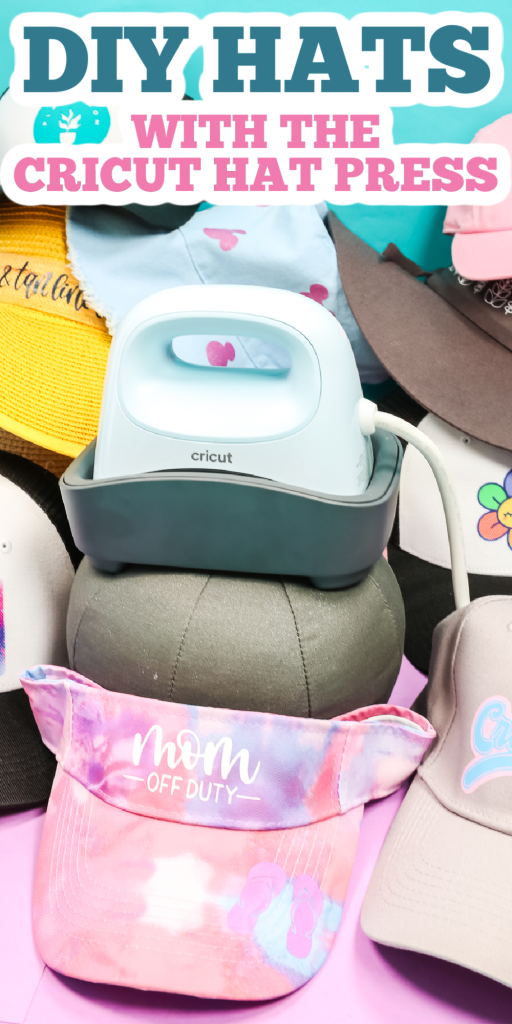
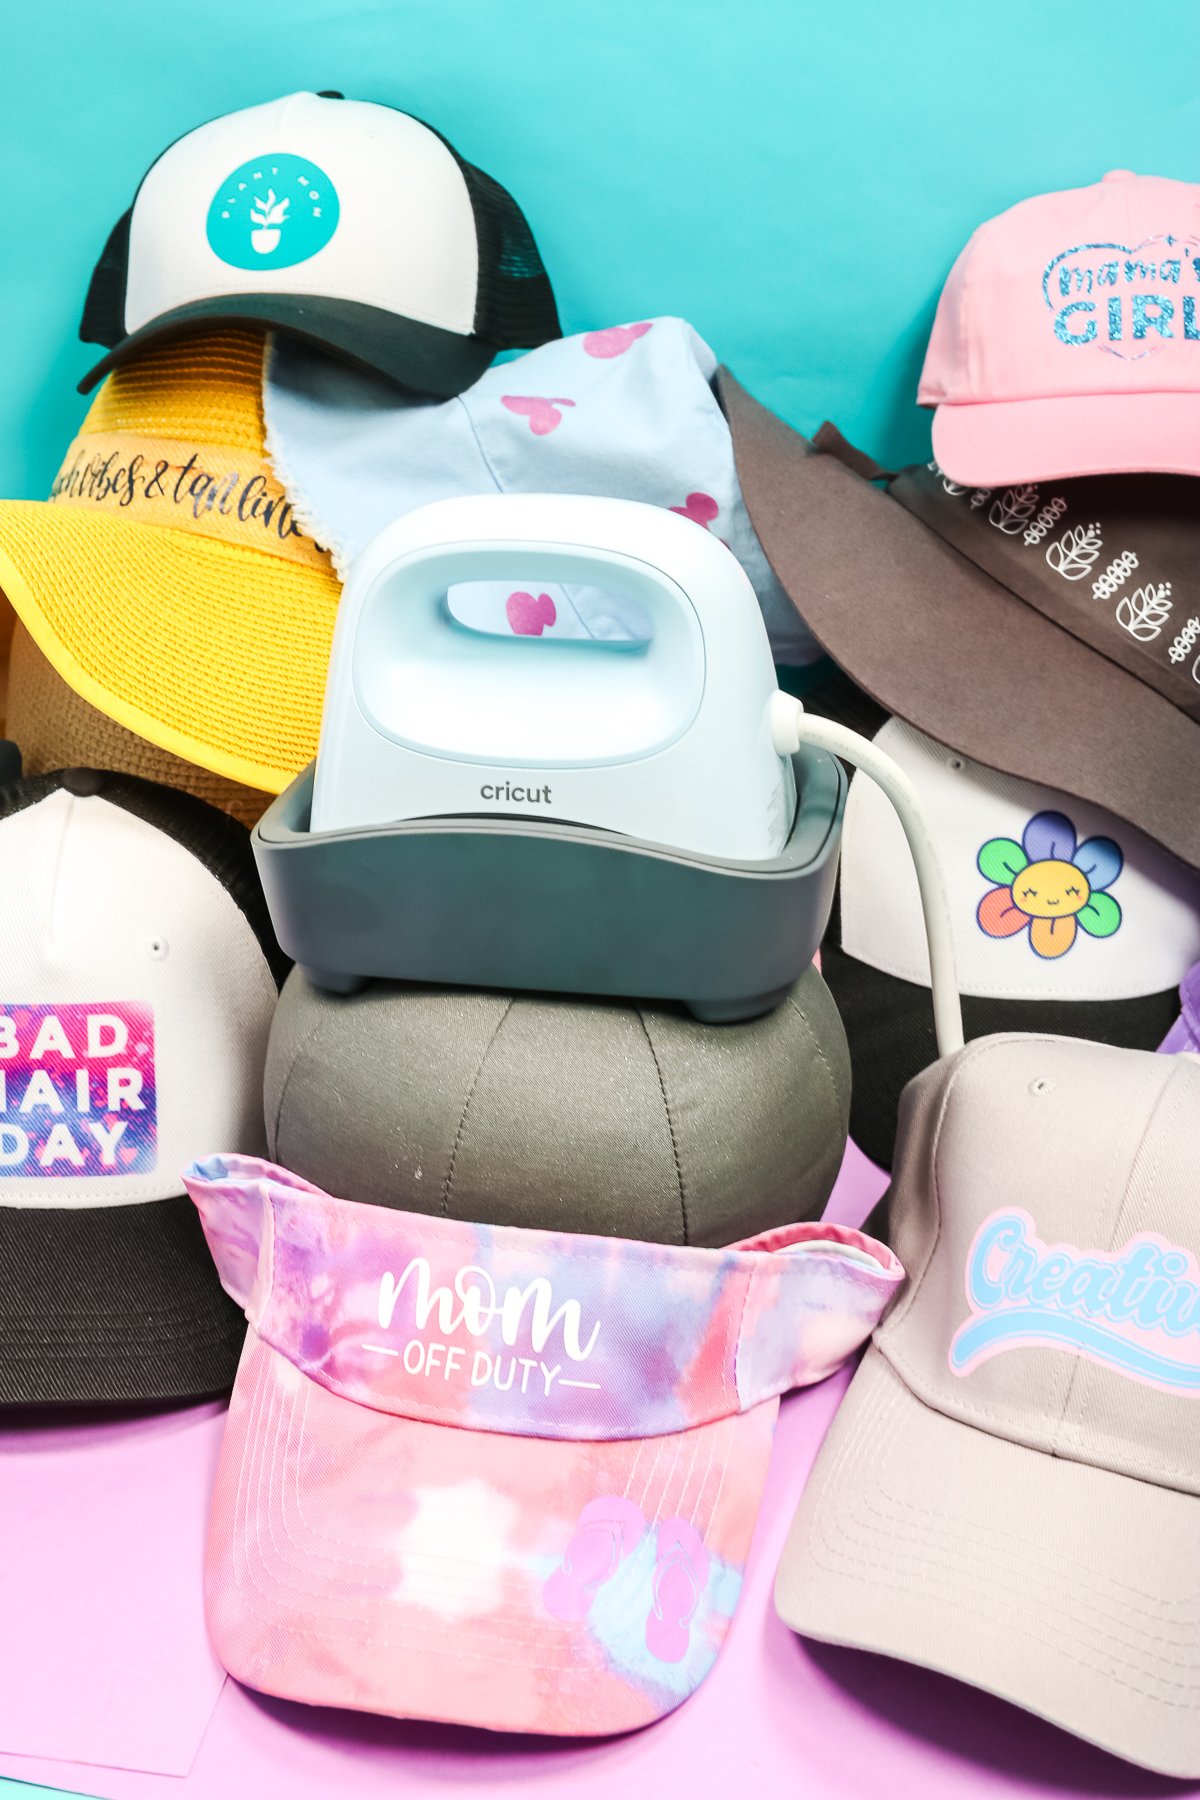
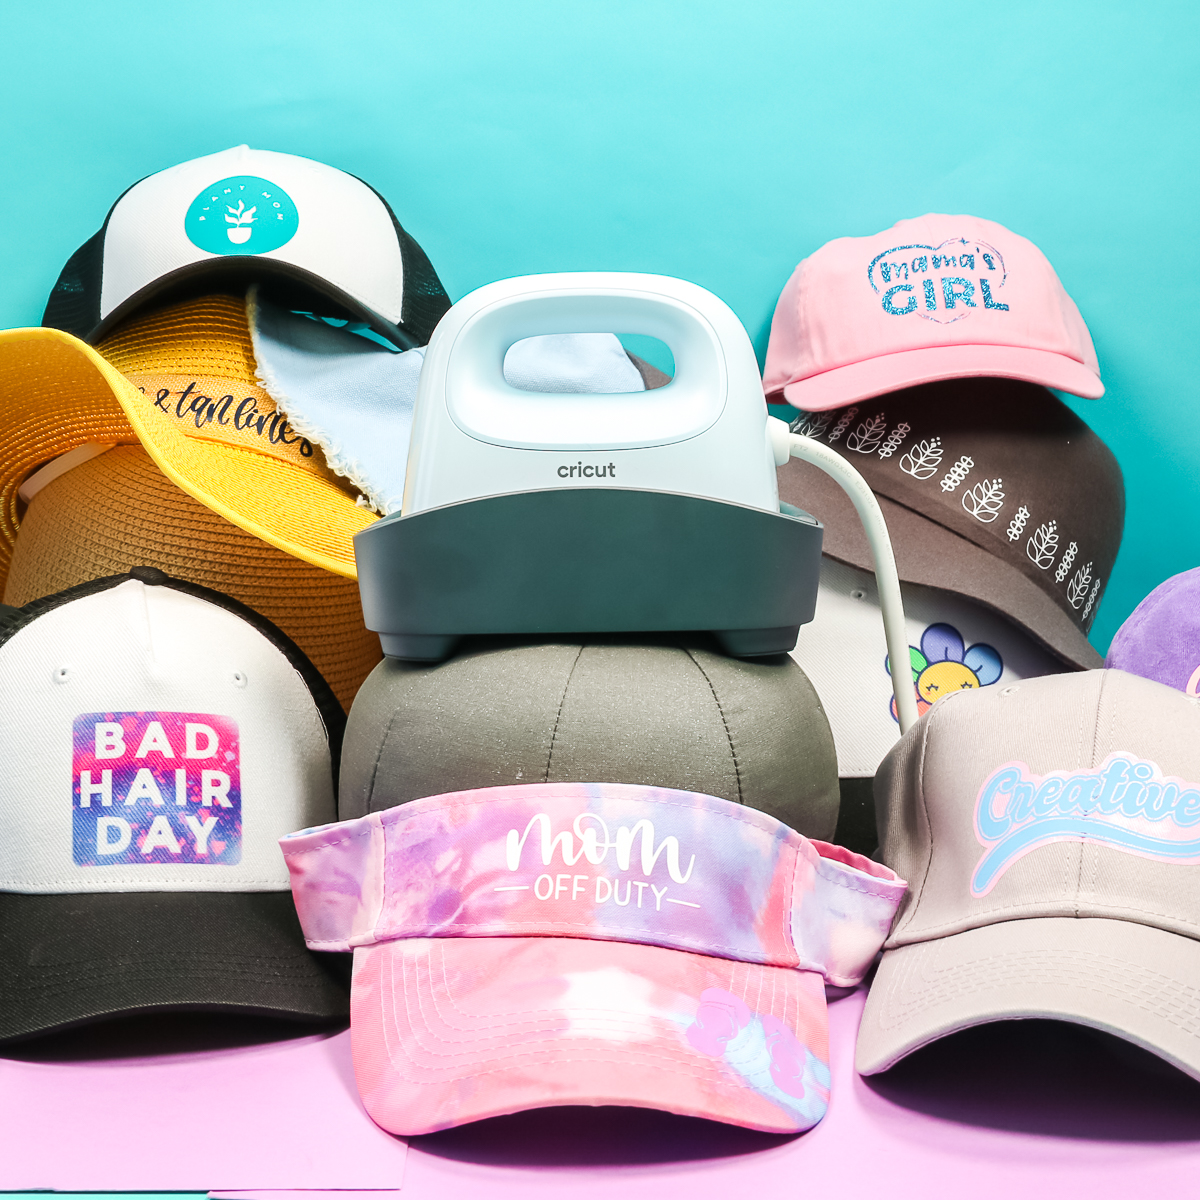
Today, we’re going to put the new Cricut Hat Press to the test and try it on a wide variety of DIY hats so we can see what works and what doesn’t. I’m giving you my full breakdown and review of this heat press and whether I think it’s worth it or not. I’ve got baseball caps, kids’ hats, visors, bucket hats, sun hats, beach hats, and more. I’m going to add either HTV, Infusible Ink, or sublimation to each one. Which will work with the Cricut Hat Press? Which will not? Let’s find out!
New to the Cricut Hat Press? You can see my unboxing and how to use the press here!
DIY Hats
Are you ready to make some hats? Just click play on the video below and watch my review of the Cricut Hat Press along with some tips and tricks for getting each type of hat to work.
Can’t watch the video or miss some of the information? You can also follow along below!
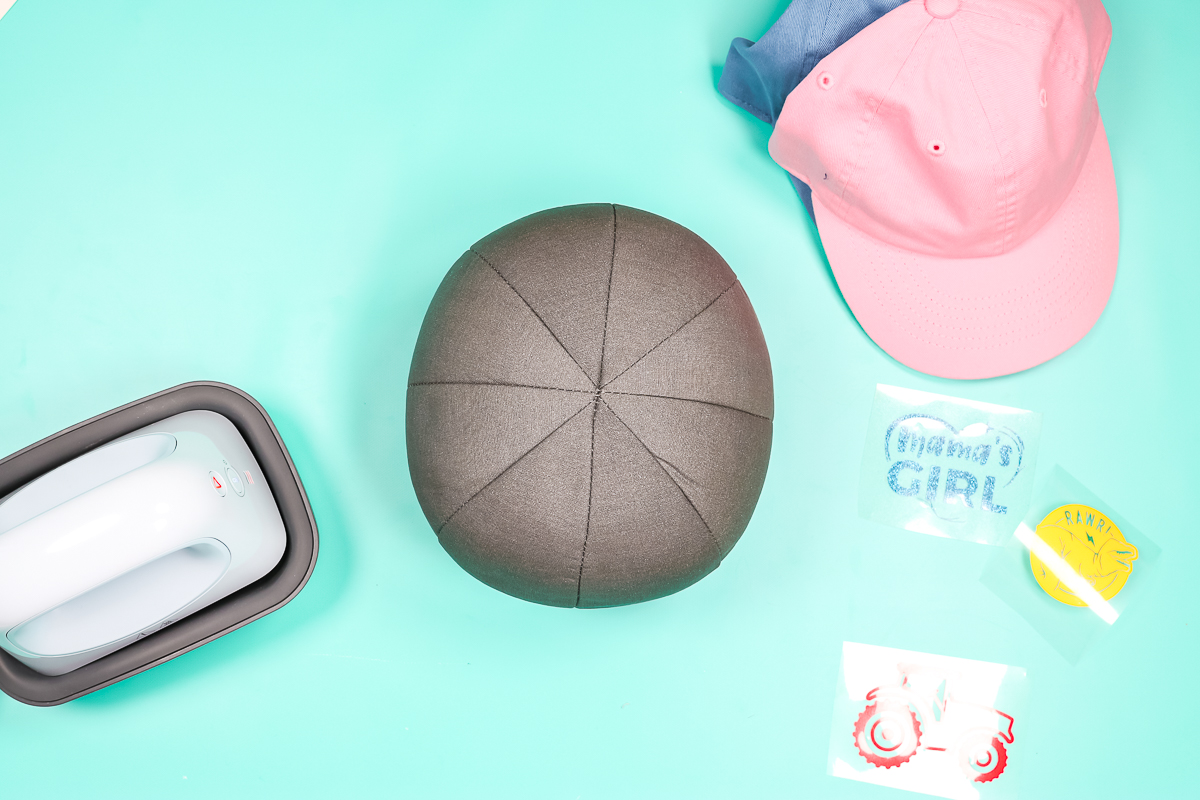
Supplies Used
Hats Used
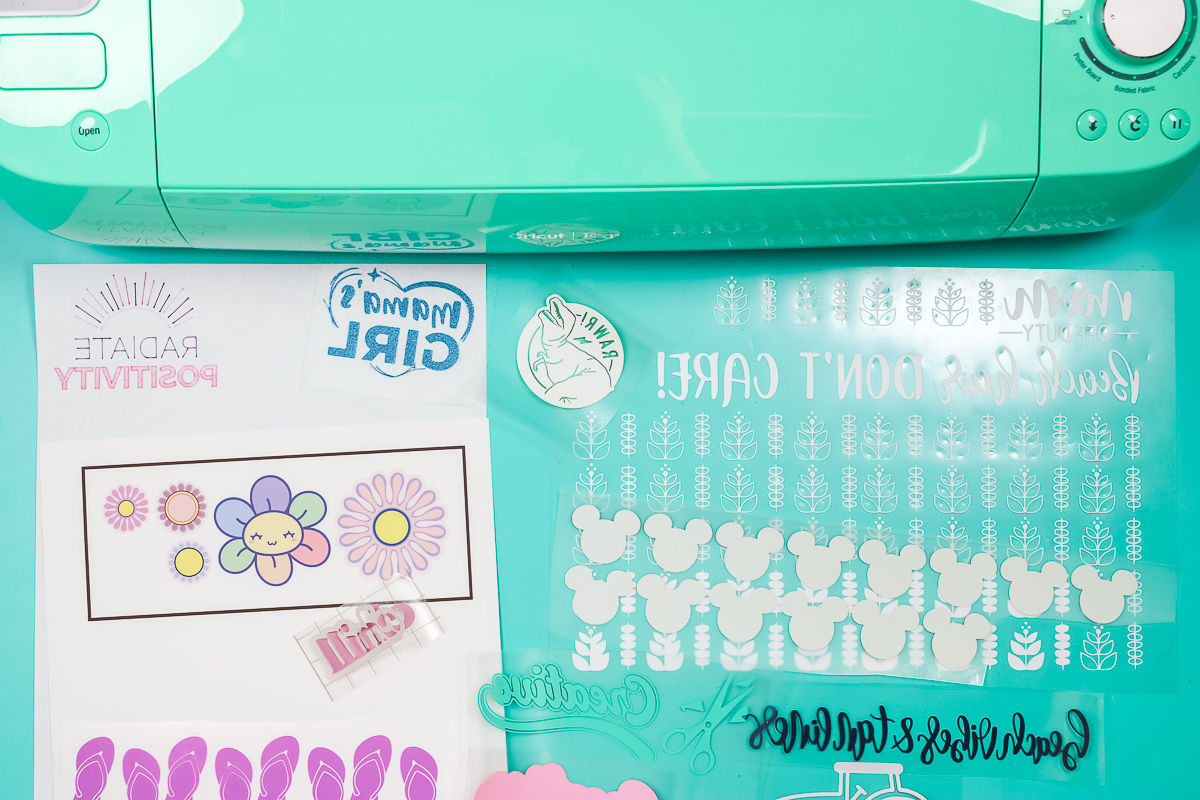
Designs Used
You can find the designs I used here. They are all Cricut Design Space files. Delete off the ones you do not want then use the rest to make hats for yourself. I went ahead and printed out any sublimation designs on my sublimation printer and cut any others with my Cricut machine. I’m going to do some layered as well as not layered and some long as well as short designs. I am trying to do a wide variety to put the hat press to the test.
Making Hats with the Cricut Hat Press
Now that we have the supplies, let’s make some hats. I do want to note that the Cricut Hat Press can work manually or it can work with the Cricut Heat app. I am making hats both way in this case so I can give my full review of the press at the end of the post.
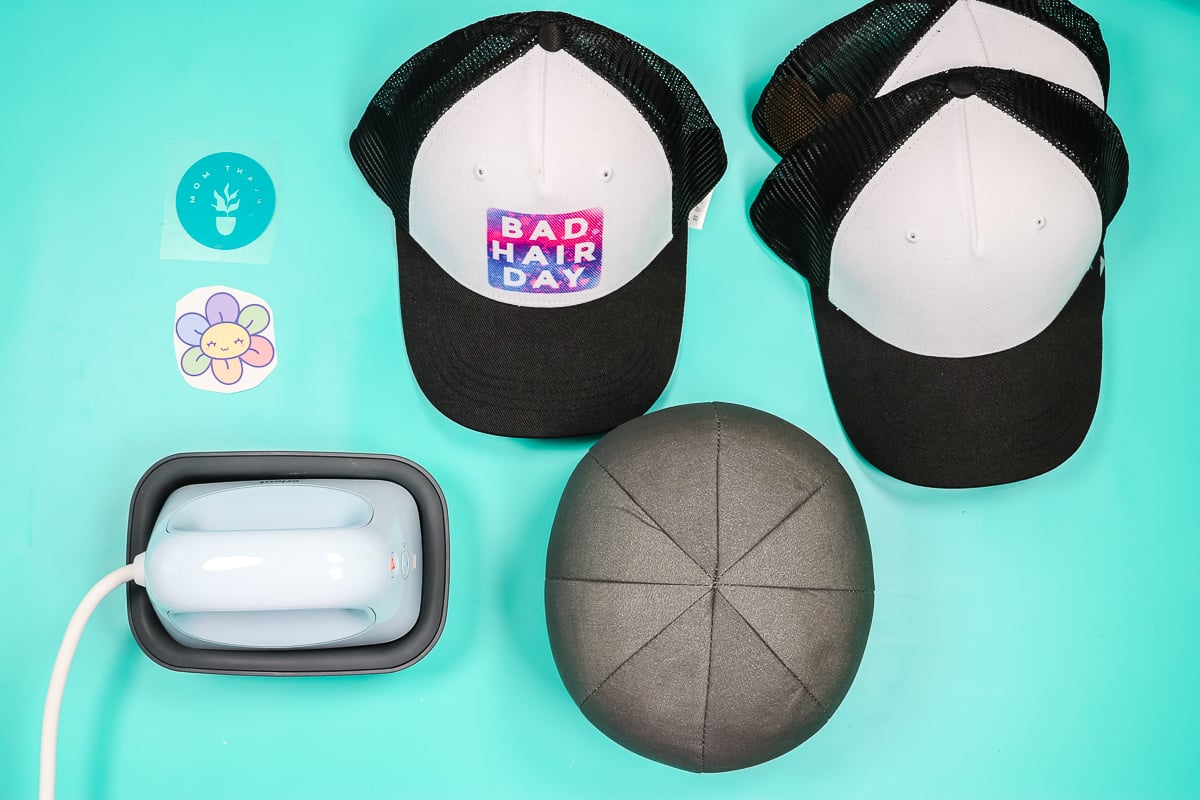
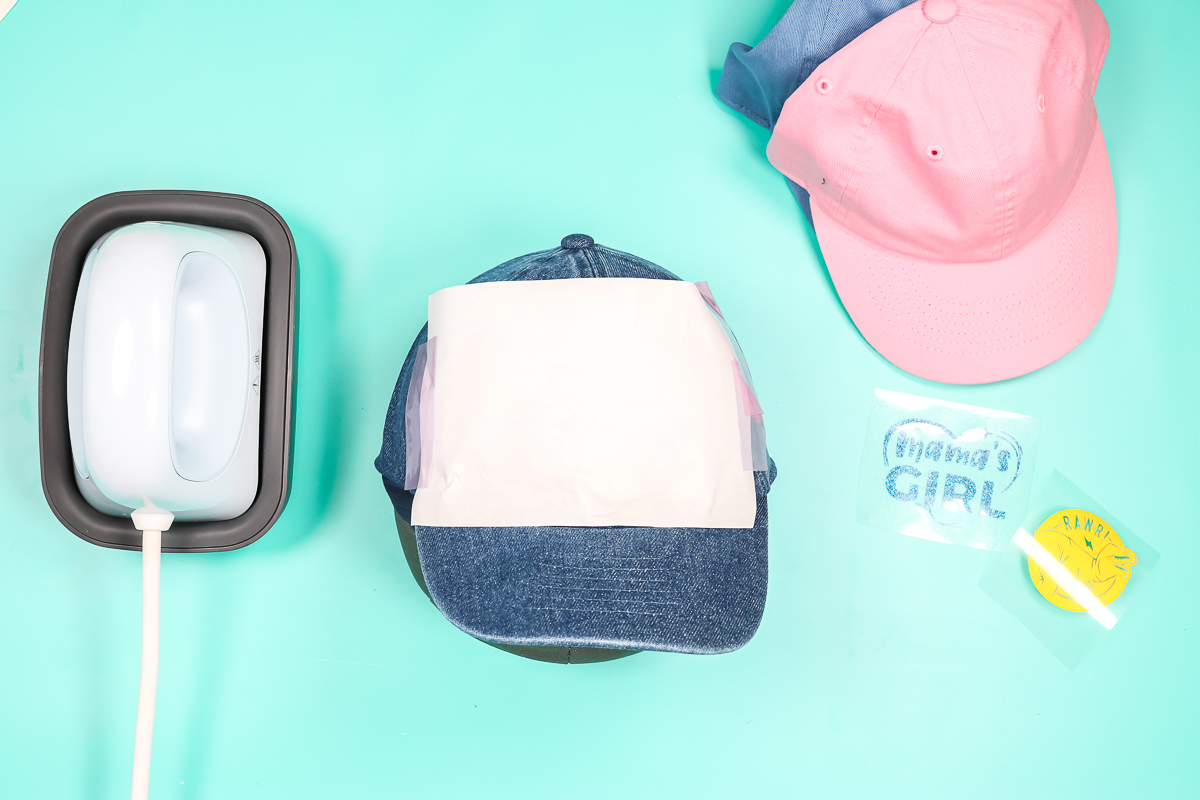
Cricut Trucker Hat with HTV
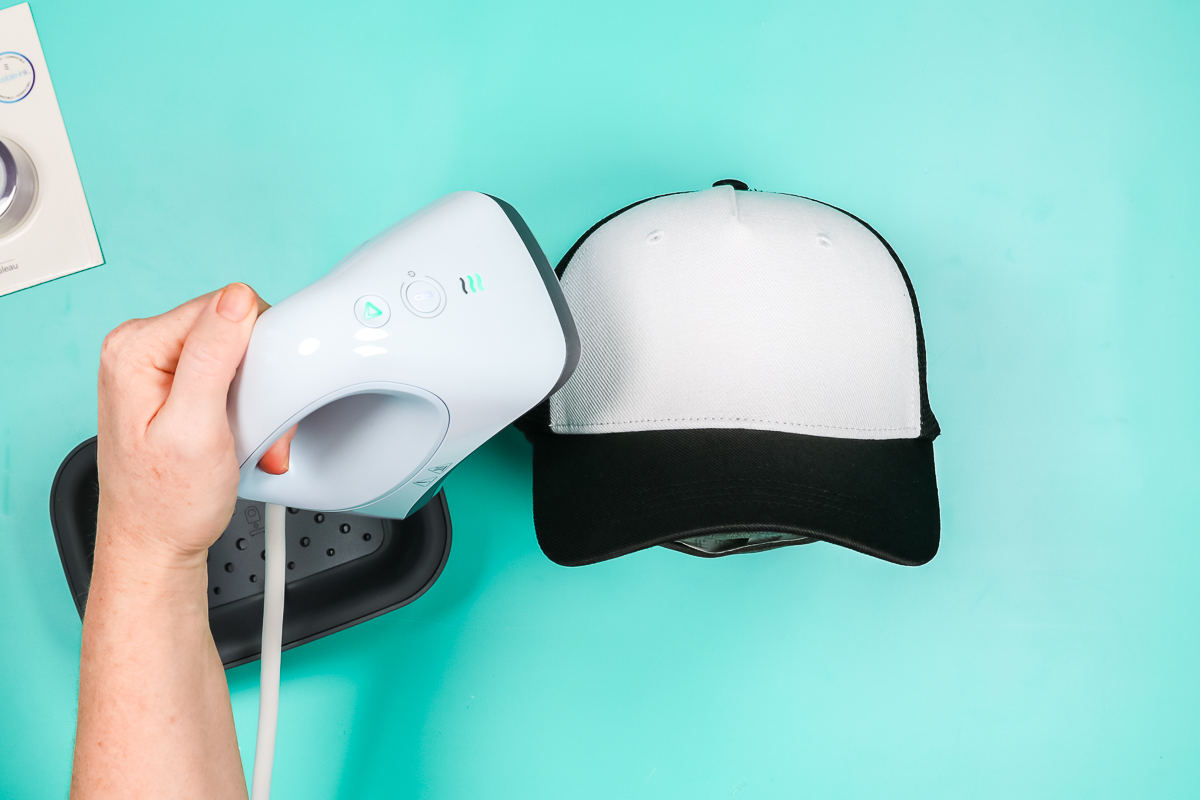
I have used these hats already in this post and I loved them. That was with Infusible Ink so why not try these same hats with HTV and sublimation. I have my hat press heating up and I am using the Cricut Heat app for this one. Remove any packaging material that may be in your hat and fold the sweatband out. Then, add the hat to the form. I like to undo the back of the hat if possible. If it’s not possible, just loosen it up. You can use the handle to adjust the form inside of the hat the make sure that the sweatband is out all the way around. Pull the hat tight and buckle the back. Now that the hat is on the form, it will stand upright. Make sure the hat is tight across the front area where you will be pressing. You do not want wrinkles or air bubbles. For Infusible Ink and sublimation, be sure to lint roll the surface.
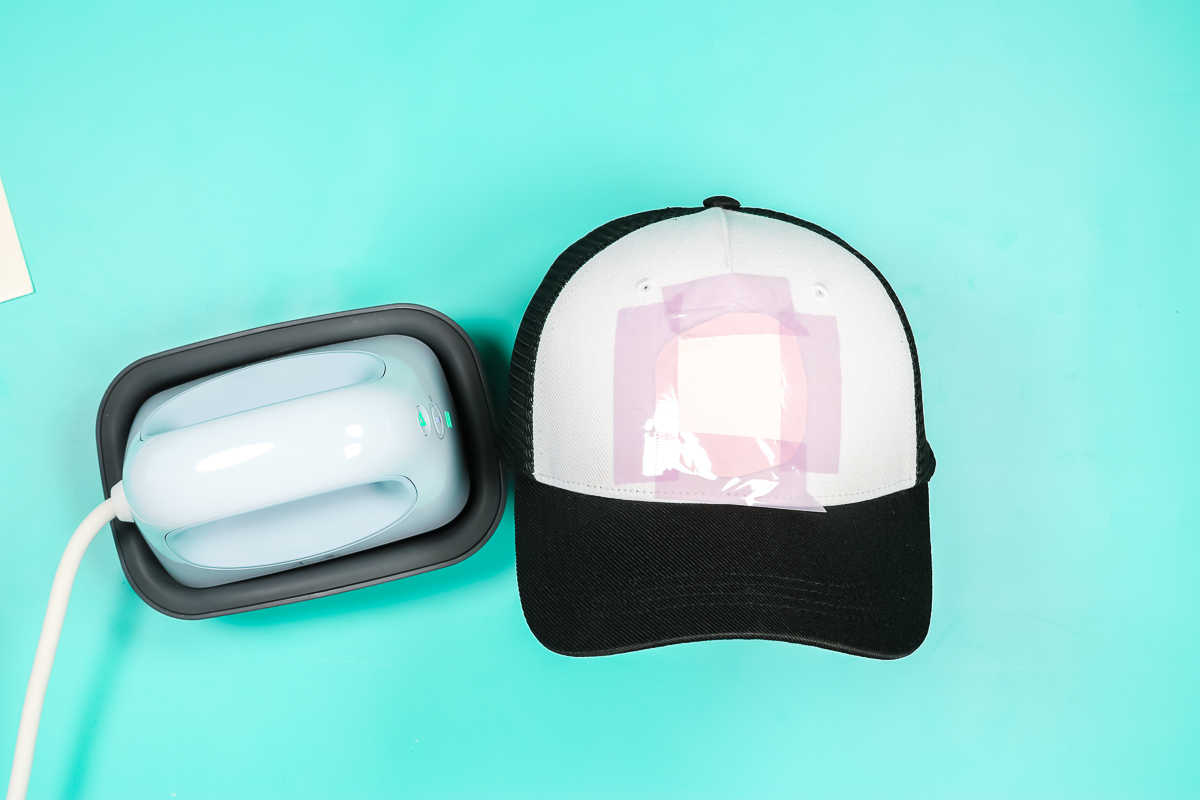
The first step in the Cricut Heat app is to preheat your hat. Put the hat press on the hat, press the go button, and move back and forth for five seconds. When it’s done, it will beep. I have this cute plant mom iron-on design cut out of Cricut iron-on, and I’m just going to put that on the hat. For designs, we do want to stay half an inch away from the bill when we place the design. The design itself should be 2.25 inches x 4.25 inches maximum. Even though this is an iron-on design and this sheet is sticky, I’m going to go ahead and tape it down. You also want to trim the carrier sheet close to your design, and you might want to put some slits in it to make it curve a little bit better. I like to cover this with a sheet of butcher paper and tape that down as well.
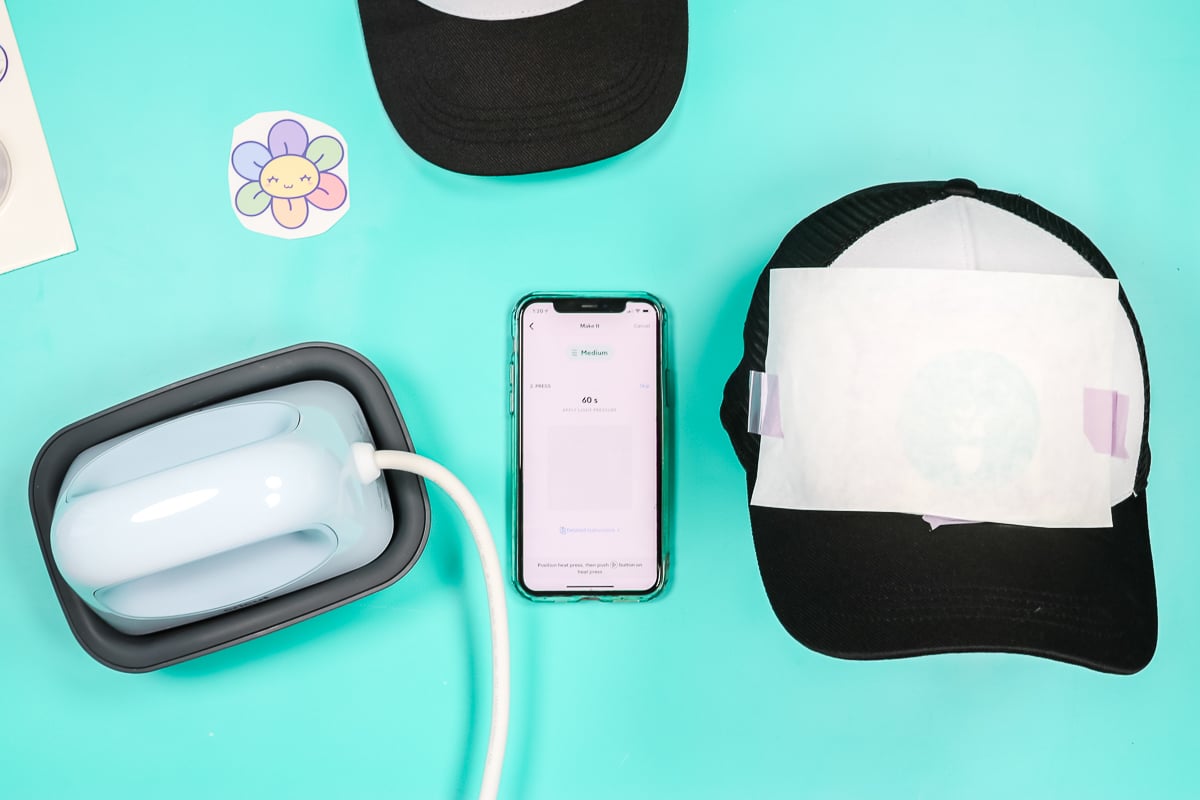
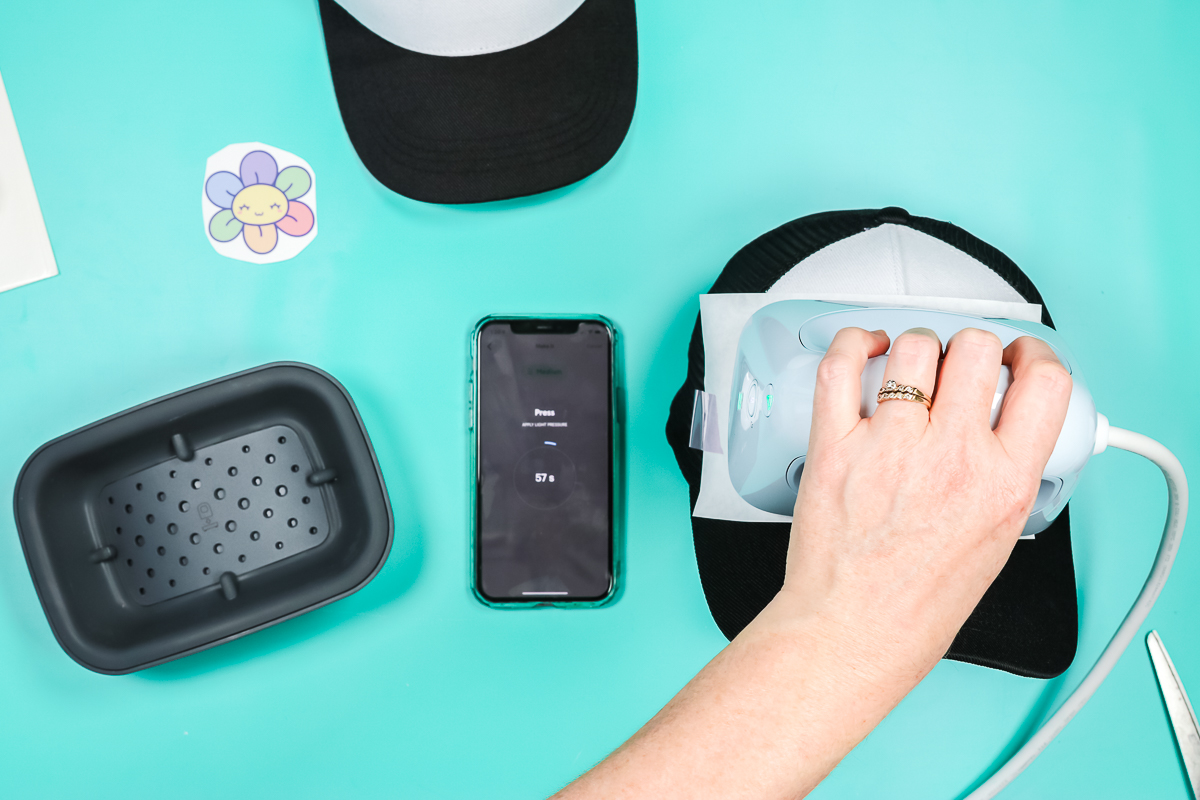
The Cricut Heat App now tells me to press for 60 seconds with light pressure. Put the hat press down, press the go button, apply light pressure, and just move it back and forth. My app will count down and the hat press will beep when it’s done. You can hold the hat form from the side as you press. The movement back and forth helps to distribute the heat evenly, so they do recommend that on all projects.
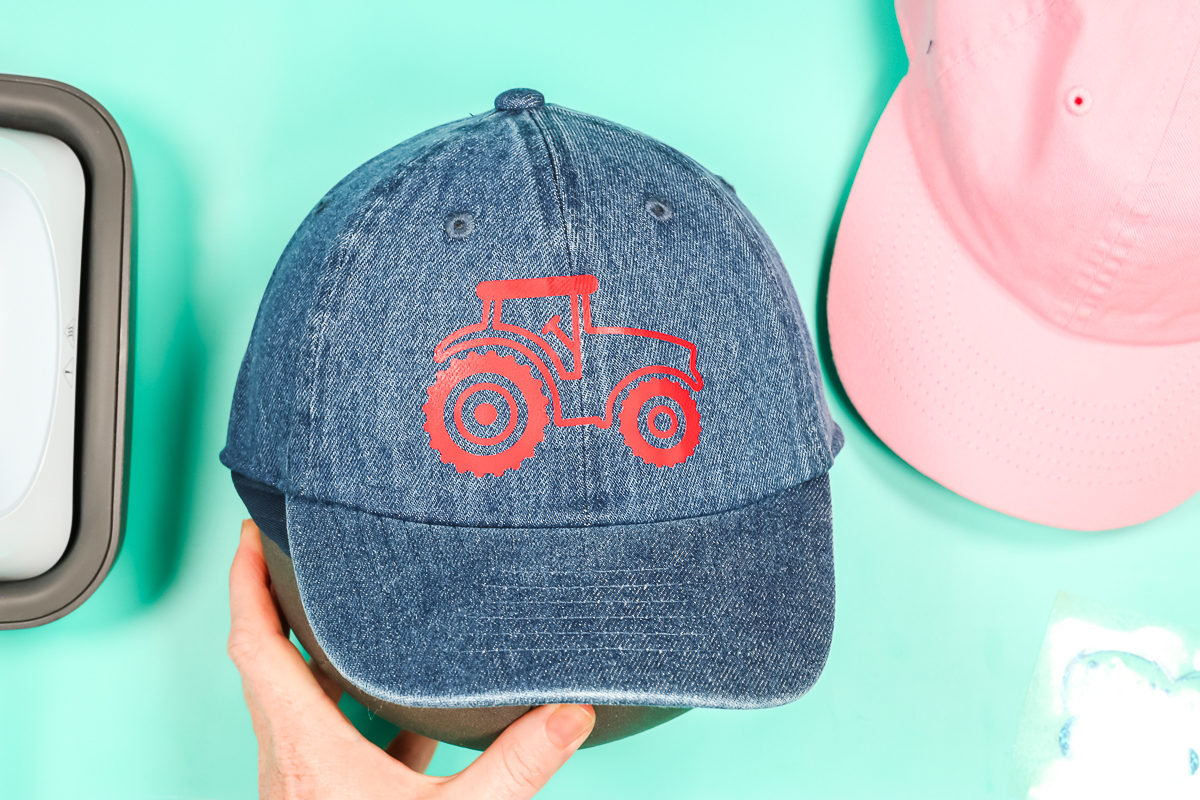
When it’s done pressing, it will beep and then we can lift it off. It does tell you in the app to peel cool. Remove the butcher paper then peel back the tape from the hat. Then peel back the carrier sheet from your HTV and make sure everything is stuck.
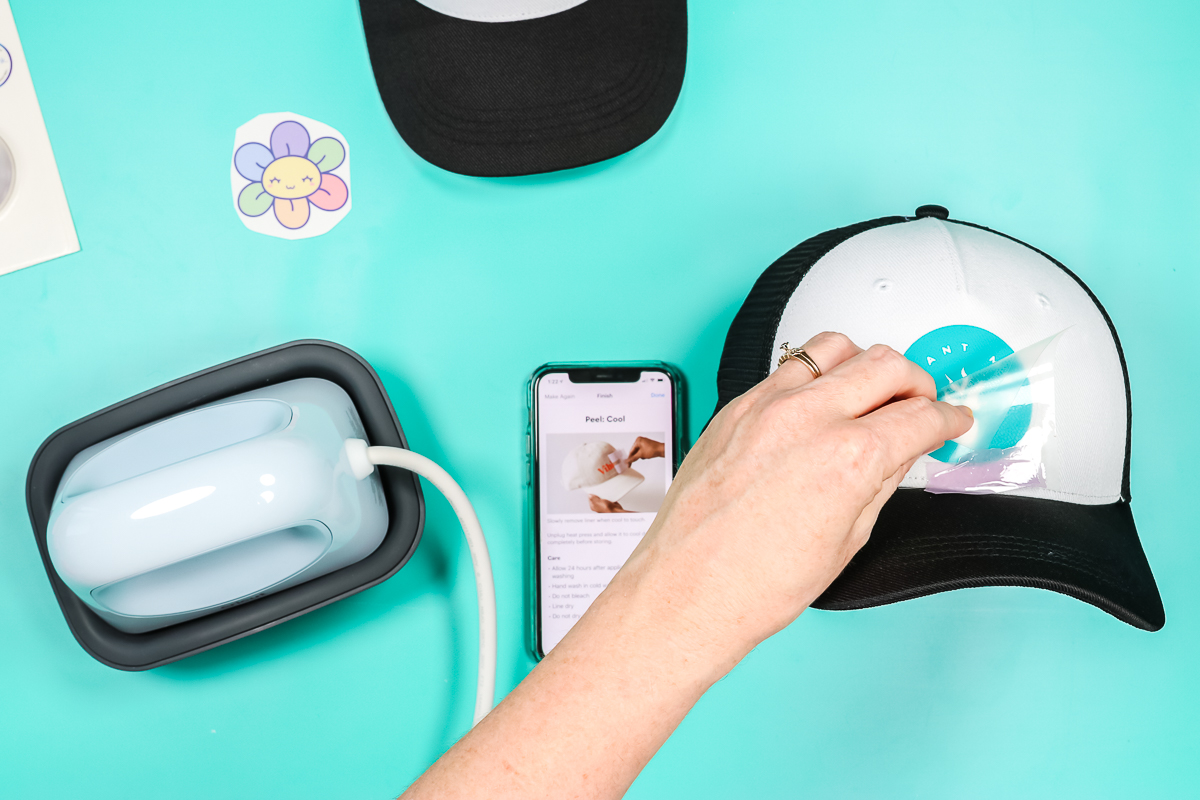
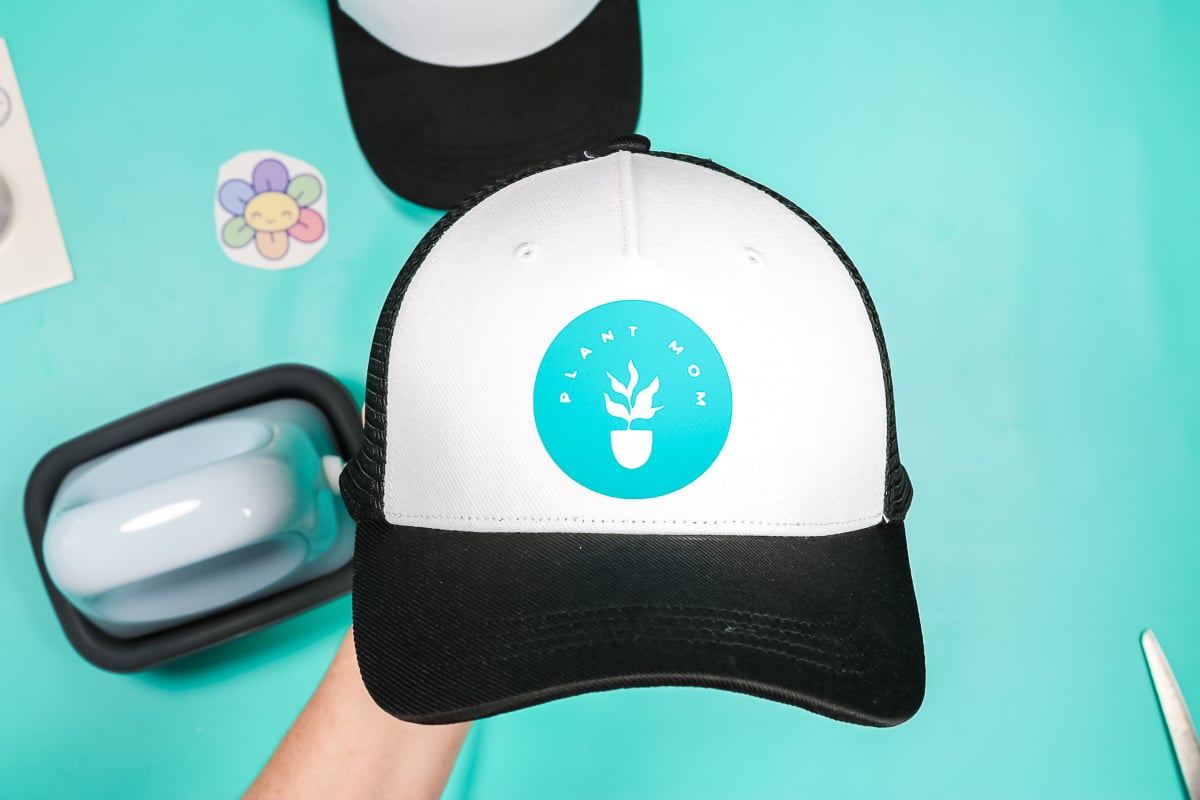
My hat looks awesome and I love the way this one turned out!
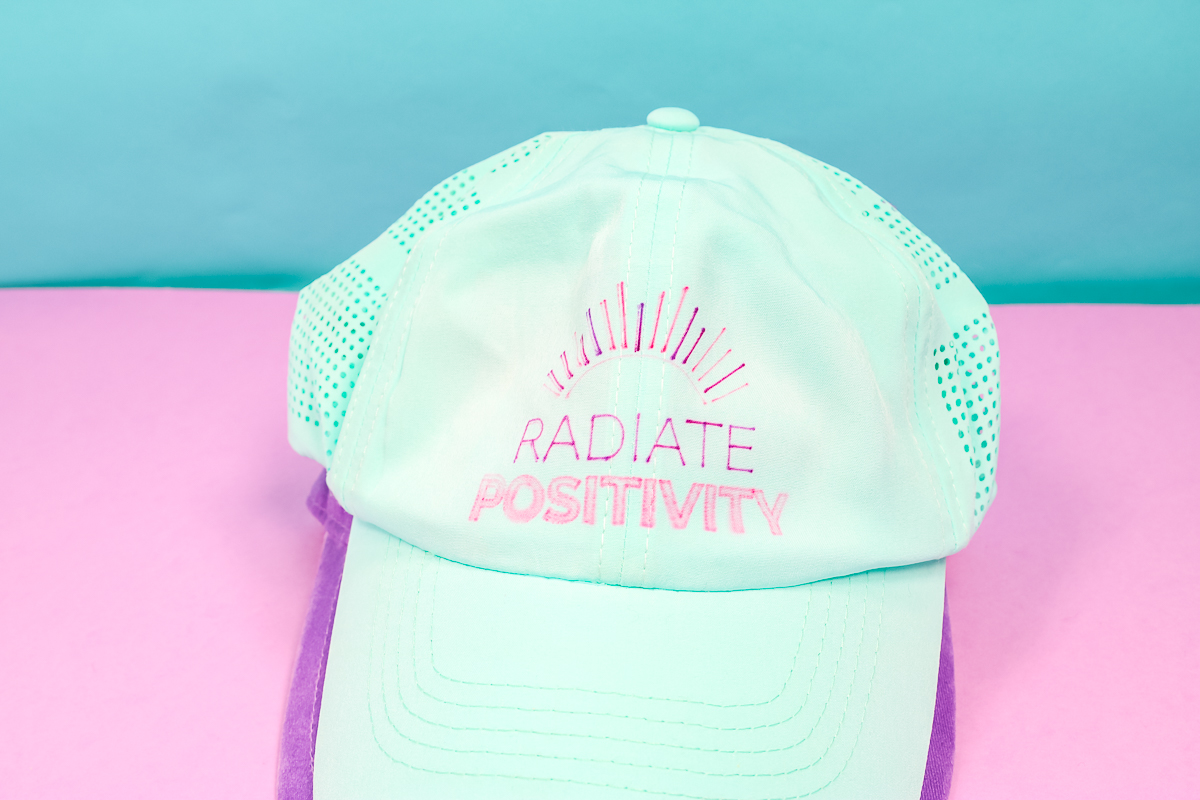
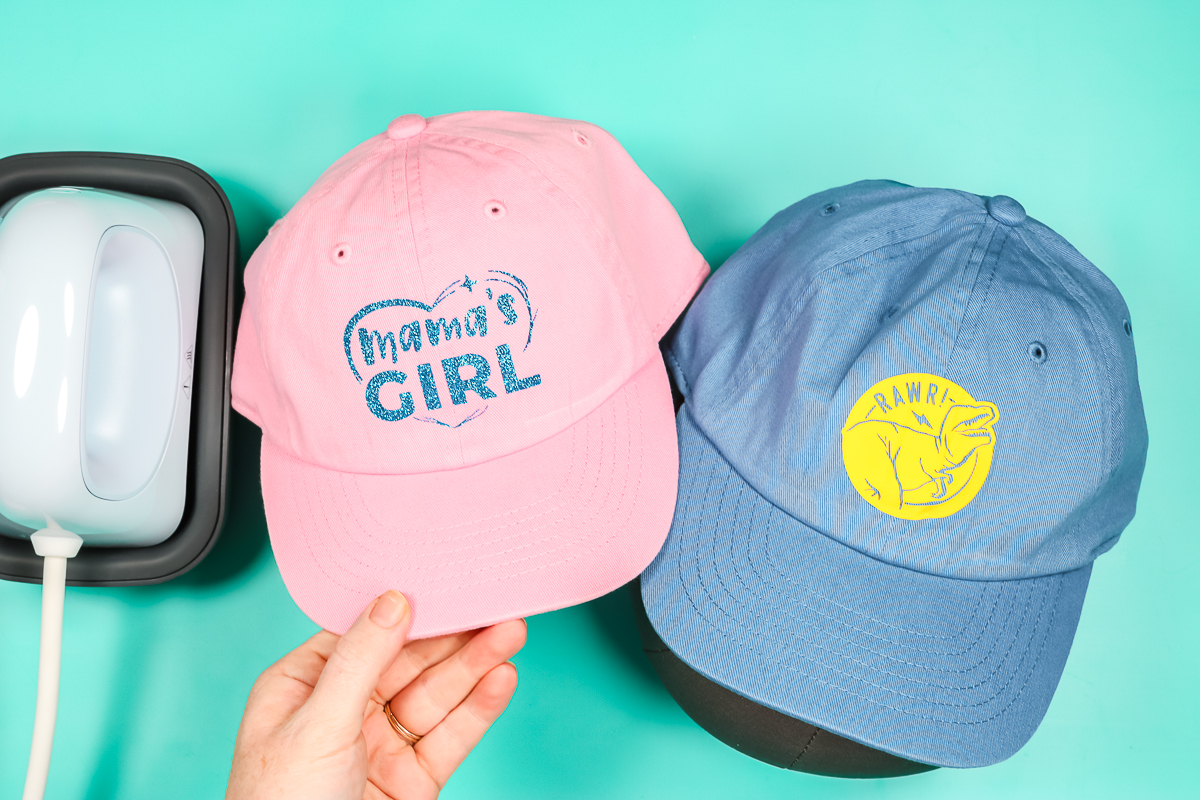
Cricut Trucker Hat with Sublimation
I prepped the hat for sublimation in the same way. I have it on the form, preheated it, and lint rolled it. For sublimation, I’m going to use the third setting on the hat press. I am going to do it manually without the app for this one. The third setting has the right temperature for sublimation or Infusible Ink and it will set a timer for 90 seconds. The lights on the Cricut Hat Press went from orange to green. Now it’s heated up and ready.
I am using a sublimation print on this one that is sublimation ink printed on sublimation paper and it is mirrored. I put it ink-side down on the hat and tape it down really well. With sublimation, it is going to be important to add that protective paper to the top so ink does not get on the hat press. I just put down a piece of protective paper and tape that down as well. Put the hat press on the design, press the go button, and move it back and forth for the full time. Again, I’m just using light pressure to press down.
The front of the Cricut trucker hat is polyester, so it’s fine for Infusible Ink, as well as sublimation. When it’s done, the press will beep. You can remove the sublimation print warm or cool. You can see the ink transferred, and I have a gorgeous sublimation print on my hat. No ghosting or anything. It really looks great! You can see the vibrant colors, as well as the fact that there’s no ghosting even though I had to move the press back and forth.
Polyester Baseball Cap with Infusible Ink
I ordered a couple of hats that are polyester, and I’m going to do Infusible Ink on one and sublimation on the other. I went ahead and had my Cricut machine draw an Infusible Ink design with pens. It is mirrored and I put that into place on the hat. Tape it down really well. Because these are pens, I’m going to put four layers of butcher paper over the top. It is important to protect it really well because the pens do bleed. Once this is on here, we are ready to press.
Put the hat press in place and press the go button. Move it back and forth across your hat for the full time. Once that’s done, it will beep and you can remove the press. Then, peel back the design and see how it looks on this hat. On the edges, it did not do as well. I tried to press this one a second time even and it still did not work great. I would say for larger designs it will be important to concentrate on the edges.
Polyester Cap with Sublimation
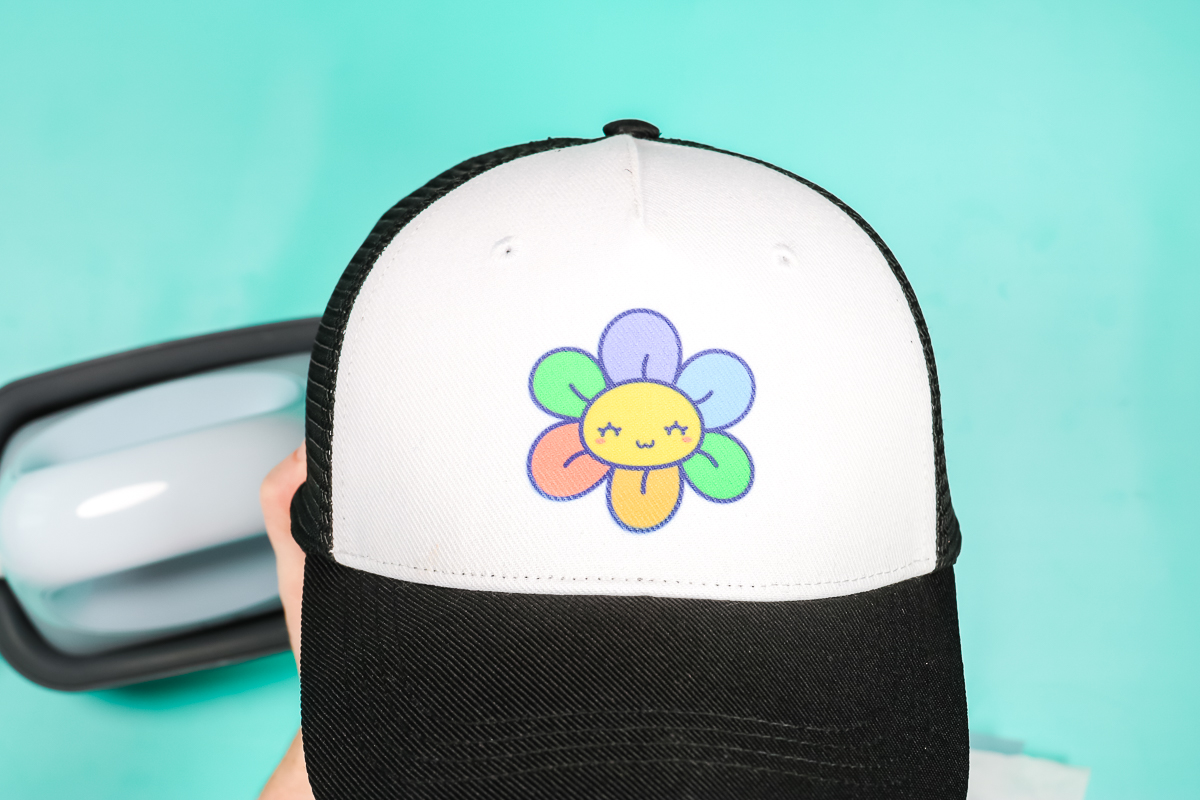
For this one, I did a sublimation flower on the front, and it turned out great with no ghosting. For pressing, I did it in the same way as I did the trucker hat above.
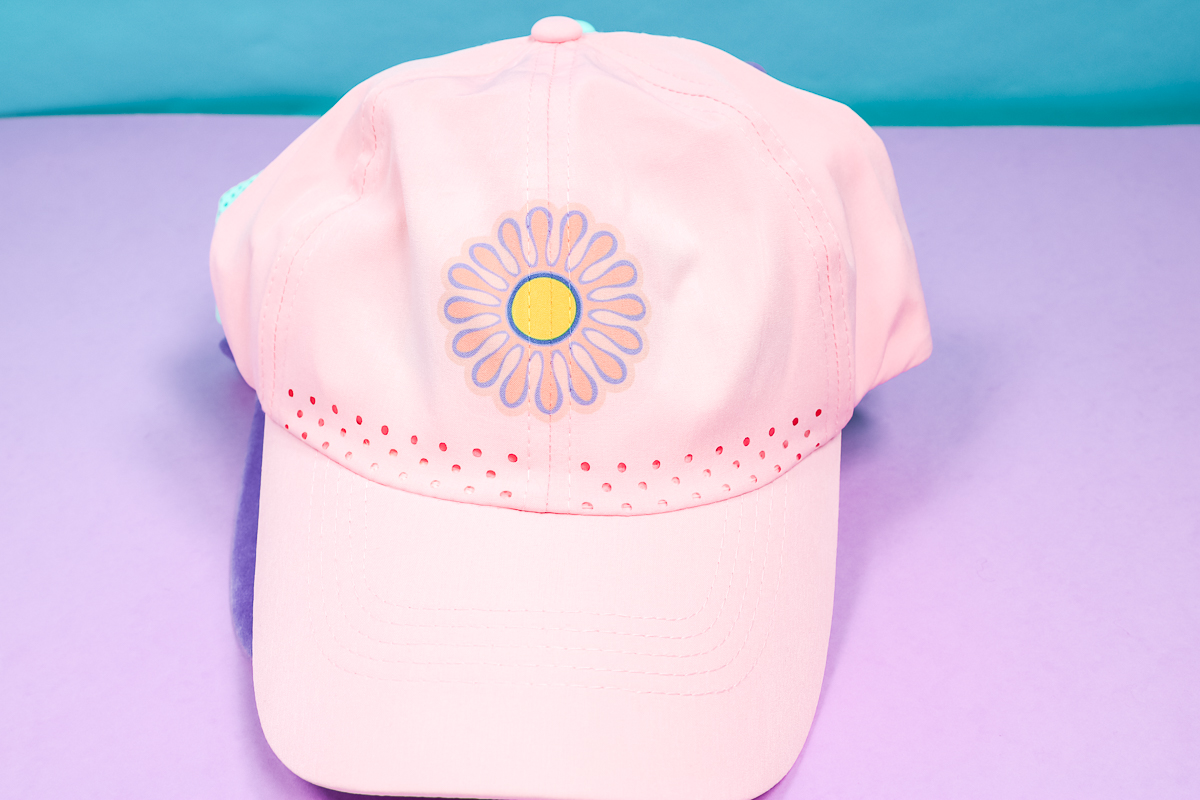
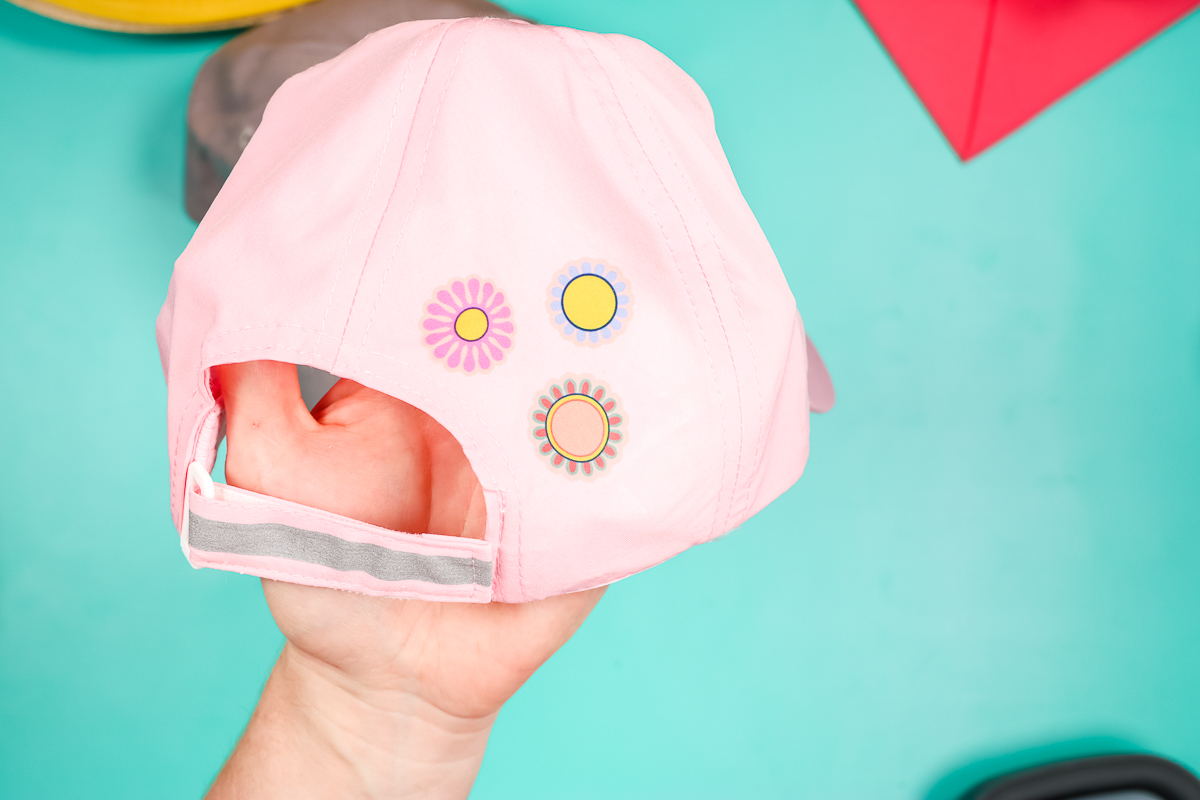
I also put a design on the back of this one. I wanted to show that the Cricut Hat Press is not only for designs on the front of the hat. You can definitely put them on the back of a baseball cap. This is sublimation again, but you can use iron-on in a similar manner.
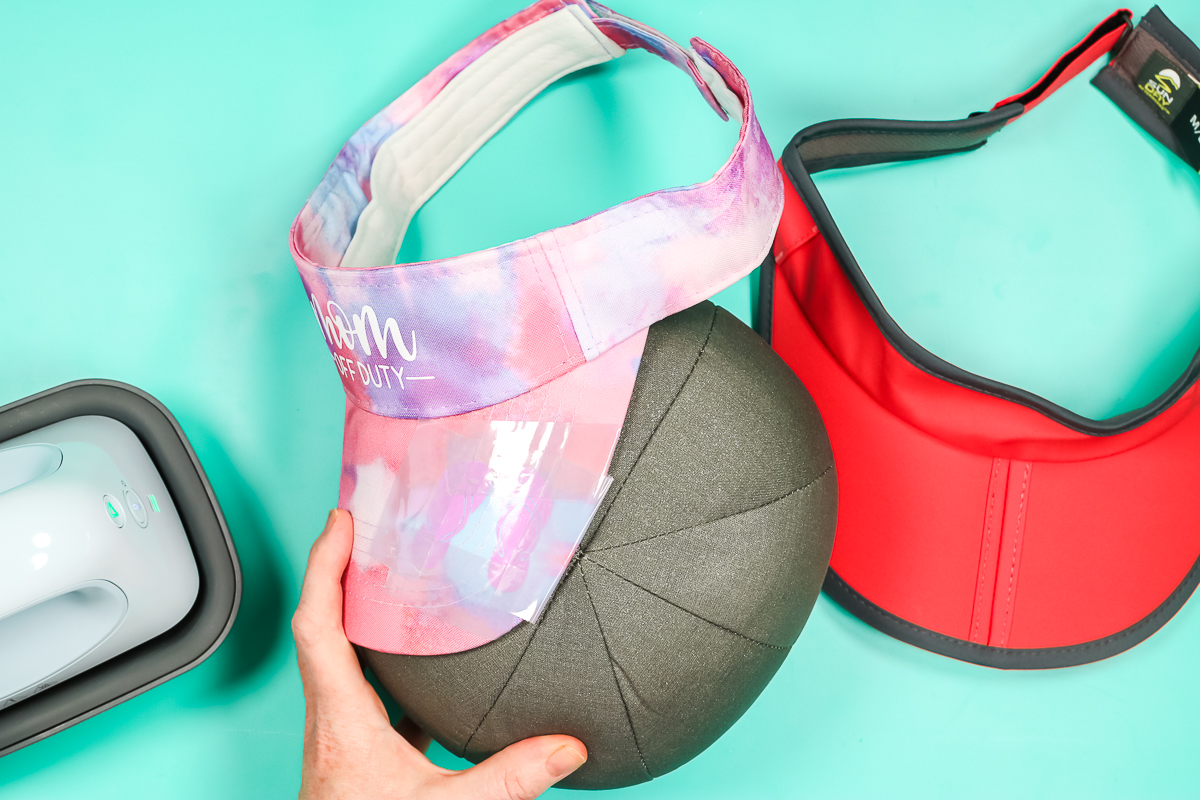
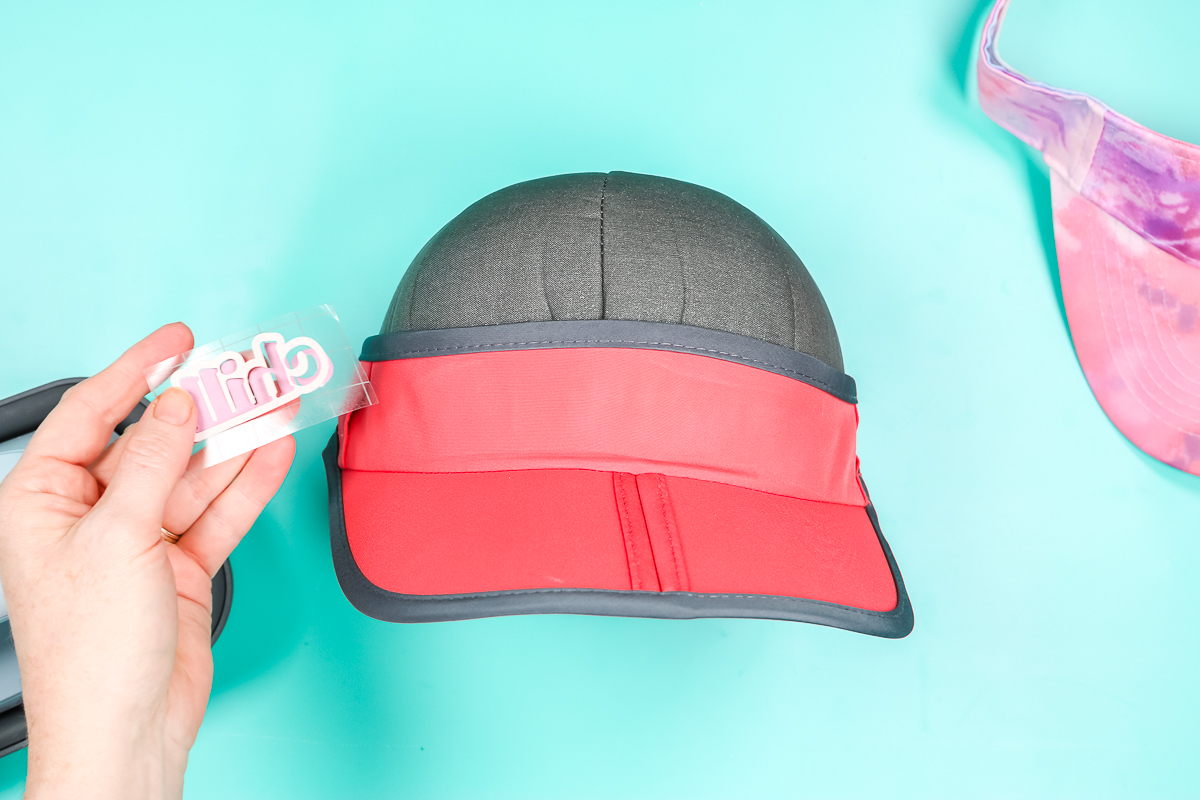
Visor with HTV
You can make DIY hats with this press but you can also make visors! The visors fits on the hat form in the same exact manner. Add your cut and weeded HTV to the visor and tape it down so it sticks. I did add paper to the top again but this is optional.
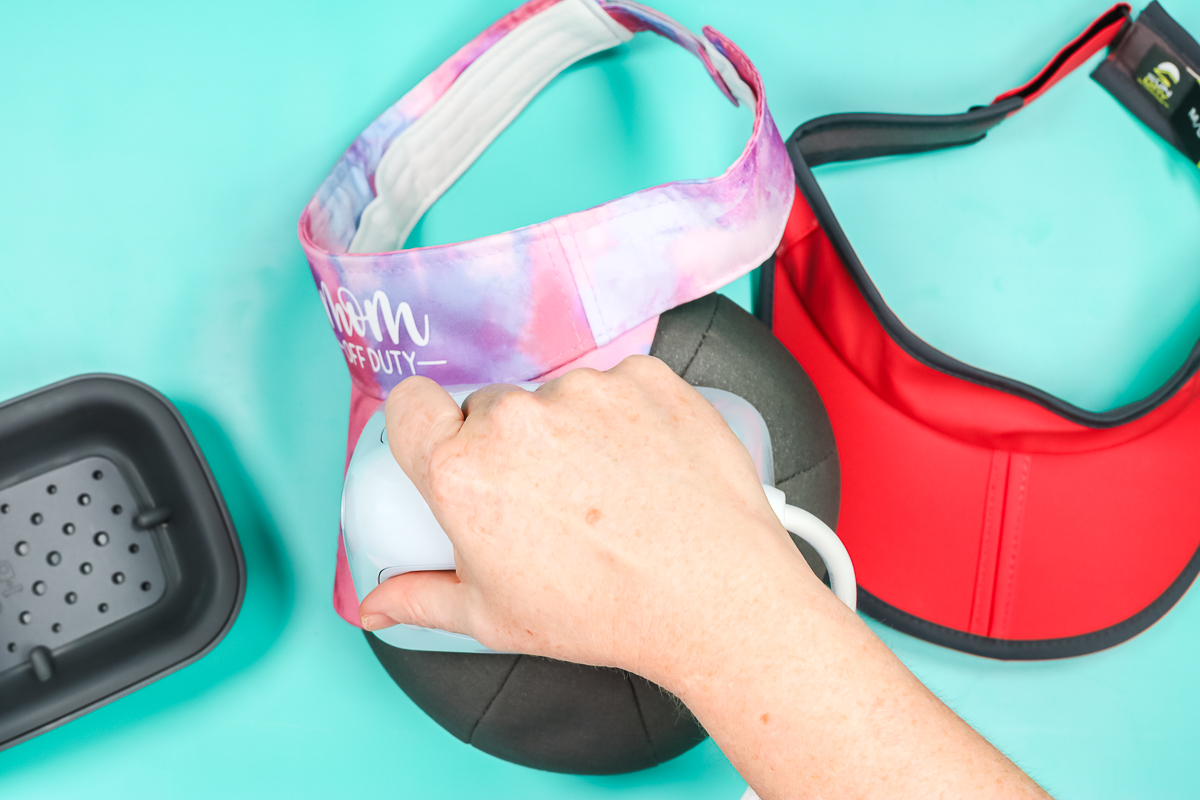
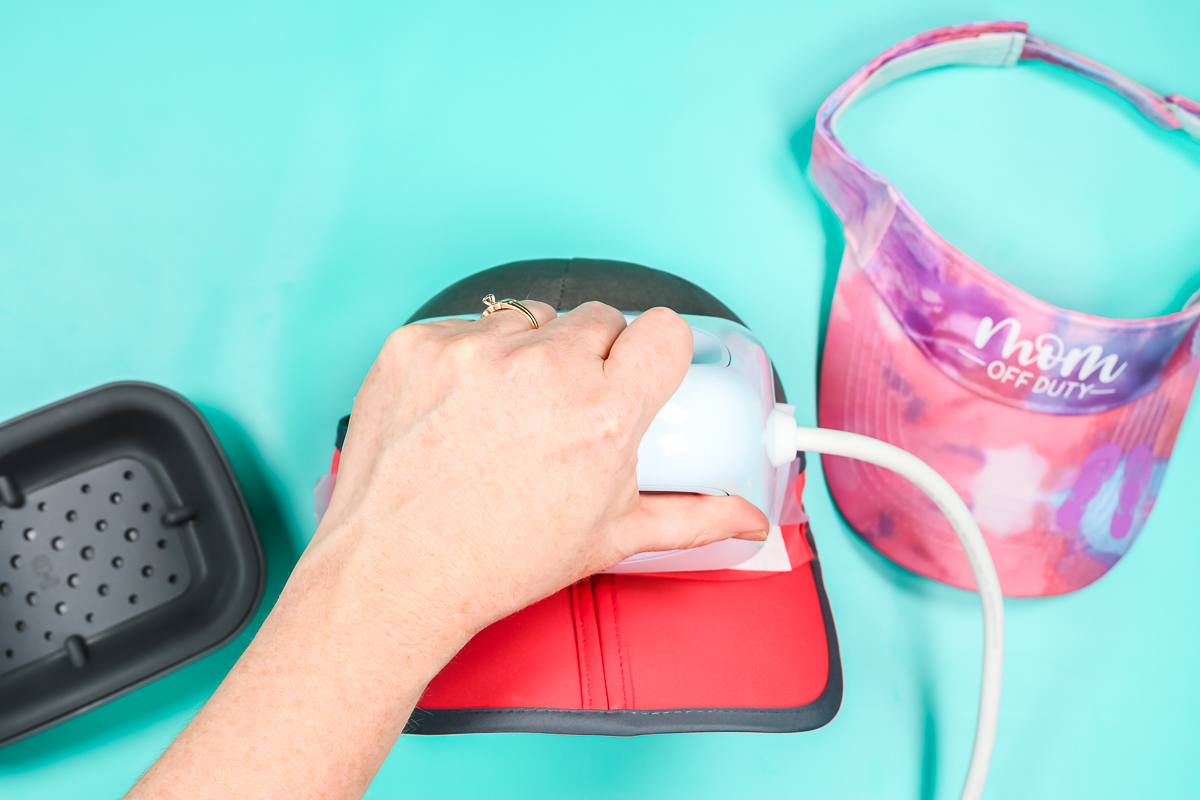
Once the Cricut Hat Press has heated up, put it in place, press the go button, and move it back and forth for the full time. Then peel back the carrier sheet from the iron-on.
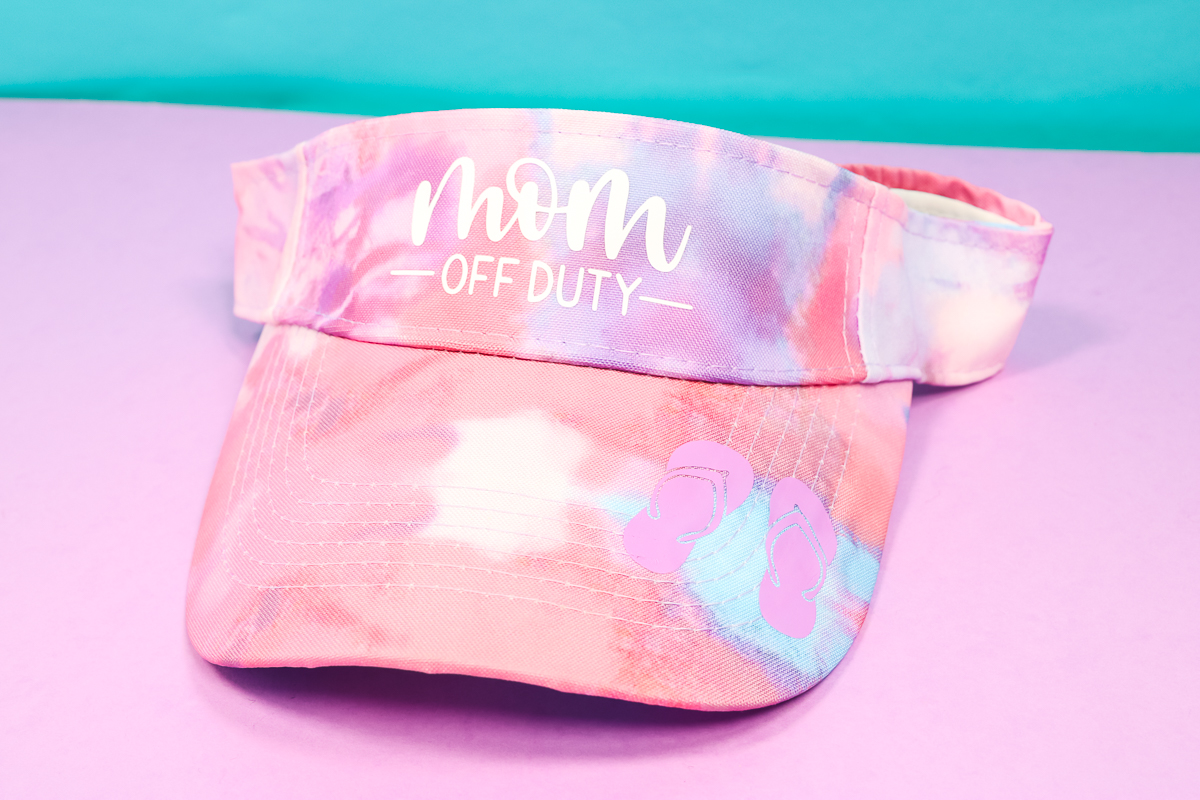
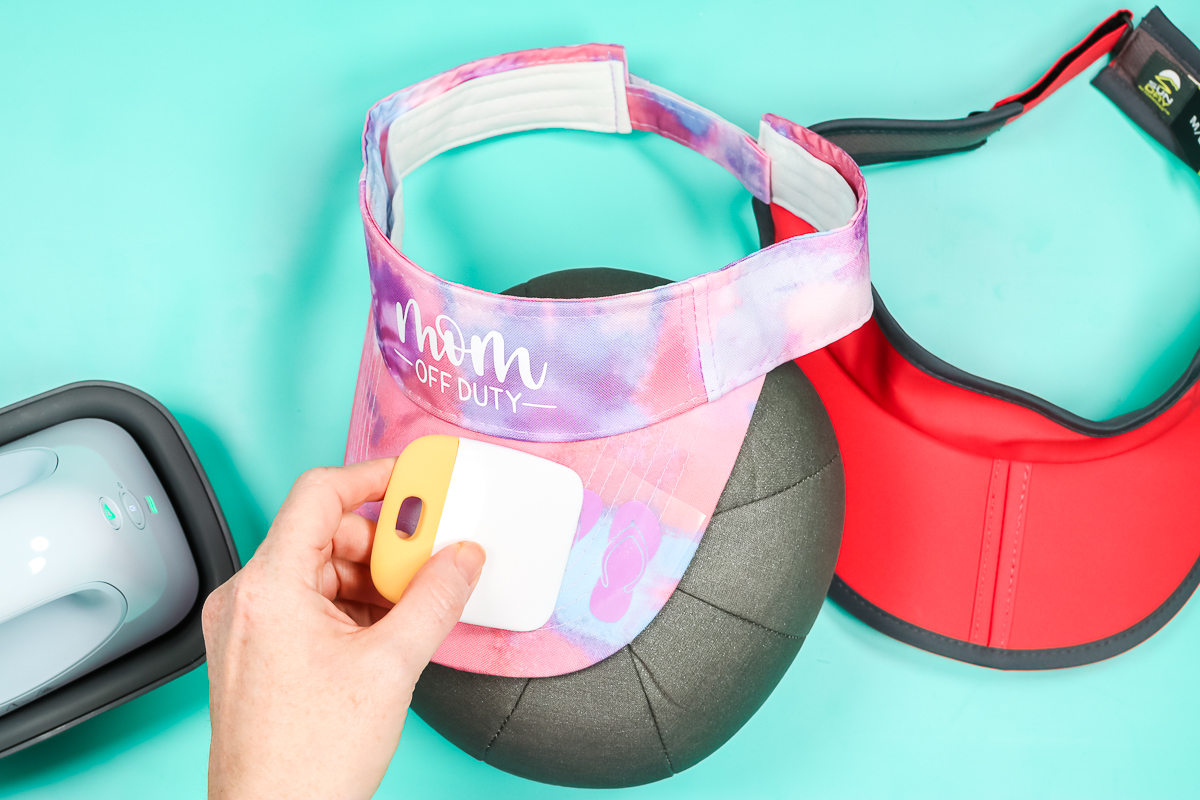
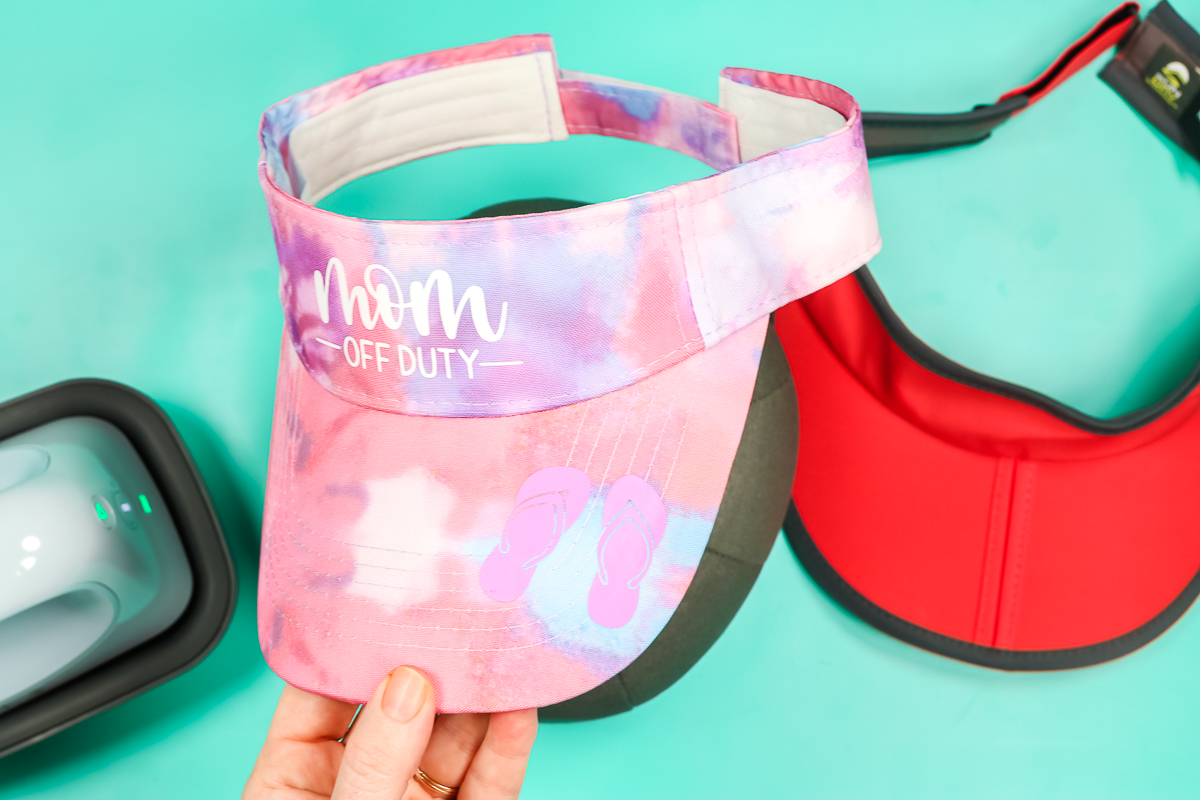
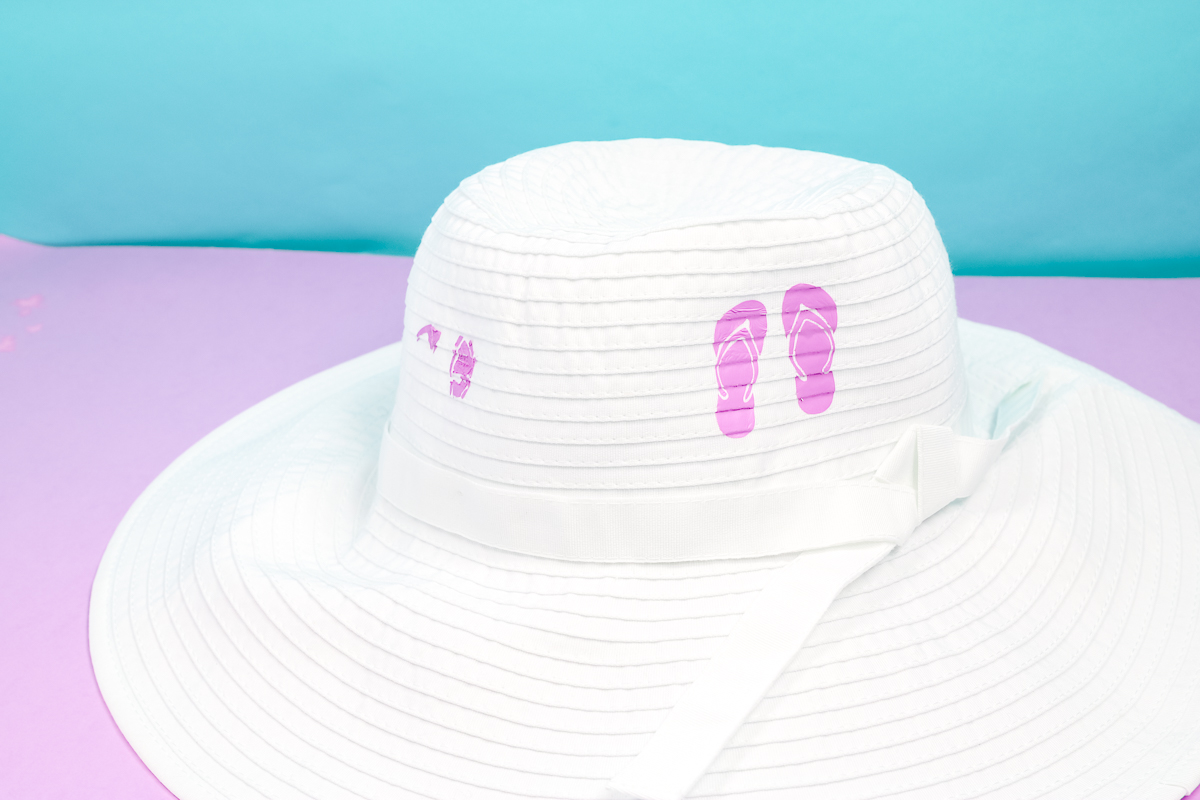
Cricut does not recommend you do Infusible Ink or sublimation on the bill of hats because you can damage what’s inside the bill itself. But HTV will work! For this visor, I want to do a pair of flip-flops on the side. Locate the HTV and tape it down. I didn’t add paper in this case.
To do the bill, find a place on the form that is stable for the area of the bill you are pressing. Then add the press and move it back and forth for that full time.
Once it’s done, remove the hat press and let it cool. I did want to note here, that a lot of times with odd surfaces like this, I like to rub this with my scraper. The bill of this has all stitching and your HTV is going to have to adhere to a rough surface. As it cools, pressing down with a scraper helps it to adhere well.
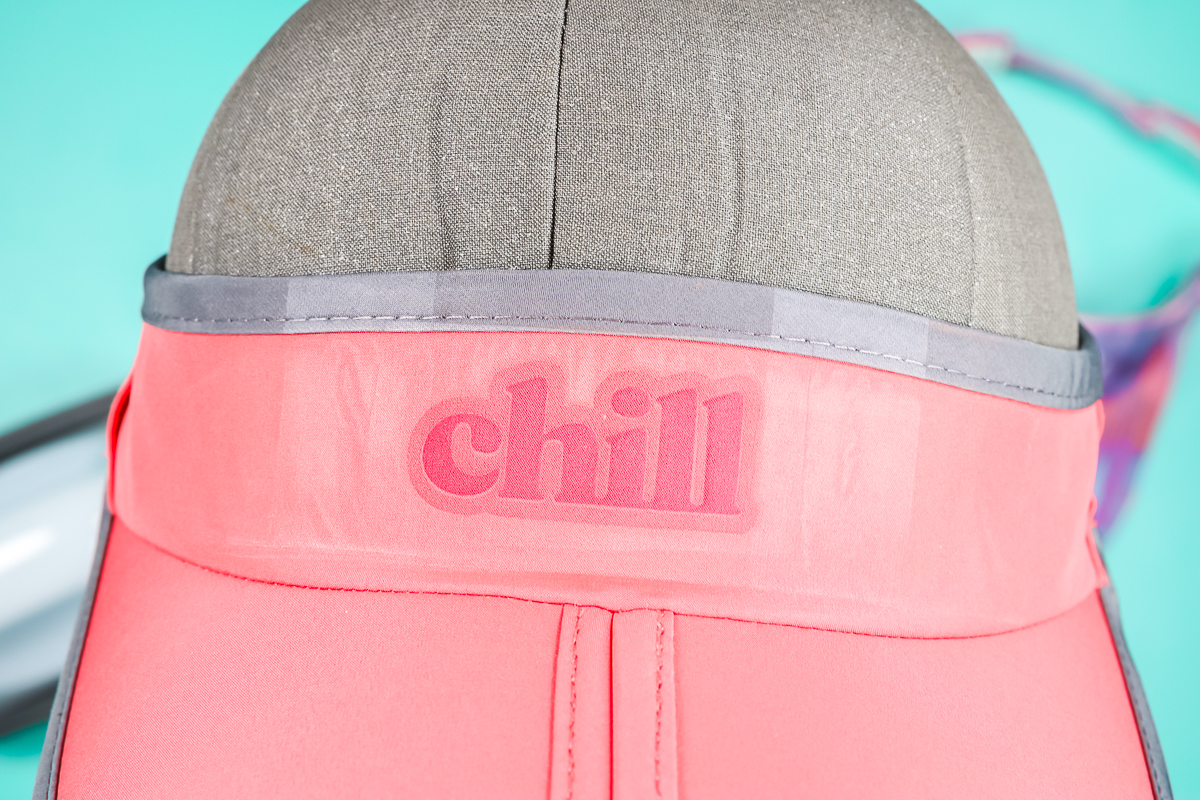
Once it’s cool, lift up the carrier sheet, making sure the HTV is stuck to the bill of the hat. Both the bill and the front of this visor look amazing. You can definitely put HTV on the bill of a hat.
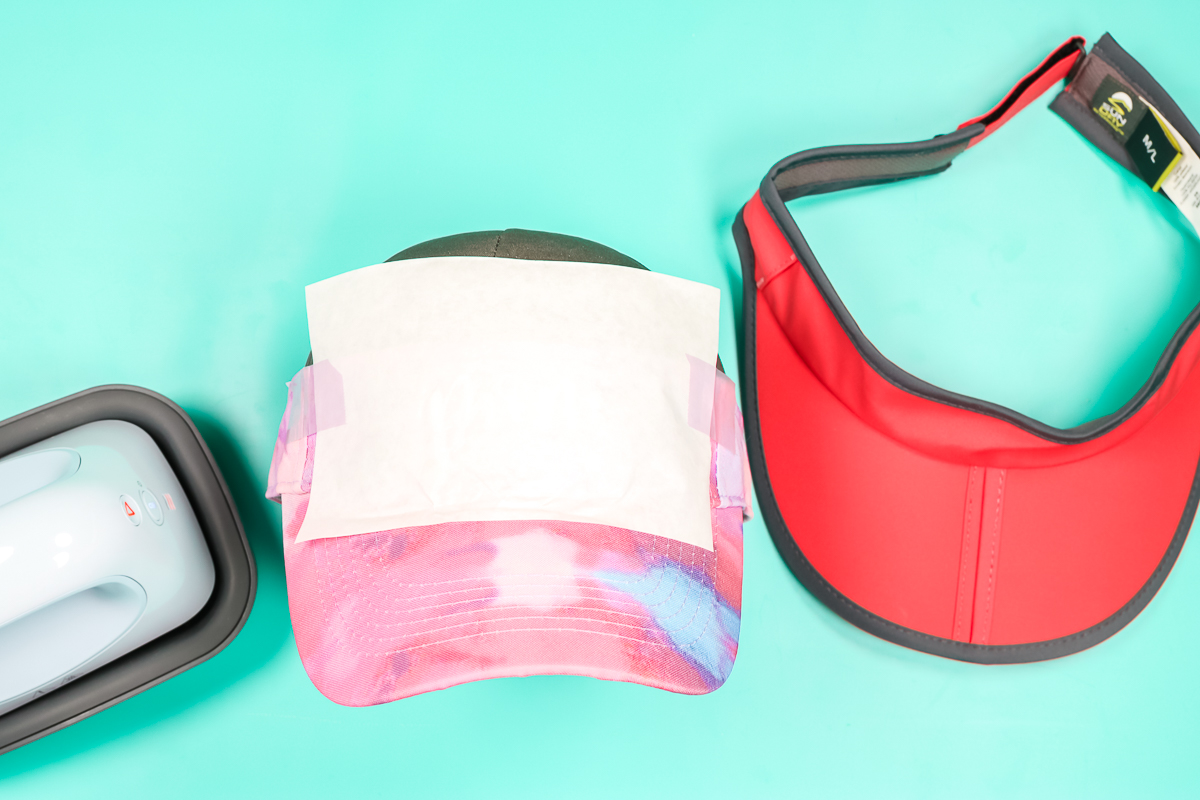
Polyester Visor with Infusible Ink
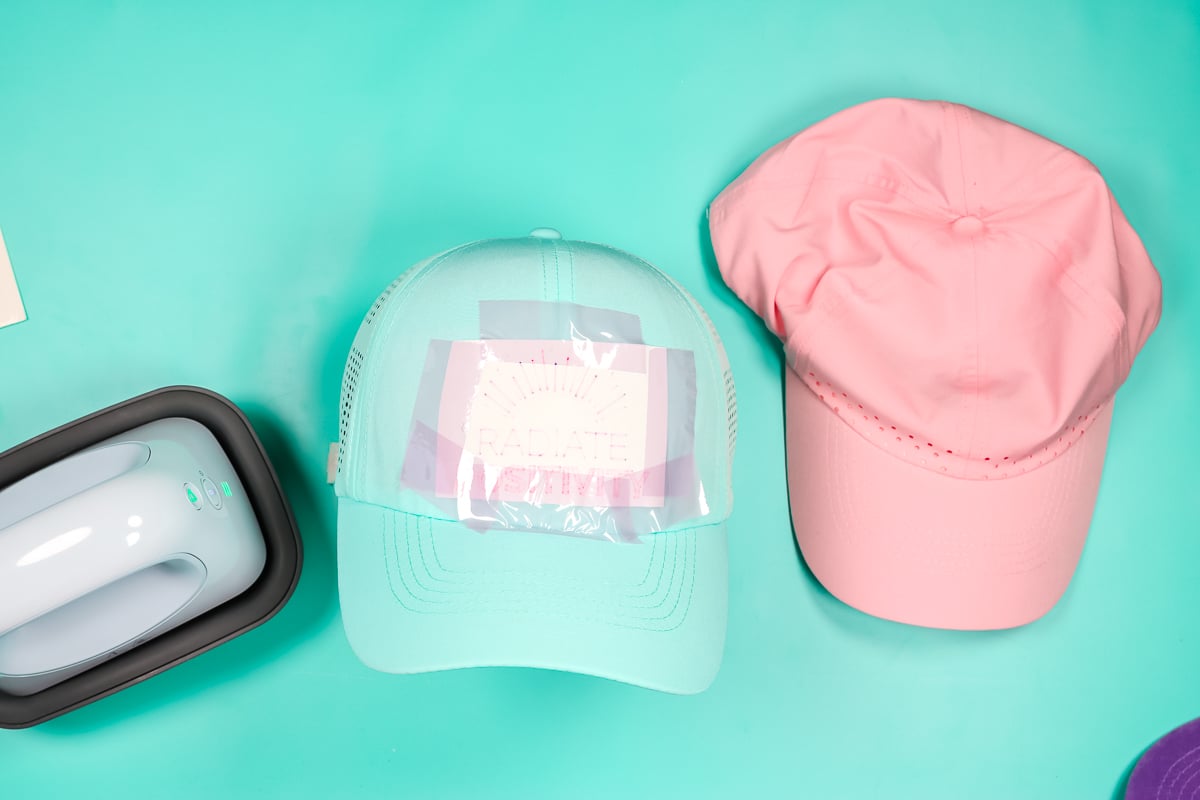
I have a polyester visor here from Amazon and I’m going to add Infusible Ink to it. I have two-layer design that has been cut and weeded. To do this, just put both layers on the same carrier sheet and put them both on the hat at the same time. Once you put the design into place, you do want to tape it down. The carrier sheet is sticky, but it is not going to hold it in place well enough.
Be sure to cover the design with some paper and tape it down well. Then once the hat press is heated up, press moving back and forth for the entire time. Then you can remove the carrier sheet warm or allow to cool.
With Infusible Ink the color of the hat will show through because it is translucent. It will alter the colors of the material itself. With a closer look, you can probably see where my tape. These are called press marks and polyester is notorious for this. You can try to press those out, but most likely, they are permanent. Playing with different blanks with Infusible Ink and sublimation is going to be critical.
Kids’ Hats with the Cricut Hat Press
I have a variety of sizes of kids’ hats. I’m going to add HTV to all of them because I just happened to find a good listing on Amazon and they’re all cotton. The Cricut hat form itself is for adult hats. If I was to try to put this kid hat over this form, the form would be way too large to use as it’s intended.
However, it is smaller if you turn it up on its side. I put kids’ hats on the form with the back of the hat over the handle. You do still want to make sure the sweatband is out so you have a smooth surface once you get your hat on. Then we can lay the form down with the handle against the table to press. This hat fits perfectly on the form. No air bubbles, and everything is tight. Add your design and tape into place. I put paper over this one again as I cut the design a little deep and my carrier sheet was cut.
Then press on the setting for iron-on. Once it’s done, allow it to cool before removing the carrier sheet. Then just peel back to reveal your cute kid’s hat! So, there’s another way to use the form to make hats of different sizes.
Here are two more kids’ hats with HTV on them. One is supposed to be a 12-month size and was a 2T. I got them all to work by turning that hat form the same way and pulling it over the side instead of over the top. Now you can make DIY hats in kids’ sizes as well!
Bucket Hat with HTV
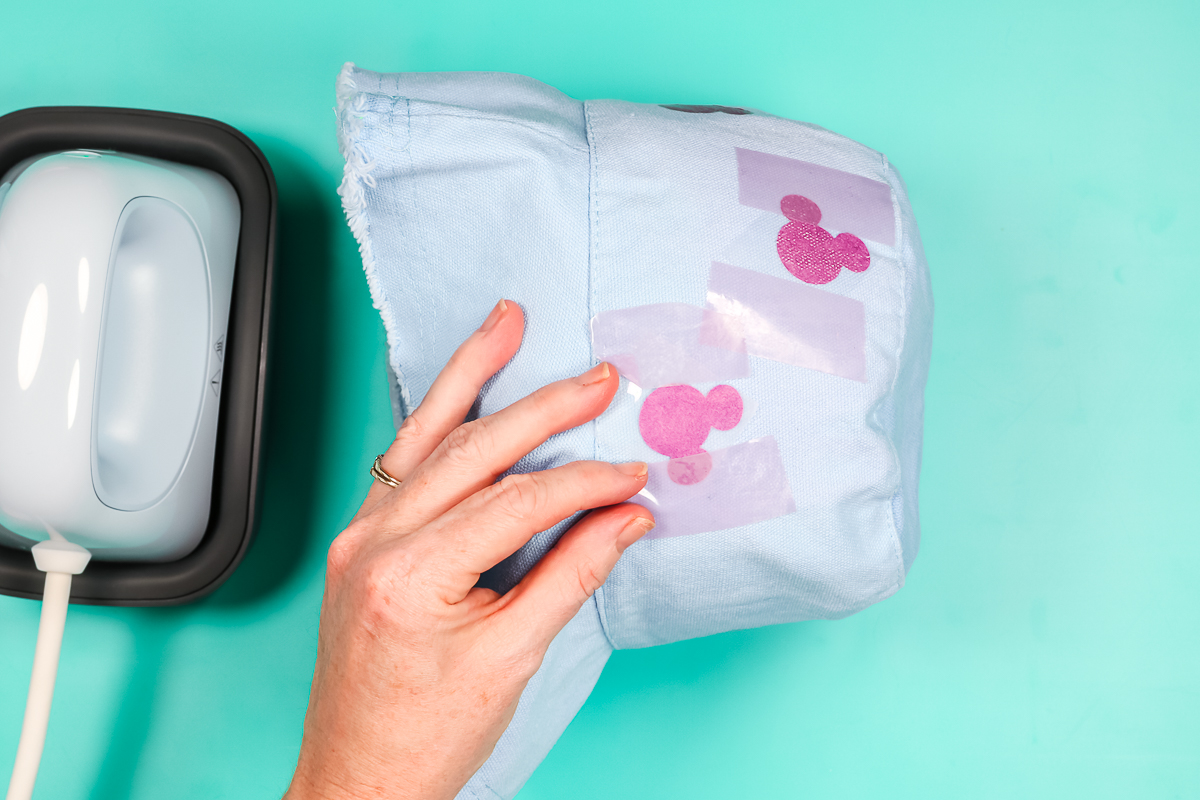
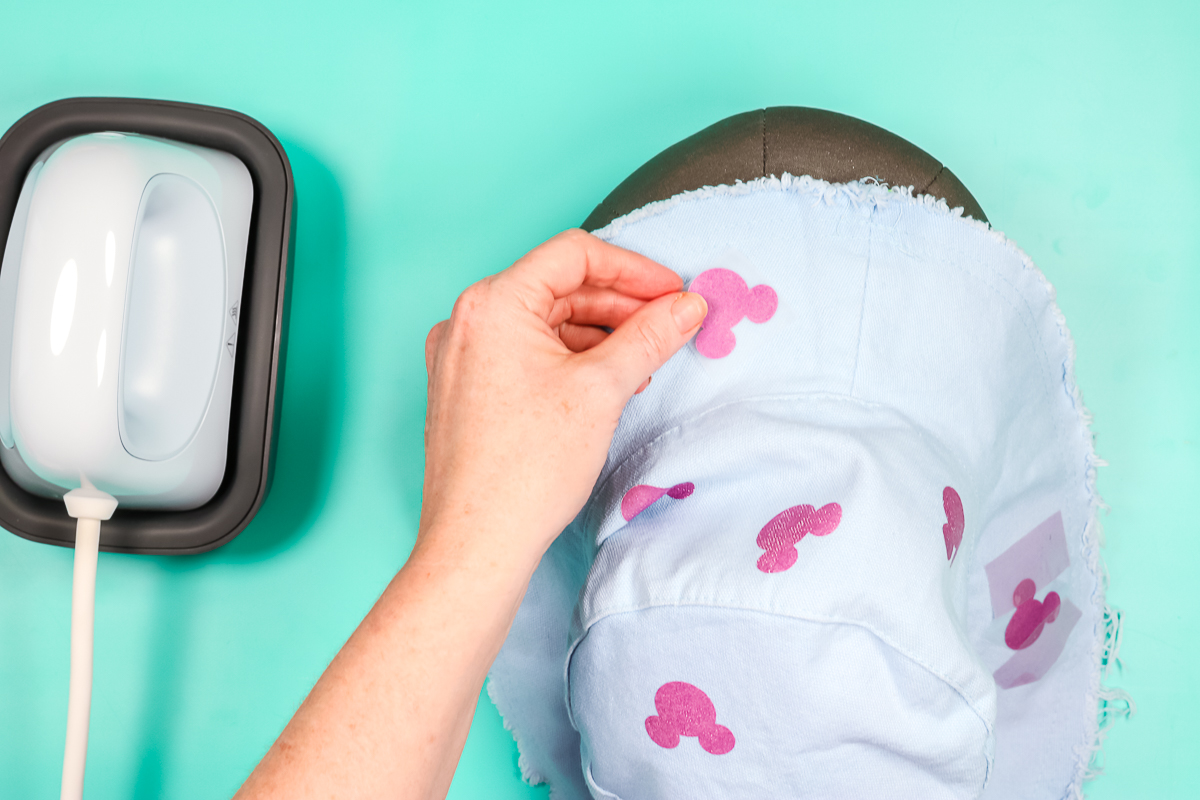
I’m going to put these Mickey heads made out of HTV all over a bucket hat. For the bucket hat, it doesn’t really have a sweatband. Add it to the form and get it as tight as possible where you will be pressing. Add each HTV piece and turn your hat as you go to add additional pieces. Use the same procedure for iron-on as we have for the other hats above.
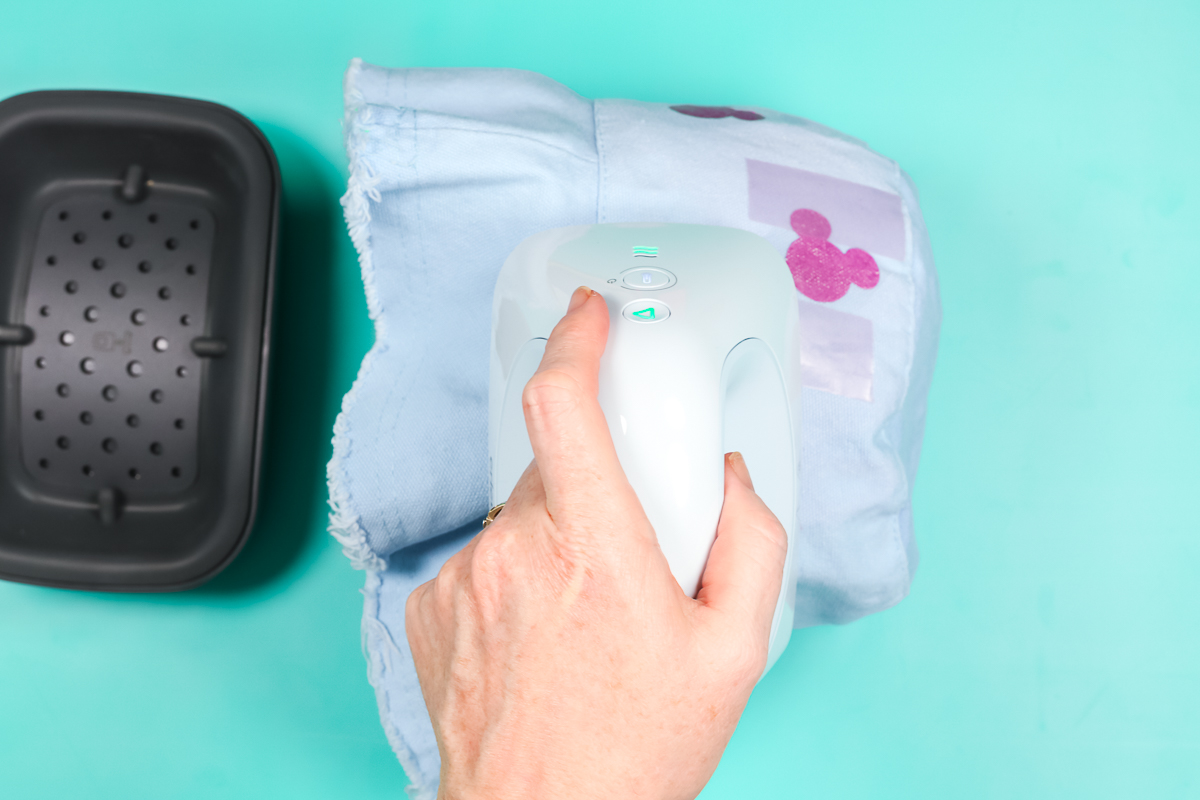
To be safe, you can leave the carrier sheet on them until the very end. I was removing the carrier sheets as I went at first. I got a little bit carried away and touched one of the pieces with the hat press while I was pressing another one. It did mess up the ear just a little bit.
To do the bill, remove the hat from the form and set the bill on the form. Then just press in the same way.
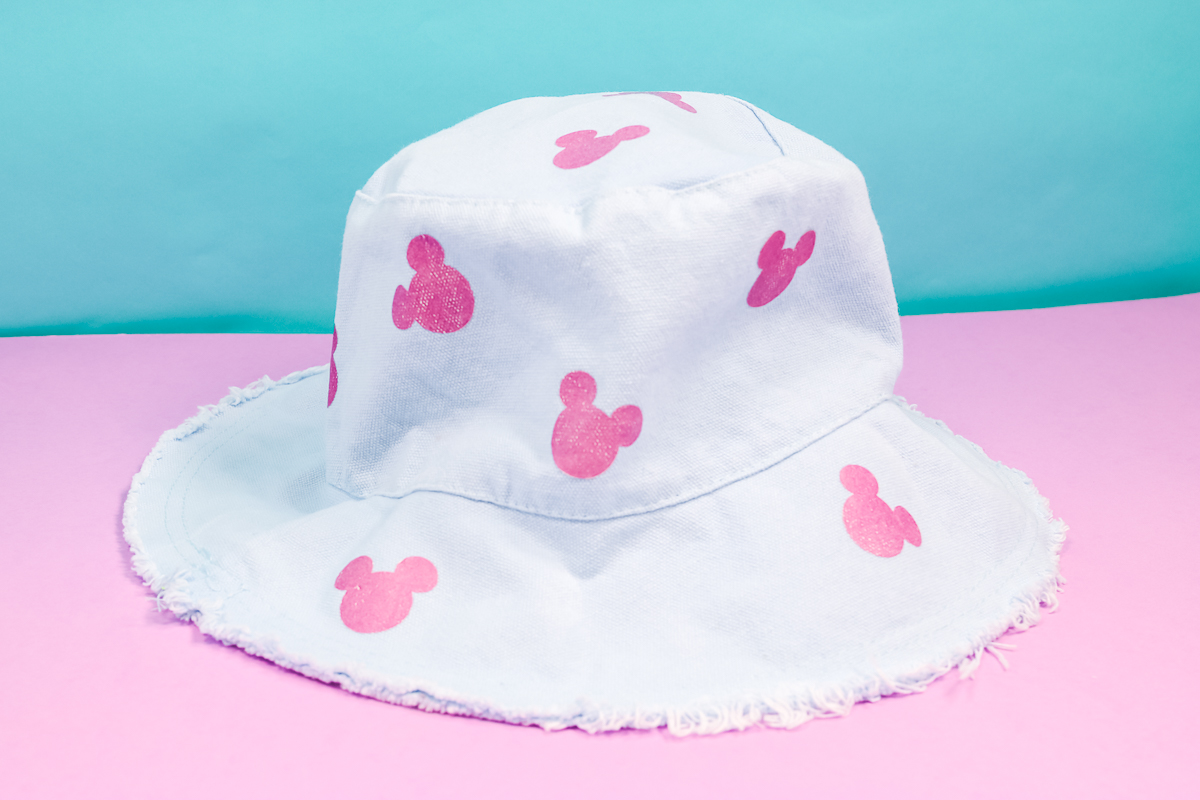
Here’s my completed bucket hat with Mickeys all around it. It’s definitely possible to make all-over DIY hats with the Cricut Hat Press.
Sun Hats with HTV
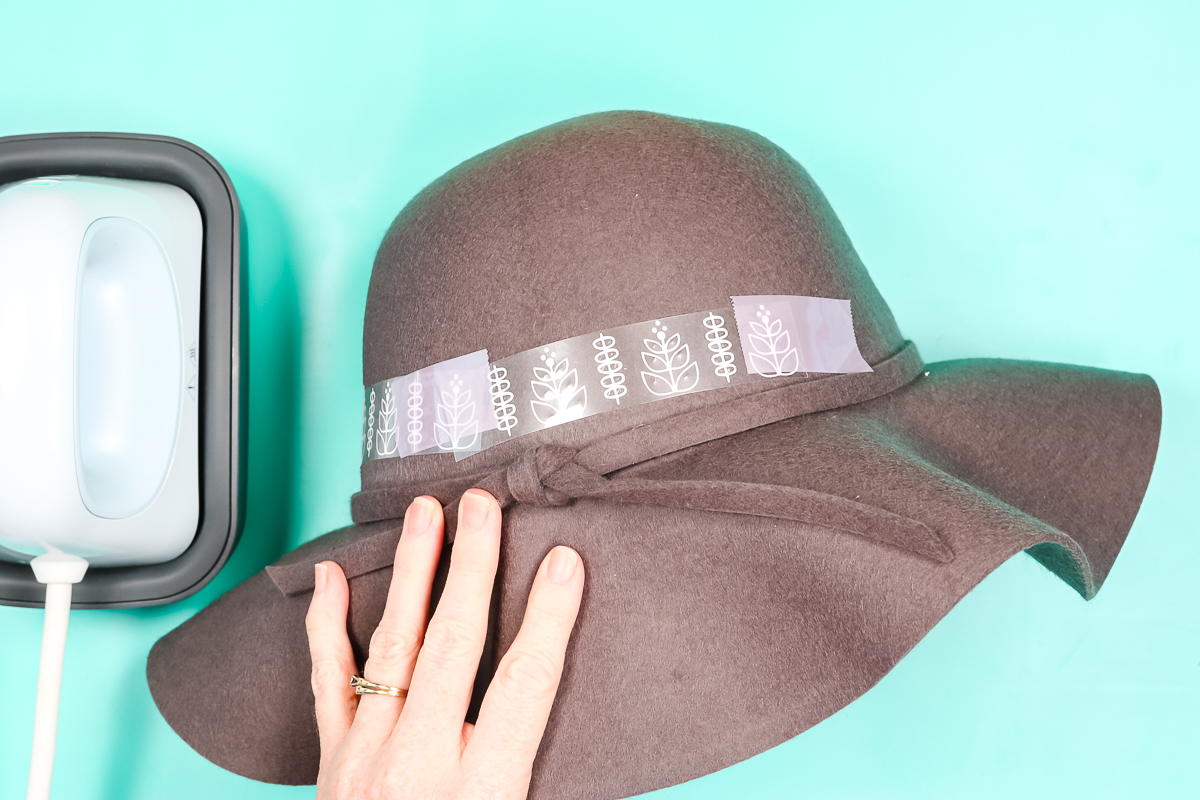
I’ve been practicing on some wide brim hats and I have a few ideas for you. First, if you have a long design it is better to do it in sections so it does not get as crooked on the hat. Just press each section the same way we’ve been pressing everything else.
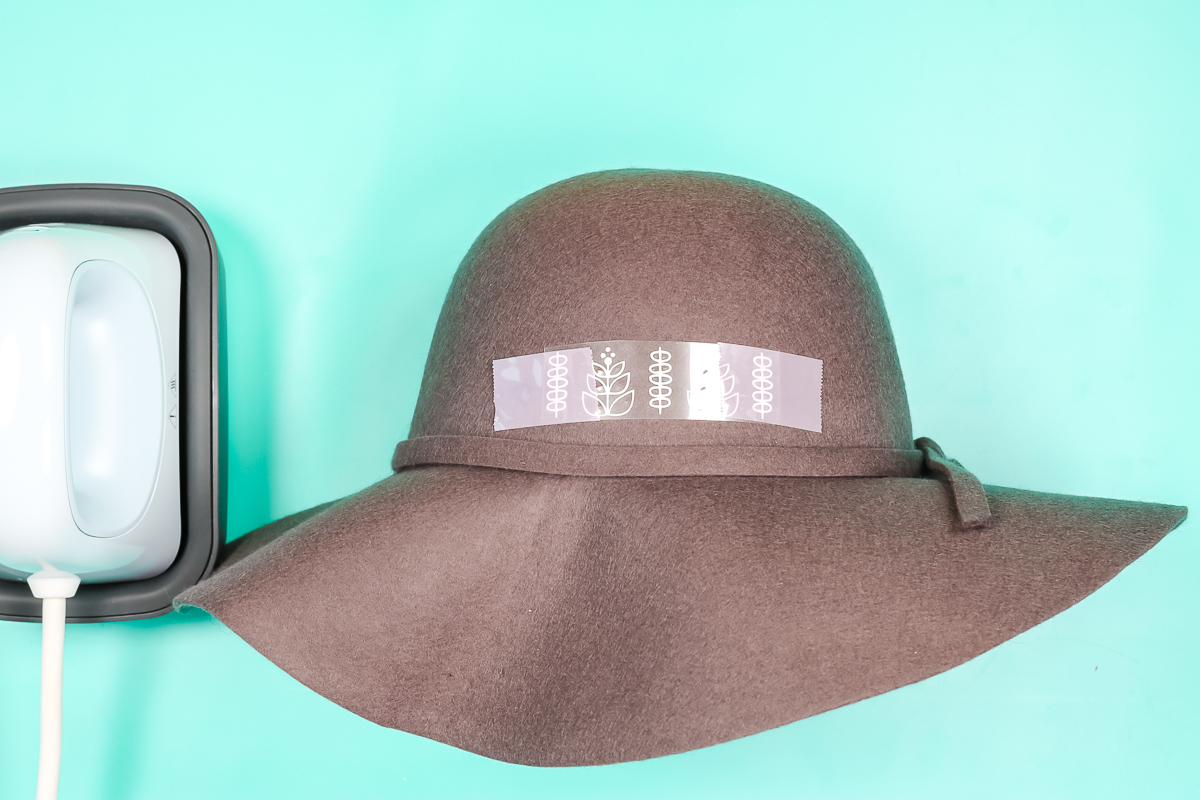
Once you’re done with one section, remove the tape, leave the carrier sheet, add your second piece, tape that down, press the second piece, and continue all the way around the hat. You can keep everything fairly straight by doing it in sections. If you leave the carrier sheet on all the way around, then you won’t run the risk of damaging your iron-on.
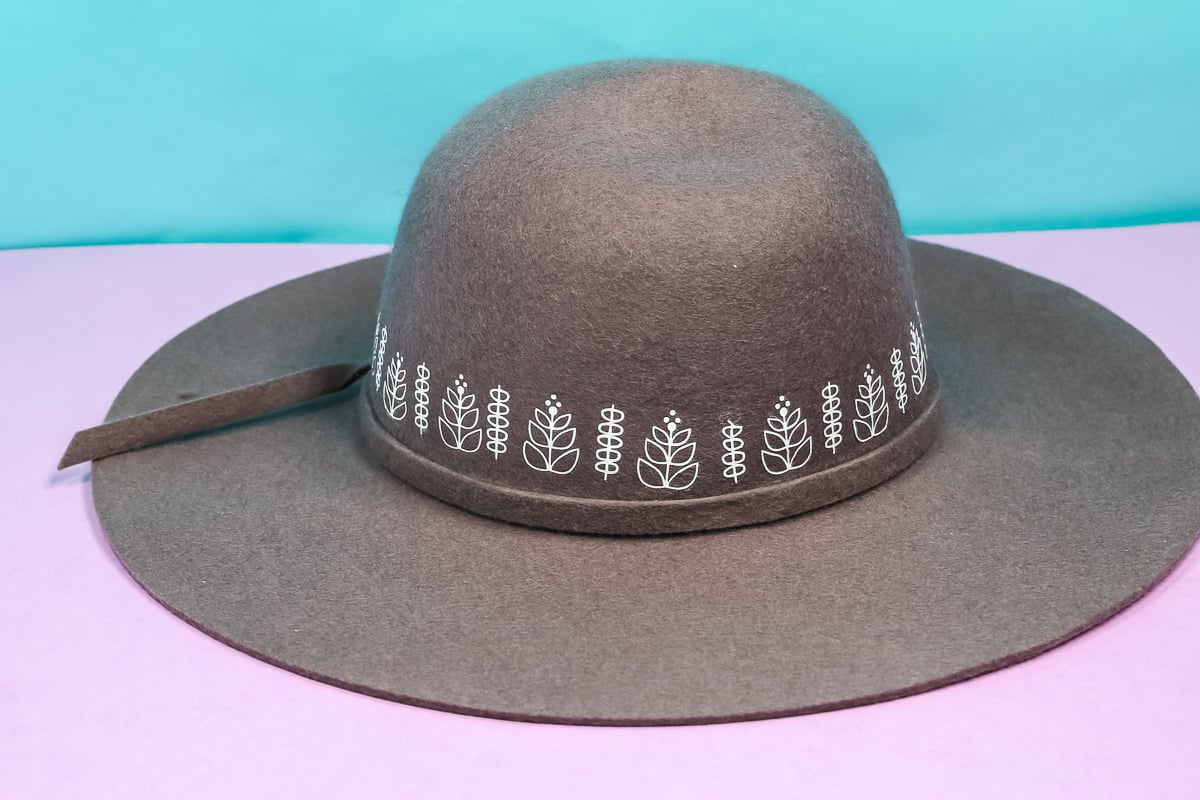
Here’s my completed hat. I let it cool and took the carrier sheets off. You may get some lines from the carrier sheet. A trick is to remove the carrier sheets, then put a Teflon sheet over the top, and press for a couple of seconds. It helps with the lines and any glue that may seep out from the HTV when doing these odd shapes. I did have to press this twice to get the carrier sheet to remove, but overall, I am super happy with the results.
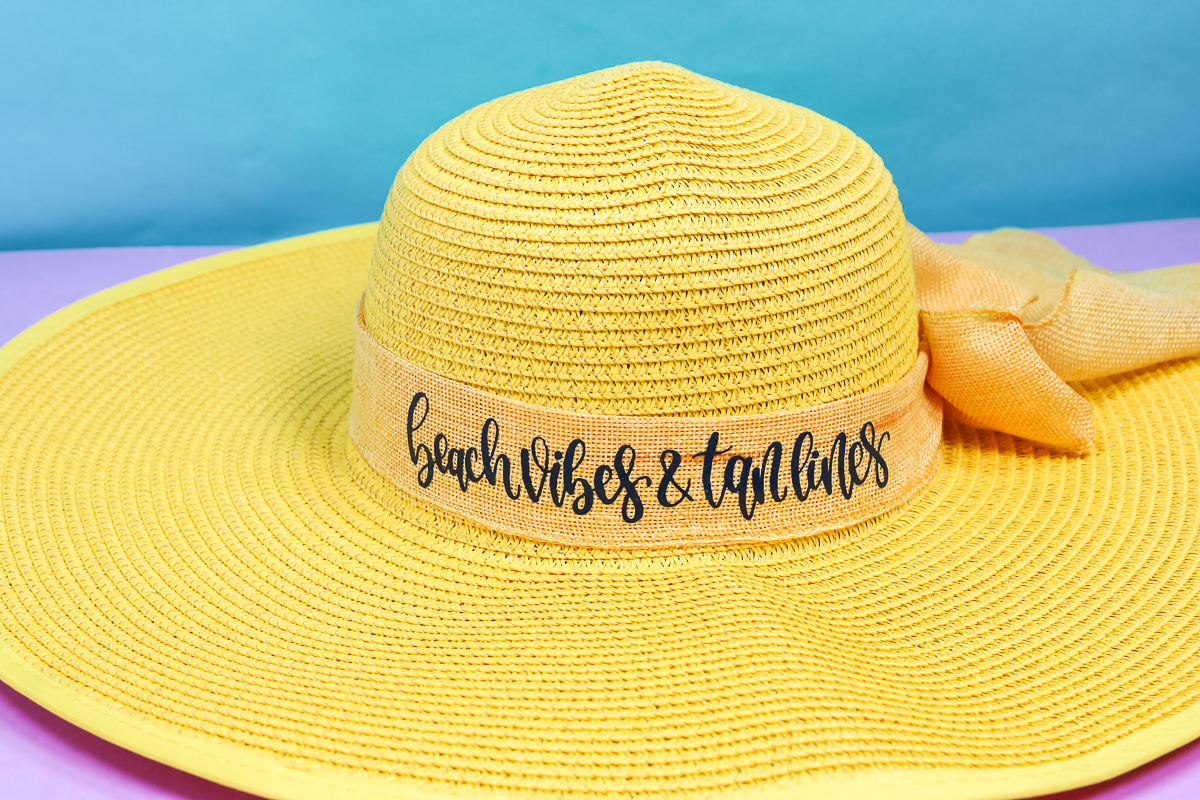
This hat had a ribbon already on it and I added the HTV to it. This one I did all in one piece and I just pressed it in sections. It worked pretty well. I wasn’t sure what material the ribbon itself was made out of. You may be able to see some dark spots where it looks like it started to melt, but overall, I’m super happy with the results.
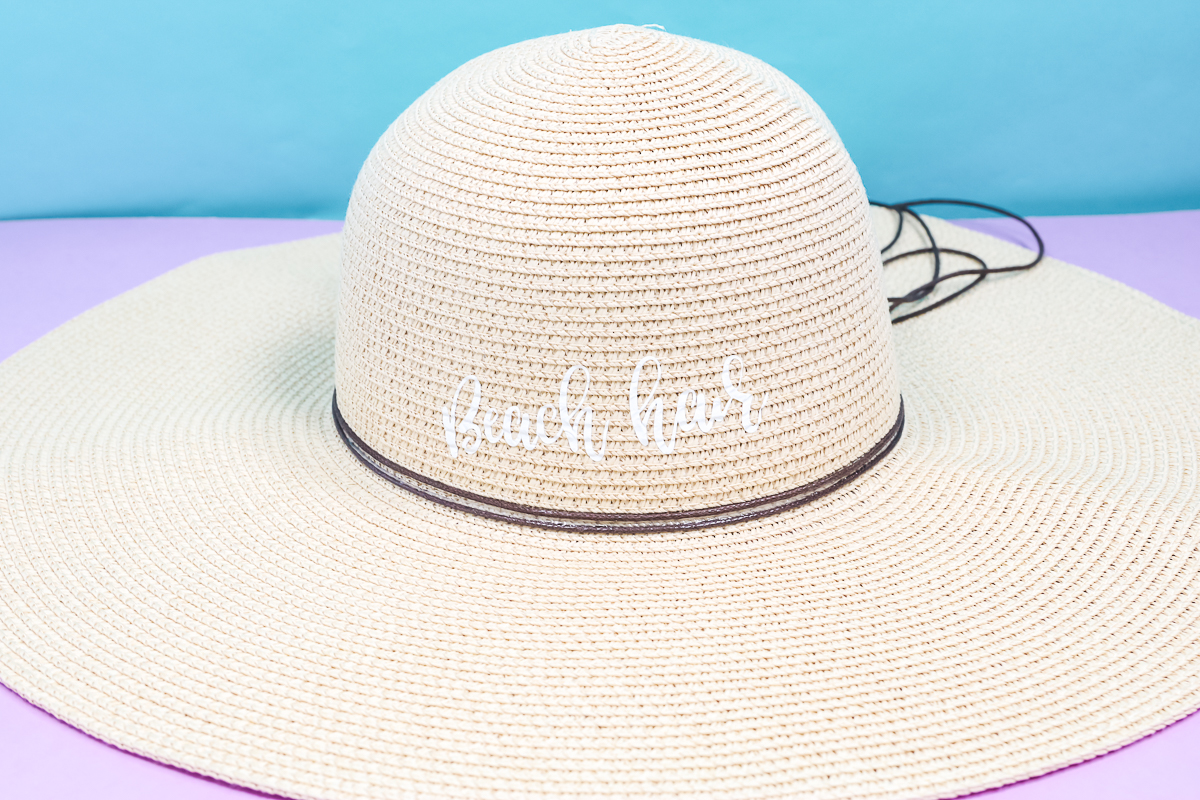
Can you put HTV on the textured portion of the hat? I was able to add this beach hair design. It is much more difficult. I recommend pressing it down, removing the carrier sheet, going over with a Teflon sheet, and then using something like the scraper to push it into the texture. It’s not perfect, but it definitely did work. With this one, the design was actually longer and I tried to leave it in one piece and it did not work at all. For the textured portion, I would definitely recommend doing it in small sections.
However, you may not want to get too textured or too large with your design. This is another textured hat with a wide brim. I put a larger design on it and you may not be able to tell, but the HTV was really wrinkled. I tried this in a couple of spots on the hat and had some failures. Too much texture can definitely lead to disaster.
Graduation Cap with Infusible Ink
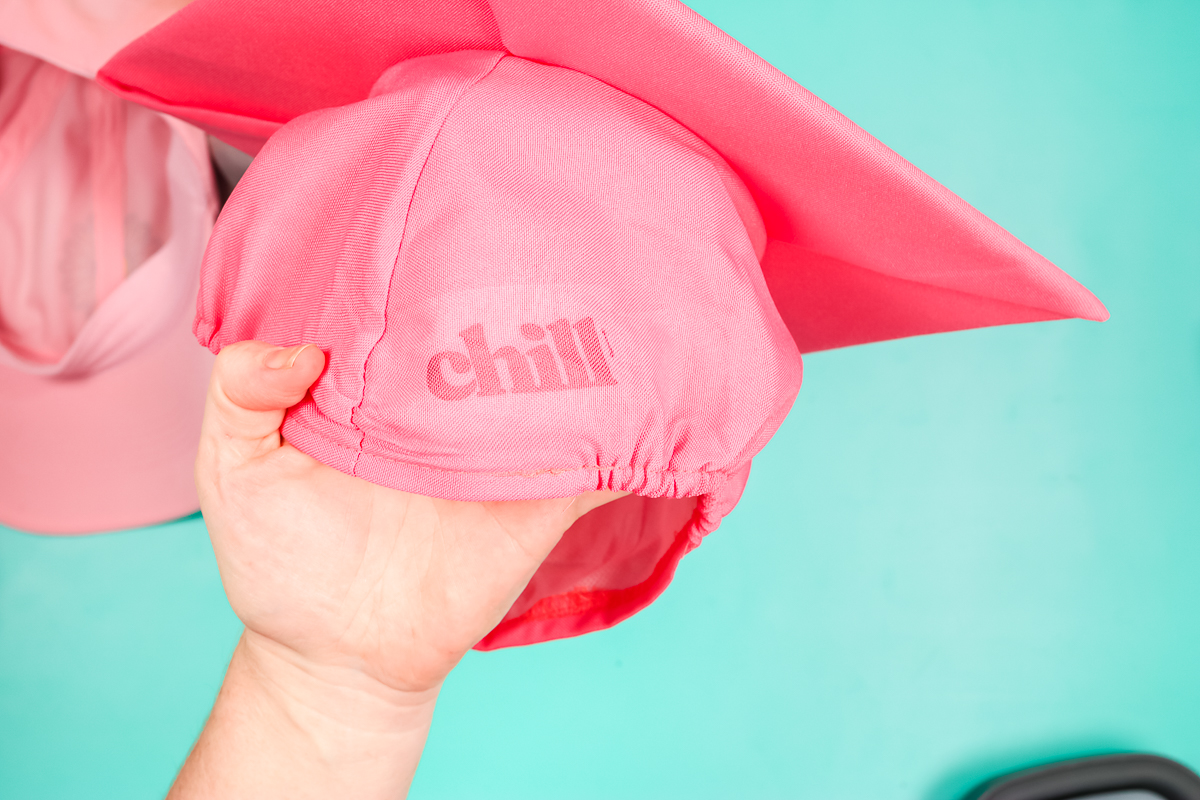
I wanted to do a graduation cap and this one was a fail. This is an Infusible Ink design, and it worked fine. However, the cap itself is lined in something that melted. I will call this one a fail and definitely don’t try to put Infusible Ink, sublimation, or anything onto a graduation hat.
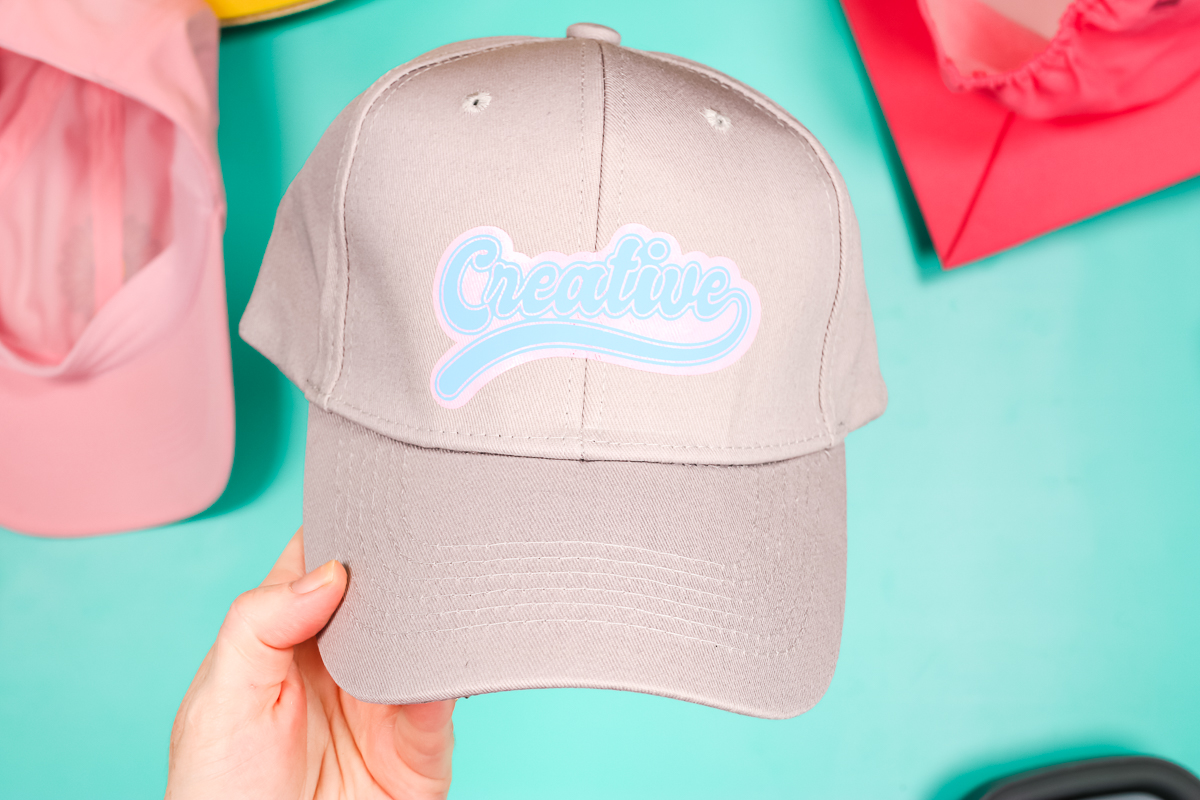
Structured Hat with Layered HTV
Finally, I had someone ask about structured hats or the type that stand up in the front. They fit on the form and work great! I also wanted to show this with layering. This is two layers of HTV on a hat. I pressed the first layer for about half the time, removed the carrier sheet, added my second layer, pressed for the full time, and removed the carrier sheet again. You can layer your HTV on DIY hats as well.
What Hat Works Best?
That was a lot of hats! What did we learn from making all of these? The first thing I learned is that pressing HTV on a smooth surface is easiest. The ball caps worked great. The visors worked great. The bucket hat worked great. The hat with the wide brim that was flat worked great. On the textured surfaces, some of them worked okay, others did not. The smooth surface is going to be your friend.
For sublimation and Infusible Ink, you’ll need that polyester surface. The Cricut hats worked amazingly. I’ve tried several of the trucker hats. They all work great. I really like the look and feel of them. If you like those as well, I don’t think you can go wrong there. However, if you want to order other polyester hats off Amazon or wherever, feel free to do that and give them a try. Be warned that you might get press marks like I did on the visor, or it might not always work correctly. I really think it has to do with more of the blank than anything else. The polyester hats above that are pink and green are super thin. It’s probably not a hat I would actually wear after I got them.
I was thrilled that I could get the form to work on kids hats as well. There are so many ways to make DIY hats with the Cricut Hat Press. I think you will really enjoy this new heat press from Cricut.
Cricut Hat Press Review
The first thing I love is the form! I felt like the form worked great, no matter which hat I was using. It’s really firm, holds the hat great, and holds heat. You can press against it and it doesn’t collapse. The second thing I love about the hat press is the curve on the hat press itself. The combination of the press with the form is what I think makes this so great. The curve on this hat press works on all these hats magically – all different sizes, shapes, and types.
You’re saying to yourself, “But I’ve made hats with my Easy Press Mini.” I’ve been getting that question a lot. I do understand that, and I have as well. In the past, I’ve rolled up a towel or something like that, put it inside of a hat, and used my Easy Press Mini on it. The Easy Press Mini covers a super small area that can lead to you not being successful with your project. I do like that the hat press covers a larger area all at one time. I also like that I can use the Cricut Hat press with Cricut Heat and I get the exact time and temperature, which I can’t do with Easy Press Mini. It works no matter what product I’m using – sublimation, Infusible Ink, and different types of iron-on.
What are the cons of the hat press? I made all of these hats, basically one right after another. It’s a lot of hats. It’s a lot of pressing with my hands. For me on a regular basis, I probably would only make a few hats. For that, the hat press is perfect. However, if I was running a business and I was going to make 40 hats, the hat press might not be the solution for me. For me, taking up the time to hold the hat press that long wasn’t ideal. However, you may want to consider that depending on the number of hats you are going to be making.
The other thing with the hat press is that I recommend using Cricut Heat as much as possible. I do think it helps you dial in the time and temperature and it helped me be successful with the majority of the projects the first time. If you’re using another product, I would check with the manufacturer of either the blank or whatever you’re putting on your hat for the time and temperature. Dial those in with the custom settings in Cricut Heat.
The final tip is to stay away from things where the liner will melt. Check your hats before you start pressing. Also, be sure to check the insides of your hats for any packaging material. I hope that helps you decide whether you want a Cricut Hat Press or not, and maybe gives you some inspiration for all the different DIY hats you can make.