This post and photos may contain Amazon or other affiliate links. If you purchase something through any link, I may receive a small commission at no extra charge to you. Any supplies used may be given to me free of charge, however, all projects and opinions are my own.
Are you ready to engrave acrylic with a Cricut Explore? I am making some cute nightlights today with my Cricut Explore Air 2 and an engraving tip. If you remember, I already used this same tip to engrave metal here. You can definitely switch this up and do it on the Maker with the engraving tip for that machine. This will require the Explore series or the Maker series in order to do this project. I did take some time and researched some nightlight options, as well as some acrylic options in order to make this project perfect for your Cricut machine so be sure to keep reading!
Engrave Acrylic with a Cricut Explore
Want to watch me engrave acrylic with a Cricut Explore Air 2? Just click play on the video below as I walk you through the process.
Can’t watch the video or miss some of the information? You can also follow along below!
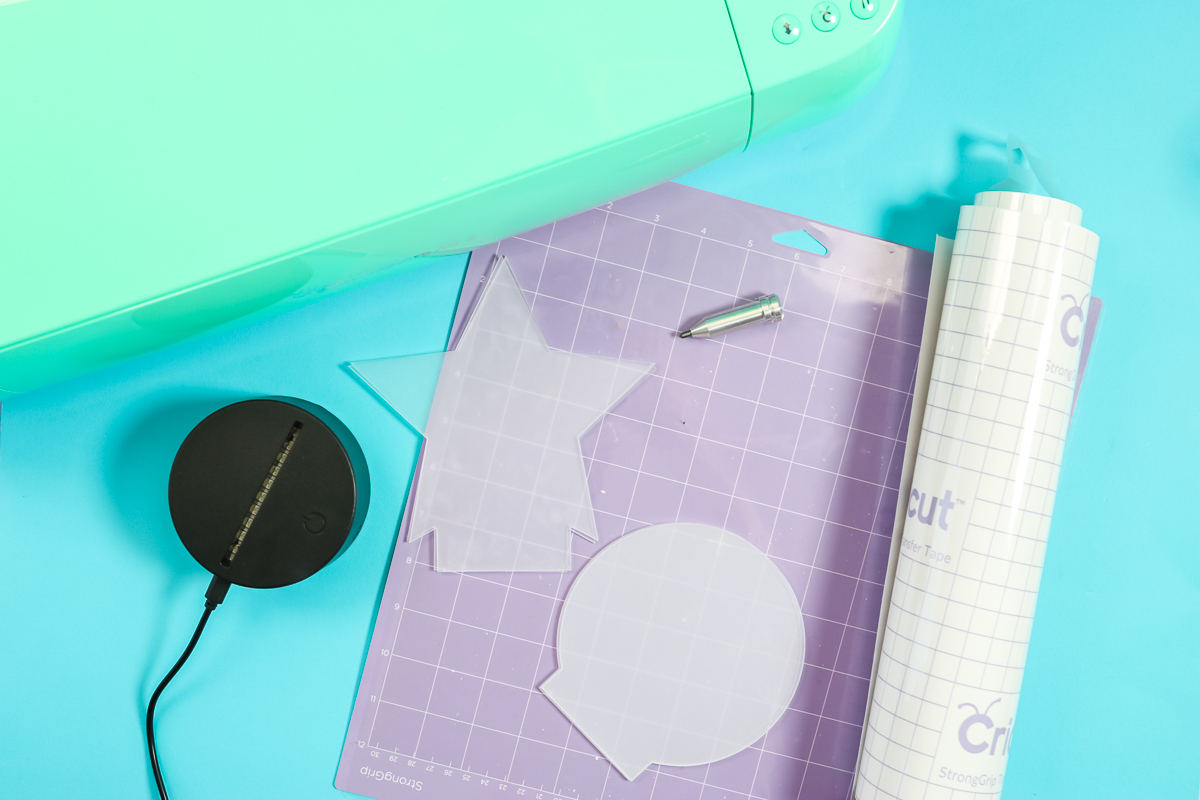
Supplies Needed
NOTE: This engraving tool for the Cricut Explore is not made by Cricut. Use it at your own risk and read all warranty information that comes with your machine.
Designing the Engraving
I am using three designs from Cricut Design Space for my examples. First of all, because I’m using an Explore, I need to make the lines of my files cut lines. If I was using a Maker, I could make them engraving lines. However, we’re tricking the Explore machine with this tool. You can see more about using the Maker to engrave acrylic here.
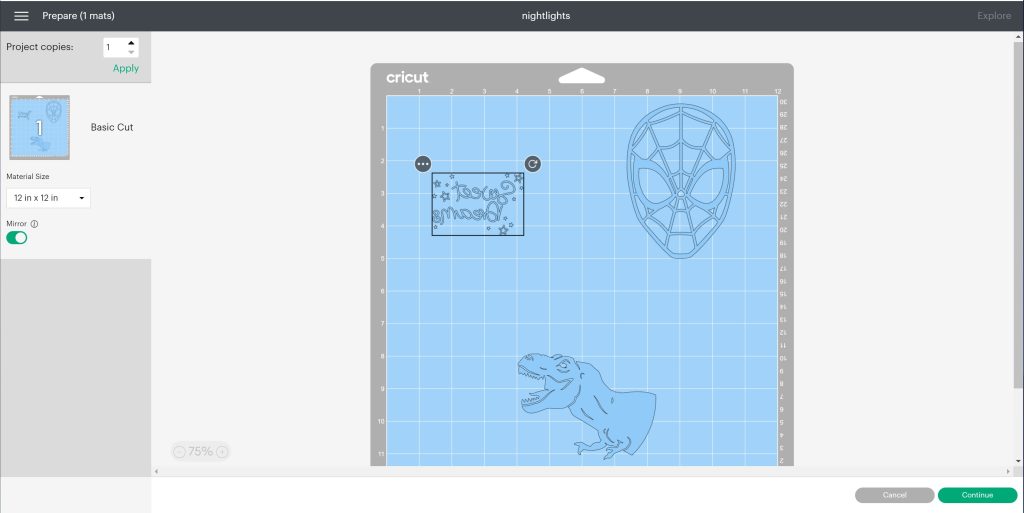
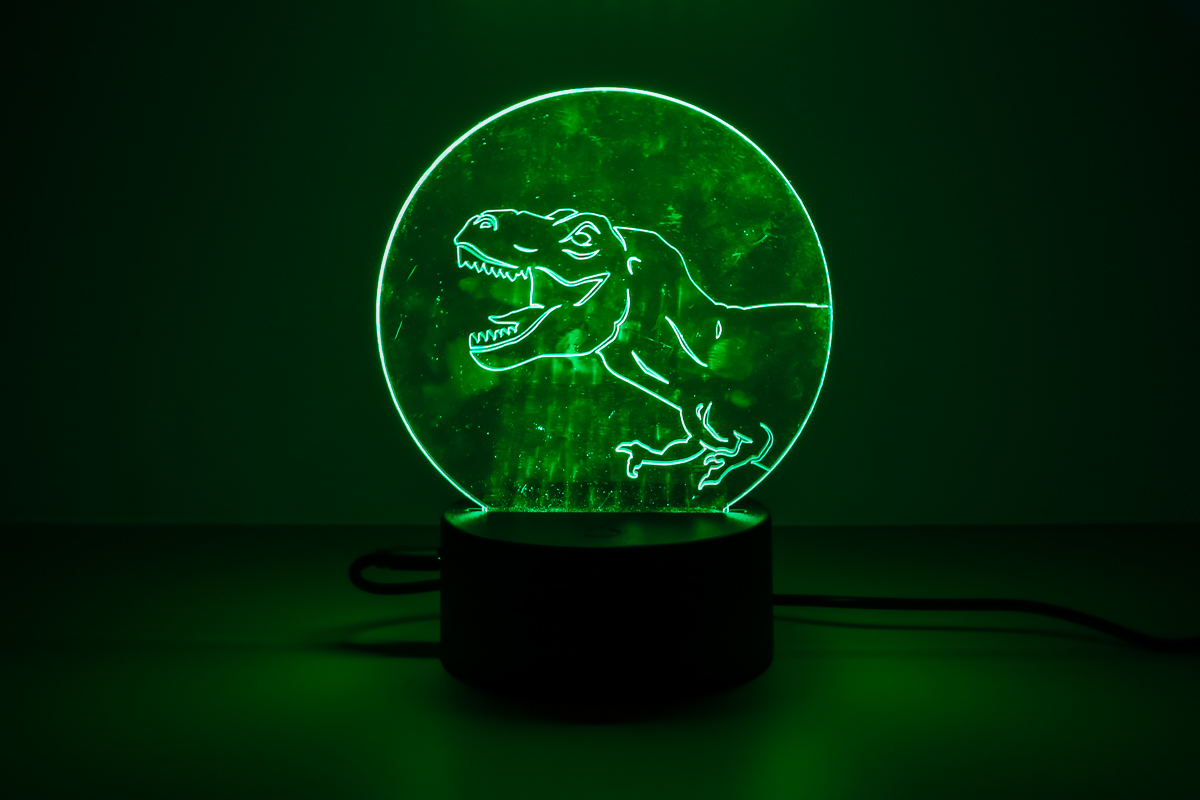
Size your designs to fit on the acrylic blank that you are using. For the dinosaur, I drew a circle that is approximately the size of my blank. Then picked both the dinosaur and the circle and clicked “slice”. That made my dinosaur a bit smaller as I just wanted his head. You do also want to make sure that all of these are the same color. Be sure to mirror the design because engraving as you want your design to be on the back of the acrylic.

Locating & Putting on the Mat
Once you click “make it”, you will need to move each design into a location on the screen. You will use these same locations for your actual blanks so be sure to use the grid as a guide.
On the mat itself, start by adding strong grip transfer tape with the backing sheet up onto your mat.
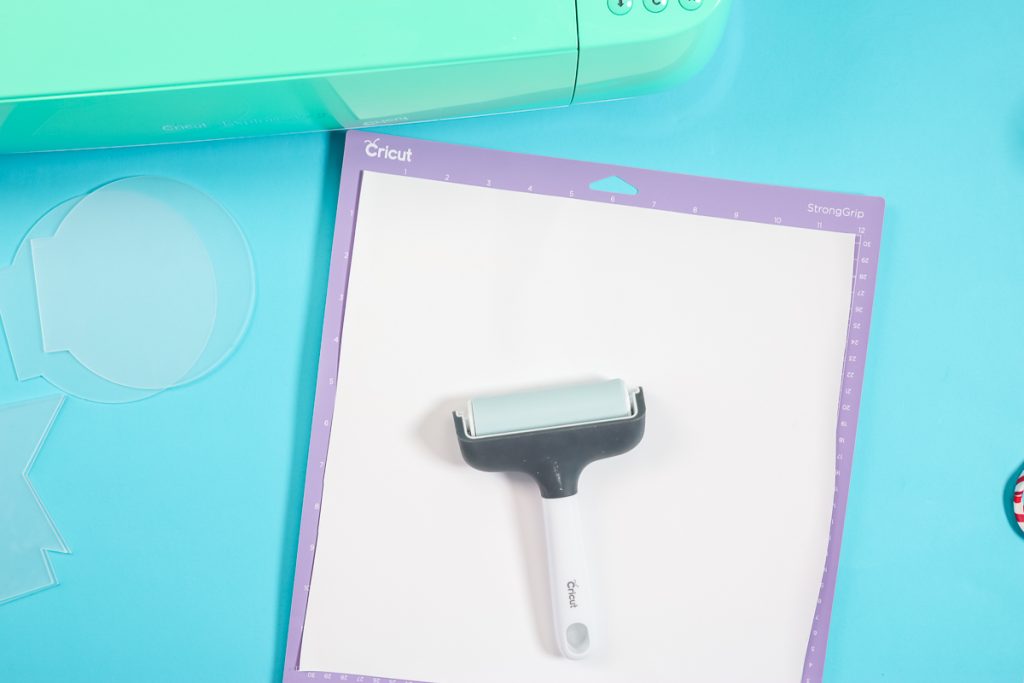
After you get that down really well on your mat, peel the backing sheet away, leaving the transfer tape on your mat.
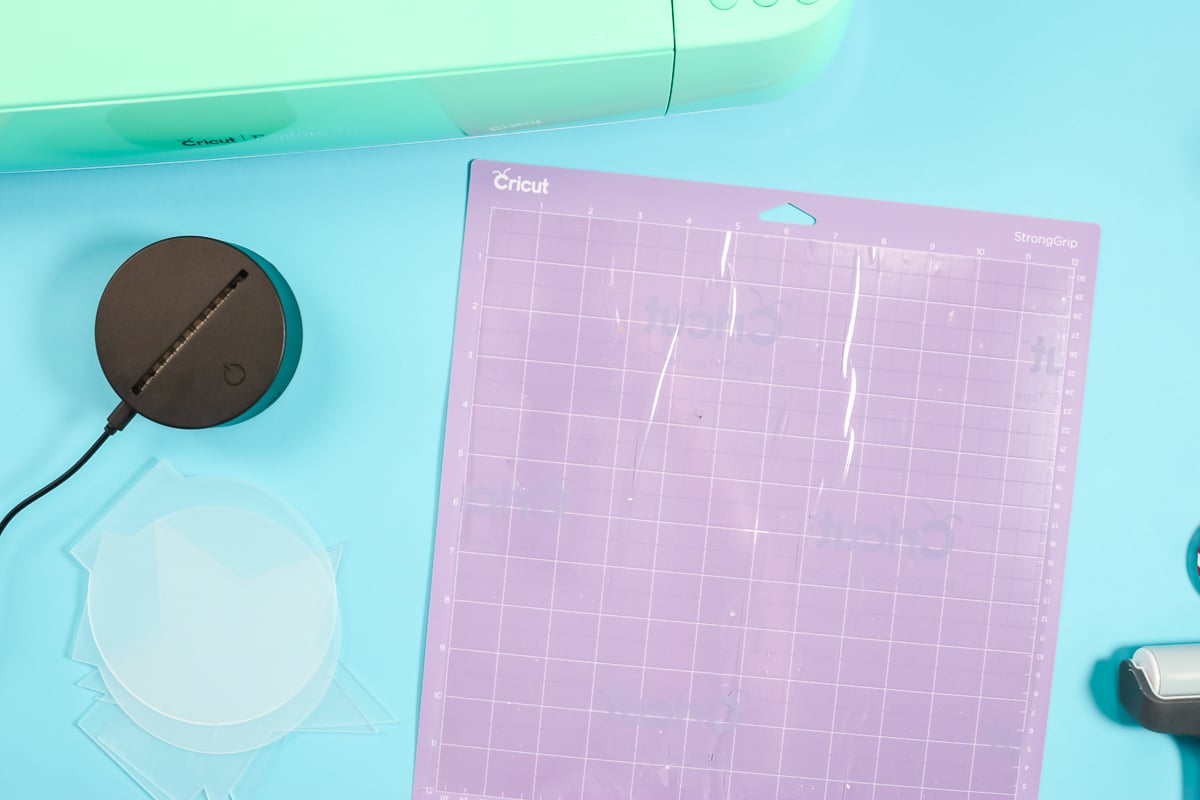
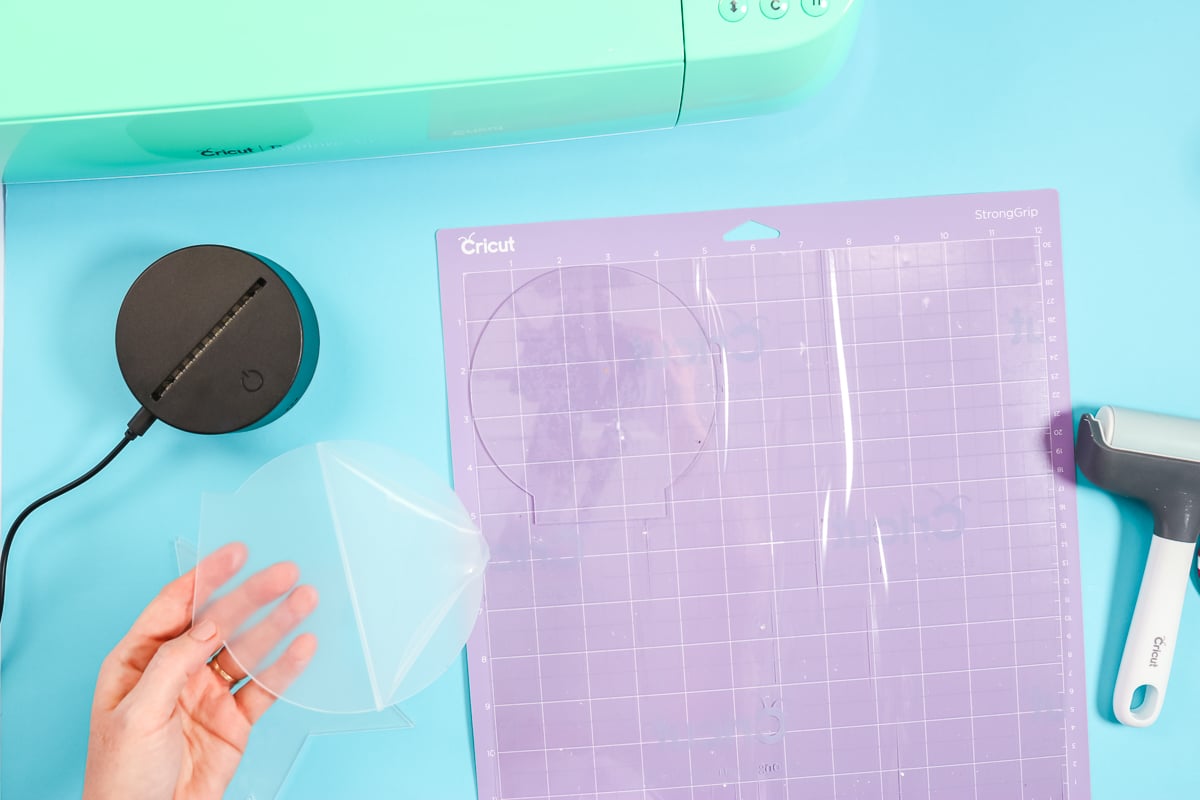
For each one of the acrylic blanks, peel the sheet back that’s protecting both sides. Then add it to your mat in a location that you chose on the screen above. Press it down well with your brayer and make sure it’s really, really down on that mat. We’re going to repeat with one blank for each nightlight you’re making. We’re only going to engrave one of the blanks for each nightlight, even though you need two for each nightlight.
How to Engrave Acrylic in a Cricut Explore Air 2
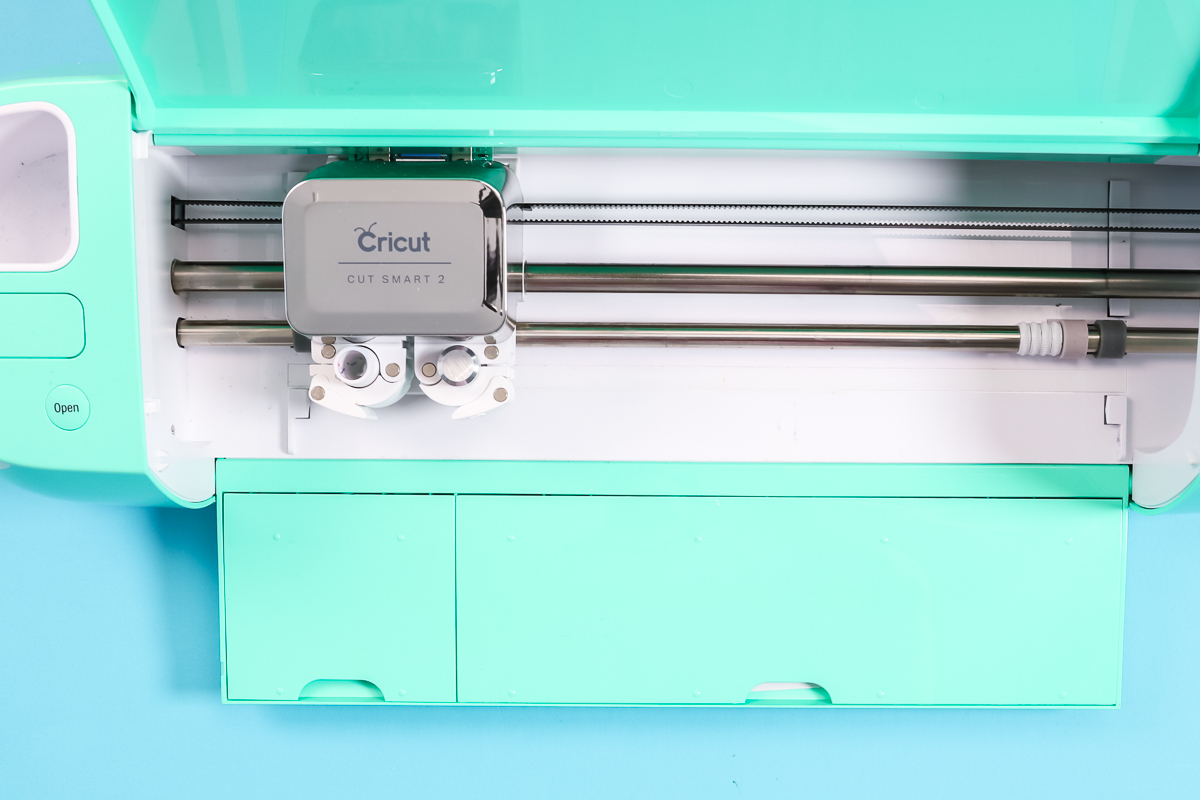
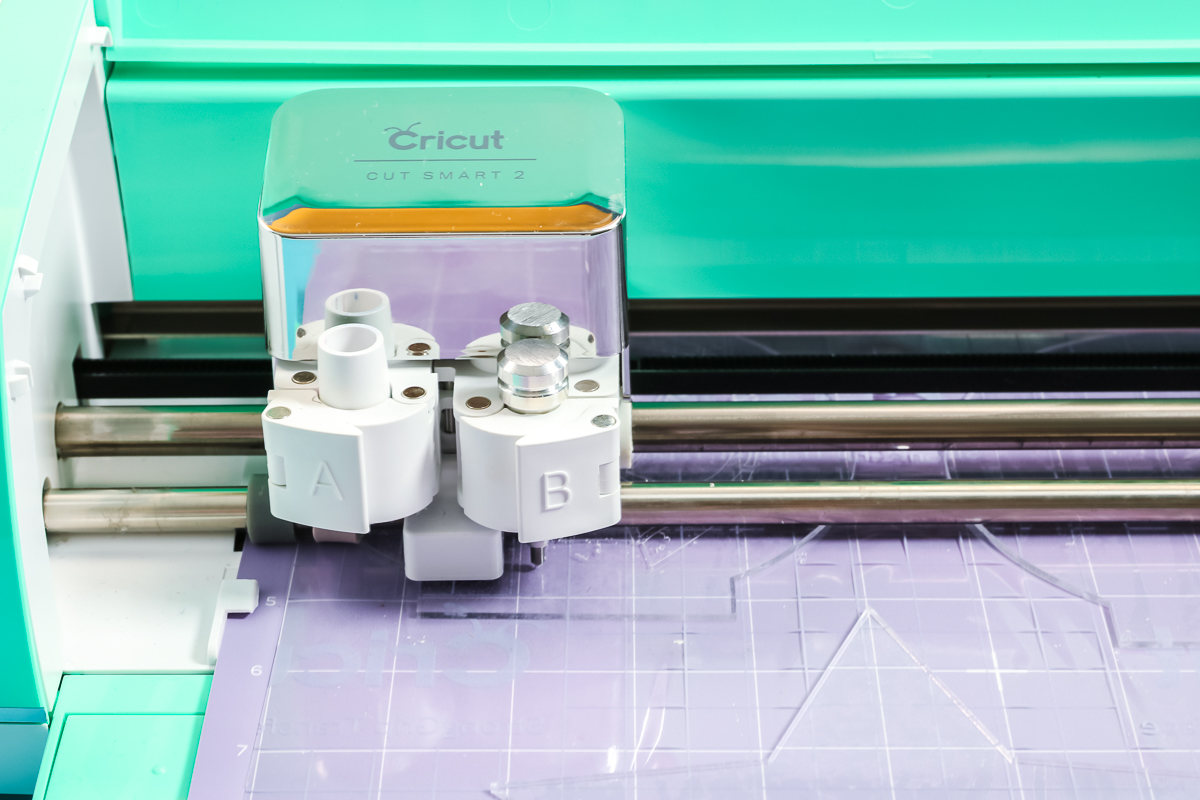
Add the engraving tool to clamp B and move the white star wheels all the way over to the right. Pick chipboard as the setting in Cricut Design Space. Remember to mirror the mat so the cut lines will be on the back of the acrylic.
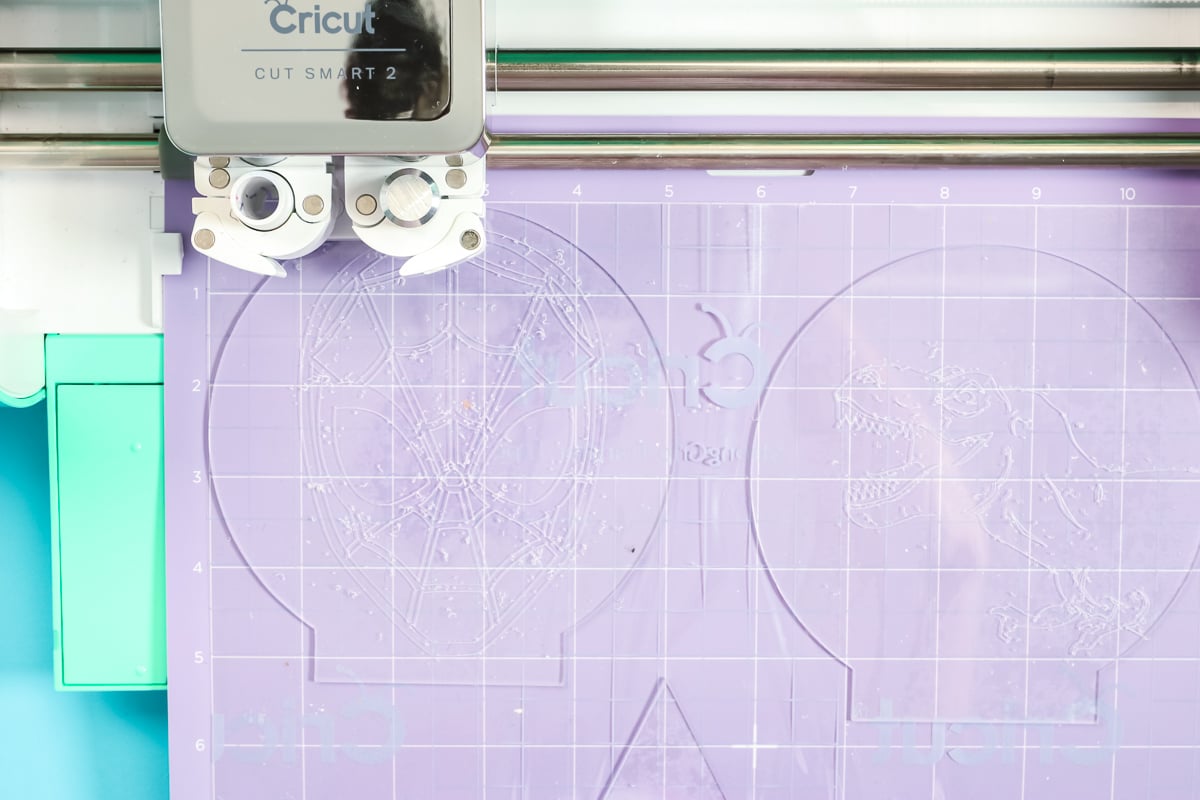
Load the mat and press the “go” button to engrave.
When the machine is done, press the load/unload button again to remove the mat from the machine.
Finishing the Engraved Acrylic Nightlight
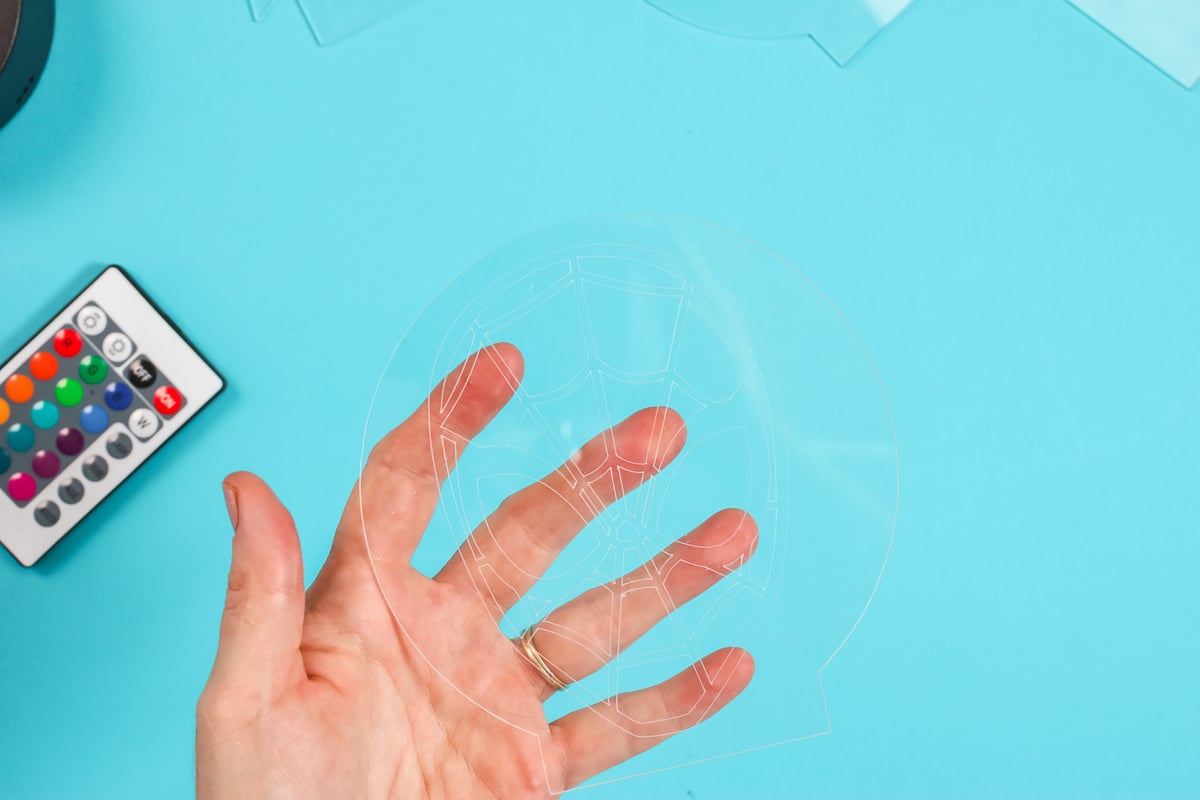
Remove the debris from the engraving by using a rag to wipe off each piece.
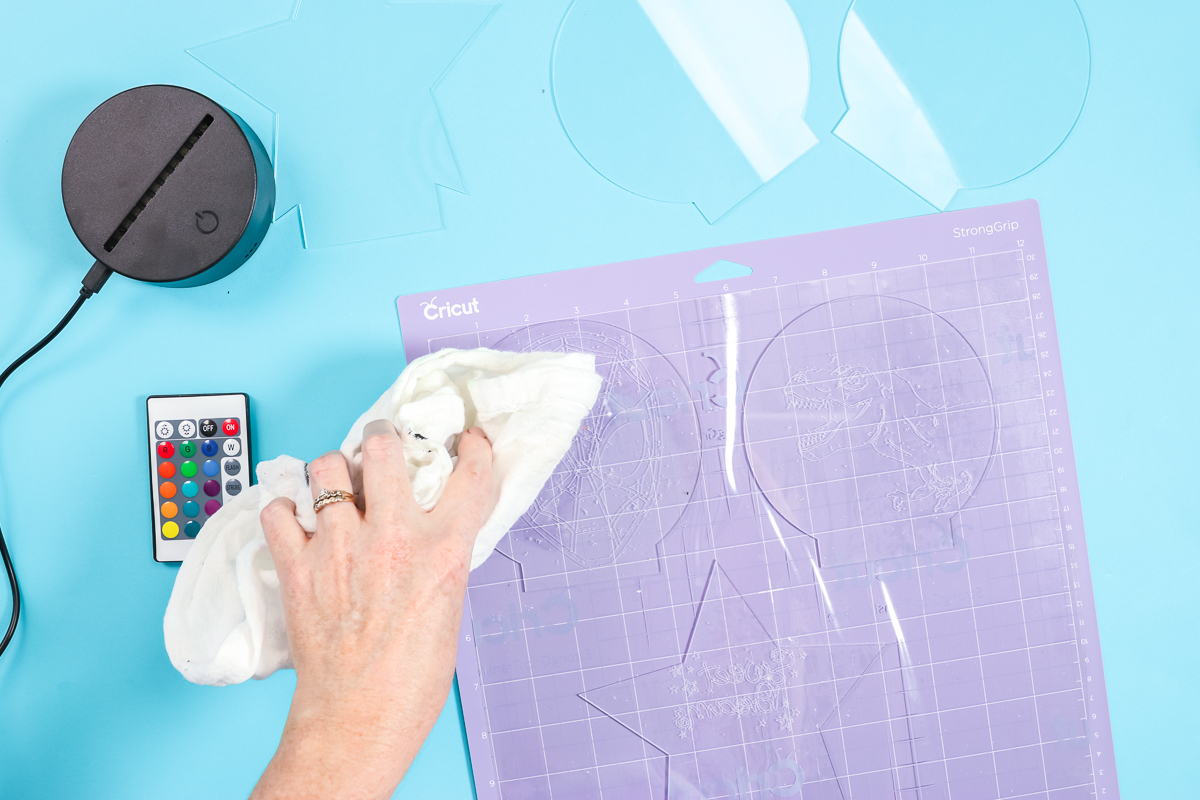
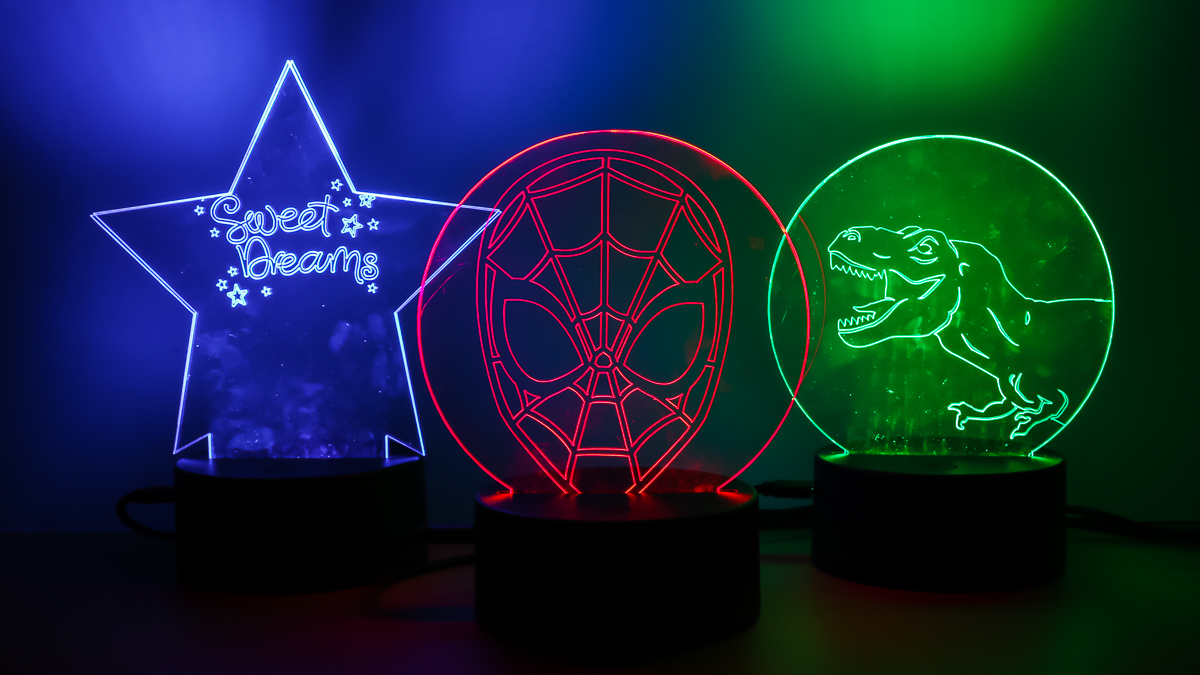
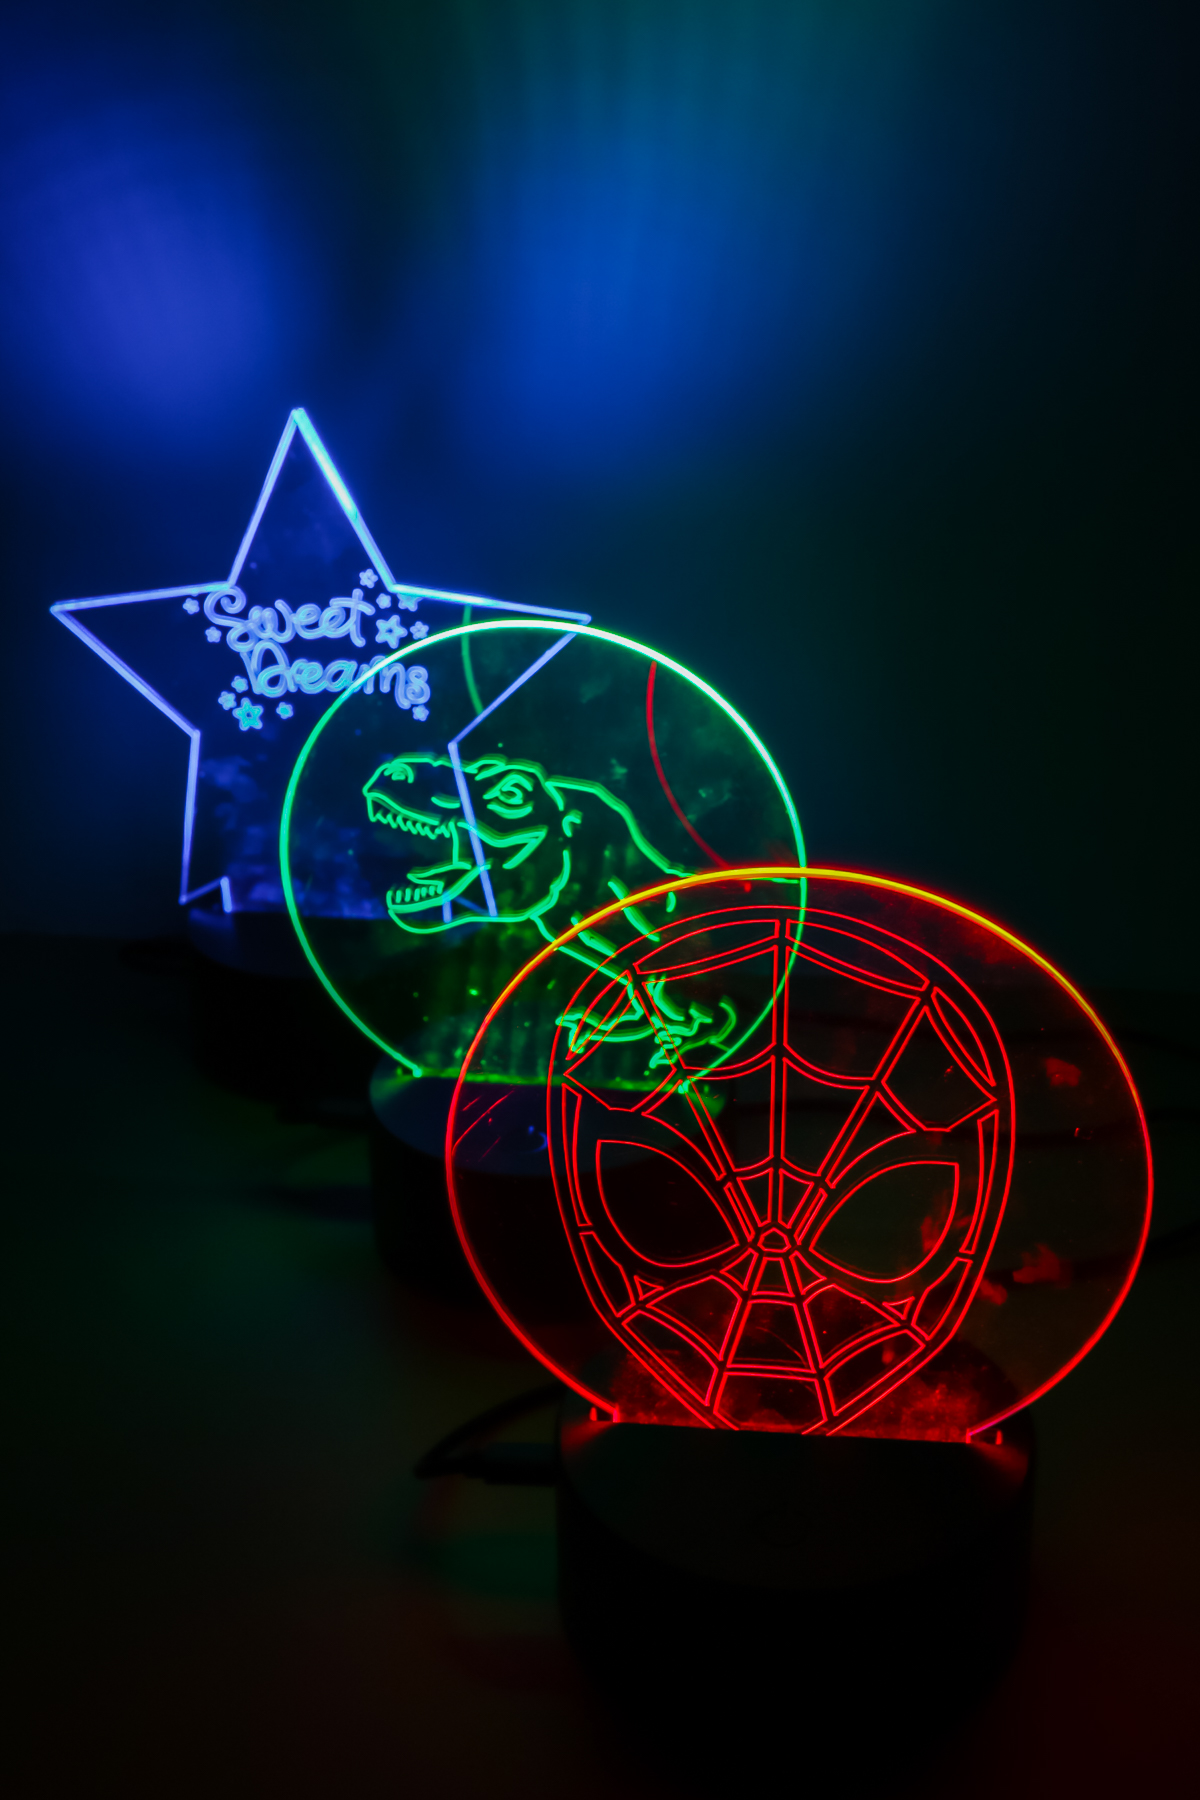
To remove from the mat, peel the transfer tape back from the acrylic. Here is one example of that engraving. Remember we engraved on the back of each of these pieces.
To assemble the nightlight, put two pieces of acrylic together with the engraving in the center. Each of these pieces is two millimeters thick, which is about as thick as I’m going to be able to get into my Explore machine. However, the nightlight takes a four-millimeter piece. So, two of these together will fit in the nightlight. I just like to put the engraving between the two pieces, and that way you get a more finished look to your nightlight. You’ll just put the bottom of the acrylic into the nightlight base, and push down. Once that’s down and into place, your nightlight is ready to go.
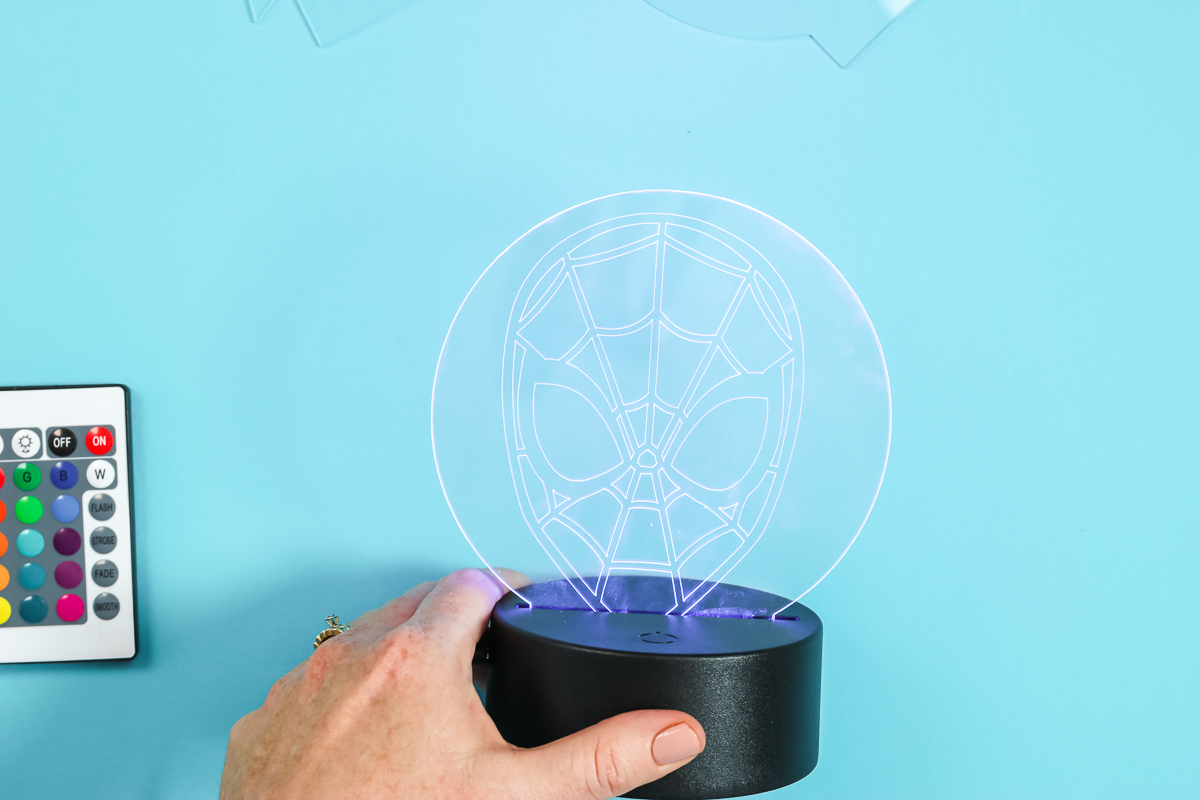
Again, you’ll need two pieces of acrylic for each of the nightlights, because you’re going to sandwich them together. Then it will be smooth on both sides because the engraving is on the back of the front piece. You get that smooth finish on both sides, and it’s thick enough so that when it is in the nightlight it doesn’t wobble at all. If you just have the one sheet in the nightlight, it would fall out if touched and be super wobbly.
Color Changing Acrylic Nightlight Features
I love the way that these turned out. I love the way they look when they’re lit up in a dark room. They are amazing! I got the location really, really good on the Spider-Man and the dinosaur, maybe not as well on the star-shaped one. But overall, I am happy with my experiment of engraving acrylic on a Cricut Explore. I can definitely say the process works!
The remote on these acrylic nightlights have so many options. You can even sync them all to one remote. There are options for strobe flash or you can have it cycle between all the colors. It has so many different color options that you can choose from either on the remote, or there is a button on the front of each of the nightlights that you can use to change the color.
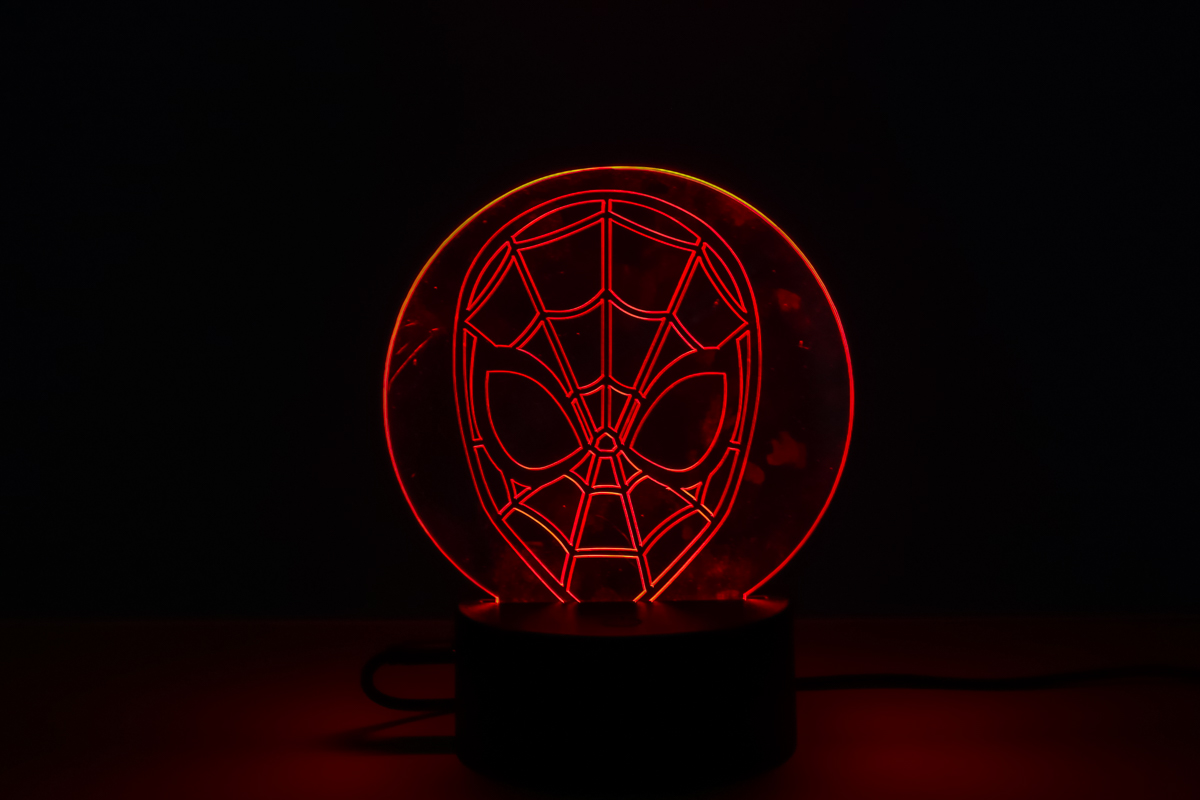
These are definitely easy enough that the kids can work the nightlight themselves. You can also turn the brightness up and down. I really think you’ll enjoy both the product as well as learning to engrave acrylic with a Cricut Explore.
So, what will you engrave on your acrylic nightlight? Customize this project to have whatever your kids love on the front. You could even add a name! I know they will love this adorable project that is the perfect gift for any occasion. Want more ideas for gifts you can make with your Cricut? See a list of ideas here.

Now that you know how to engrave acrylic with a Cricut Explore, what will you make? I know you will put the Cricut Explore engraving tool to good use!