This post and photos may contain Amazon or other affiliate links. If you purchase something through any link, I may receive a small commission at no extra charge to you. Any supplies used may be given to me free of charge, however, all projects and opinions are my own.
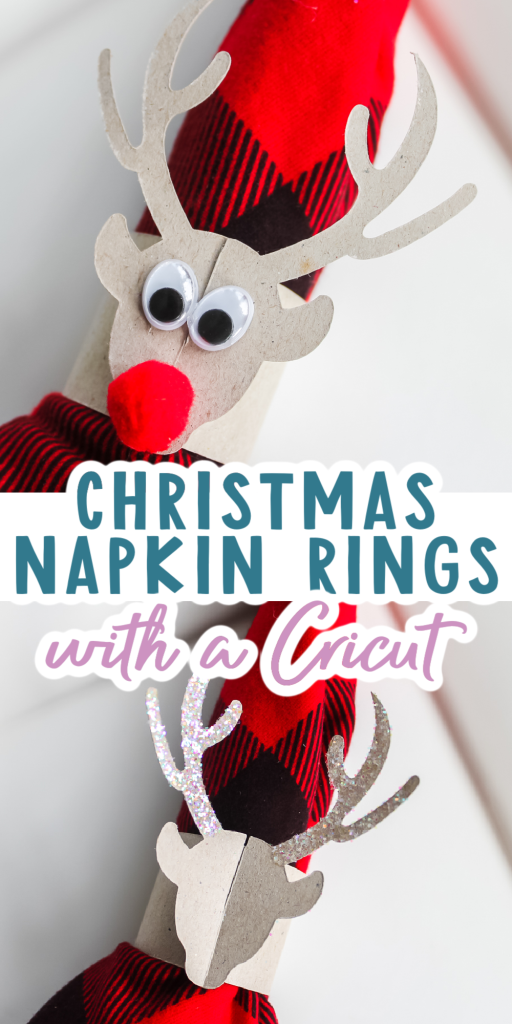
I have a fun project to share with you today to make DIY Christmas napkin rings with your Cricut machine. Any Cricut machine can make paper napkin rings in minutes and I am giving these a holiday theme. I am actually making these two ways. One for the kids’ table and one that is a bit more elegant. Choose the one that works with your theme and start cutting! I added one of these versions to my plaid Christmas table here.
This was originally posted on October 31, 2016, however, I am republishing with more information.
DIY Christmas Napkin Rings
Choose which of these napkin rings will work for your holiday table then break out your Cricut machine. They are so easy to make you can even let the kids help!
Supplies needed to make your own DIY napkin rings:
How to Design in Cricut Design Space
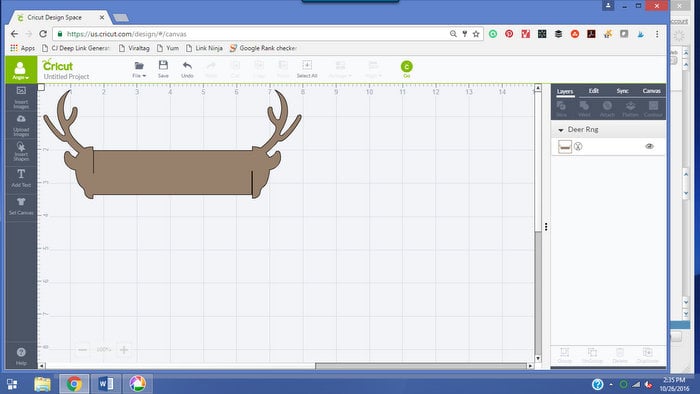
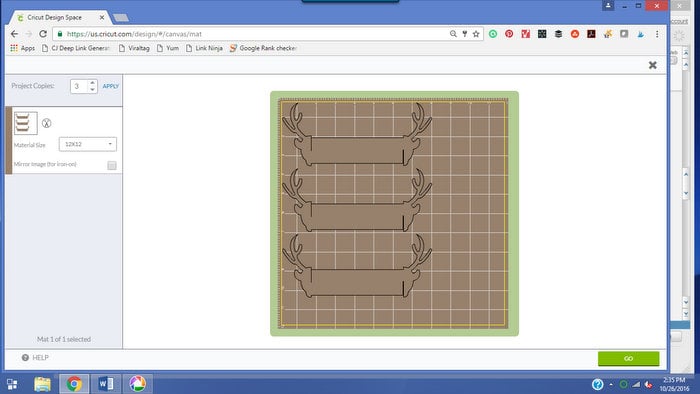
Click here to open the file. You will see the flat napkin ring ready to cut. It should be about 7 3/4″.
Click make it to start cutting your project and choose how many of the napkin rings that you want to cut. The software will do all of the work for you and determine the proper location for all of the images that you are going to cut.
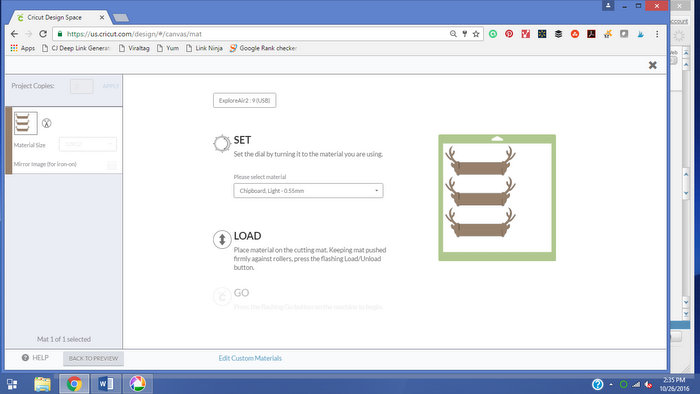
Set your dial to custom. Chipboard is not available on the standard settings. Choose chipboard in Design Space from the pull-down menu. There are TONS of custom materials in that menu or you can even customize your own material if you find something that they don’t have listed.
Cutting Paper Napkin Rings
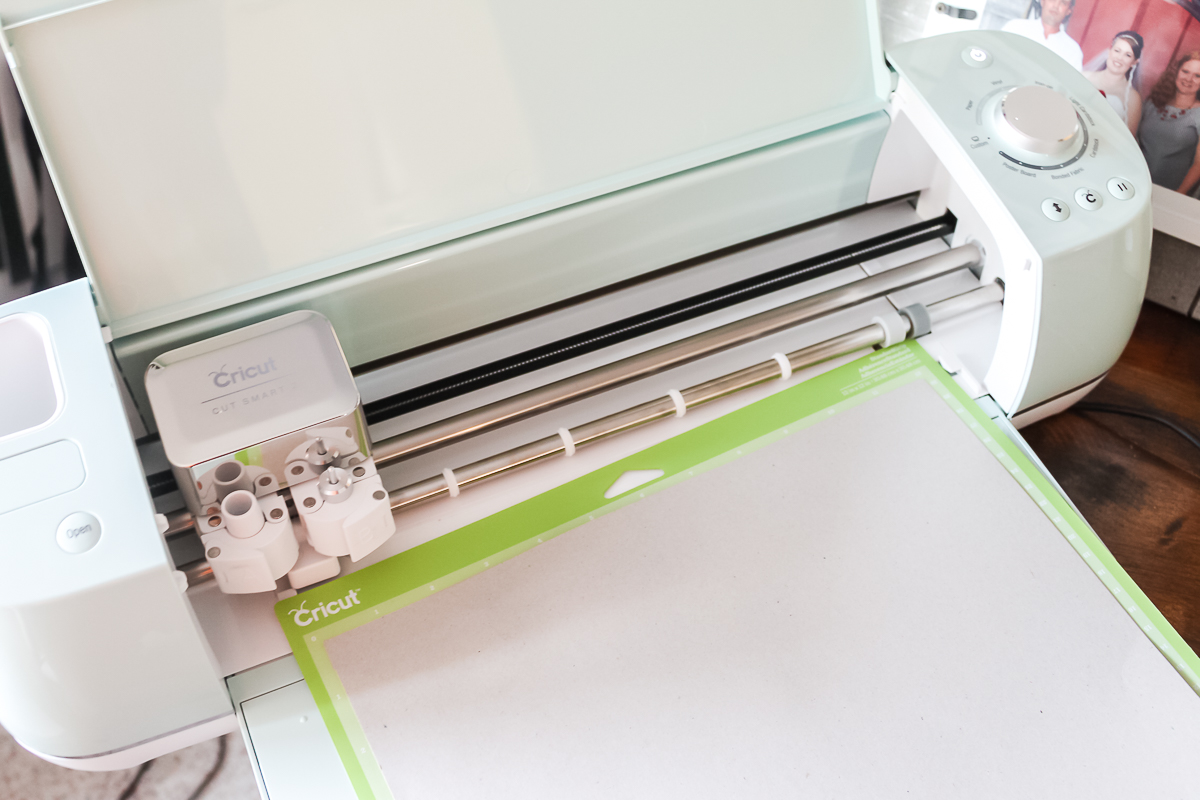
Load your mat and cut your napkin rings. I like putting this material on a standard grip mat.
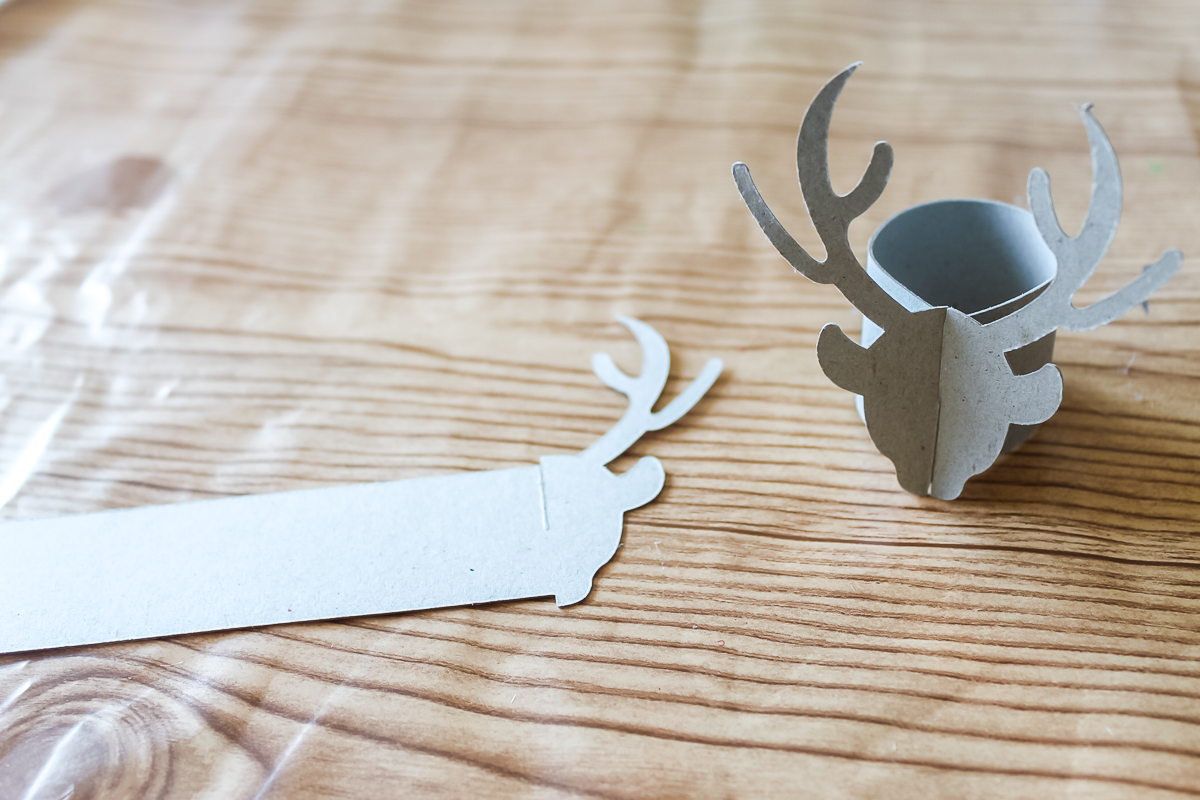
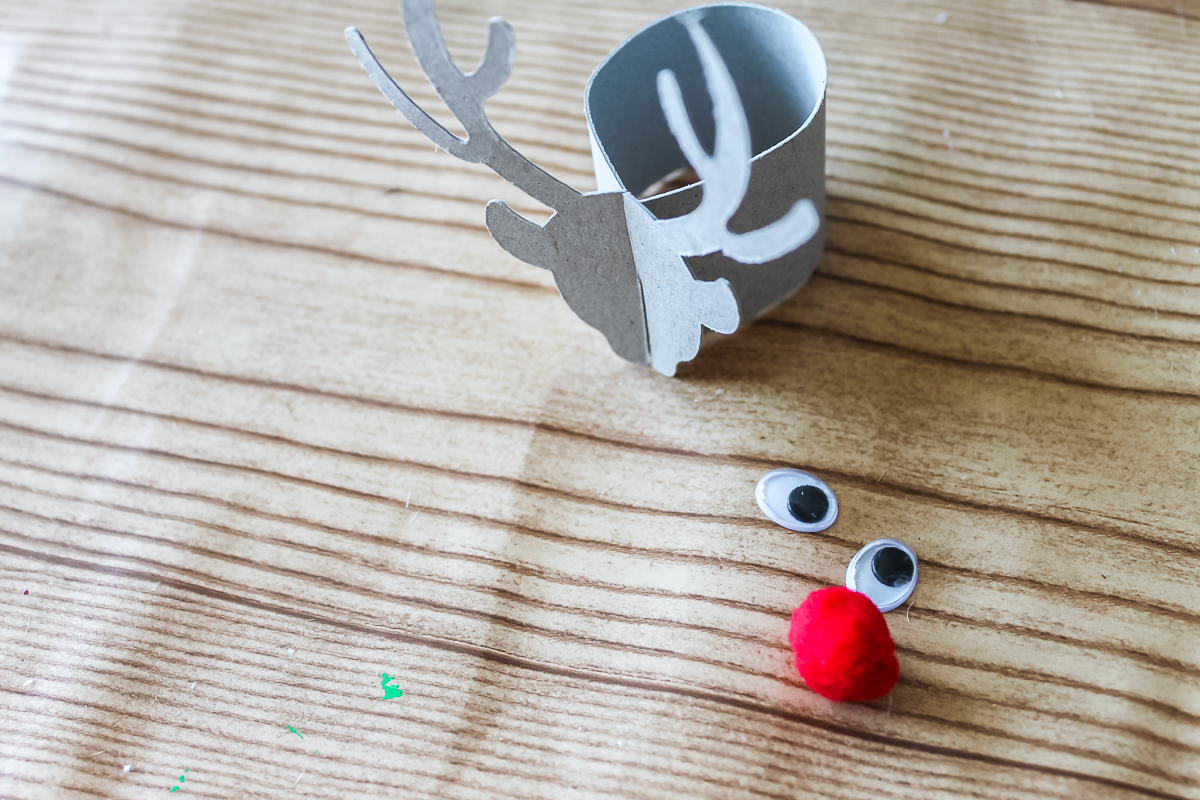
Remove the cut pieces from the mat and you will have something that looks like the image below. You can make the napkin ring by forming the piece into a circle and putting the slits in the paper together.
How to Decorate DIY Christmas Napkin Rings
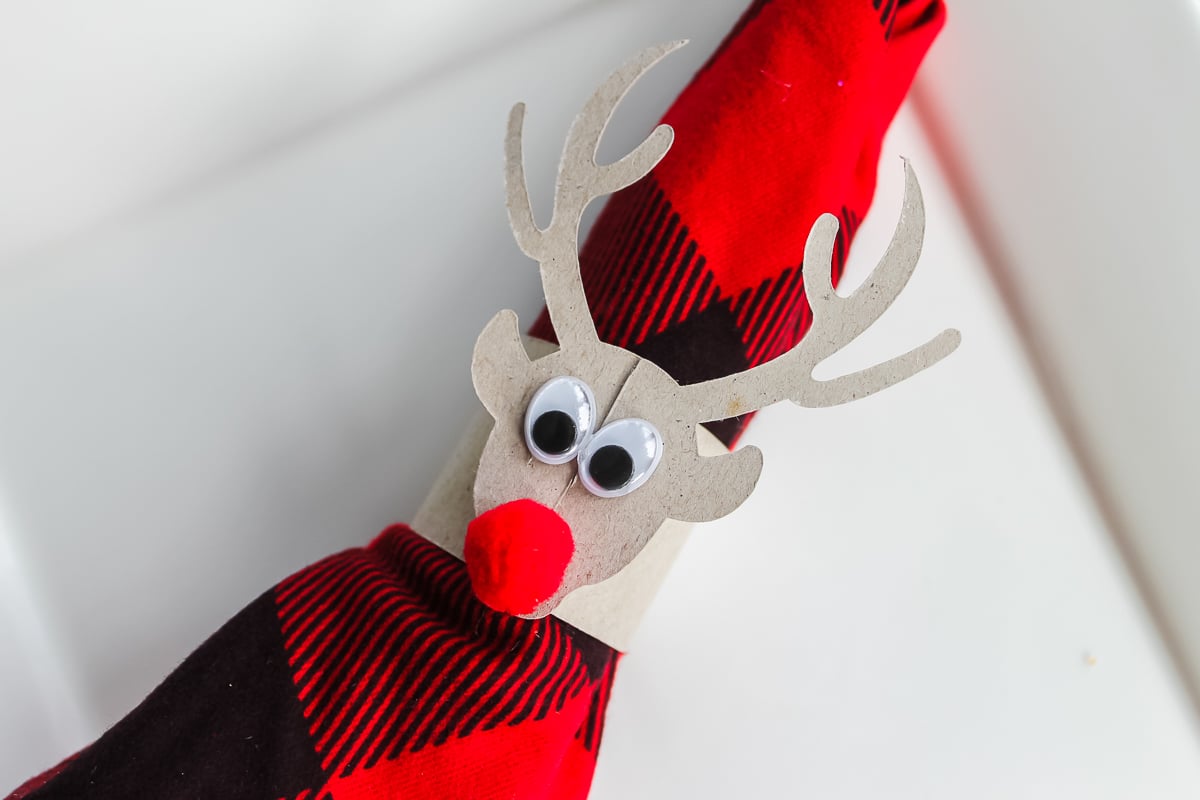
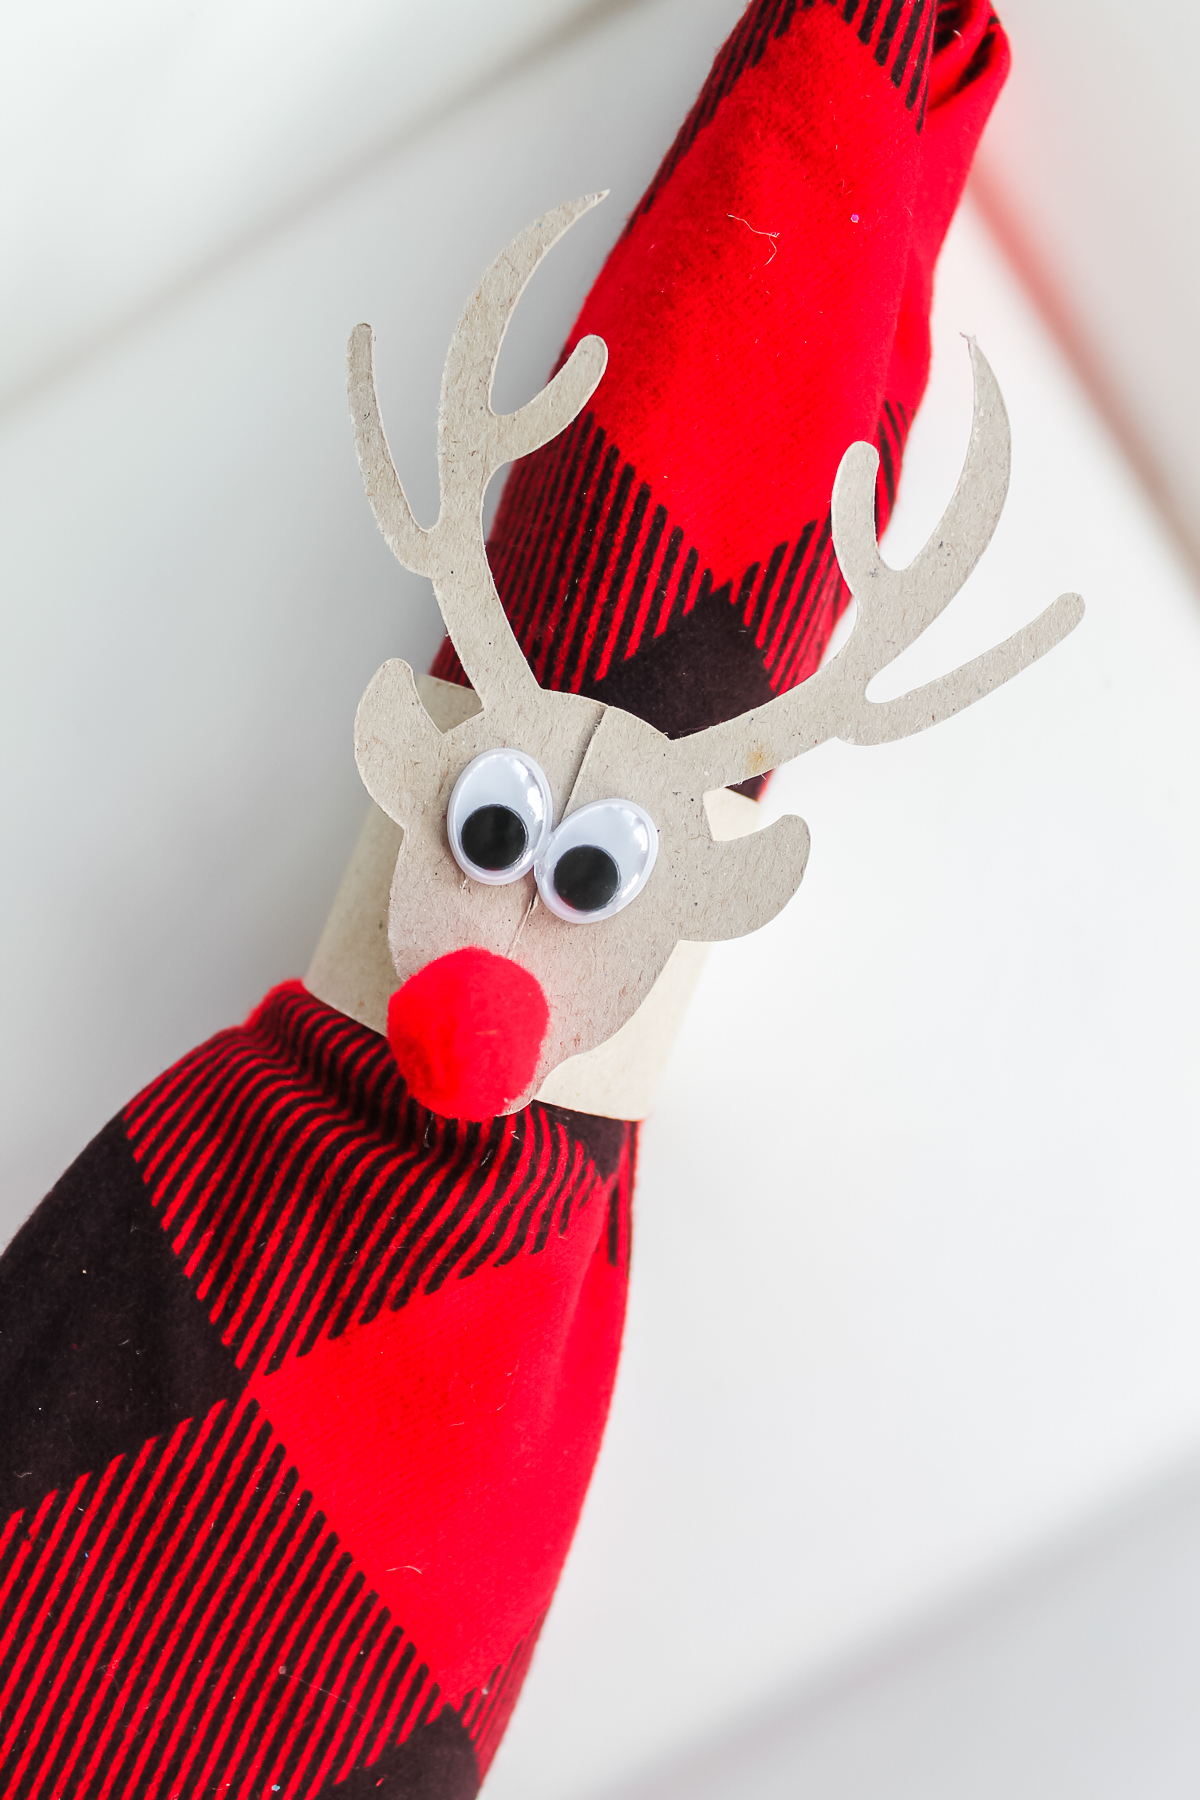
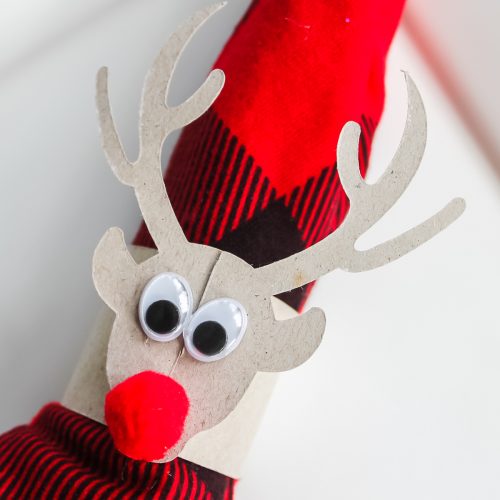
Now you can decorate these deer napkin rings two ways. The first is for a whimsical table or for the kids’ table. Grab some google eyes and a pom pom.
Use hot glue to secure them into place. Then just slip the napkin ring on any napkin and add it to your table. You can use another glue if you would like the kids to help with this project.
These fun napkin rings are perfect for a table with kids! Rudolph napkin rings are a fun and festive way to celebrate the holiday.

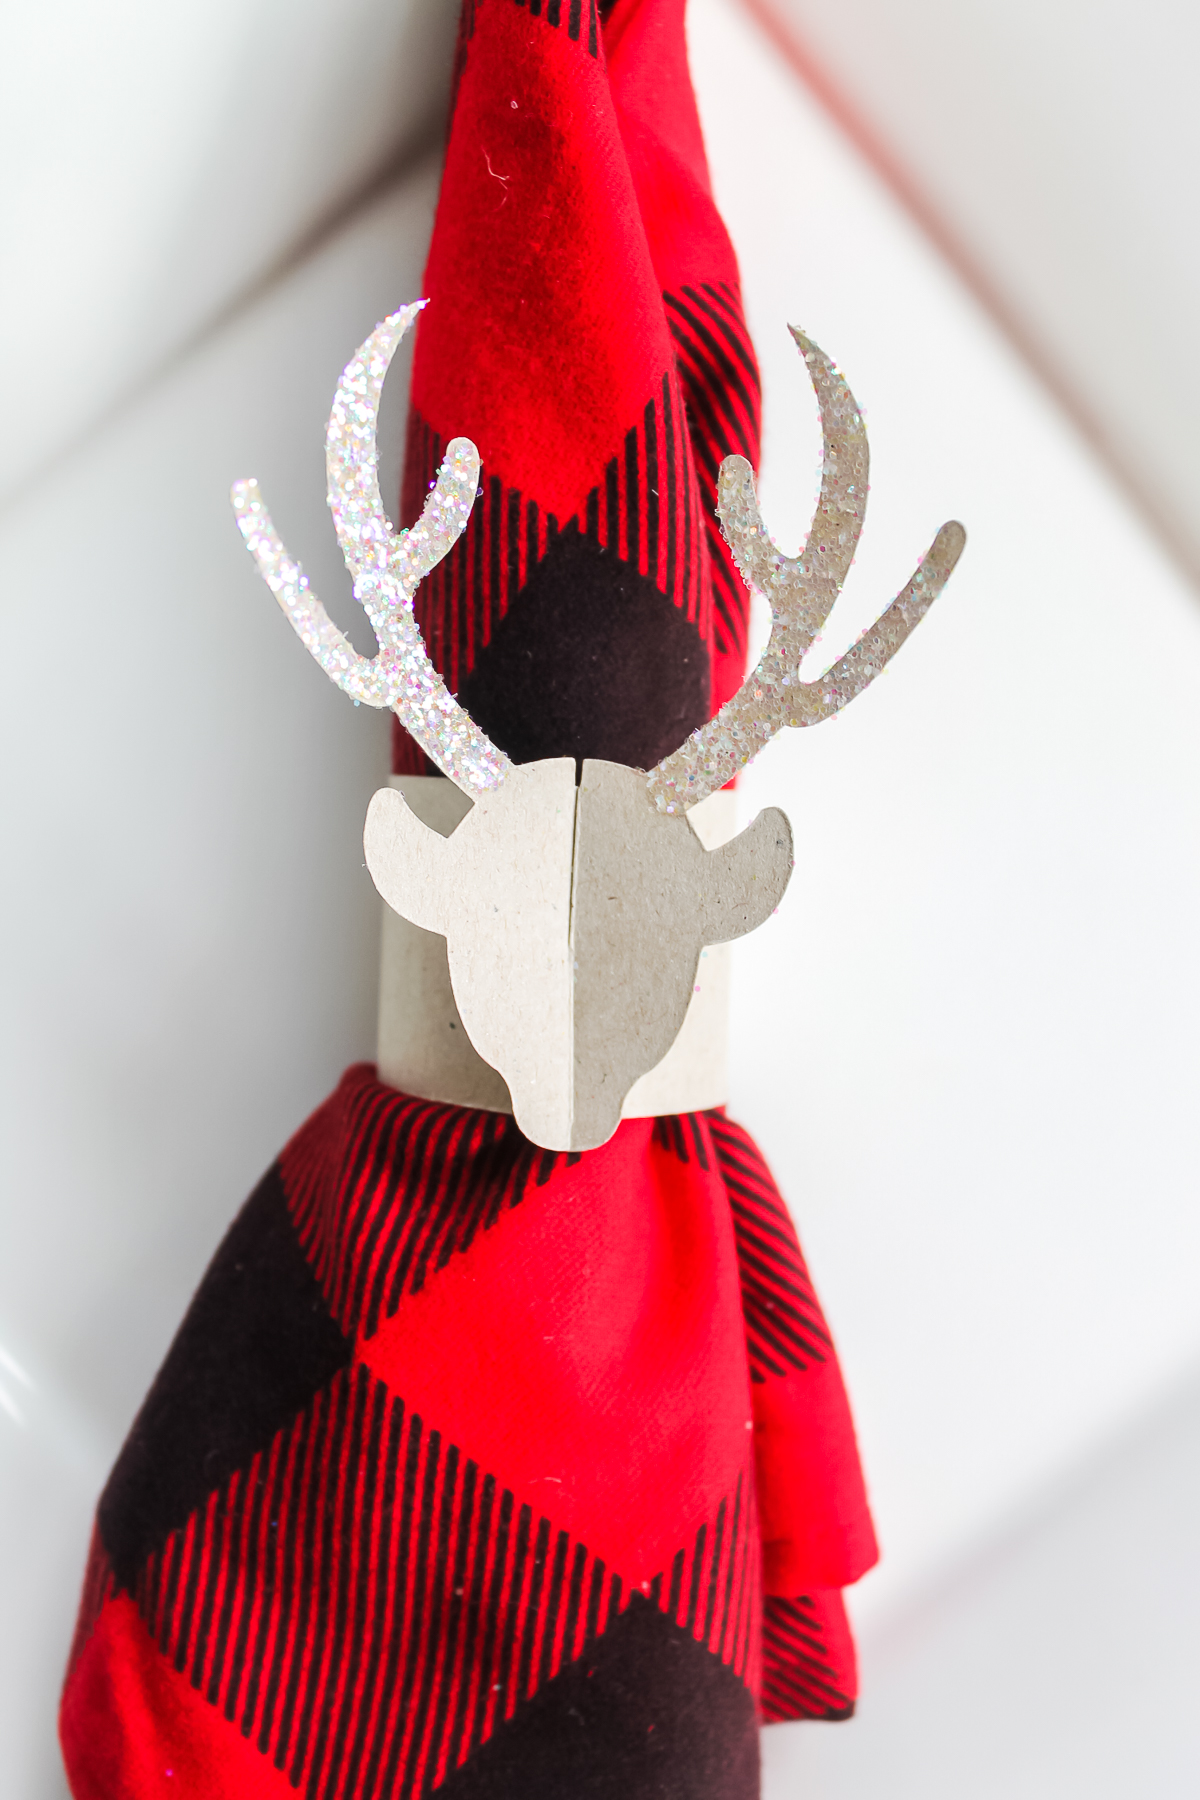
For a more elegant look, grab your decoupage and glitter. Any decoupage finish will work for this.
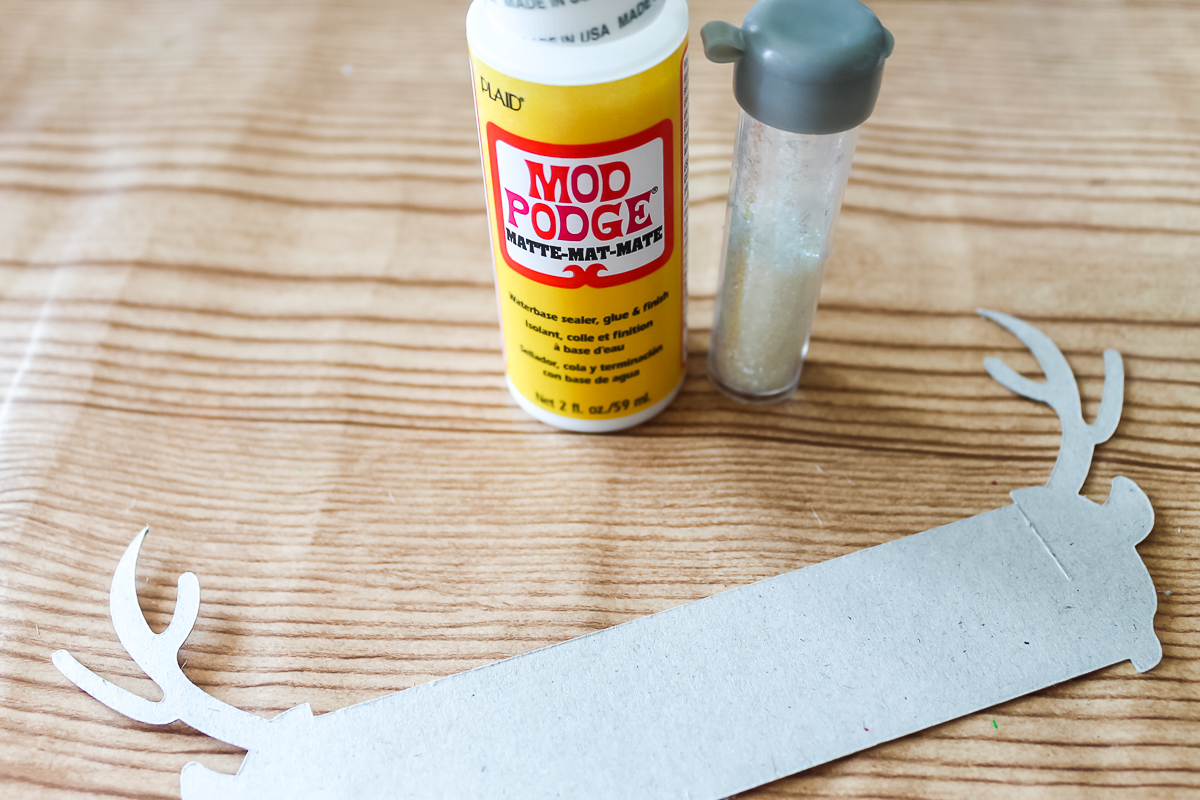
Paint the decoupage with a paintbrush onto just the antler portion of the napkin ring. Then sprinkle with glitter and dust off any excess. Allow this to dry completely.
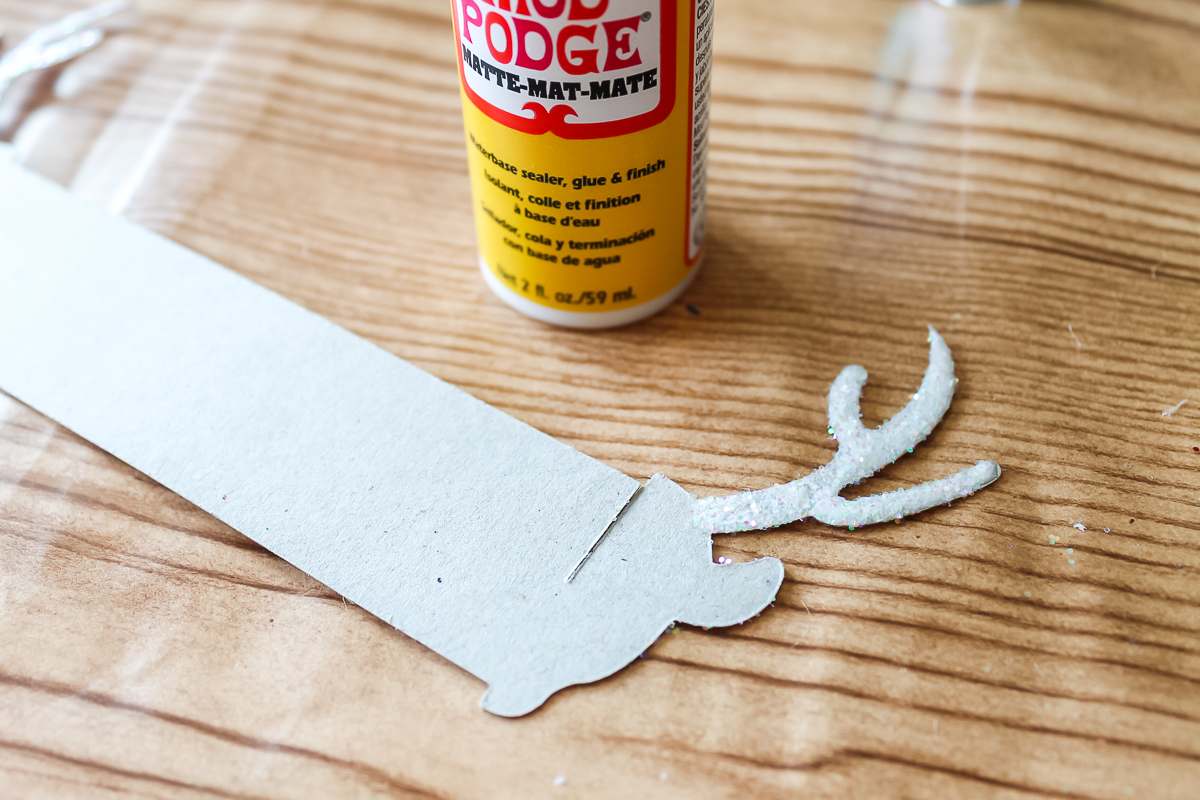
You may want to add a second coat of decoupage over the top to keep the glitter from shedding on your table. Allow to dry completely before adding to your napkins.
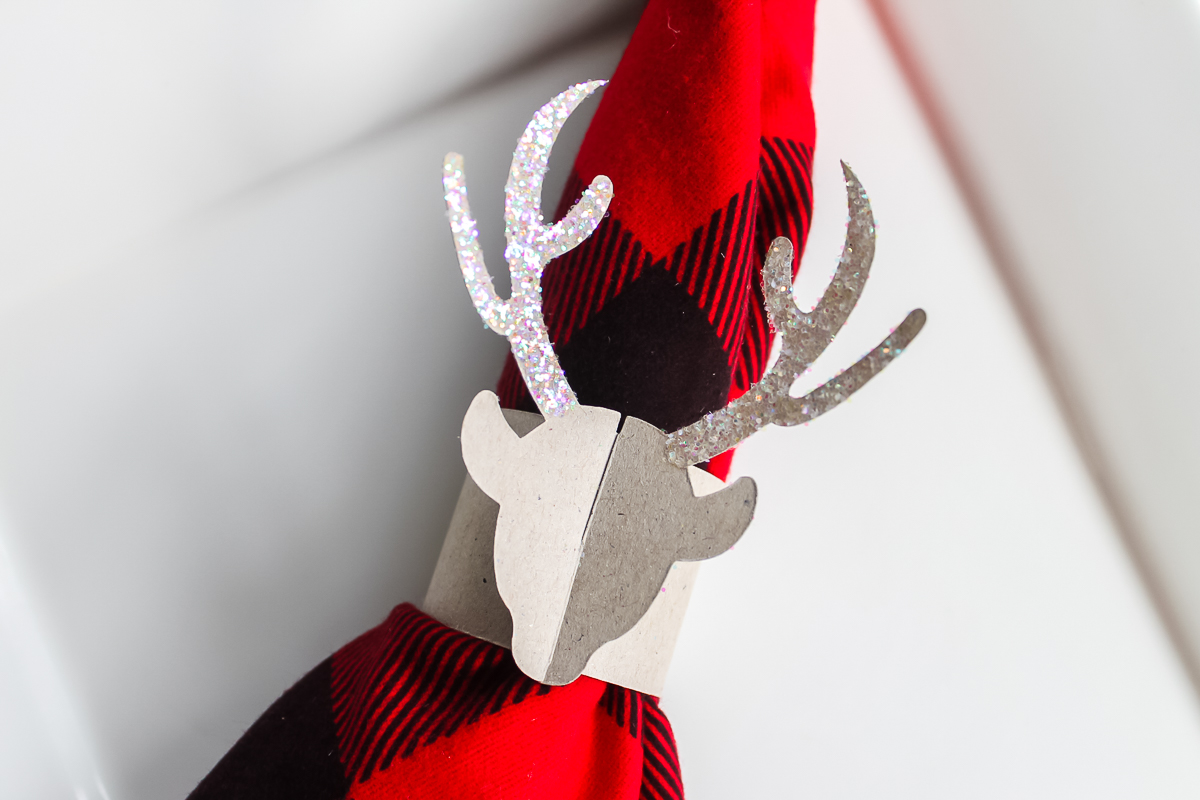
These elegant deer napkin rings will be the hit of your holiday table.
So, which of these DIY Christmas napkin rings will you make this year? I know you will love how great either of these versions looks on your holiday table!
Love these Cricut napkin rings and want more ideas? Try the links below as well!
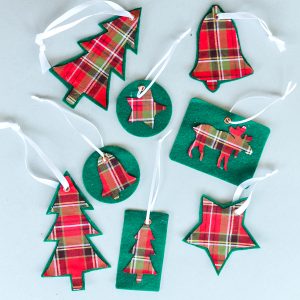
Do you enjoy making your own Christmas ornaments? Try these plaid Christmas ornaments for a perfect rustic Christmas touch!

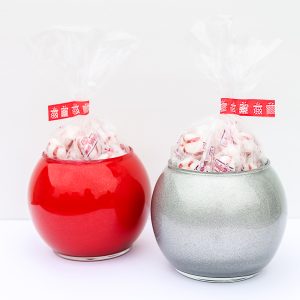
These easy instructions are perfect for glass glitter crafts that can be made in minutes!
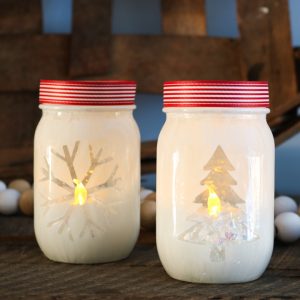
Grab your Cricut machine and make these candle holders for the holidays!

Learn how to make potholder for Christmas with your Cricut machine.
Want to print these instructions for making your own napkin rings? Try the card below!
DIY Christmas Napkin Rings with a Cricut
Grab your Cricut machine and make these deer napkin rings for your holiday table!
Supplies
- Cricut Explore Air 2 or any other Cricut machine
- Cutting mat
- Deer ring cut file
- Thin chipboard or Kraftboard
- Decoupage and glitter OR google eyes and red pom pom (depending on what version you are making)
Instructions
How to Design in Cricut Design Space
-
Open the file. You will see the flat napkin ring ready to cut. It should be about 7 3/4″.
-
Click make it to start cutting your project and choose how many of the napkin rings that you want to cut. The software will do all of the work for you and determine the proper location for all of the images that you are going to cut.
-
Set your dial to custom. Chipboard is not available on the standard settings. Choose chipboard in Design Space from the pull-down menu. There are TONS of custom materials in that menu or you can even customize your own material if you find something that they don’t have listed.
Cutting Paper Napkin Rings
-
Load your mat and cut your napkin rings. I like putting this material on a standard grip mat.
-
Remove the cut pieces from the mat. You can make the napkin ring by forming the piece into a circle and putting the slits in the paper together.
How to Decorate DIY Christmas Napkin Rings
-
Now you can decorate these deer napkin rings two ways. The first is for a whimsical table or for the kids’ table. Grab some google eyes and a pom pom.
-
Use hot glue to secure them into place. Then just slip the napkin ring on any napkin and add it to your table. You can use another glue if you would like the kids to help with this project.
-
For a more elegant look, grab your decoupage and glitter. Any decoupage finish will work for this.
-
Paint the decoupage with a paintbrush onto just the antler portion of the napkin ring. Then sprinkle with glitter and dust off any excess. Allow this to dry completely.
-
You may want to add a second coat of decoupage over the top to keep the glitter from shedding on your table. Allow to dry completely before adding to your napkins.