
This post and photos may contain Amazon or other affiliate links. If you purchase something through any link, I may receive a small commission at no extra charge to you. Any supplies used may be given to me free of charge, however, all projects and opinions are my own.

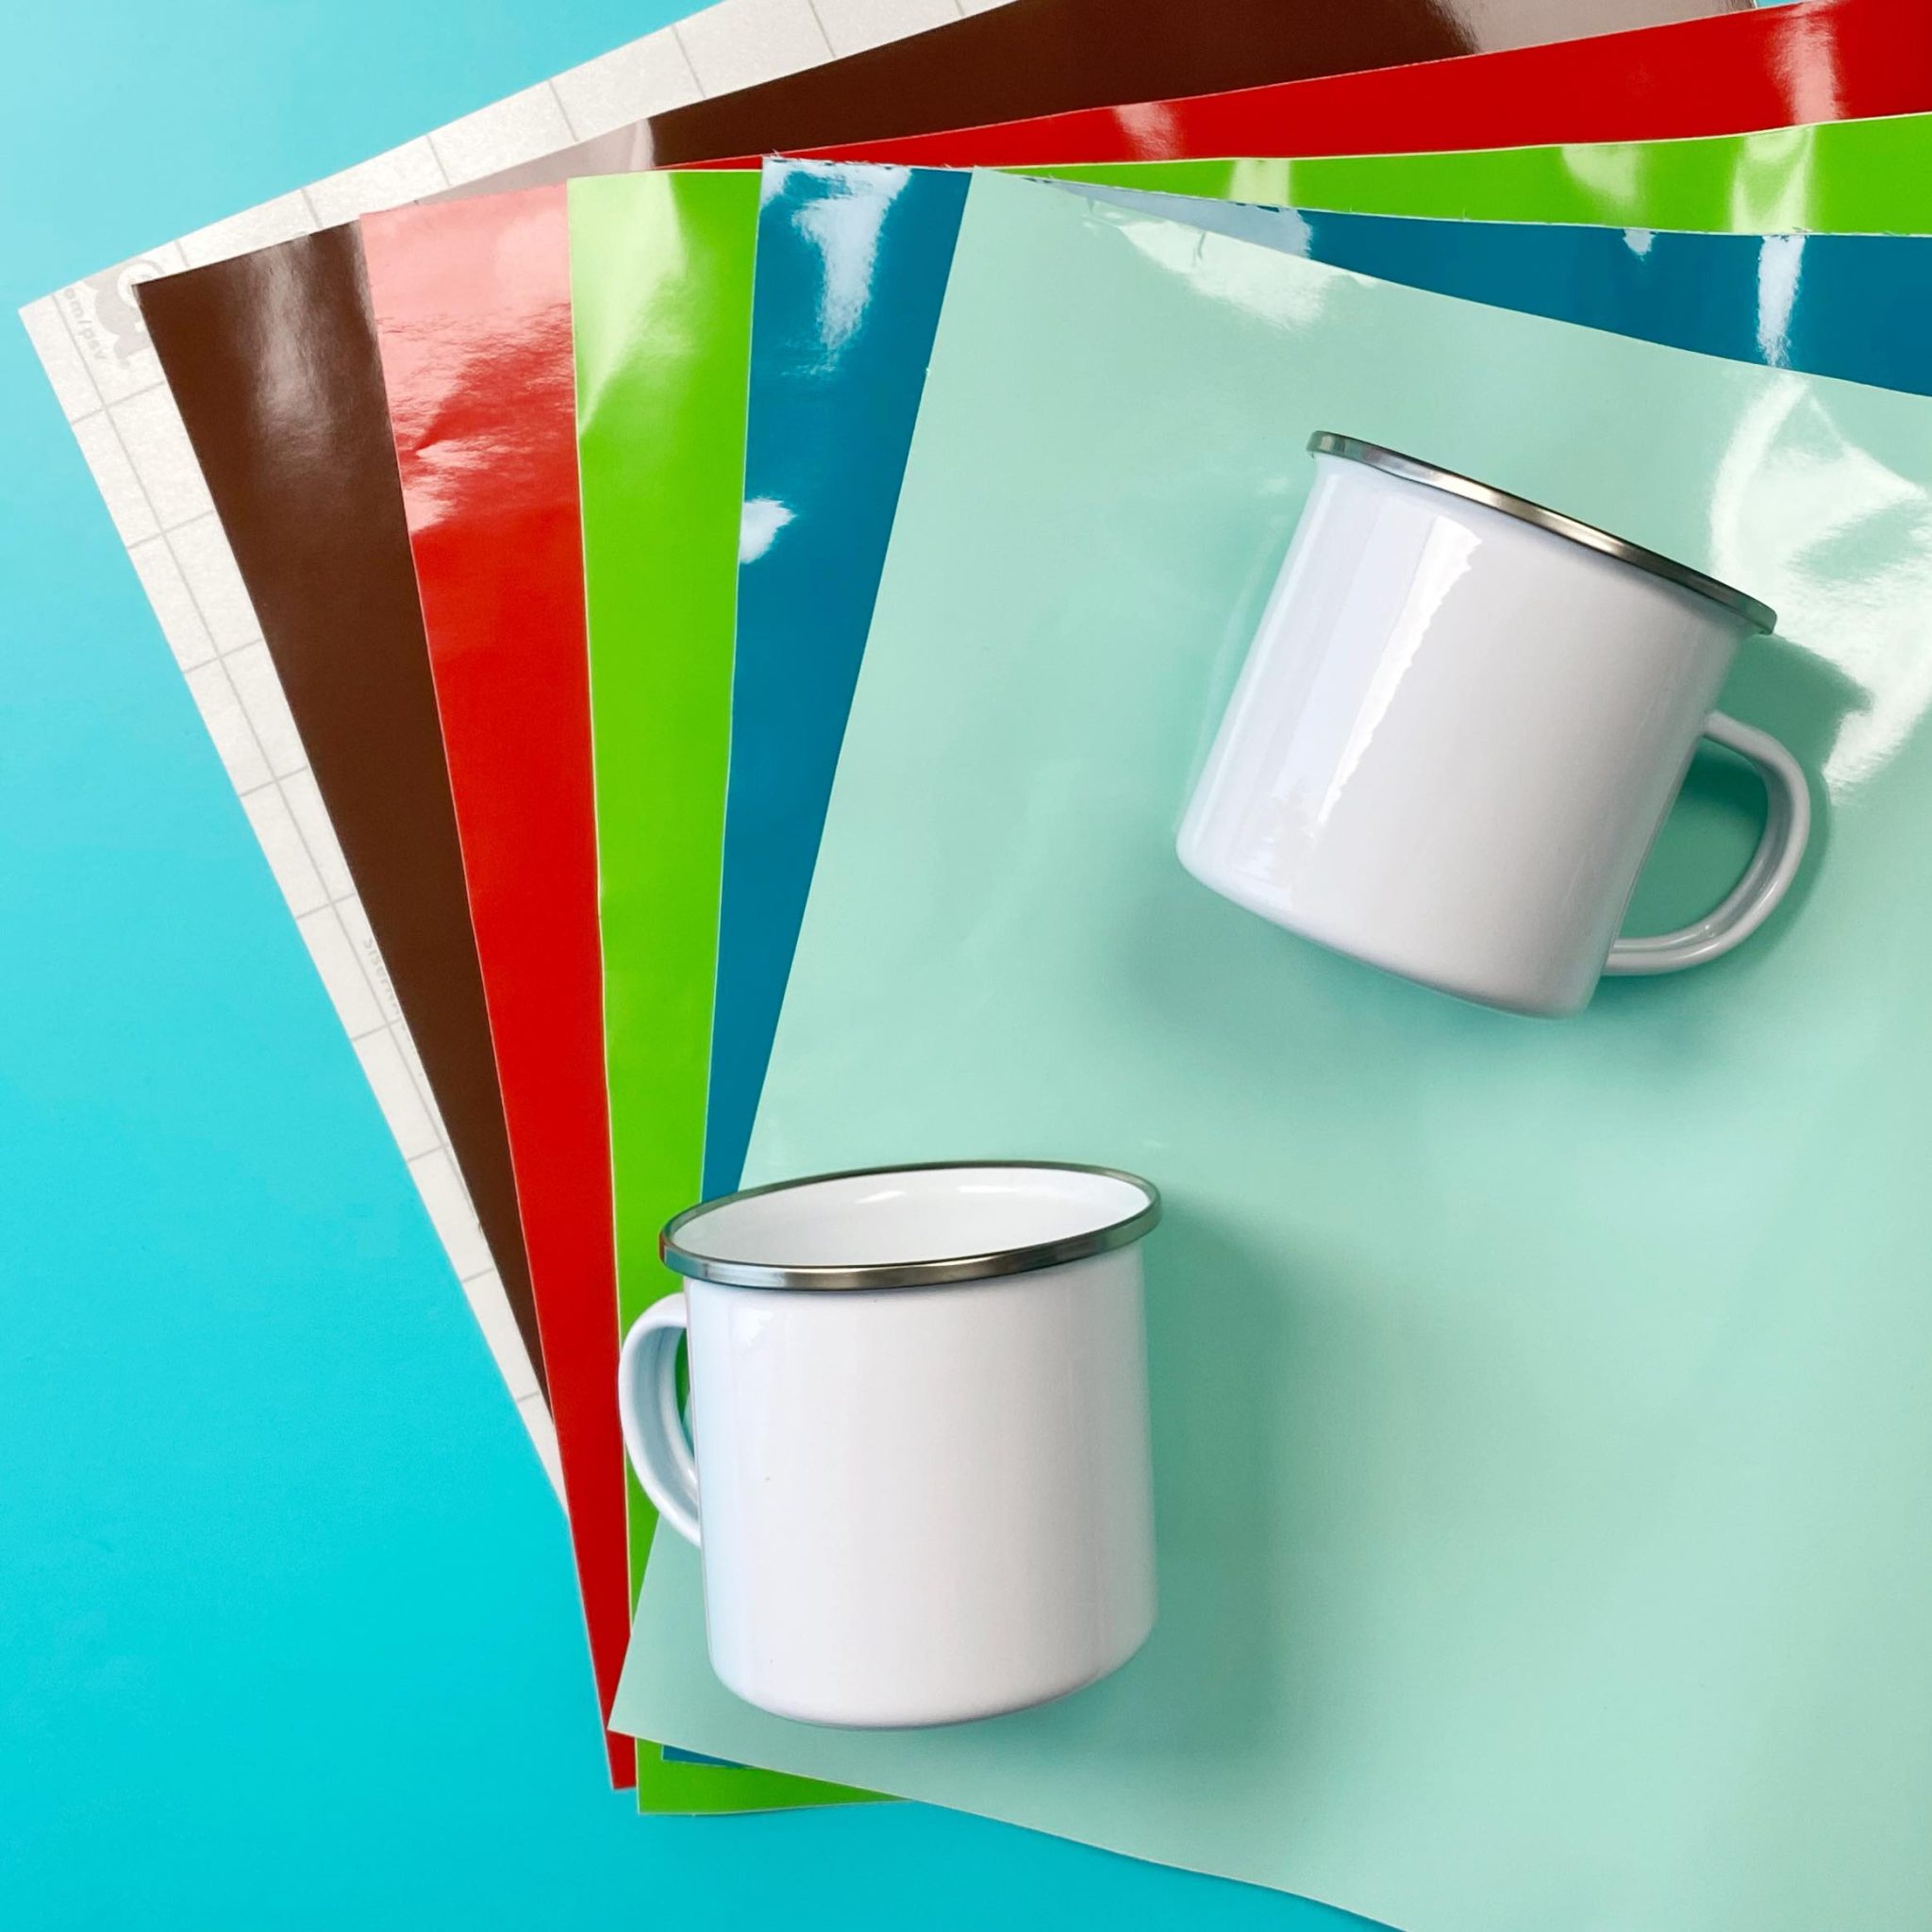
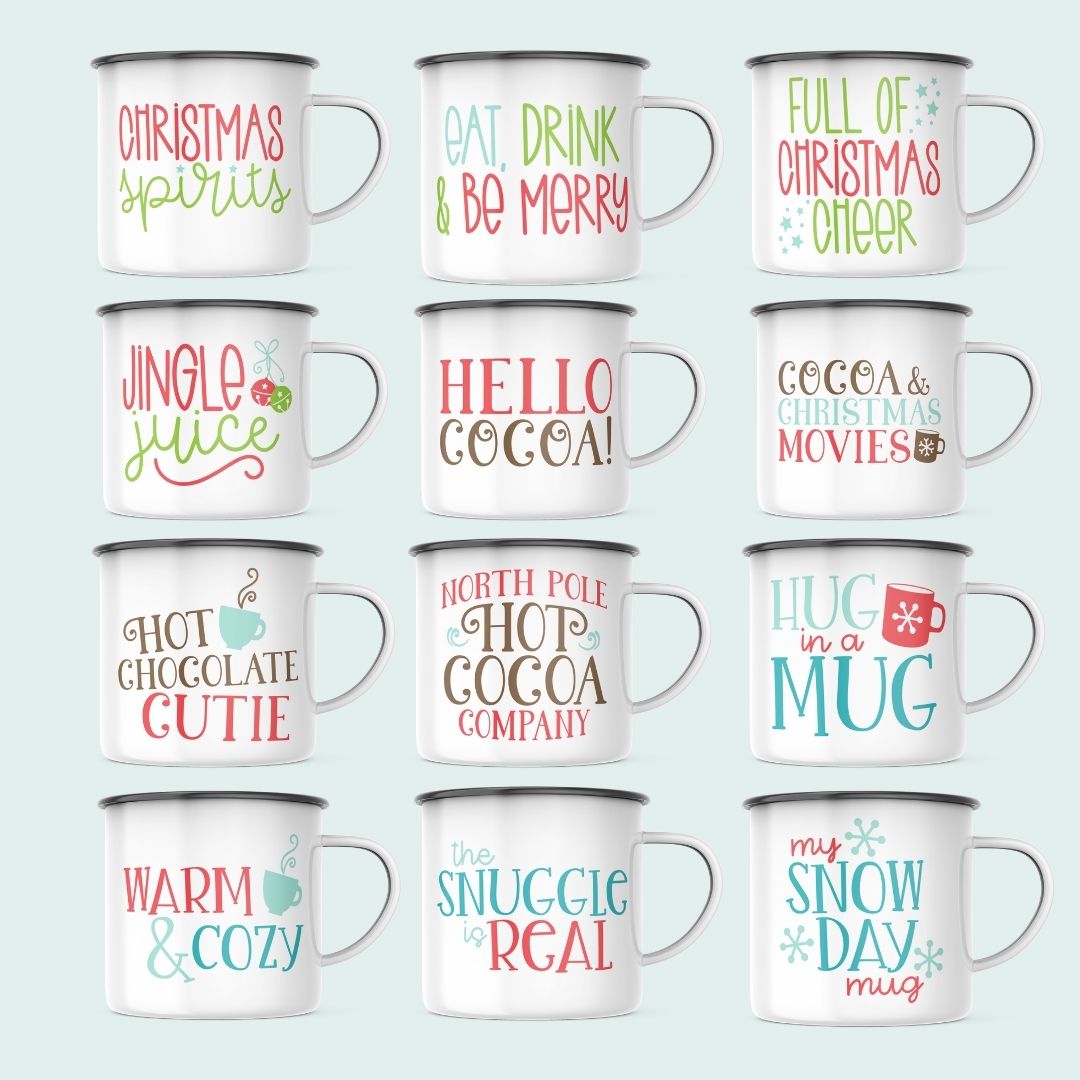
Grab your vinyl and your Cricut machine and get ready to make some DIY Christmas mugs! I actually have a 12 SVG file bundle for you below to make a bunch of different mugs for your holidays and beyond. Some of these mugs are great for winter as well. I am adding the files with permanent vinyl to some camping mugs but you could also use sublimation or Infusible Ink. However, you want to make your holiday mugs, be sure to follow the instructions below!

DIY Christmas Mugs
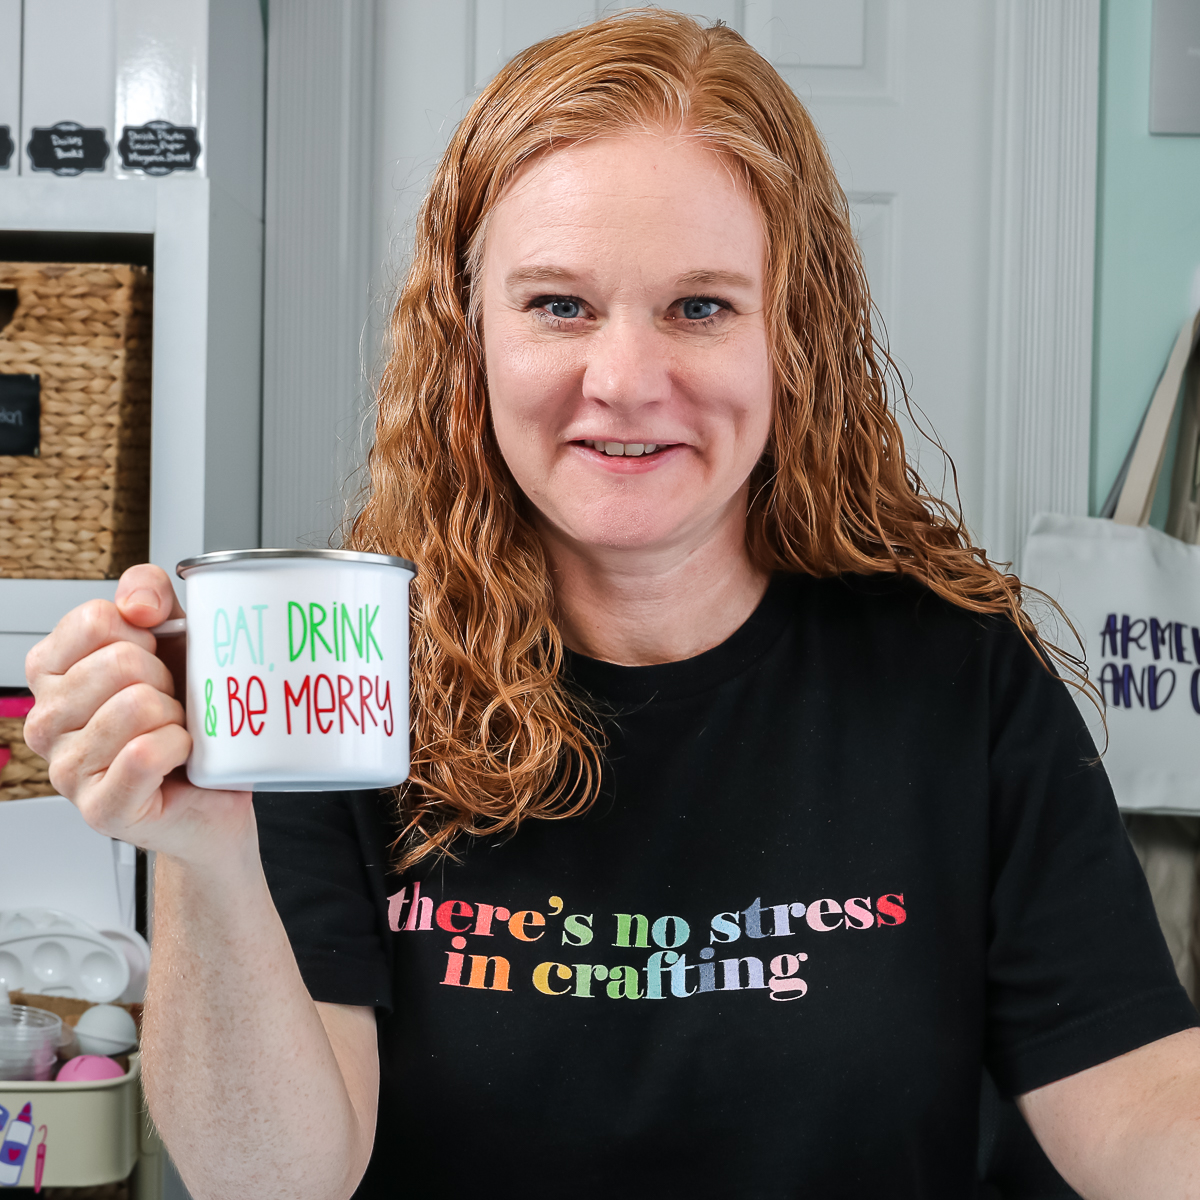
You can actually watch me make these mugs LIVE with Cori George from Hey Let’s Make Stuff below. The video is full of tips and tricks plus some fun mixed in! I know you will love it!
Can’t watch the video or miss some of the steps? You can also follow along below!
Supplies needed:
If you want to get all of your supplies at a special price, Heat Transfer Warehouse has bundles with mugs, vinyl, transfer tape, and SVG files at a special price while supplies last! You can get it here! If you don’t want to buy the bundle, you can get the supplies individually below.
Mug SVG Files
Want to make the exact mugs shown in this post? Well, you will want to grab the SVG files. I am using just a couple of these but you can get the entire bundle and make a bunch of mugs for yourself and to give as gifts. Click here to get the SVG file bundle and use code HUGINAMUG for 25% off!
NOTE: If you buy the bundle from Heat Transfer Warehouse, the SVG files will be included. You will need to head to their site, click orders, and click on the mug bundle order to get the file.
How to Make DIY Christmas Mugs
Now that you have your supplies and files, it is time to make some mugs! It is actually an easy process and you will have a mug in a few minutes.
- Upload the SVG file to Cricut Design Space for cutting. You can see how to do that here.
- Change the colors of the pieces if you would like. Just be sure to pick any like colors and click attach before clicking make it.
- Once you click make it, you should see a series of mats in the color of your choice. Pick permanent vinyl as your material type.
- Put your vinyl face up on the mat. There is no need to mirror your cut for adhesive vinyl. If you mat is old, it is helpful to press the vinyl down using your brayer so it will really adhere to the mat.
- Then cut each mat with your Cricut machine.
- For pieces this small, I like to cut them first then trim around the cut area with scissors to save the rest of the sheet for another project.
- Then weed away all of the excess vinyl. You want to get rid of anything around the outside edge as well as things like the centers of letters.
- Now it is time to layer those colors! Add your first color to your transfer tape. I like to add either the color on top or the color that there is more of.
- Burnish that color down well and remove the backing paper.
- Then on that same piece of transfer tape, add your next color. You will add it in the same manner. You can either eyeball the alignment or using something like parchment paper as an aid for aligning the pieces.
- Once all of your pieces are on the transfer tape, you can add it to your mug. You can use the parchment paper for this as well or the wet vinyl application method.
- Press the vinyl down well and remove the transfer tape to reveal your mug!
Sealing and Washing the Mugs
Now that the vinyl is on your mugs, how do you seal them? How do you take care of them? Here are my thoughts on both of those.
- I recommend allowing your mugs to sit for 72 hours before using. This allows the adhesive to cure and your mugs will last way longer.
- I actually don’t recommend any type of sealer on top. I tested both options on a post here and the vinyl by itself actually lasted way longer even in the dishwasher.
- Yes, I do wash these mugs in the dishwasher. I do them on the top rack and don’t use heat dry or any sanitize cycle.

That is all there is to it! Grab your supplies and make some DIY Christmas mugs this year. You will love adding your favorite warm beverage to these mugs this holiday season.
These cute mugs also make great gifts. Fill them with some hot chocolate mix in a plastic bag along with some marshmallows and peppermint sticks. Then give them to neighbors, the mailman, and so much more.

Are you adding DIY Christmas mugs to your holiday crafting list? You definitely should add them and make one or more of these adorable mugs this holiday season.
Love Cricut Christmas crafts and want more? Try the links below!
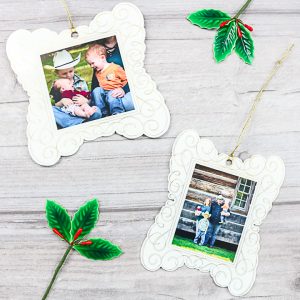
Learn how to foil on photo paper and make some photo ornaments for your Christmas tree.
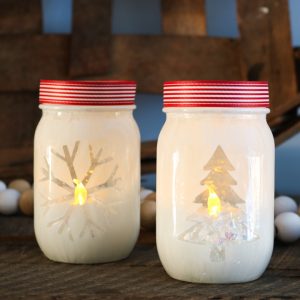
Grab your Cricut machine and make these candle holders for the holidays!

Use our FREE gnome SVG file to create this adorable Christmas Gnome banner with your Cricut! This simple Cricut project is perfect for DIY Christmas decor.
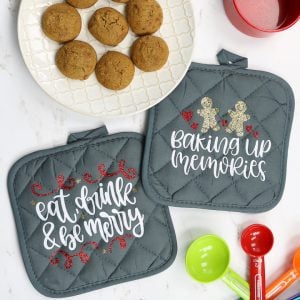
Learn how to make potholder for Christmas with your Cricut machine.
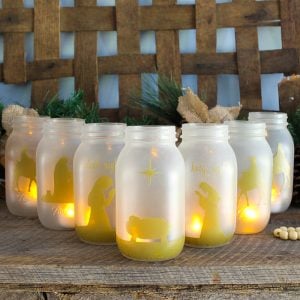
Make some nativity scene mason jars with your Cricut machine and these simple instructions.
Want to print this tutorial for making DIY Christmas mugs? Use the card below!

DIY Christmas Mugs
Make some cute holiday mugs with your Cricut machine in minutes!
Supplies
- Mugs I am using the camping mugs from Heat Transfer Warehouse but any mugs will work.
- Adhesive permanent vinyl
- Transfer tape
- Weeding tools
- Cricut machine (any machine will work with this project)
- Brayer
- Scraper
- Parchment paper (If you want to use the layering hack, you will need this.)
- SVG files
Instructions
-
Upload the SVG file to Cricut Design Space for cutting.
-
Change the colors of the pieces if you would like. Just be sure to pick any like colors and click attach before clicking make it.
-
Once you click make it, you should see a series of mats in the color of your choice. Pick permanent vinyl as your material type.
-
Put your vinyl face up on the mat. There is no need to mirror your cut for adhesive vinyl. If you mat is old, it is helpful to press the vinyl down using your brayer so it will really adhere to the mat.
-
Then cut each mat with your Cricut machine. For pieces this small, I like to cut them first then trim around the cut area with scissors to save the rest of the sheet for another project.
-
Then weed away all of the excess vinyl. You want to get rid of anything around the outside edge as well as things like the centers of letters.
-
Now it is time to layer those colors! Add your first color to your transfer tape. I like to add either the color on top or the color that there is more of.
-
Burnish that color down well and remove the backing paper.
-
Then on that same piece of transfer tape, add your next color. You will add it in the same manner. You can either eyeball the alignment or using something like parchment paper as an aid for aligning the pieces.
-
Once all of your pieces are on the transfer tape, you can add it to your mug. You can use the parchment paper for this as well or the wet vinyl application method.
-
Press the vinyl down well and remove the transfer tape to reveal your mug!