This post and photos may contain Amazon or other affiliate links. If you purchase something through any link, I may receive a small commission at no extra charge to you. Any supplies used may be given to me free of charge, however, all projects and opinions are my own.

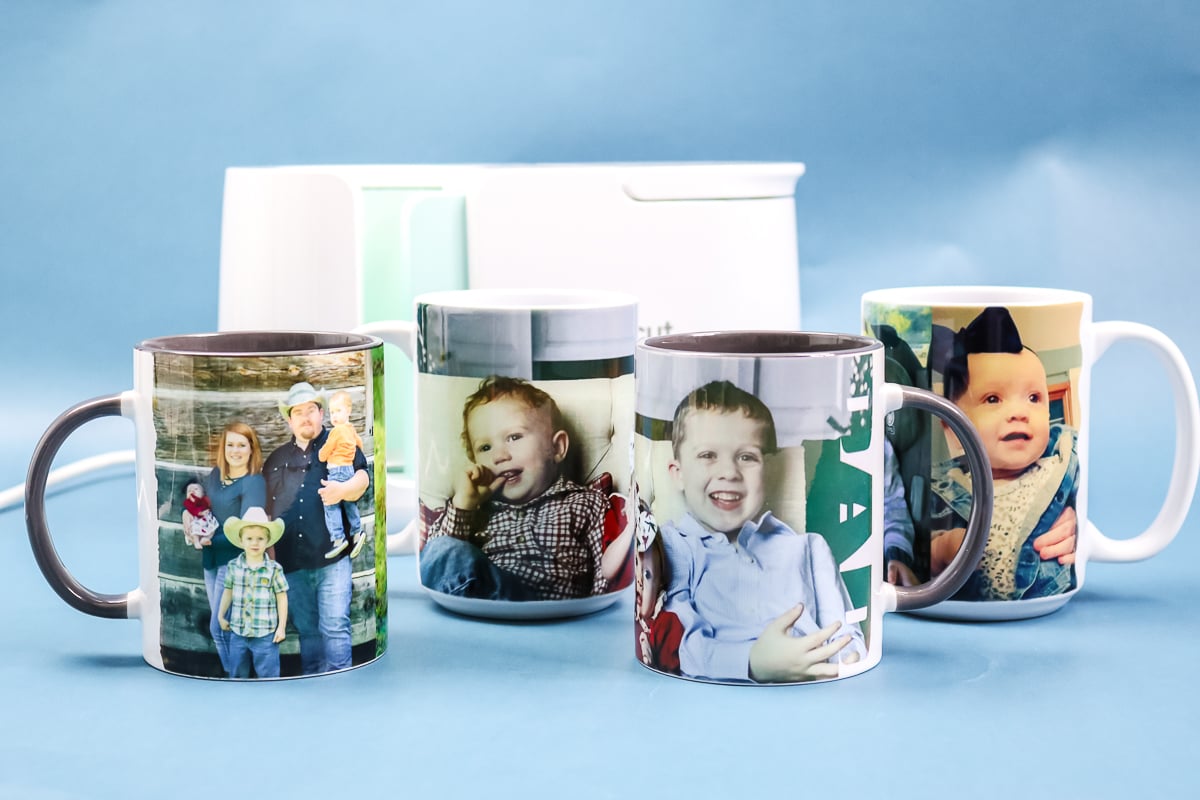
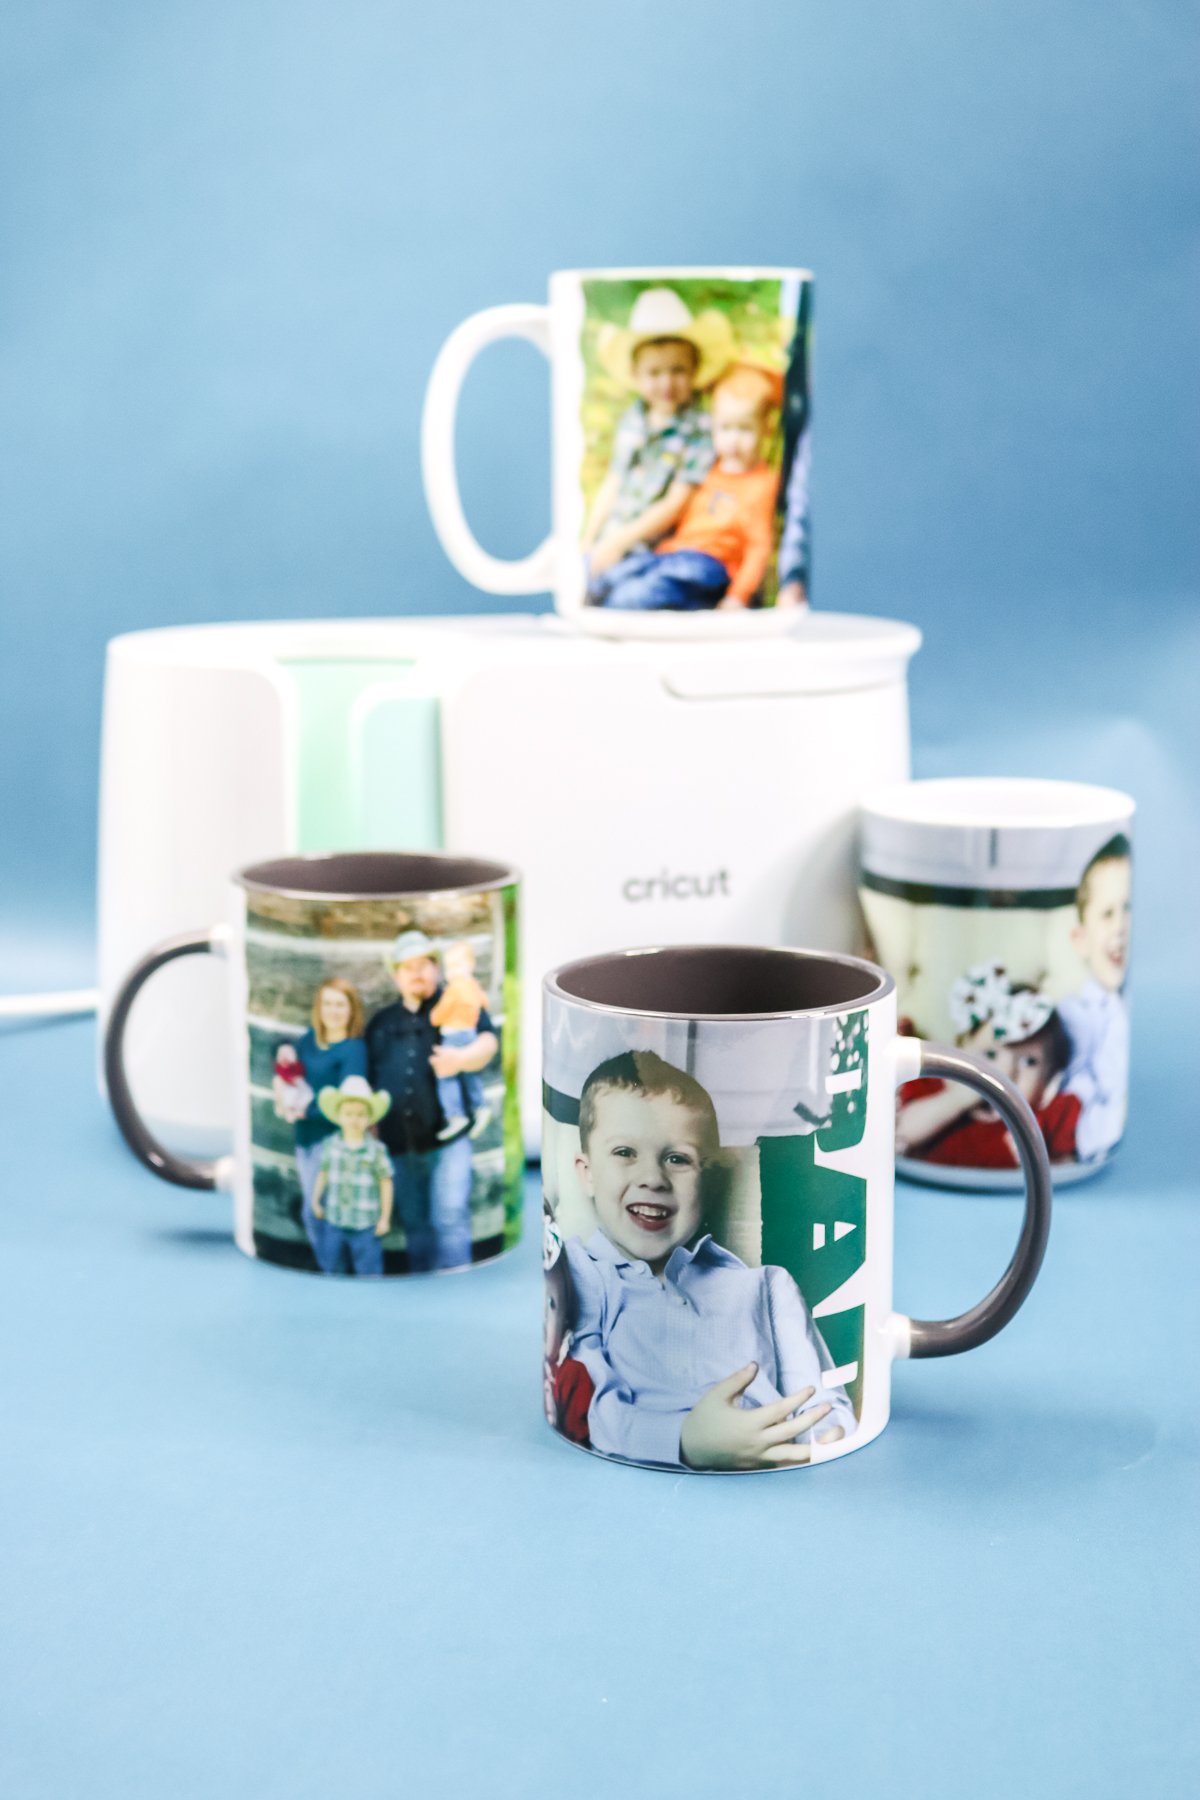
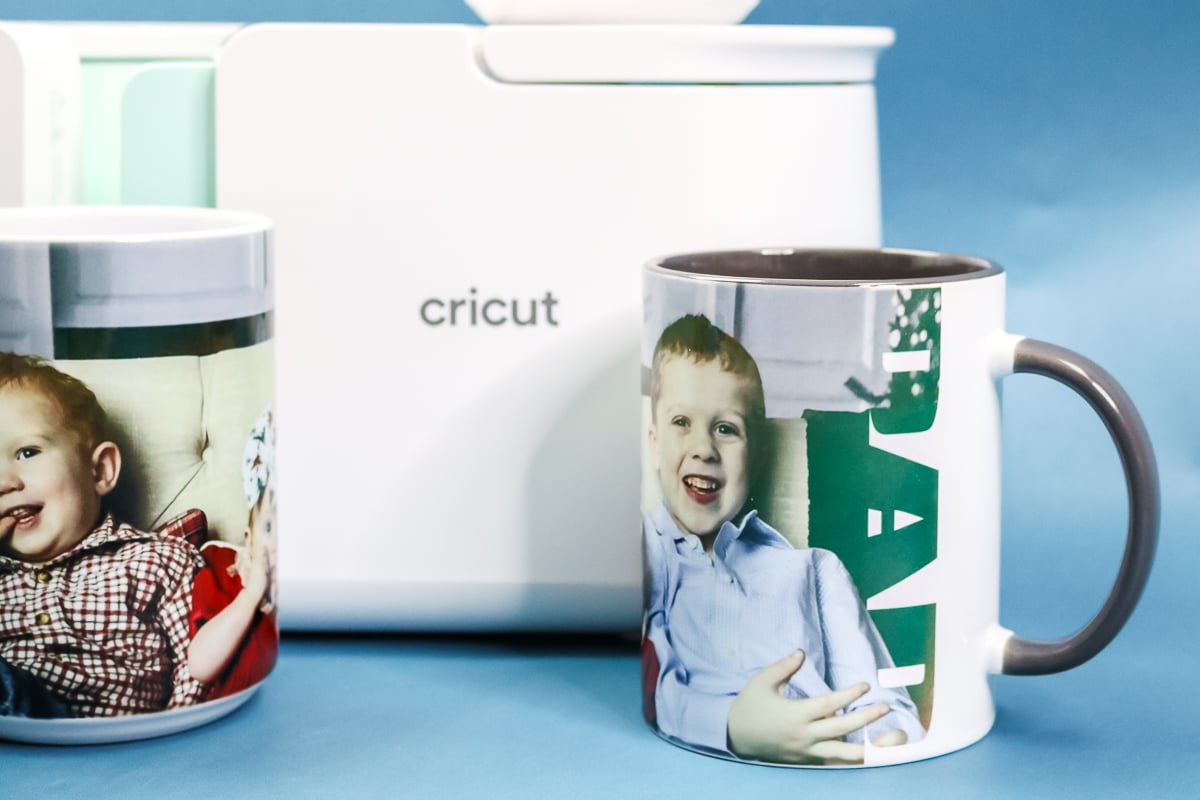
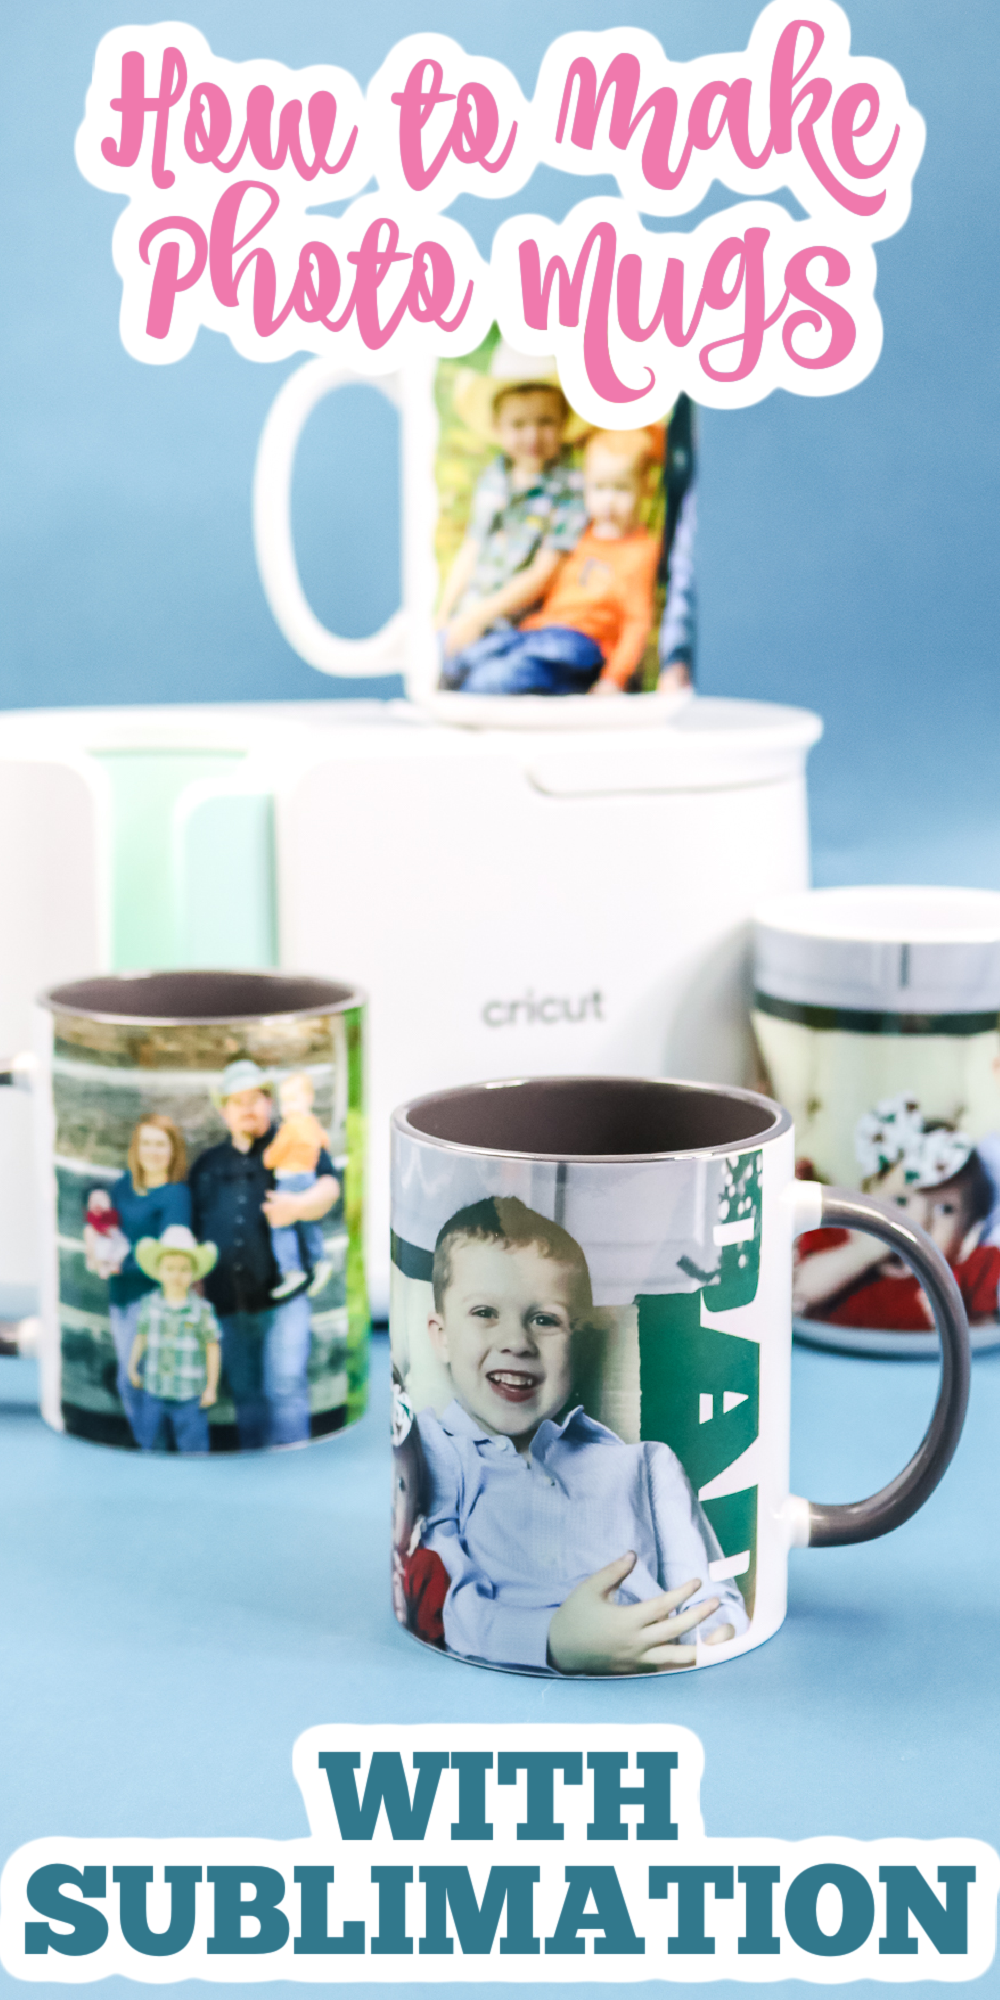
I’ve been getting tons of questions on whether you can make DIY photo mugs with sublimation and the Cricut Mug Press. You definitely can! This has been a highly requested tutorial and I hope it is helpful for you to make some gifts for family and friends on just about any occasion.
DIY Photo Mugs
This project is actually super simple but there are some details that you don’t want to skip. I made a video showing how to make DIY photo mugs below and you can click play to watch it.
Can’t watch the video or missed some of the steps? You can also read below as I walk though the process.
Supplies needed:
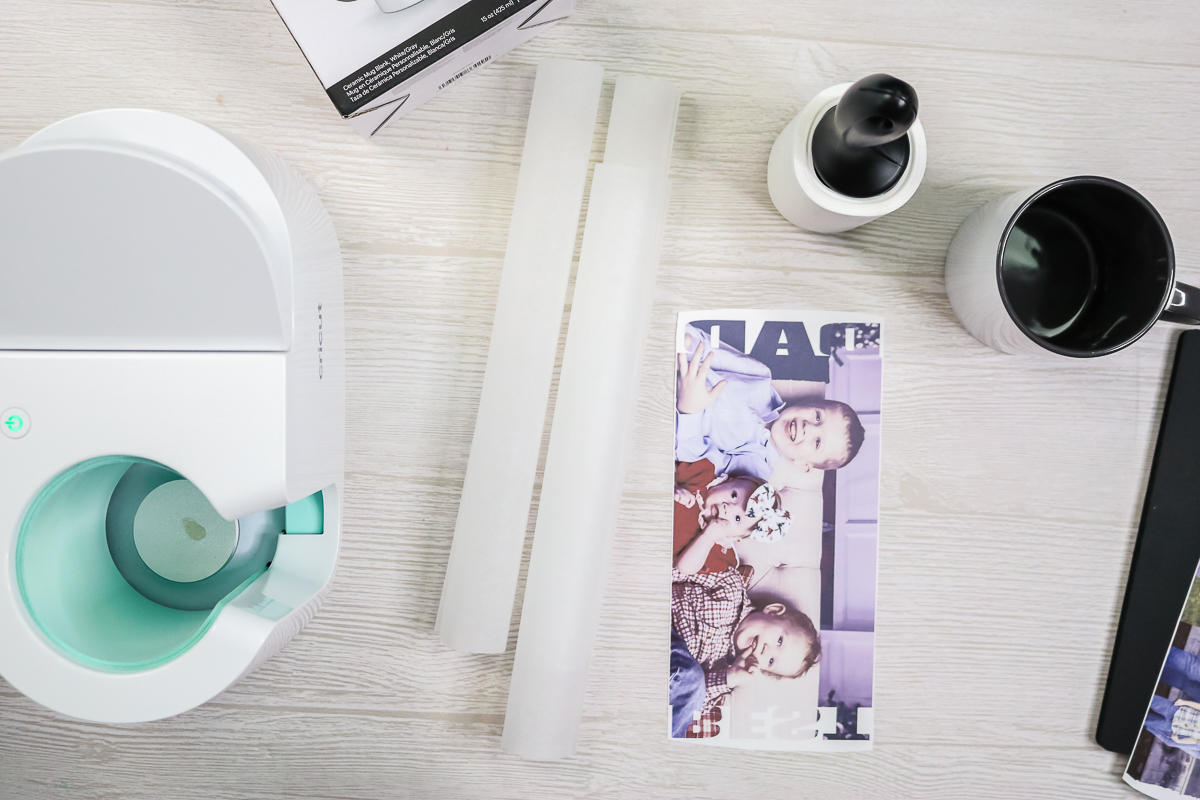
You do need a few specialty supplies for this project. Here is a list of everything you need:
And here are some tips and tricks for finding products that will work.
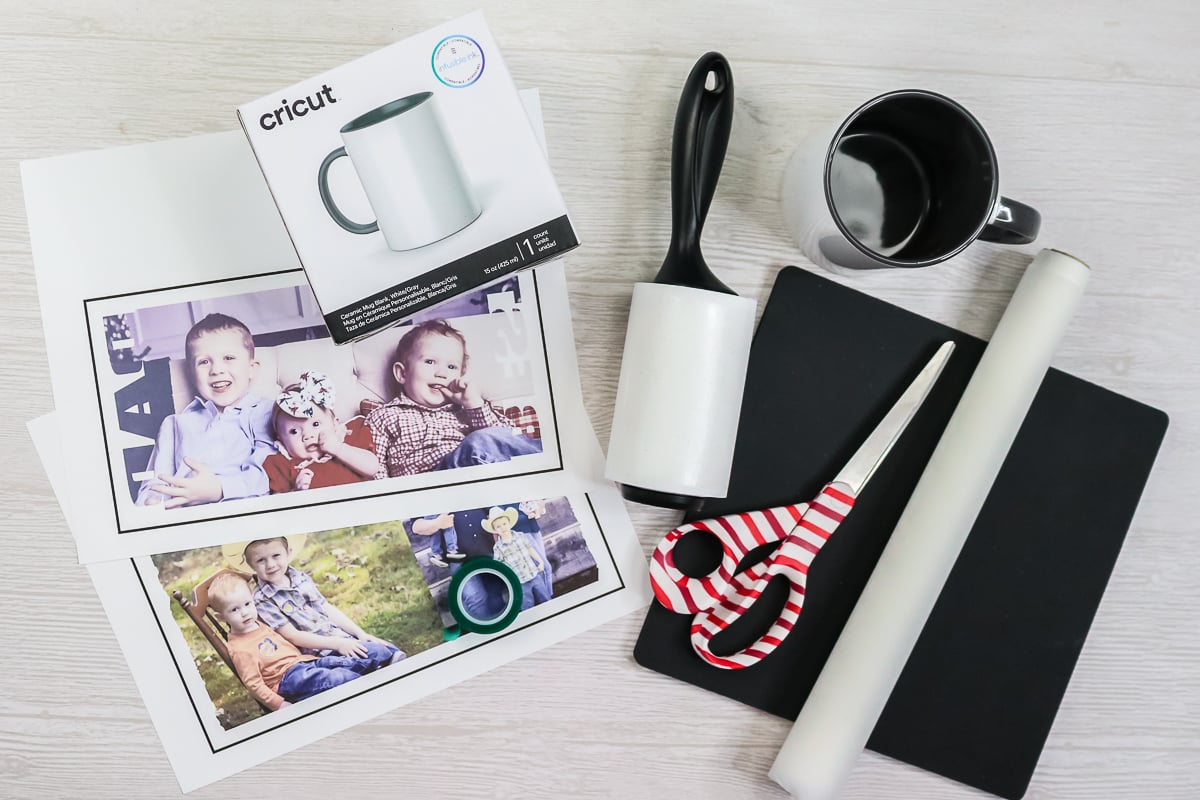
Sublimation Coated Mugs
You will need to use sublimation coated mugs for this project. These are mugs with a special poly-coating that allows the sublimation print to react and bond with your surface. I used the following two mugs with this tutorial:
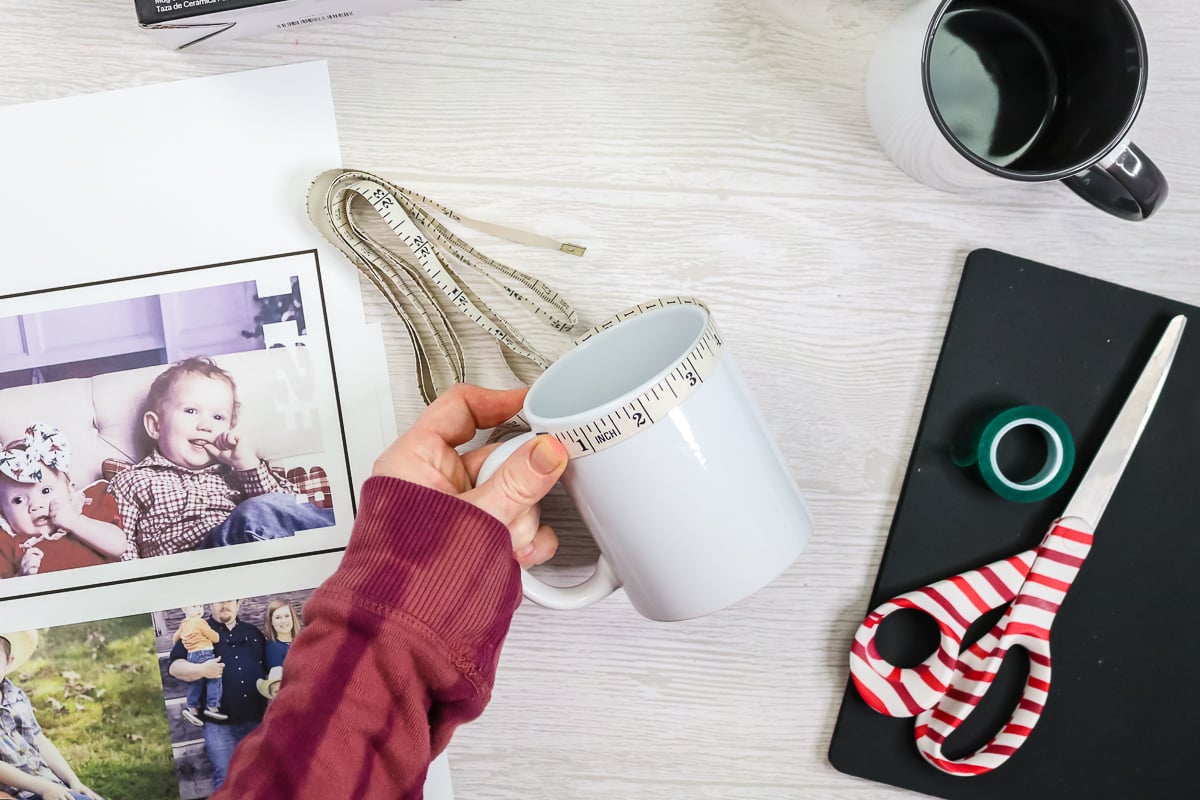
Remember that if you are looking for mugs, be sure they have the coating and that they are 11 – 16 oz, straight wall, 3.2 – 3.4 inch in diameter, and a maximum height of 4.72 inches.
Sublimation Printer
You will also need a sublimation print for this project. You can read more about what sublimation is in this post. Personally, I have an Epson EcoTank printer that I changed over to be a sublimation printer. Please note that a regular printer WILL NOT WORK for this project. You do have to have the right printer as well as sublimation ink for the process to work. Want to see how I made my printer? Try this post!
Psst…you can use code 7GGUSYN4 to get 30% off the sublimation ink I use on Amazon! Just click here to purchase!
Free Mug Templates
I have a set of templates for you to use with your DIY photo mugs and you can get those by signing up for the newsletter below. Just add in your information and a zip file will be sent to your email address. If you already get the newsletter, just add your information again as you will not be signed up for anything further. Once you sign up, you will be offered the larger bundle of templates at a discount if you would like those as well. Look for a form below with a picture of the files you want and add your information in there.
Please note that these files are for personal use only. You can contact me for commercial use licenses or if you have any issues with your download.
Designing Your Mugs
Now that you have your supplies and your templates, it is time to design some mugs. You can either use the templates above or there are also free templates in Cricut Design Space for mugs. You just need to remember that for the Cricut Mug Press your design should be at least 1/2 inch from the handle on both sides. If you pick a mug that isn’t a Cricut mug, I recommend using something like a sewing tape measure to get the size of the mug and then make sure the templates will work for you.
I used Cricut Design Space to trim my pictures with the templates and get the shape that I wanted for my designs before printing. You can use ANY design program that you have to accomplish this same task. You could also print the templates, trace them onto your printed sublimation print, and cut out with scissors. There are many ways to make the templates work for the mugs.
If you want to see me use Cricut Design Space to size the images and use the templates, I would suggest watching the video above. It definitely walks you through each step of uploading your pictures and slicing them to work with the templates. You can also use it to access free templates that have a variety of edge designs. I made one version with a single picture and another one with a picture collage. Both processes are explained in the video above.
Once you have your design, just print them with your sublimation printer onto sublimation paper. I also used Cricut Design Space for this so you will see a black box around my prints. The box is not needed and you also do not need a Cricut machine. The process was just easy to explain in Design Space and the program is free. It does take extra ink, however, when printing the box.
You will want to uncheck the “add bleed” box when working in Design Space and printing. You can also check the “use system dialogue” box to change settings like print speed if you are having issues getting a quality print. Your sublimation print MUST BE mirrored when printing. You can do this either in your printer settings or the settings in Design Space. You DO NOT need to do it both places. Just one or the other!
Pressing Your Designs
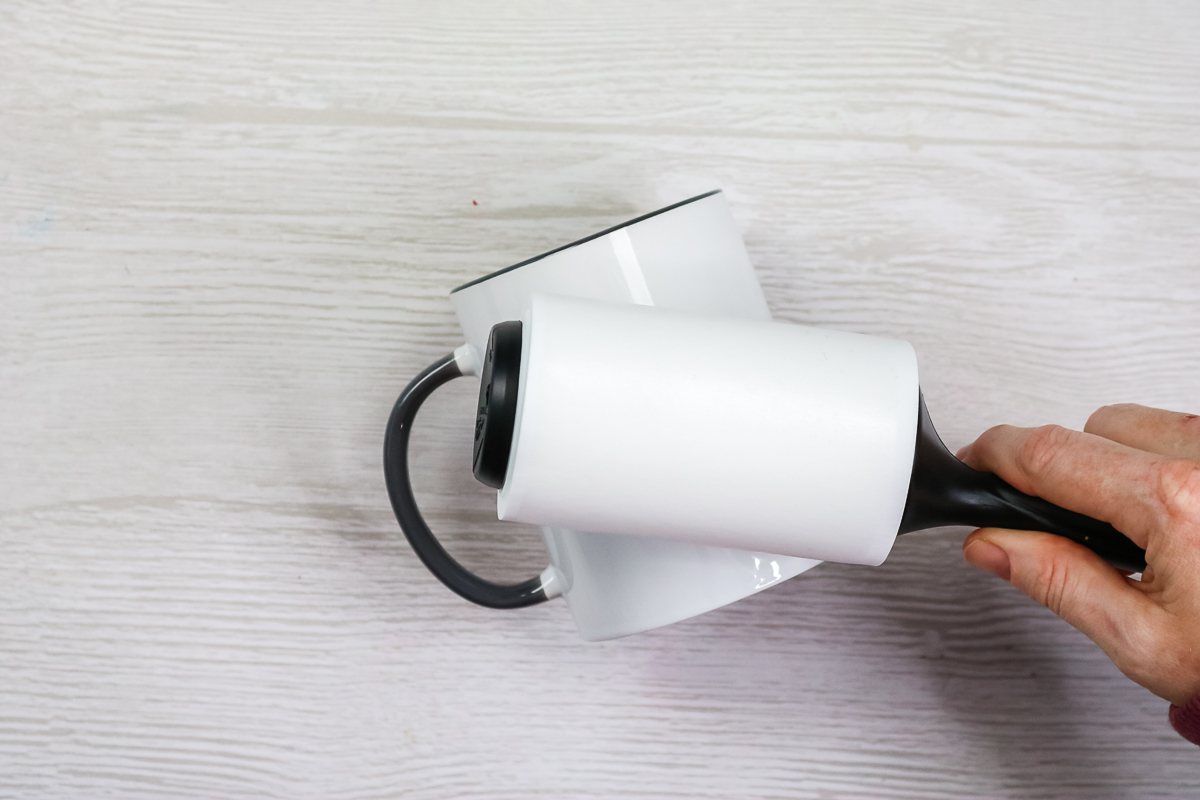
Now that you have your prints, it is time to add them to your mugs! Heat up your press while you prepare the mugs themselves. Clean the mug with a lint roller before starting.
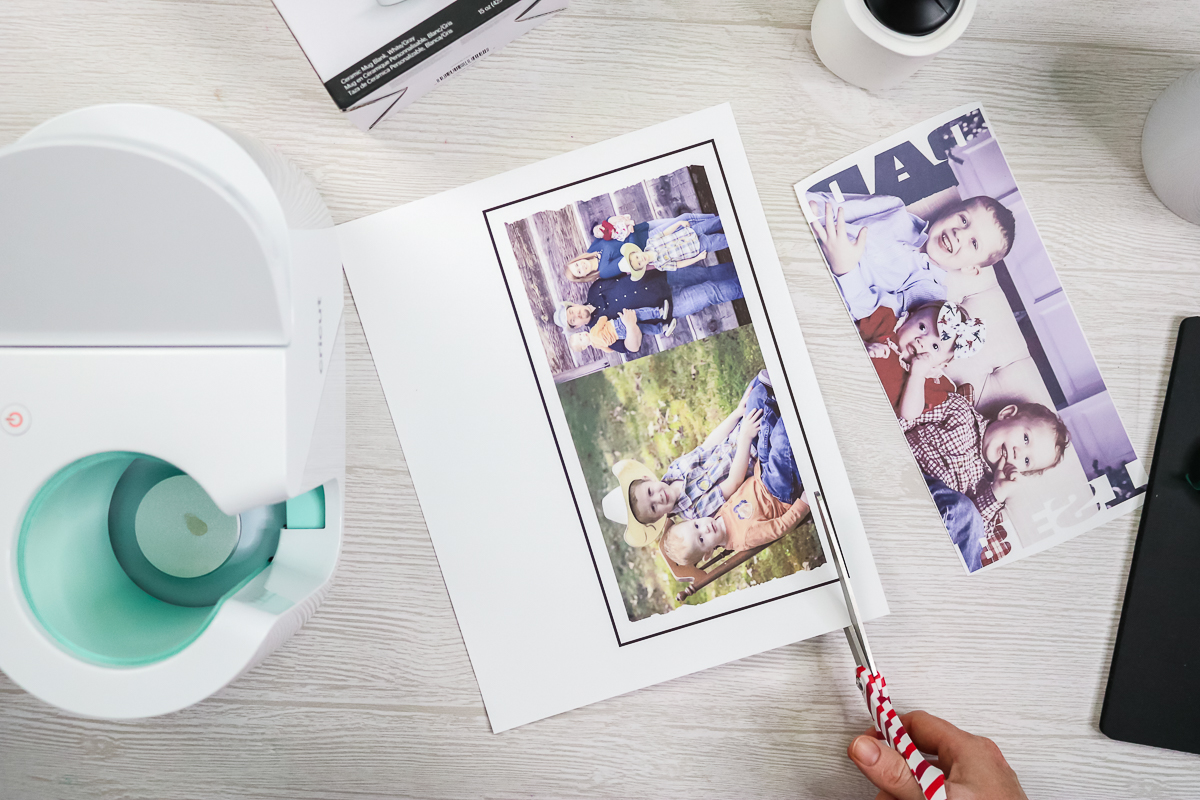
Trim your prints with just a pair of scissors where there is a thin border on the top and bottom. I cut slowly and make sure I get it as straight as possible as you will use this to line up on your mug. You may notice that the colors are muted on your sublimation prints and that is okay. They will really brighten and pop out once pressed.
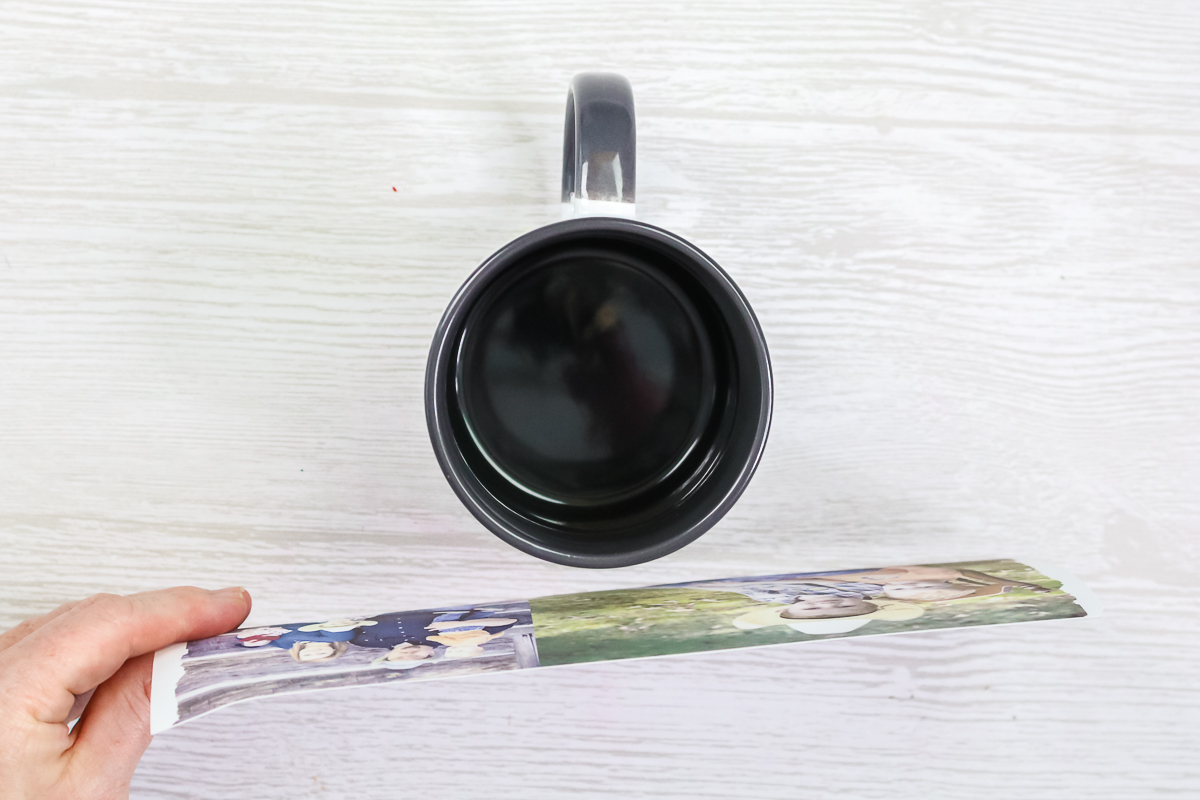
Line the print up on the mug surface making sure it is straight and an equal distance from the handle on both sides. You want to make sure this is TIGHT on your mug surface before taping.
Tape the print down well in the center. I like to tape one side then pull the paper tight and tape the opposite side.

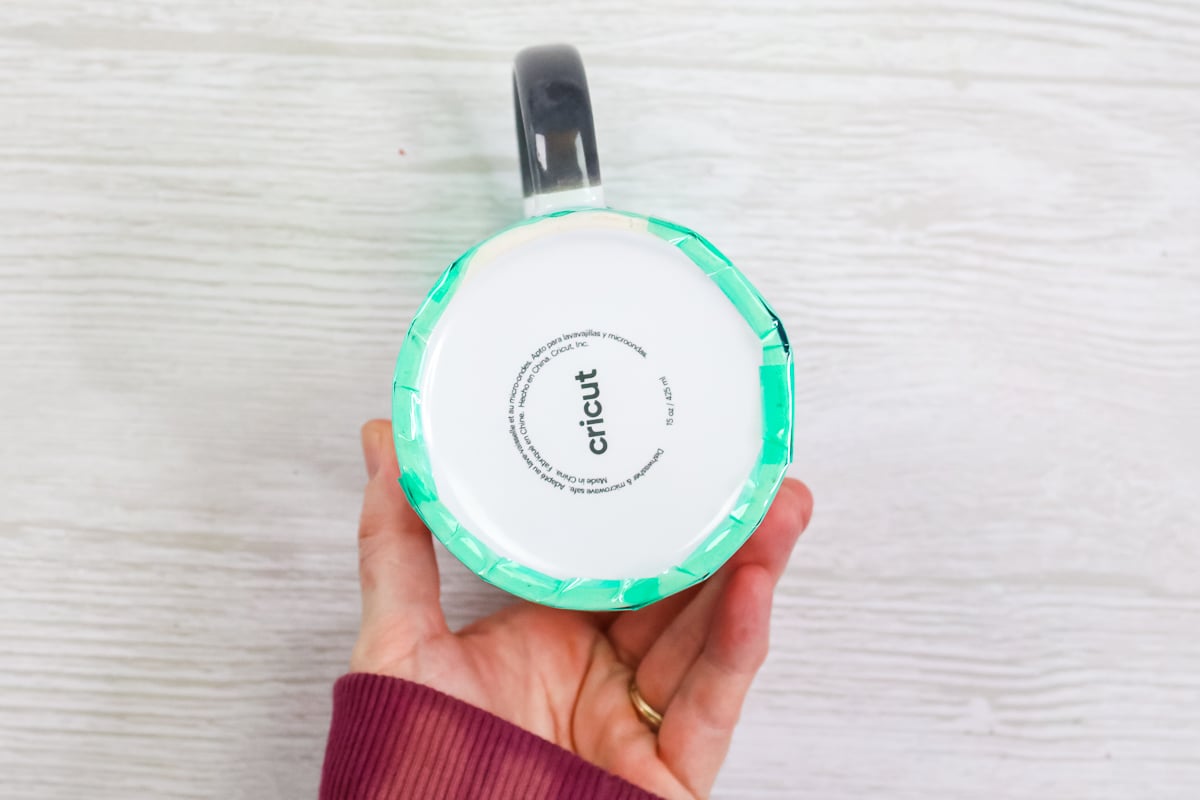
I then add tape at the top and bottom where the edges of the template are located to hold those tight. I also like to tape all the way around the bottom so my press does not snag the print as I am inserting it.
I like to use protective paper over my sublimation prints to protect my press. I use three sheets as extra precaution but often I reuse the top sheet.
Cut the sheets to size and wrap them around the mug being sure to cover the entire sublimation print. Tape these into place as well.

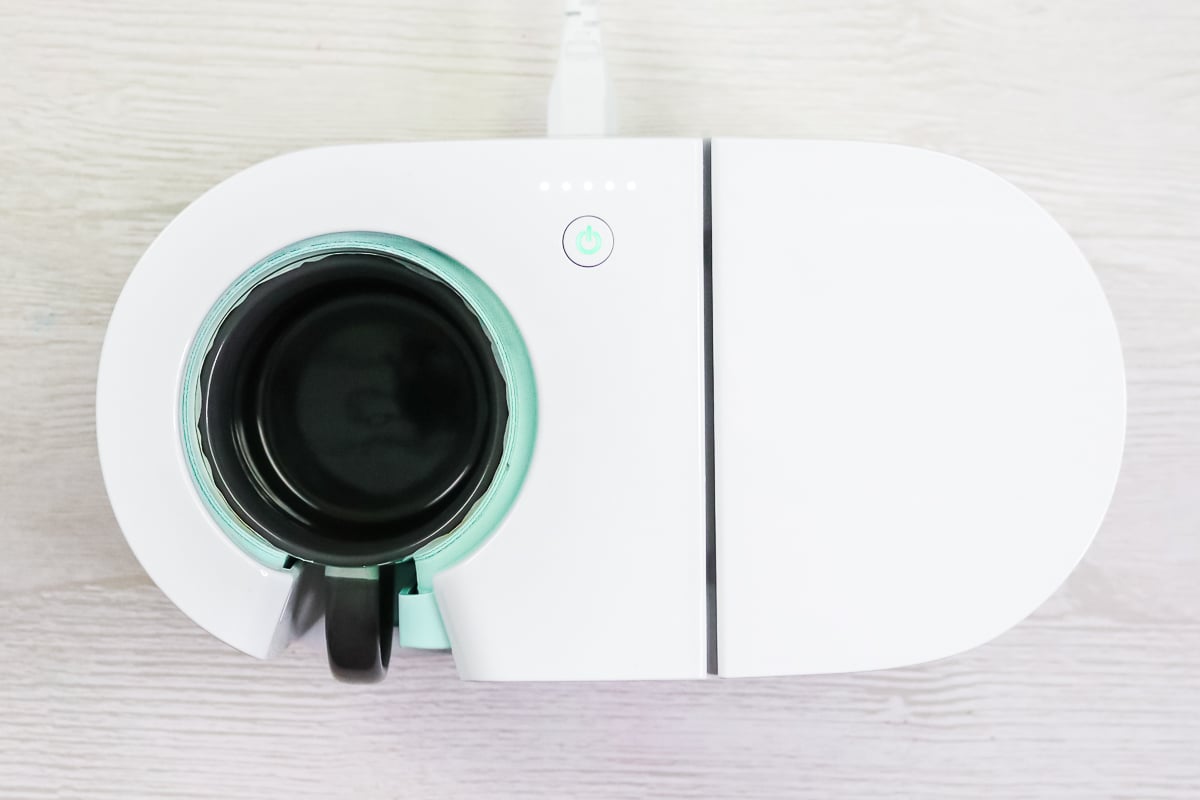
Add the mug to the press and close the lever. Remember that mug press heats itself to the right temperature and has a built in timer. There is no need to set a time and temperature on this press. It will beep when it is done.
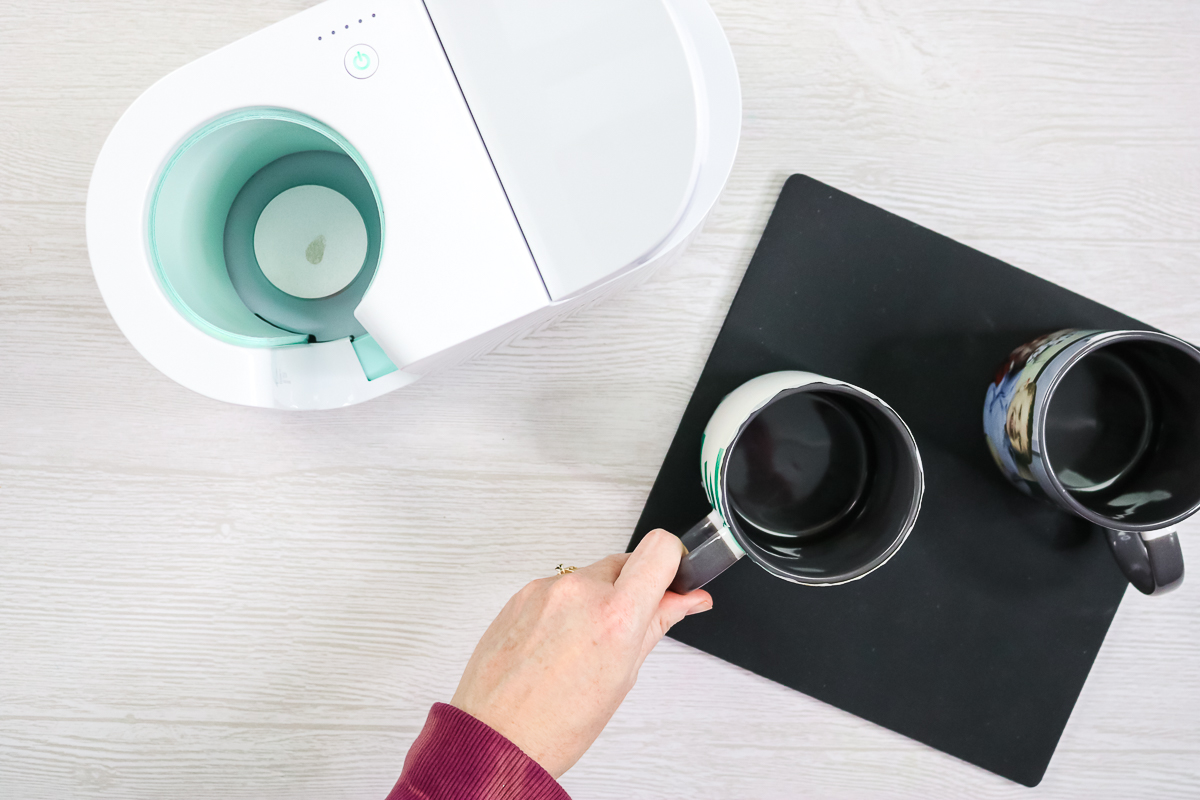
Once done, remove the mug from the press and put on a heat resistant mat. The handle will be cool.
I like to remove the paper from these while warm so I use some heat resistant gloves and start peeling it back. The tape is also super easy to remove when hot.
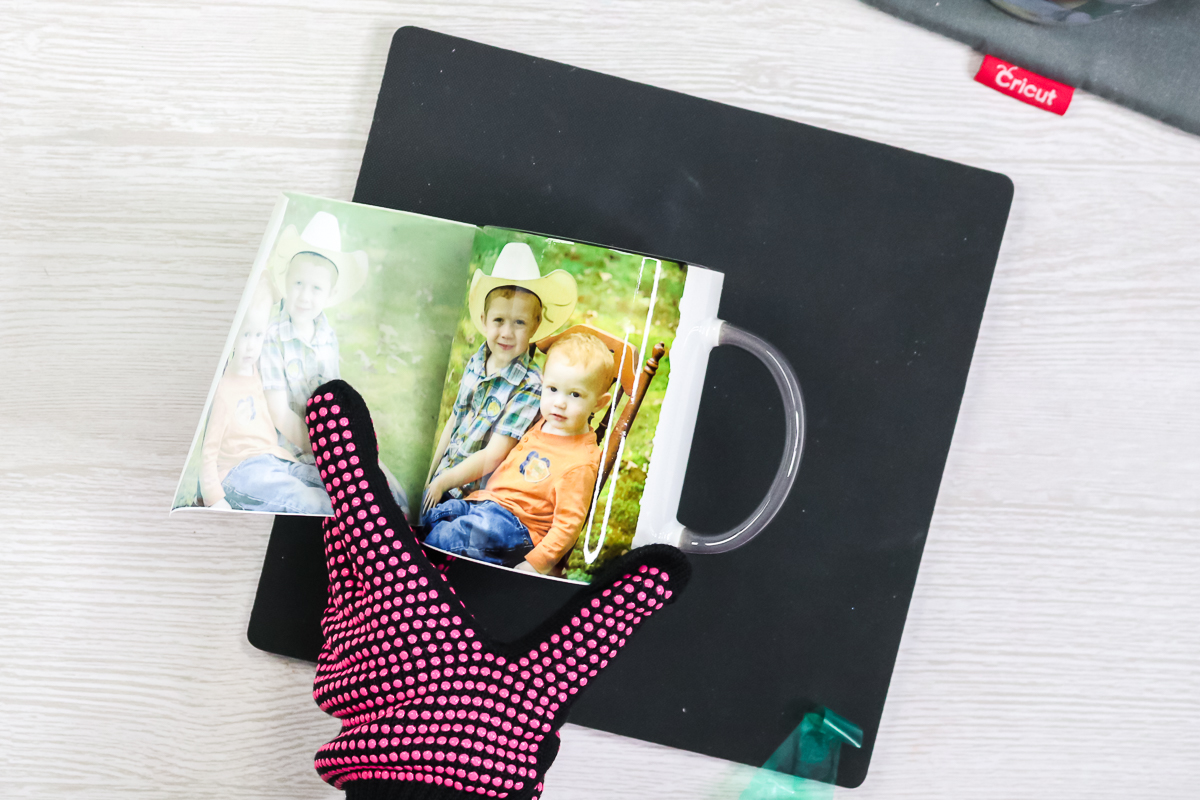
Then just sit back and look at your gorgeous DIY photo mugs and how amazing they look!
FAQ
What is sublimation and how do I get started?
To get started you will need a sublimation printer and ink. I have found the most economical way to get into this craft is to convert an Epson EcoTank printer.
Are these dishwasher safe? Microwave safe?
Yes to both!
What if I am pressing on a different mug press? What are the time and temperature?
For other mug presses, follow all instructions on the mug blanks you are using. Each blank has a different time and temperature. If you can’t find instructions there, look for instructions that come with your sublimation paper.
My photos messed up along the top/bottom? What did I do wrong?
Some mug blanks are slightly tapered along the top or bottom and this can lead to fuzzy images because the print is not tight. Try again but tape the top and bottom all the way around and pull tight as you go.
Can I do this same project on tumblers and other blanks?
Definitely! Just use a different size template to get your images just right. I have also pressed tumblers in the Cricut Mug Press and you can see that here.
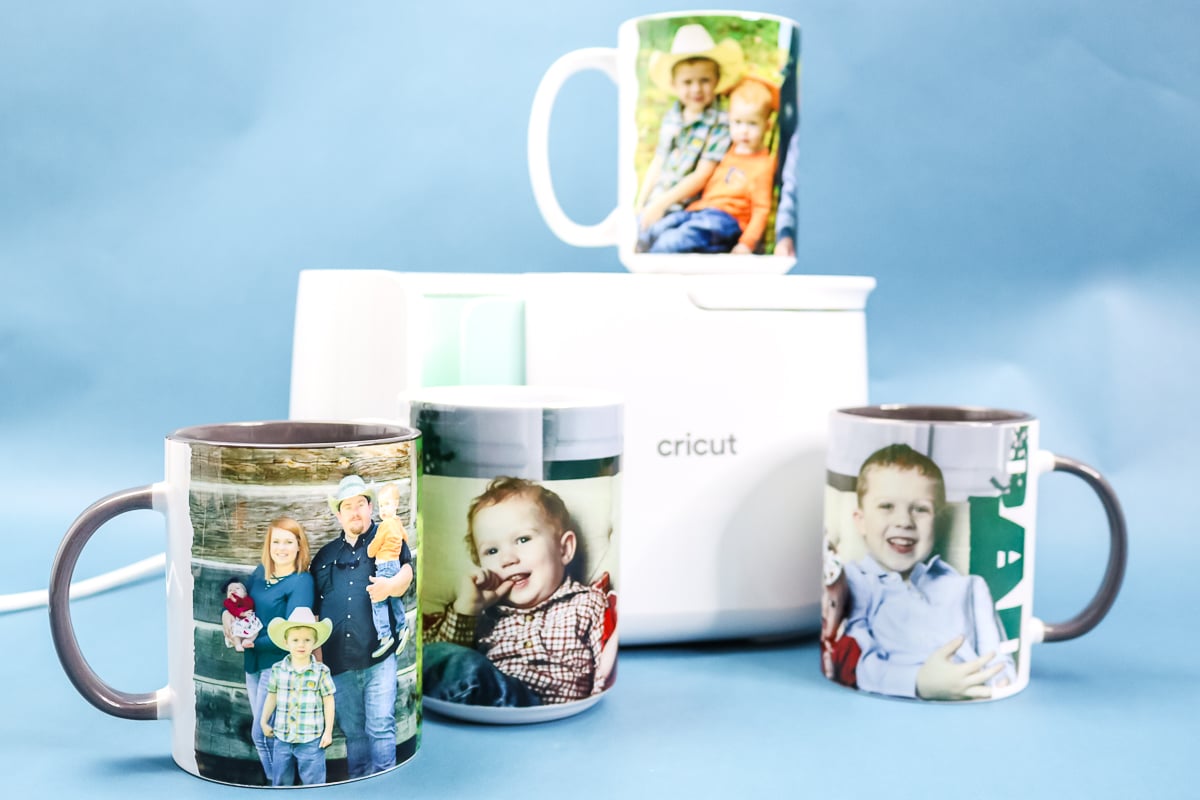
So, will you make some DIY photo mugs for your friends and family? These are basically the best gift ever!
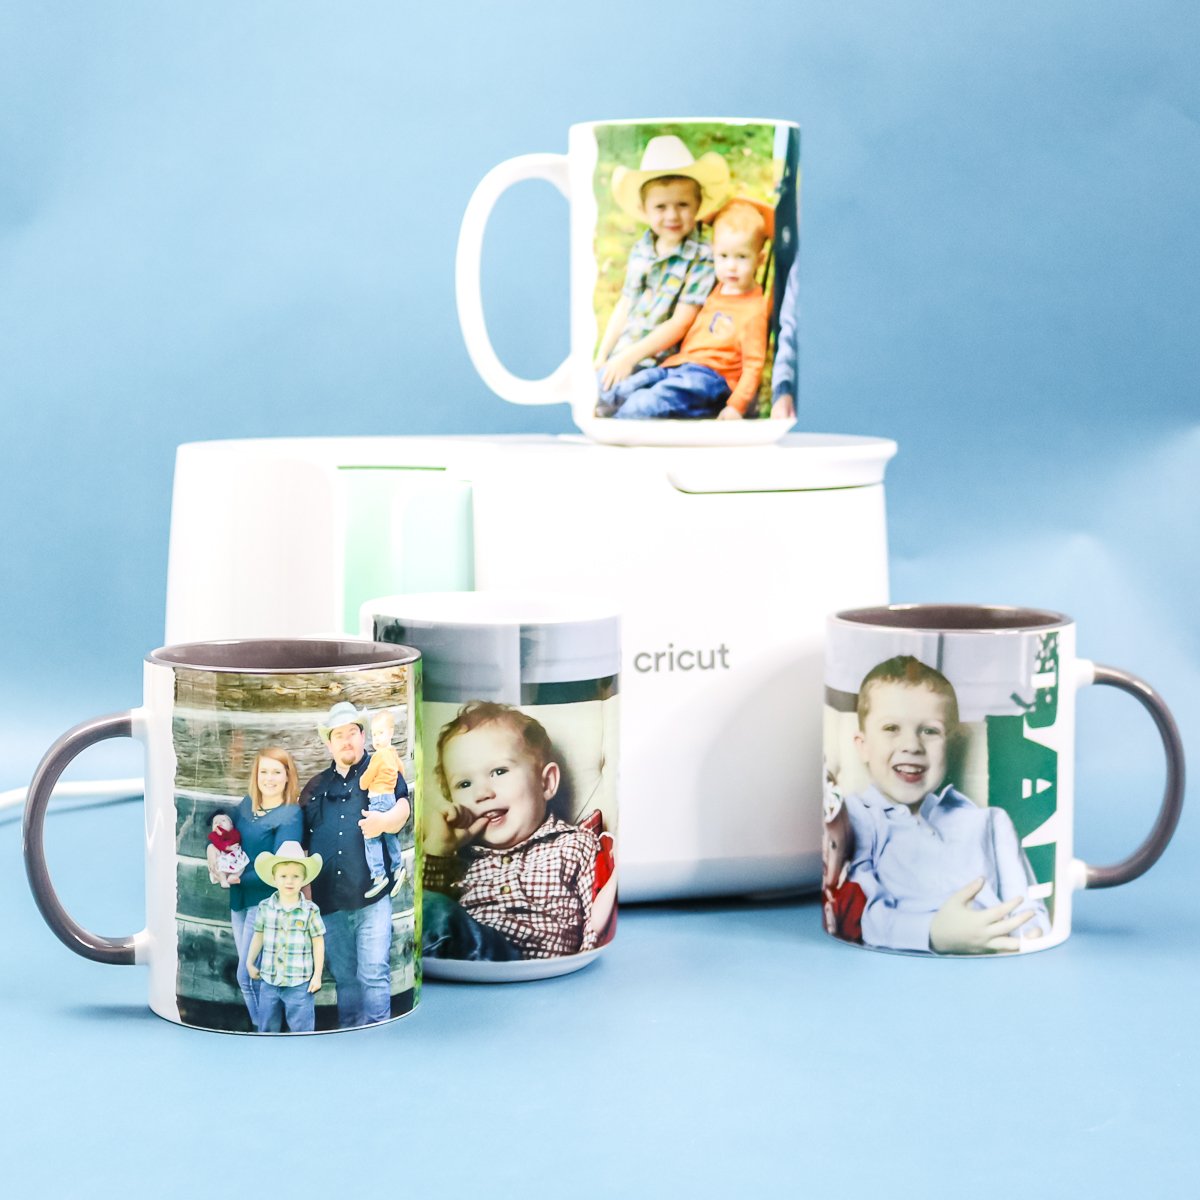
Custom projects like these are the number one reason I purchased a sublimation printer for myself. This is really the only way to make dishwasher-safe mugs with your own images.
I hope you will consider adding sublimation to your craft room and making a few DIY photo mugs of your very own!
GET OUR CRICUT BEGINNER’S GUIDE!
EVERYTHING YOU WANT TO KNOW ABOUT CRICUT DESIGN SPACE IN A FREE PRINTABLE GUIDE!
You have Successfully Subscribed!