This post and photos may contain Amazon or other affiliate links. If you purchase something through any link, I may receive a small commission at no extra charge to you. Any supplies used may be given to me free of charge, however, all projects and opinions are my own.
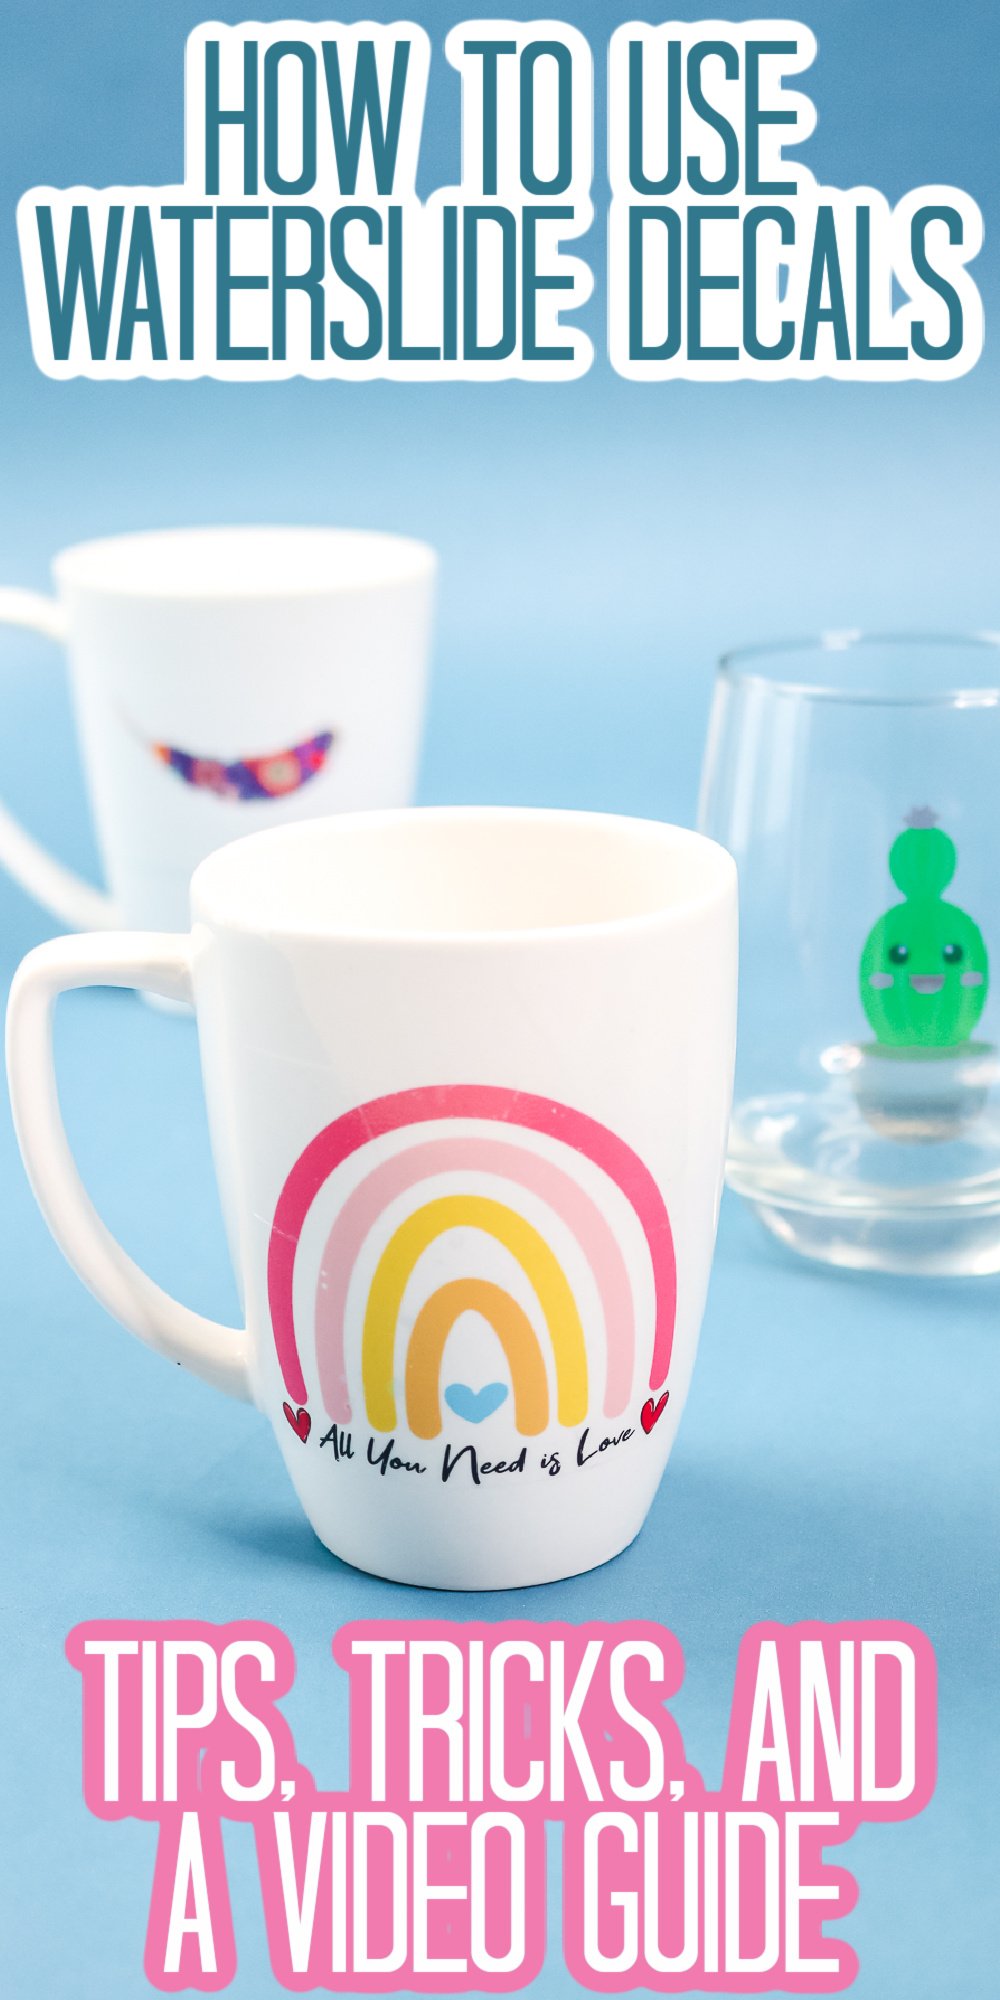
I am here today with everything you ever wanted to know about waterslide decals. Learn how to use waterslide paper to make decals for hard surfaces. This is a great way to transfer an image onto a surface using an inkjet or laser printer and might just be the answer you are looking for when it comes to a craft project that you have in mind. So, let’s dive into this craft medium to use on mugs and more!
Waterslide Decals
First things first, what are waterslide decals? Waterslide decals can be applied to hard surfaces, like mugs, tumblers, plates, etc. It’s a decal that you can print on with either your laser or your inkjet printer. Then you put a sealer on it, soak it in water to remove the backing, and then it sort of slides off the backing onto your surface. You then bake it to cure it onto the surface itself.
Types of Waterslide Paper
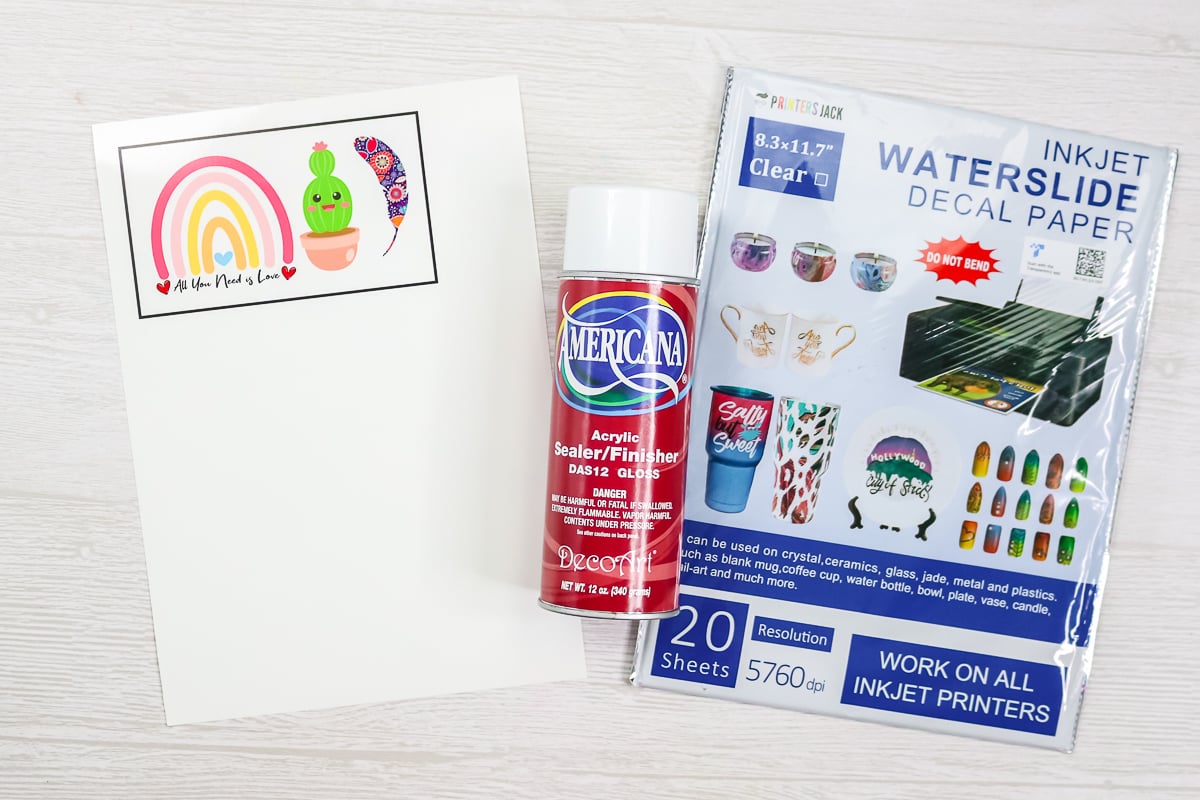
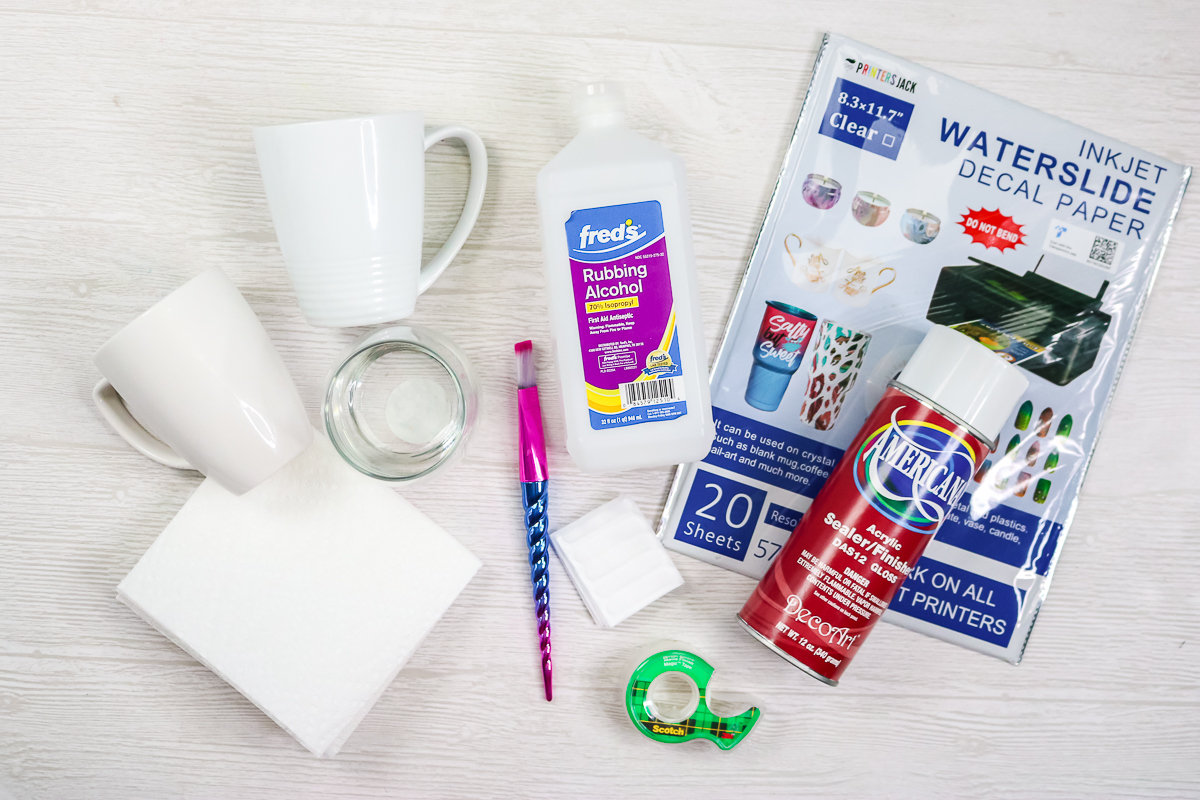
I am using clear waterslide decal paper. It does come in clear as well as white, and you can pick the one you would like for your project. It also comes in versions for both inkjet and laser printers. Be sure to pick the type that will work with your printer as well as the version you want for your project before getting started.
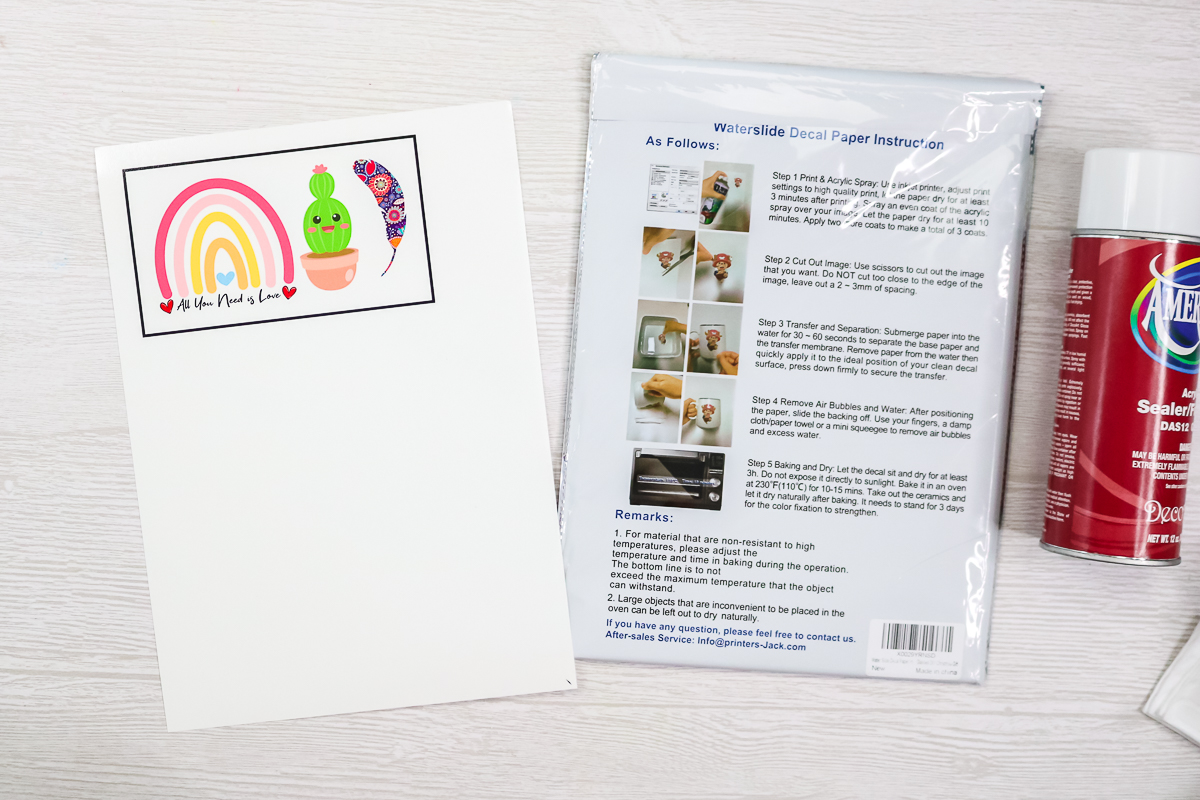
NOTE: Always check the instructions that come with the brand of waterslide decal paper you are using! I am going to walk through the procedure for the brand that I am using below but you will want to make sure the instructions are the same for your brand.
Are they dishwasher safe?
Before we get too deep talking about waterslide decals, I do want to note that they are not dishwasher safe. So as they’re applied according to the directions, you would not be able to put the mugs, for instance, in the dishwasher. You would have to do something else to the top of them to make them more permanent.
So if you put it on a tumbler, you could epoxy over the outside or you could try dishwasher-safe Mod Podge on a project like a mug. You would need to do an extra step in order to make these waterslide decals dishwasher safe, and so it would be similar in that respect to using vinyl that you cut on your Cricut machine. With that, you add it to your mug and then add a sealer over the top as well. But they would be more similar to like printable vinyl because you can print on these.
How to Use Waterslide Decals
You can watch me use waterslide paper to make decals in the video below. This is often the easiest way to explain a process like this so just hit play on the box below.
Can’t watch the video or missed some of the steps? I have all of the information you need to make your own decals from waterslide paper below as well.
Supplies needed:
Images Used:
Sizing and Printing Your Images
I find a size of around 2 to 3 inches tall works for most small mugs and wine glasses. You will, of course, need to size your images for the blank you are using before printing. When printing, make sure to click the glossy paper option and choose best quality. This paper is fairly expensive, so I would cover the entire sheet with decals when you print. Be sure to load your paper into your printer correctly as well. Print on the shiny side of your paper. The backside of the brand that I used had writing on it as well so it was easy to tell the front from the back.
NOTE: You can use Cricut Design Space for this step. For most images, you can use flatten them or upload as a print then cut file into your Cricut. On more complicated images, you may need to place a shape behind the image and flatten to that shape. There is also a new offset feature in Cricut Design Space that will help with this. You can see more about the exact steps to take with your Cricut in the video above if you are having issues with print then cut.
Sealing the Image
Once you print, allow to dry for at least 10 minutes. Do not touch it during this time. Once it dries, spray with three coats of acrylic sealer. I like to spray with one coat in each direction. Spray in one direction then allow to dry for 30 minutes. Turn your paper and spray in another direction then allow to dry for 30 minutes. Finally, spray at your last angle and allow to dry for 30 minutes. I will note that you can’t really tell that the sheet has been sprayed. Once your final coat has dried for at least 30 minutes, you are ready to cut.
Cutting Your Waterslide Paper
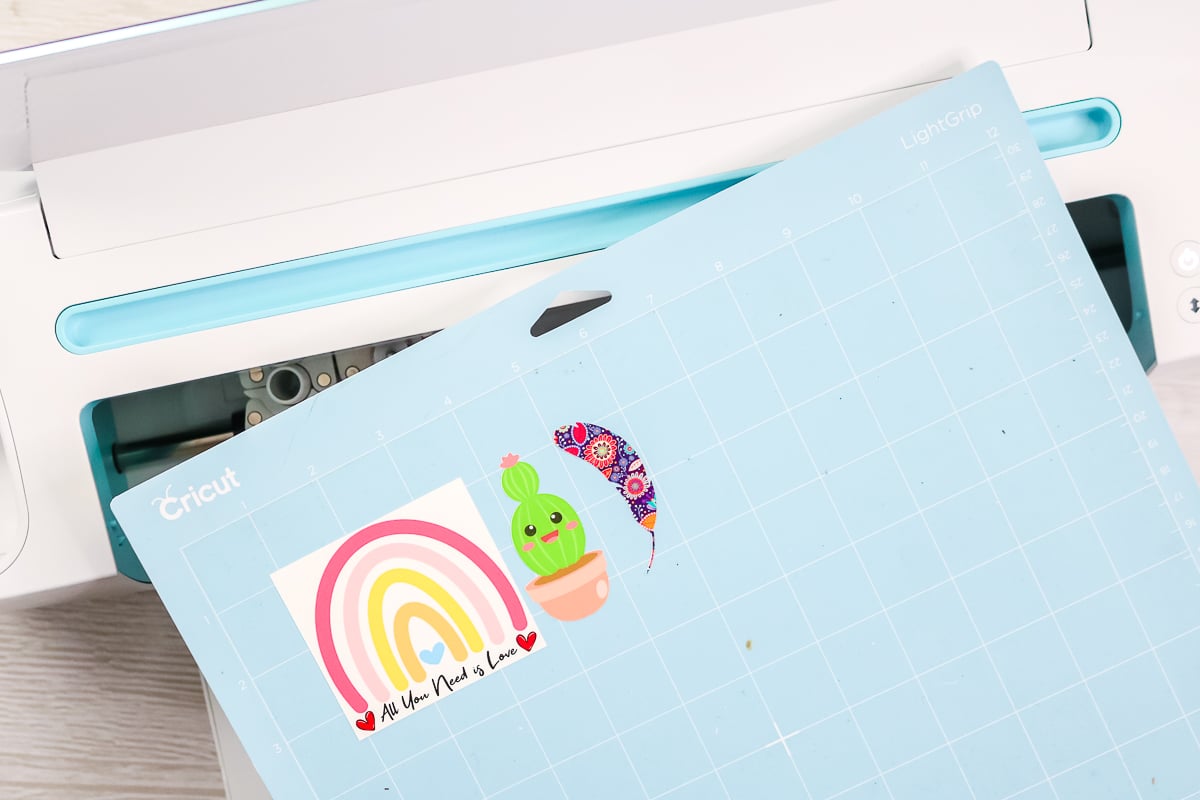
You can use scissors to trim around the images by hand at this point. I like to use print then cut and my Cricut to make things a bit easier. You do want to cut all the way through your paper. This is NOT like cutting a sticker where you do a kiss cut. I use the medium cardstock setting on my Cricut generally to cut this material.
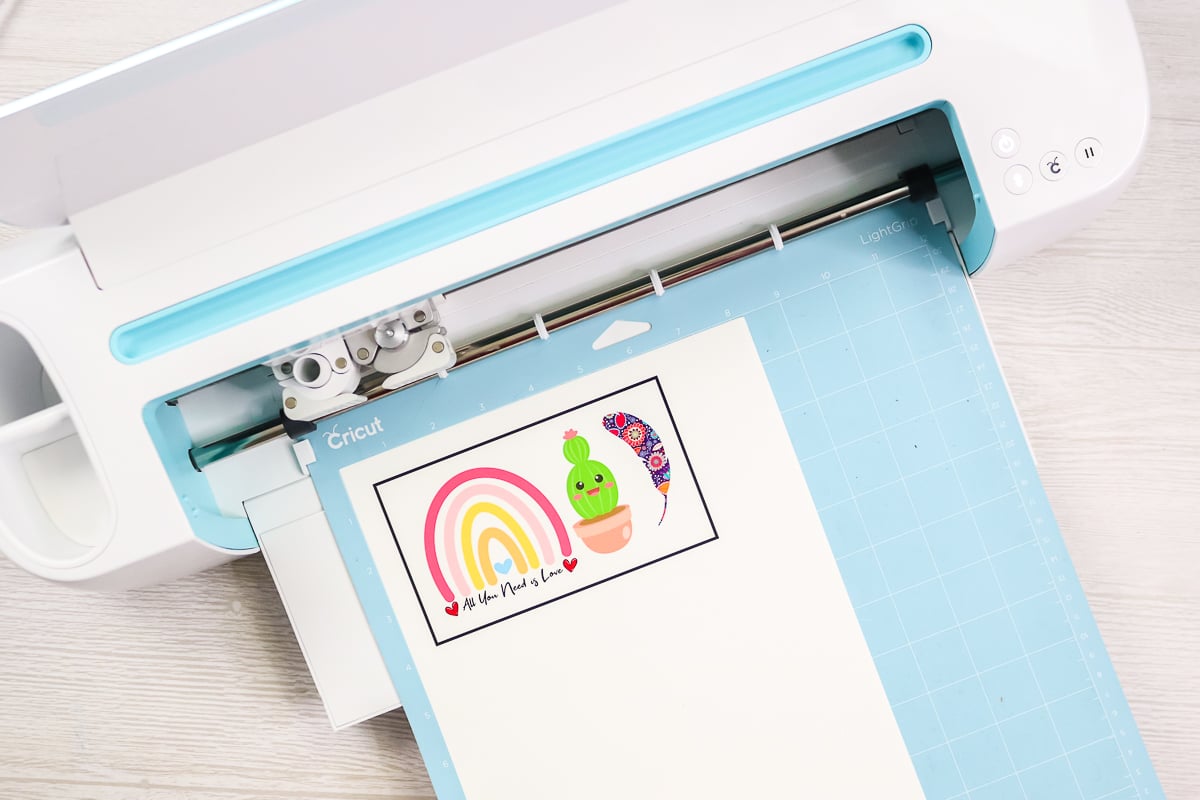
NOTE: If you have trouble cutting your waterslide paper on your Cricut machine, use matte tape around your registration marks after it prints. Usually, this will help the Cricut to read the marks and cut them out properly.
How to Apply Waterslide Decals
Now that you have some decals cut out, it is time to apply them to your surfaces. You will need some water in a small container or cup for application. Submerge each decal in the water for 30 to 60 seconds. It will curl up slightly and that is okay. While the decal is soaking, make sure your mug is clean and dry. Clean with rubbing alcohol and wipe down with a clean cloth.
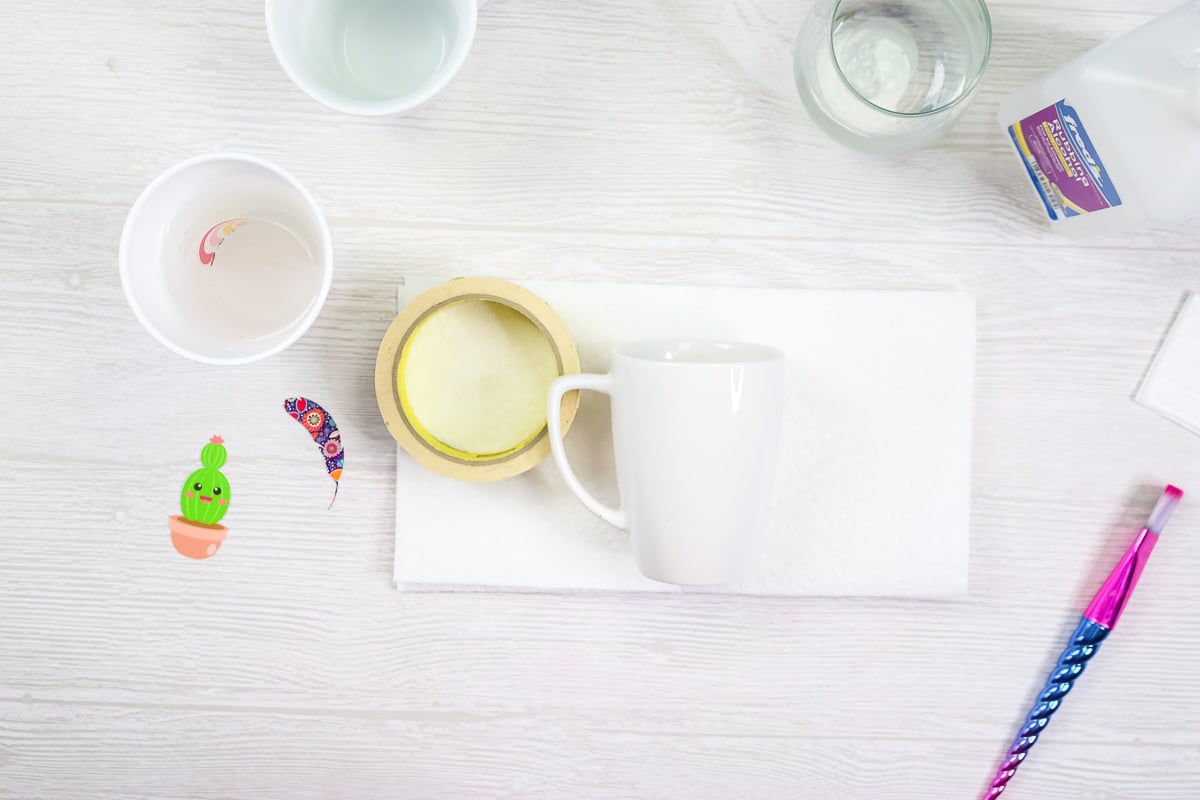
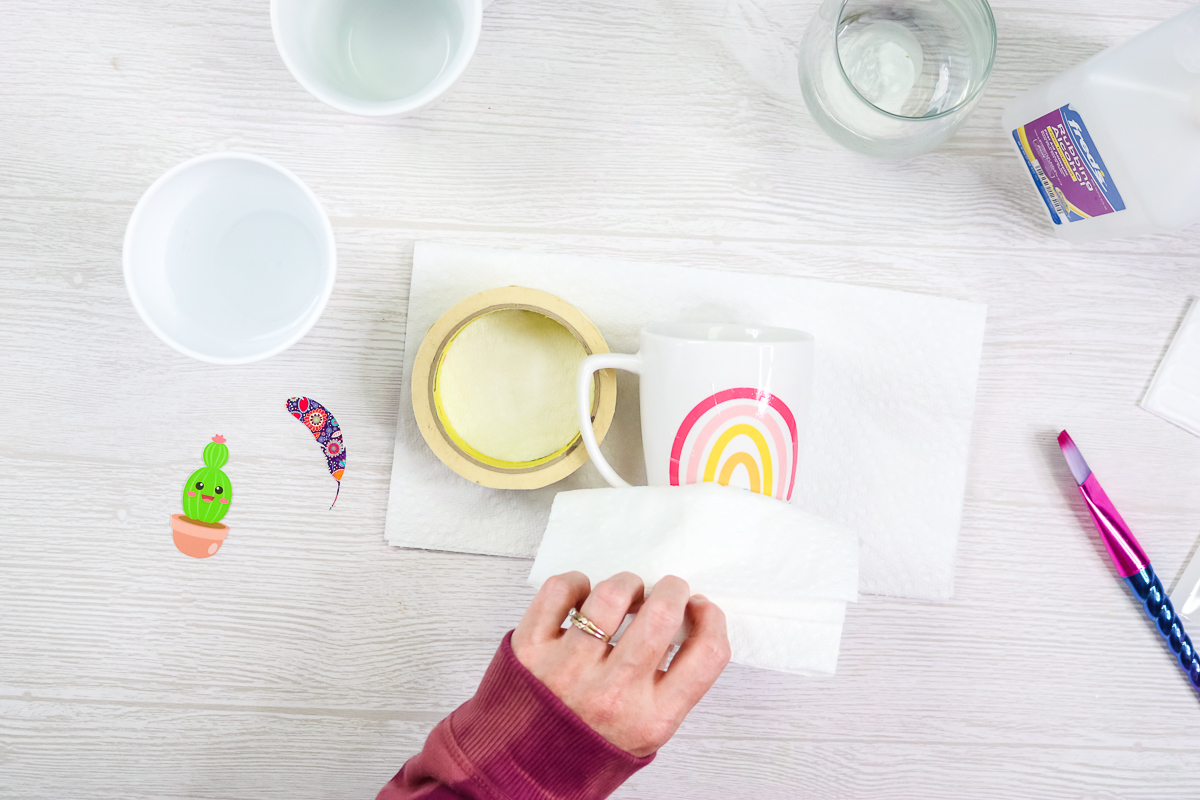
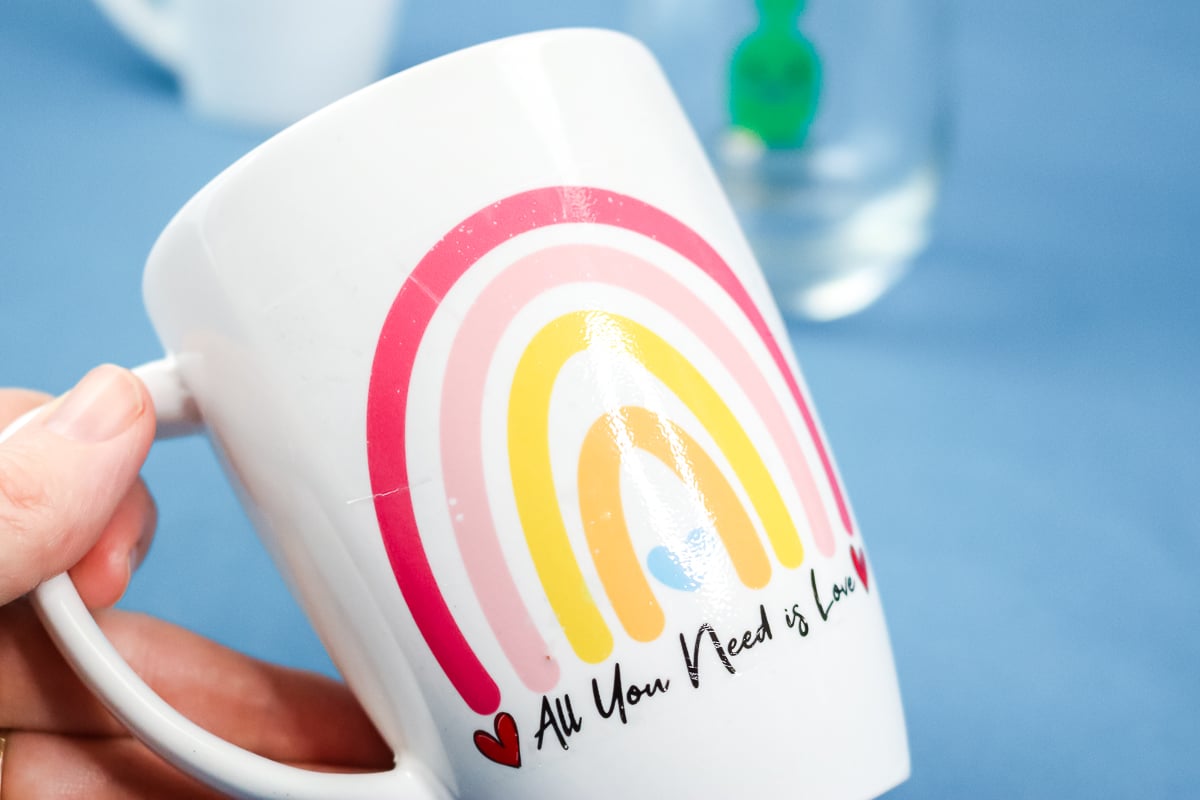
You will note that I am using a roll of masking tape to help me hold the mug or wine glass level in these images. You can use whatever works best for you here. Then wet the surface where you will apply the image. You can use a paintbrush or just your fingers for this. Remove the waterslide decal from the water and place it approximately where you want it on the mug.
It should already be separating from the backing paper. Hold the decal with one finger while you slide the backing paper out with the opposite hand. You can move the decal around on the mug at this point as everything is wet.
Once it is in location, start pushing out any bubbles or wrinkles in the decal. You can use your paintbrush for this step. Then use a paper towel to push the water out and dry it up. Start in the middle and work your way out to each edge drying up the water. You do need to be fairly gentle on all of these steps. Because we put that sealer over the top, the ink will not fade or wash away at all.
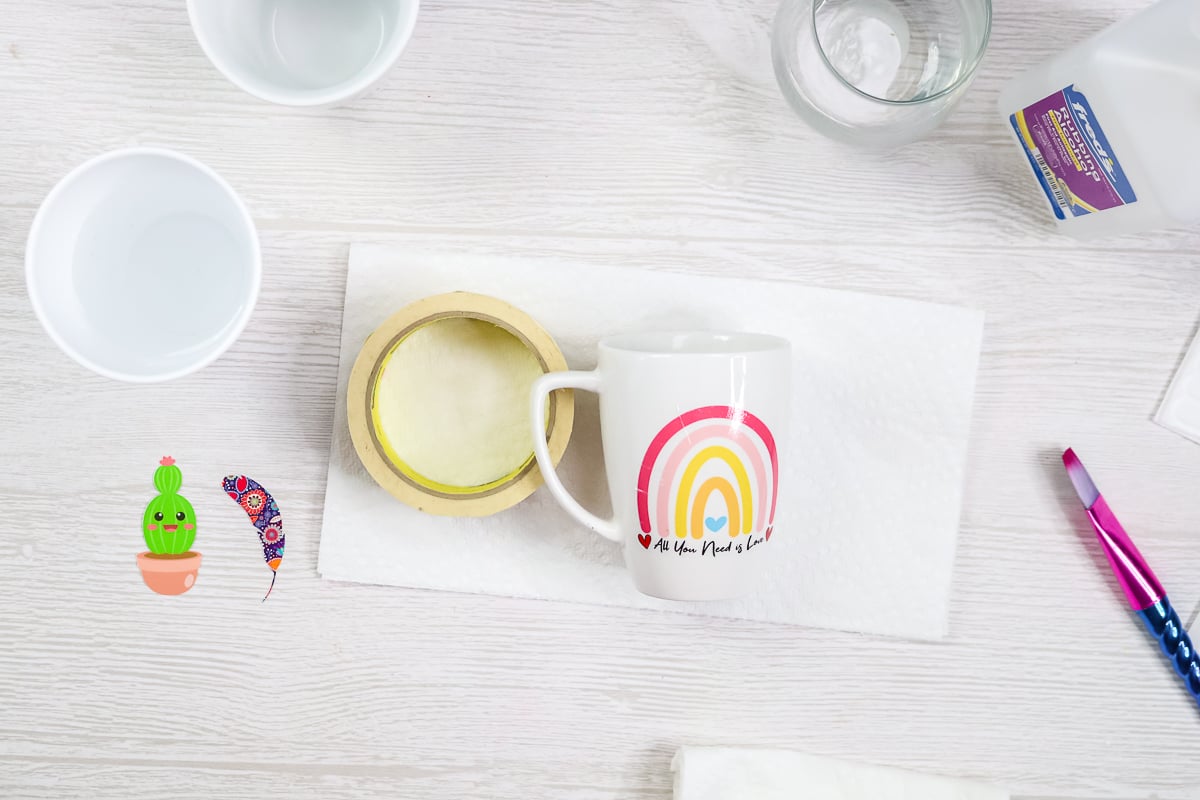
Once you have it how you want it and dried with your paper towel, allow the entire thing to dry for at least three hours. Then bake it according to the package directions for your waterslide decals. In my case that was 230 degrees F for 10 – 15 minutes. NOTE: For surfaces like wood that you don’t want to bake, you can just allow those to air dry instead.
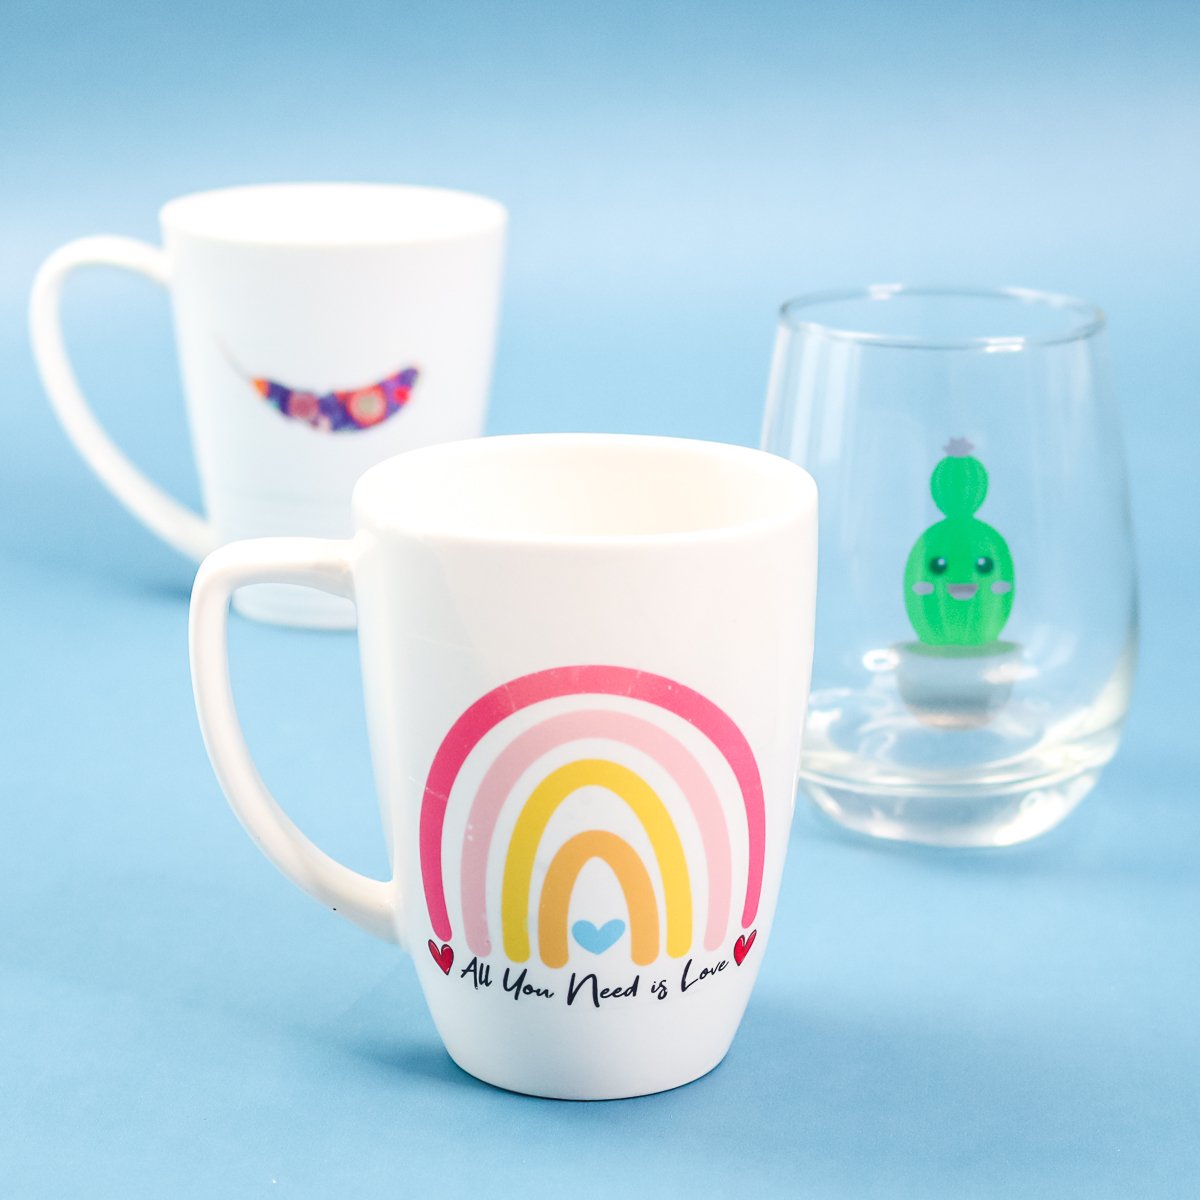
After you bake your projects, allow to sit for 3 days to let the colors completely come out. Once it has set, you are ready to use your mug or wine glass. You might just want to make some additional projects as I did!
Tips and Tricks
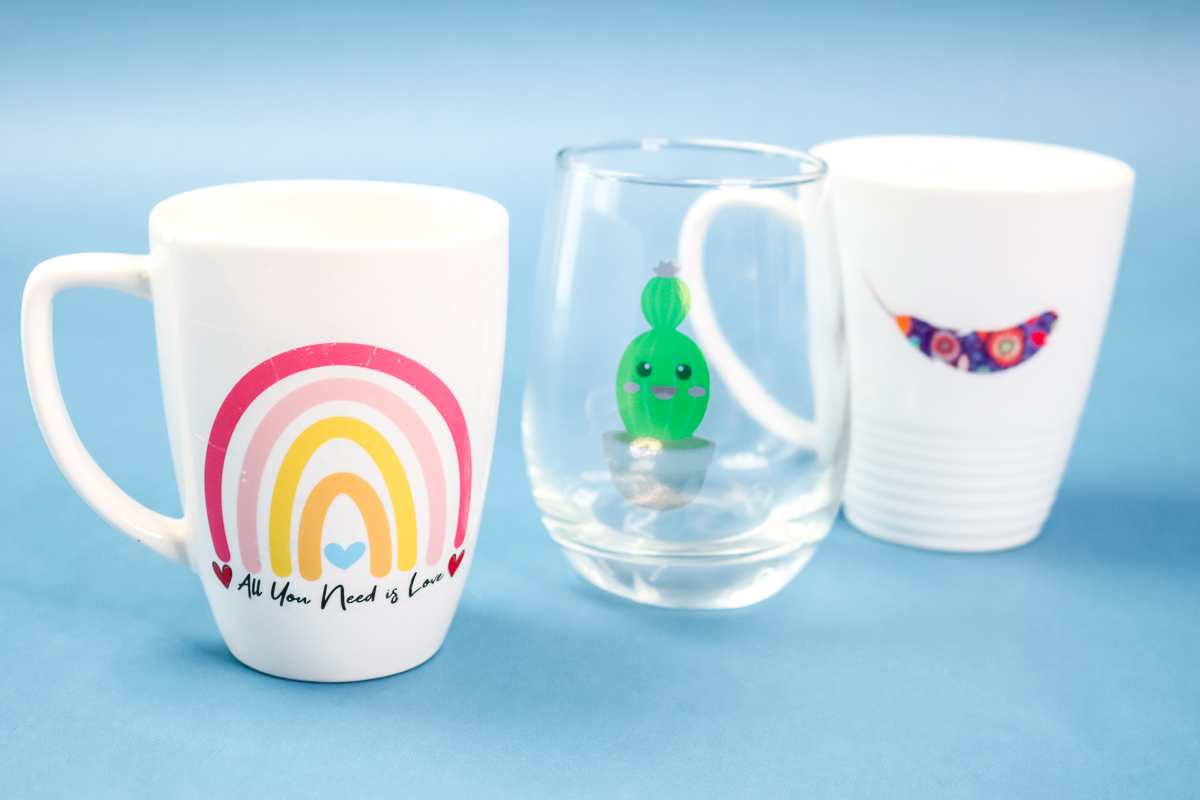
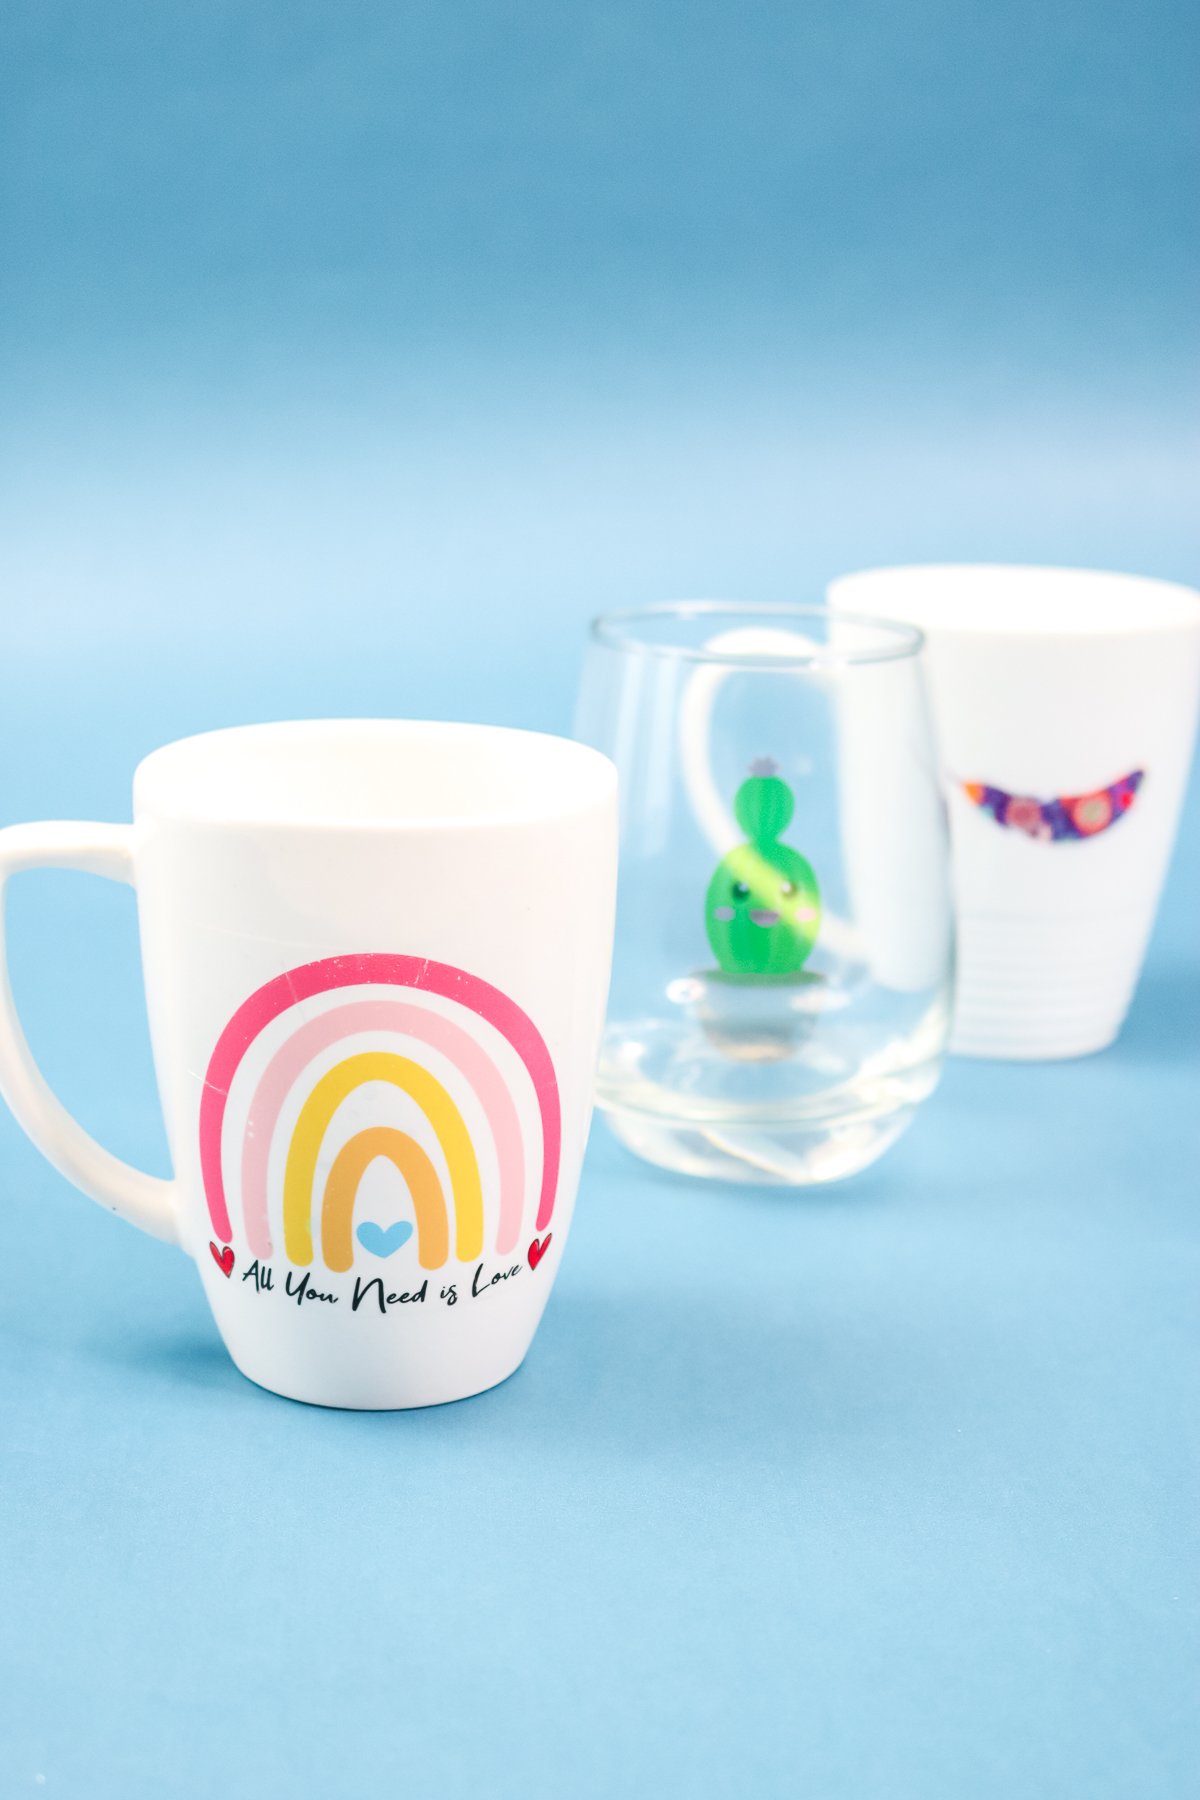
I ended up liking the decals that were trimmed close around the edge the best. I also liked the results from small decals. They looked better overall and were less likely to wrinkle.
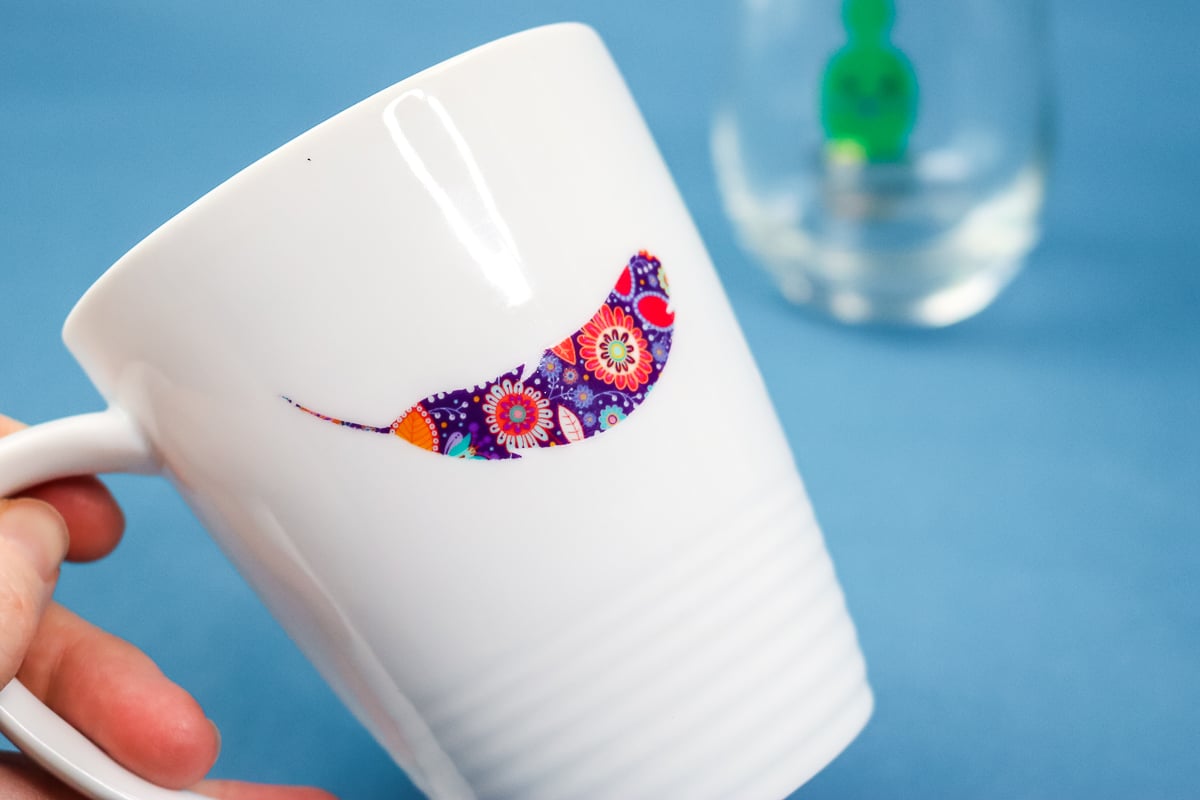
The larger ones tend to really show up wrinkles and imperfections especially when putting on a rounded surface.
Also, the wine glass shows what happens when you put a clear decal on a clear surface. You will be able to see through the decal. This is a case where you might want to purchase the white waterslide decal paper.
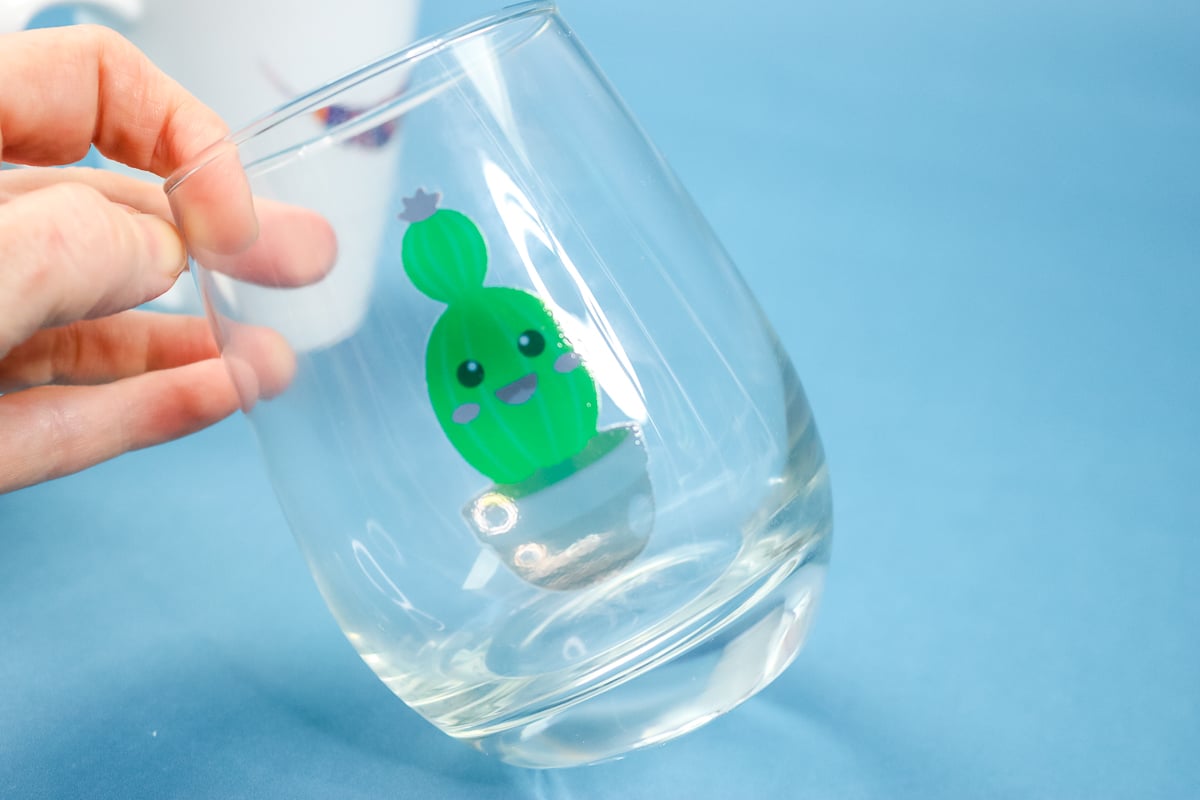
You can feel these on the glass as they do sit on top. It is similar to the feel of when you apply vinyl to the glass.
Food Safety
I did mention above that these are not dishwasher safe so they would be hand wash only. I also cannot find anything on them that says they’re food safe. Products have to be run through a really rigorous certification to be deemed food safe. While these decals may not be toxic, they have not been certified as being food safe. When you’re making a mug, you can just keep your design about 1/2 an inch below the lip. This way your lips would not touch the decal when you’re drinking coffee.
So, now that you know how to use waterslide decals, will you be using them to make some projects for yourself? I think you will really like these for a variety of surfaces. I am now wanting to use these on wood!
Love this post and want more? Try the links below as well!
Use a small oven to add sublimated ink to mugs and tumblers with our technique and tips.
Add sprinkles or confetti to any surface with the scraps you have around your home.
GET OUR CRICUT BEGINNER’S GUIDE!
EVERYTHING YOU WANT TO KNOW ABOUT CRICUT DESIGN SPACE IN A FREE PRINTABLE GUIDE!
You have Successfully Subscribed!