
This post and photos may contain Amazon or other affiliate links. If you purchase something through any link, I may receive a small commission at no extra charge to you. Any supplies used may be given to me free of charge, however, all projects and opinions are my own.
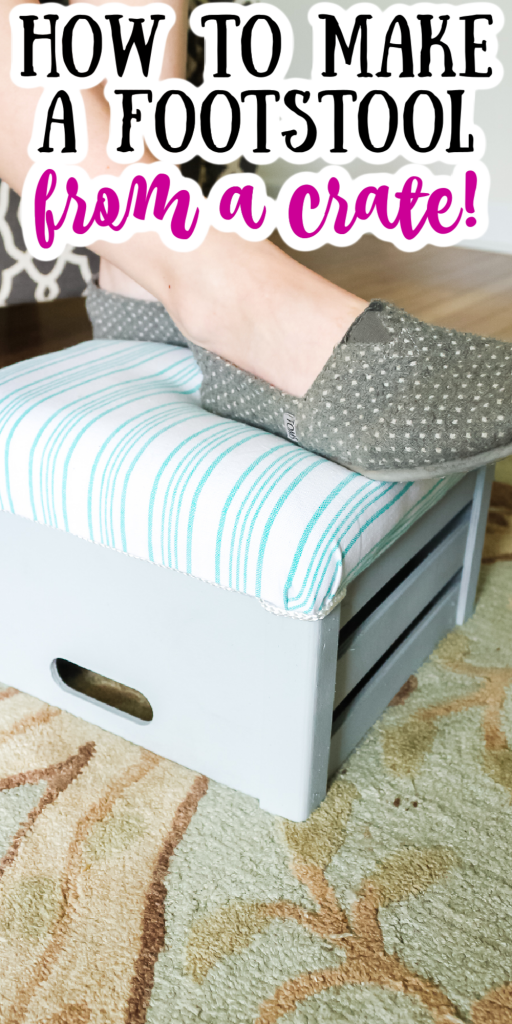
You can turn a crate into a DIY footstool in just minutes….it is so super simple! Grab a crate and get started on your own unique piece of furniture today. Your crate footstool will look great in any room in your home. I added mine to my foyer but think about this one for an office, playroom, or even a family room. If you need a footstool, why not make your own from a crate?
This was originally posted August 24, 2015, however, I am reposting with more information.
DIY Footstool
This project is easy enough for even a novice DIYer. So, look for a crate that is the right size and get creative.
Supplies needed:
- Crate (Can’t find one you love? Try making your own.)
- Plywood cut to the size of your crate
- Paint for crate (if desired)
- Fabric or towel for the top of the crate
- Padding
- Staple gun
- Liquid Nails or other high strength glue
- Rope
- Hot glue and gun
How to Make a Footstool from a Crate
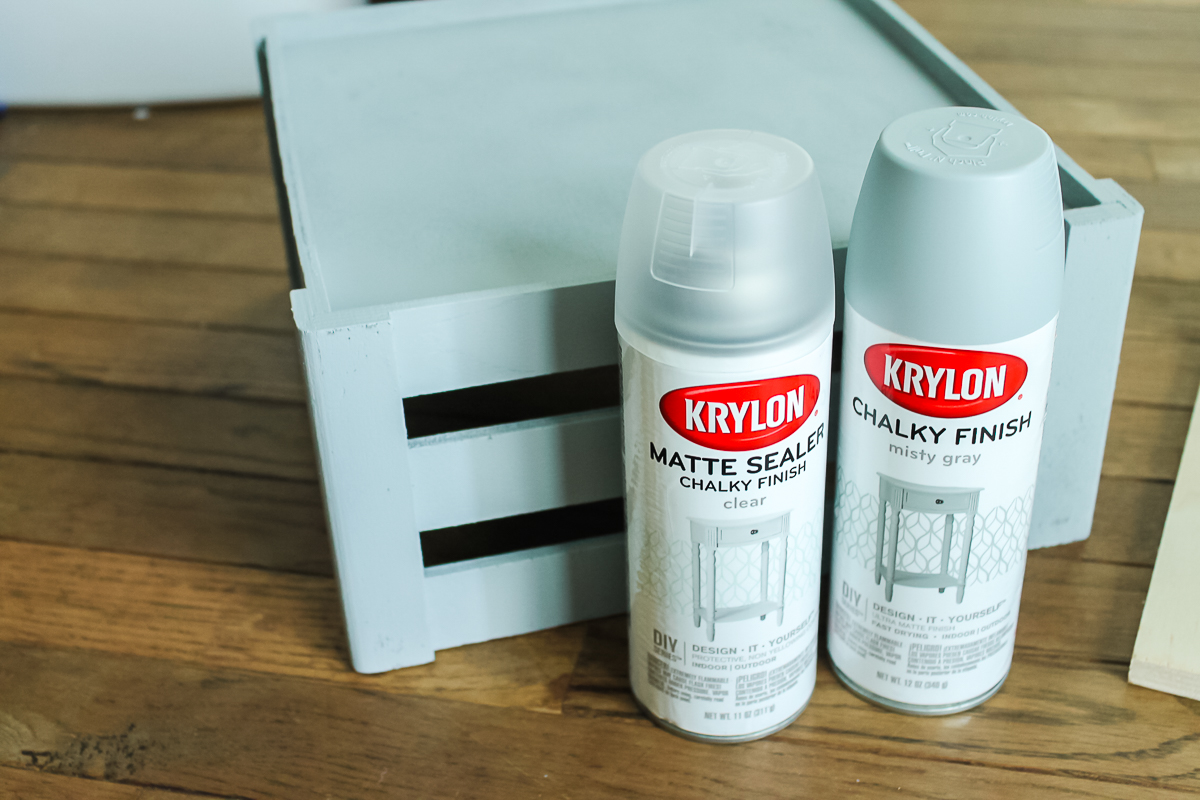
Start by painting the crate the color of your choice. It took a few coats of this spray paint to get adequate coverage. We also used the sealer once the paint had cured. Be sure to follow all directions on the paint you use and allow your paint to dry completely before continuing.
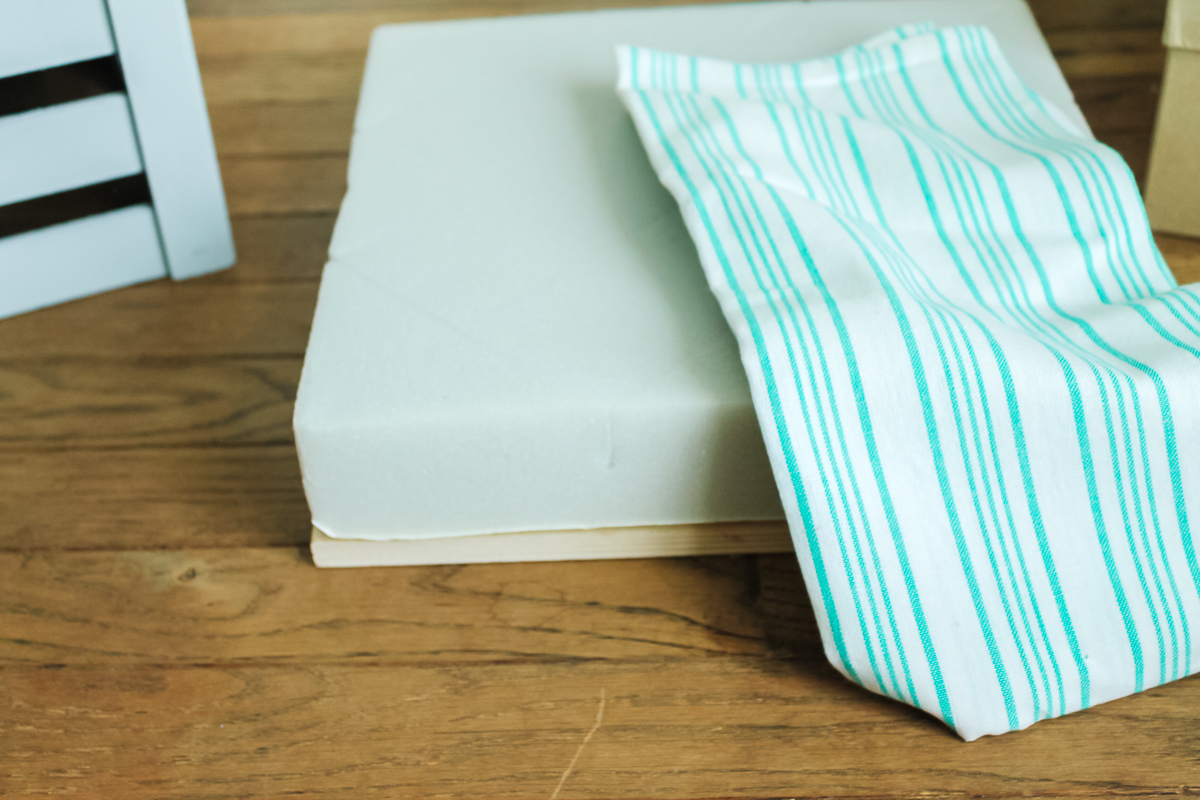
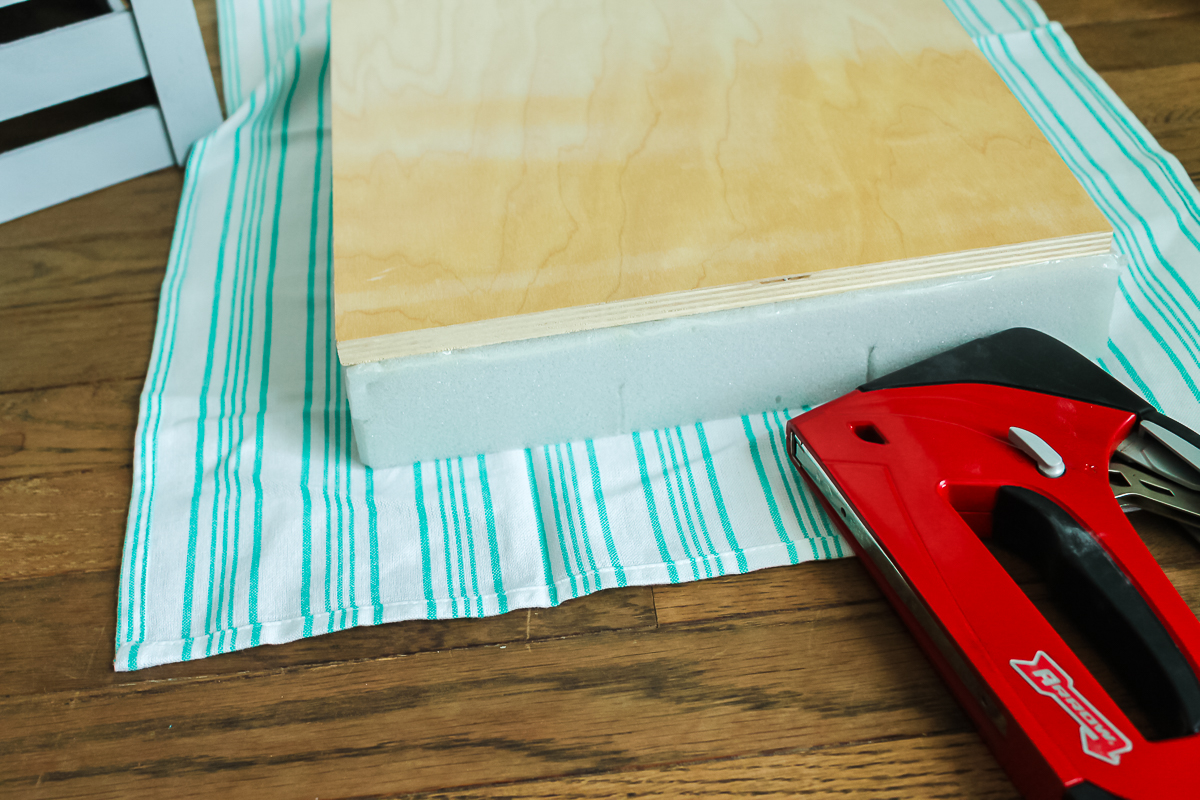
For the cushion portion, start with a piece of plywood and a cushion that have both been cut to the size of your crate bottom. We used a kitchen towel to cover the cushion but you can use the fabric of your choice.
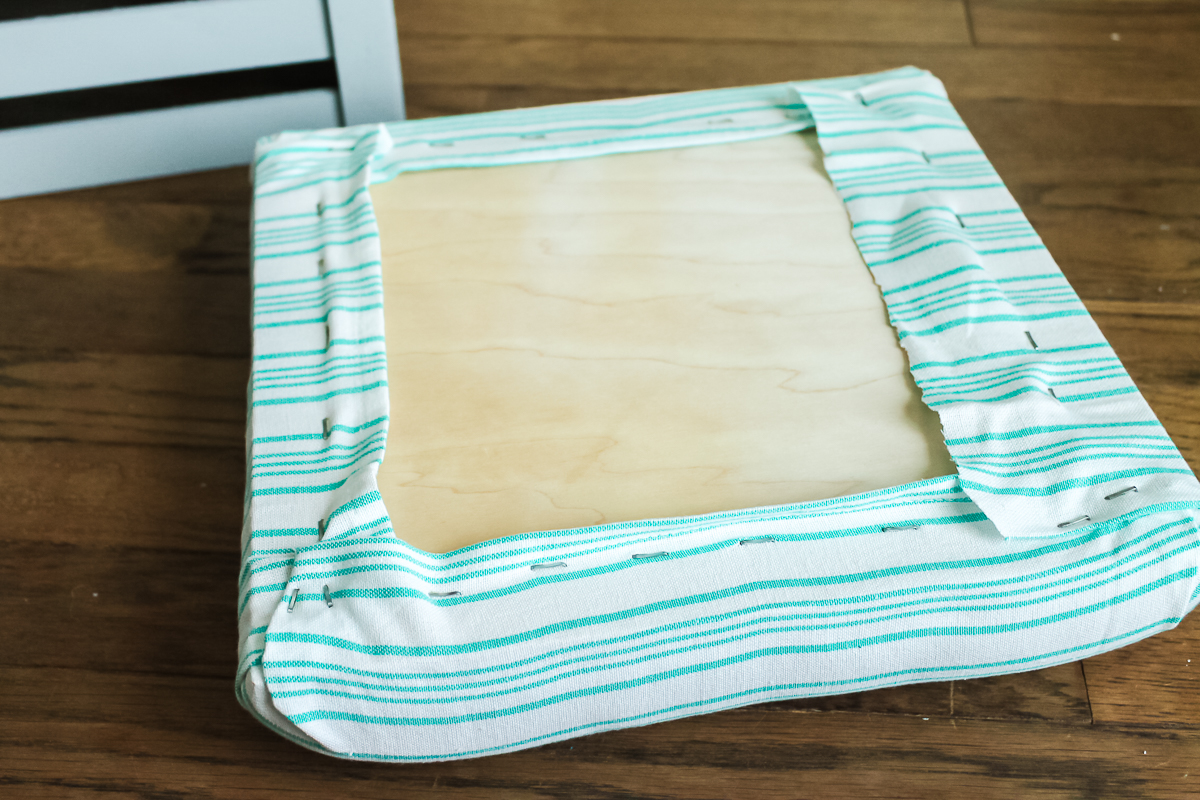
Turn the cushion and plywood over upside down onto your fabric. This is where you are going to need a staple gun.
Start by pulling taught and stapling two sides as shown below.
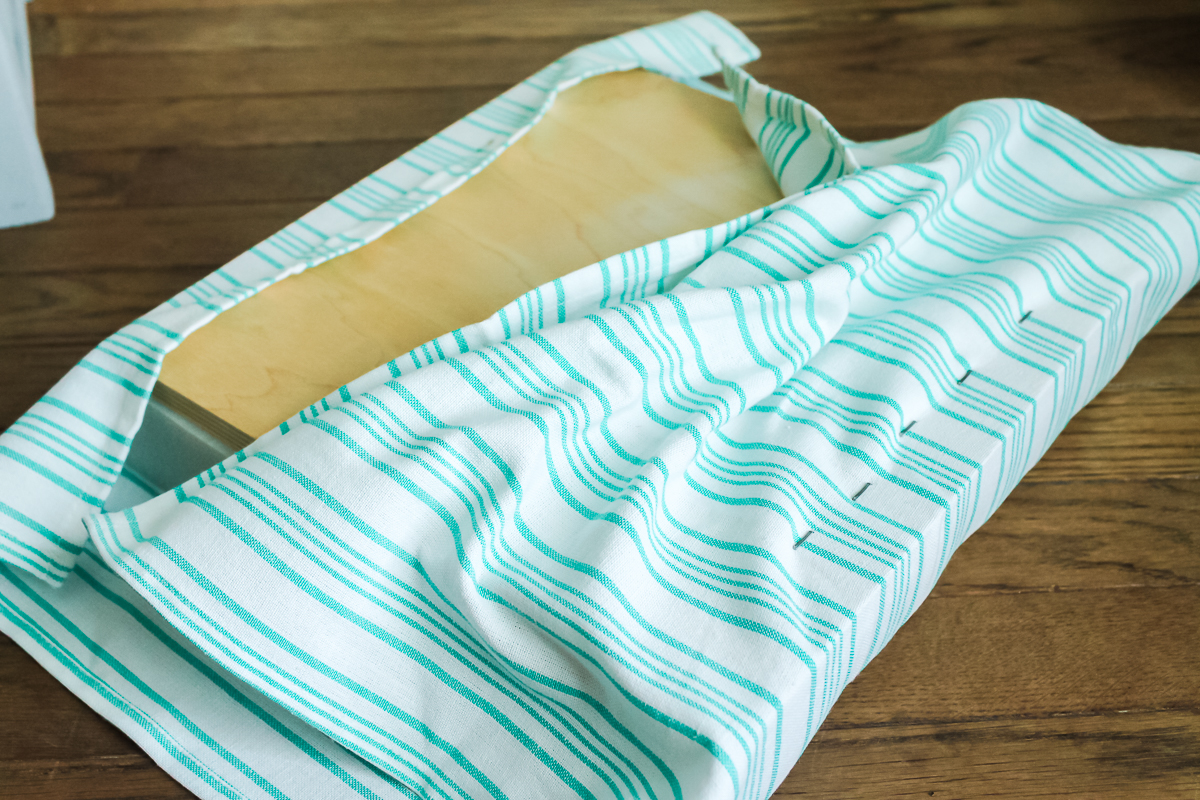
Continue by pulling the other two sides taught and stapling as shown below. Leave the corners for now.
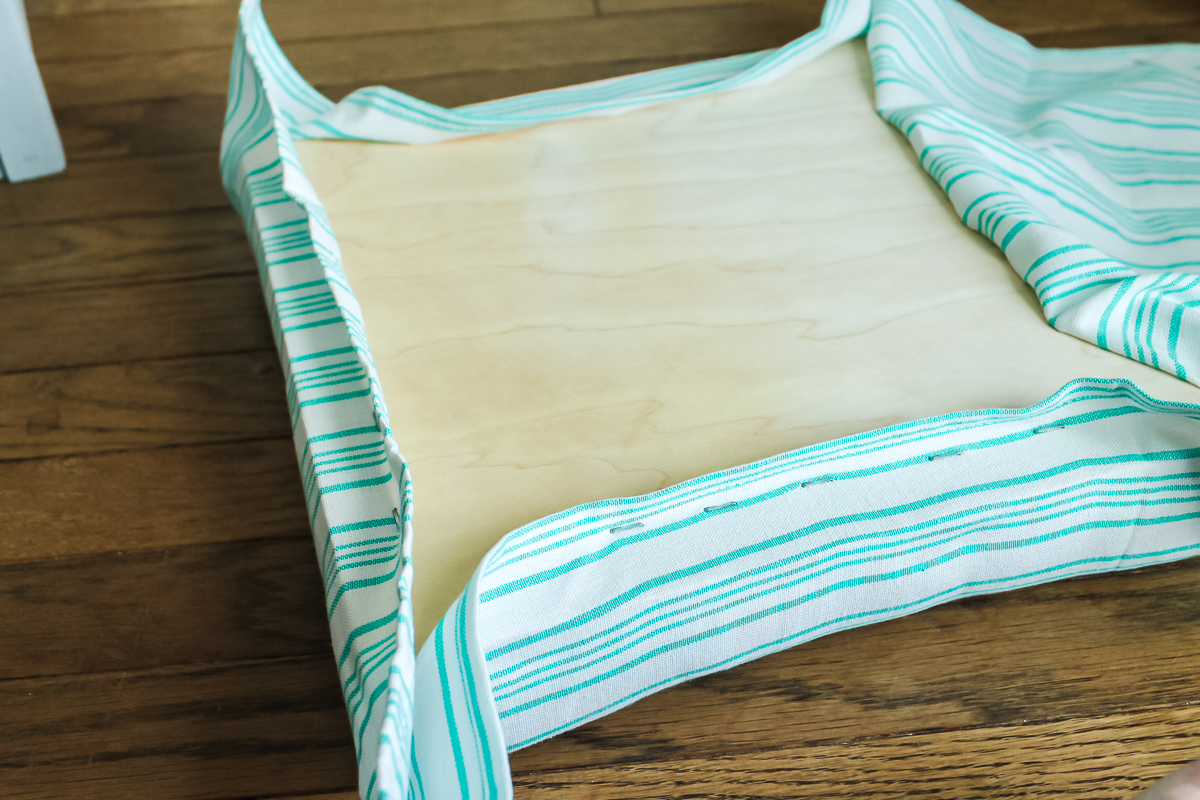
Trim away any excess fabric at this point. Also trim the corners as shown in the image below.
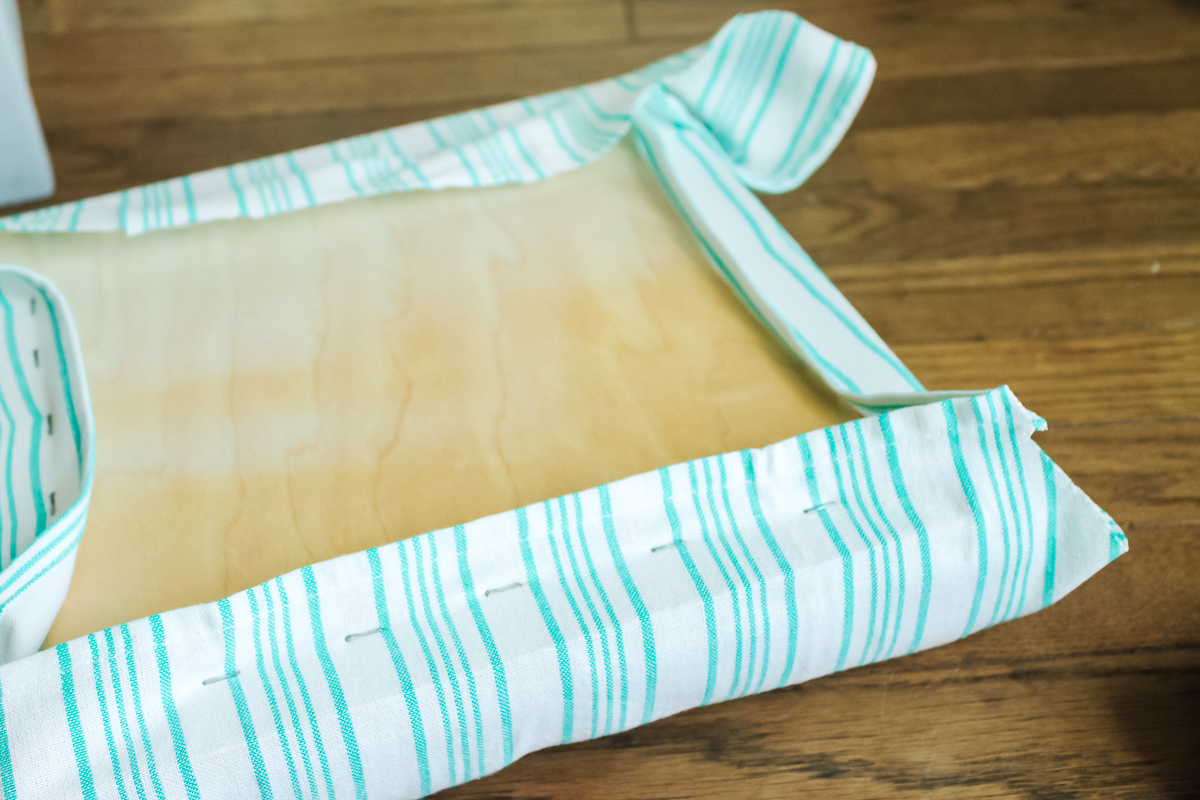
Fold the corners as shown below, pull taught, and staple into place. Repeat for all four corners.
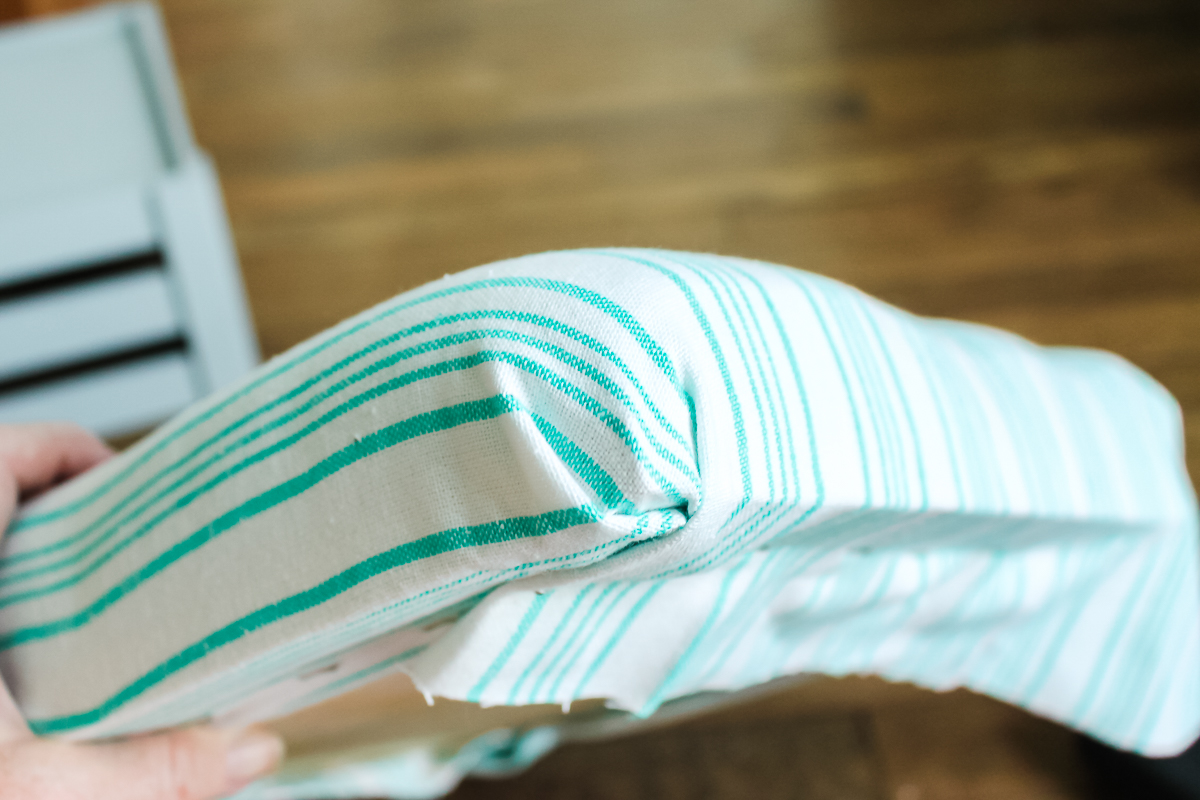
Add additional staples if needed. Your cushion should now look like the image below.
You now need to break out some type of adhesive to secure the cushion onto the crate. It should be something that will be strong and attaches fabric to wood. We used this product from Liquid Nails.
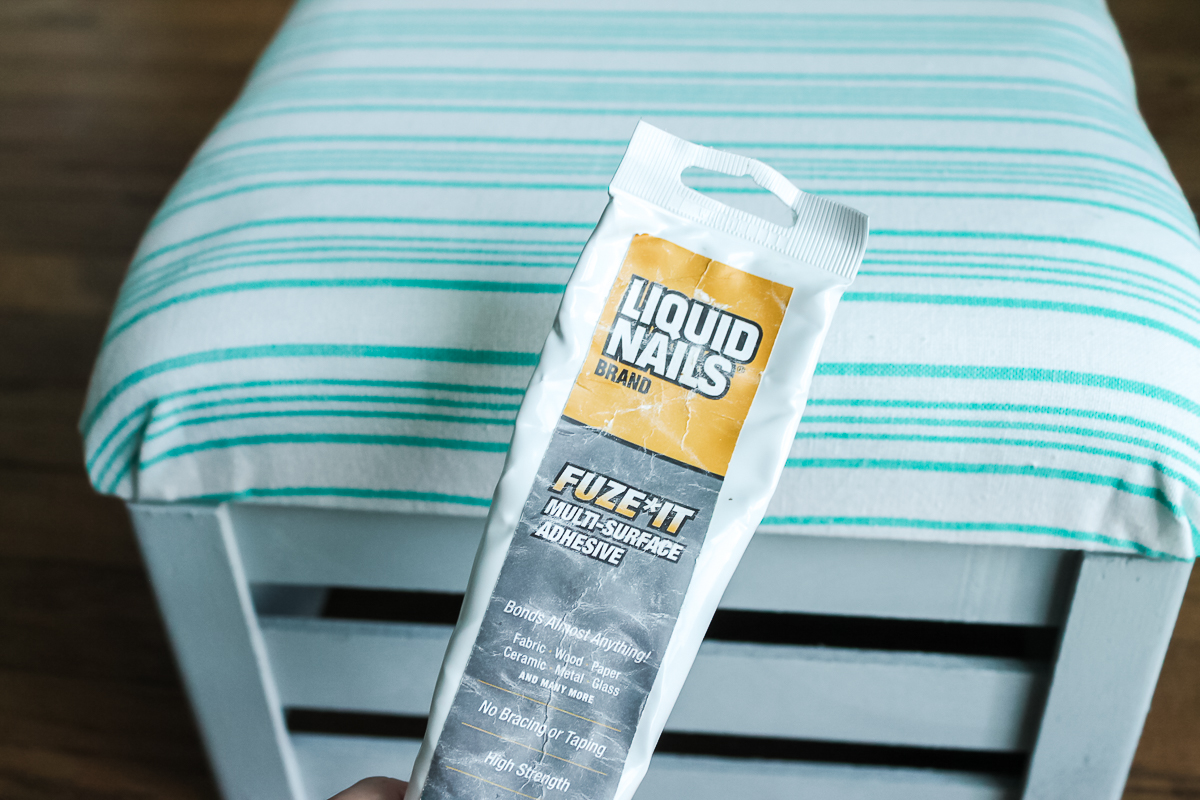
Be sure to follow all directions on the glue you choose. The product that we had chosen suggested that you clamp until it dries. We used some weight on top of the stool.
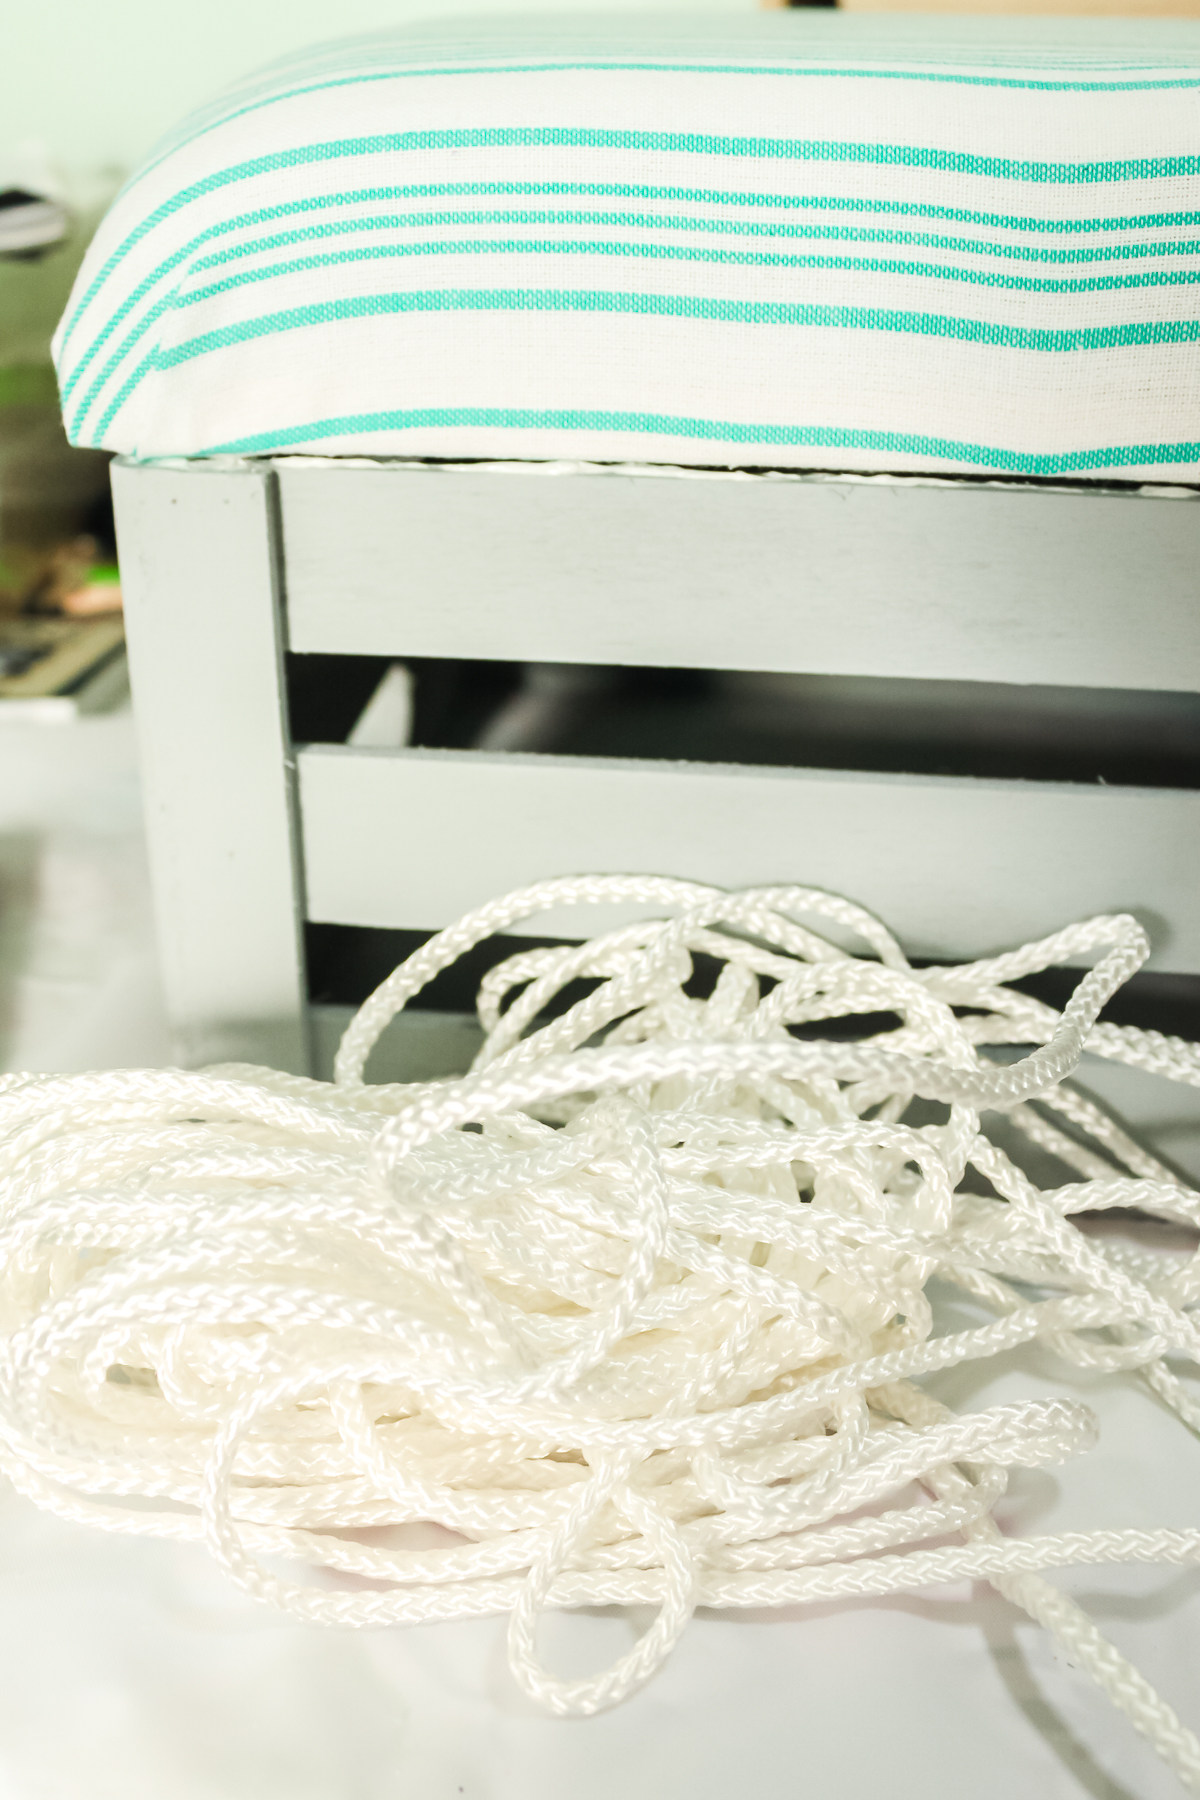
Once dry, you will still have a gap or excess glue sticking out around your stool. We used a hot glue gun to secure rope around the area.
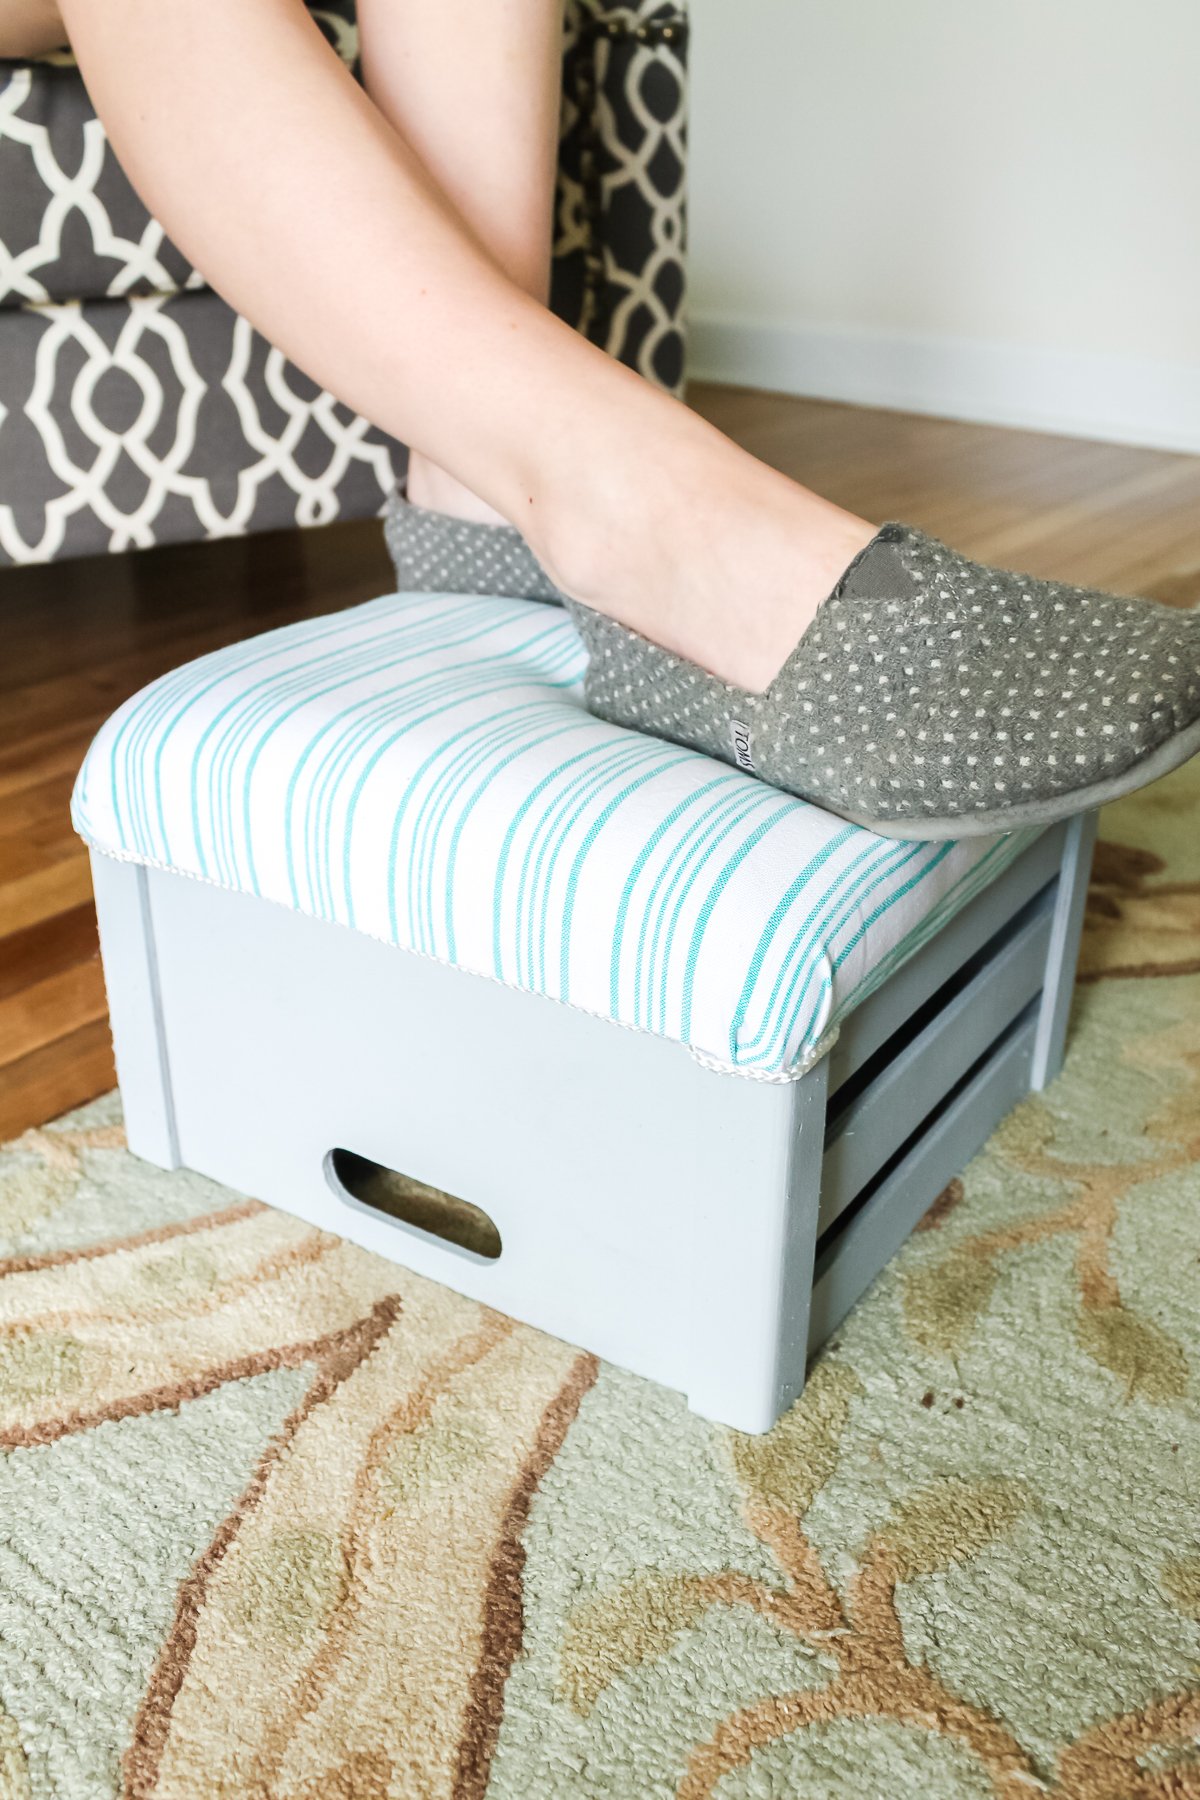
Your crate footstool is now ready for any room in your home. This is a fun project that is easy to complete and will look great in your home. Be sure to look for a crate that is the perfect size for your stool!
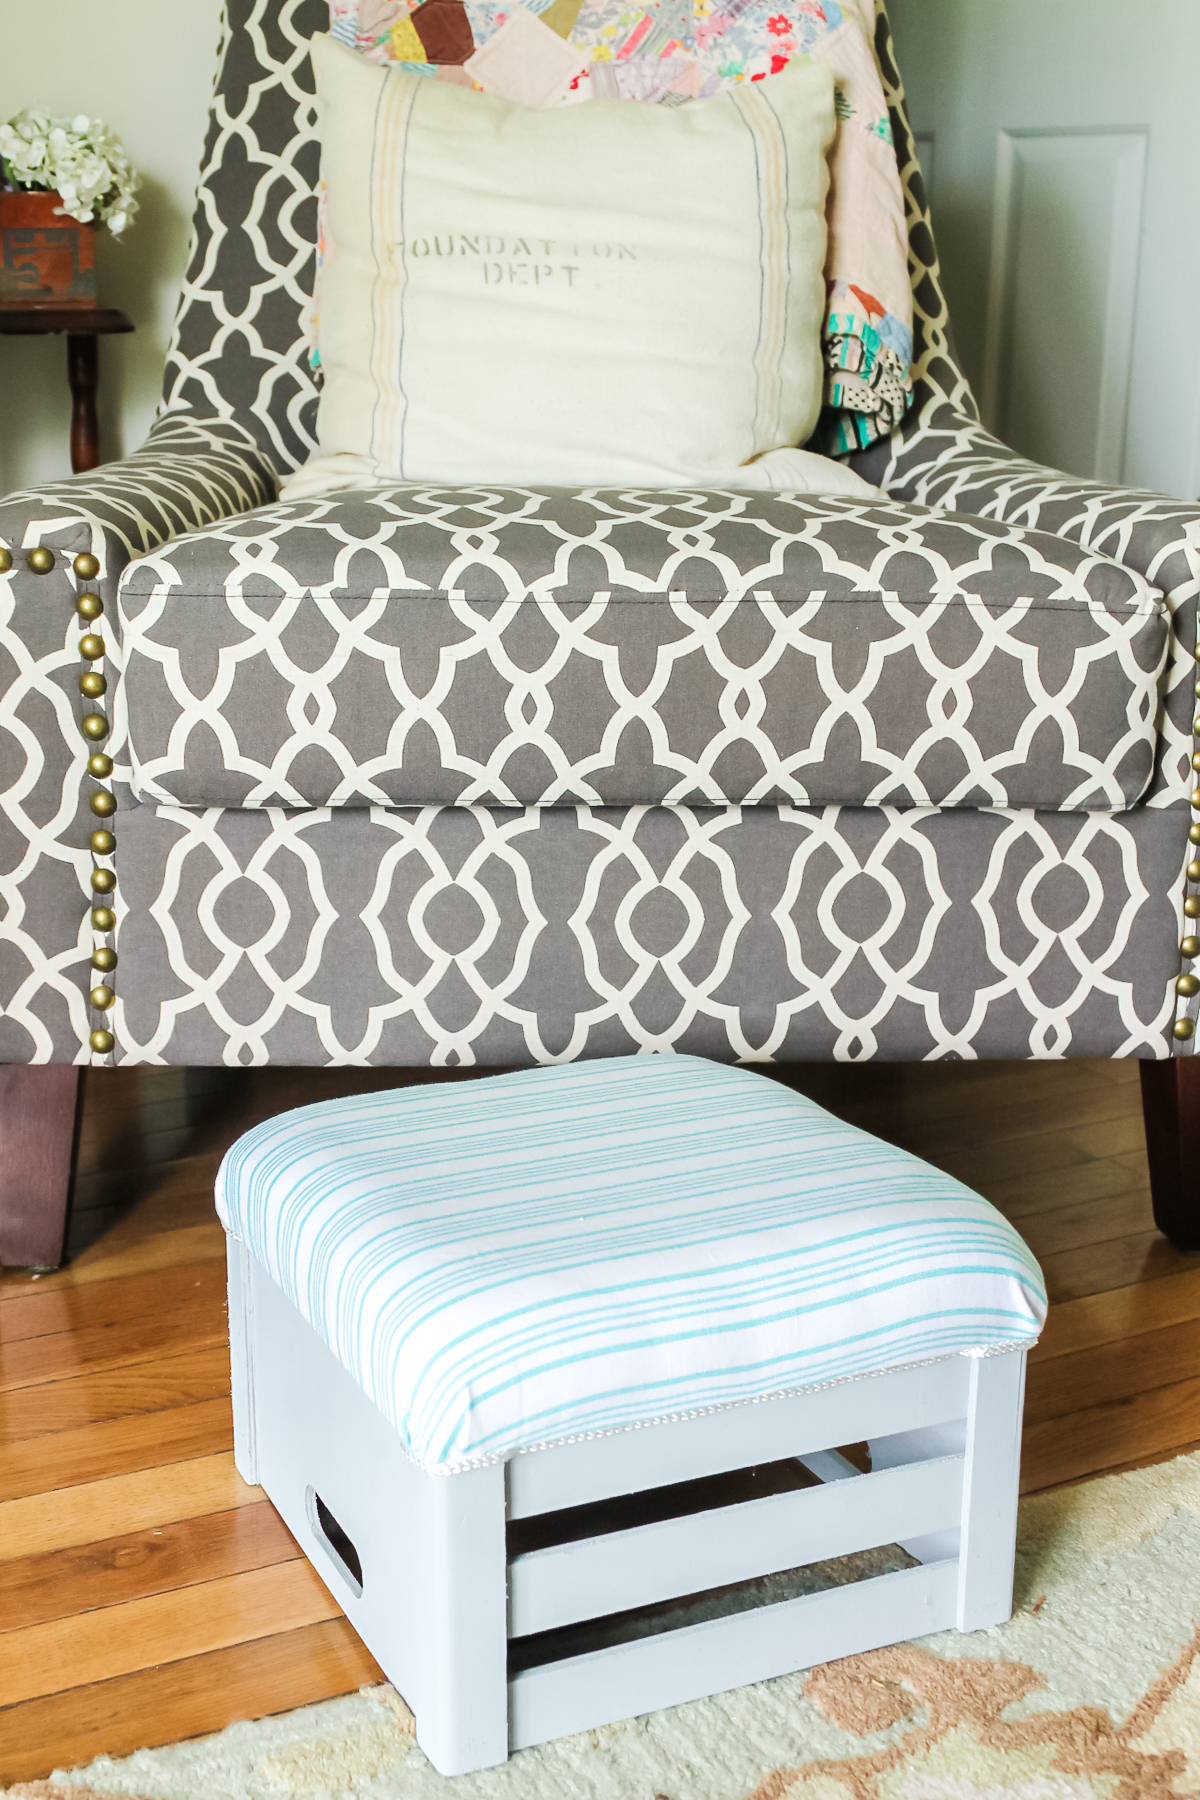
This is perfect for adding to just about any space. Pick colors and fabrics that will work with your home’s decor. You also might want to pick up a few crates and make a few of these for every room.
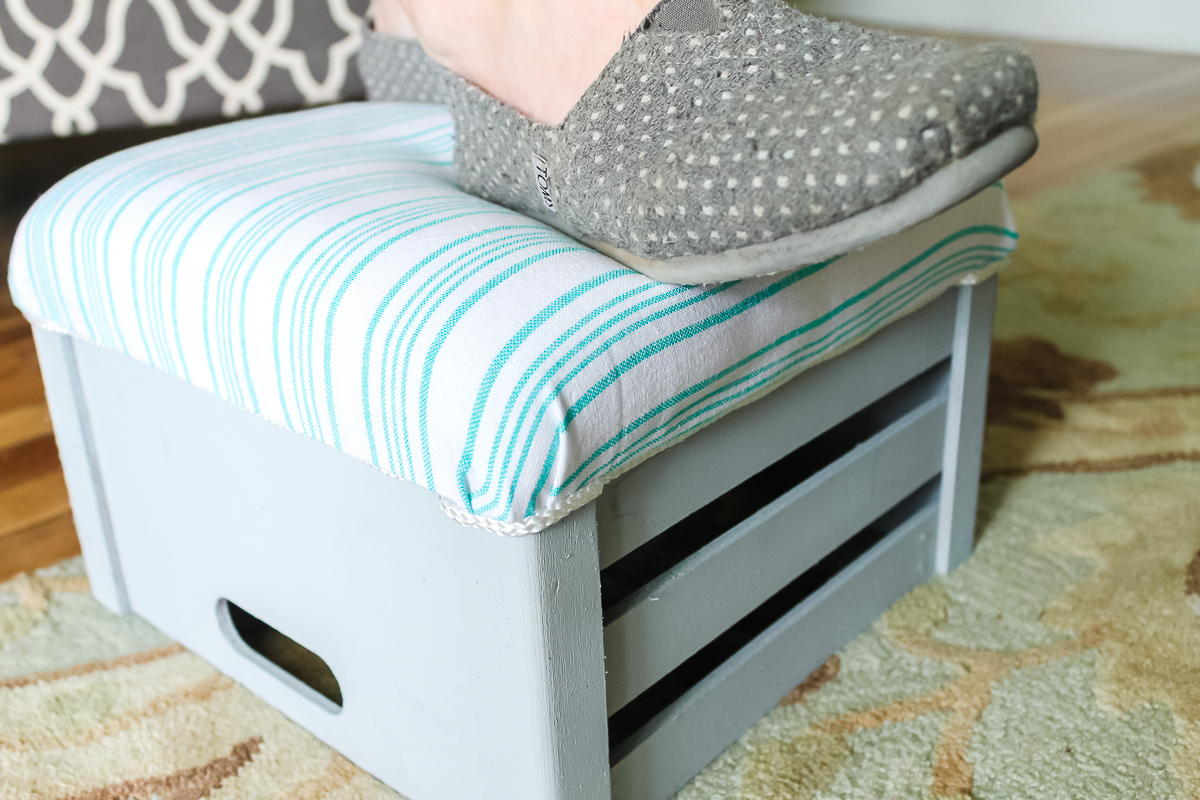
All that is left is to kick back and put your feet up on your new DIY footstool. I can see this project with a rustic stool and a vintage grain sack on the top.
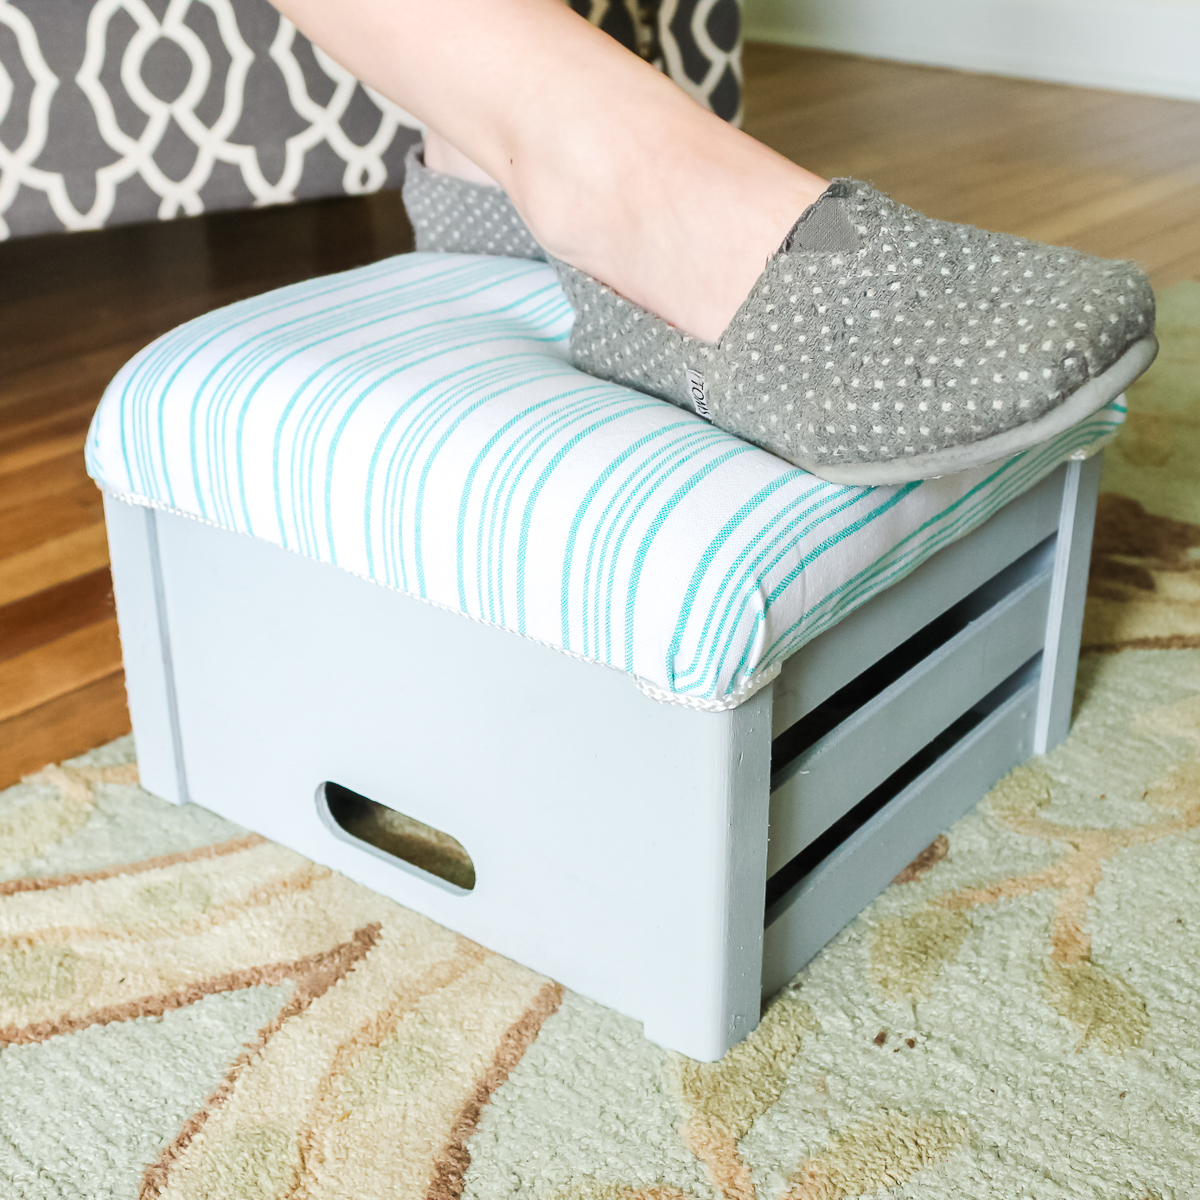
This is one of my favorite projects of all time. I do say that about most projects but I love that you can make this in minutes and that it looks so good!
This project is so easy you can even get older kids involved. Just make sure you are the one that uses the staple gun. Otherwise, let them pick out the paint and fabric then hold things while you staple. They will love a DIY footstool that they helped to make!

Love this easy handmade footstool and want more? You can also try the links below!
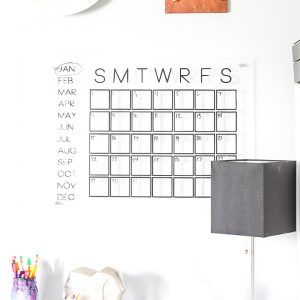
Make a calendar with your Cricut machine to organize your home or office!
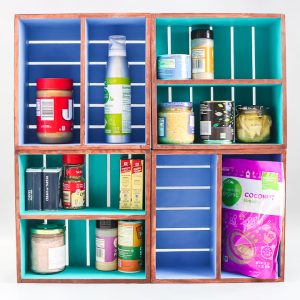
Turn simple crates into something to organize your kitchen in just minutes.
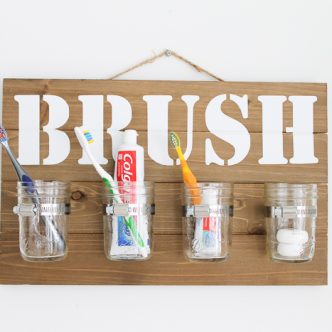
This fun and functional bathroom organizer is a great way to add some mason jar wall decor to your bathroom!
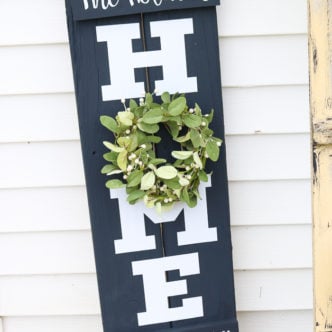
This DIY scrap wood HOME sign is perfect for your front porch or backyard decor! The O is interchangeable–use seasonal wreaths or other creative decorations to customize your family home sign!
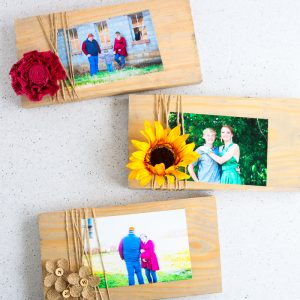
Here’s how to make a picture frame using scrap wood. Add fun embellishments and personalizations to create rustic, creative homemade picture frames in just a few simple steps.
So, do you need to print the instructions for this DIY footstool? Try the card below!

DIY Footstool from a Crate
Make your own footstool with this easy DIY project and a crate.
Servings: 1
Supplies
- Crate Can’t find one you love? Try making your own.
- Plywood cut to the size of your crate
- Paint for crate (if desired)
- Fabric or towel for the top of the crate
- Padding
- Staple gun
- Liquid Nails or other high strength glue
- Rope
- Hot glue and gun
Instructions
-
Start by painting the crate the color of your choice. It took a few coats of this spray paint to get adequate coverage. We also used the sealer once the paint had cured. Be sure to follow all directions on the paint you use and allow your paint to dry completely before continuing.
-
For the cushion portion, start with a piece of plywood and a cushion that have both been cut to the size of your crate bottom. We used a kitchen towel to cover the cushion but you can use the fabric of your choice.
-
Turn the cushion and plywood over upside down onto your fabric. This is where you are going to need a staple gun.
-
Start by pulling taught and stapling two sides as shown.
-
Continue by pulling the other two sides taught and stapling as shown. Leave the corners for now.
-
Trim away any excess fabric at this point. Also trim the corners as shown.
-
Fold the corners as shown below, pull taught, and staple into place. Repeat for all four corners.
-
Add additional staples if needed.
-
You now need to break out some type of adhesive to secure the cushion onto the crate. It should be something that will be strong and attaches fabric to wood. We used this product from Liquid Nails.
-
Be sure to follow all directions on the glue you choose. The product that we had chosen suggested that you clamp until it dries. We used some weight on top of the stool.
-
Once dry, you will still have a gap or excess glue sticking out around your stool. We used a hot glue gun to secure rope around the area.
GET OUR CRICUT BEGINNER’S GUIDE!
EVERYTHING YOU WANT TO KNOW ABOUT CRICUT DESIGN SPACE IN A FREE PRINTABLE GUIDE!
You have Successfully Subscribed!