This post and photos may contain Amazon or other affiliate links. If you purchase something through any link, I may receive a small commission at no extra charge to you. Any supplies used may be given to me free of charge, however, all projects and opinions are my own.
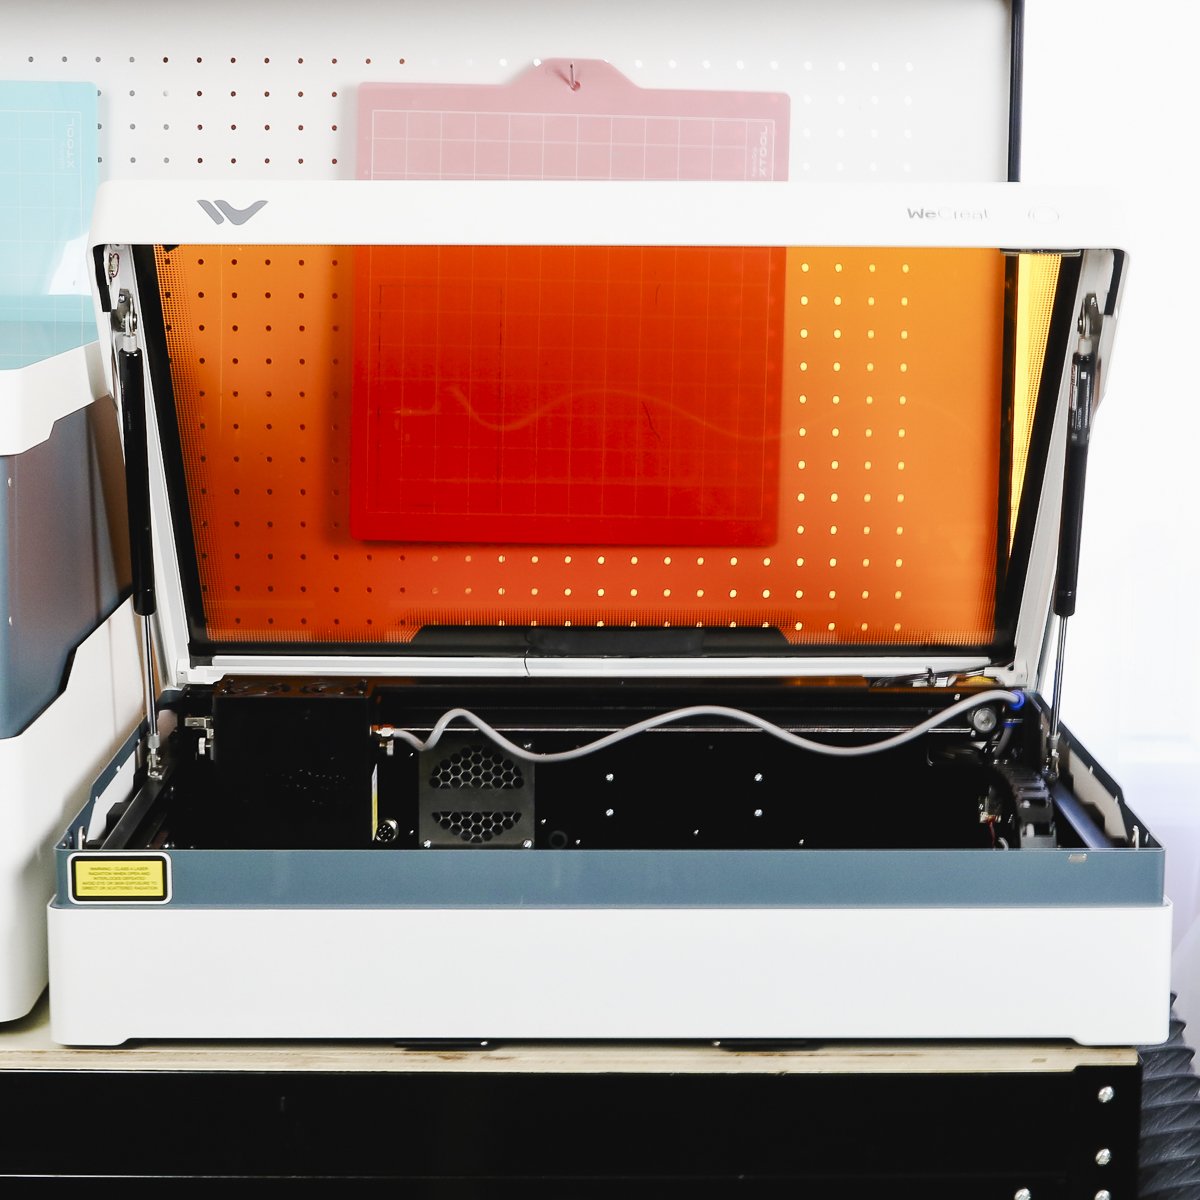
If you’re trying to find the right laser for your craft room, I have a new one to show you today. We’re going to look at the new WeCreat Vista laser to see how it’s different from other lasers to help you decide if it’s the right one for you.
Safety is an important part of using a laser. If you’re considering adding a laser to your craft room make sure you check out my laser safety tips.
With a flippable laser head, the WeCreat Vista is different from other lasers on the market including the Vision that I reviewed before. There are quite a few differences between these two lasers and we’ll look at all of them.
You can watch me compare both of these machines and review the Vista by pressing play on the video below.
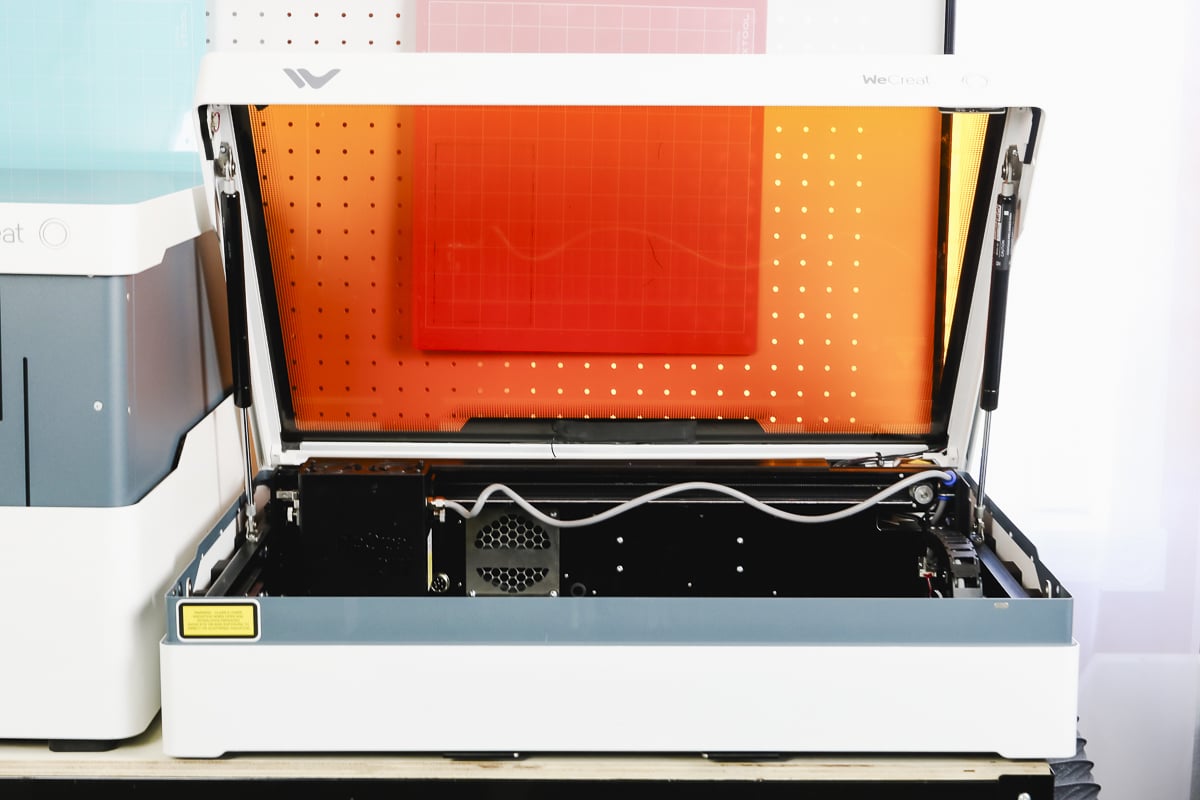
WeCreat Vista Laser
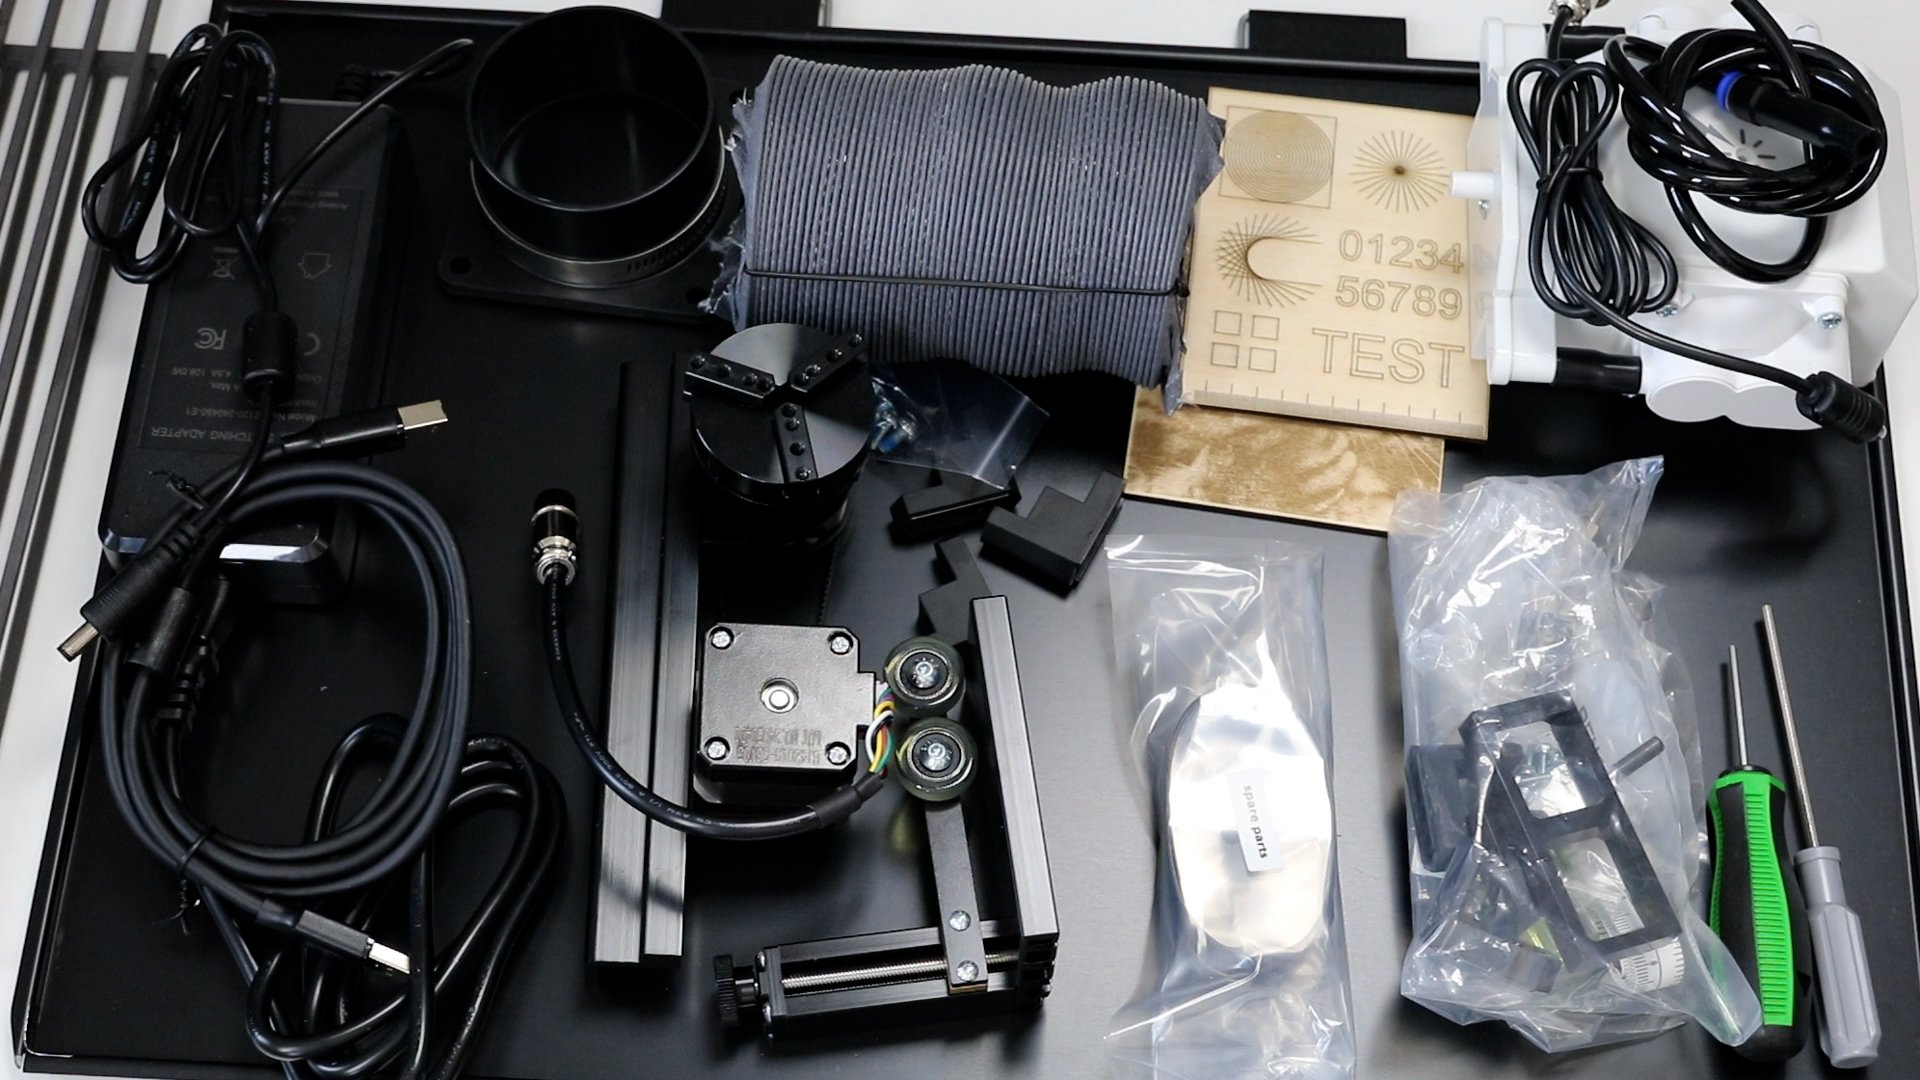
The Vista comes with everything you need to start making projects right out of the box. Let’s look at what’s in the box.
What’s in the Box
- The laser (You can see how to purchase it here.)
- A detachable tray,
- Two laser beds
- USB cord that you will use to connect the laser to Wi-Fi
- Power cord
- Exhaust hose and clamp
- Sample boards where they’ve tested the laser so you can see scoring and engraving
- Air Assist and hose
- Toolkit and tools you may need to use with your laser
- Risers (Because of the flippable laser head, you will not need the risers unless you’re trying to engrave something very large like a 40-ounce tumbler. I am not using them in this post.)
- If you ordered the bundle that includes the rotary accessory, that will be included along with the attachments for the rotary accessory.
Vista Laser Set Up
The setup is very simple and should only take about 15 minutes.
Step 1: Unbox
First, we need to unbox the laser and remove all packaging materials.
Inside the machine they are four screws you’ll need to remove so you can plug the two holes on both sides of the laser with the silicone plugs.

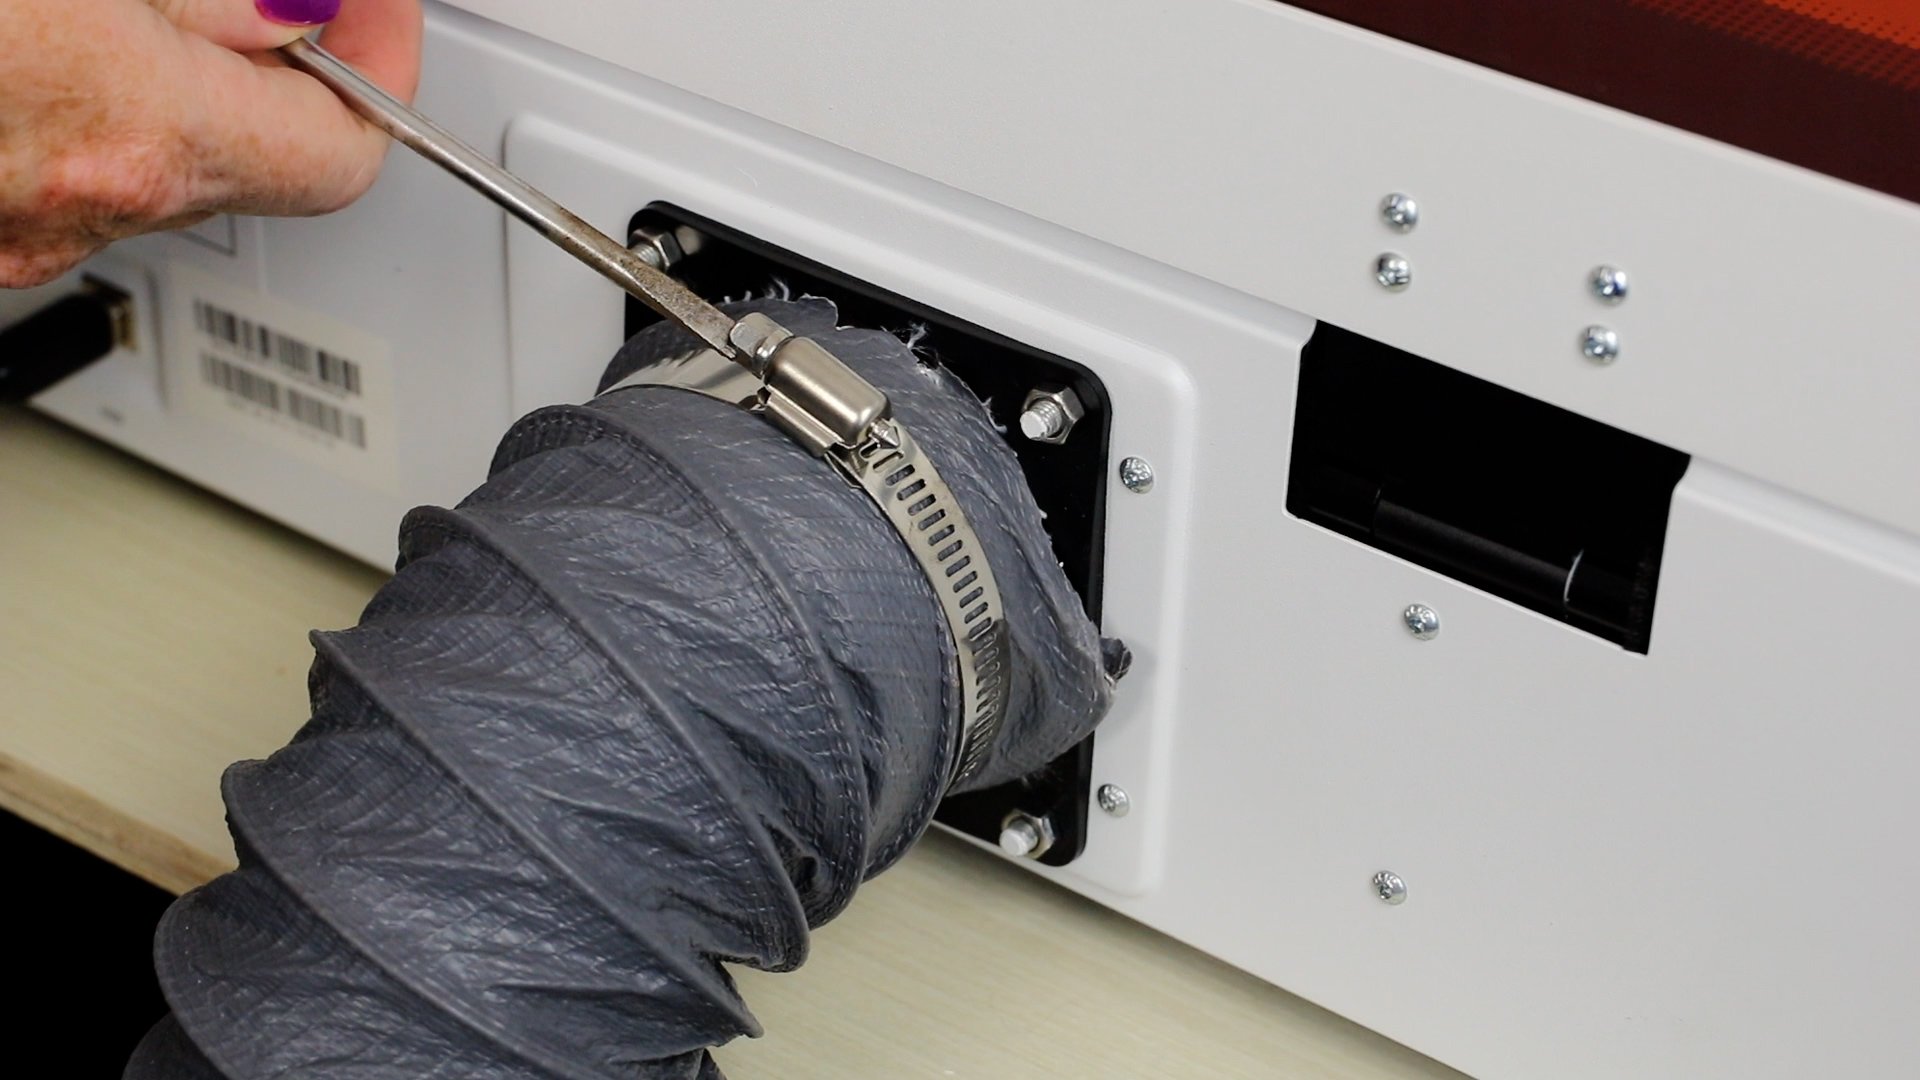
Step 2: Add Cords and Exhaust
Next, hook up the cords and exhaust to the back of the laser. When attaching the USB you only need that to connect the laser to Wi-Fi, once it’s connected to Wi-Fi you no longer need to use the USB cord.
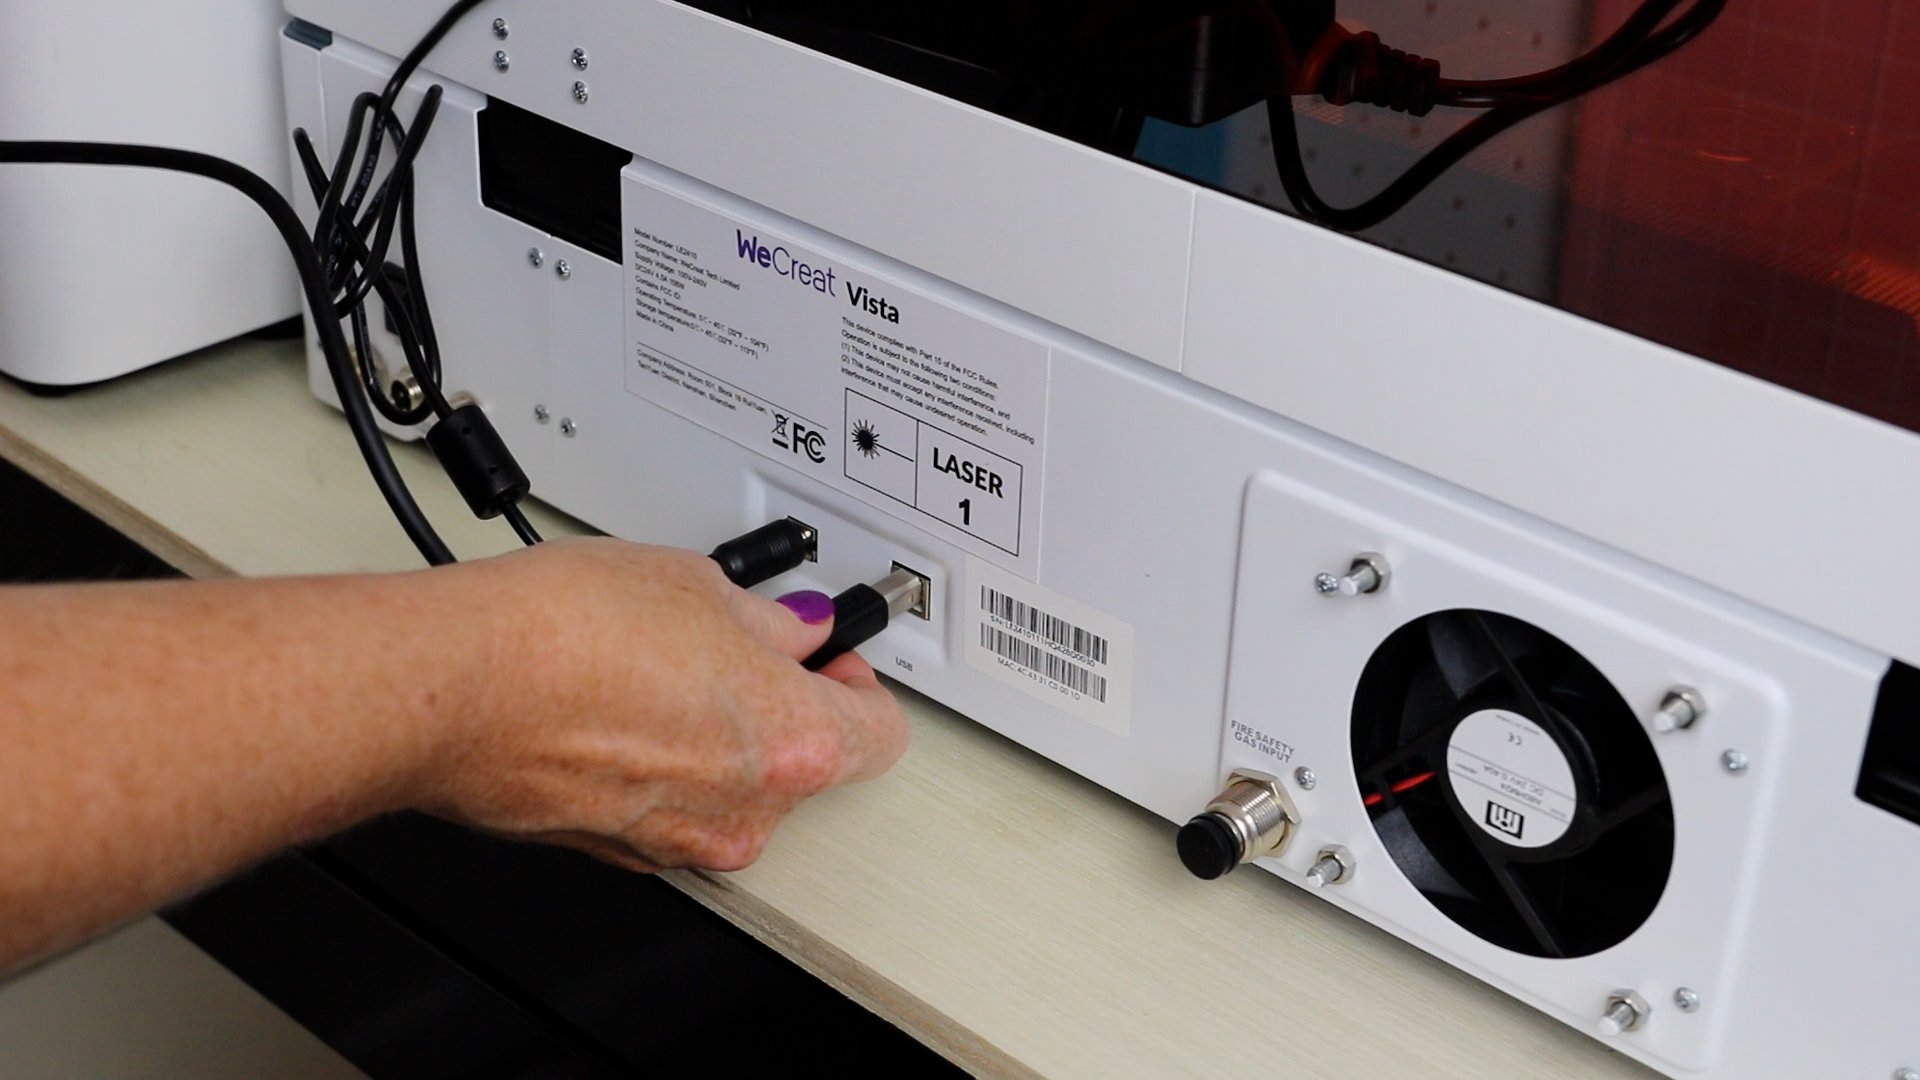
Plug the power cord into the back of the machine but do not plug it into the wall yet. Connect the exhaust assembly and make sure you vent it out a window or attach it to an air purifier which is an additional accessory that you can purchase.
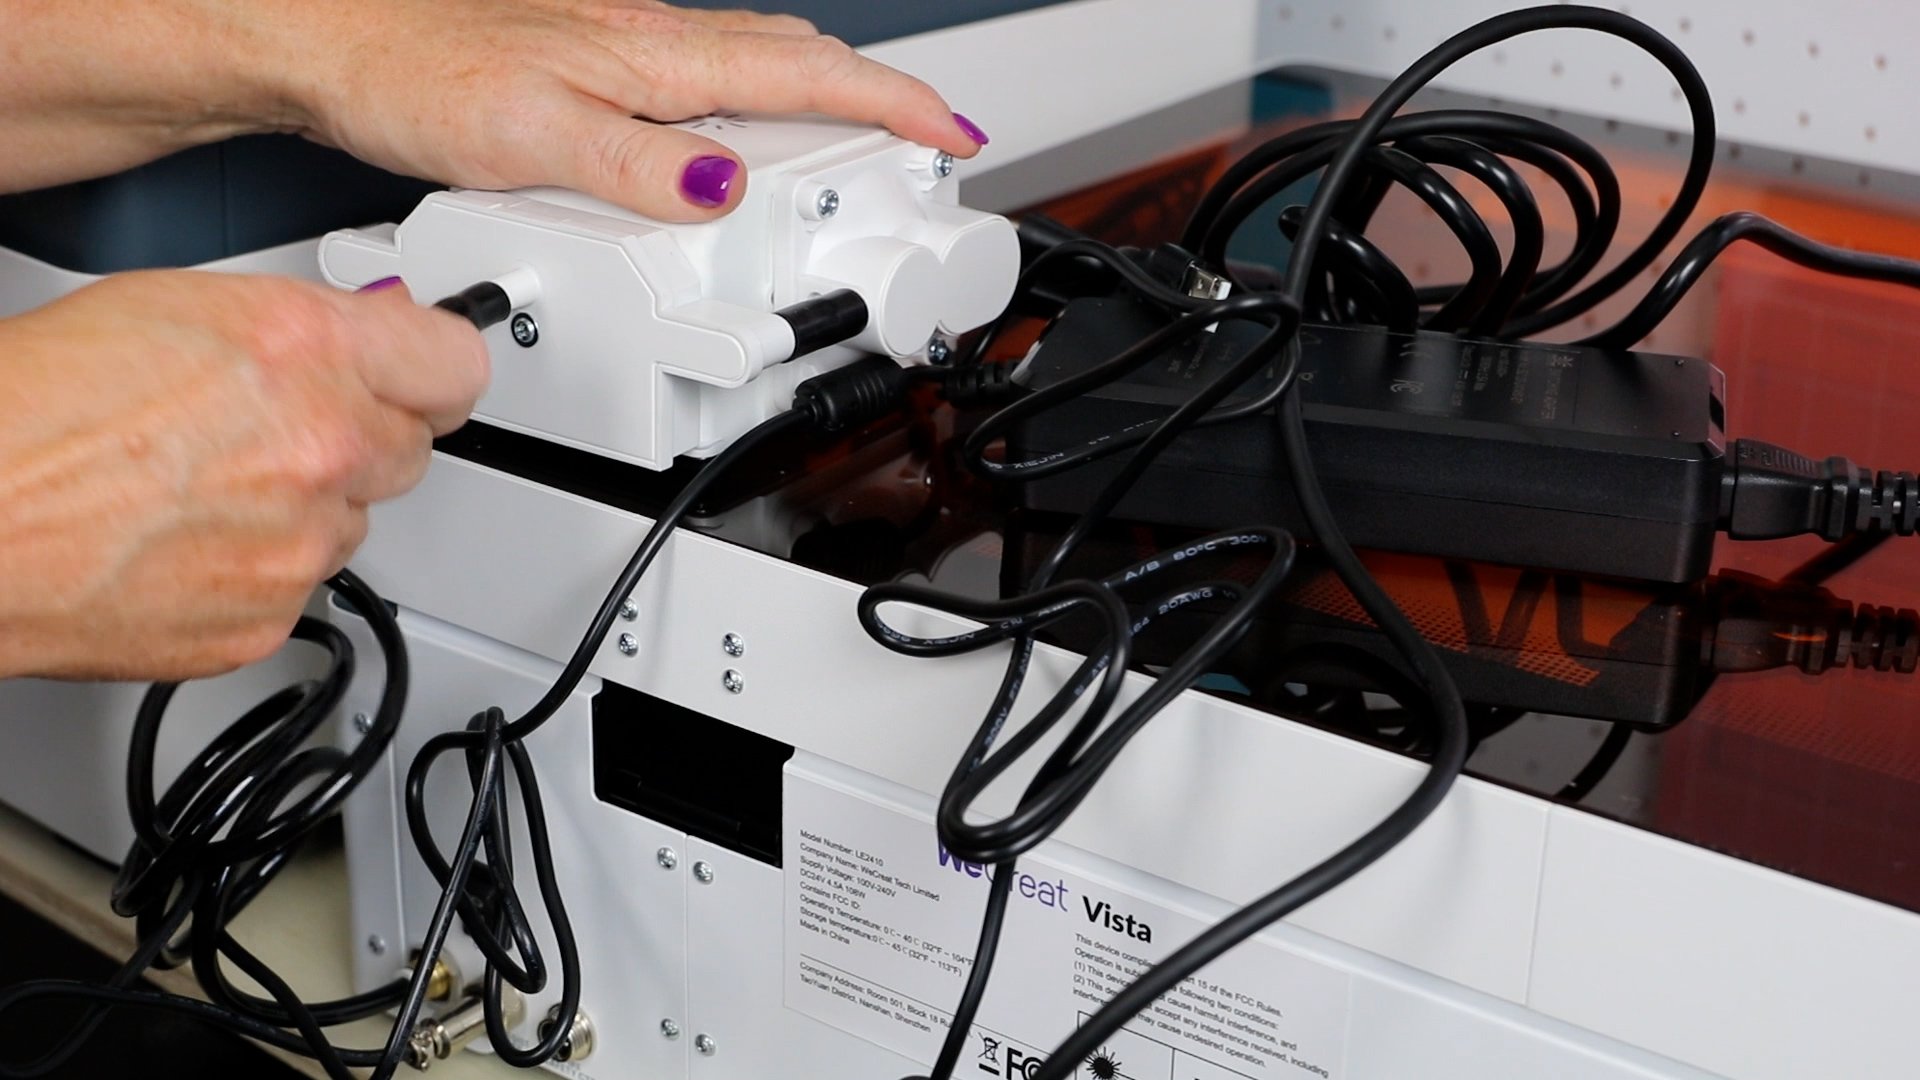
Step 3: Connect the Air Assist
To connect the Air Assist attach the power connection and the air connection to the back of the WeCreat Vista. Then connect the opposite end of the air connection to the Air Assist itself.
Step 4: Add the Removable Tray
Add the removable tray by sliding it in from the front. You may find that picking up the front of the laser makes it easier to insert.
Add the laser beds inside the machine and our setup is complete.
Step 5: Download the WeCreat MakeIt Software
To use the WeCreat Vista, you need the MakeIt software. Download the software and use the USB cord to connect the laser to your computer. From there, you can set up the Wi-Fi connection and then you will not need the USB cord in the future.
Laser Safety
Before we start using the laser we need to talk about laser safety.
The WeCreat Vista has many safety features built-in, including a tinted top that allows you to watch the laser without damaging your eyes and an auto-stop feature. If the lid is raised, the laser stops automatically.
Make sure the exhaust tube is vented out a window or attached to the air purifier because laser fumes need to be vented out of your workspace.
The WeCreat Vista comes with fire detection and will automatically shut off it if detects a fire within the laser itself. I still recommend keeping a fire extinguisher and/or fire blanket on hand just in case.
You also want to make sure you only cut laser-compatible materials. There are some materials that can be toxic when cut with a laser.
You can learn more about laser safety in my laser safety video, make sure to review that so you’re safe every time you use your laser.
WeCreat Vista Features
The Vista has a camera that will scan the bed of the laser so you can locate your cuts right on the material.
The camera operates when the lid of the laser is open. It is on the front edge which gives you a perfect view of the bottom of the laser.
The WeCreat Vision, the laser I reviewed previously, had an auto lift feature. Because the laser head on the Vista flips it does not need the auto lift feature.
I am using the 10-watt laser head in my Vista. You can also get a 2-watt infrared laser head for engraving small projects and it does a great job on a variety of materials.
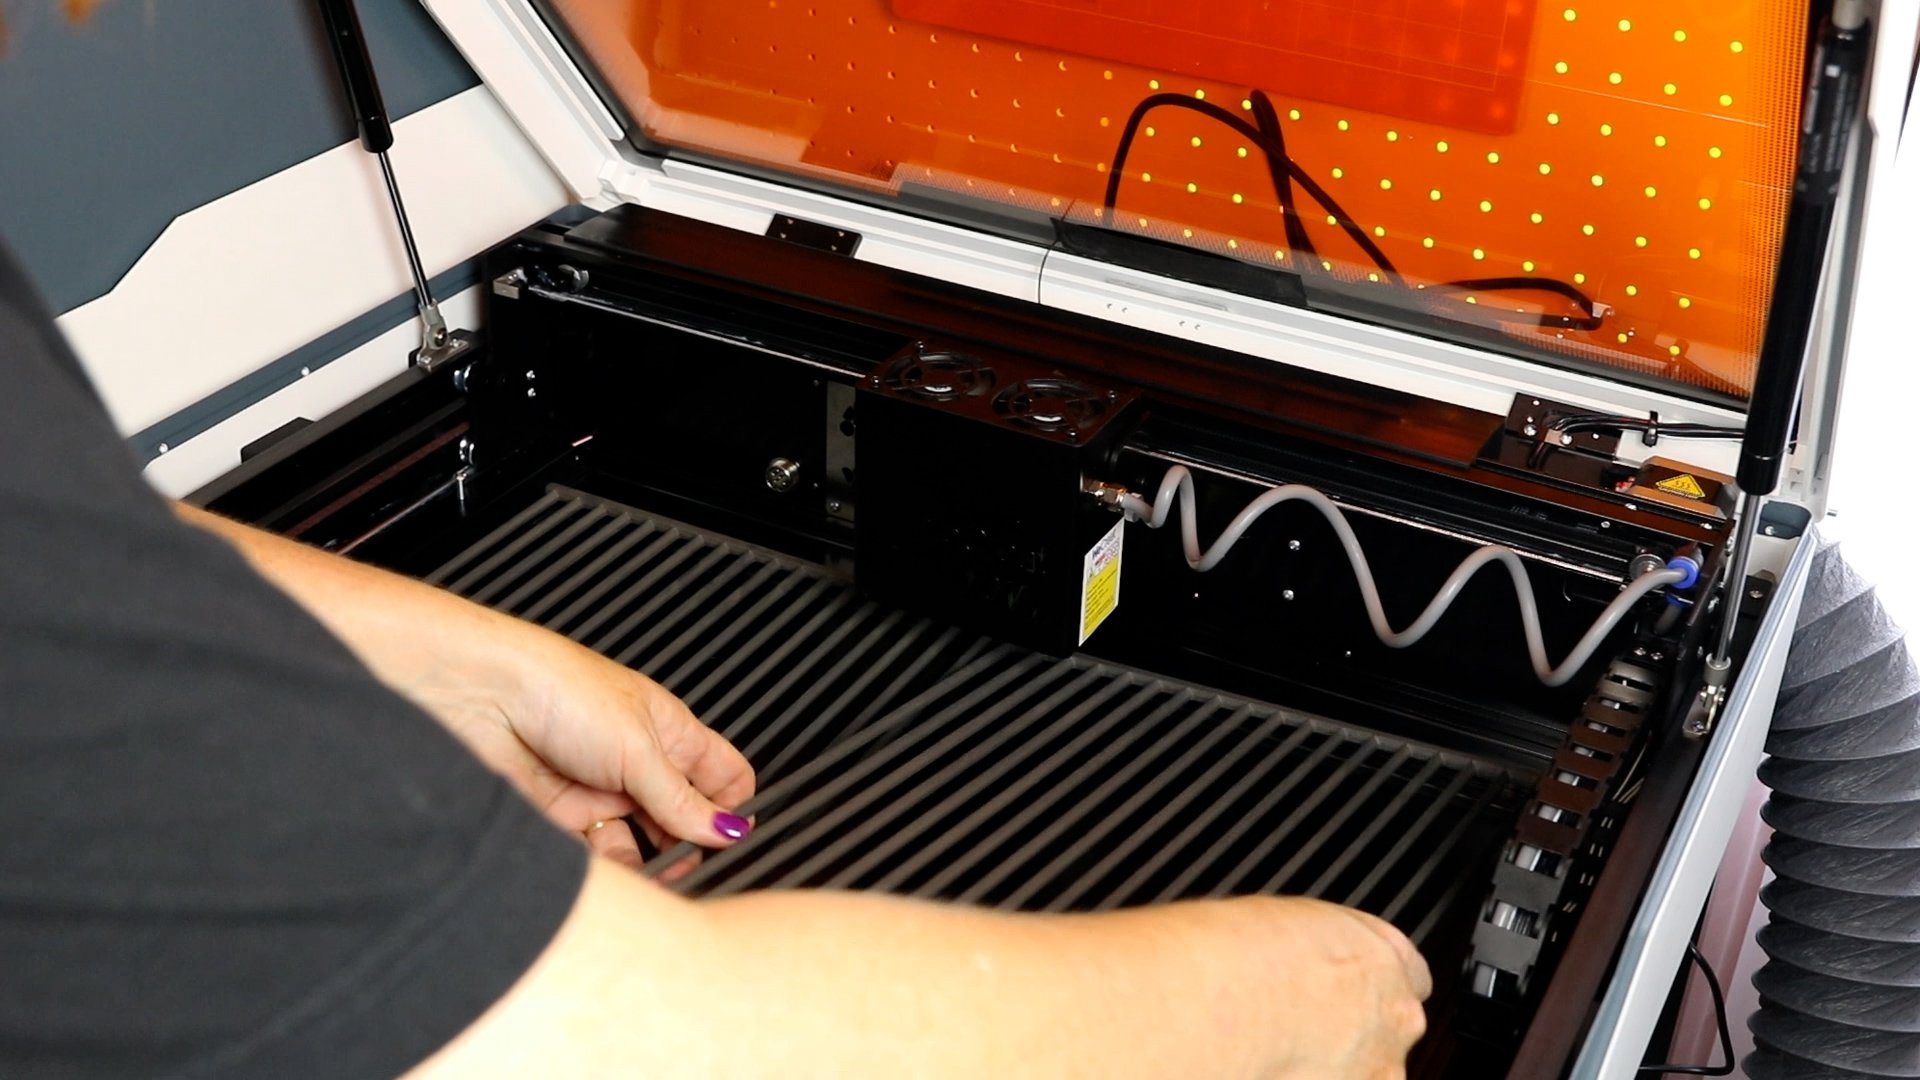
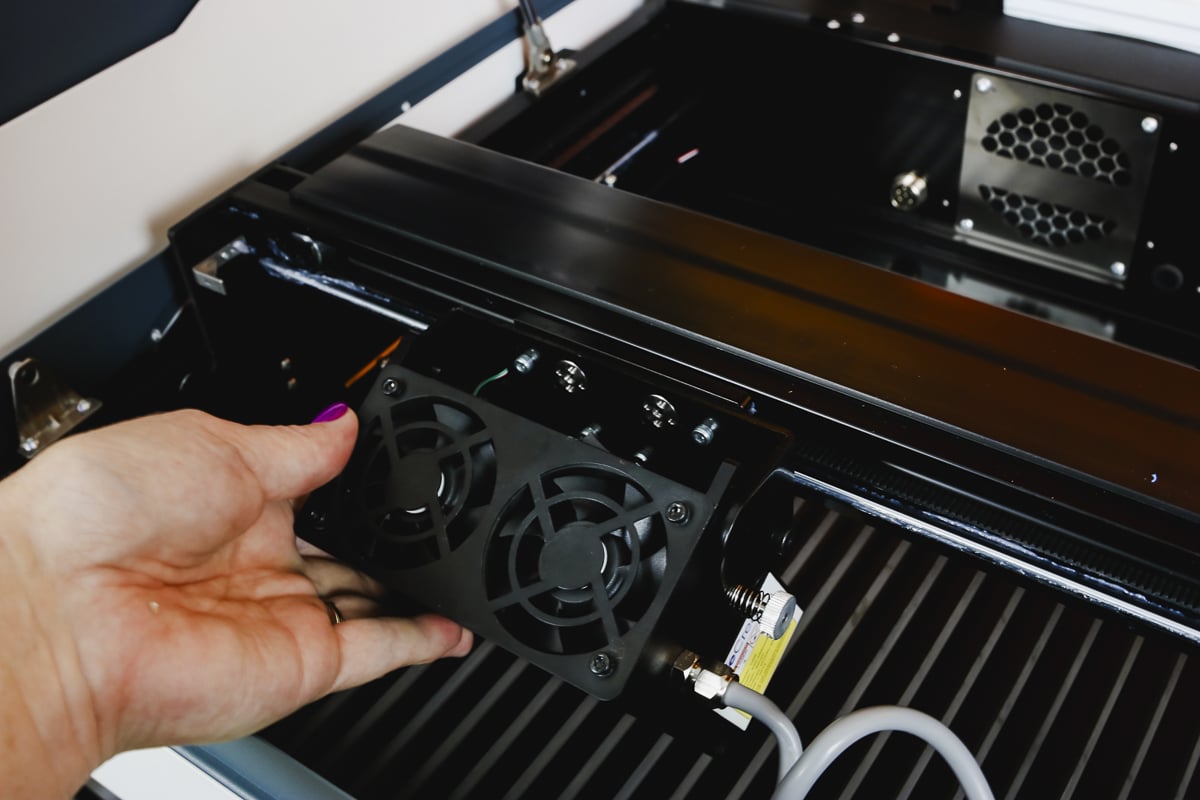
Flipping the Laser Head
Now, let’s look at how to flip the laser.
You do not need to worry about flipping the laser head unless you’re using the rotary tool. Before you try to flip the laser make sure it’s turned off and remove the laser beds.
Because the laser head can flip you don’t have to use risers with tumblers unless they are very large.
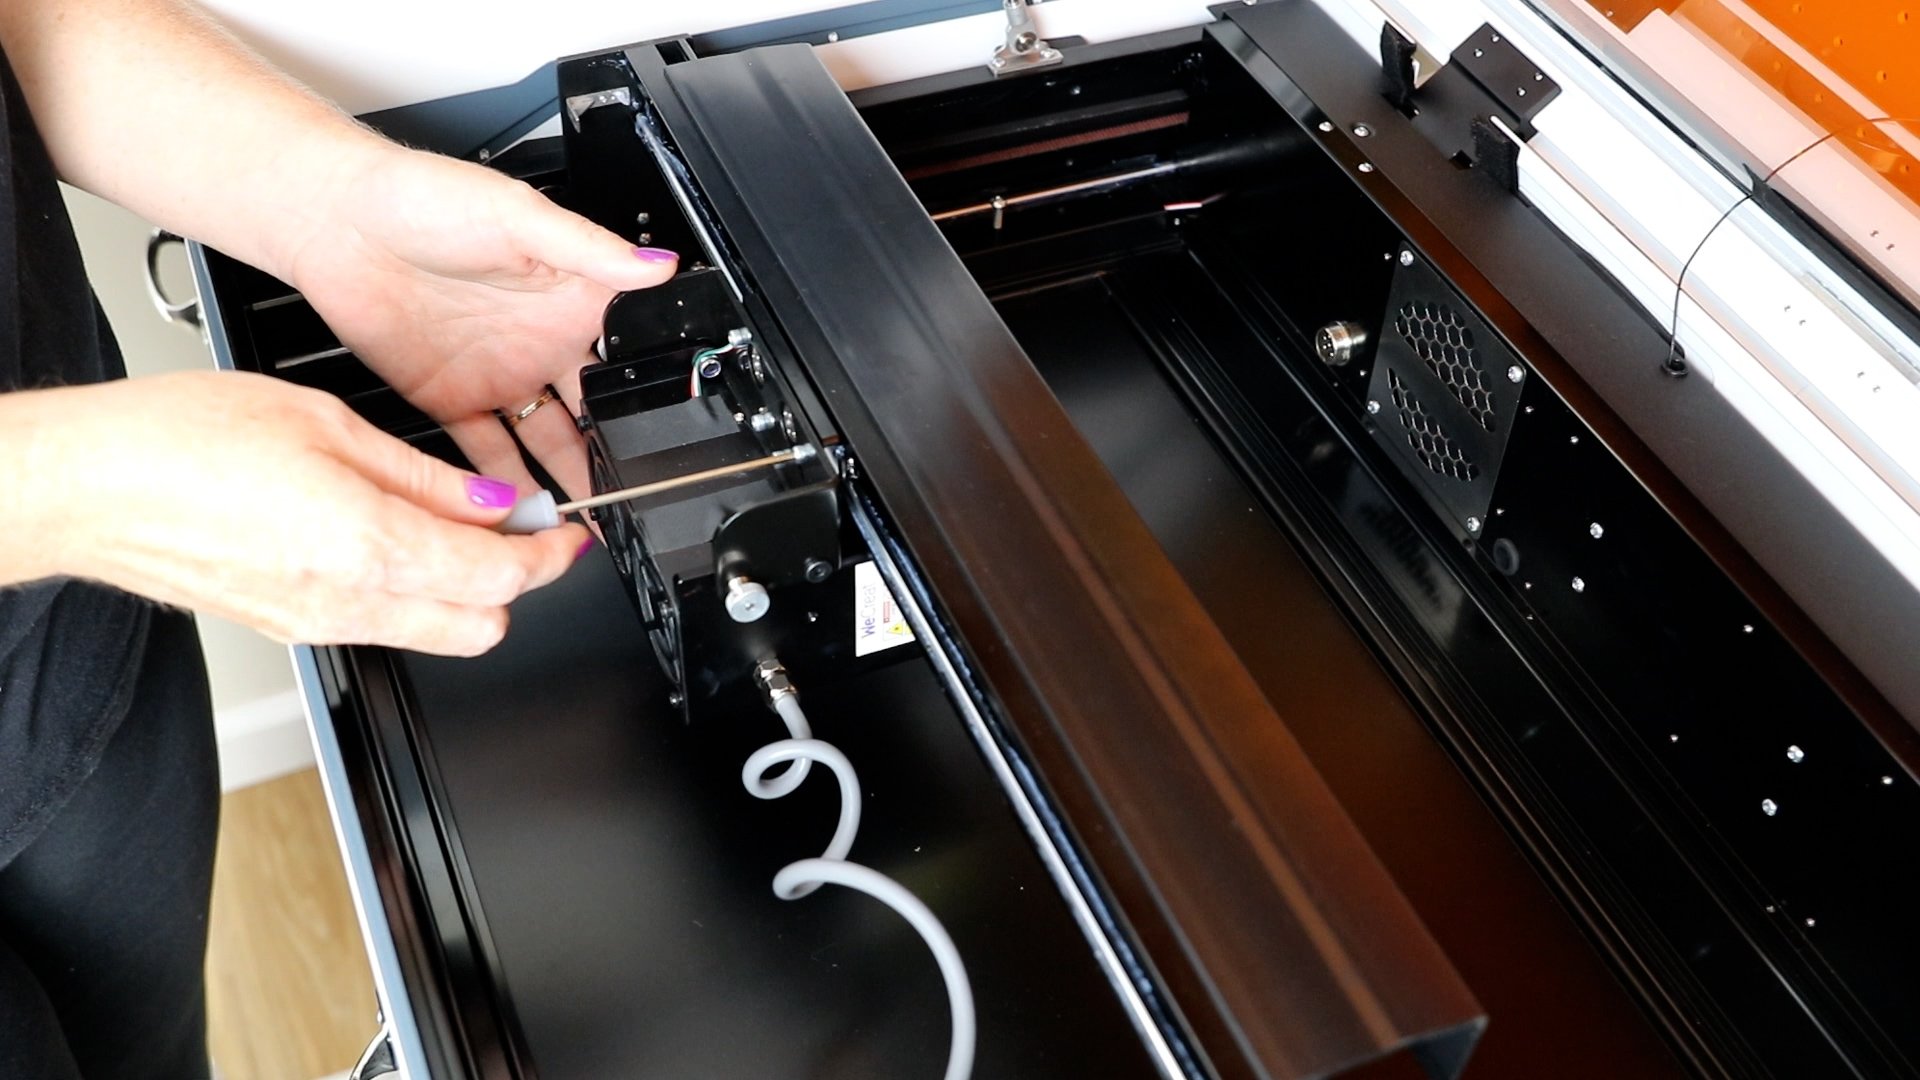
With the 10-watt laser in place, move the laser to the front of the machine and loosen the silver thumb screws until they pop out.
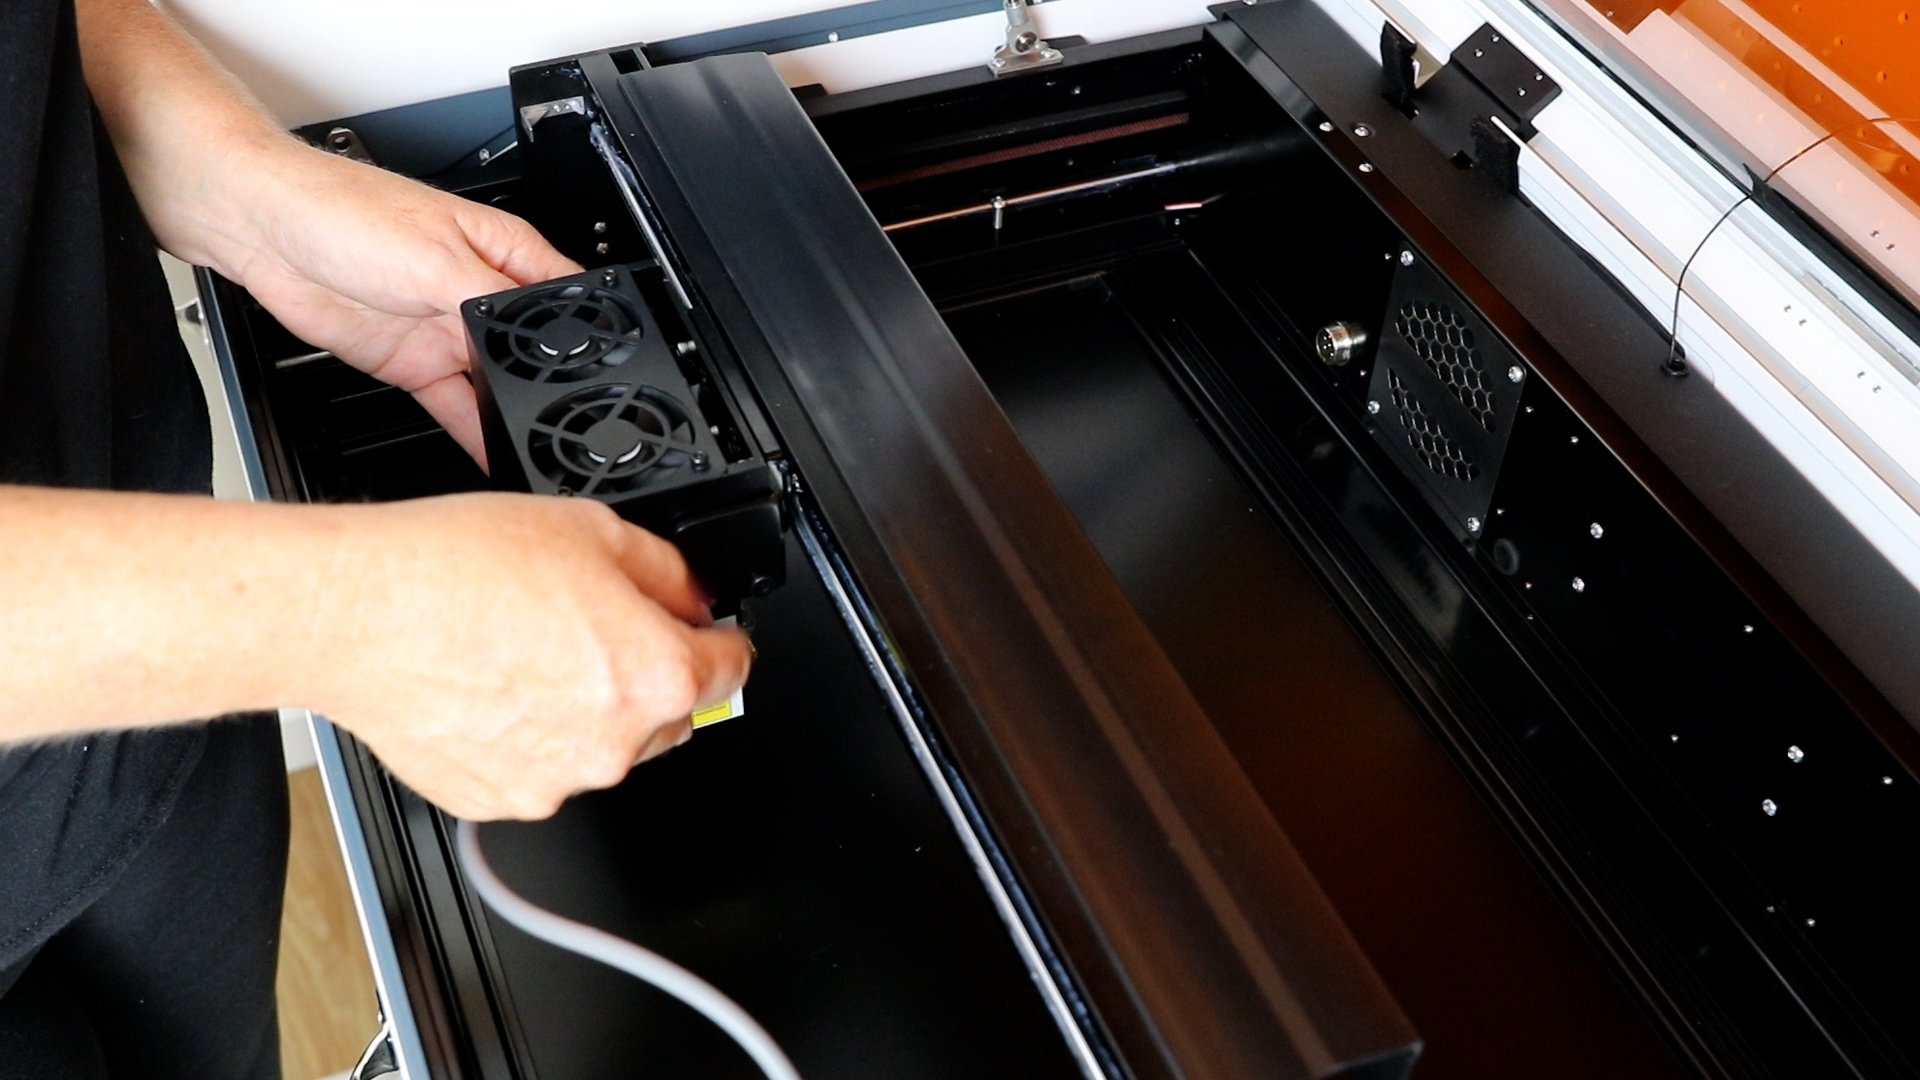
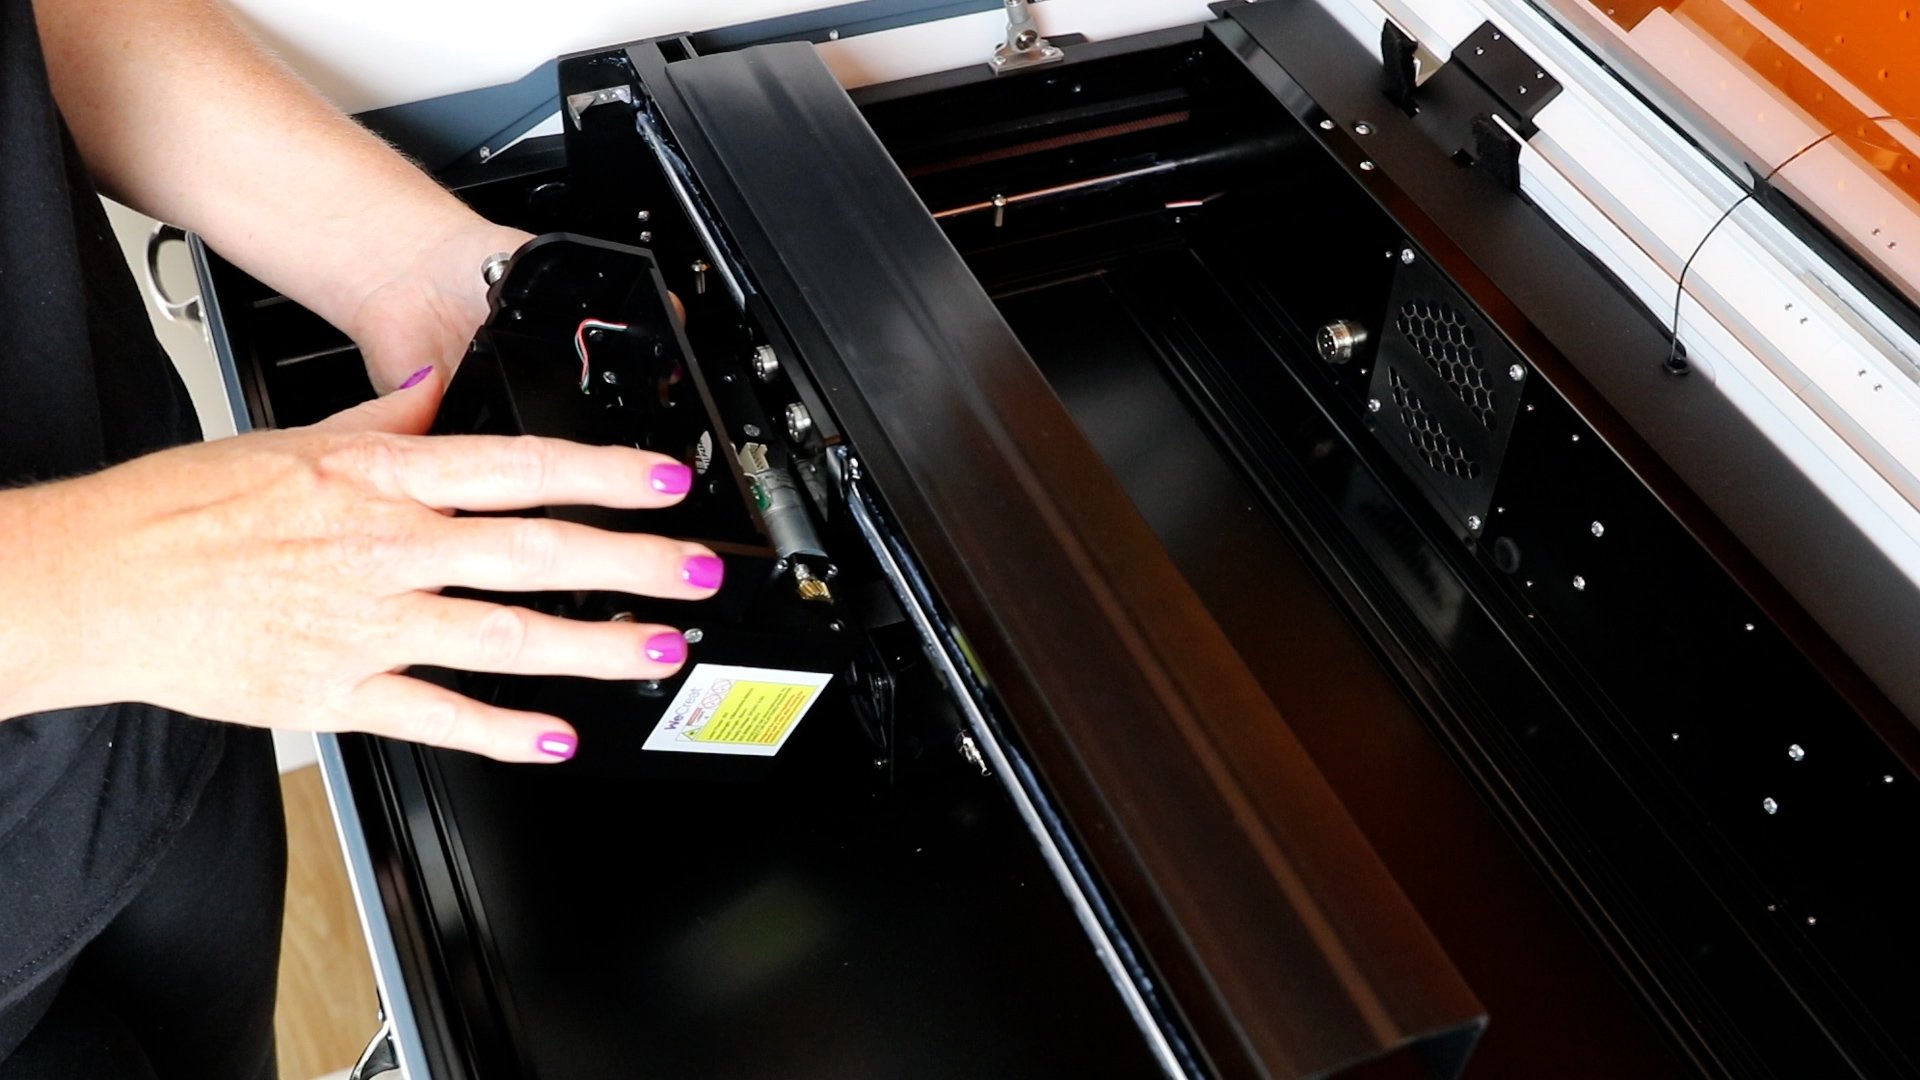
Rotate the laser head so the laser is pointing toward the back of the machine and the fans are facing the front of the machine.
Tighten the thumb screws to hold the laser in place and you’re ready to use the rotary accessory without needing to raise the laser.

Changing the Laser Head
To change the laser head, you’ll start by flipping the laser and then loosen the four screws on the back.
Remove the Air Assist from the side of the laser head and then hold the laser head so it doesn’t fall and remove the four screws all the way.
Remove the laser head and the electrical plug.
Add the new laser head to the machine and then loosen the screws to flip the bracket. Tighten the screws and reverse the process that we used to remove the laser head. Add the four screws to the bracket and flip the laser head back up.
If you’re using the two-watt laser head, it does not require the Air Assist. You will need to move that cord out of the way so it doesn’t interfere with your project.
While there are a few steps to changing the laser head with the WeCreat Vista it is a lot easier than it was with the Vision.
Projects with the WeCreat Vista
I am using the 10-watt laser for my projects today so I have that laser head in place and it is not flipped. Now we can make our first project.
NOTE: These are only example projects as this machine can cut and engrave on many materials!
How to Cut and Engrave Wood with the WeCreat Vista Laser
First, we’re going to cut and engrave wood.
Step 1: Upload File
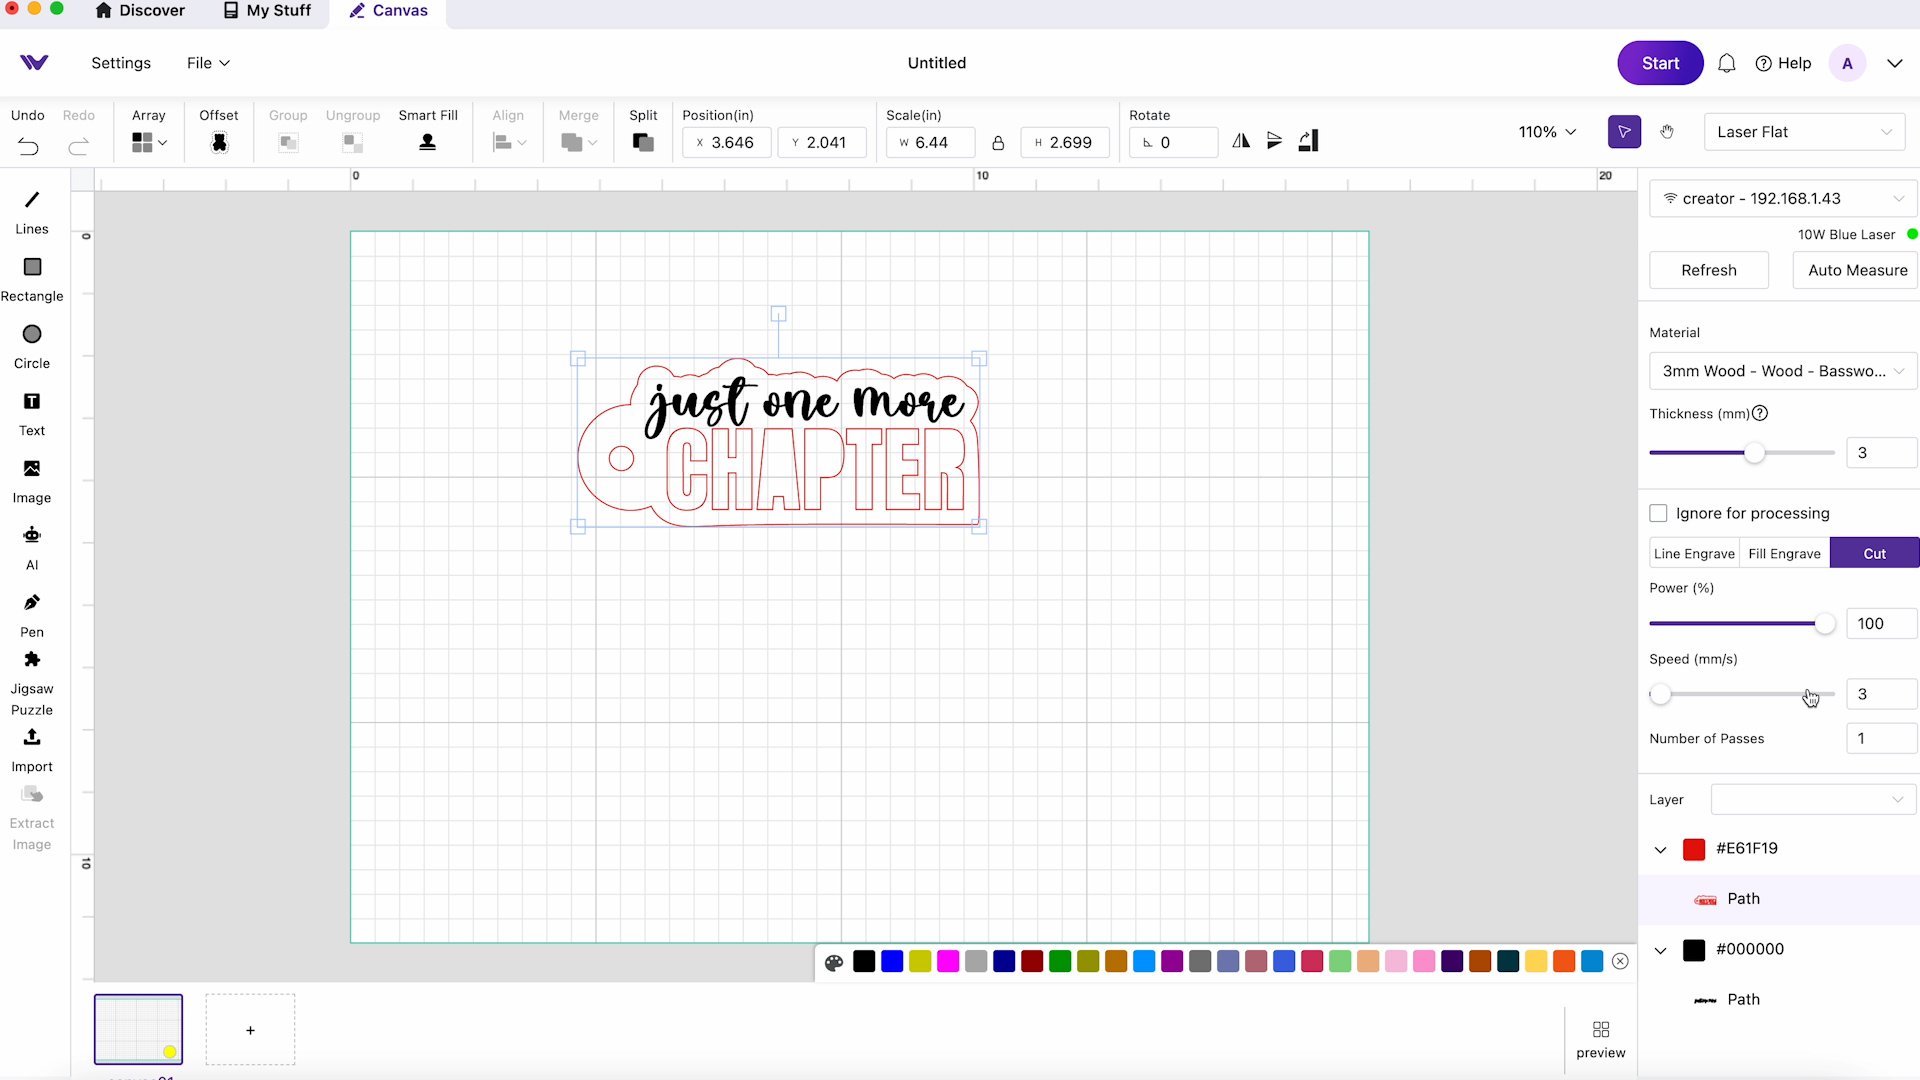
To do this we need to open the WeCreat MakeIt software. I am using a cut file that you can get free here.
Click File and then Import. Find the file on your computer and upload it. I am using an SVG but you can upload other file types as well.
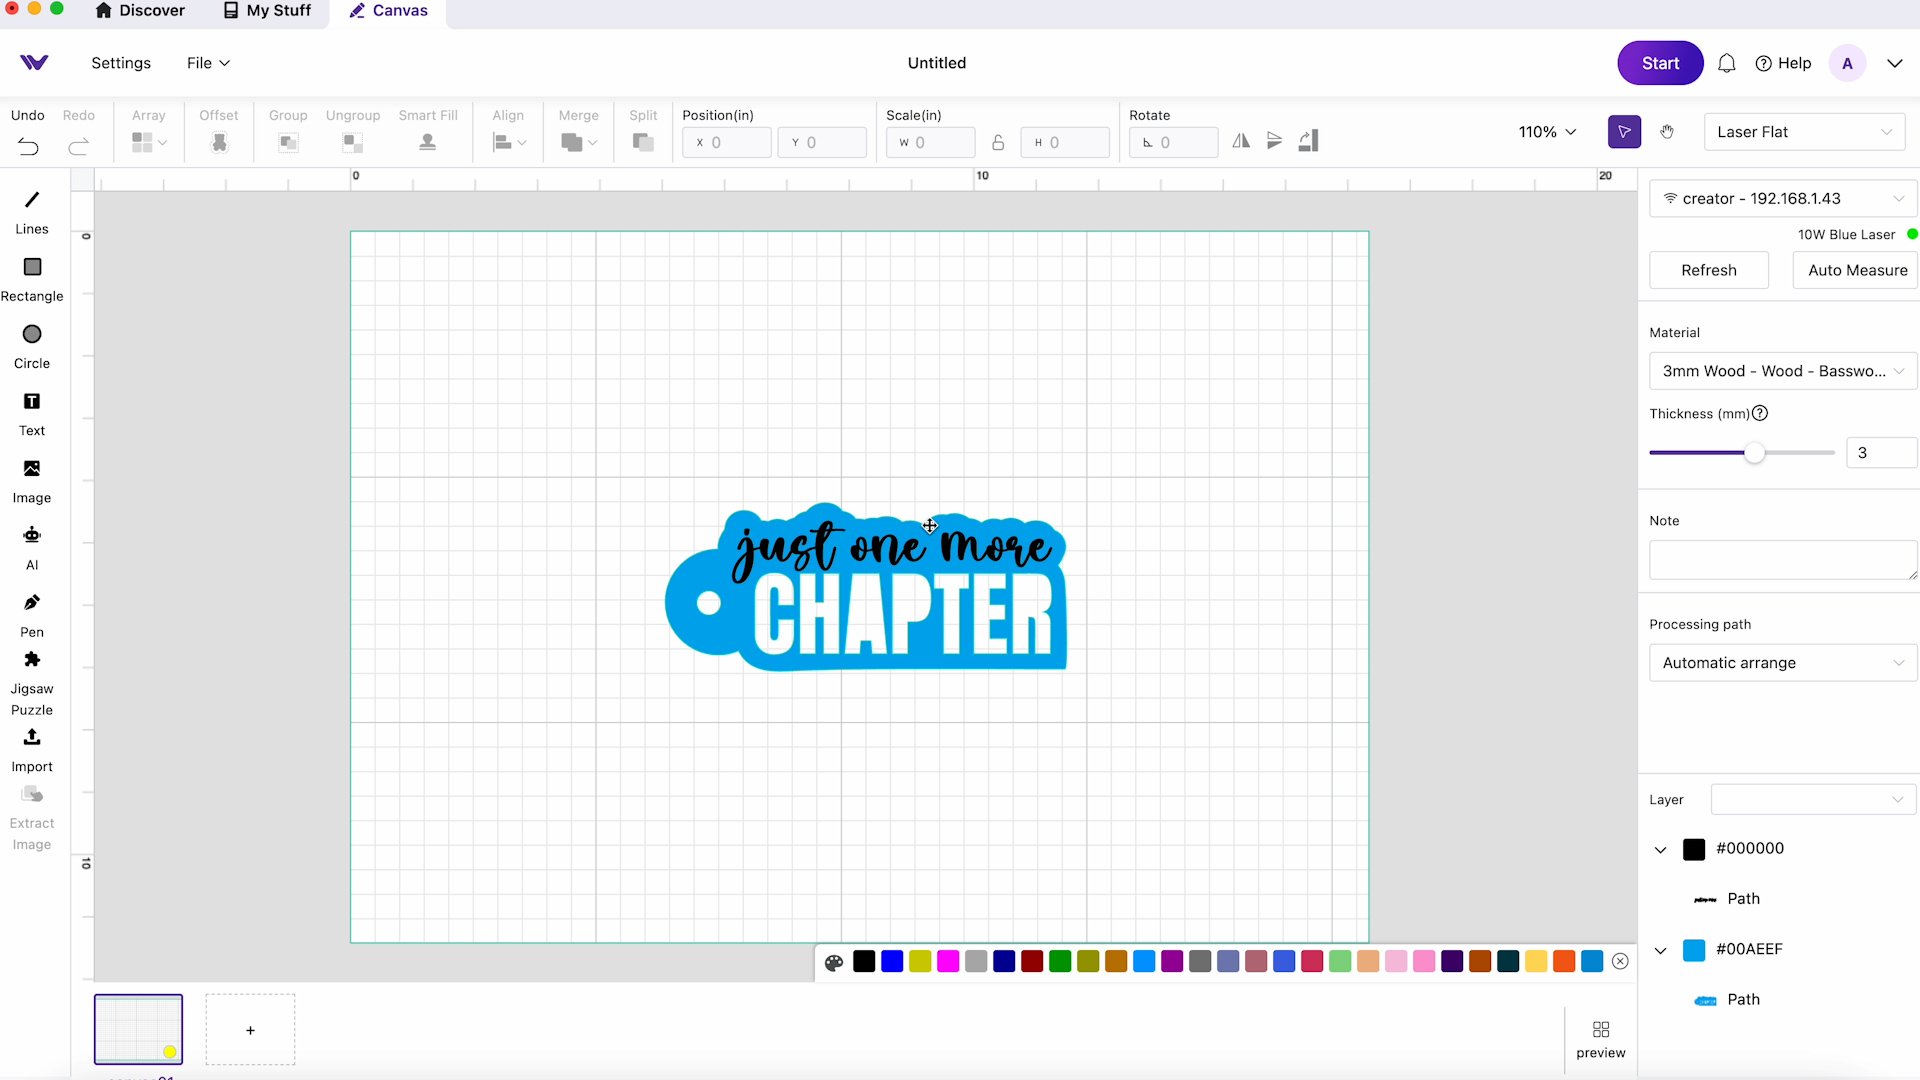
Step 2: Input Settings
My SVG file has two layers. The first layer I am going to make a Cut layer and the second layer will be a Fill Engrave.
Select the material type that you are using. There are a variety of options that you can choose from to get the look you want.
For the Fill Engrave layer, I am using a power of 10 and a speed of 1.5 with one pass. Because I have the material selected, for the Cut layer it already has the settings set for me.
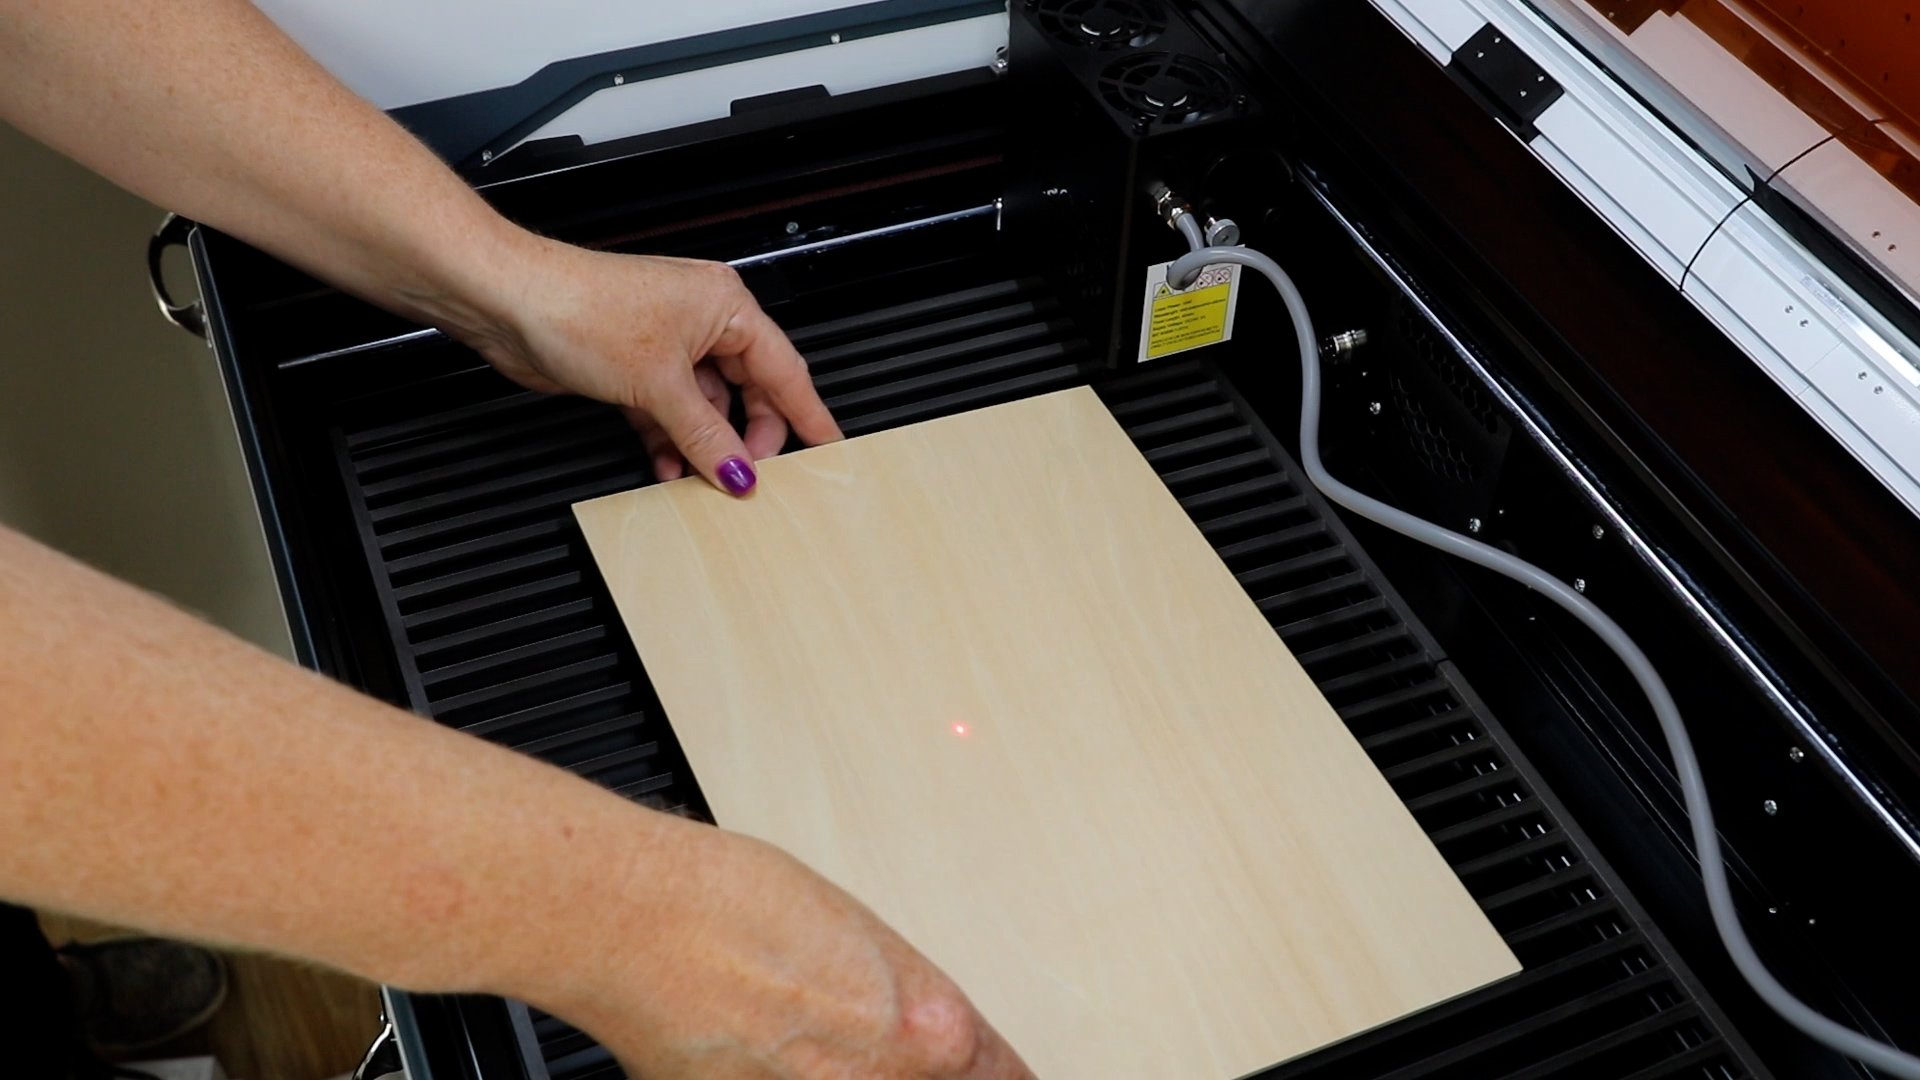
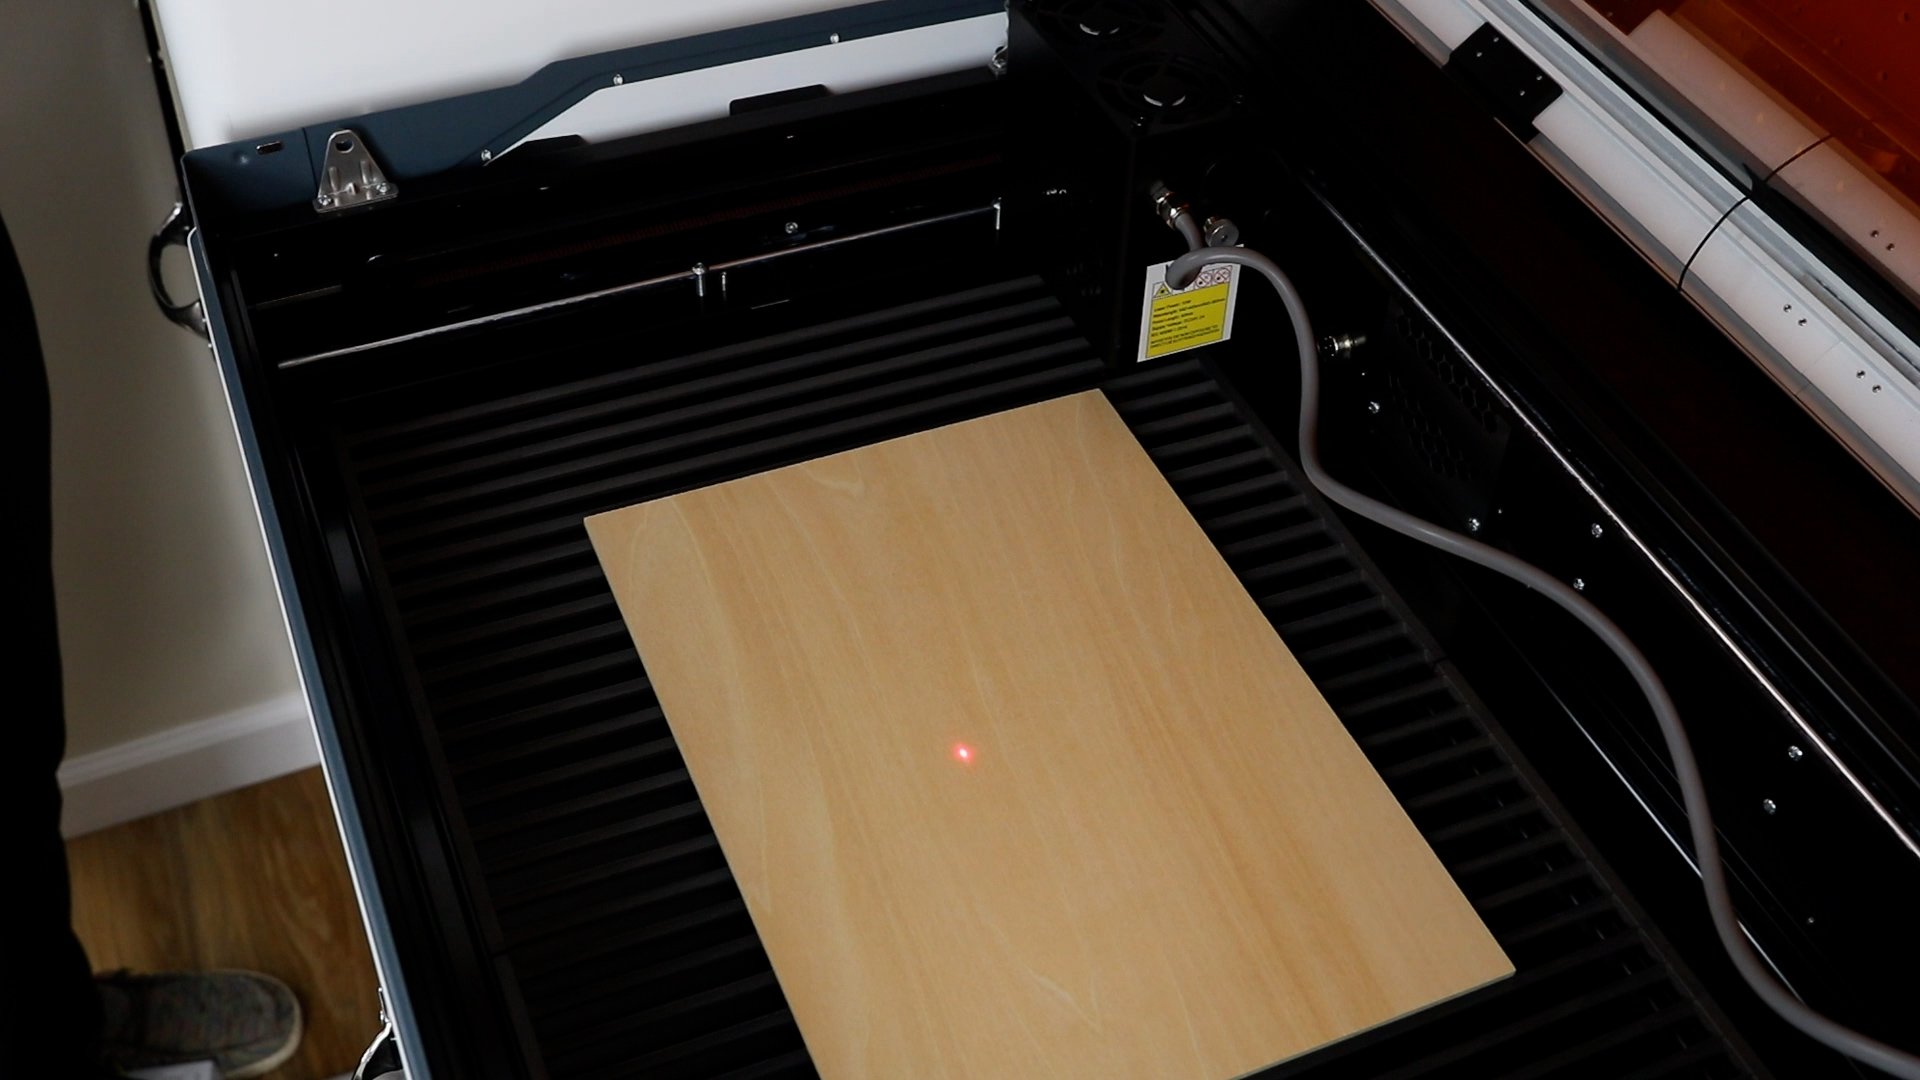
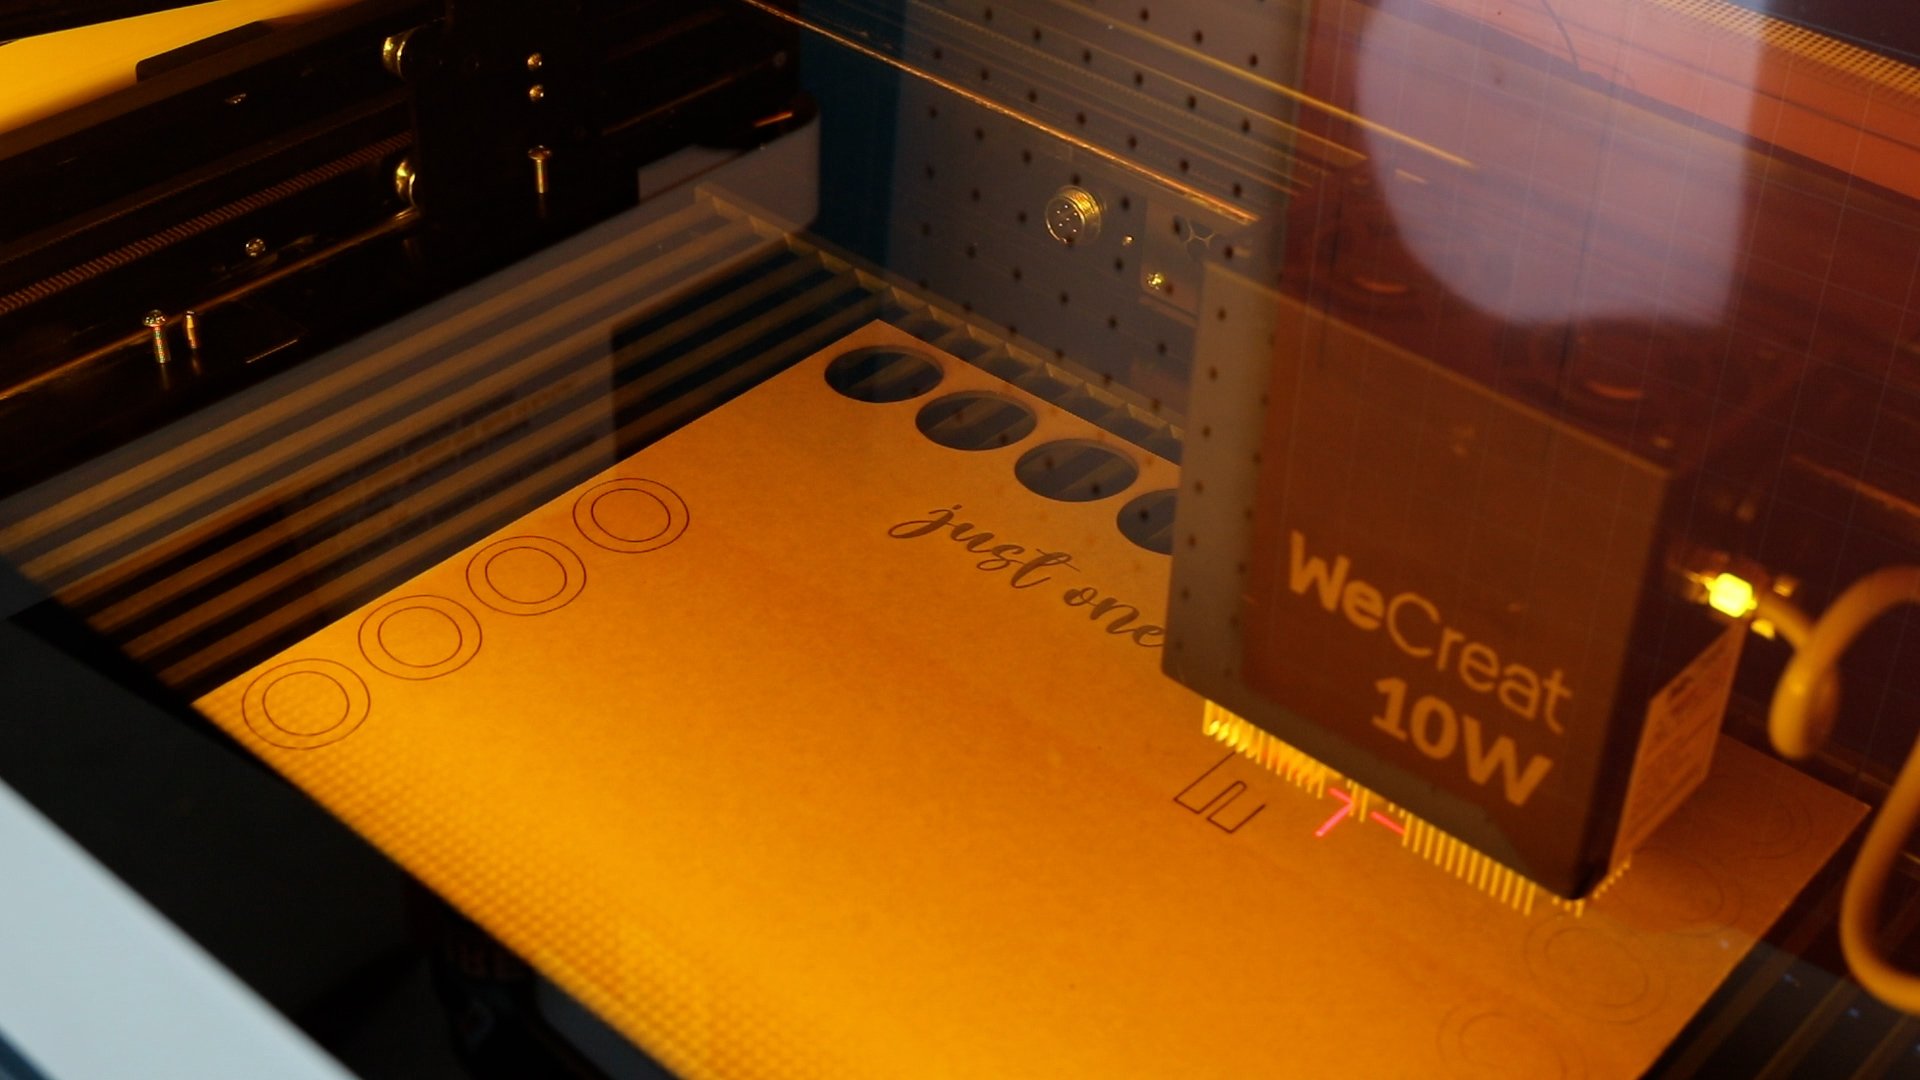
Step 3: Add Material to Laser
Add the material to the laser leaving the lid open so the camera can view the bed of the laser.
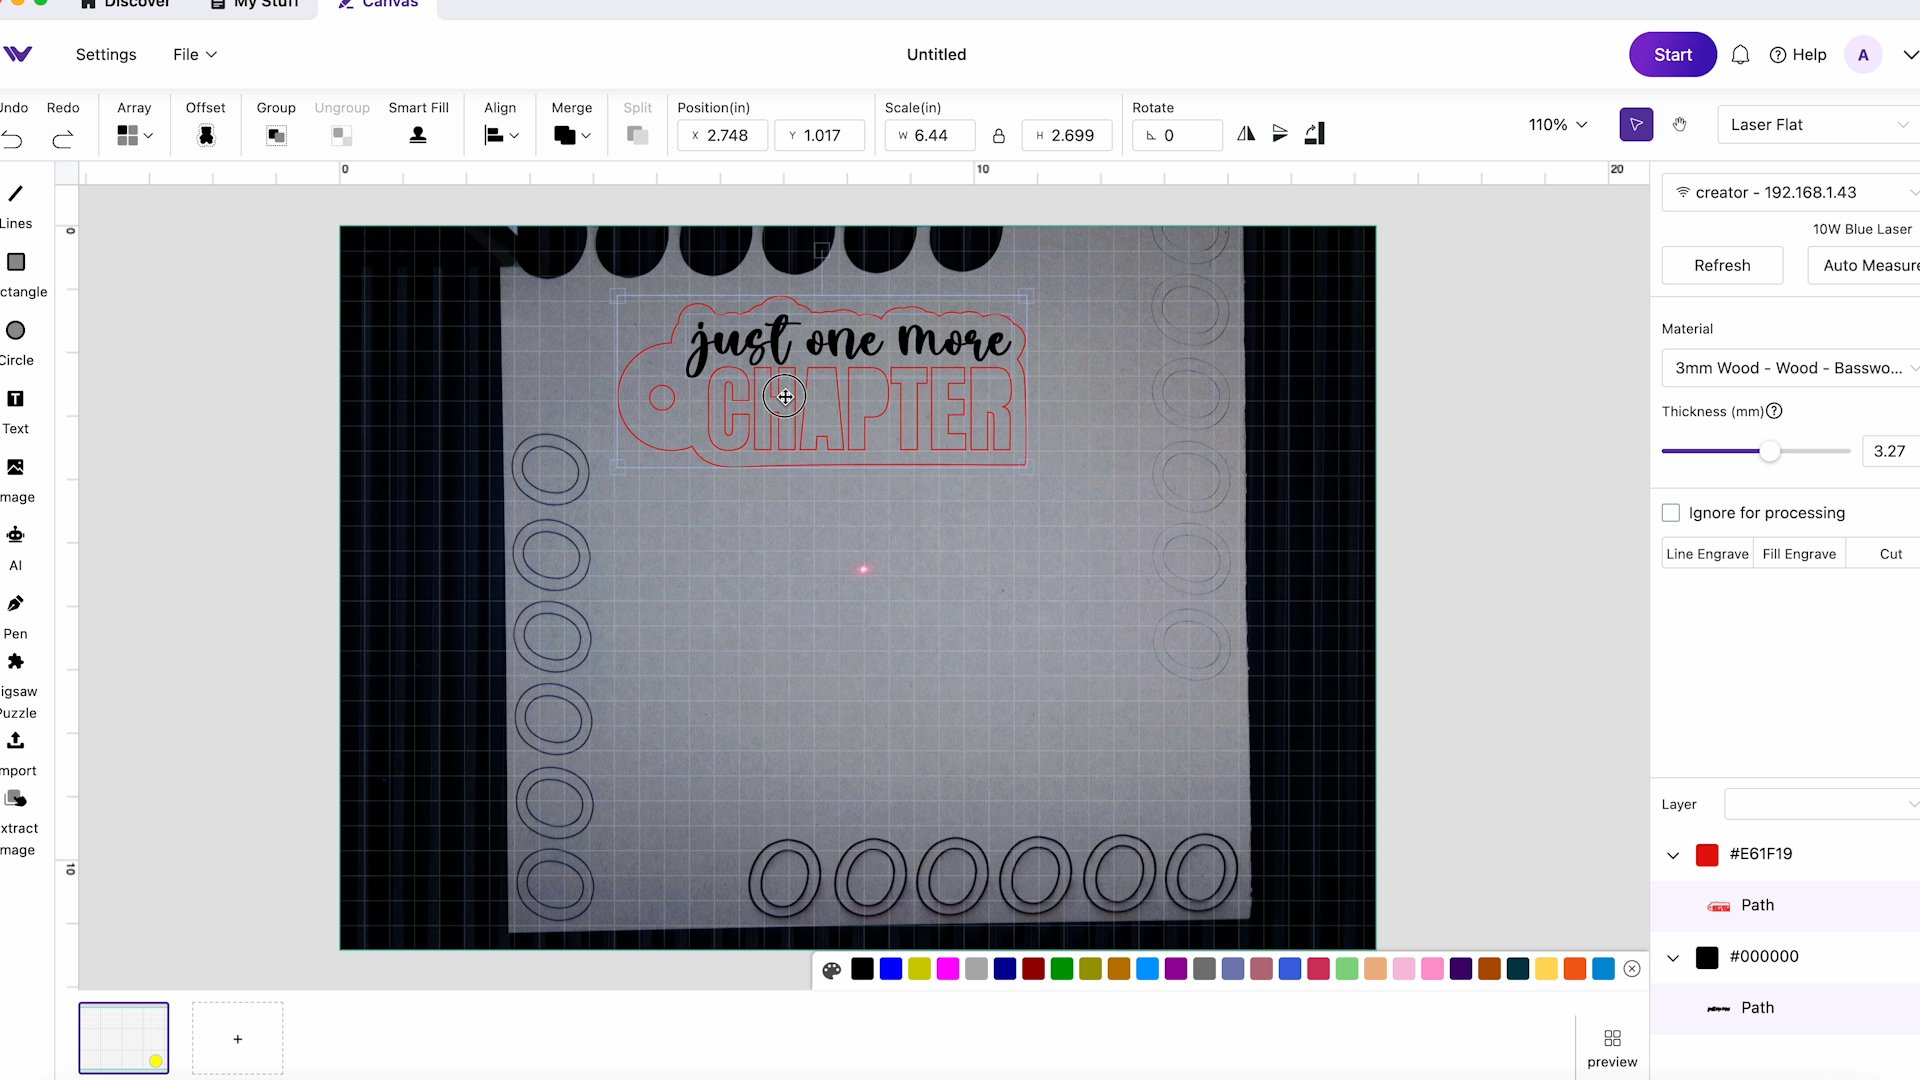
Click Refresh on the screen and now we can see the material in the laser. With the view on the screen, you can adjust the material as needed.
Now I can take my design and move it onto the blank wherever I want it. If needed I can resize it. Make sure you select all layers when resizing to keep the design proportionate.
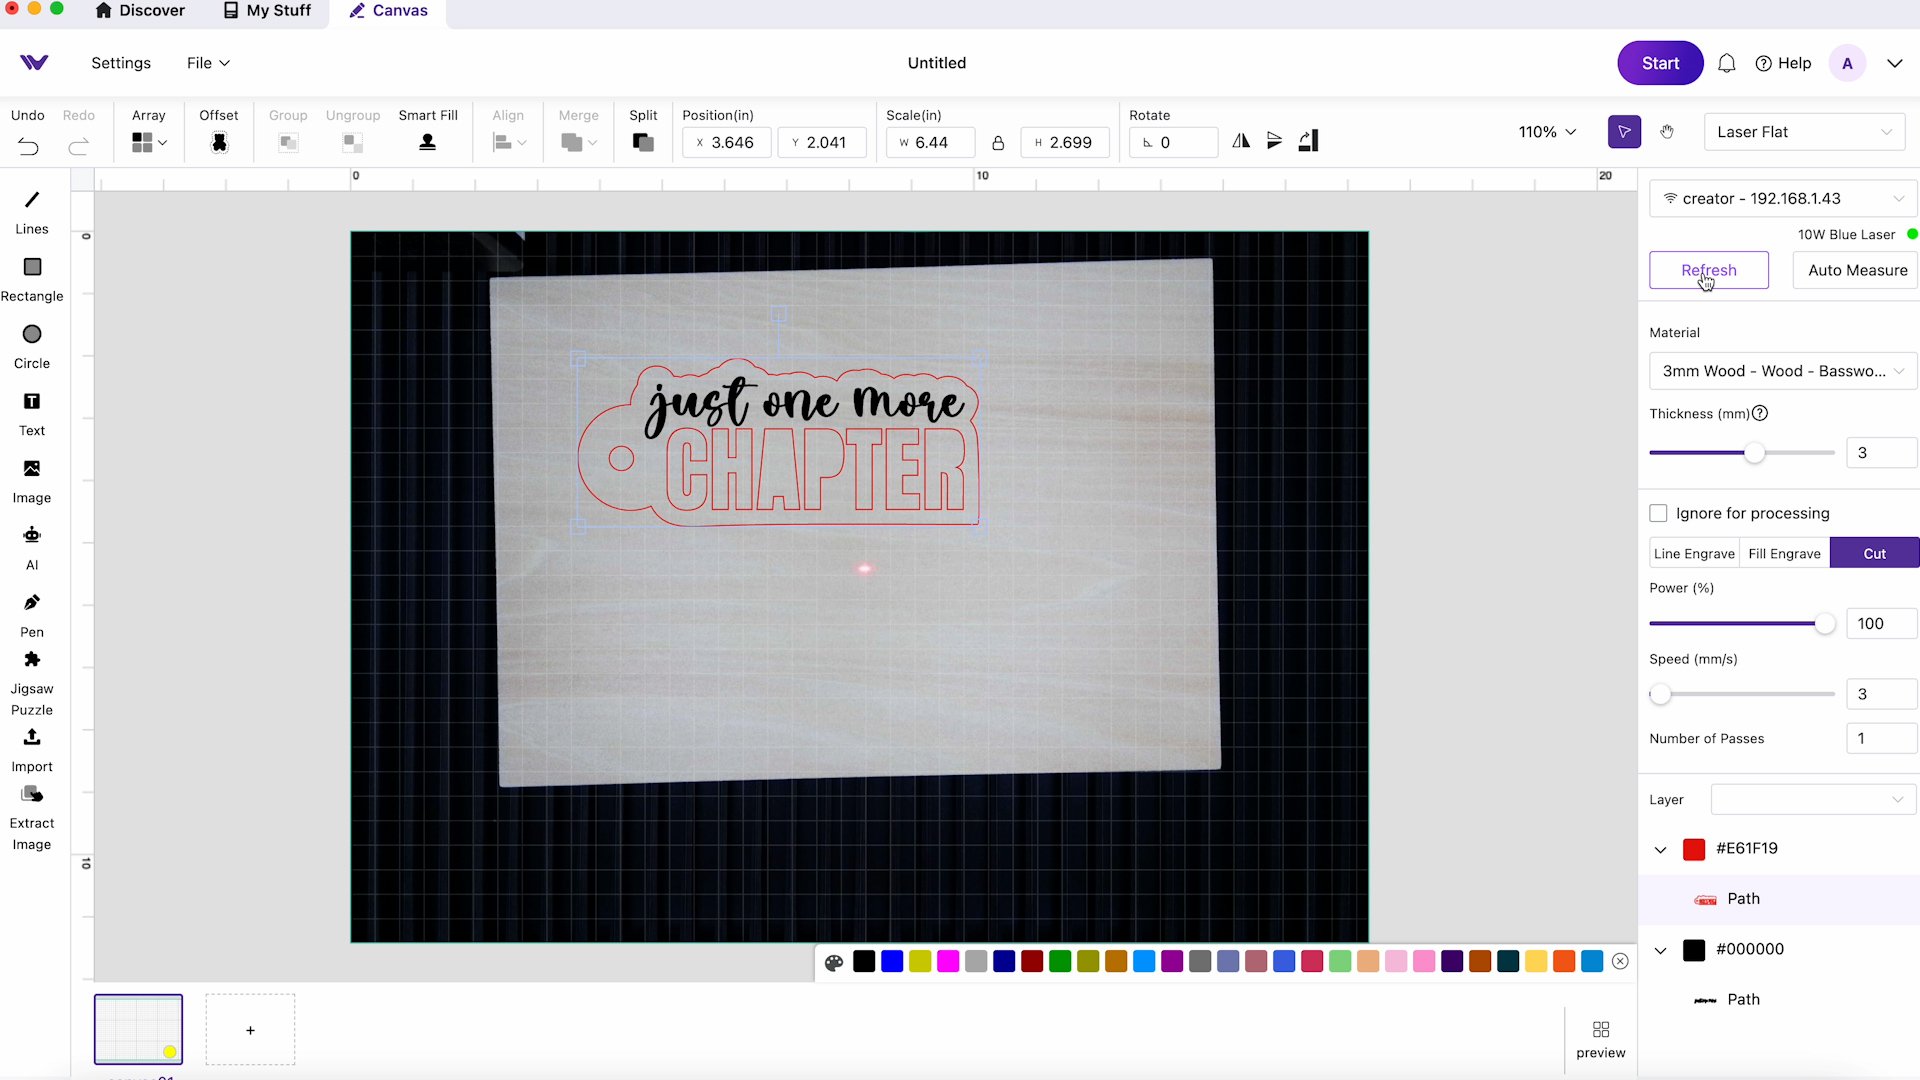
Step 4: Auto Measure and Start
Select Laser Flat for flat materials and then click Auto Measure. Do this step with the lid open. The machine will use the camera to auto-measure the distance.
When that is done, close the lid and click Start. When you click Start you will see how long the processing time is. With the settings I selected it is giving me a 30-minute processing time. That was for a very dark engraving.
I changed my settings to a power of 100 and speed of 100 and that gave me a processing time of about 11 minutes.
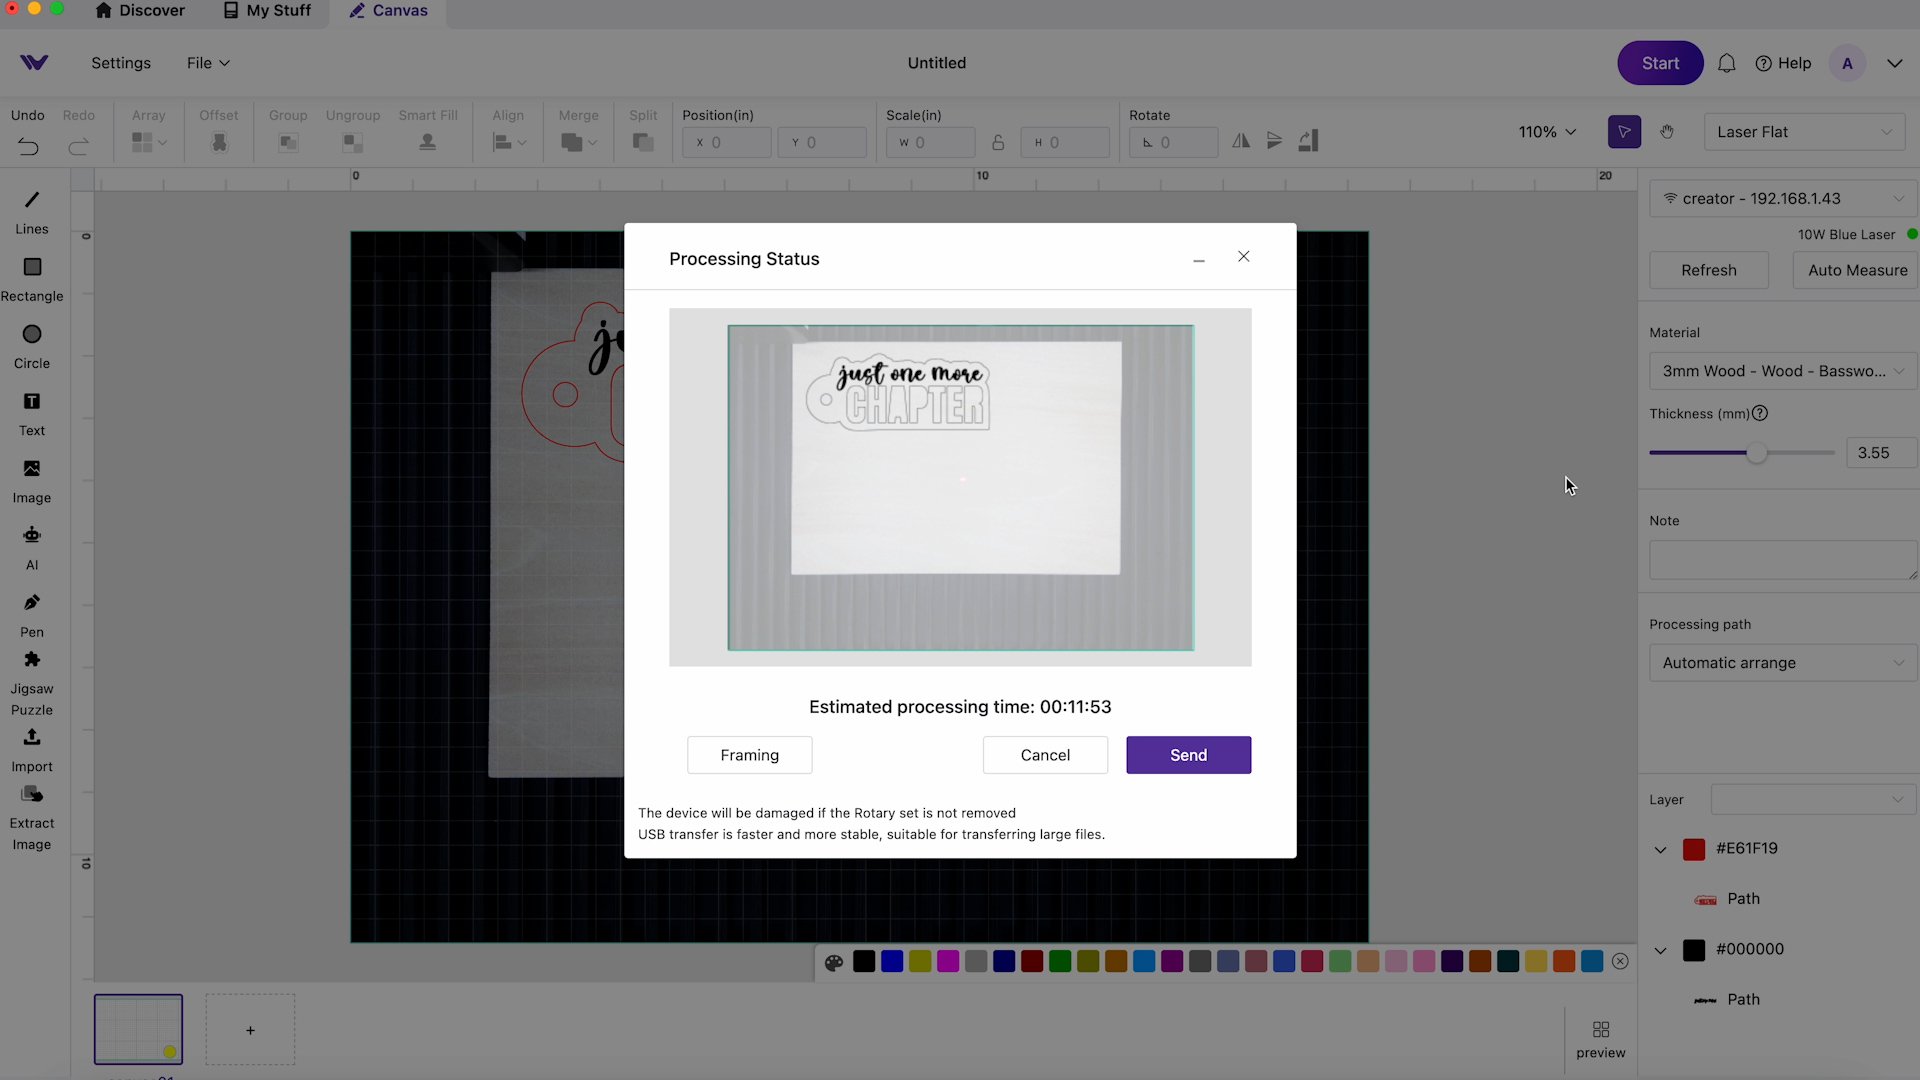
Press Send to send the design to the Vista and it will cut and engrave the design. Make sure to vent out a window or turn your air purifier on before you send.
Step 5: Remove Project
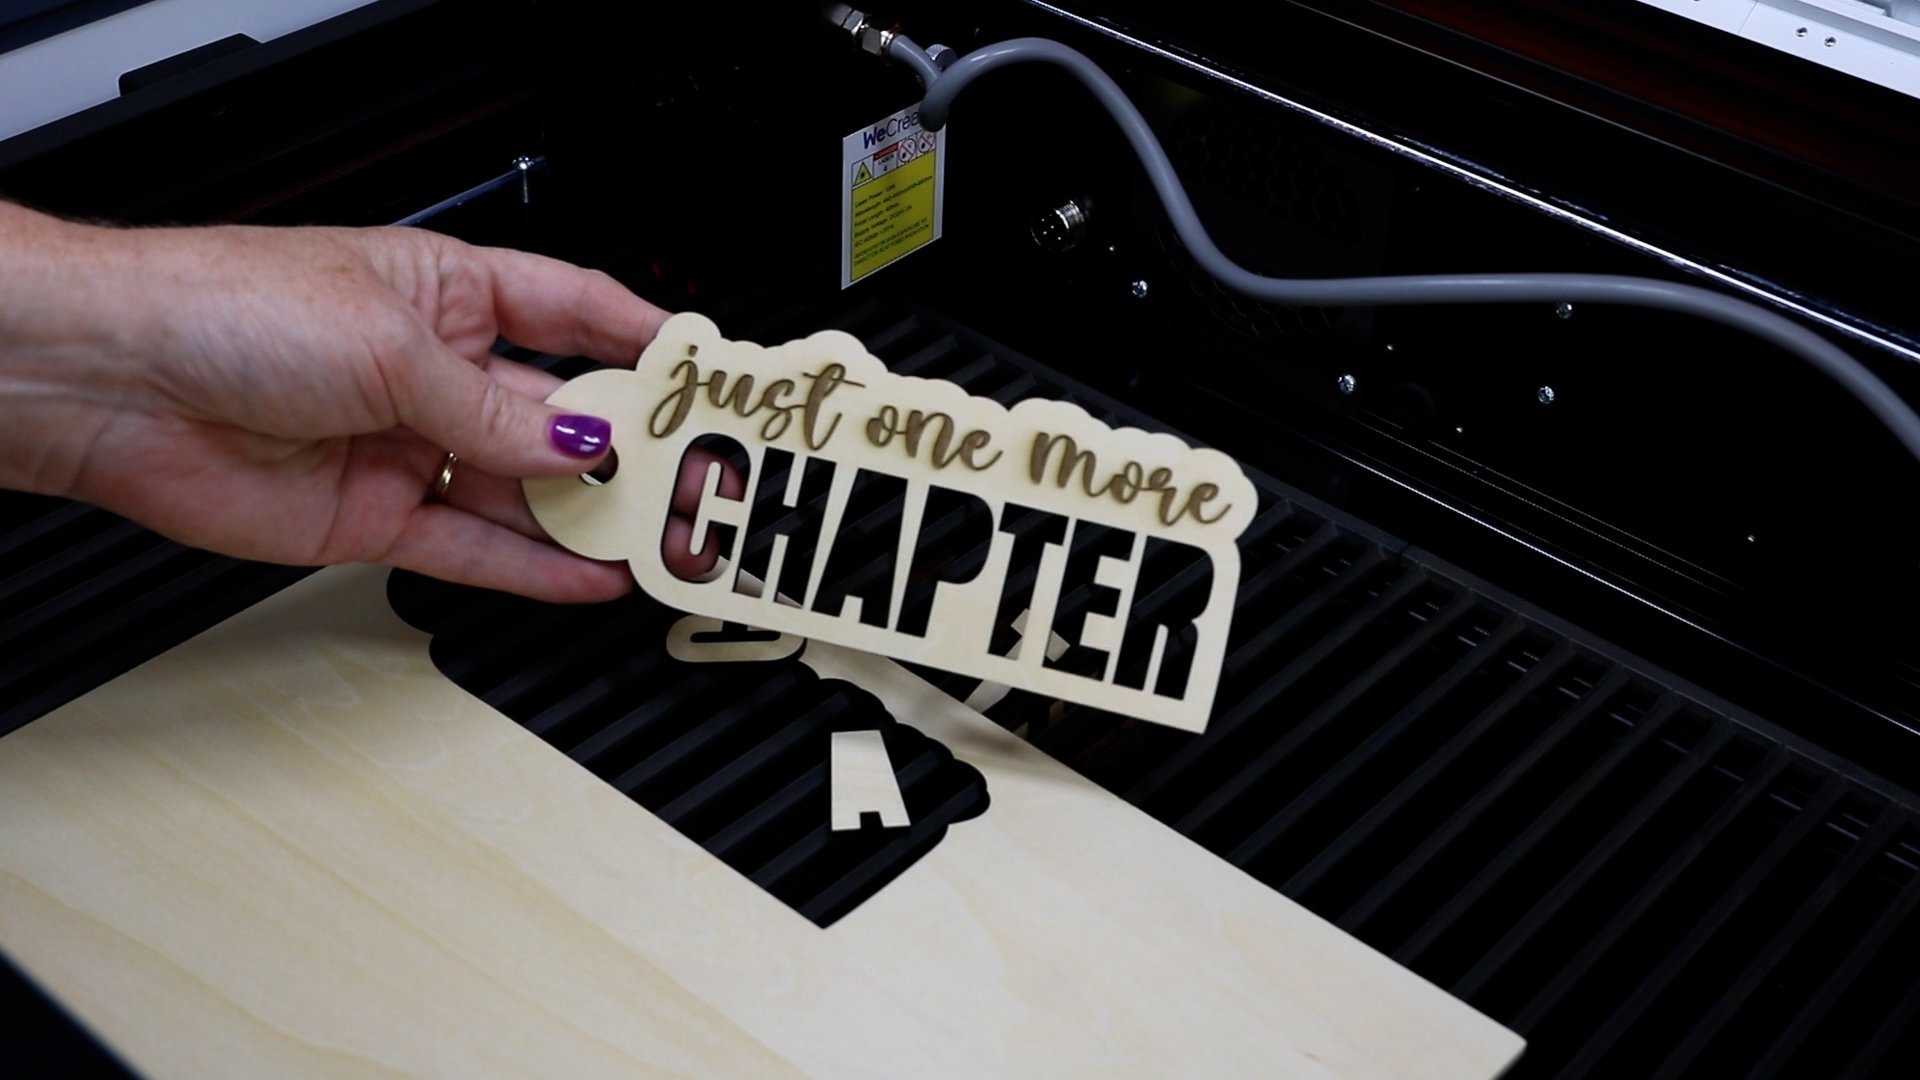
When the processing is complete lift the lid and you can remove your project from the laser.
My bookmark turned out perfect. All that’s left to do is add a little tassel to the top.
How to Cut and Engrave Acrylic with the WeCreat Vista
For the next project, we’re going to use the same design on a piece of acrylic.
Step 1: Add Material to Laser
I am using an acrylic piece that I have used before and added it to the laser.
Click Refresh so you can see the blank on the screen and move the design where you want it. Make sure it’s not overlapping any previous cuts.
Step 2: Select Material and Settings
Next, we need to select the material. I am selecting Acrylic Blank Three-Millimeter. Click Confirm and then check the settings.
I ended up using cut settings of 100% Power, 3 Speed, and 2 Passes. The engraving setting I used was 100% Power, 70 Speed, and 1 Pass. This is what worked best for me with acrylic.
Step 3: Auto Measure and Start
Click Auto Measure with the lid open and then close the lid. Click Start, check the processing time and if it’s okay click Send and the Vista will cut it out. Don’t forget to make sure your laser is either vented out a window or connected to a purifier.
Step 4: Remove and FInish
When it’s finished, remove the acrylic from the laser and we’re ready to proceed.
The acrylic has a masking on it. Before removing the masking I want to add paint to the engraved portion. Using a paint pen I added a couple of coats of paint to help make the engraving pop off the blank.
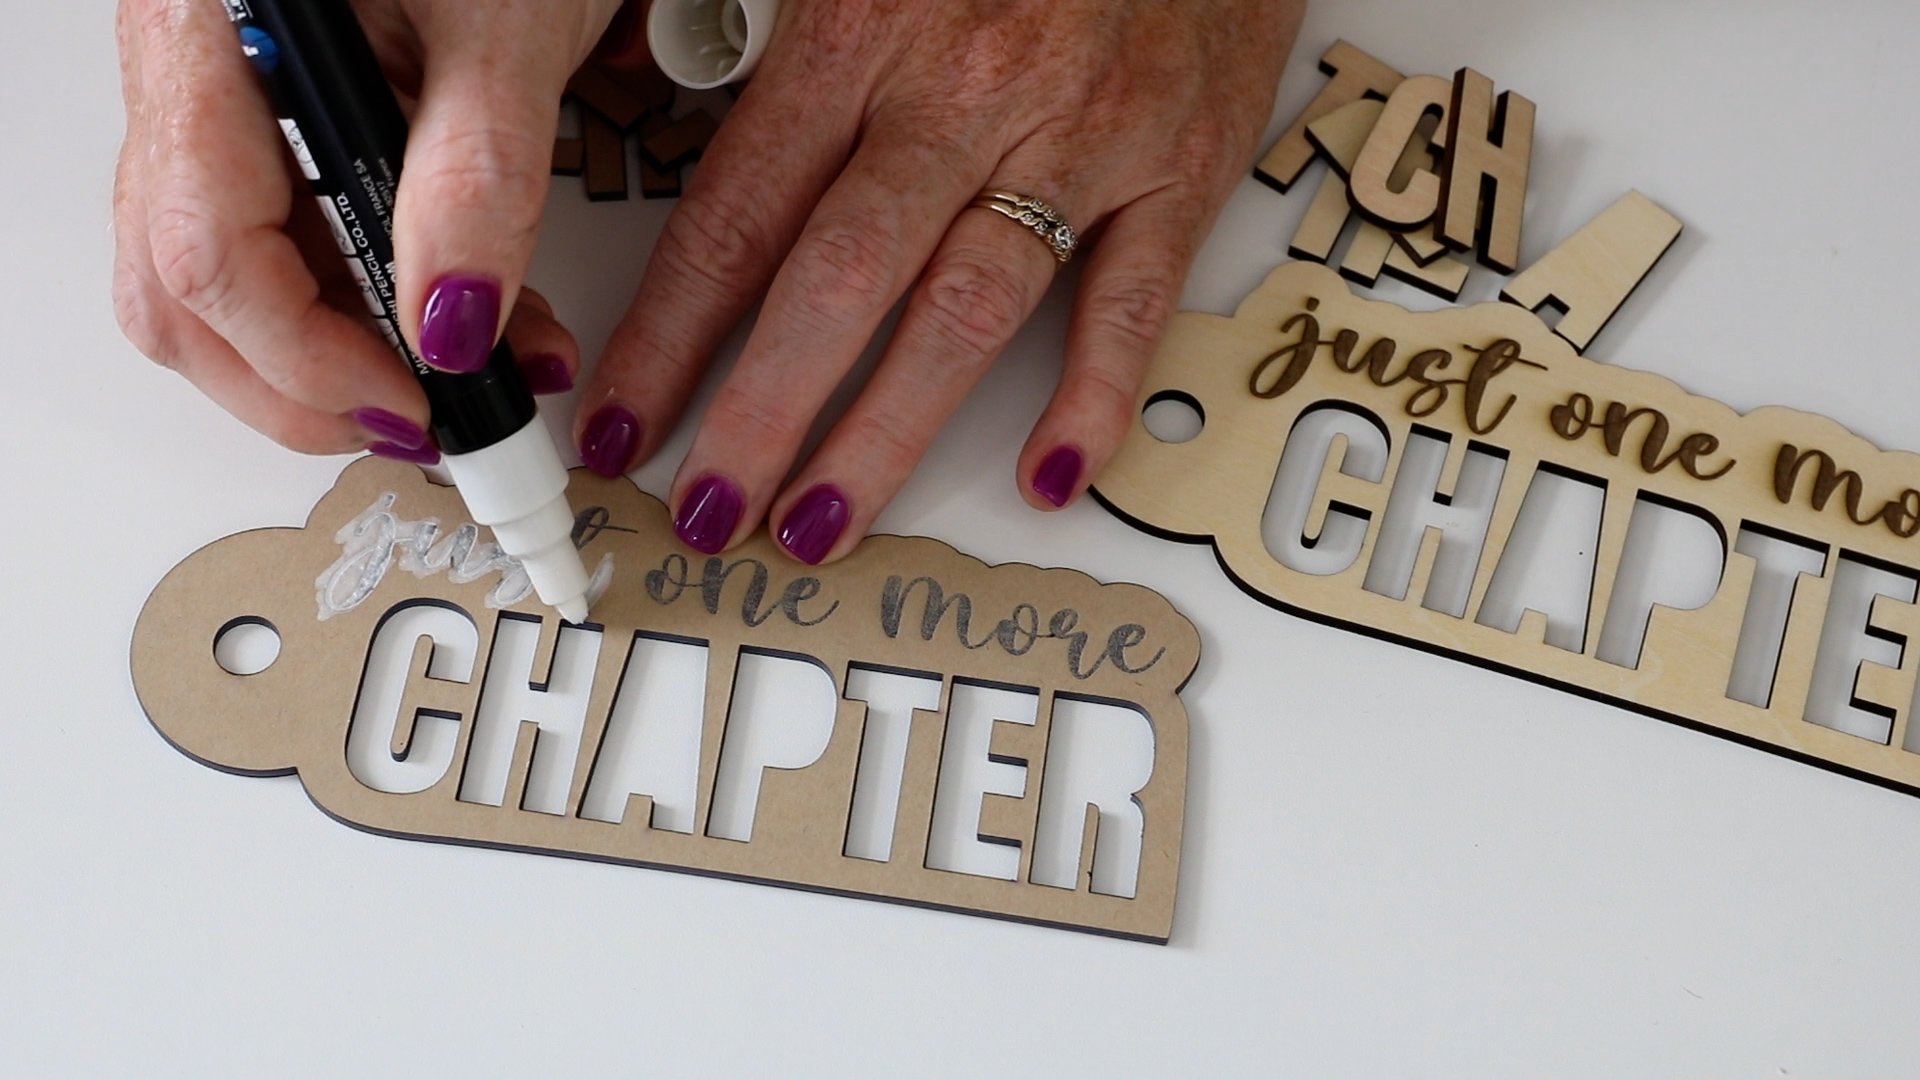
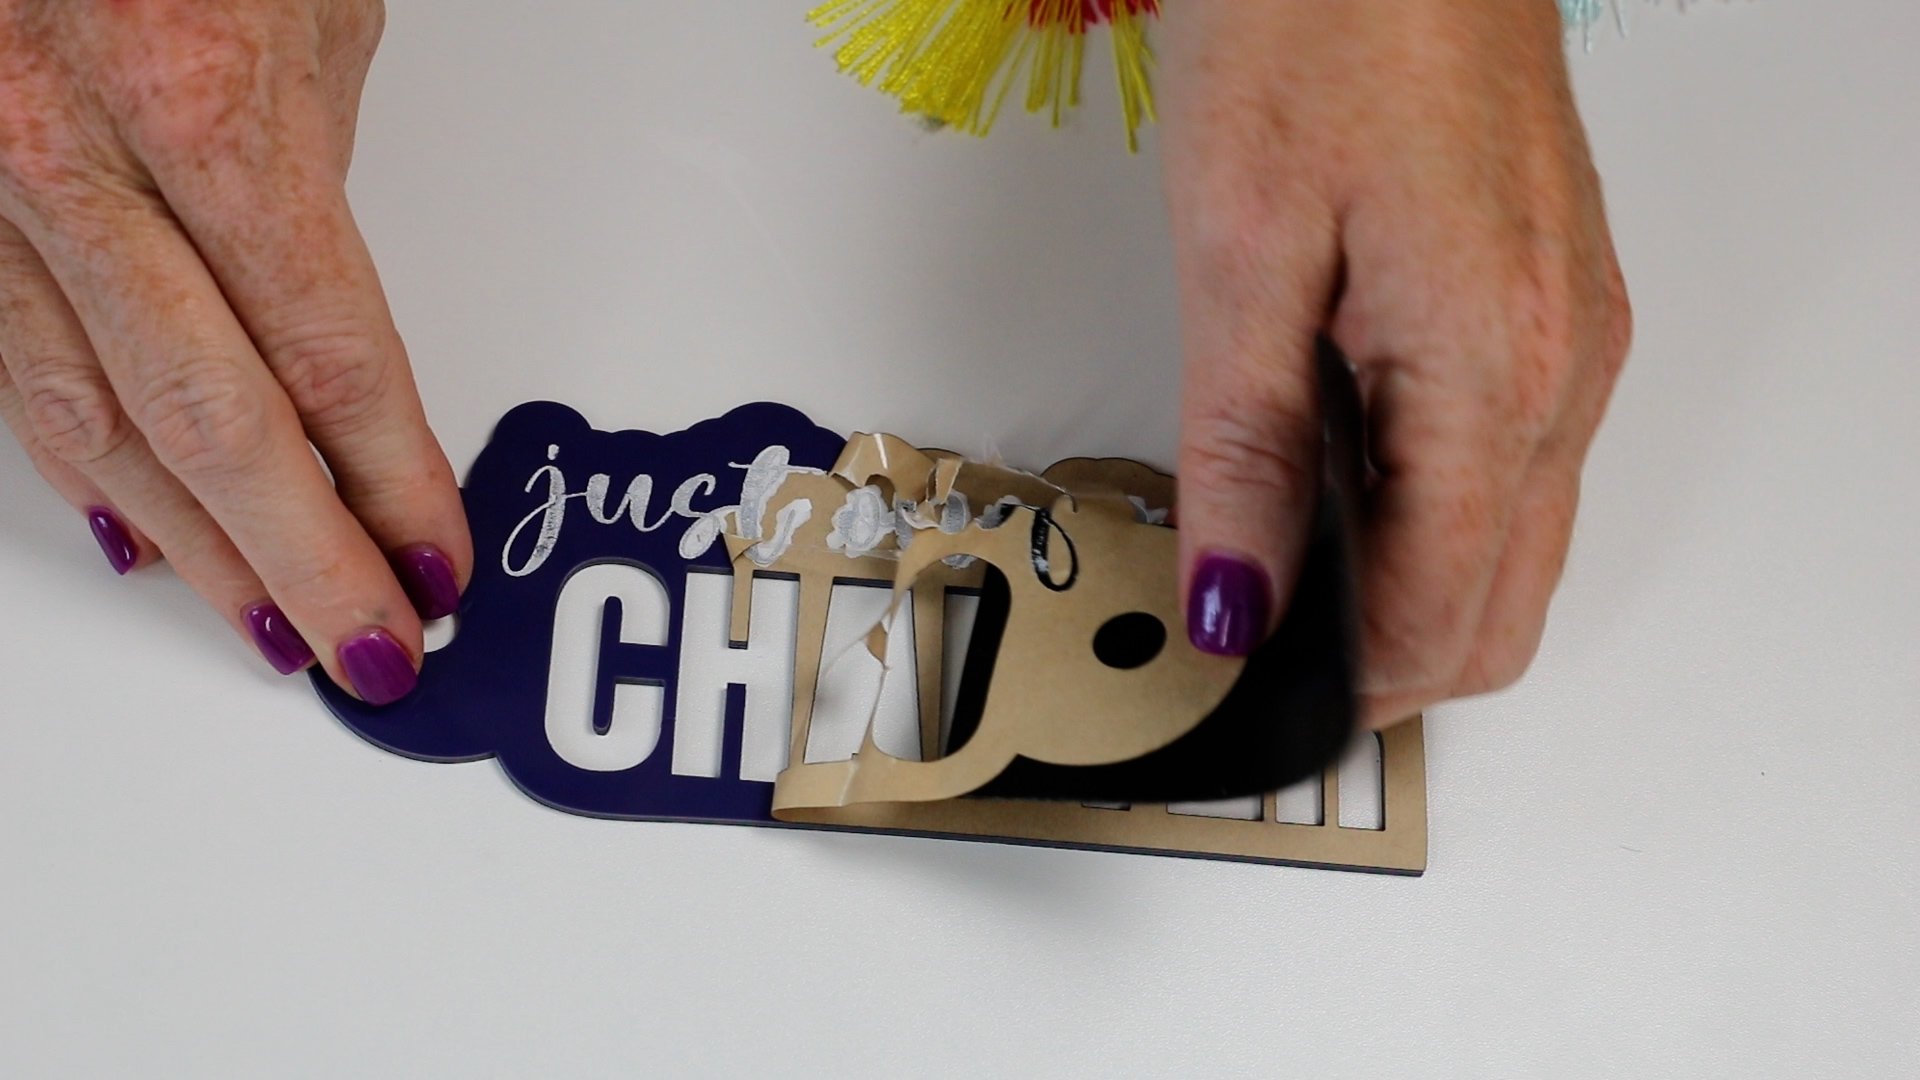
After the paint has dried, remove the masking and you can see the paint is a great addition to this project. Adding paint is optional and you can decide which look you like best.
I’ll add a tassel to the end like I did the wooden bookmark to finish this project.
How to Laser Engrave a Tumbler
To make a laser engraved tumbler you will need the rotary accessory for the Vista. This is an additional purchase and does not come with the laser itself.
Step 1: Assemble the Rotary Accessory
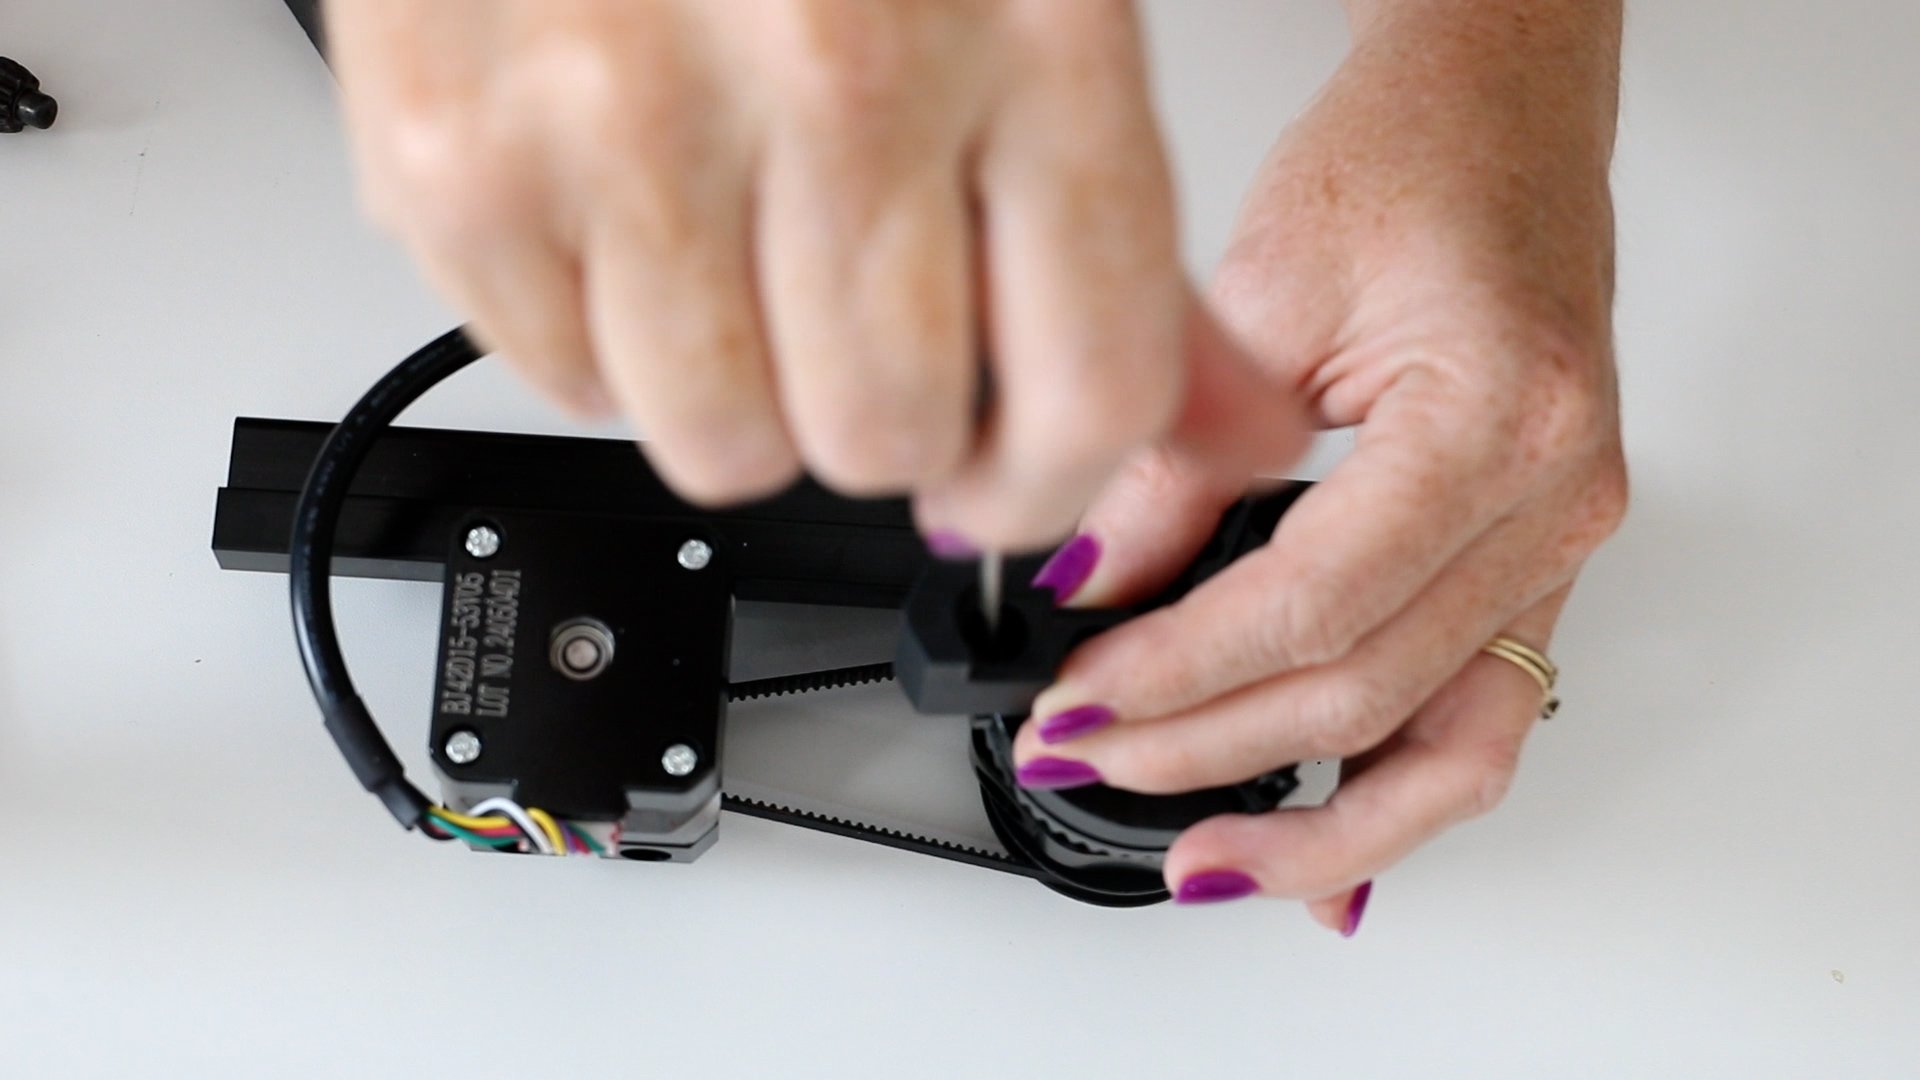
There are two pieces to the rotary accessory and first, we need to assemble the pieces to the chuck. There are different pieces and which one you need depends on the object that you’re going to engrave. You can change the pieces as needed to fit your blank.
To assemble this end I will add two screws to each piece and put them on the chuck assembly.
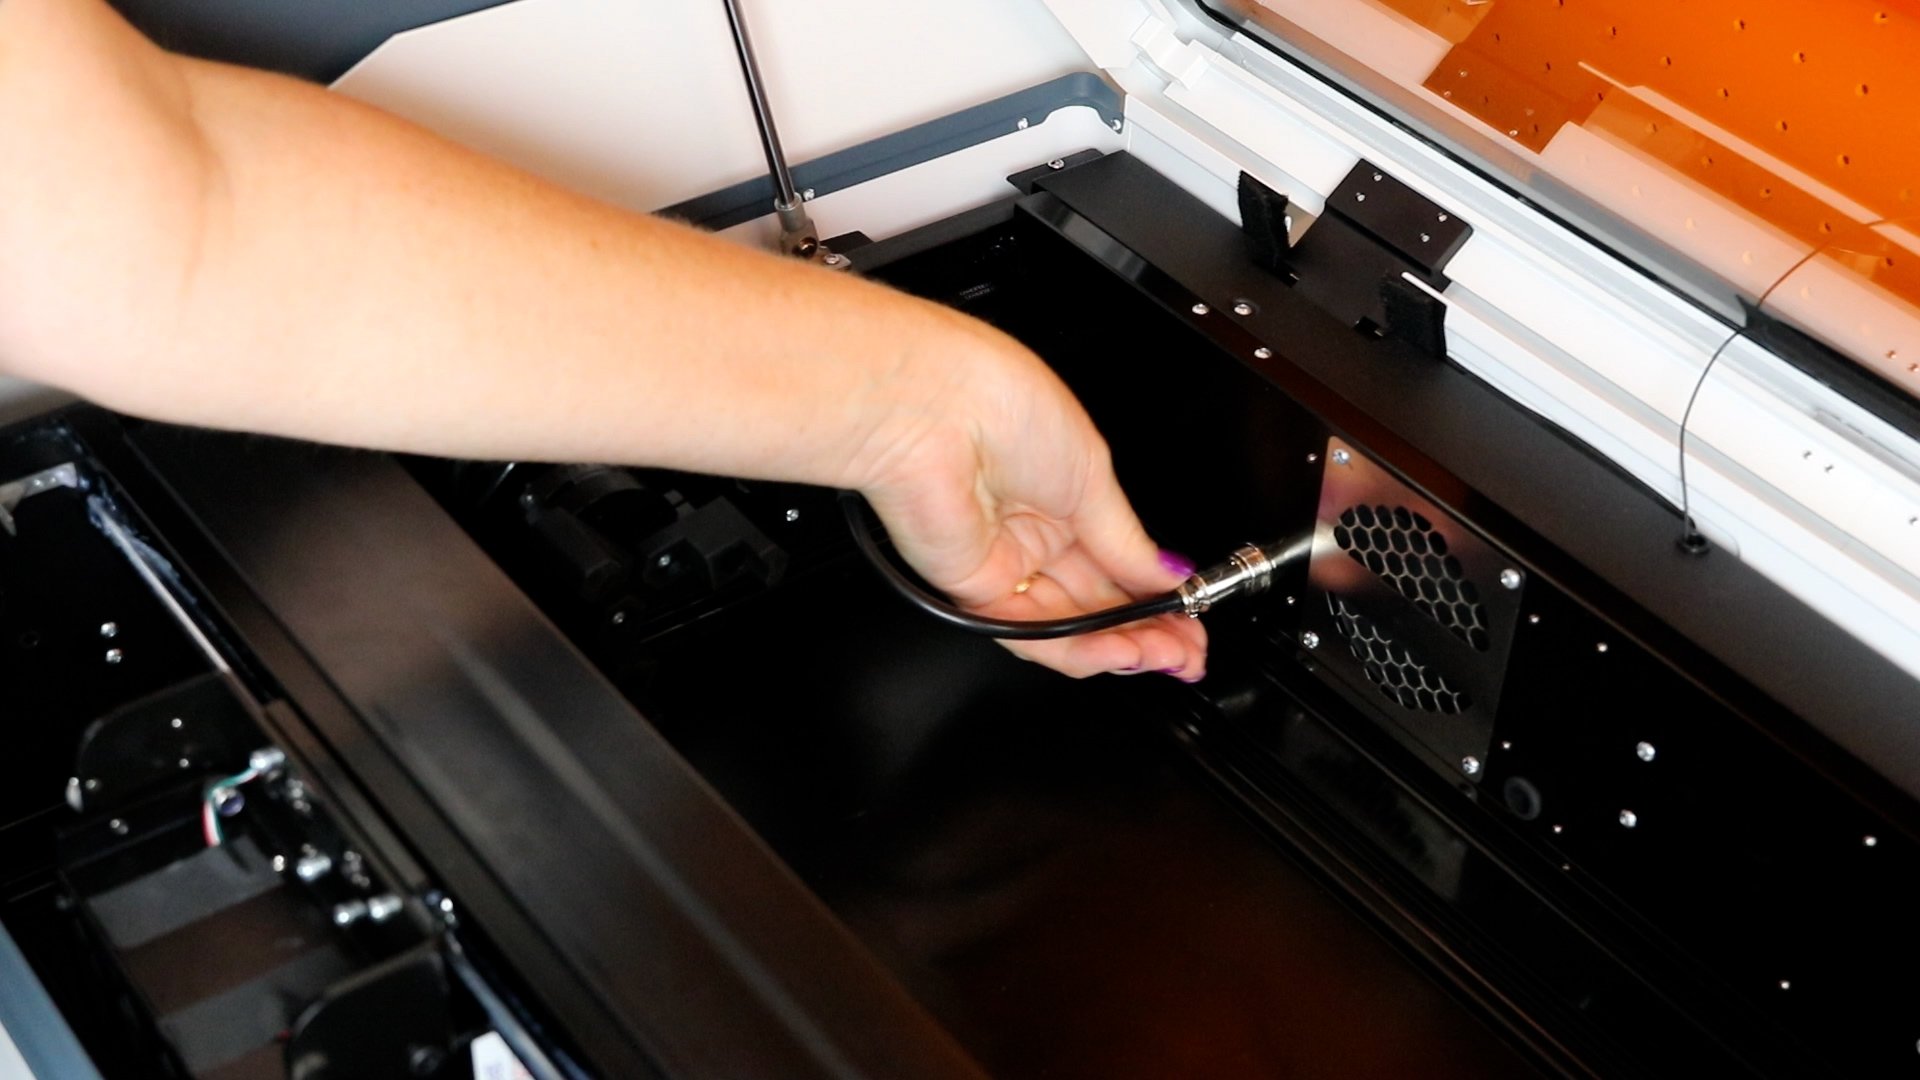
Step 2: Attach Rotary Accessory to the WeCreat Vista Laser
Follow the steps for flipping the laser head and then we can add the rotary accessory.
On the left side of the laser bed there are two screws. Remove them from the laser and add the rotary accessory. Line it up so you can add the screws back to the laser bed to hold the rotary accessory in place.
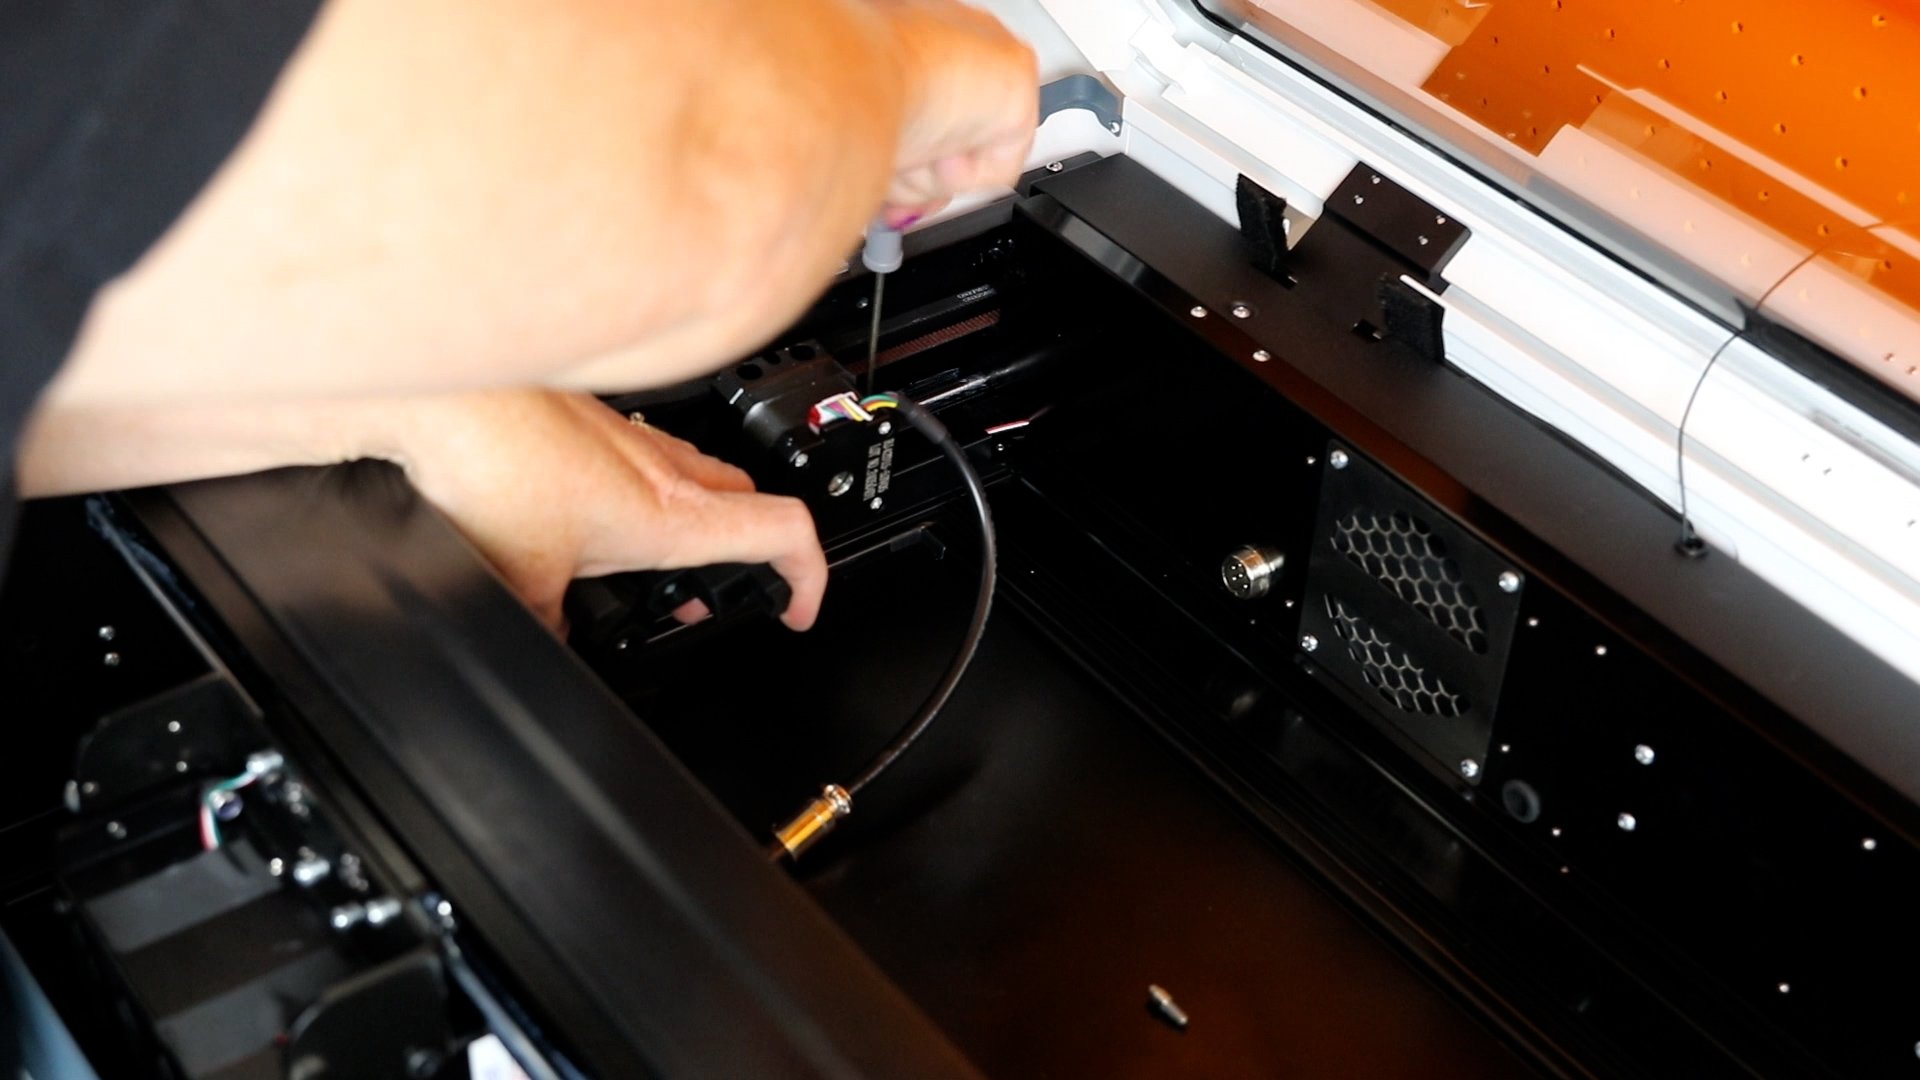
Connect the power for the rotary accessory to the back of the machine and now we’re ready to add our blank.
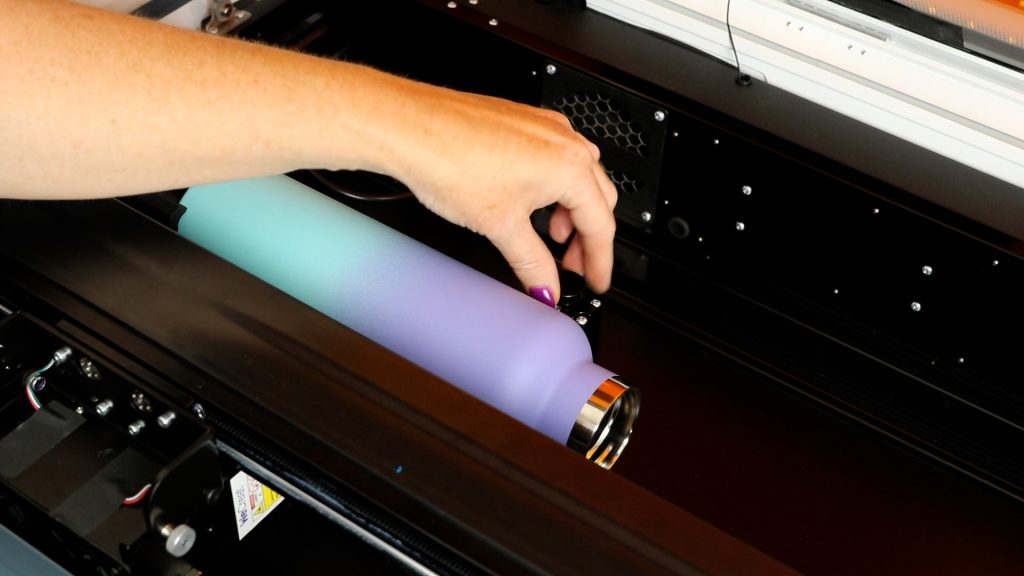
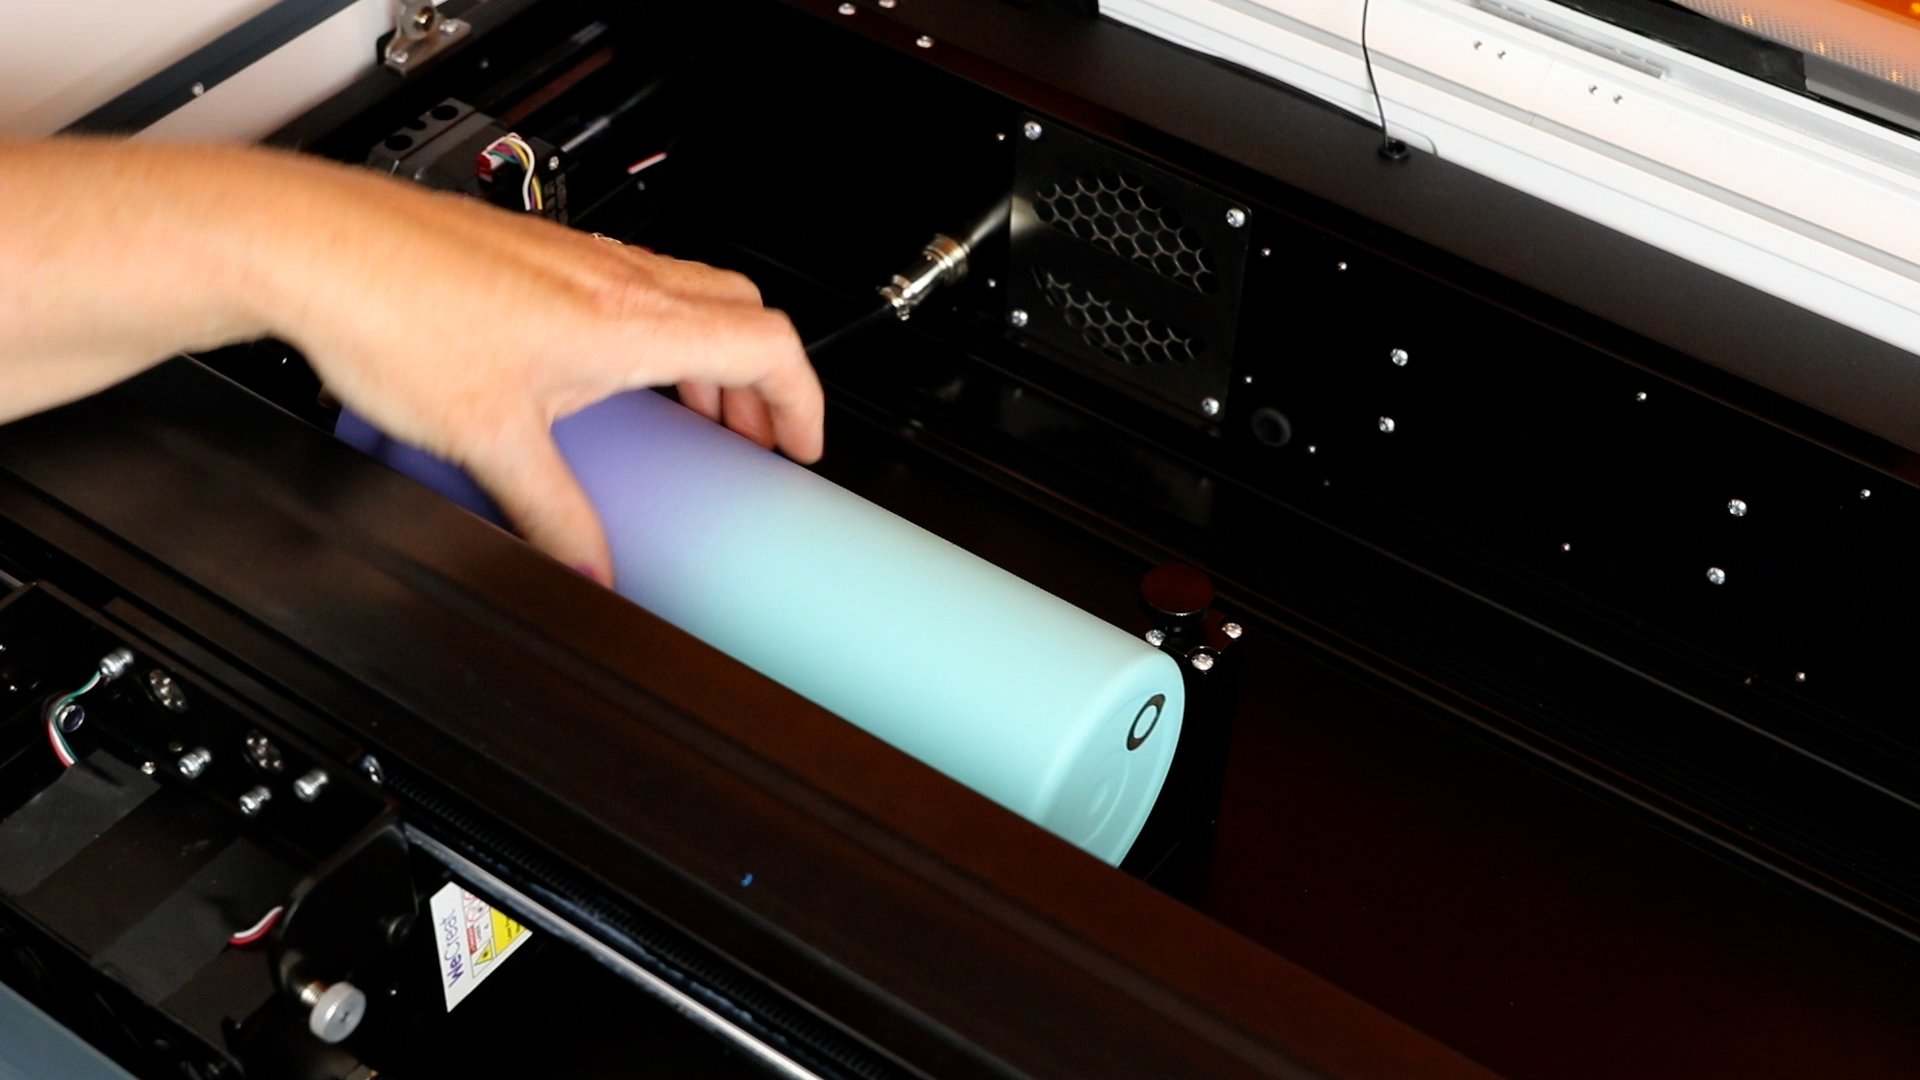
Step 3: Add a Tumbler to the Rotary Accessory
There is a key to tighten the chuck. Add the tumbler to the chuck and tighten it in place.
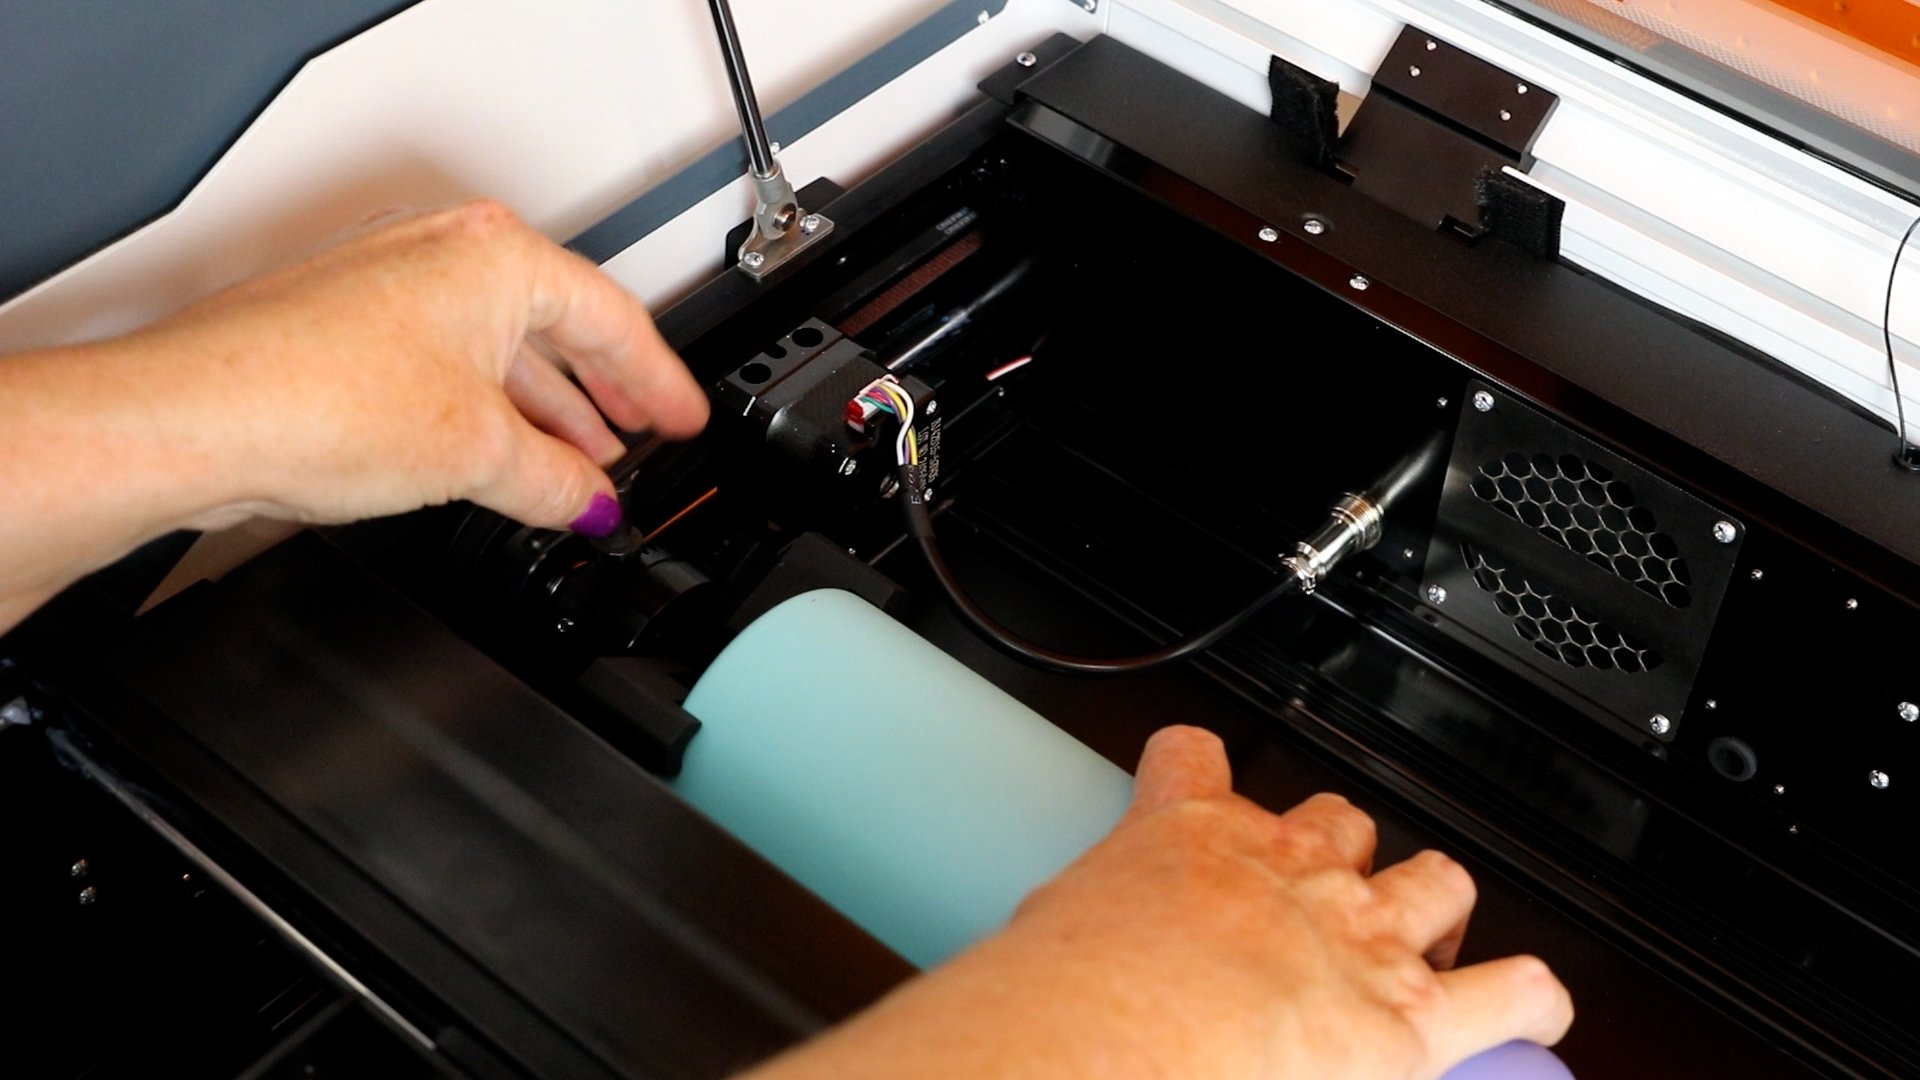
There is a second piece to the rotary accessory that you add under the opposite end of the blank. This piece can be raised or lowered to level the blank.
A level comes with the laser so you can use it to make sure your blank is laid out correctly.
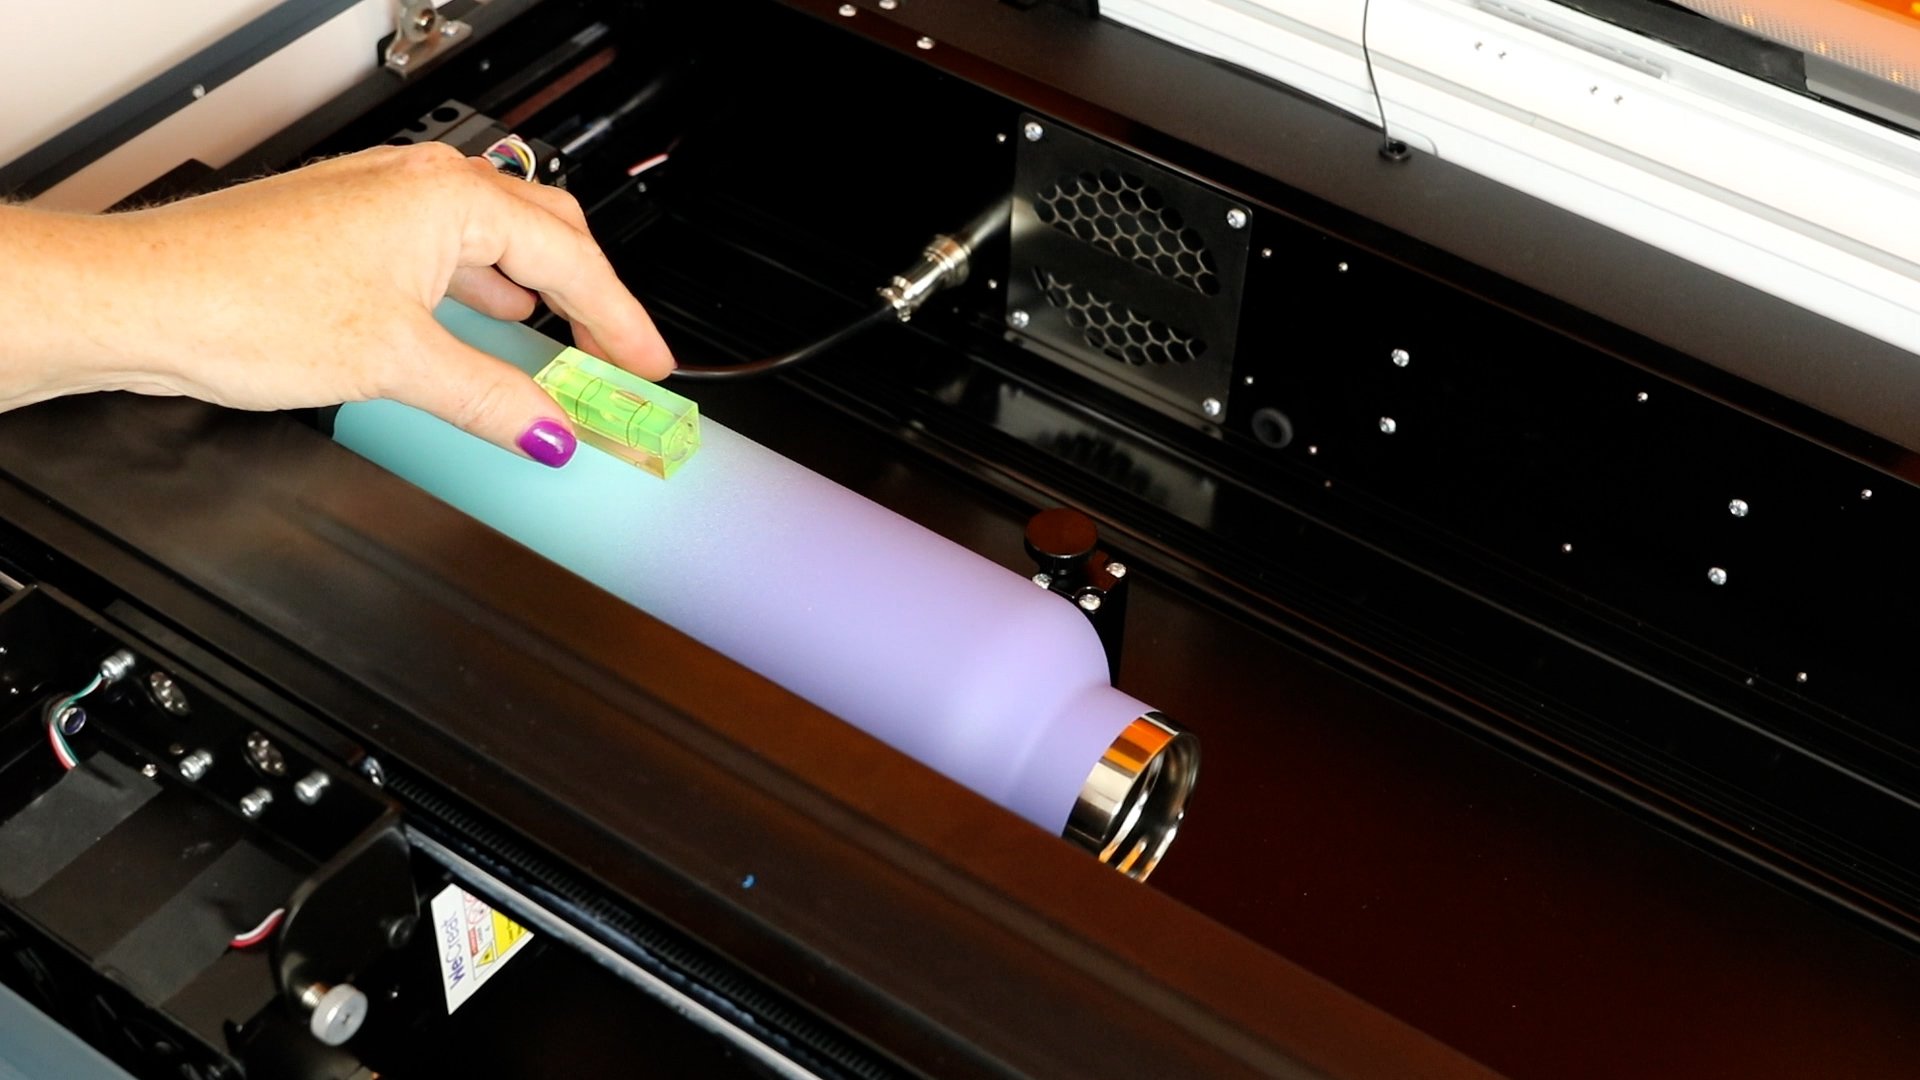
Tighten the chuck piece as tight as you can and make sure the tumbler is level. You can test if your blank is level by rotating the blank and making sure it doesn’t slip. I ended up having to flip my tumbler around because the bottom was too rounded to stay in the chuck piece.
Because each tumbler is different the only way you’re going to know which way is right is by testing each blank to make sure it stays straight when you turn it.
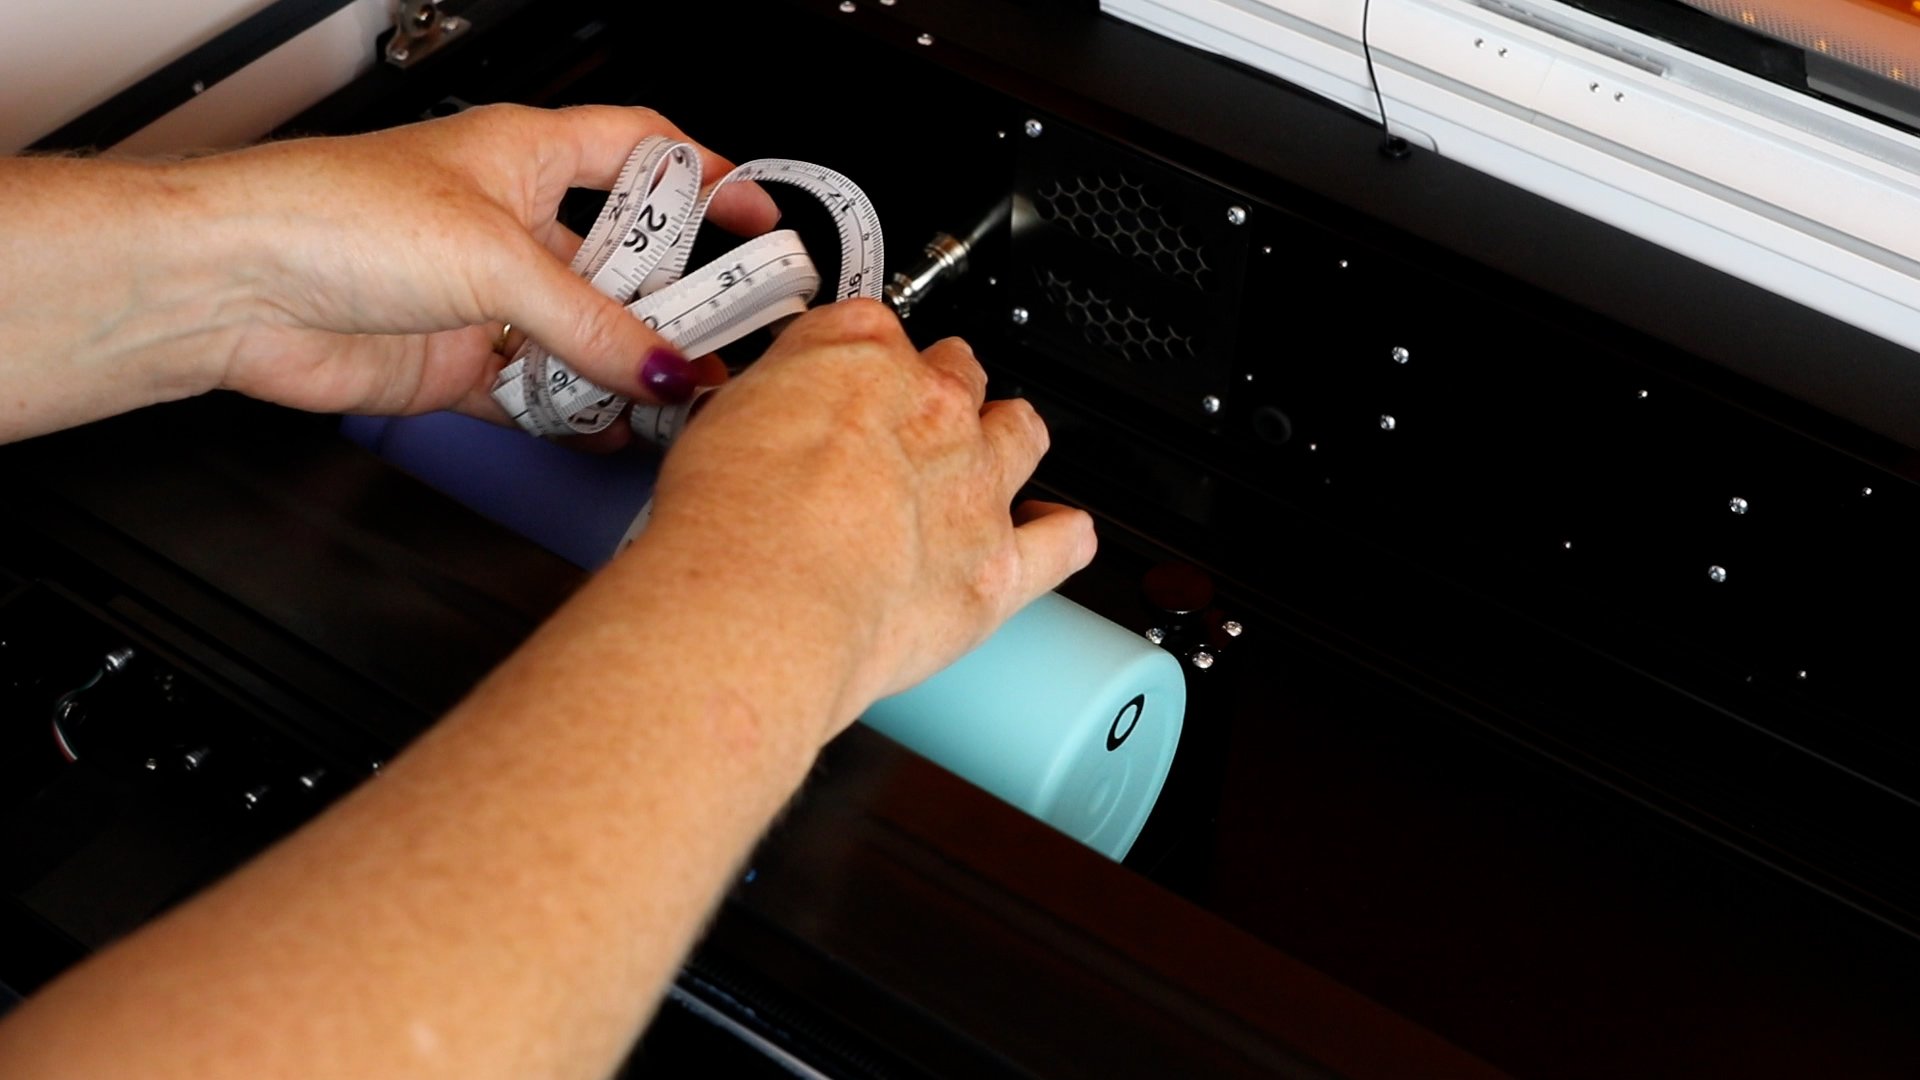
Step 4: Measure the Blank
Next, we need to measure the blank. Use the tape measure that came with the Vista and measure the circumference and the length.
You’ll need this information to make sure the design is located correctly on your blank.
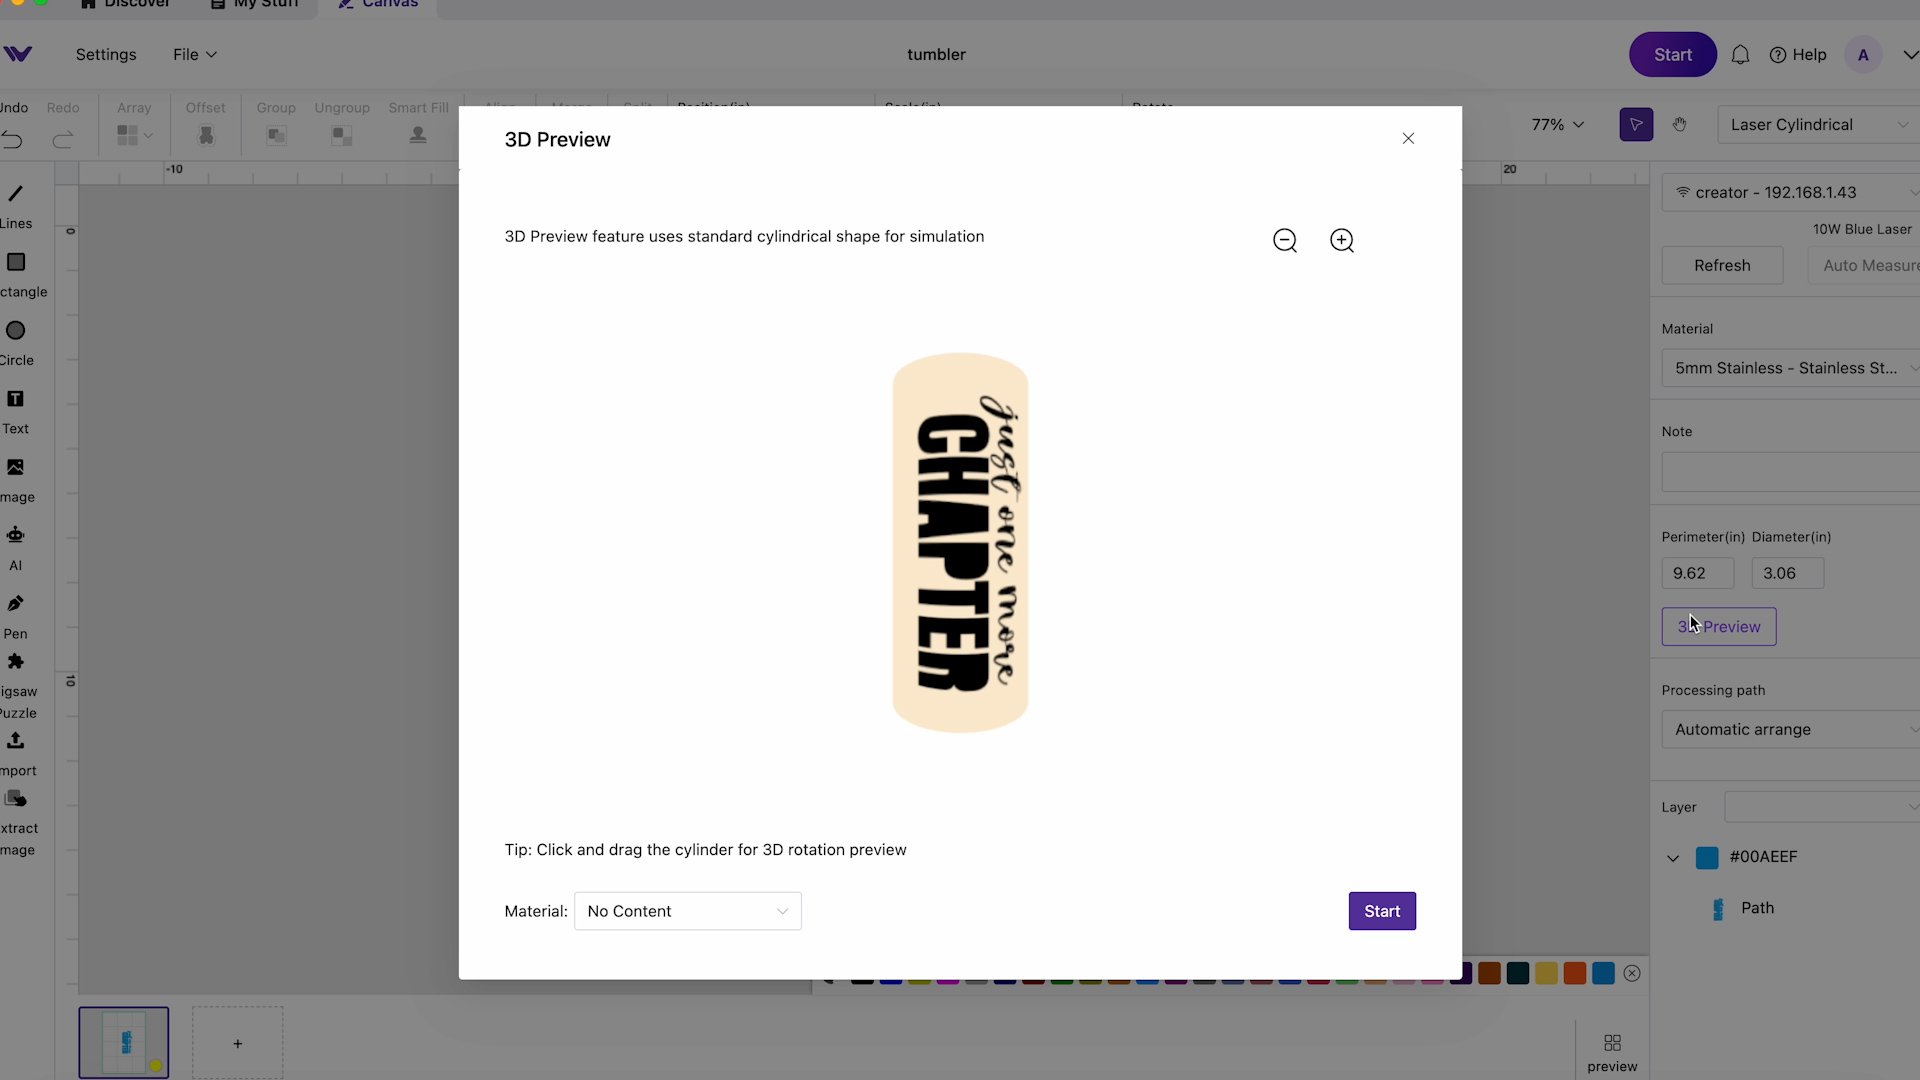
Step 5: Set Up the Design in WeCreat MakeIt
Open the WeCreat MakeIt software and change it to Laser Cylindrical. It will remind you that you need to install the rotary set which we’ve already done. Now you can see that everything has changed on the screen.
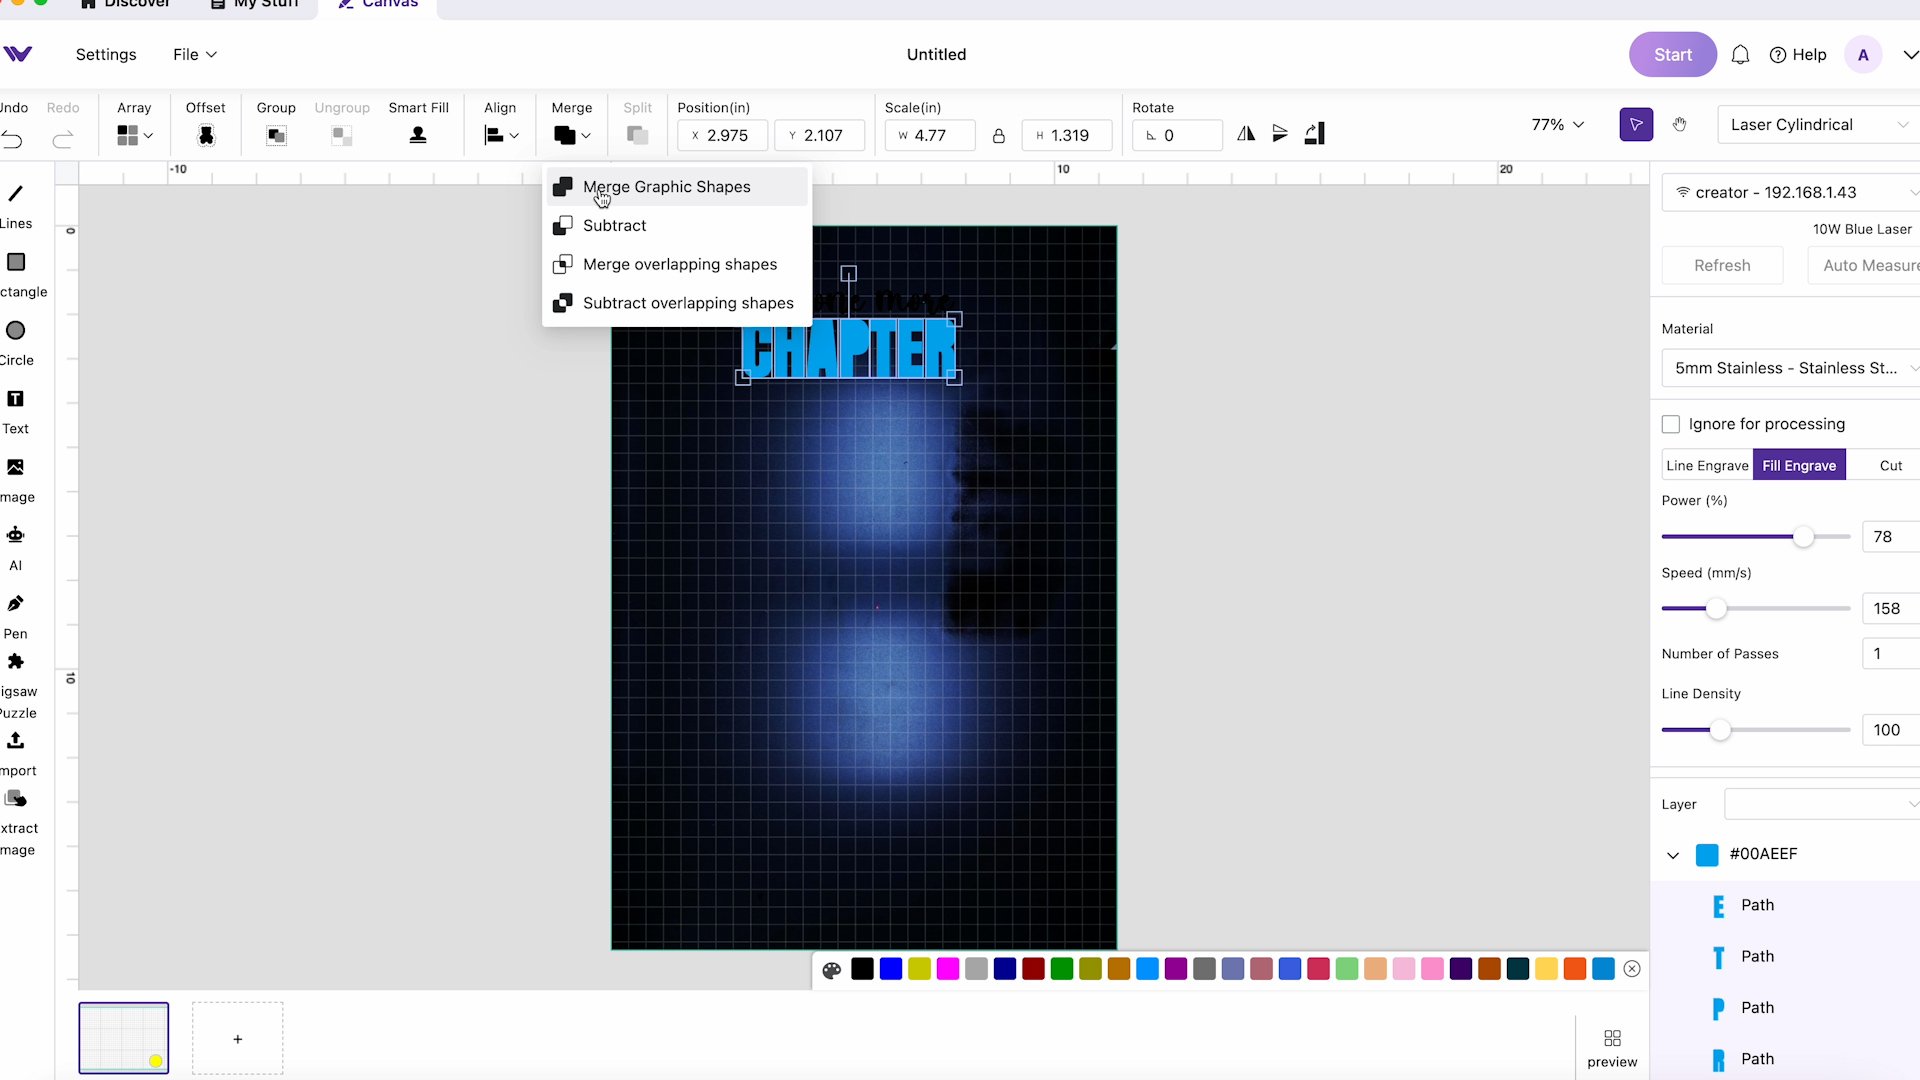
For my specific design, I no longer need the cut layer. Click the outer layer and then click Split. This will allow me to remove the outer cut and the hole that was used for the bookmark tassel.
Next, I am going to change the other cut pieces to a Fill Engrave so the whole design is engraved and now I can merge them back together.
With the tumbler measurements, I was able to resize my design to fit perfectly at 6″ by 2.5″.
Step 6: Adjust the Settings for Your Blank
Because I’ve worked with this type of tumbler before I know it has a fairly thick coating. There are different material settings to choose between, I selected 5mm Stainless Steel. The Power is set at 78 with a Speed of 158.
I want to make sure the engraving is deep enough to get through the thick coating so I am going to increase the Power and reduce the Speed a little bit.
Step 7: Locate the Design onto the Blank
Add the perimeter and diameter and locate the design where you want it.
Click Refresh on the screen and now we can see the tumbler inside the laser. Move the design where you want it and make sure it’s sized correctly.
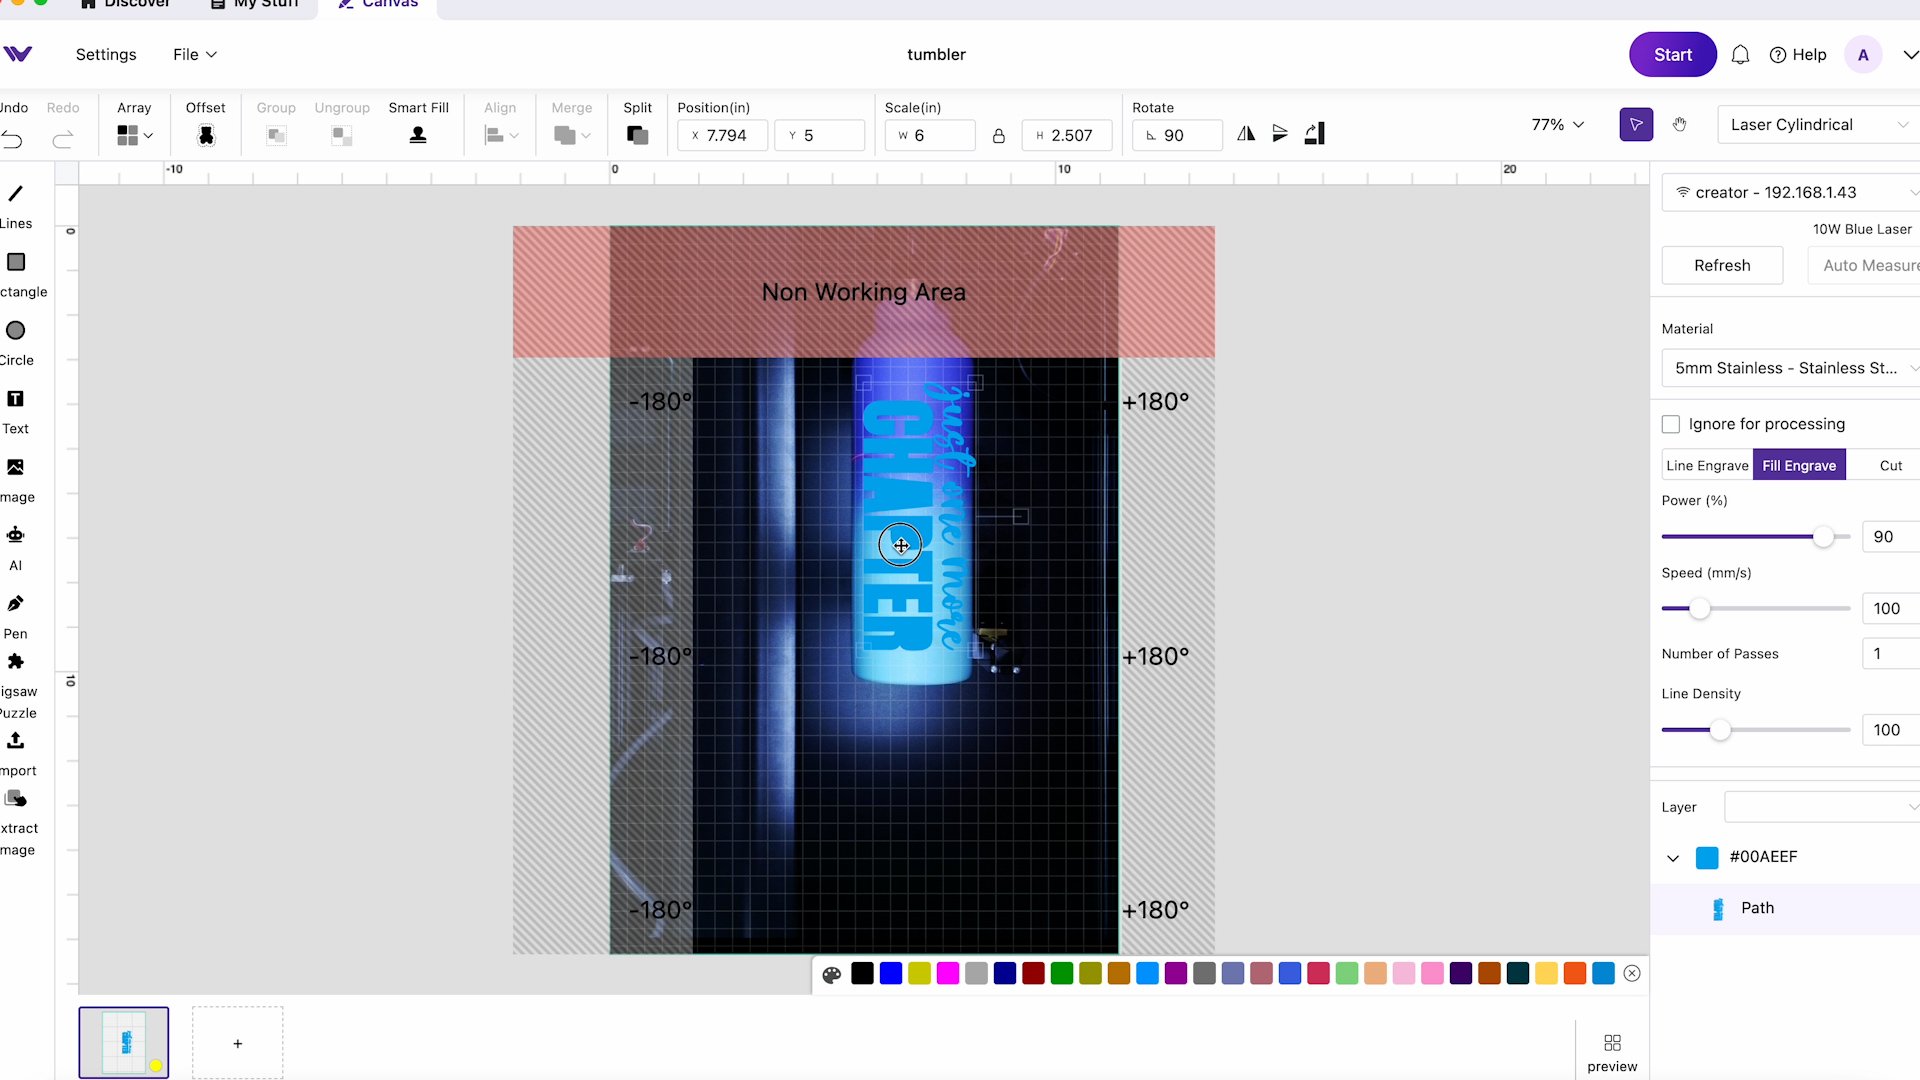
Click the 3D Preview button and you can get an idea of what the design will look like around the cylinder itself.
Step 8: Engrave and Finish the Tumbler Blank
Next, click Start and then click Framing. This will show you where the design is going to be on the blank. If you’re happy with the location click Send and then click the button on the front of the WeCreat Vista laser and it will start the process.
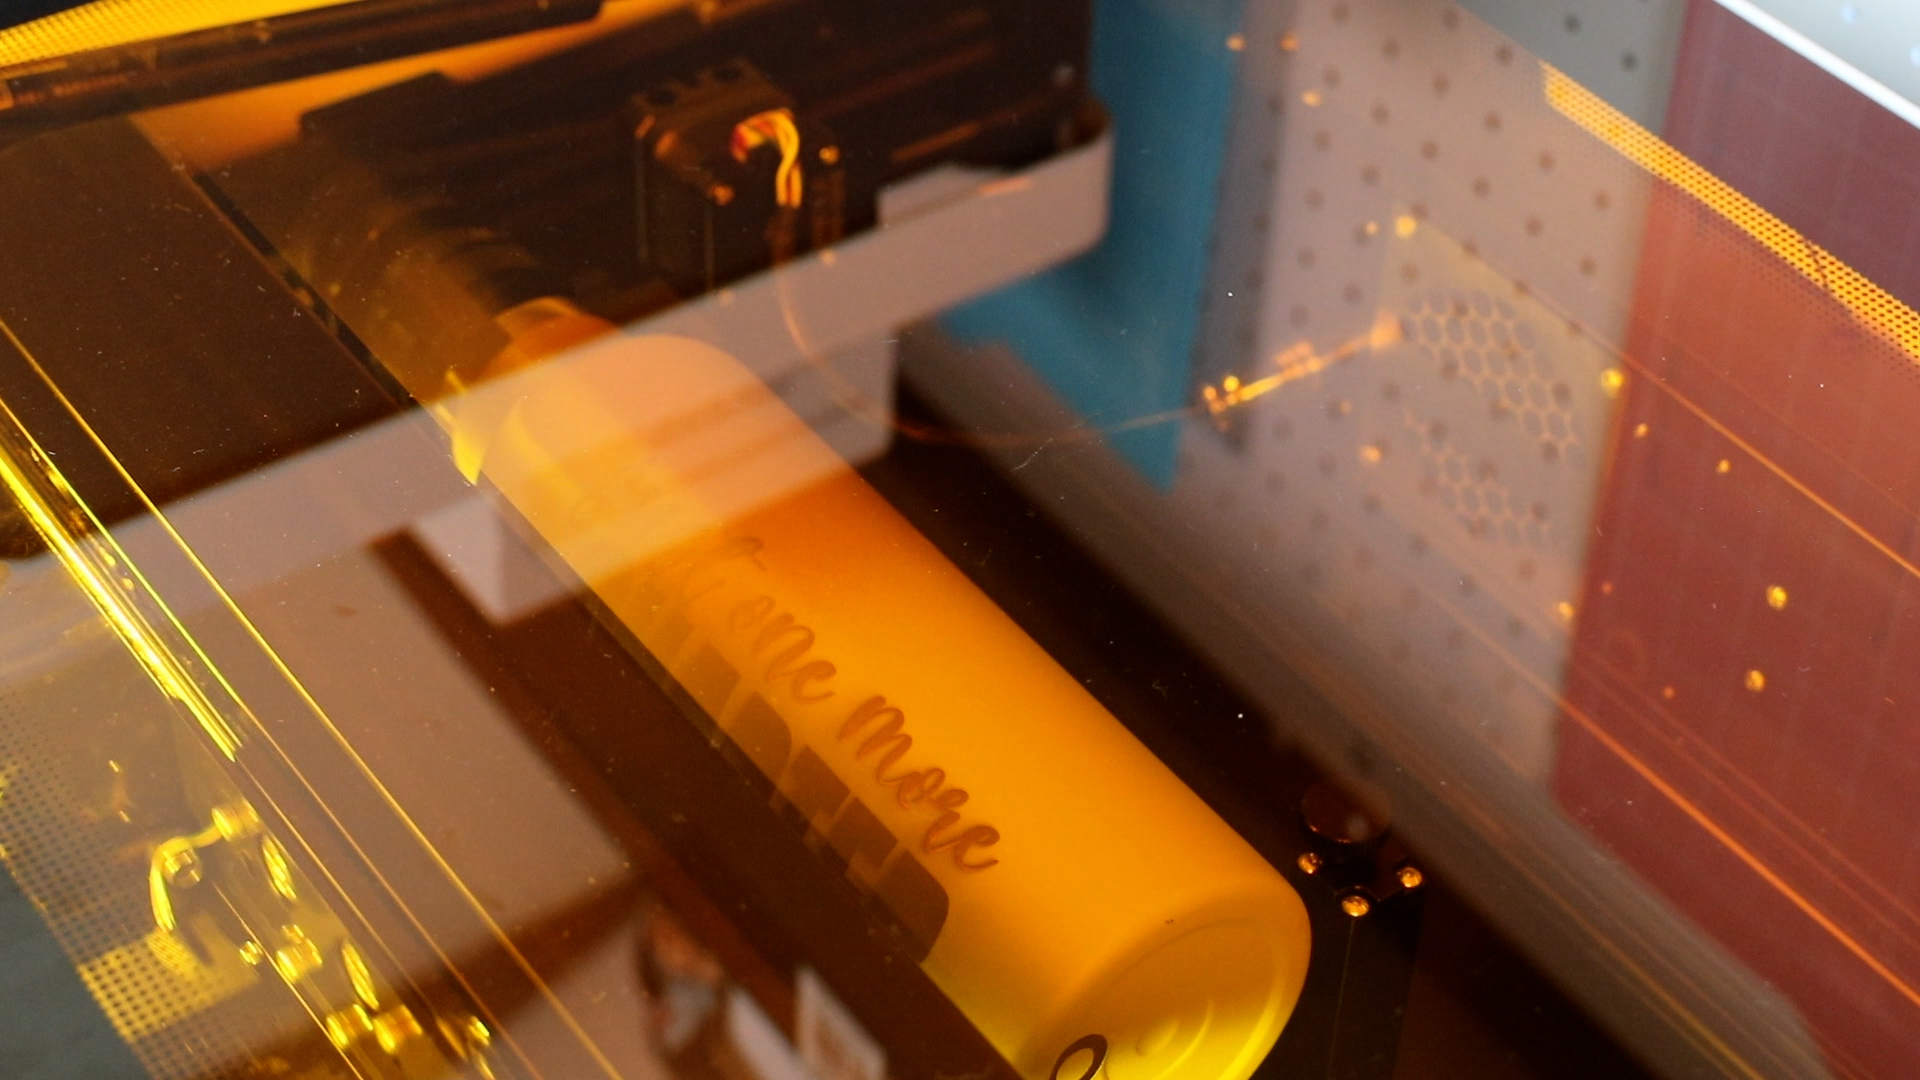
When the process is complete, lift the lid and check the design. When you engrave tumblers like this you may need to clean the surface because it can be dusty from the engraving.
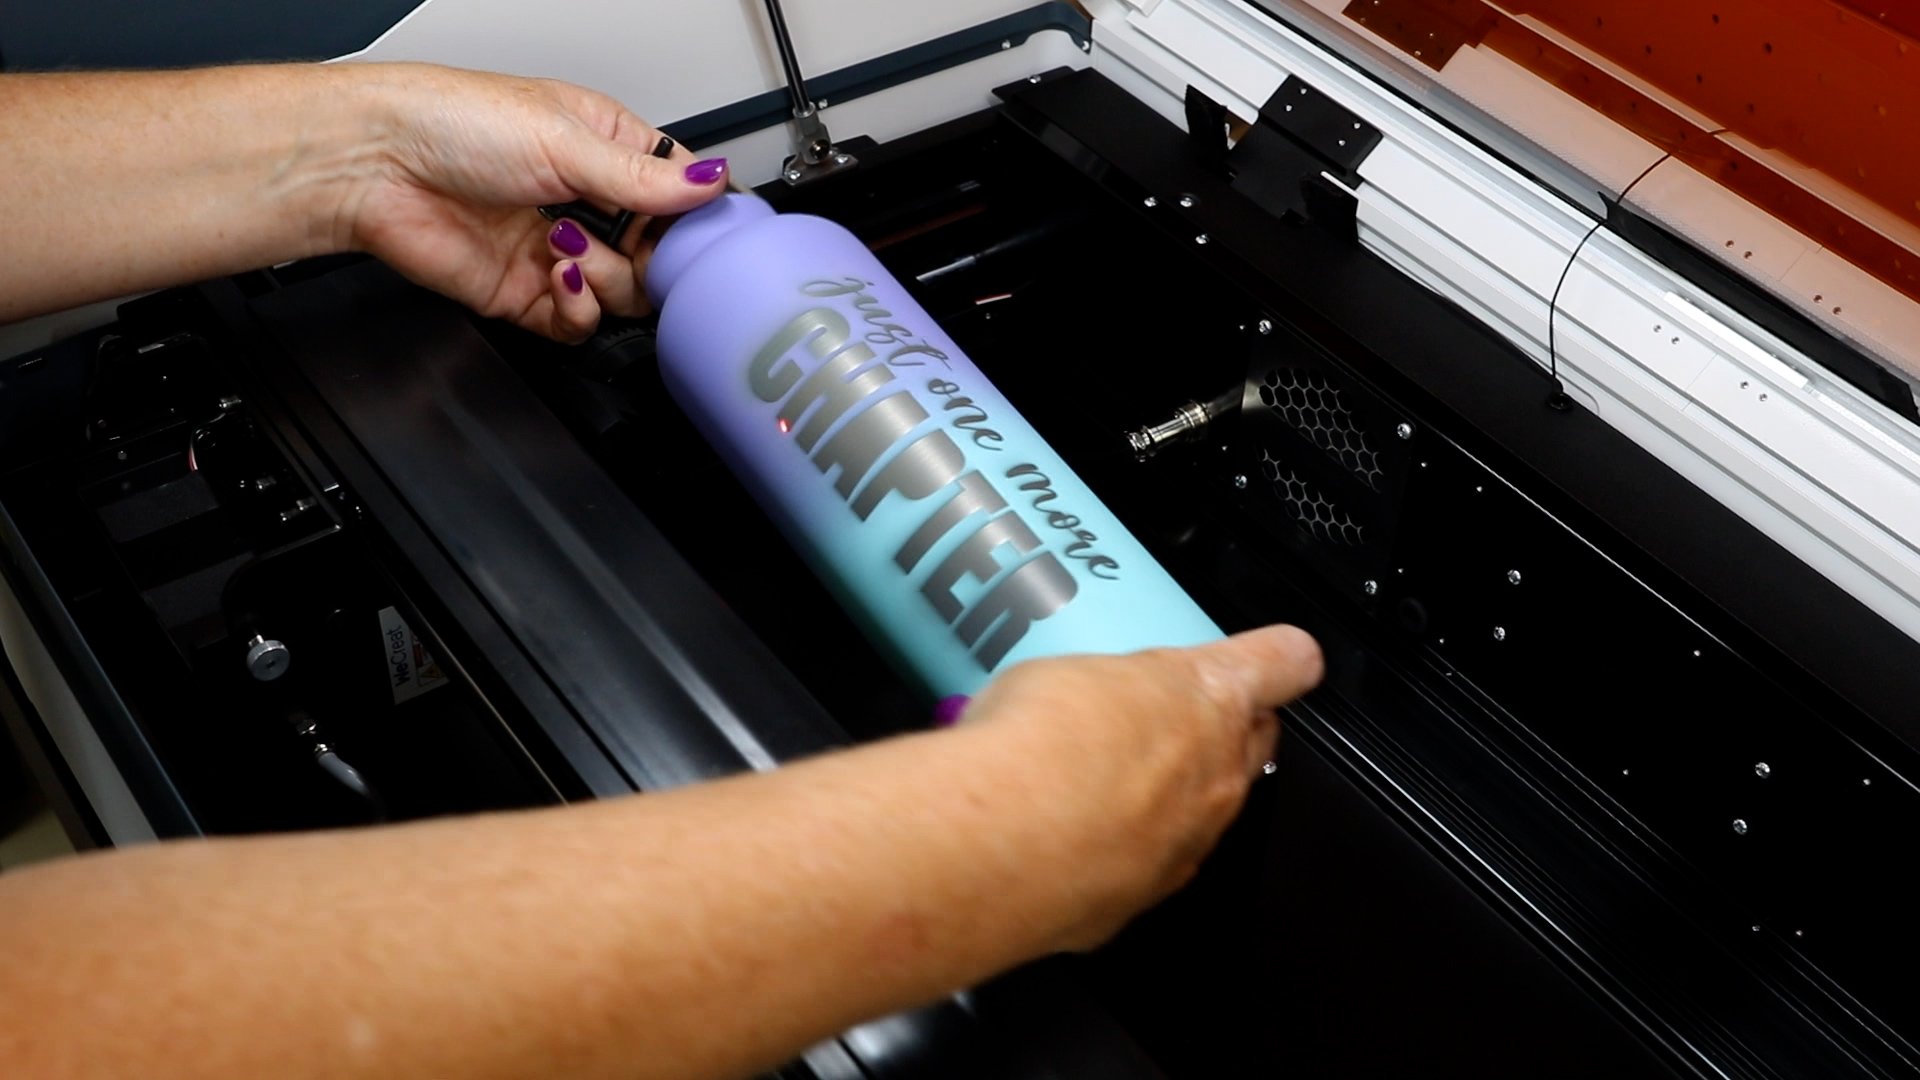
Loosen the clamp with the chuck key and remove the tumbler. Wash the tumbler and you can see the finished product.
My engraving may be a little deep but it still looks really good and is all the way through the coating which we want.
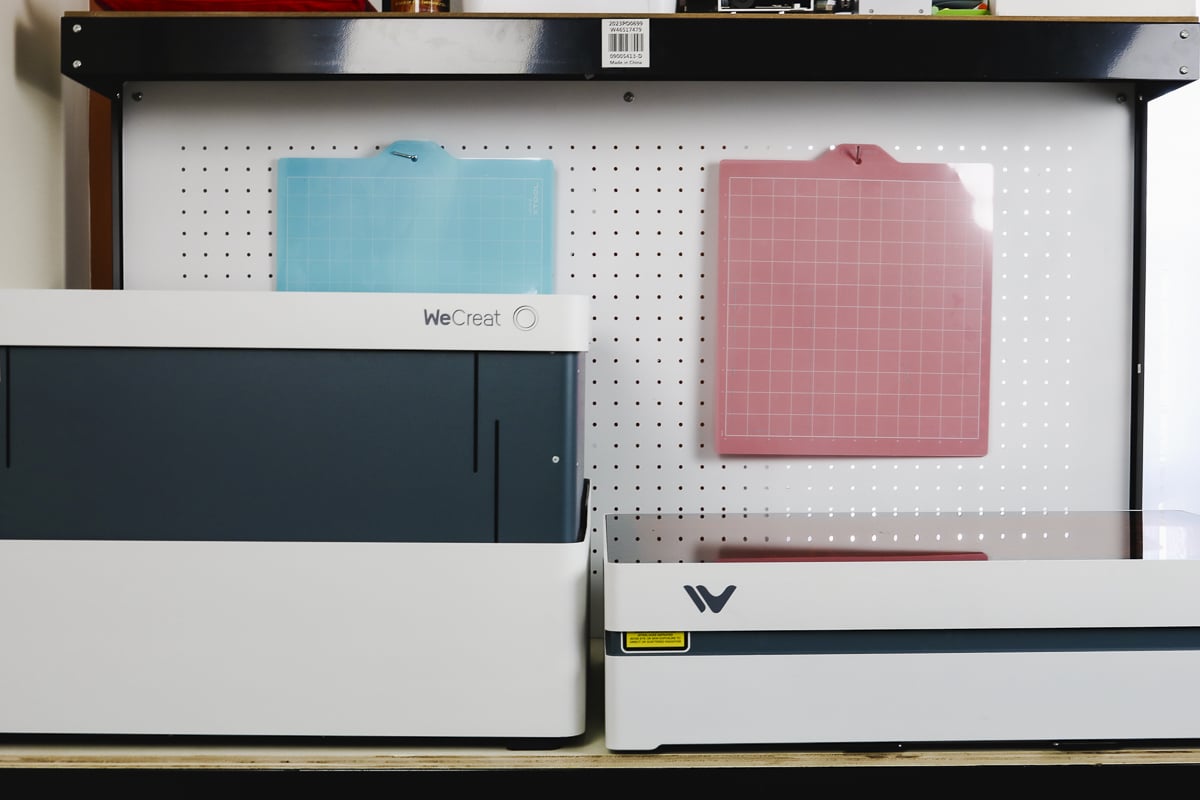
WeCreat Vista Versus WeCreat Vision
The biggest difference between these two lasers is their size. The Vision has the auto lift feature and in the resting position, it is raised all the way up.
The length and width are similar but the height difference is significant. I like the height of the Vista a lot more. With the Vision in the resting position, it was hard to get inside it to get the materials inside.
With the flippable laser head, the Vista doesn’t need to raise up like the Vision. The Vista does come with a set of four risers, if you need to engrave something very thick or large like a 40-oz tumbler it may be easier with the risers added.
The WeCreat Vista has a 10-watt laser head and a 2-watt infrared option. With the Vision, you can get a 20-watt, 40-watt, or a 2-watt infrared laser head.
The workable area on the Vista is 16.34 inches by 11.42 inches. With the Vision, you get a similar size of 16.94 by 11.42. There is little difference between the working area on the two machines.
Pros and Cons of WeCreat Vista
I really like this laser so let’s look closely at the pros and cons to help you decide if this is the right laser for you.
Vista Pros
- I love the camera option and that it is right at the front. Because it works when the lid is open it gives you a better picture of the laser bed. If you’ve ever used a laser with a camera before they often work with the lid closed and use a fish-eye lens that can distort things as they get wider. The technology with the lid open gives you a better image of the area which means your locations will be more accurate.
- The flippable laser head is another positive to me. Not having to use risers with the rotary accessory for most projects is one of my favorite features.
- Having the Air Assist come with the laser is also a pro.
- WeCreat also made improvements to swapping the laser head. It is easier to swap in the Vista than it was in the Vision. It’s still not very easy which is a slight con but it’s easier than it was.
- Having multiple laser heads that you can purchase is a pro because that allows you to engrave things like metal.
- Along with the different laser heads, you can also purchase the rotary accessory and an auto-feed which would allow you to cut and engrave longer materials with the auto-feed option.
Vista Cons
- The Vista is a Diode laser. A diode laser traditionally has issues with materials that are clear, light-colored, or blue-colored materials. You may have issues cutting or engraving those materials.
- If you’re new to WeCreat MakeIt, there is a little bit of a learning curve with the software.
And those are really the only cons I have about this laser. I think the 10-watt laser head is adequate for most projects and I am really happy with this machine.
Where to Purchase the WeCreat Vista
Are you ready to purchase this laser? You can click here to get it from WeCreat. Be sure to pick the package that will work best for your crafting needs.
I hope I’ve answered any questions you have about the WeCreat Vista. If you have any additional questions, feel free to leave them in the comments.
If you have a project you’d like to see me make with the Vista, you can leave those in the comments as well and I’ll work on fitting them into my schedule.