
This post and photos may contain Amazon or other affiliate links. If you purchase something through any link, I may receive a small commission at no extra charge to you. Any supplies used may be given to me free of charge, however, all projects and opinions are my own.
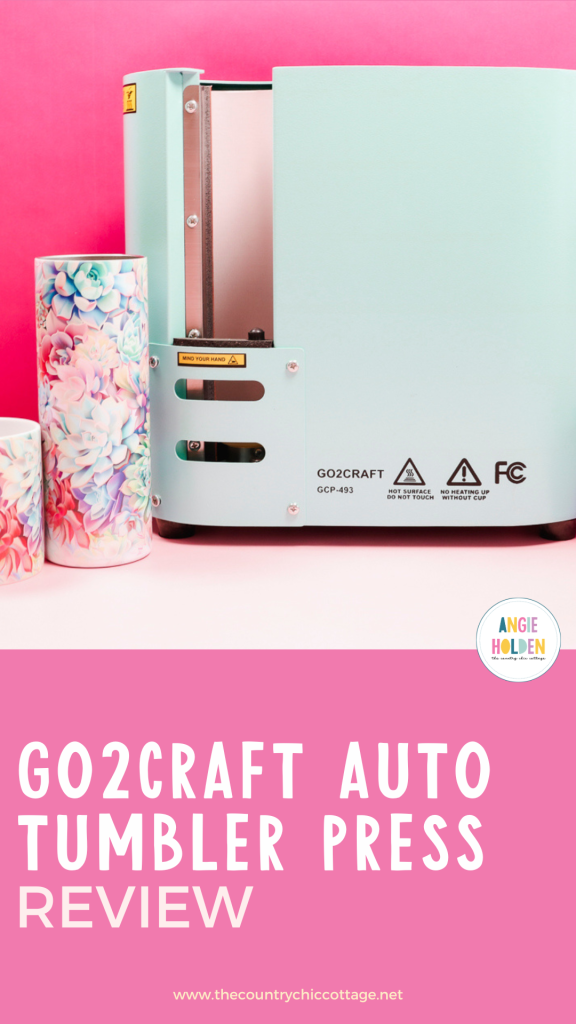
Let’s put the Go2Craft Auto Tumbler Press to the test and make a few projects. We’ll see how well it works so we know you can decide if you need one in your craft room or not.
This is an automatic rotation press which is what made me decide to try it out. If you’re getting started sublimating make sure you don’t miss my tutorial on how I wrap my sublimation tumblers.
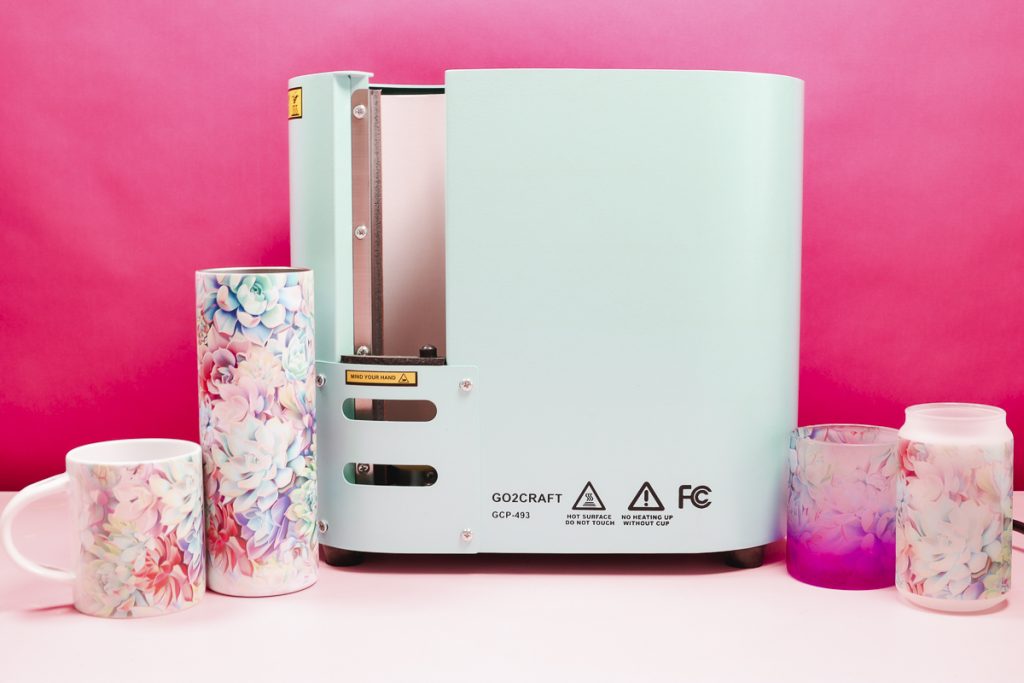
With this tumbler press, you can sublimate mugs, tumblers, and even glass cans. If you’re in the market for a new tumbler press make sure you read all the way to the end to see how it worked on each of the different blanks I’m testing today.
You can watch me test each of these different blanks by pressing play on the video below.
Go2Craft Auto Tumbler Press
Let’s take a closer look at the press first!
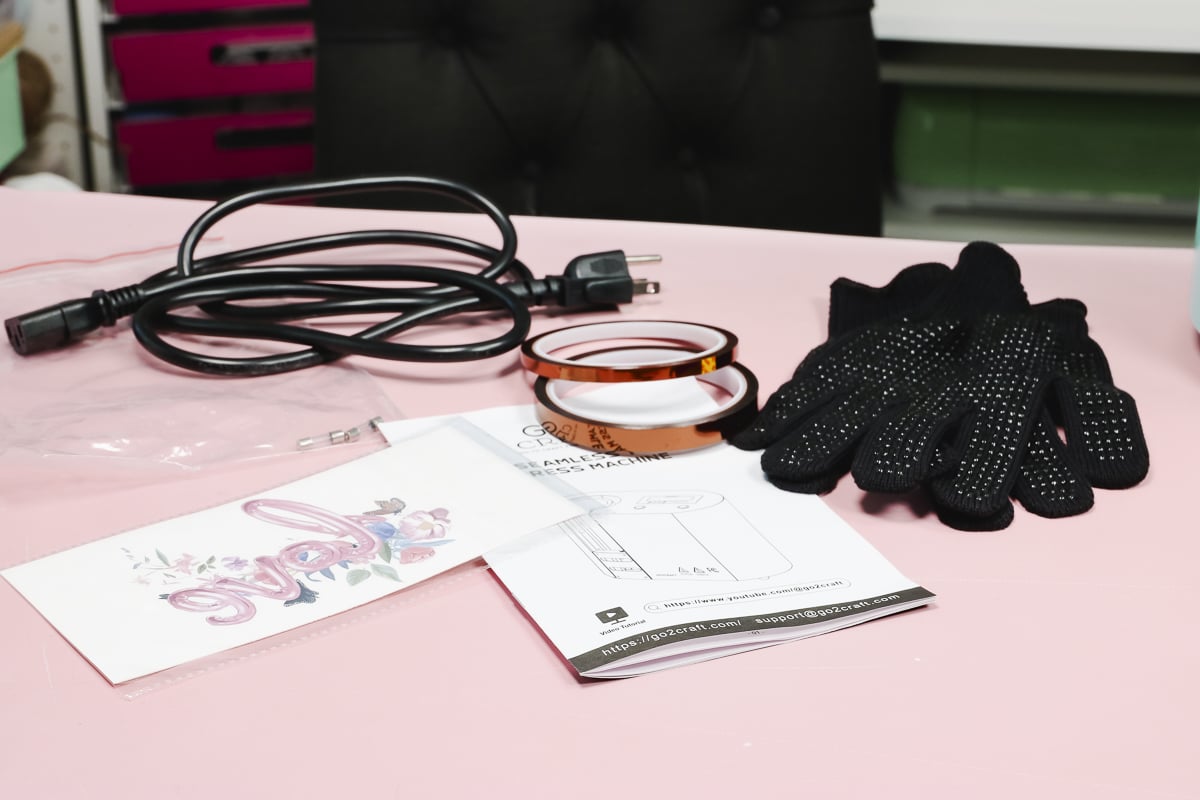
What’s in the Box?
Inside the box, you’ll find the press itself, a pair of heat-resistant gloves, heat-resistant tape, a power cord, sublimation prints, replacement fuses, and a manual.
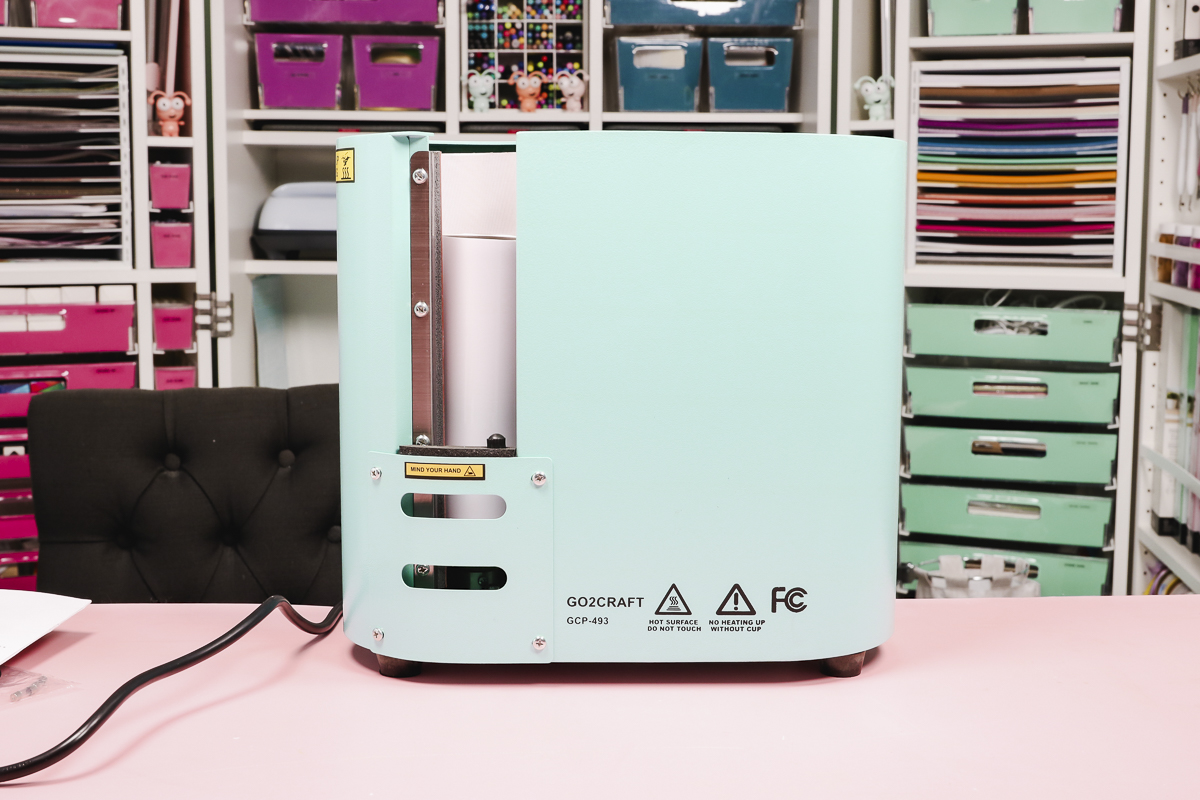
The press is very large. While most tumbler presses lay down this one stands up similar to the Cricut Mug Press but is much taller because it can fit a tumbler up to 10.6 inches tall.
I also found it to be pretty heavy compared to other tumbler presses I’ve used so make sure you’re aware of that too if it’s something you’ll need to move regularly.
Go2Craft Auto Tumbler Press Details
There is a handle on the back of the Go2Craft Auto Tumbler Press that you can use to lift the press. I don’t find this very convenient because there is no other handle and lifting from only the back was awkward for me.
Plug the power cord into the back of the machine and then plug it in to power it on. The on/off switch is on the back of the machine.
Go2Craft recommends that you should not heat up the press without a tumbler inside. The tumbler I’m using is a regular 20-ounce skinny tumbler that has straight sides and does not have anything added to it, it is just a blank tumbler.
On the front of the press, you’ll see two warnings, one says “Do not heat without a cup” and the other warns of hot surfaces.
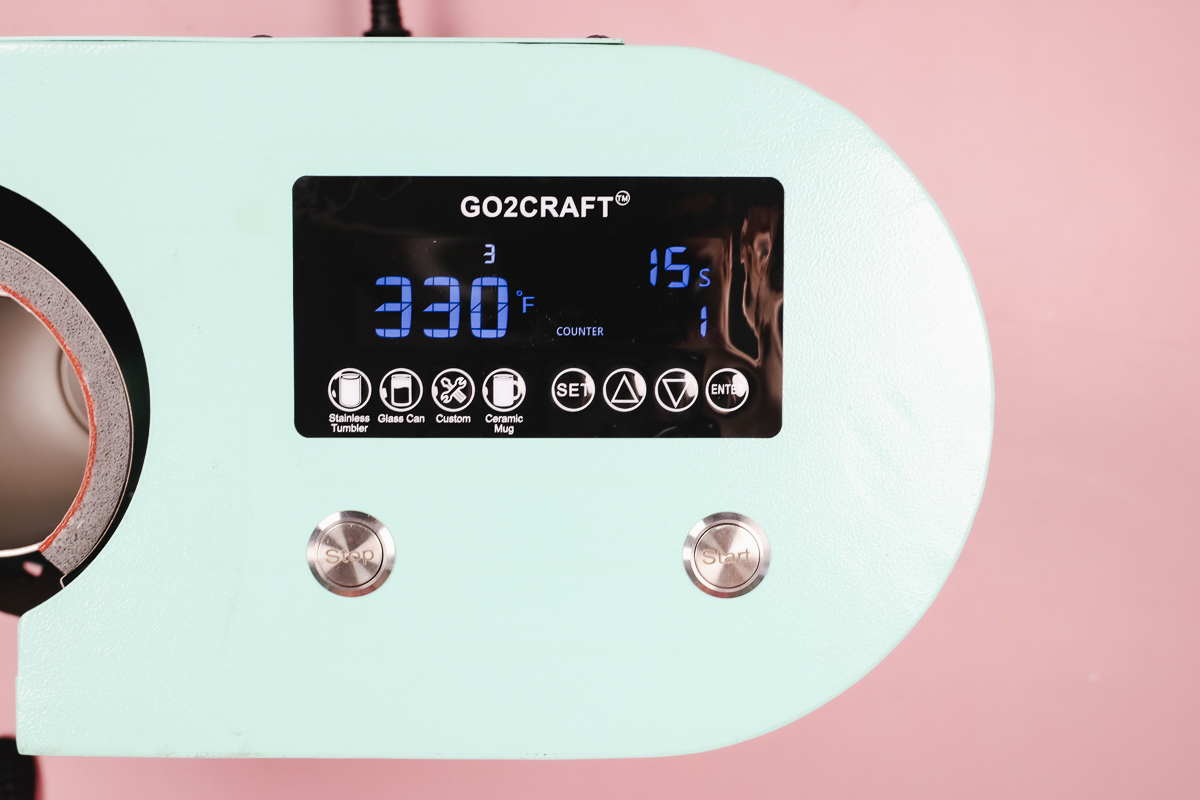
Control Panel Buttons
The control panel and all the buttons are on the top of the machine. First, you have the Start and Stop buttons, they’re each labeled below the display.
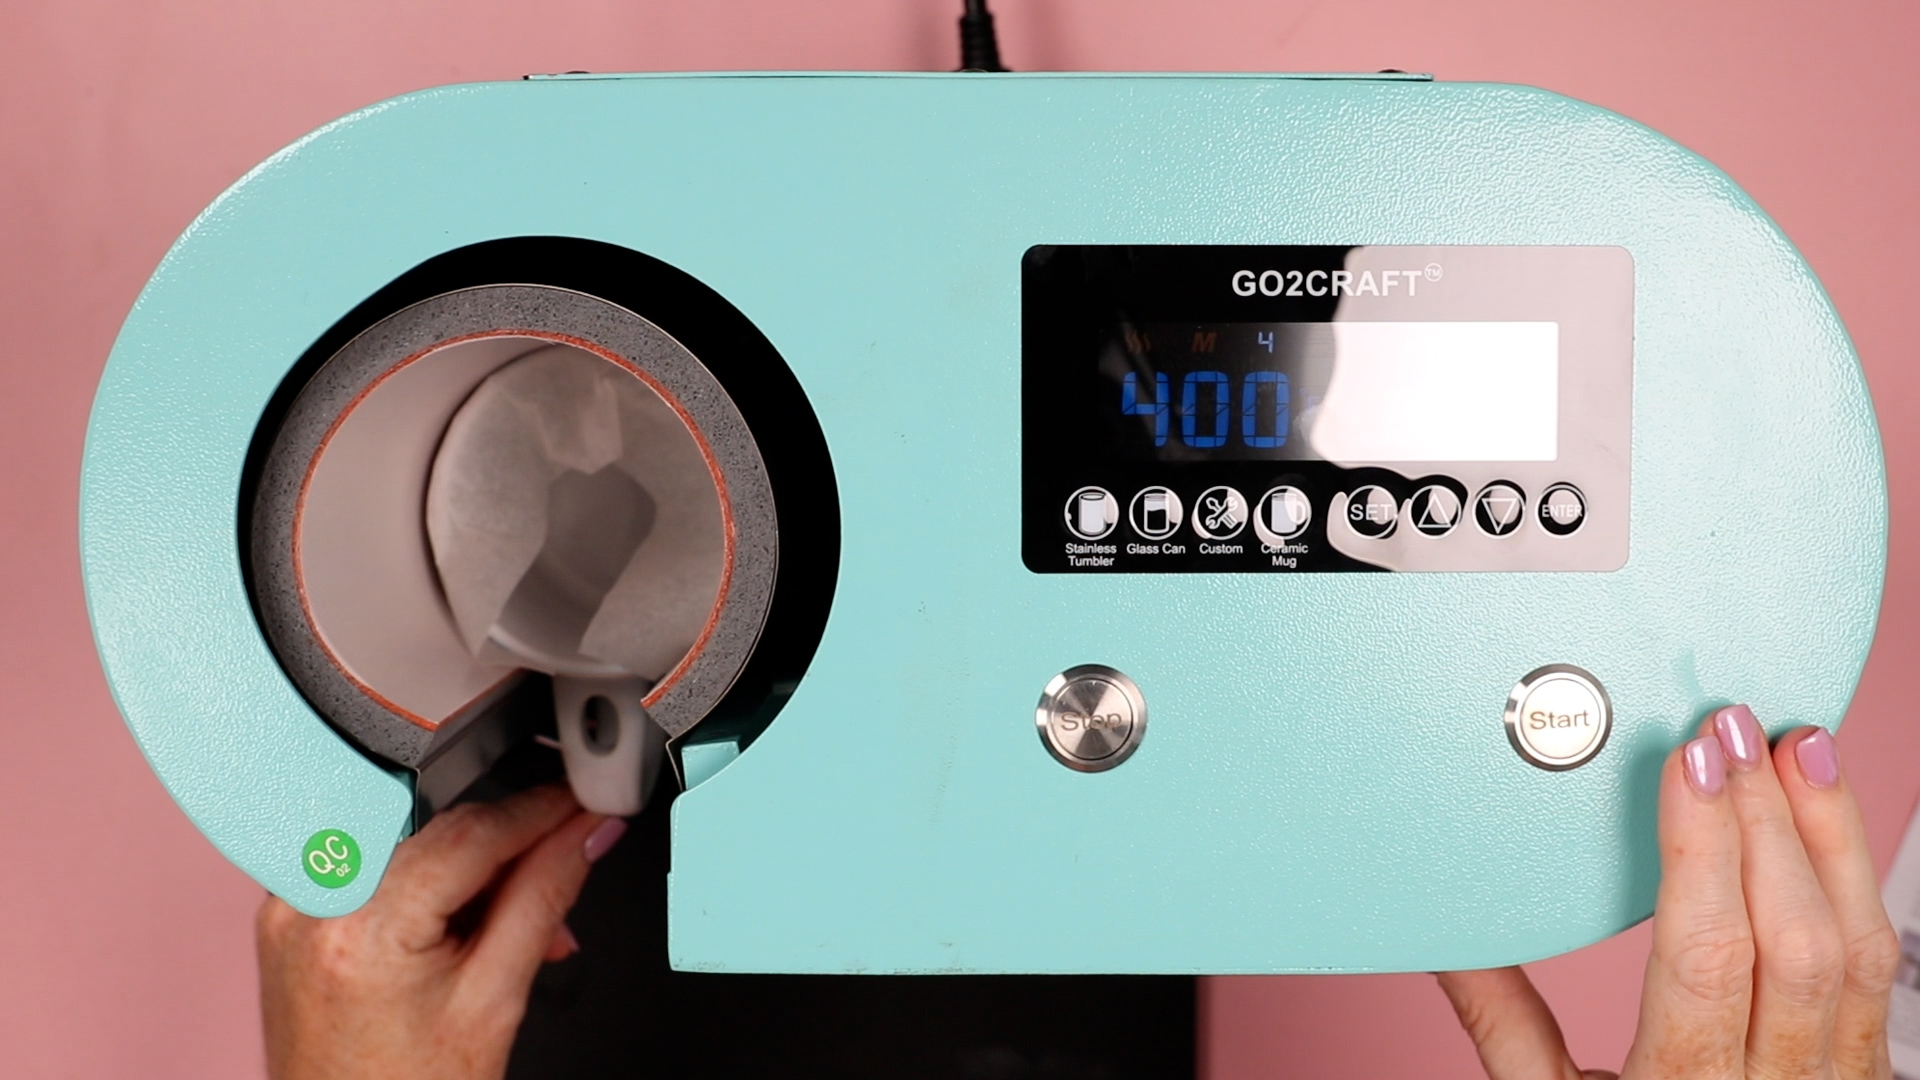
On the control panel, there are eight different buttons. The first group is the modes for different blank types, Stainless Steel Tumbler, Glass Can, Custom, and Ceramic Mug.
If you press Stainless Steel Tumbler the display changes to 1, if you press Glass Can the display will change to 2, Custom is 3, and Ceramic Mug is 4.
When you press the different buttons you’ll also see the time and temperature and the press will start heating up or cooling down. If you need to adjust the time or temperature for your specific blank there are up and down arrows that you can use.
For the built-in modes, it will note if it needs to auto-rotate and press again.
The Go2Craft Auto Tumbler Press has a variable pressure as well. It will adjust the pressure based on the blank you’re using.
On the Custom setting, you can adjust the time, temperature, pressure, and the time for the 2nd press after the rotation.
If you’re using anything with a handle, you’ll choose the Ceramic Mug setting. That setting does not have an auto-rotate. The maximum pressure for a ceramic mug is 45.
If you leave the press for 15 minutes without pressing buttons or using it, it will shut off automatically.
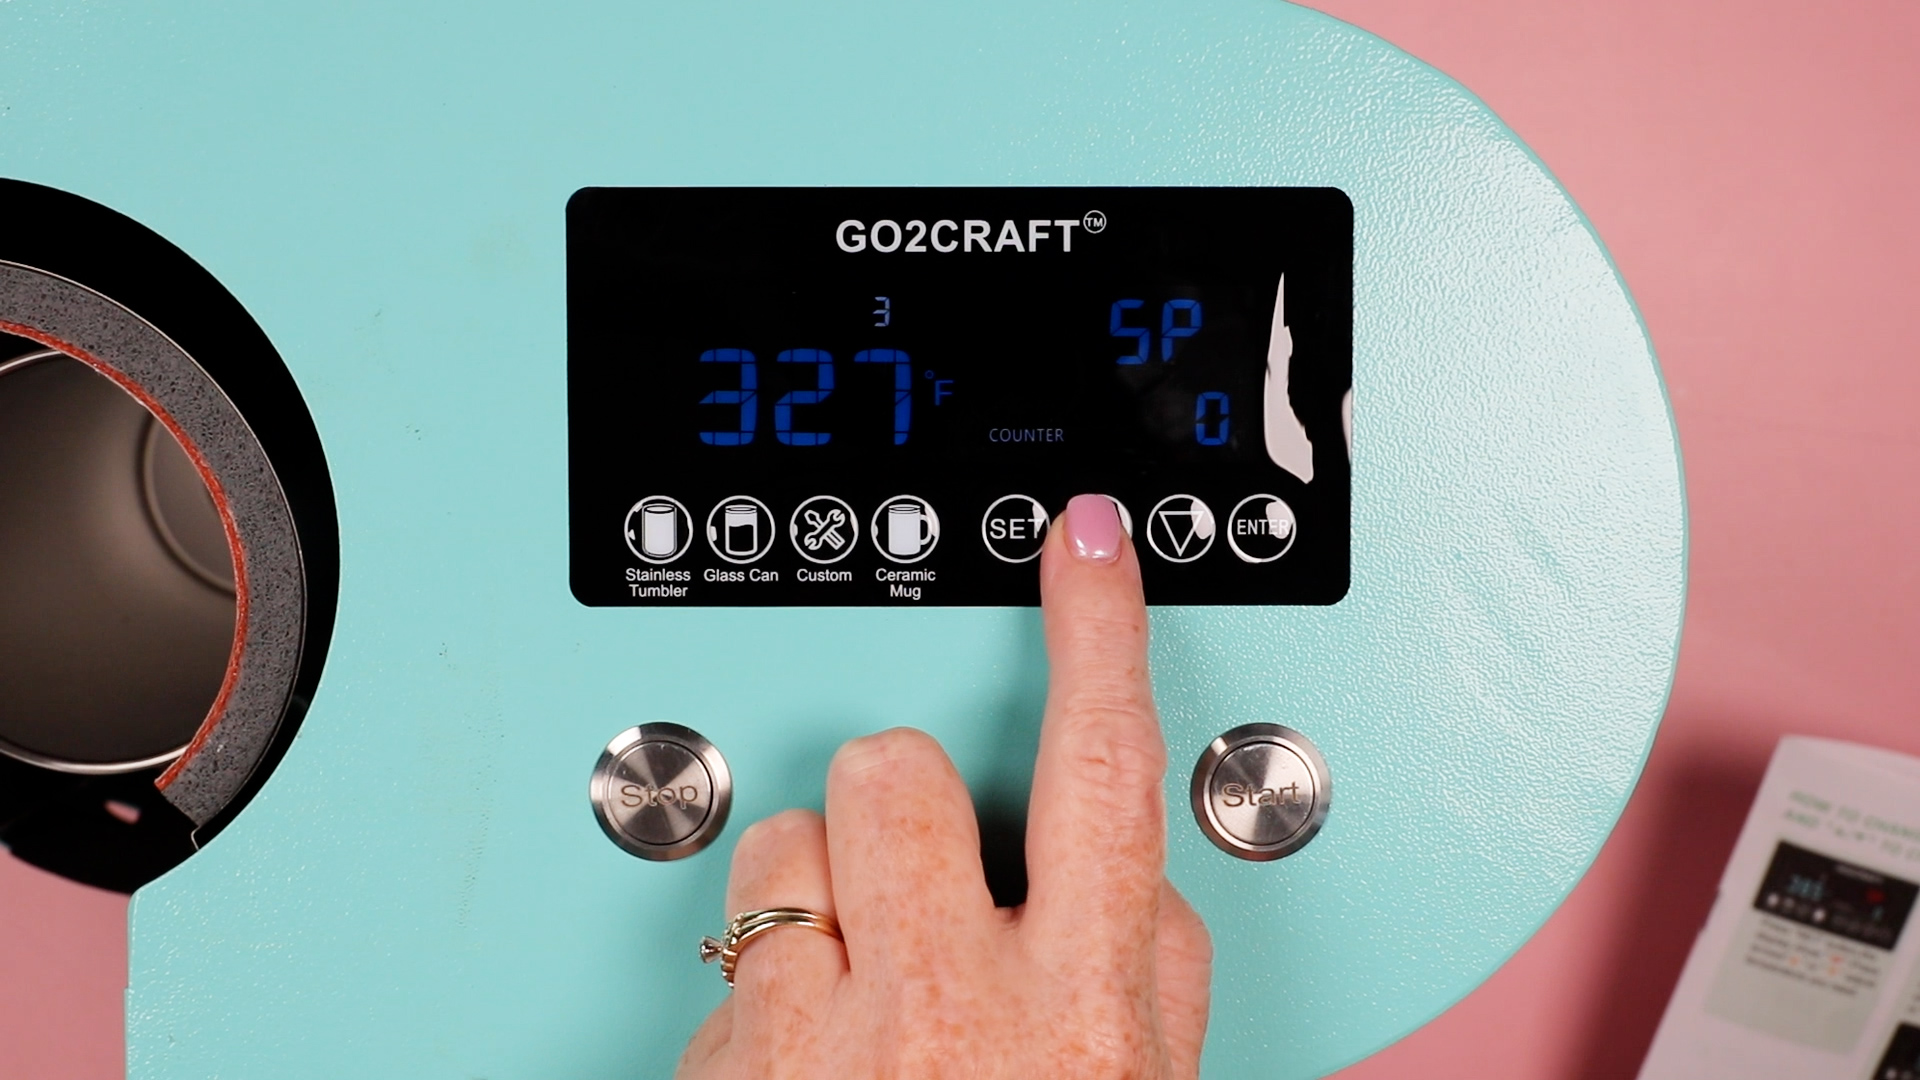
How to Add a Custom Setting
To set a custom temperature, press the Custom button and then press Set. The first setting will be SP and that is the set temperature. Press the arrow buttons to adjust this temperature.
Click Set again and it will say ST One. This will be the time it presses before rotating. Again you can use the arrow buttons to make adjustments.
Click Set again and it will say ST Two, this will be the time after it automatically rotates.
Press Set again and you’ll see the setting DN, that is the pressure. The maximum pressure is 60 and you can decrease it from there. Press Set one last time and it will start heating up or cooling down depending on what temperature it was already at.
How Does the Auto Tumbler Press Work
For this first example, I am using the custom setting and have adjusted the time to 15 seconds for the first press and 10 seconds after the rotation. This will show us how the press works before we add a tumbler with a sublimation design taped in place.
Press the Start button and the press will close and apply the pressure that we set. The timer will count down from 15 and then it will open and automatically rotate and then close again.
The second press will be for 10 seconds and it will open up automatically.
The tumbler press and the tumbler will be hot so use heat-resistant gloves to remove the tumbler.
What Blanks Fit in the Go2Craft Auto Tumbler Press
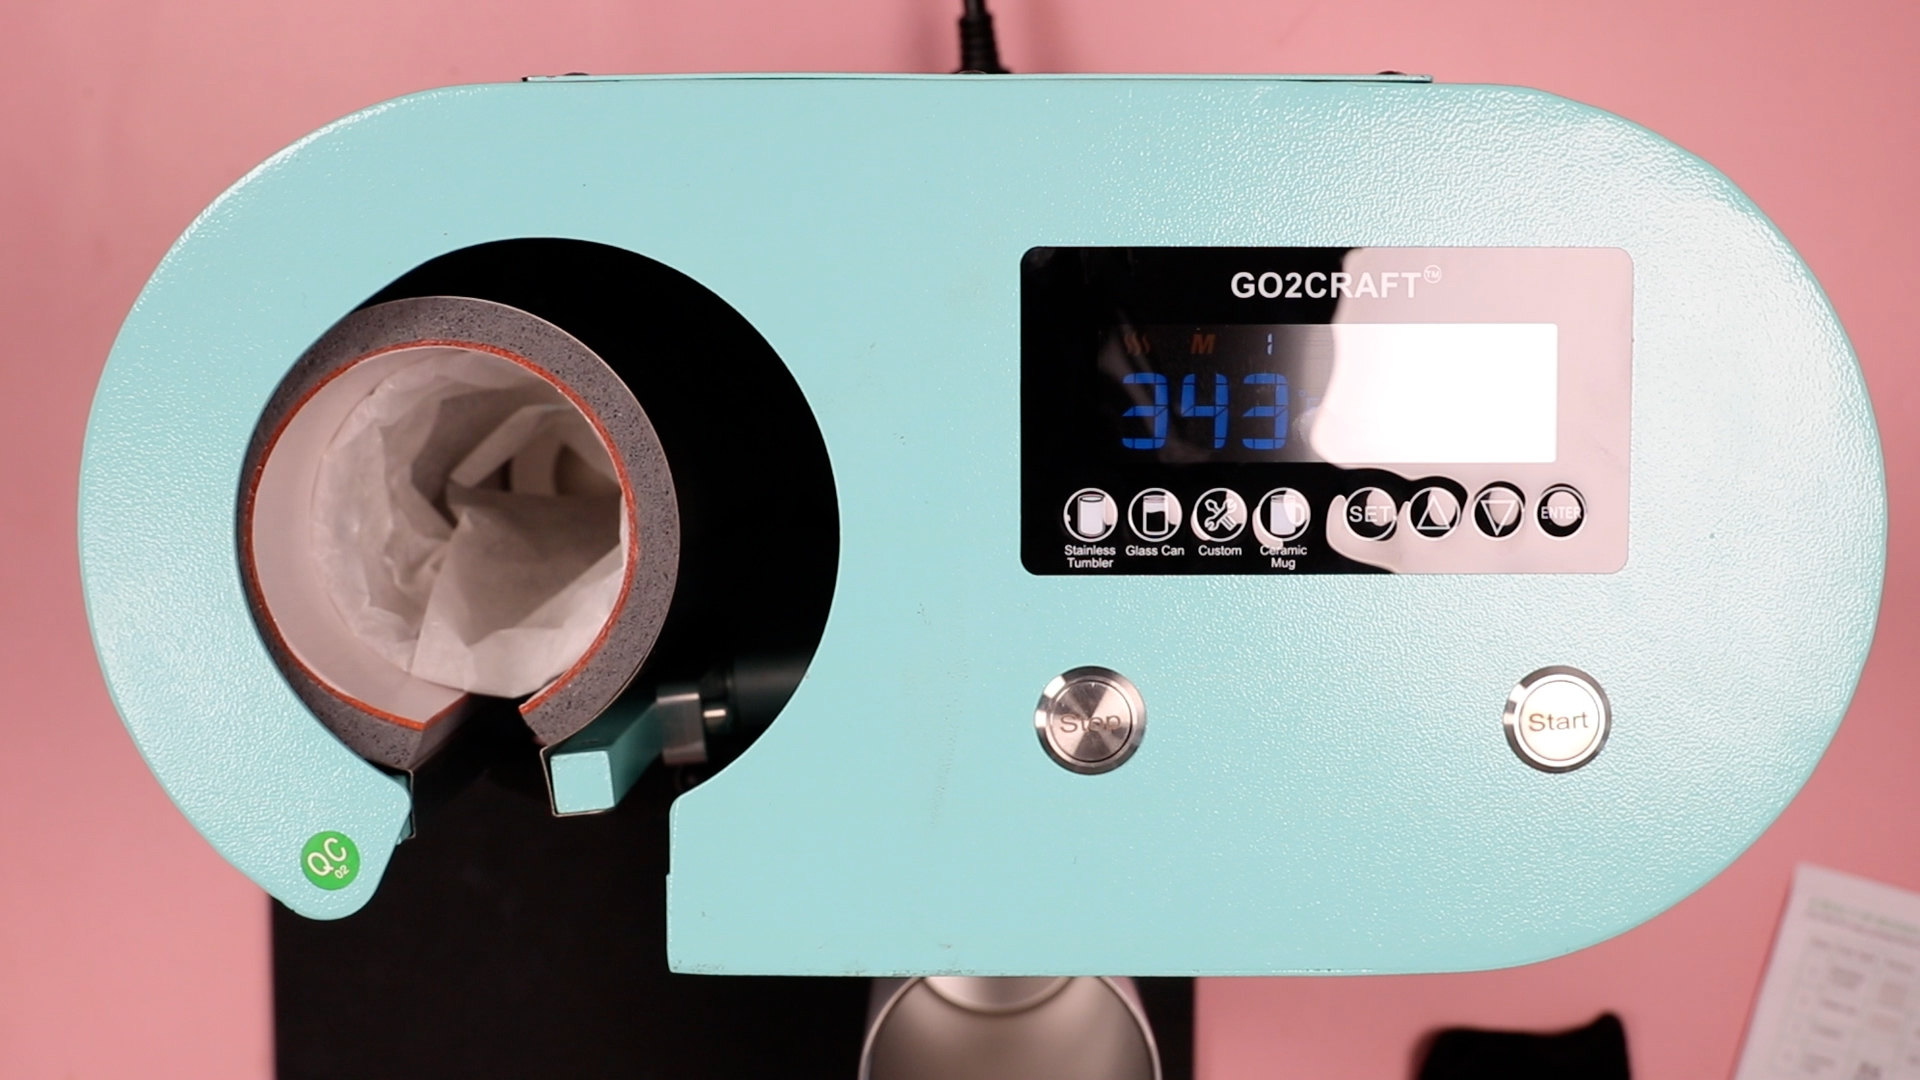
Your blanks can be up to 10.6 inches tall and the diameter can be between 2.67 inches and 3.43 inches.
If you’re unsure of the diameter, measure straight across the top of the blank and as long as it is between those measurements you can use it in this press.
It does say it is for 11 to 30-ounce straight-walled tumblers, mugs, water bottles, and glasses. You do need to ensure that your blank has a straight side and is not tapered.
Auto Tumbler Press Safety
Don’t put your hand inside the tumbler press or touch the area right near the opening without heat-resistant gloves.
The case on this press is metal. A lot of other presses have a plastic case so it can get hot close to the heating element.
I keep a heat-resistant mat next to the press to put things on when I take them out of the press.
This press is supposed to only go up to 410 degrees, during the preheat step my press read 425 degrees. For the time, it can go from zero seconds to 999 seconds.
How to Make a Project with the Go2Craft Auto Tumbler Press
The first project I’m going to make is a tumbler so let’s look at how it works.
Supplies Used
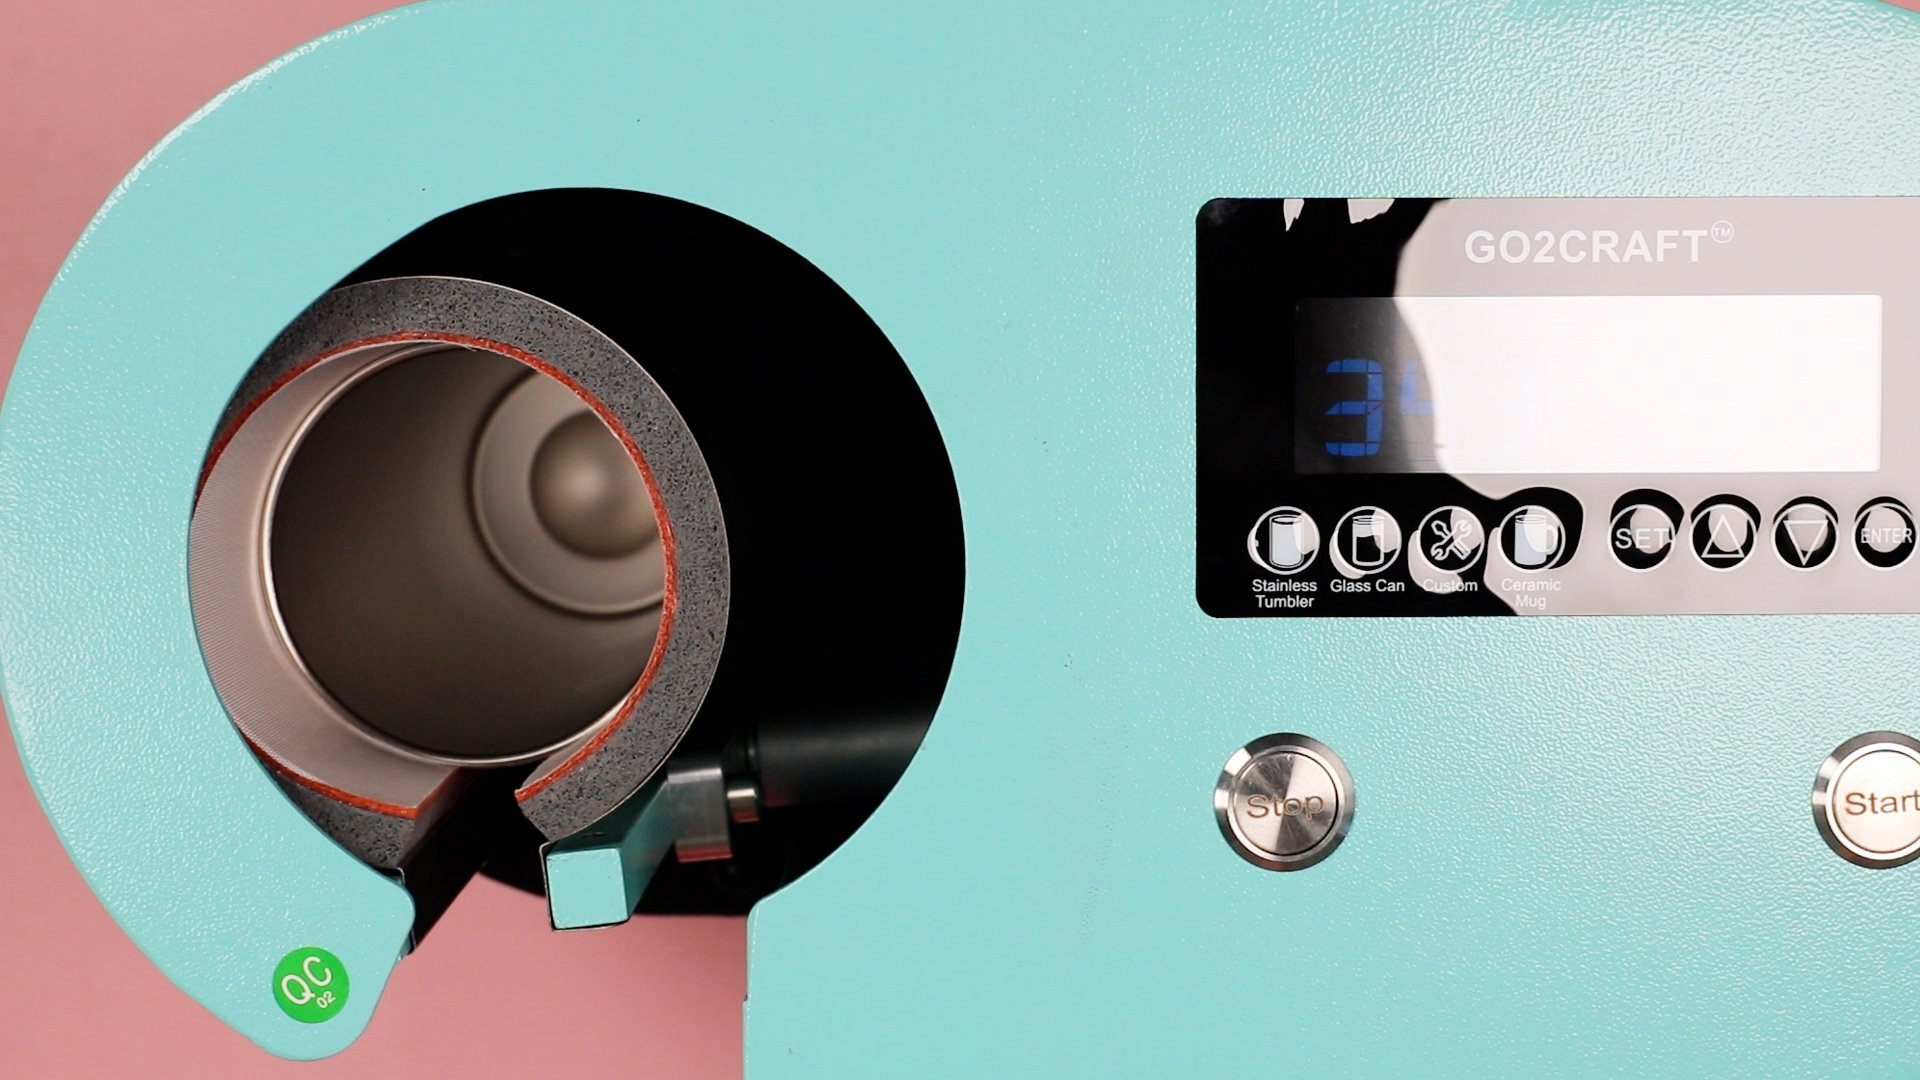
Step 1: Preheating the Press
To preheat the press, you need to have a blank tumbler inside it. Press the Start button and the press will close. When you press the Stop button once, it stops the time and it will continue to heat up.
I did want to note that using this preheat method the temperature didn’t stop at the temperature I set it at. After wrapping my tumbler I looked at the temperature and it was all the way up to 425 degrees. I had to wait for it to cool back down to the stainless tumbler setting.
If you use that method, make sure you keep an eye on the temperature so it doesn’t heat up too much. It does heat up fast but it heats up too much.
The other option for preheating is to turn the press on, press the button you’re using, and don’t close the press. It will continue to heat up to the temperature you have it set at.
Step 2: Prepare Blanks
Next, we need to prepare our blanks. I have a full tutorial on how I like to wrap my tumblers including how I tape them for the best results.
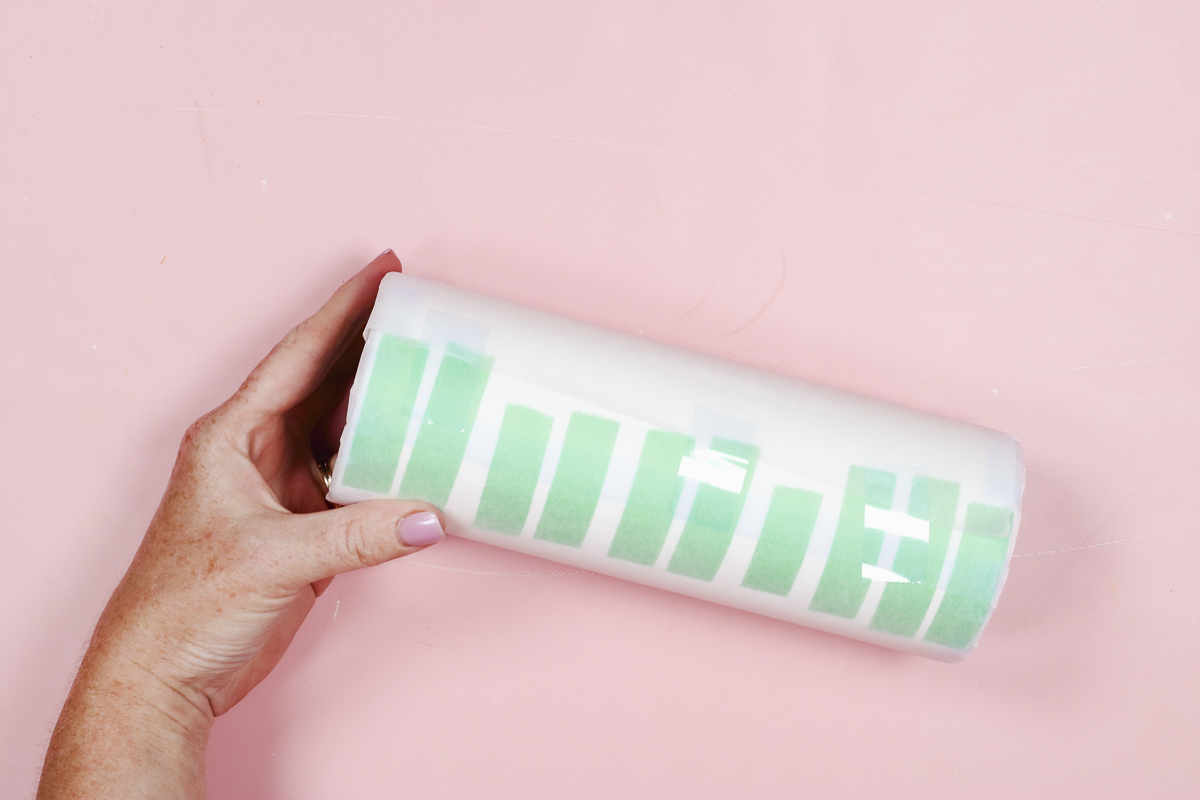
I use a lot of tape for my tumblers to make sure the print is held down really well. I’ve found I get the best results by taping my print this way.
I add protective paper around the outside of my print to protect the heat press from any ink that may bleed through.
Step 3: Pressing a Tumbler
Add the prepared tumbler to the auto tumbler press and press Start on the press.
The settings for this tumbler are 50 seconds at 365 degrees and then it will open, auto rotate, and then press again for 50 seconds.
When the second press is done it will open and I can remove the tumbler and set it onto the heat-resistant mat.
Step 4: Removing the Sublimation Print
I like to remove my print hot so I use heat resistant gloves. Just peel back any protective paper and the sublimation print from your blank. Once removed, this tumbler is complete!
Differences When Making a Mug
First, you need to prepare your mug. You can learn how I wrap my mugs in my mug blanks tutorial.
I realized pretty quickly that this isn’t my favorite press for making mugs. The mug doesn’t sit down on the rotating base and getting the handle centered into the opening wasn’t easy. I tried a few different positions and in the end, I ended up having to hold the handle in place while the press closed and located it myself.
With the mug in the press, push the Start button and let it go. Remember that you need to use the mug setting for anything with a handle so the press does not try to rotate and press a second time!
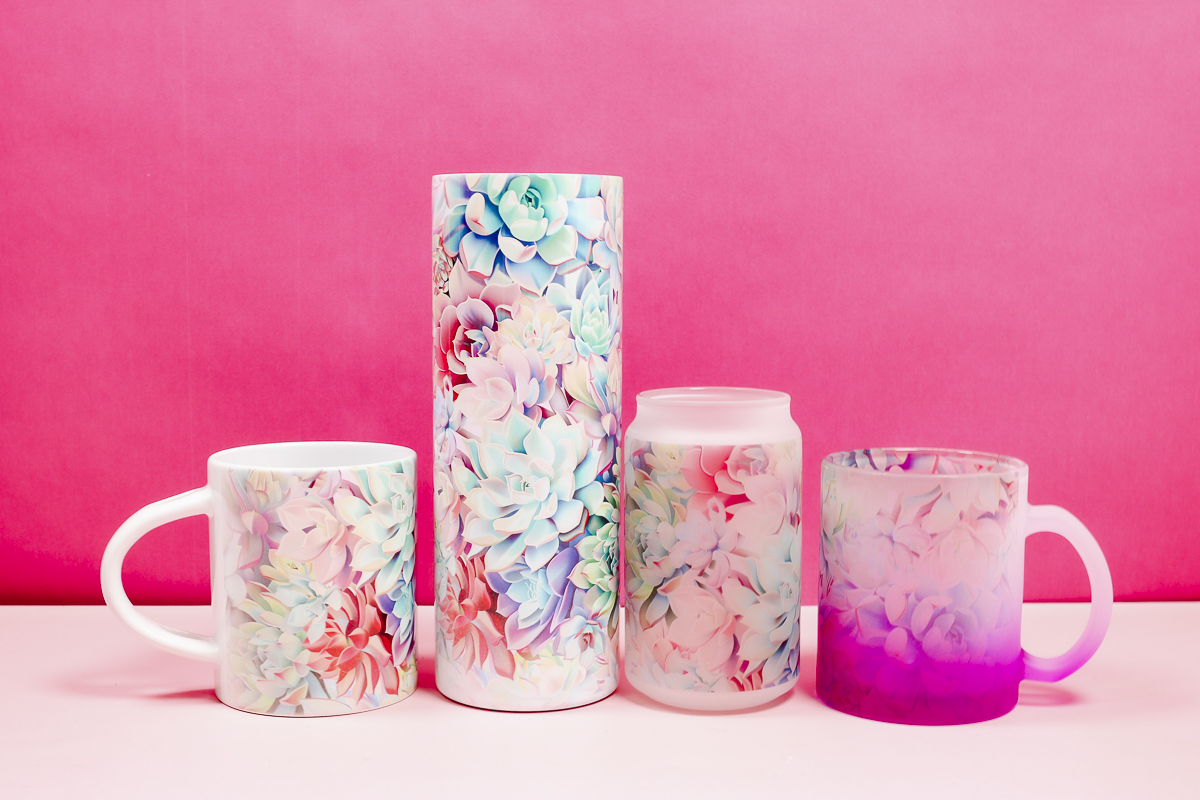
Projects Made with the Go2Craft Tumbler Press
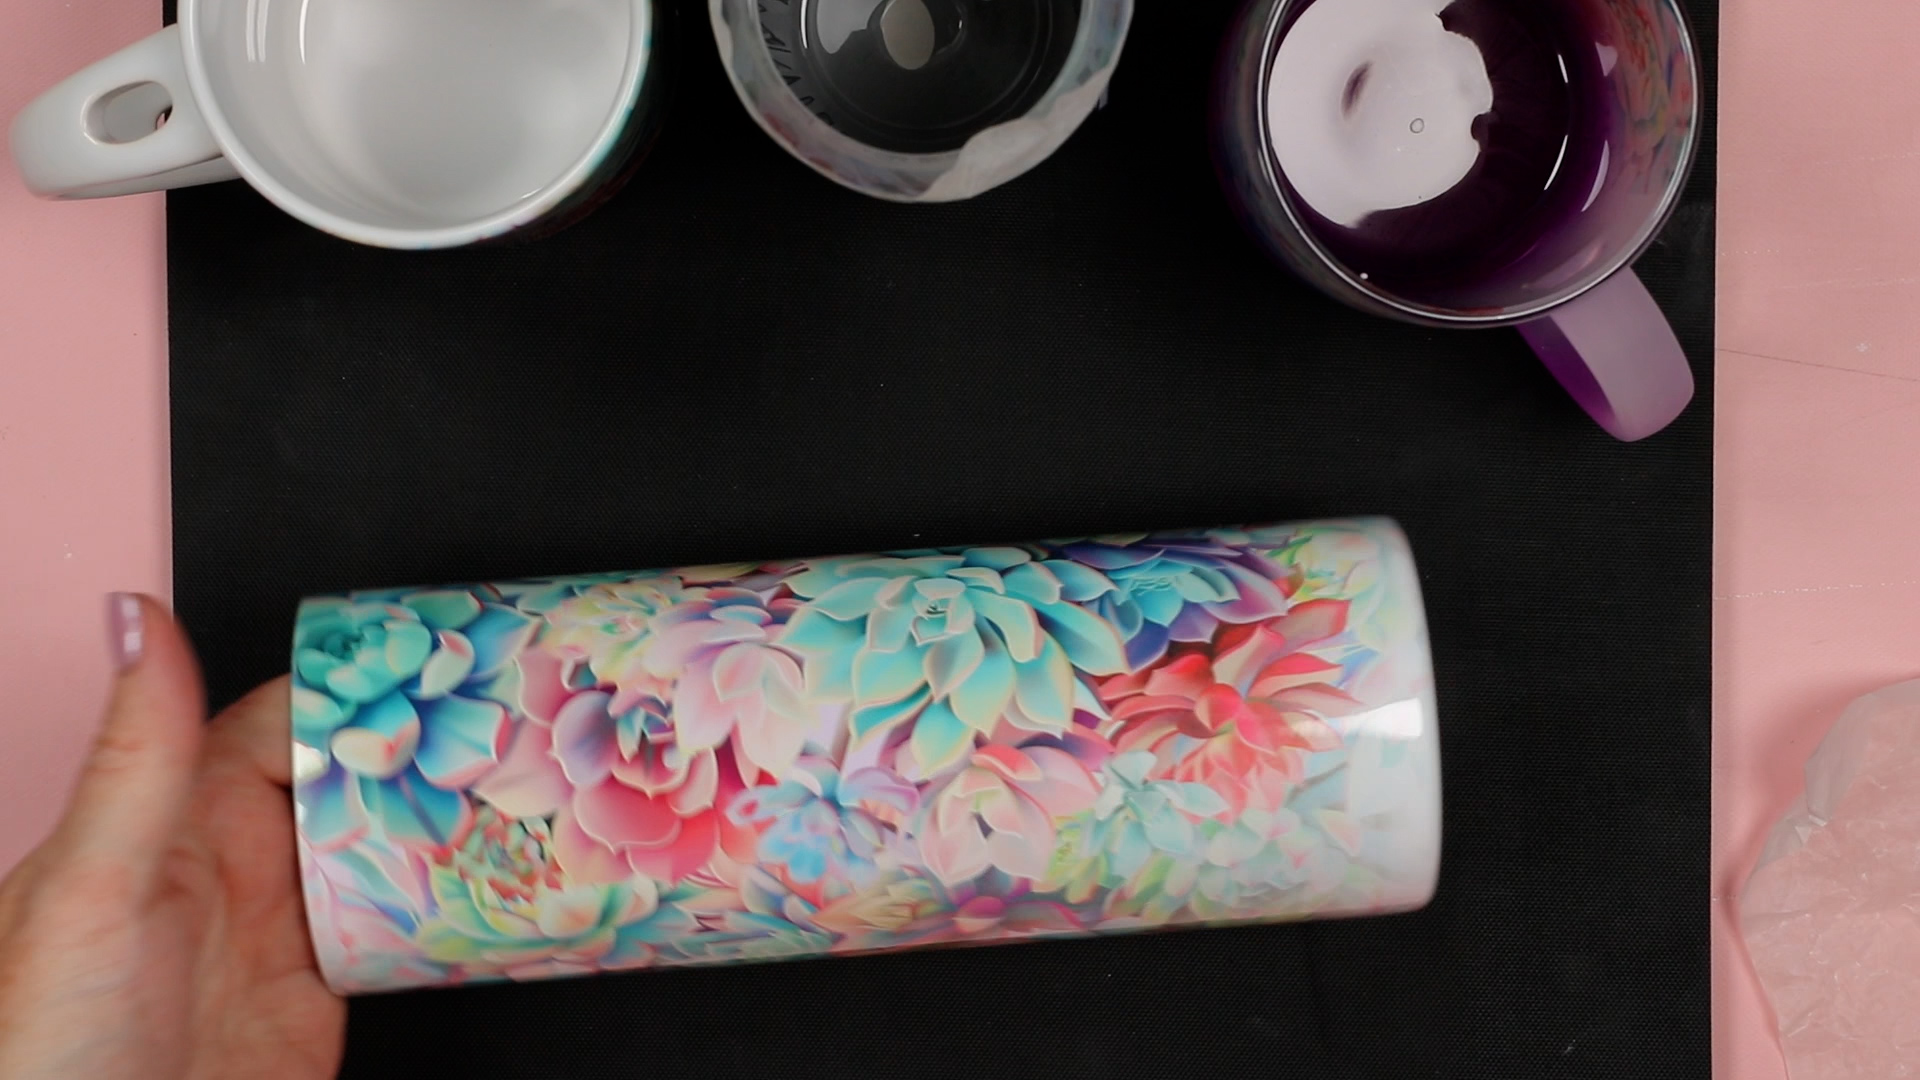
Let’s look at the results of each of the different blanks that I tested today.
I was not really happy with the results on any of these blanks so let’s look at each one.
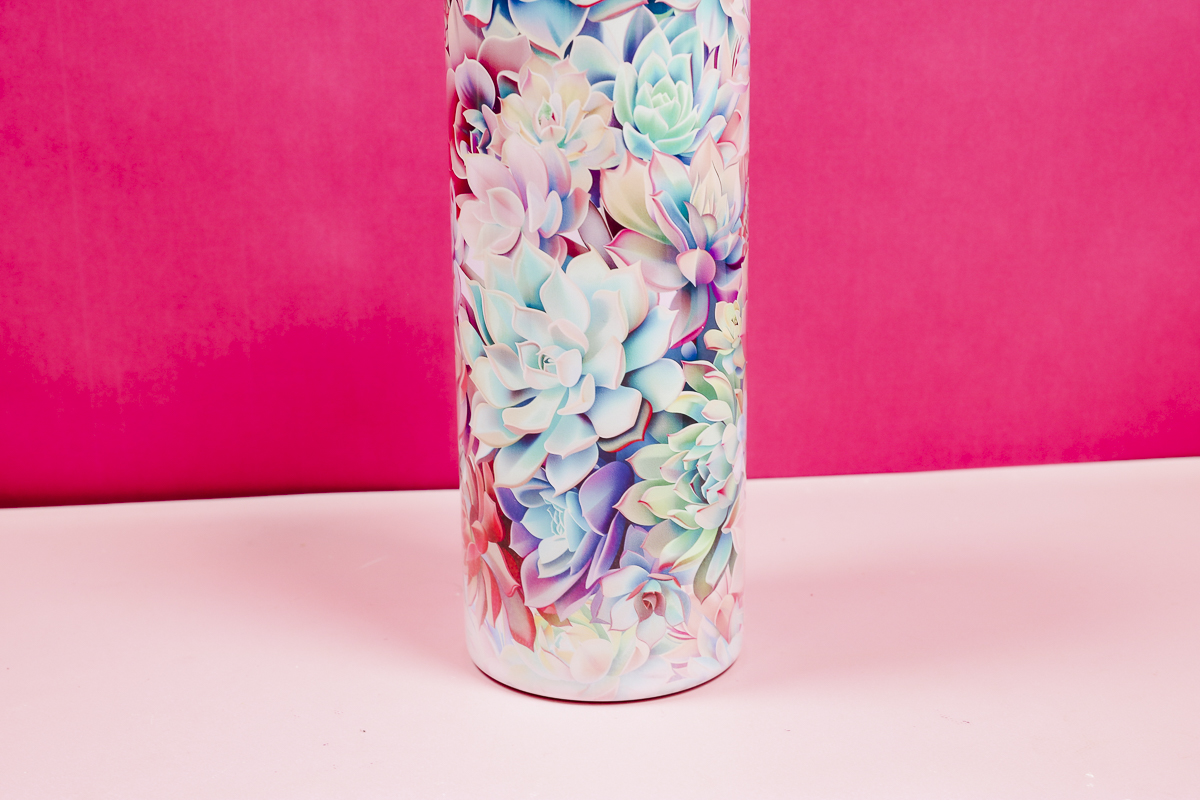
Sublimation Tumbler
My tumbler is a straight wall 20-ounce tumbler and is completely within the size requirements for the Go2Craft Auto Tumbler Press and the finished design isn’t great.
There is fading around the bottom and in some areas around the top. I had perfect vibrant transfer in some areas and others are less vibrant.
I feel there is inconsistent heating even though I didn’t change anything and the press did the rotating on its own.
Sublimation Mug
I tried two different mugs and unfortunately didn’t get great results.
As I feared the areas around the handle are faded and there are even areas around the bottom that are faded. As I said, the mugs don’t sit all the way to the bottom so I felt like they should have pressed better than even the tumbler did.

The second mug I tried is a different type of mug in a different size and the fading still happened. I also had some paper stick to the mug. I was able to get it off with water but it was frustrating since these mugs should have pressed great because they are the right size.

Sublimated Glass Can
The last project I tried in this press was a glass can that is another blank that should work in the Go2Craft Auto Tumbler Press.
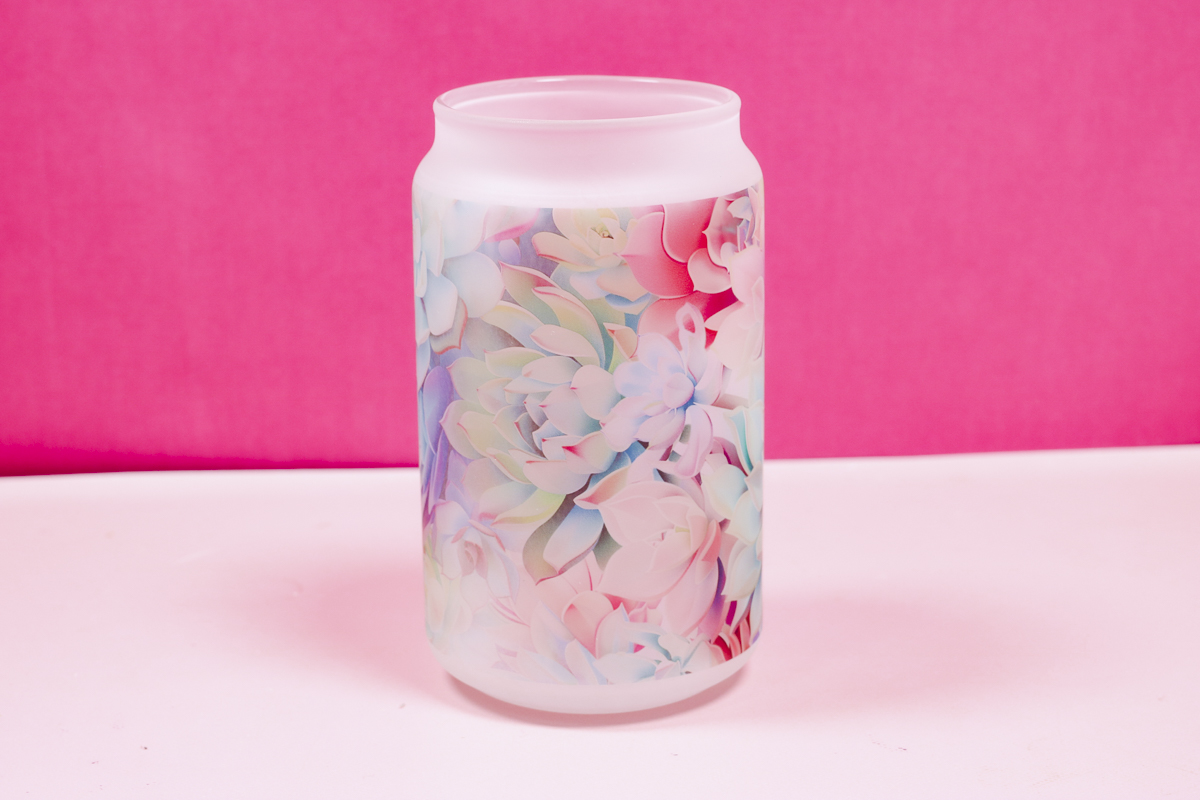
As you can see I once again have inconsistent sublimation transfer. This tumbler sits higher in the press than the 20-ounce tumbler did and I still have fading along the bottom and in other areas.
I think it all comes down to inconsistent heating inside the press.
Go2Craft Tumbler Press Review
As you can see, I did not get great results with this tumbler press. I have had better success with other presses, many of them less expensive than this option.
Unfortunately, I was not impressed with this tumbler press and I wouldn’t recommend it. I think you’ll be frustrated with your finished results on all the different blanks.
If you’re looking for a tumbler press, I would look at the PYD Life Tumbler Press. It is my go-to tumbler press because it has interchangeable coils that open up a broader range of blanks you can sublimate.
The HTVRont Tumbler Press does not auto rotate but it does auto close and it did a good job in my text comparison.
If you’re looking for something specifically for mugs, I like the Cricut Mug Press. It is not recommended to do glass mugs in it but for a basic sublimation mug it is another good option.
I didn’t like how difficult it was to get the mug handle centered in the opening and I also didn’t love that it didn’t stop preheating at the temperature I had set.
You’ll be much happier with one of the other tumbler presses I recommended above.
Hopefully, I’ve answered any questions you have about the Go2Craft Auto Tumbler Press. If you have any additional questions, leave them in the comments and I’ll be happy to answer them for you.