This post and photos may contain Amazon or other affiliate links. If you purchase something through any link, I may receive a small commission at no extra charge to you. Any supplies used may be given to me free of charge, however, all projects and opinions are my own.
Back to school is right around the corner. If you’re looking for a fun teacher gift or to make a first-day-of-school sign, you’re going to love learning how to make customized sublimation dry erase boards.
Today I’m going to test a variety of different dry erase blanks to see which ones work with sublimation and which ones don’t. If you’re new to sublimation, my Sublimation Beginner’s Guide is a great place to get started.
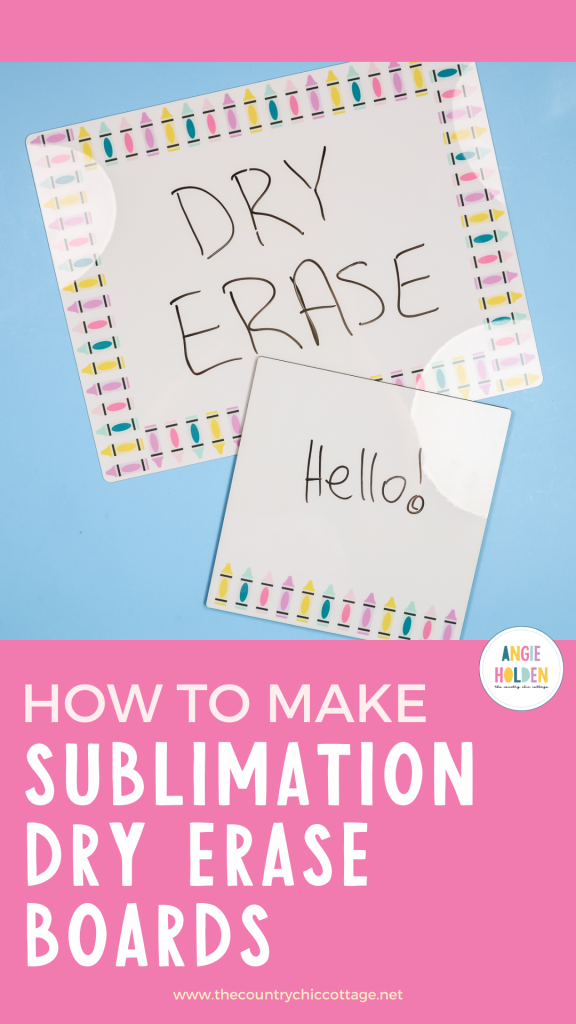
Sublimation Dry Erase Boards
Creating customized sublimation dry erase boards is so fun. Today I’m showing you a variety of different school-themed options but you can use any sublimation designs you want.
These would be great for creating calendars, menu boards, shopping lists, etc. They’re also perfect for party decor. Use them to create photo props and signs that can be customized for different parties.
You can watch me go through all of these different blanks and see how they work with sublimation by pressing play on the video below.
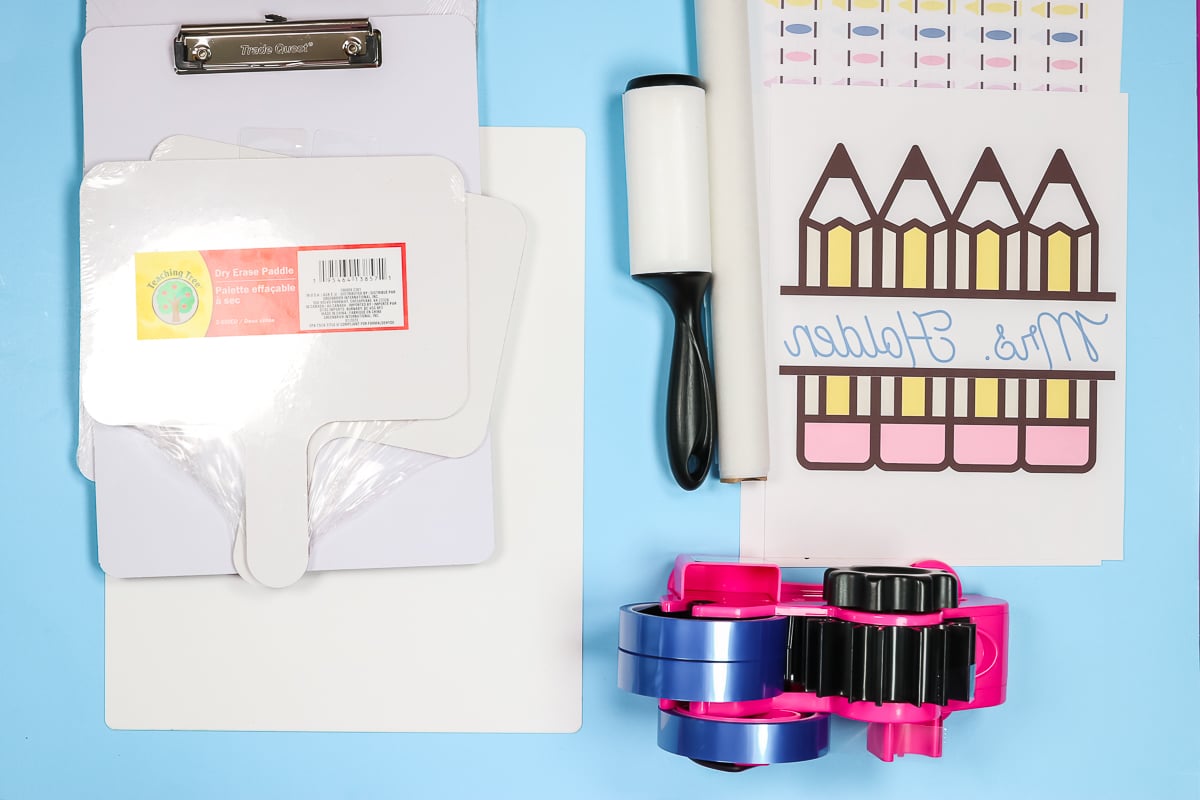
Supplies Needed
Remember, for sublimation projects you need a sublimation print. A sublimation print is sublimation ink printed onto sublimation paper from a sublimation printer.
How to Make a Customized Sublimation Dry Erase Board
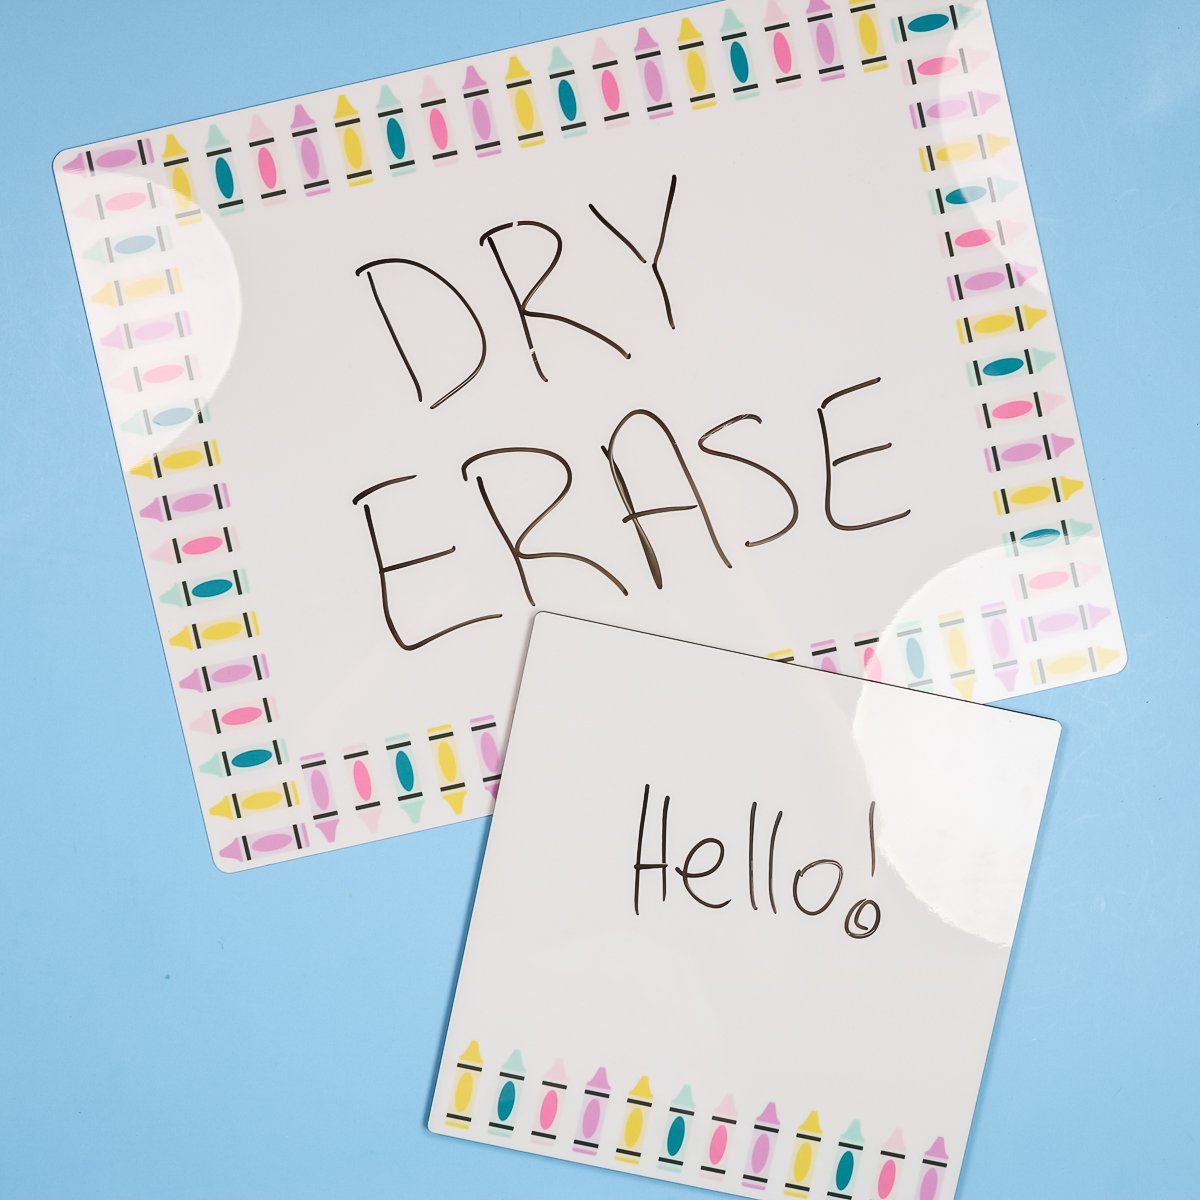
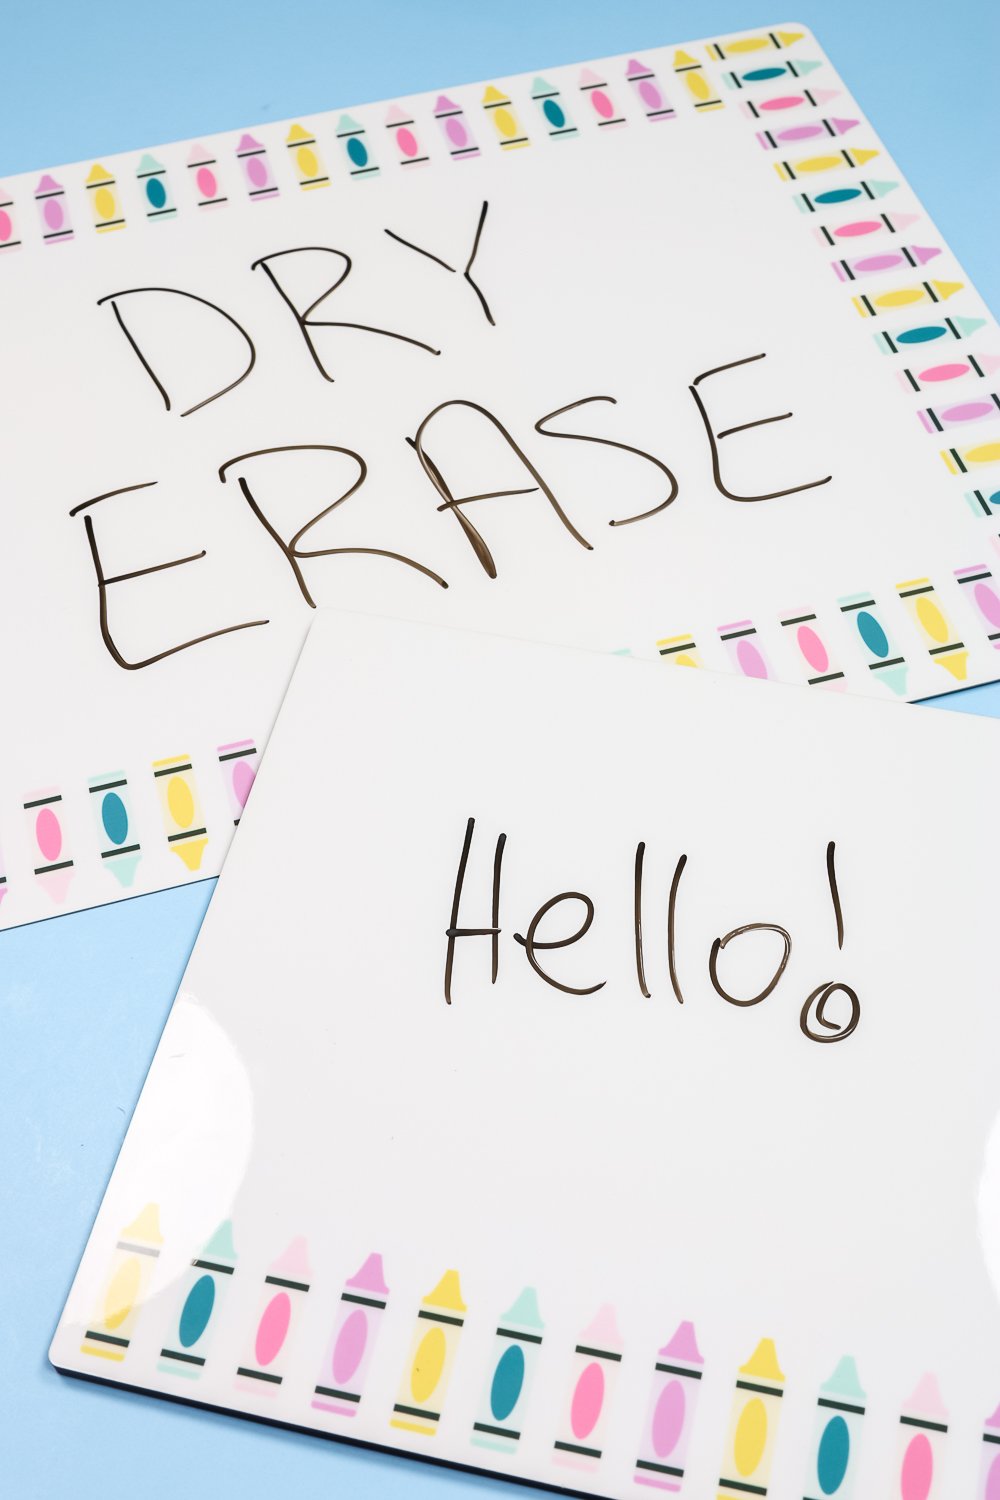
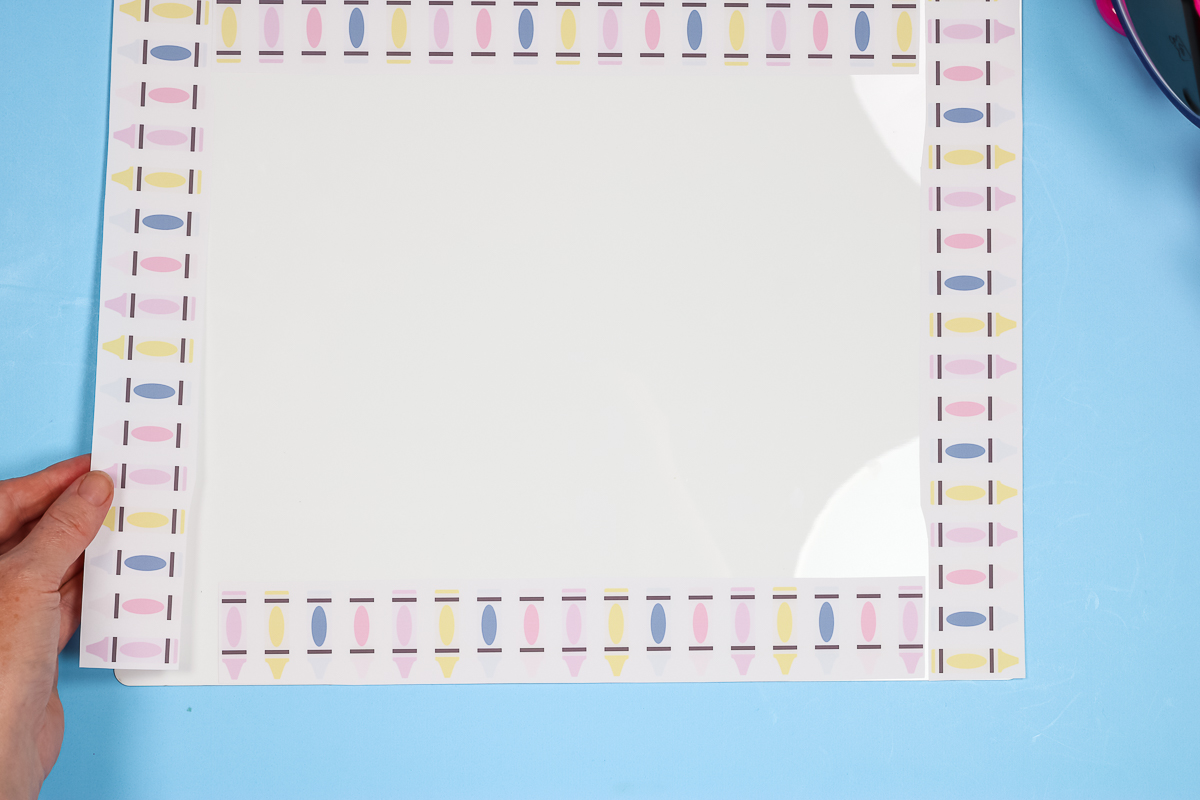
For my first project, I am making a school themed dry erase board. I’m adding these cute crayons as a sublimation frame all the way around the edges of the dry erase board.
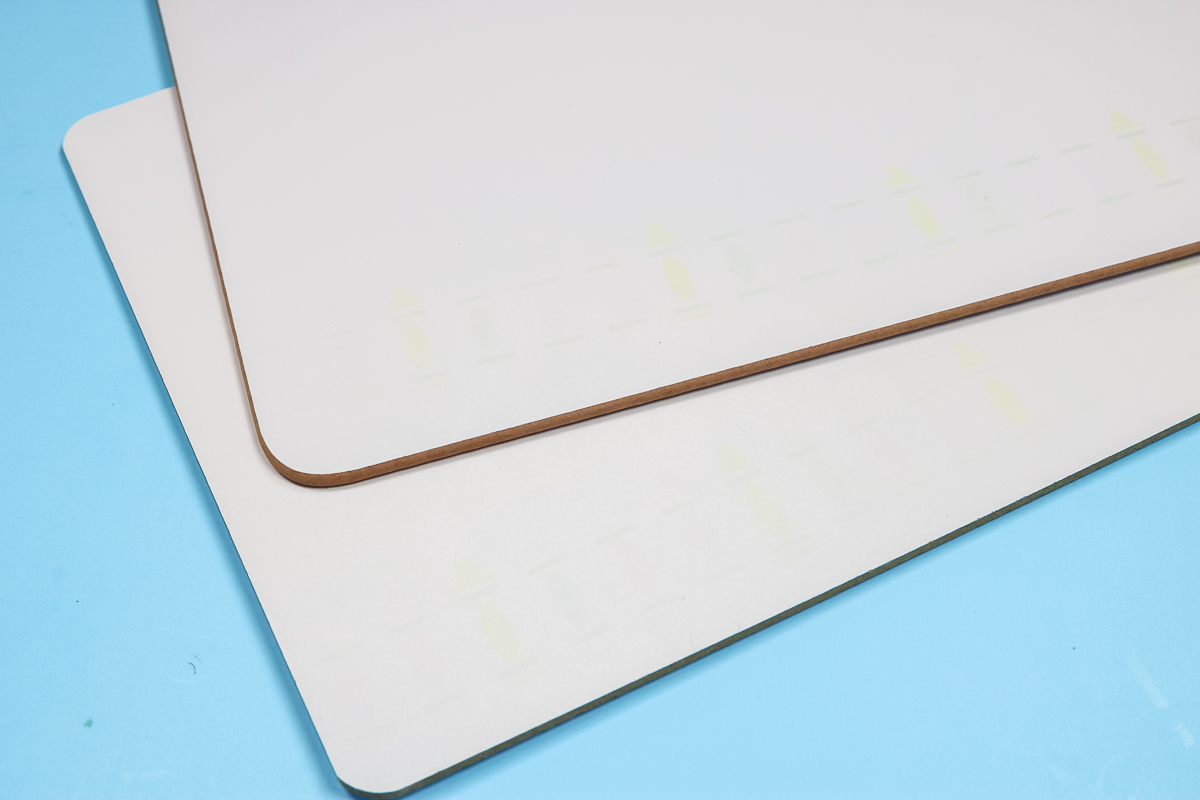
This dry erase board is a sublimation blank. It’s made for sublimation. With the crayon frame, the middle of the board can be used to write on.
I will be following the same process for applying my sublimation print to all of these different blanks. I will be testing different times and temperatures but the process is the same for each.
Locate Sublimation Design
First, you’ll want to lay your sublimation design out how you want it on your sublimation blank. I cut my sublimation print apart and am going to use it to create a frame all the way around the outside of the dry erase board.
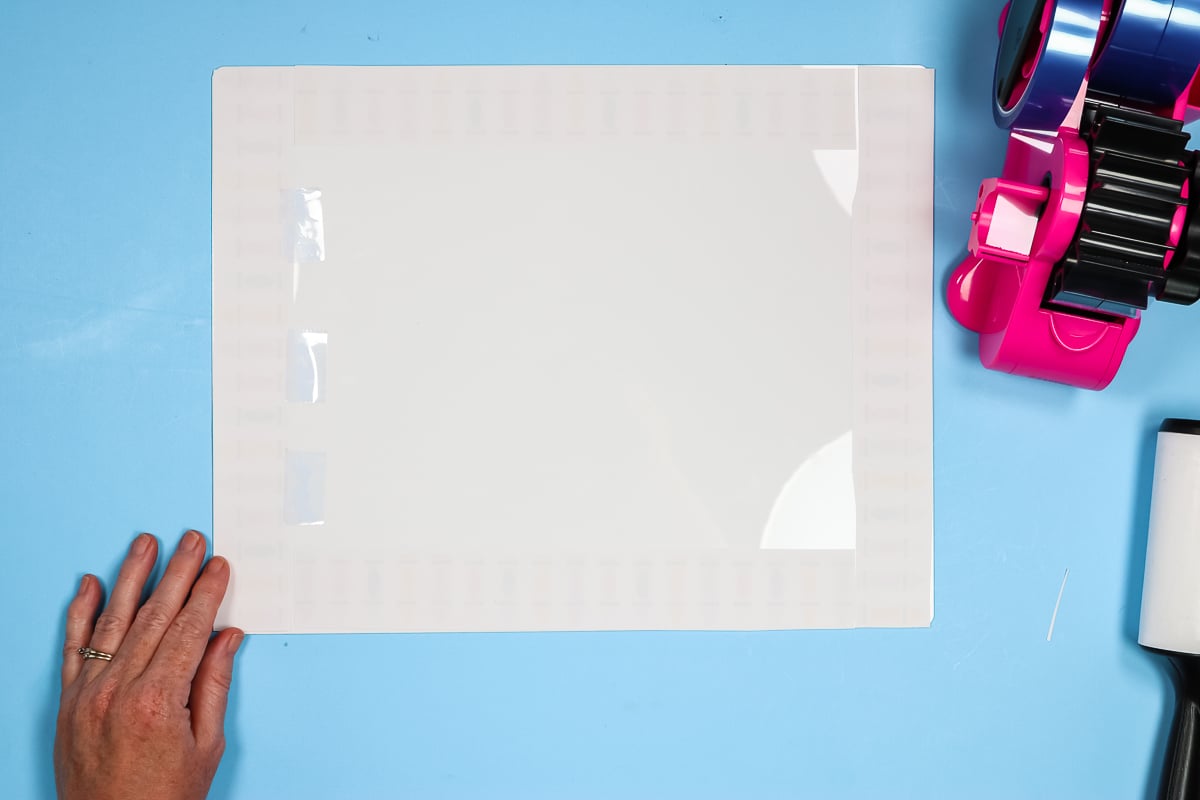
Once you know how you want your design to look clean your blank really well. I like to use a lint roller on blanks like this. Go over the entire surface to remove any dust, hair, or other debris.
Next, use heat-resistant tape to tape the sublimation print in place. Your sublimation print should be face down on the sublimation dry erase board. Tape it into place so it won’t move while it’s being pressed.
Press Sublimation Onto Dry Erase Board
Next, we’ll add protective paper to both the top and the bottom of the dry erase board and press it for the time and temperature recommended by the manufacturer. Mine calls for 400 degrees for 90 seconds.
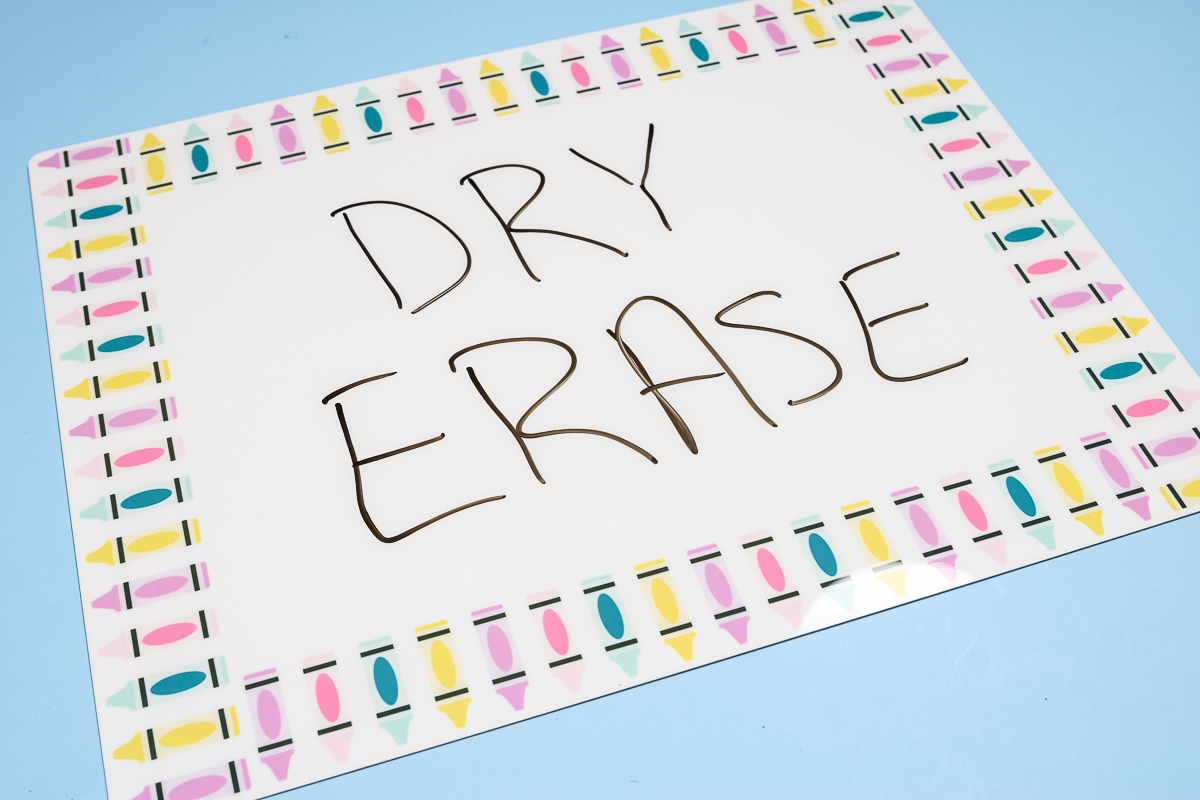
When the time is up remove the dry erase board from the press and remove the protective paper and sublimation paper to reveal your finished project!
This sublimation blank is metal, it will be hot. Use your heat-resistant gloves to handle it so you don’t burn yourself. I like to remove the sublimation print while it’s hot because the tape removes more easily.
I think this turned out so cute. You can easily write in the center open area but, because this is a sublimation blank if you wanted or needed to you can write over the top of the design too.
This project turned out perfectly. The design is clean and crisp and the marker writes on the board easily and wipes off clean.
Dry Erase Dollar Store Sign
For my next project, I’m using a dry erase sign from the dollar store. This is not listed as a sublimation blank but I’ve seen people using it so I thought I would test it.
For this project, I used a school template from the supplies list above. You can open this template right in Canva and make any adjustments you want including changing the background design.
The process for making this sign is the same as above. Because this isn’t a sublimation blank, I used a temperature of 385 degrees and 45 seconds.
As you can see the sublimation print isn’t very vibrant but it did transfer. On this sign, however, the back looks terrible. The heat-resistant tape pulled off the paper and it’s a little warped.
The dry erase markers also don’t erase from the surface well. The whole thing looks matte now and even when I use a damp cloth to remove the writing you can still see it a little bit.
I think this would make a fun photo prop. It’s inexpensive and if you aren’t trying to sell them the back looking less than perfect isn’t a deal breaker. I would also plan on what you write on it staying on it permanently.
Dry Erase Boards From Amazon
These are the dry erase boards from Amazon. Again, these are not sublimation blanks. I’m not even sure if you can see in the photo below that I sublimated them.
The design didn’t transfer well at all and I tried a variety of different times and temperatures. These are a complete fail for sublimation.
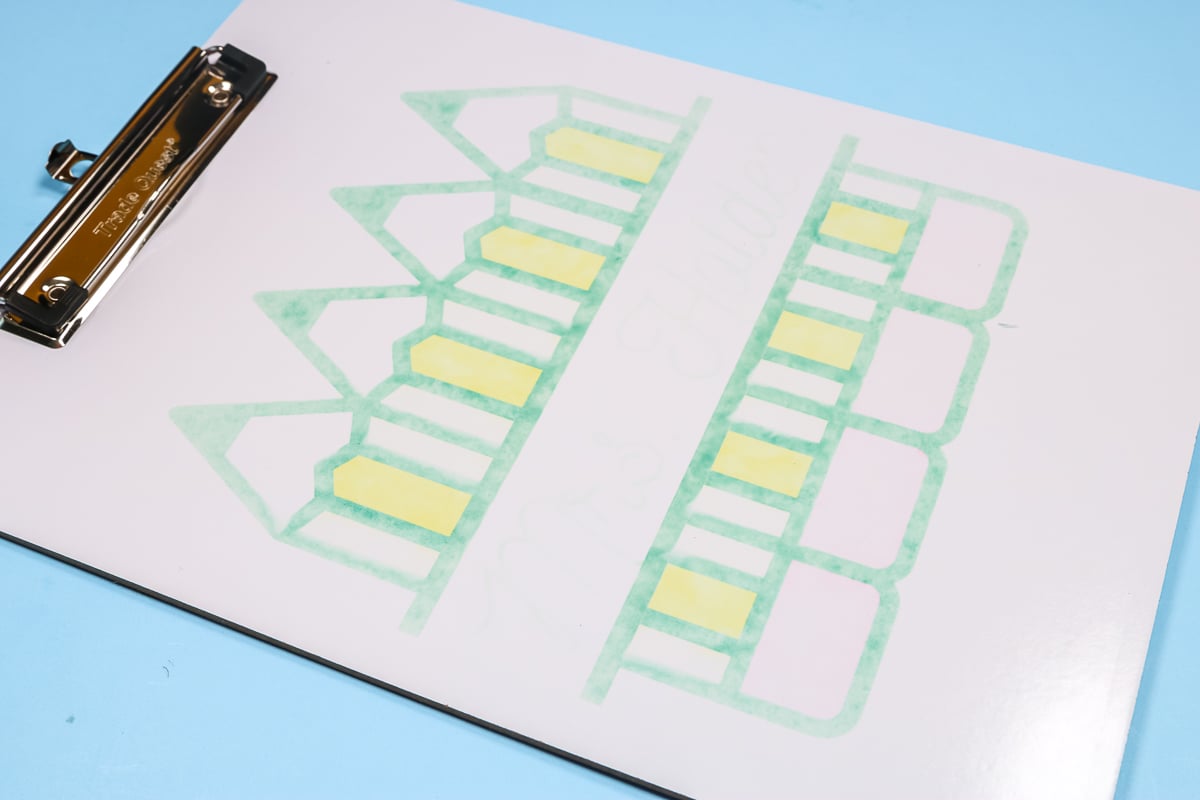
Sublimation on Dry Erase Clipboard
Here’s another project that unfortunately did not turn out. This is the cutest sublimation design too.
This design is included in the supplies list above and can be customized. You can change the name, change the font, change the color, etc.
This would be great on a different sublimation blank as a gift for a teacher but it did not work on this clipboard no matter what I tried.
Sublimation Tile White Board
Since I wasn’t having a lot of success with white boards that weren’t sublimation blanks I decided to try a few different items that could maybe be used as a white board.
First, we have this sublimation tile. This is made for things like photos but it has a nice glossy surface and I thought it would work as a dry erase board.
You can see that the sublimation design is perfect and the dry erase marker wrote on the tile perfectly. It also wiped clean with a dry cloth. I’m considering this a win.
Sublimation Metal Book Ends
After my success with the sublimation tile, I thought that any glossy white sublimation surface might work as a sublimation white board.
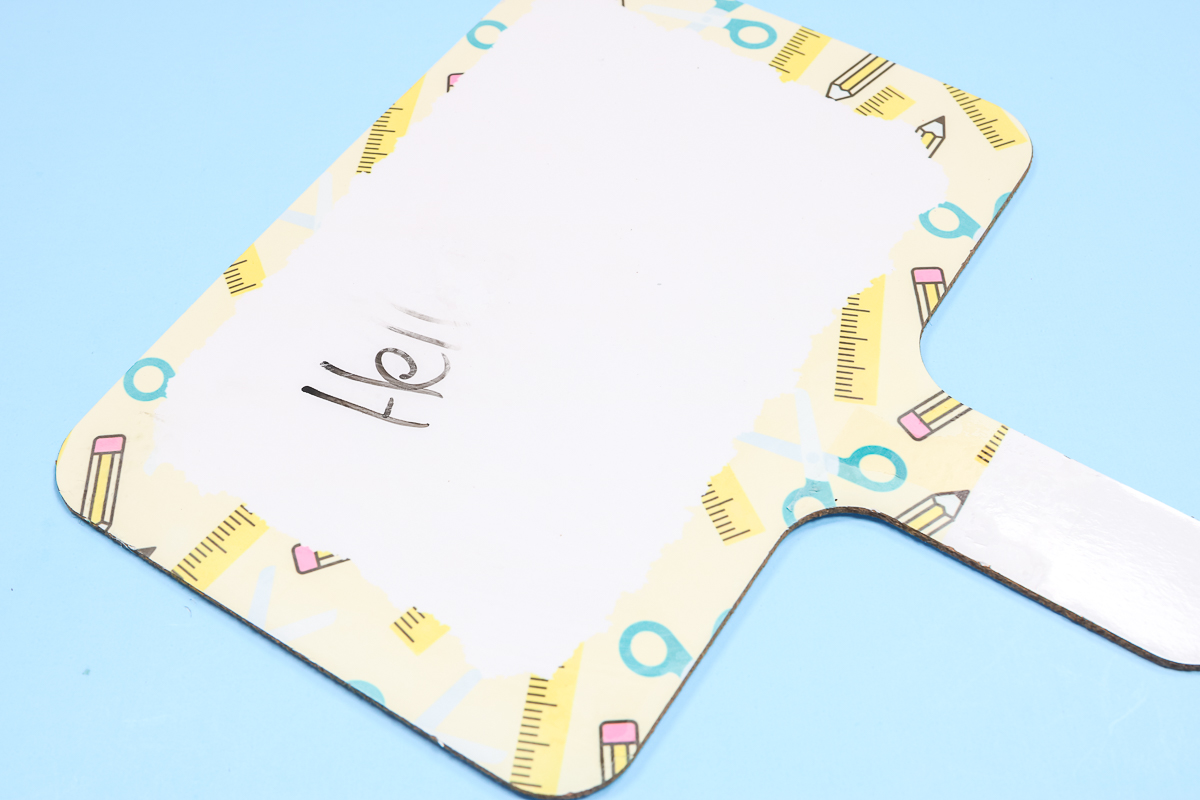
I decided to test that theory on these cute metal sublimation book ends. I added that cute pencil split monogram to the book ends and they turned out great.
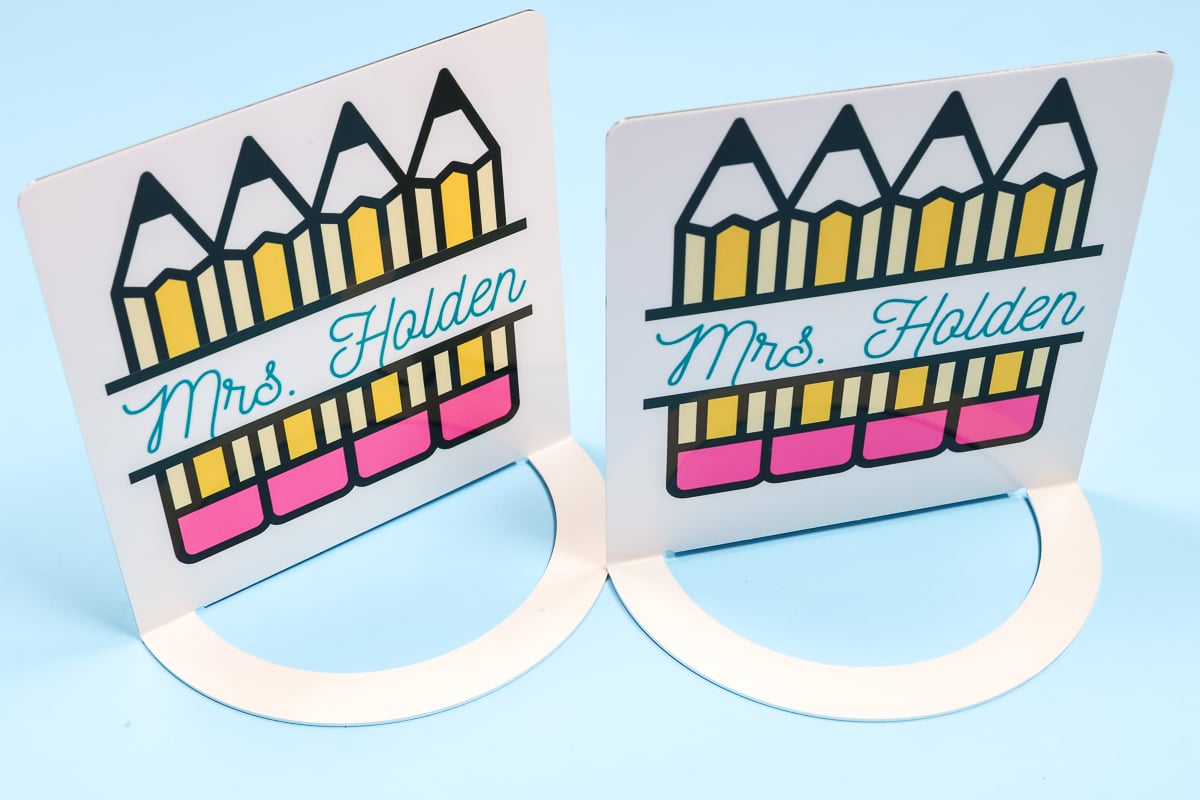
In case you’re wondering how I sublimated these book ends since they aren’t flat. This blank actually comes flat. So you sublimate it while it’s flat and then bend the bottom so it can stand up straight.
Because this is a sublimation blank the sublimation print is beautiful. There isn’t a lot of room on the front to write on but I thought they would be cute as a nameplate for a desk and then the back is blank so you could write notes on it with a dry erase marker.
The marker writes well on the back but does leave a little bit of a marker ghost when wiped off with a dry cloth.
Final Thoughts on Sublimation Dry Erase Boards
Now that we’ve tested a lot of different blanks let’s talk about what we learned.
First of all, I think it’s best to stick with sublimation blanks when it comes to making a customized sublimation dry erase board.
After a lot of trial and error, I still didn’t have any success with any of the dry erase boards that weren’t made for sublimation. I just don’t think they can handle the heat and the surface isn’t right for accepting the sublimation ink.
Any sublimation blank that is glossy can be tested as a dry erase board. I do recommend testing the dry erase marker on the blank before applying a sublimation design. If you aren’t happy with how the marker wipes off I wouldn’t waste a sublimation blank to create a dry erase board that you can’t really write on.
If you want to make a sublimation dry erase board, stick to sublimation blanks that are white and glossy. The only actual dry erase board I was able to sublimate was the metal sublimation blank and it turned out beautifully.
I hope I’ve answered any questions you have about how to make a sublimation dry erase board and what blanks work best. If you have any other questions, leave them in the comments; I’ll be happy to answer them.