
This post and photos may contain Amazon or other affiliate links. If you purchase something through any link, I may receive a small commission at no extra charge to you. Any supplies used may be given to me free of charge, however, all projects and opinions are my own.
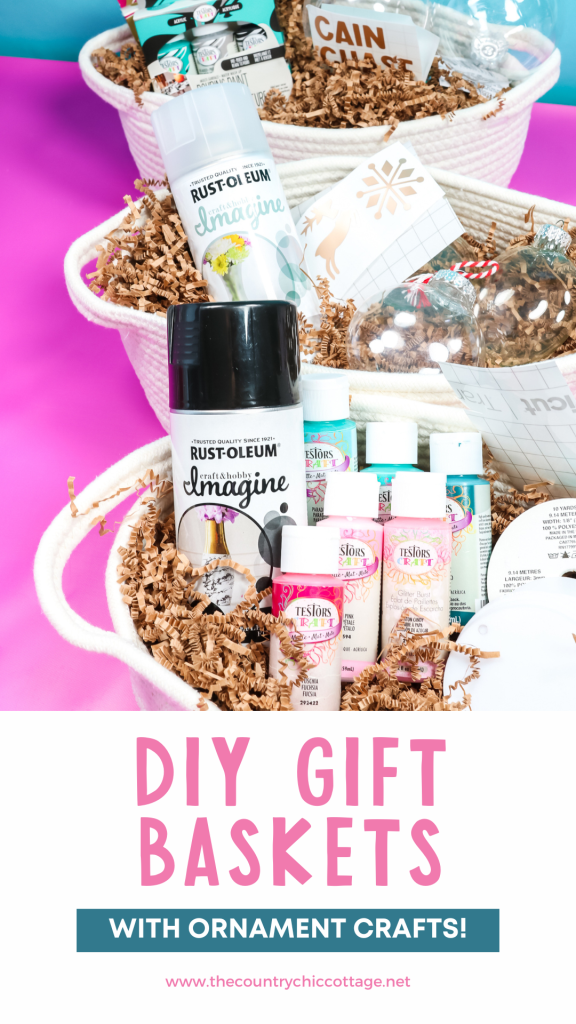
I have a DIY gift baskets idea for you today that I think you are going to love. The idea is to put everything you gift recipient needs to make some homemade ornaments in a basket. Including the Testors and Rust-Oleum paints and some vinyl cut outs. Then give them the gift of creativity! I have basket ideas for both young and old crafters. So, this holiday season give them some creativity or just use my handmade ornament ideas below to make some adorable holiday ornaments with your Cricut machine.
This post is sponsored by Testors and Rust-Oleum, however, all projects and opinions are my own.
DIY Gift Baskets
You can actually watch me put together these baskets and make the three ornament ideas in the video below. Just click play to watch!
Can’t watch the video or miss some of the information? You can also follow along below!
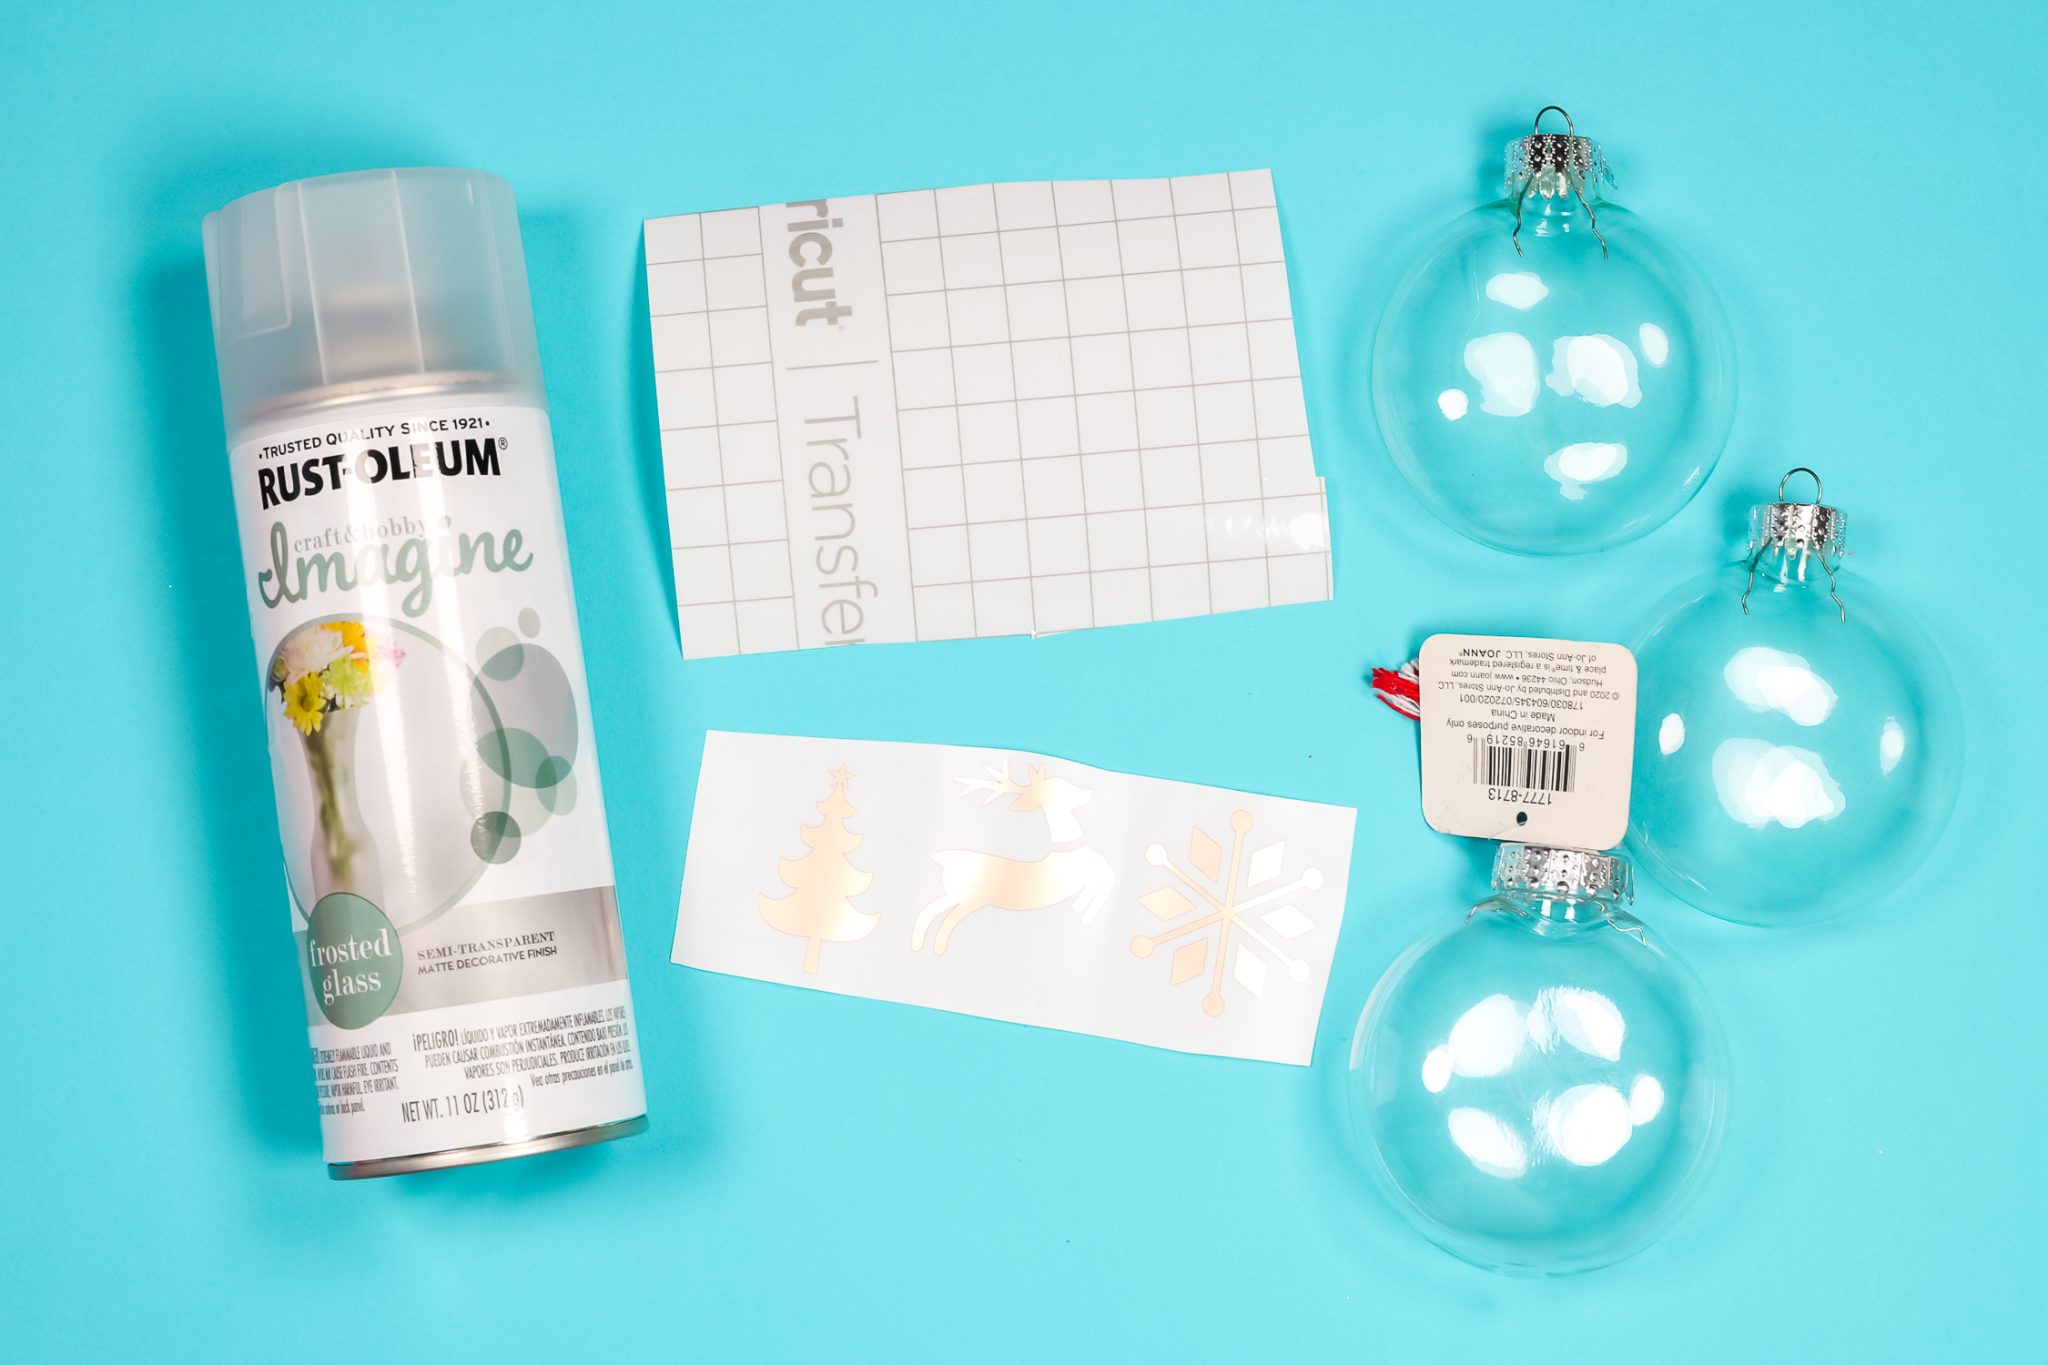
Supplies needed:
Printable How-to Cards – you can print these and add the instructions to each basket if you wish.
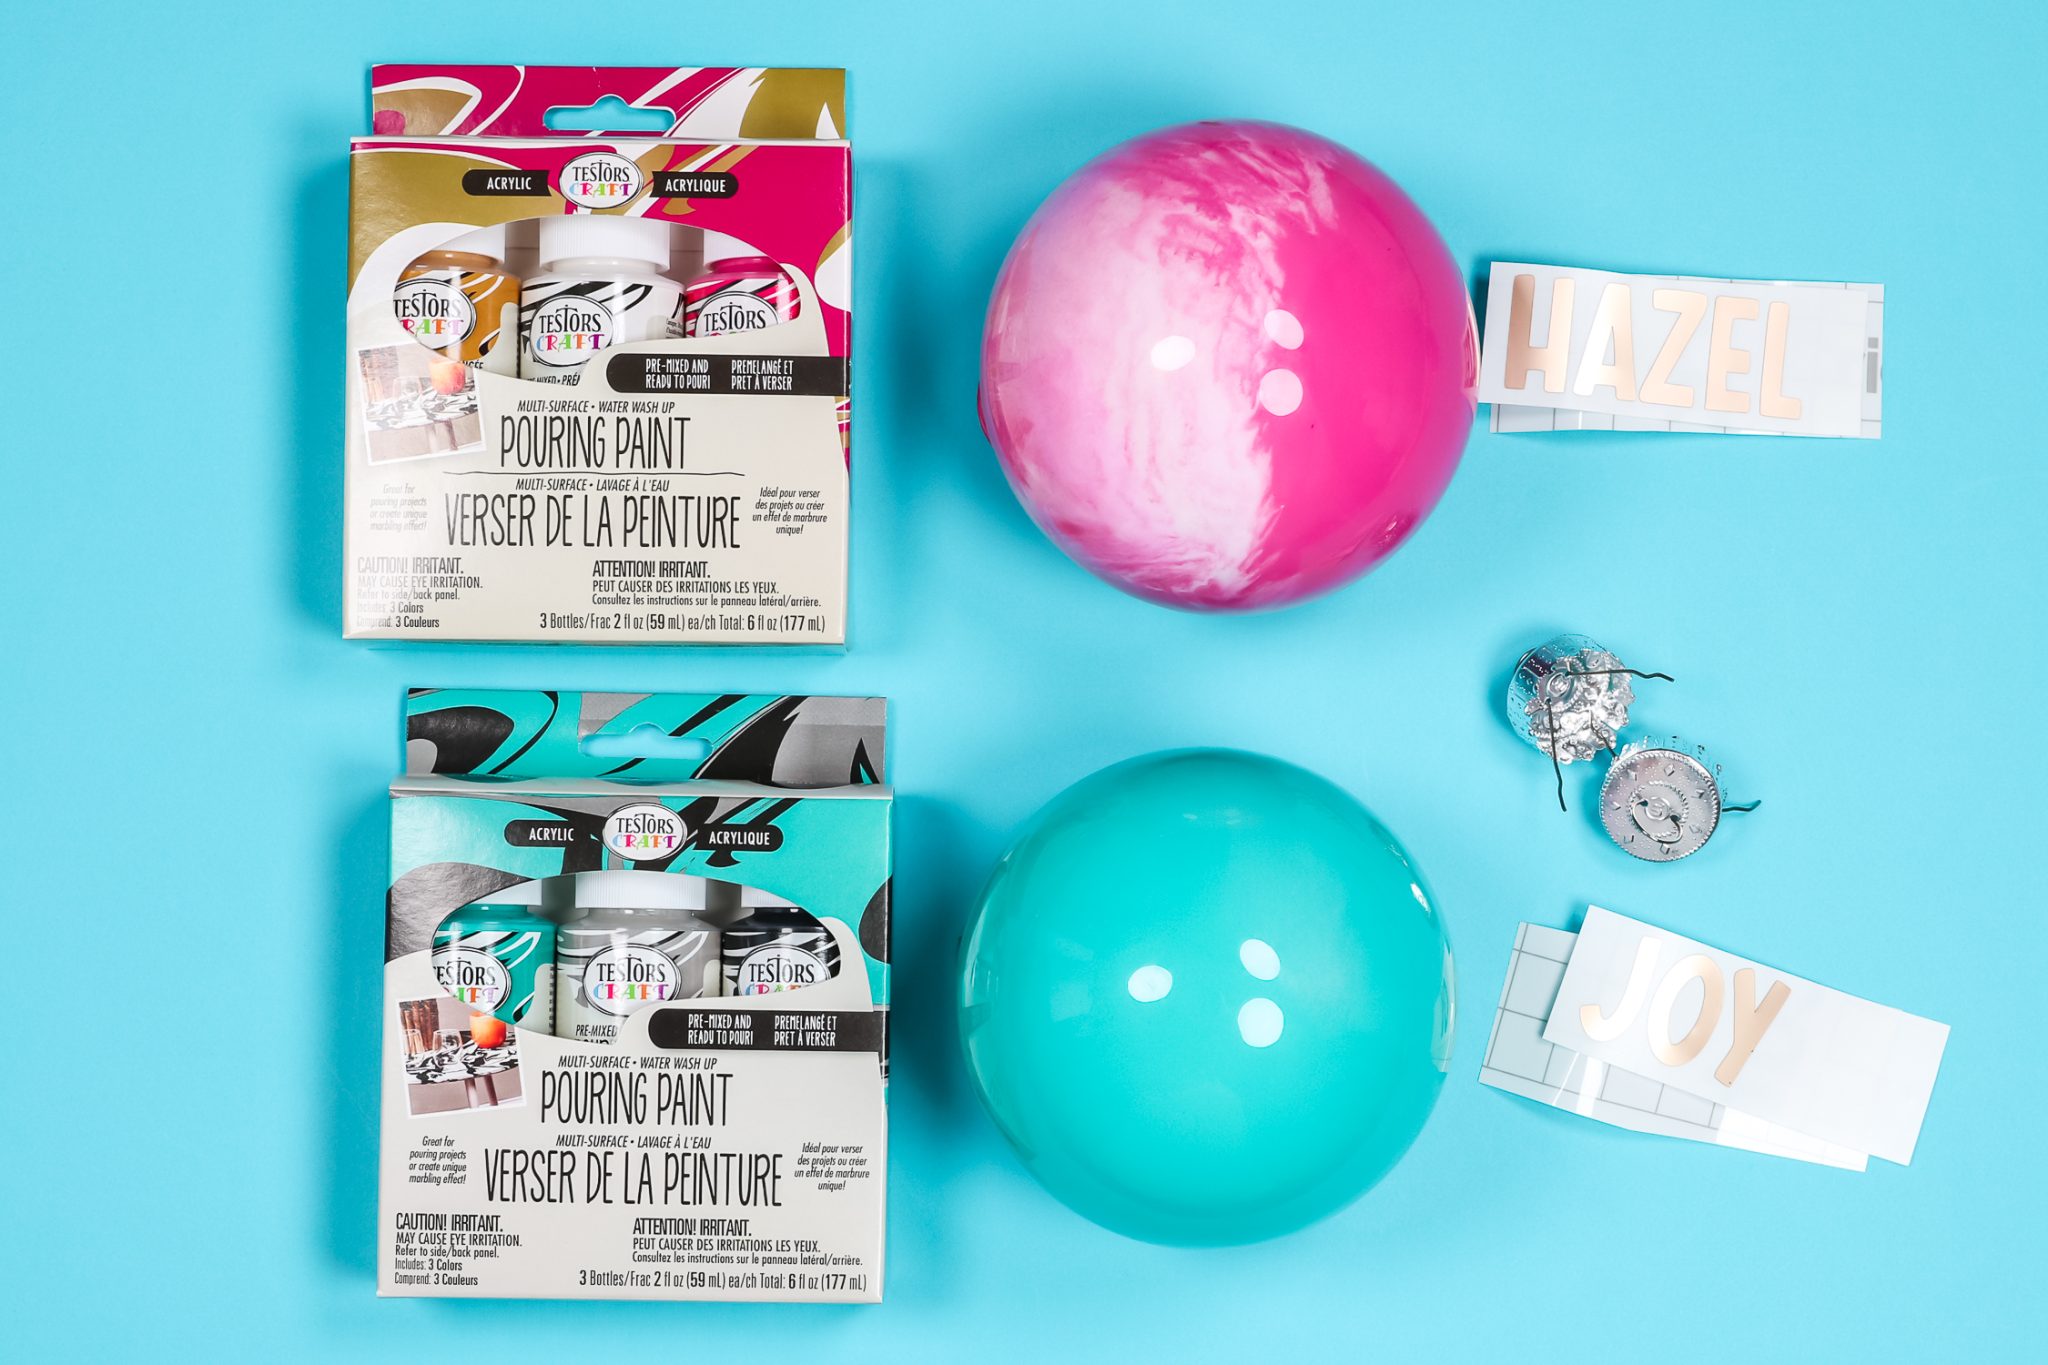
Pour Paint Ornament – Basket 1
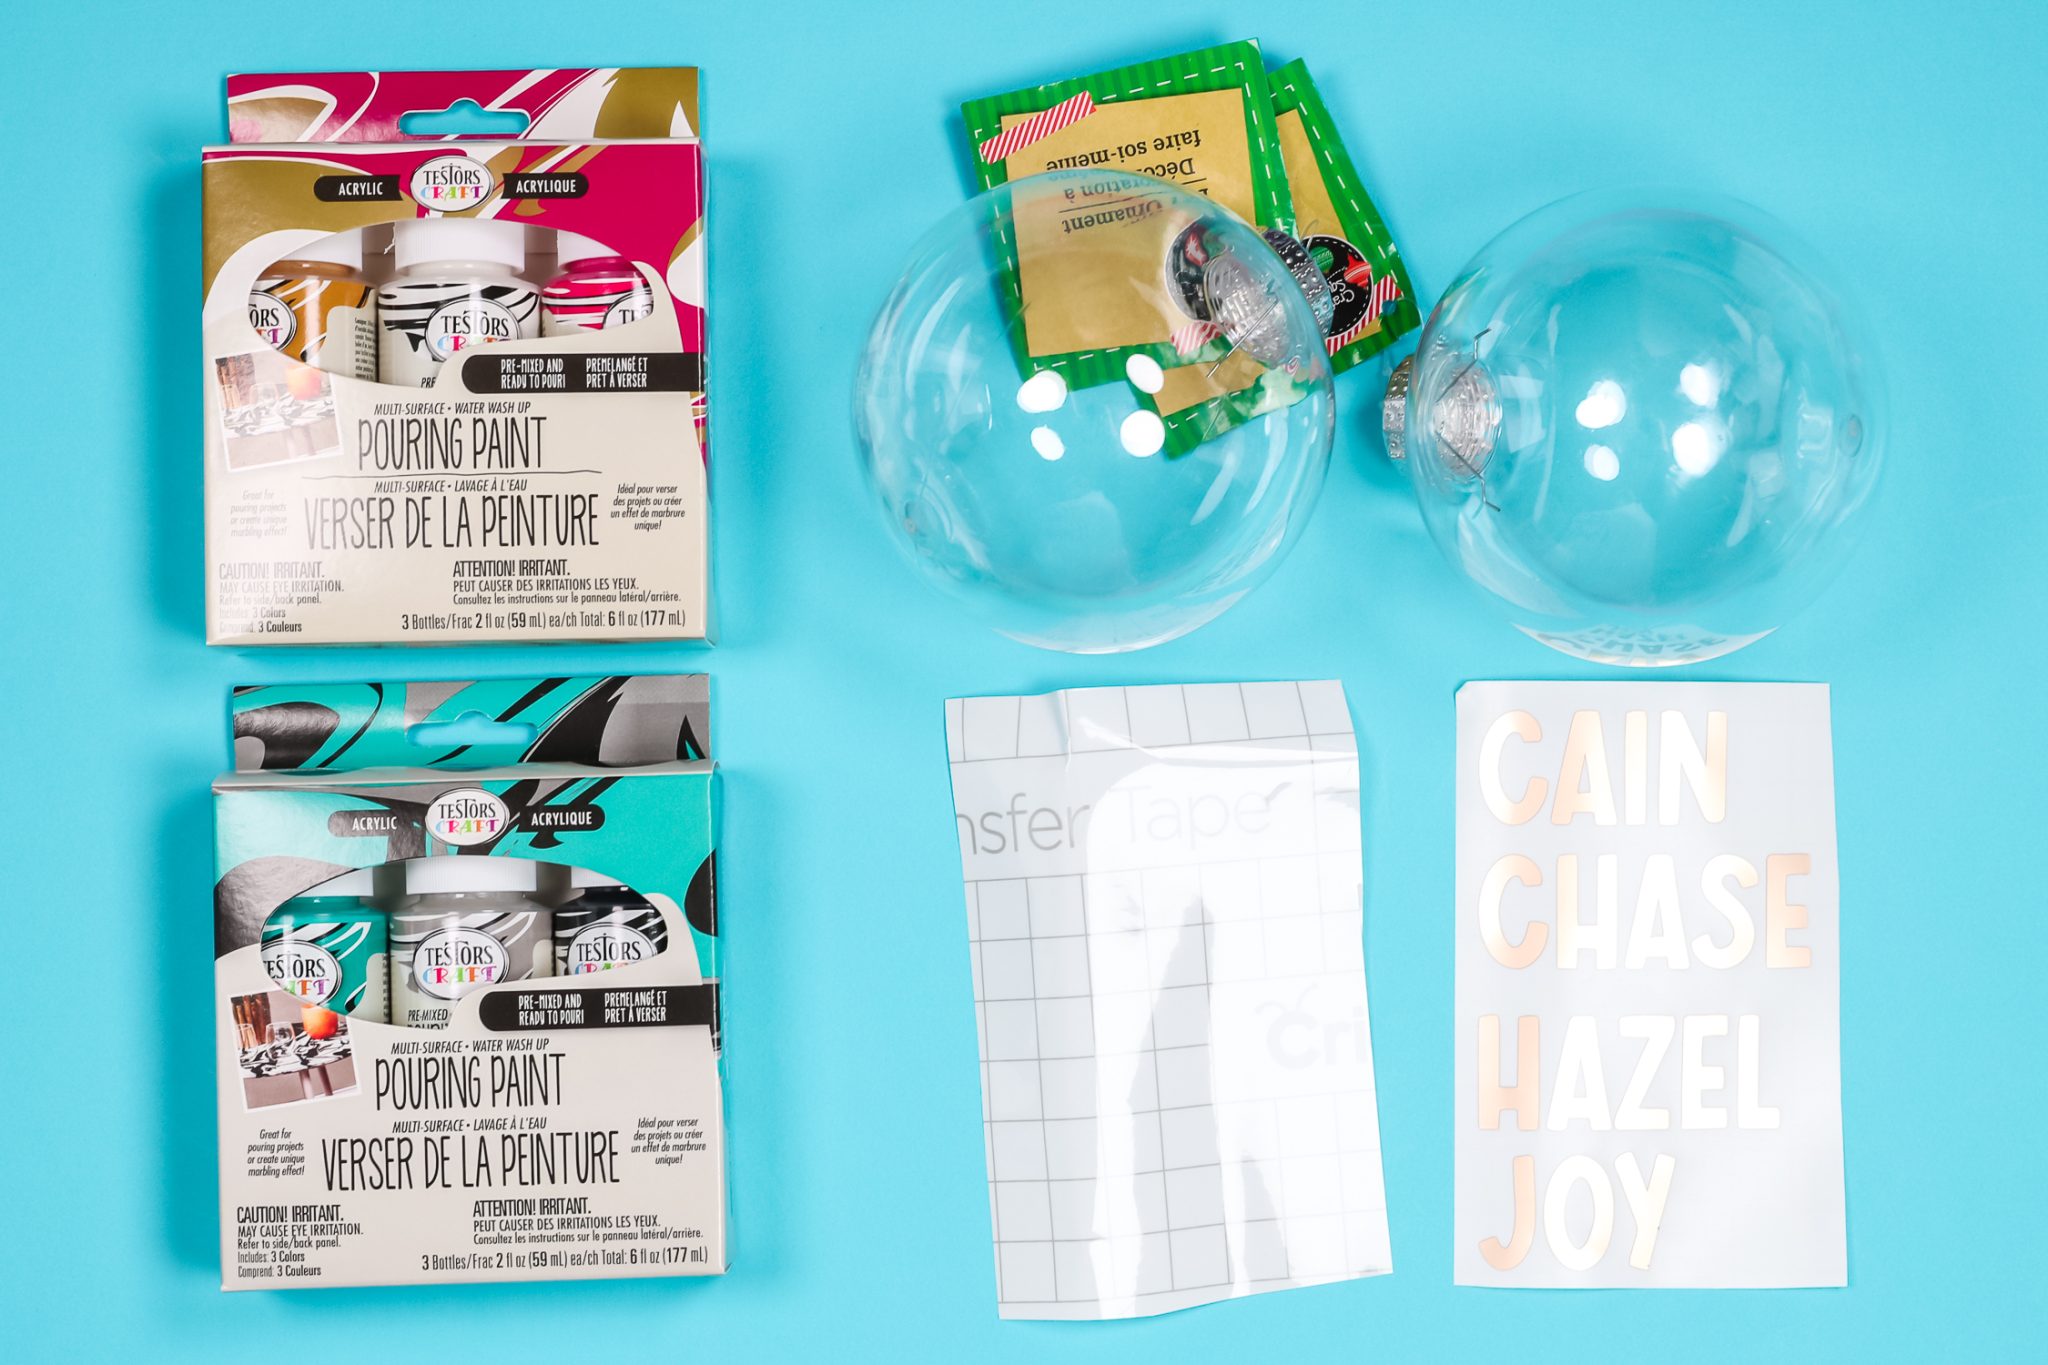
- Testors Craft Pouring Paint (Get it at Menards or here on Amazon.)
- Clear ball ornaments (plastic or glass)
- Vinyl
- Cricut machine
- Transfer tape
Hot Mess Paint Ornament – Basket 2
Frosted Glass Ornament – Basket 3
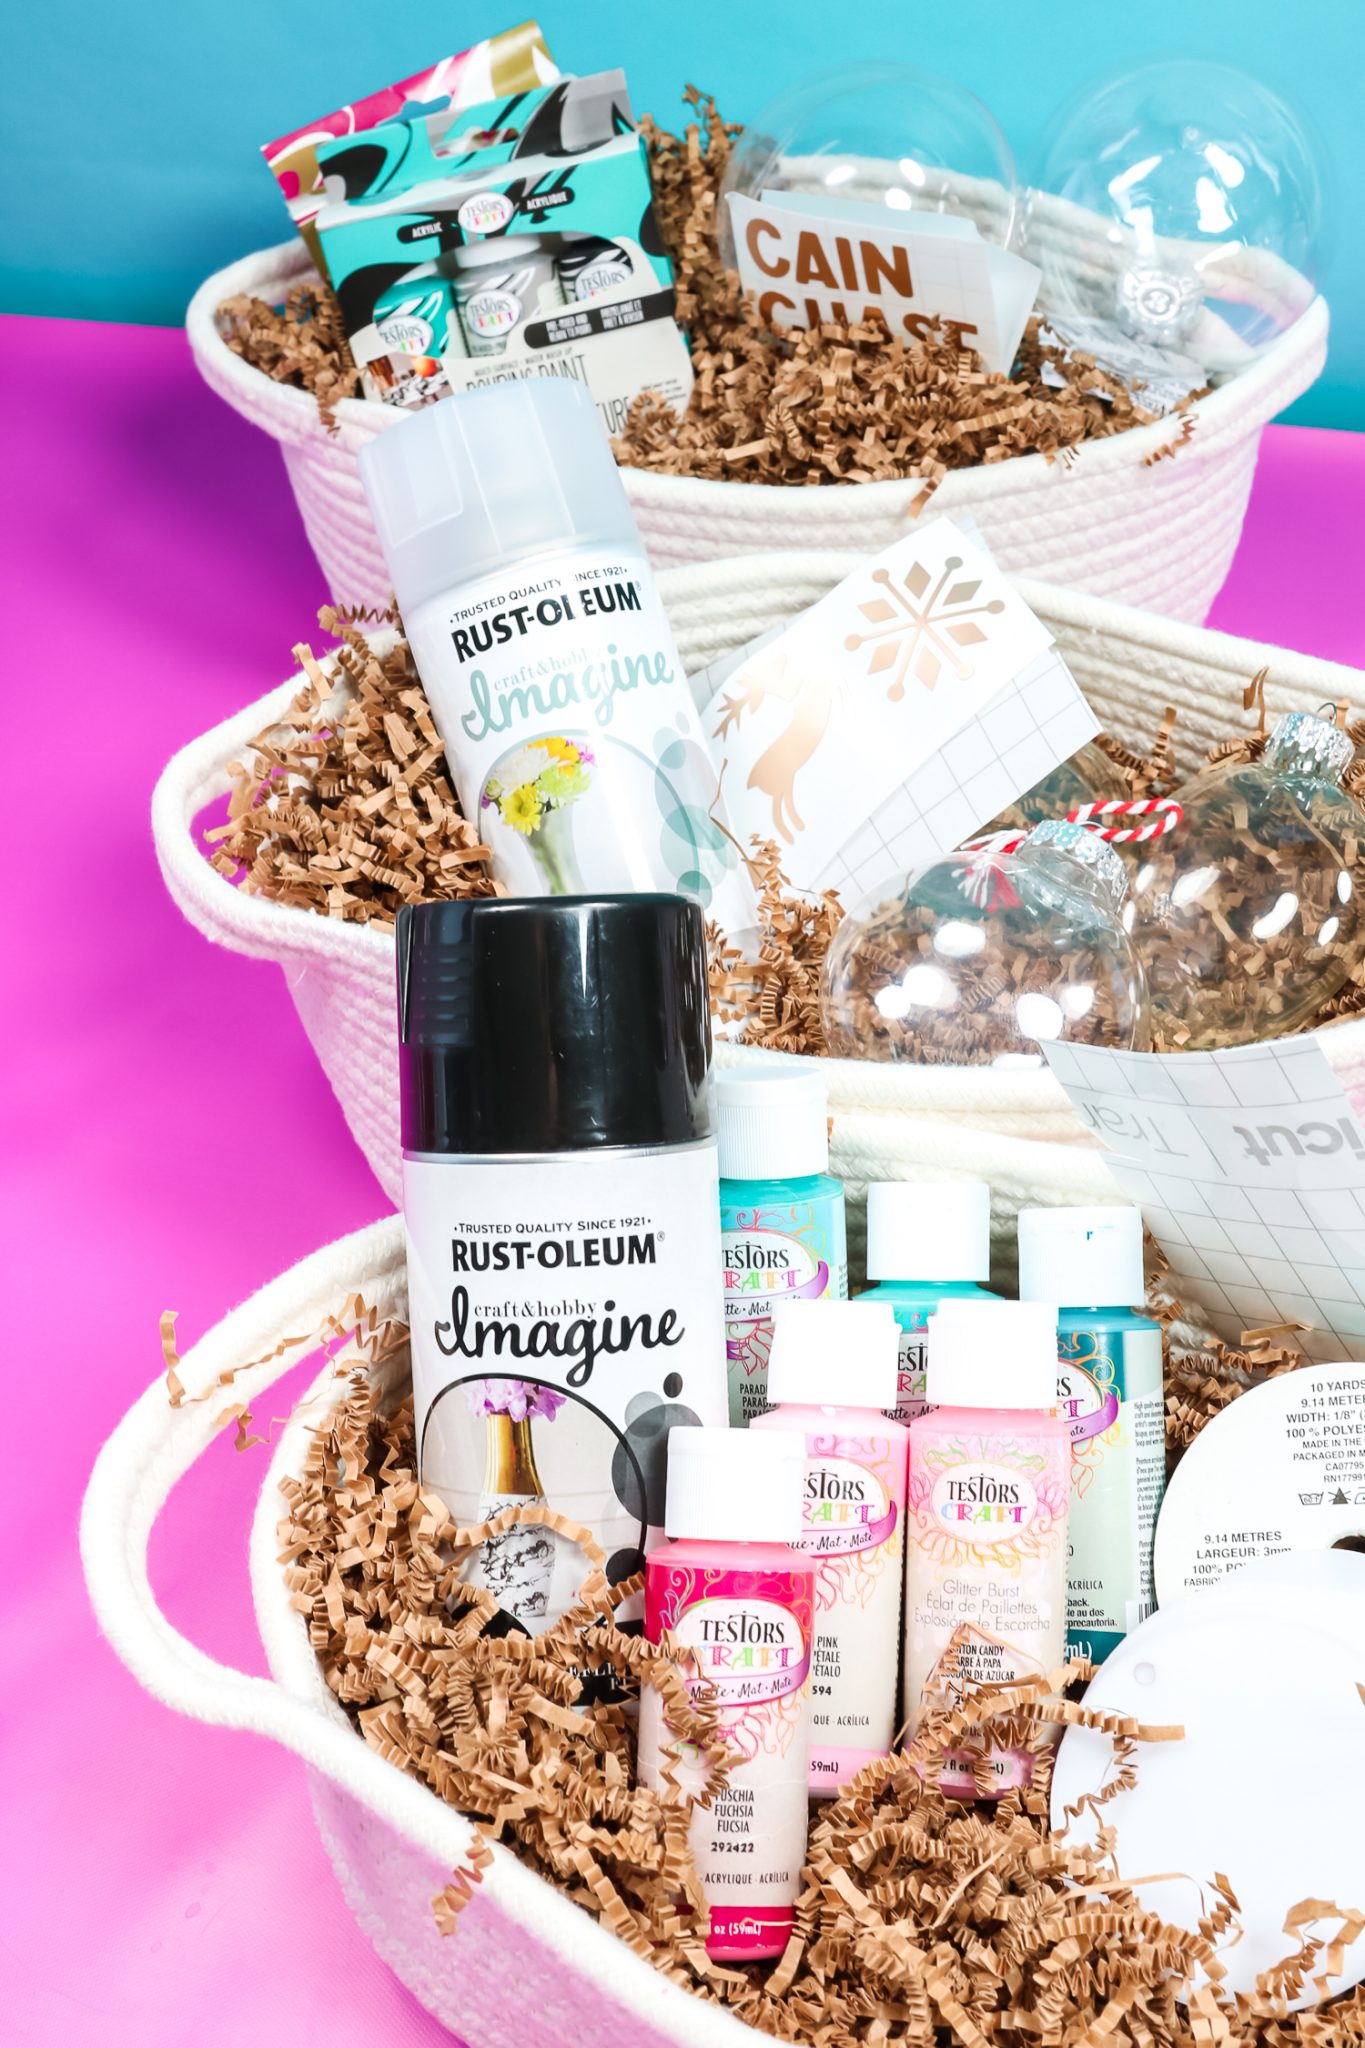
Ornament Gift Basket Ideas
Are you ready to give the gift of crafting? Gather the supplies above in some cute baskets and pop in the printable how to cards. Or just make the cute ornaments yourself! I have the instructions below so you can get inspired and see how each of the ideas turns out once complete.
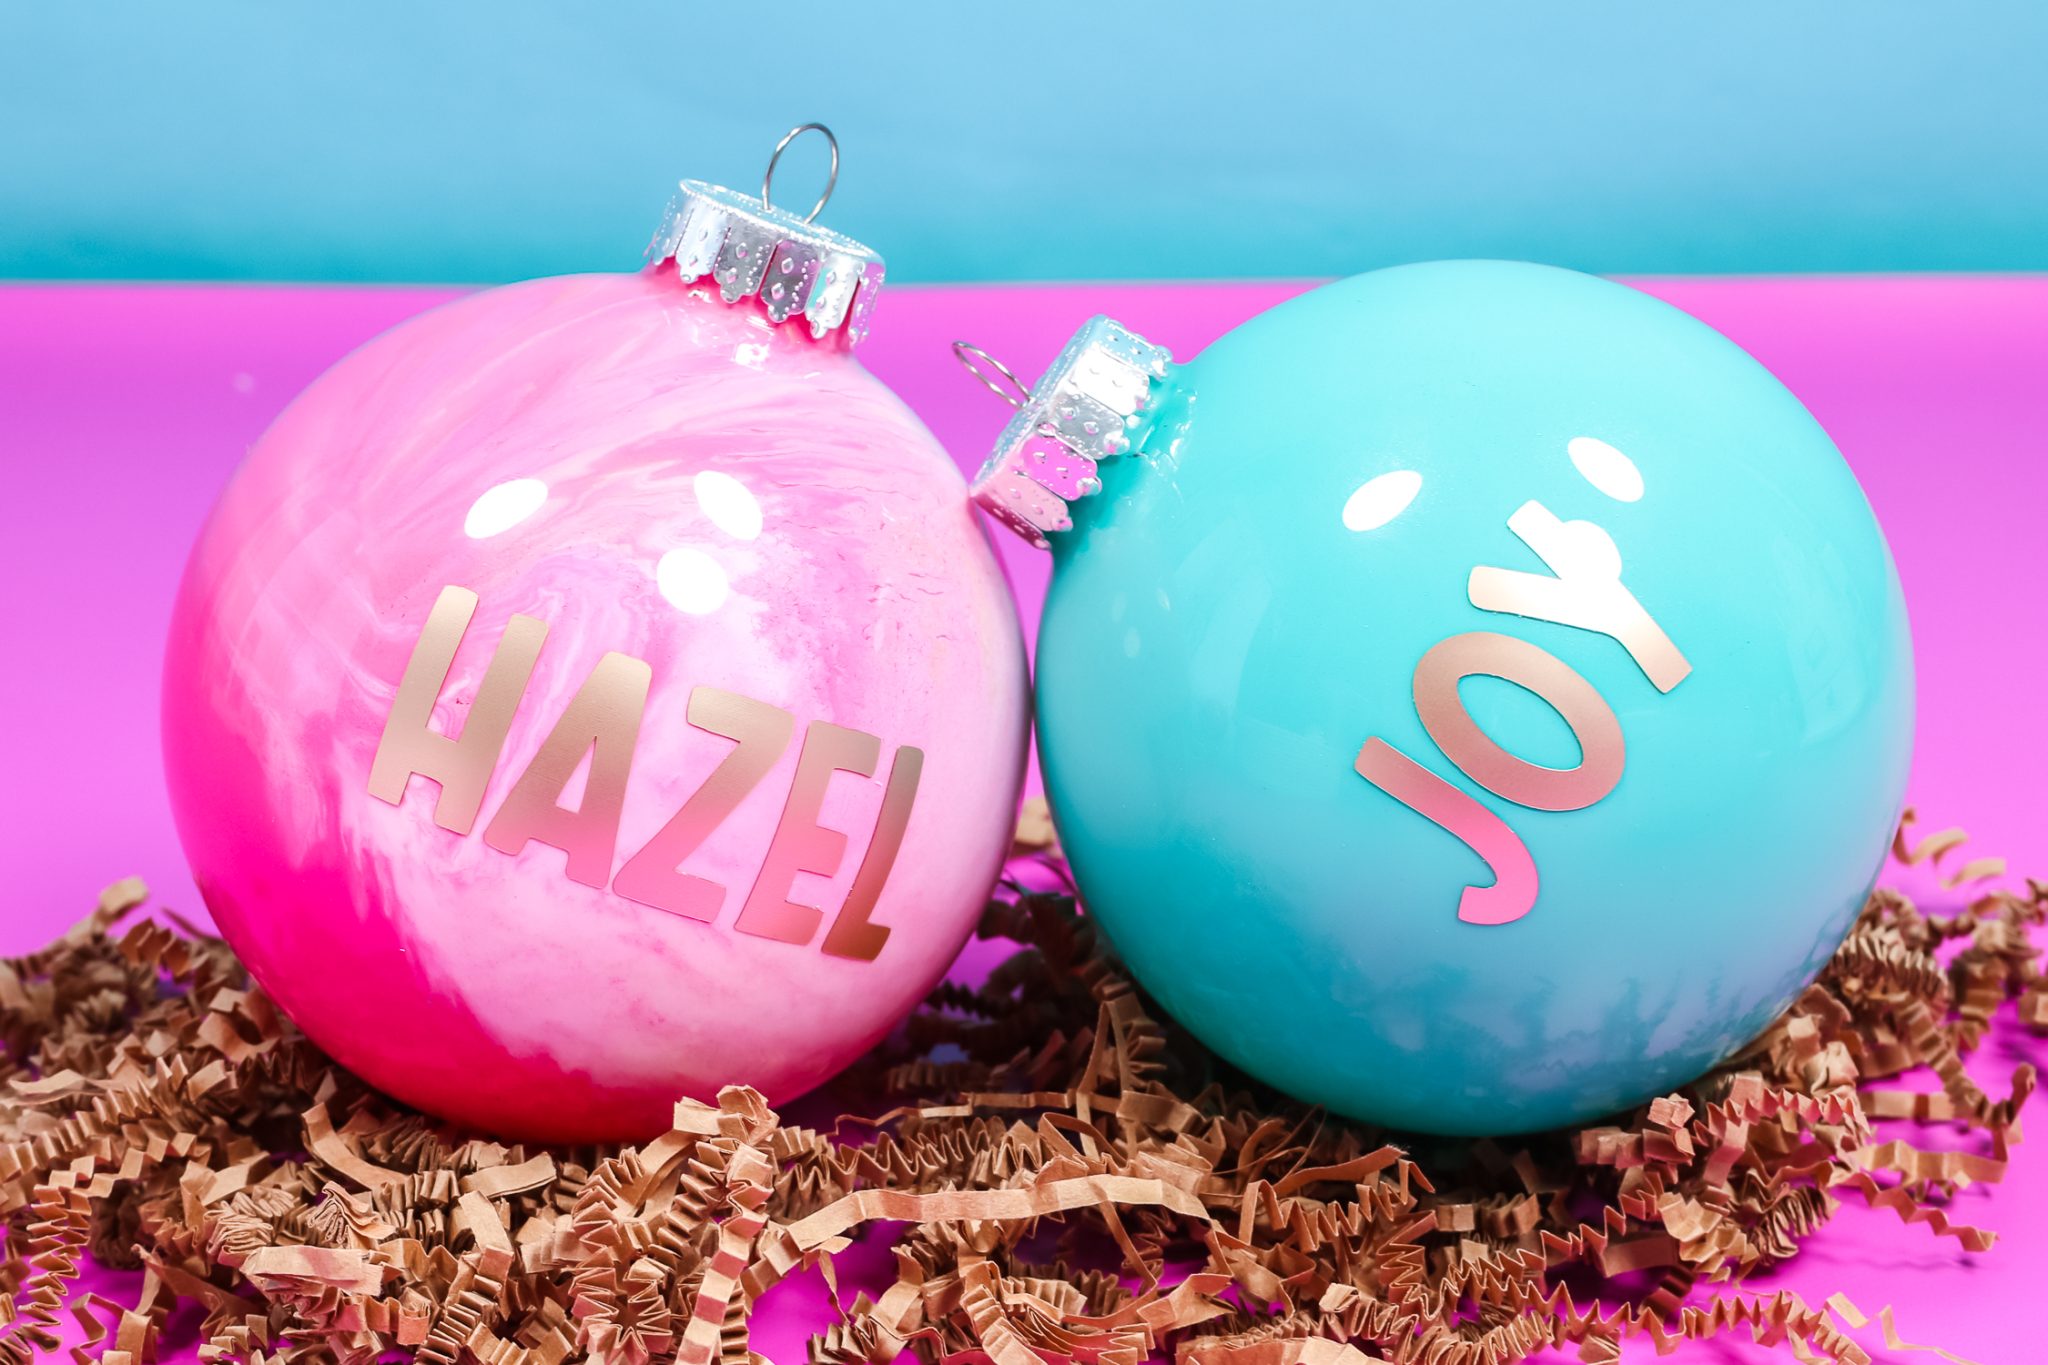
Pour Paint Ornament
Remove the top from your ornament. These balls can be either glass or plastic. If you are making this as a kids craft, I would include the plastic version of these ornaments.
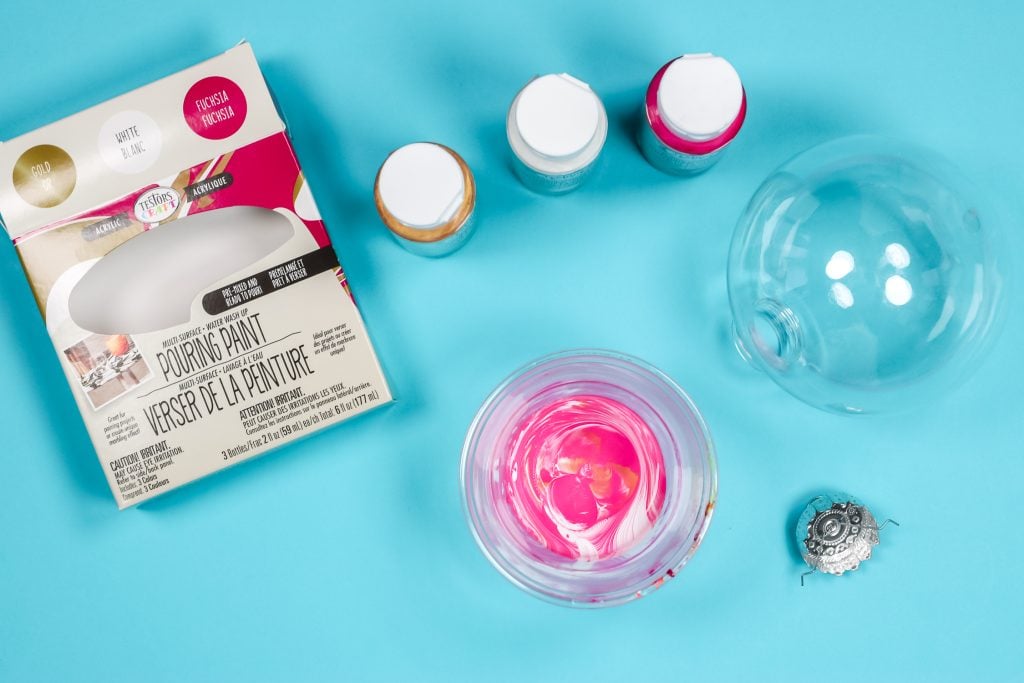
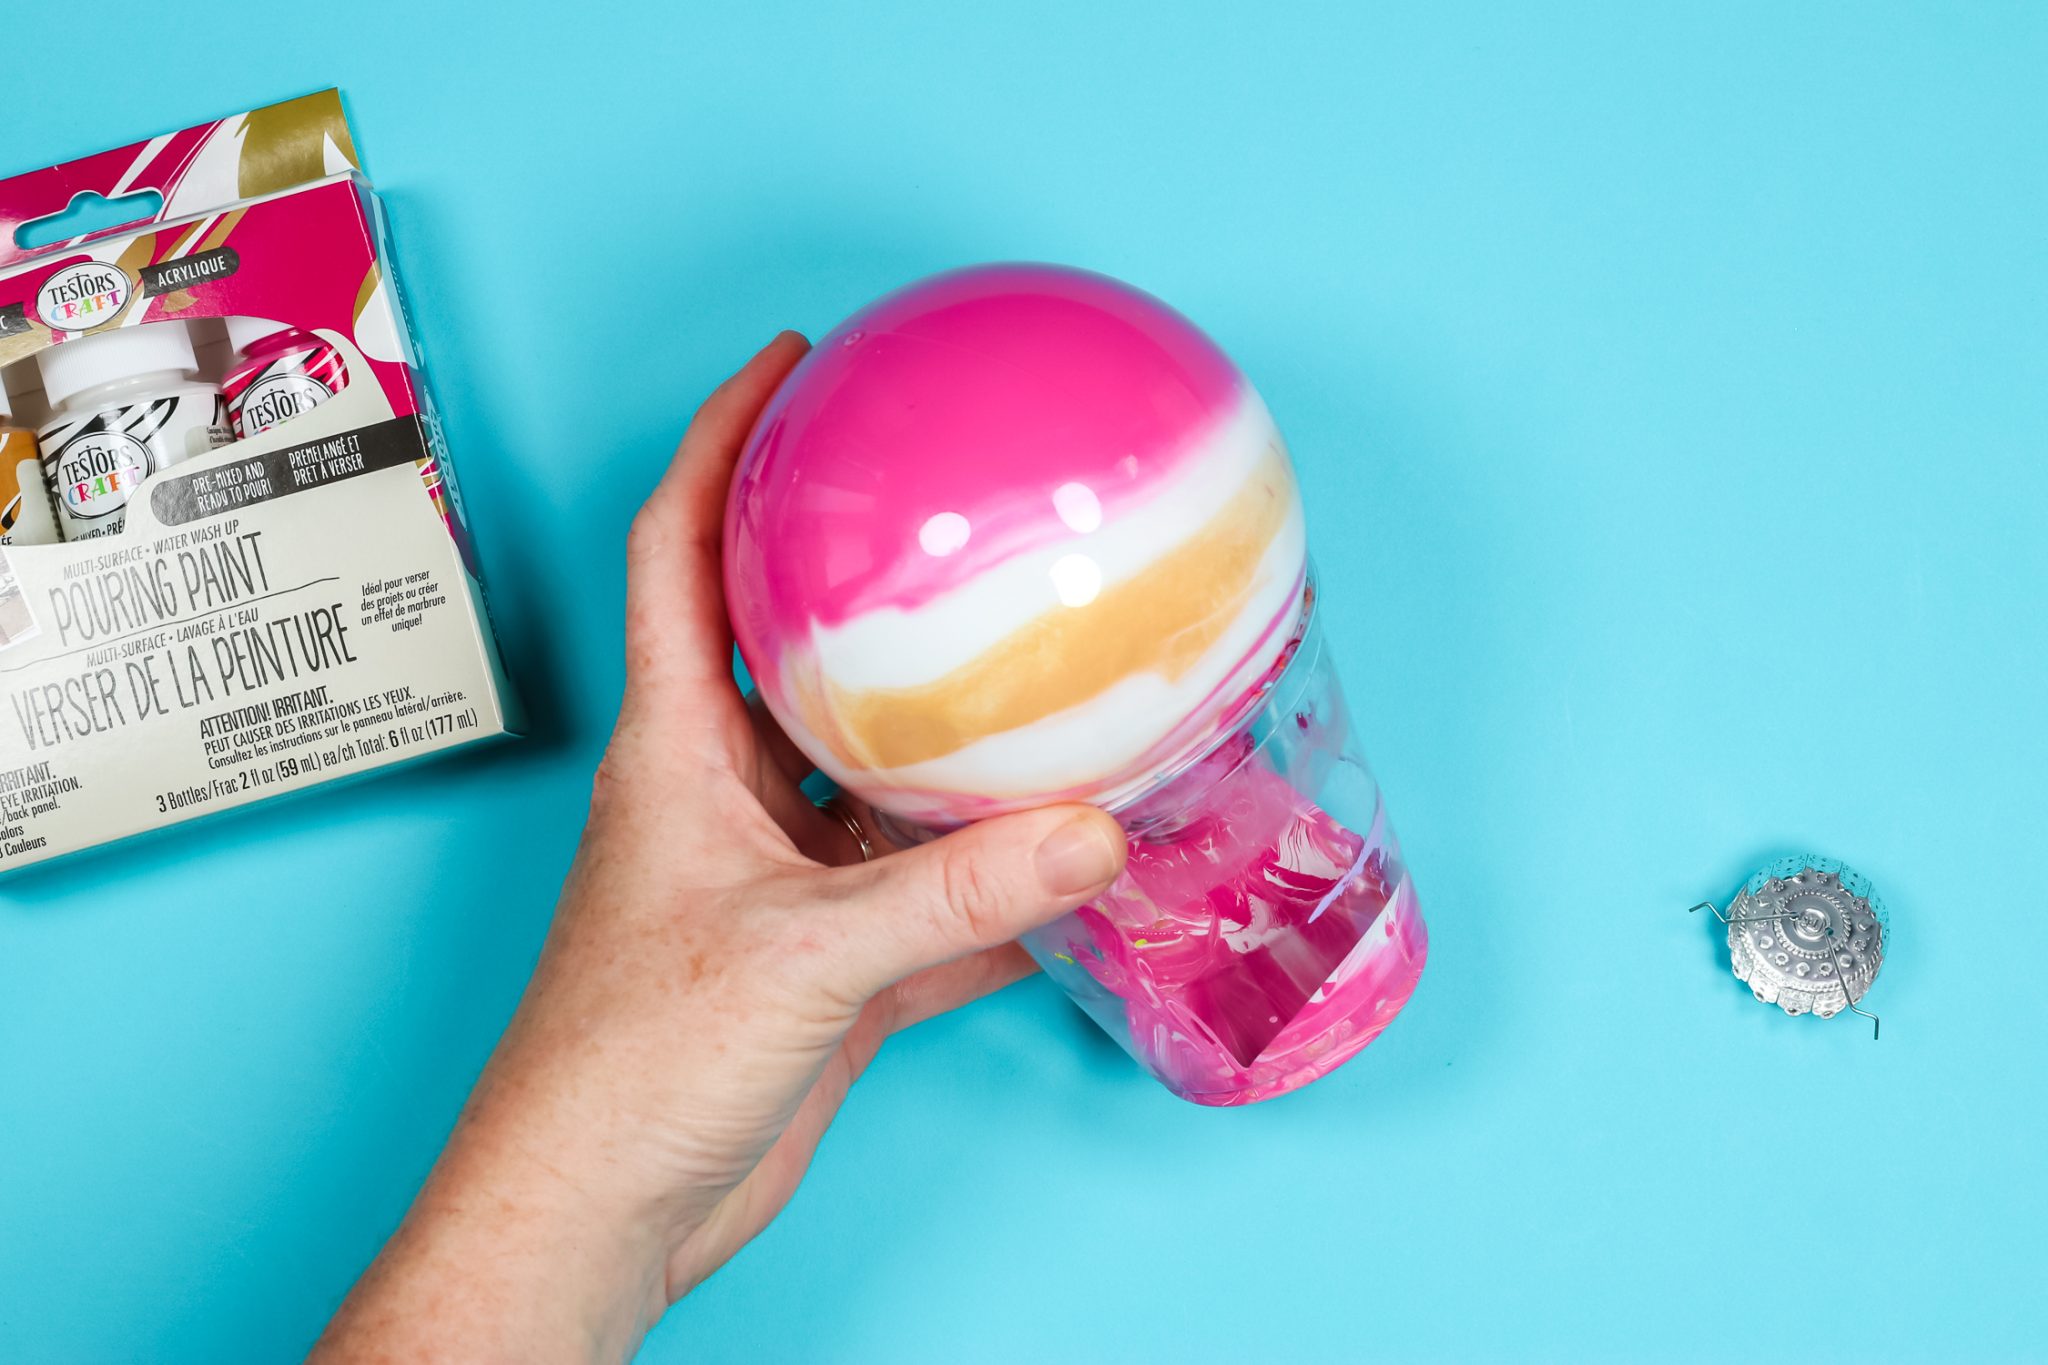
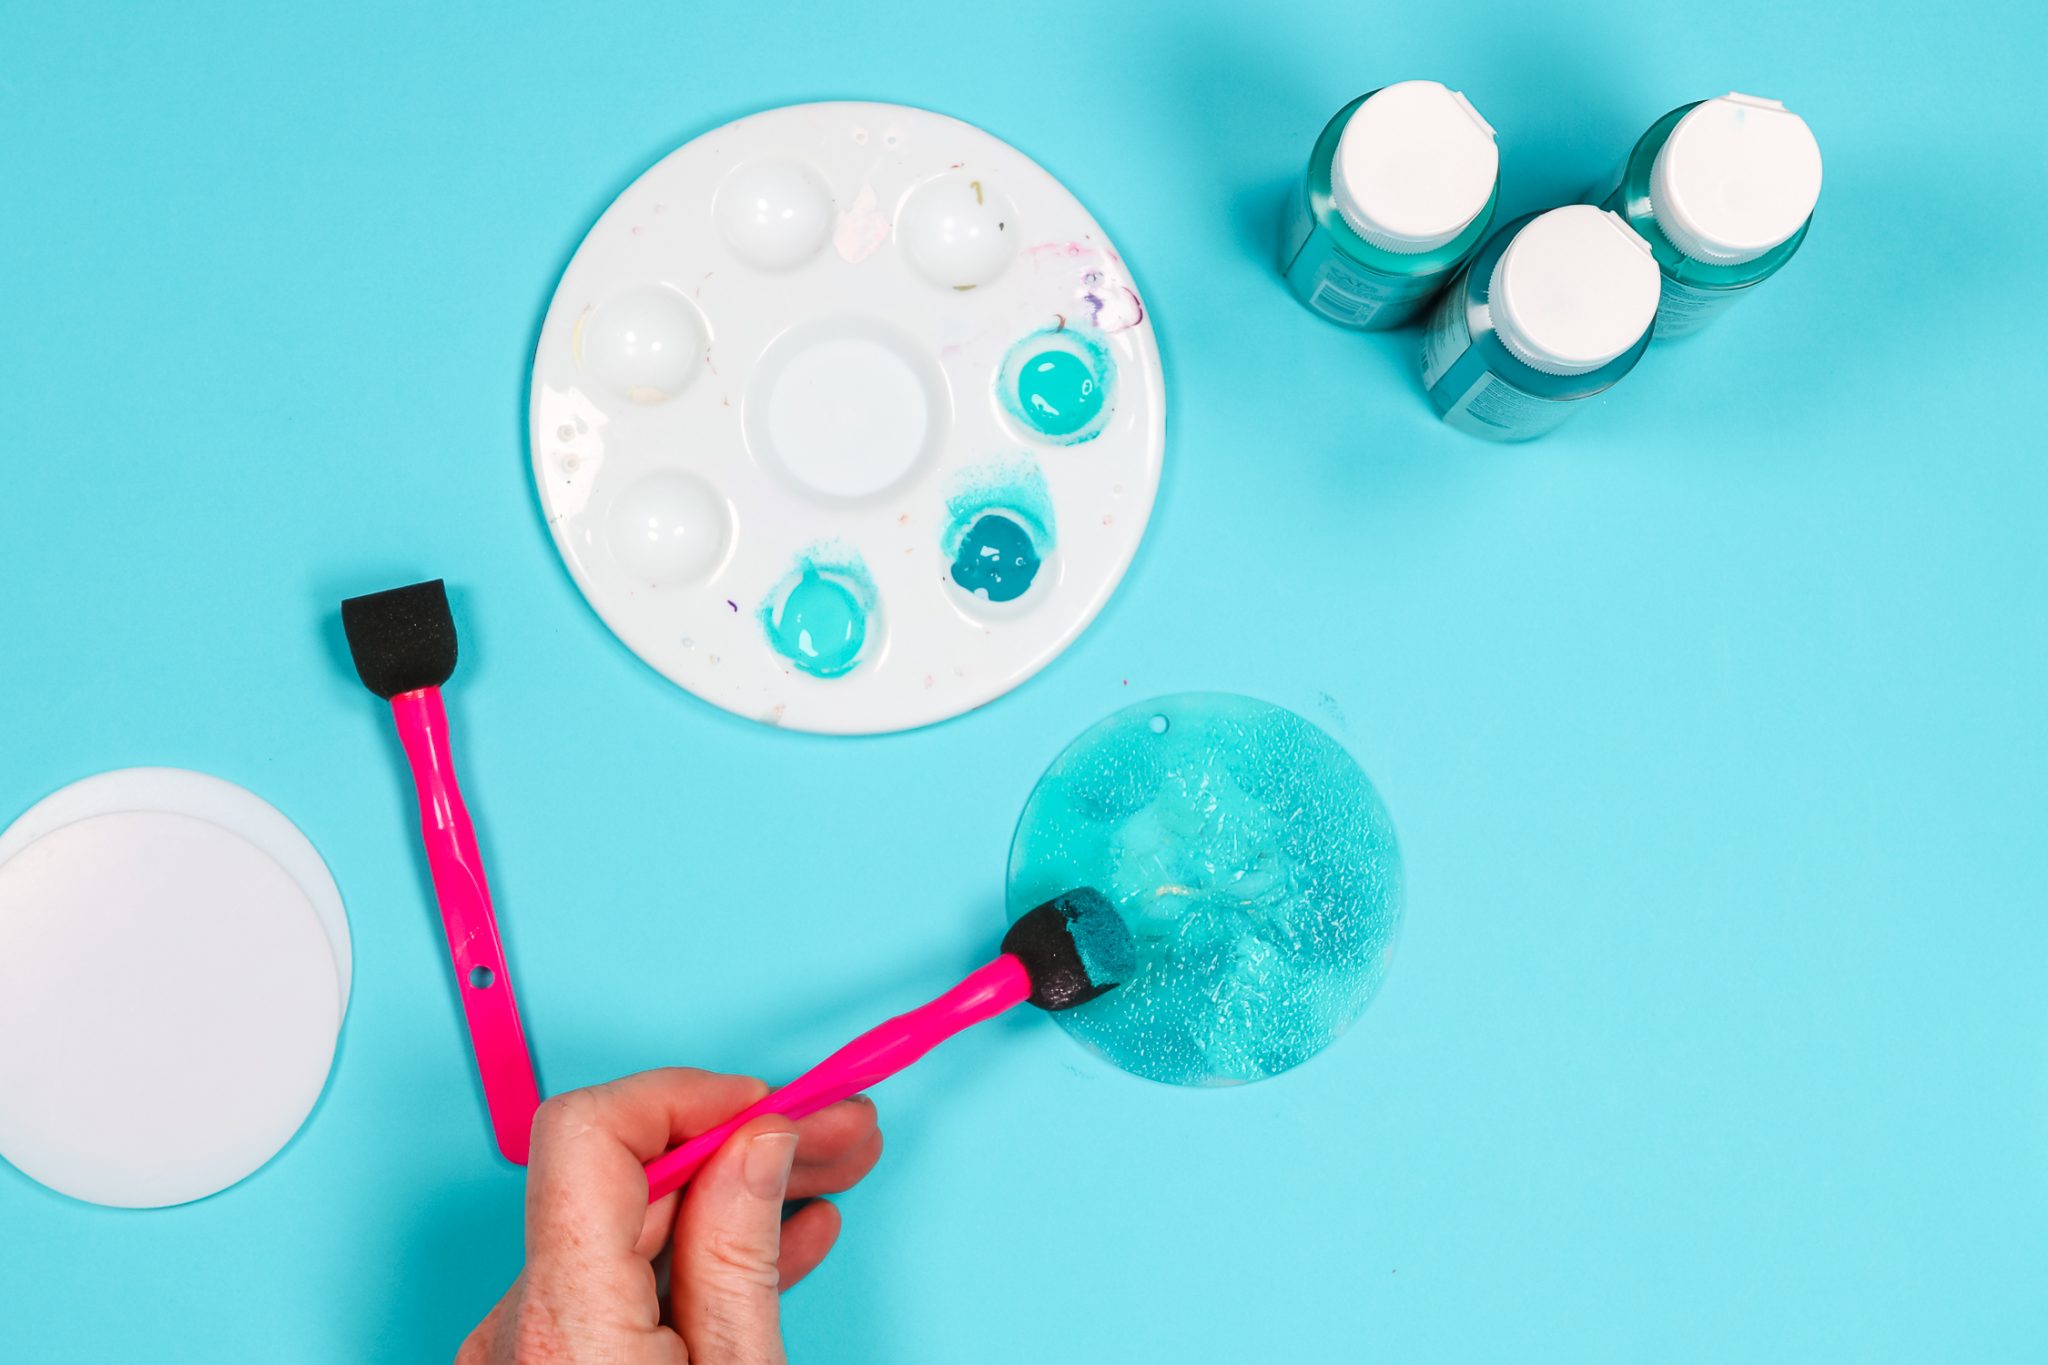
Put the Testors Craft Pouring Paints inside of the ornament in whatever combination you would like. Then tilt the ornament to swirl the paint around. You want the entire inside to be covered. Add more paint if needed.
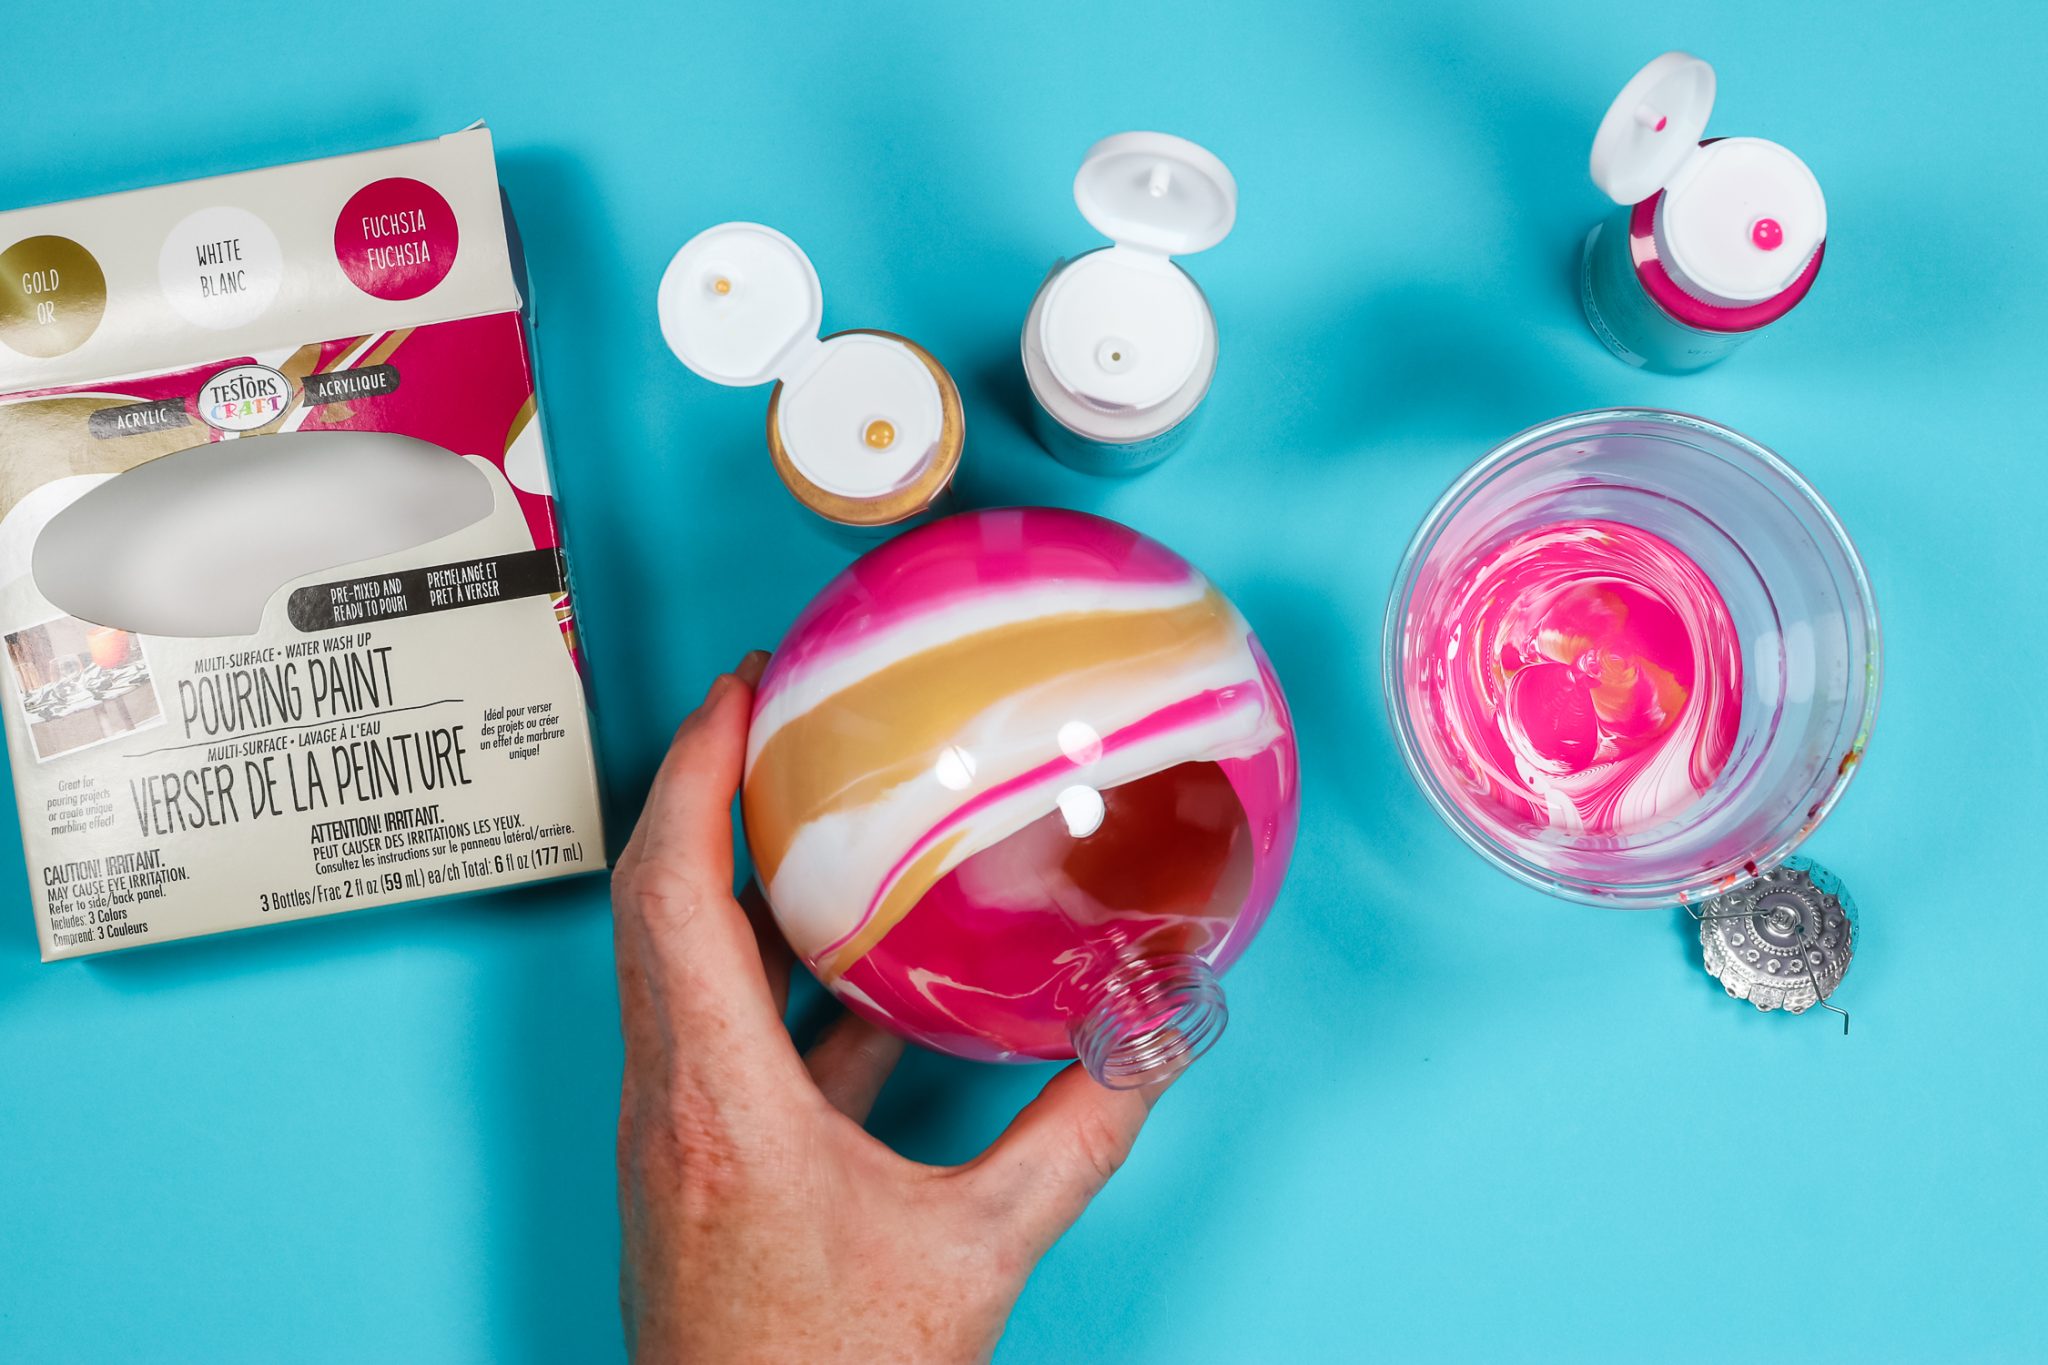
Once the paint is coating the inside, add the ornament to something like a disposable cup. I like to add the ornament upside down for a few hours to let the excess drip. Then rotate it every few hours to evenly distribute the paint as it dries. These need to dry for at least 24 hours.
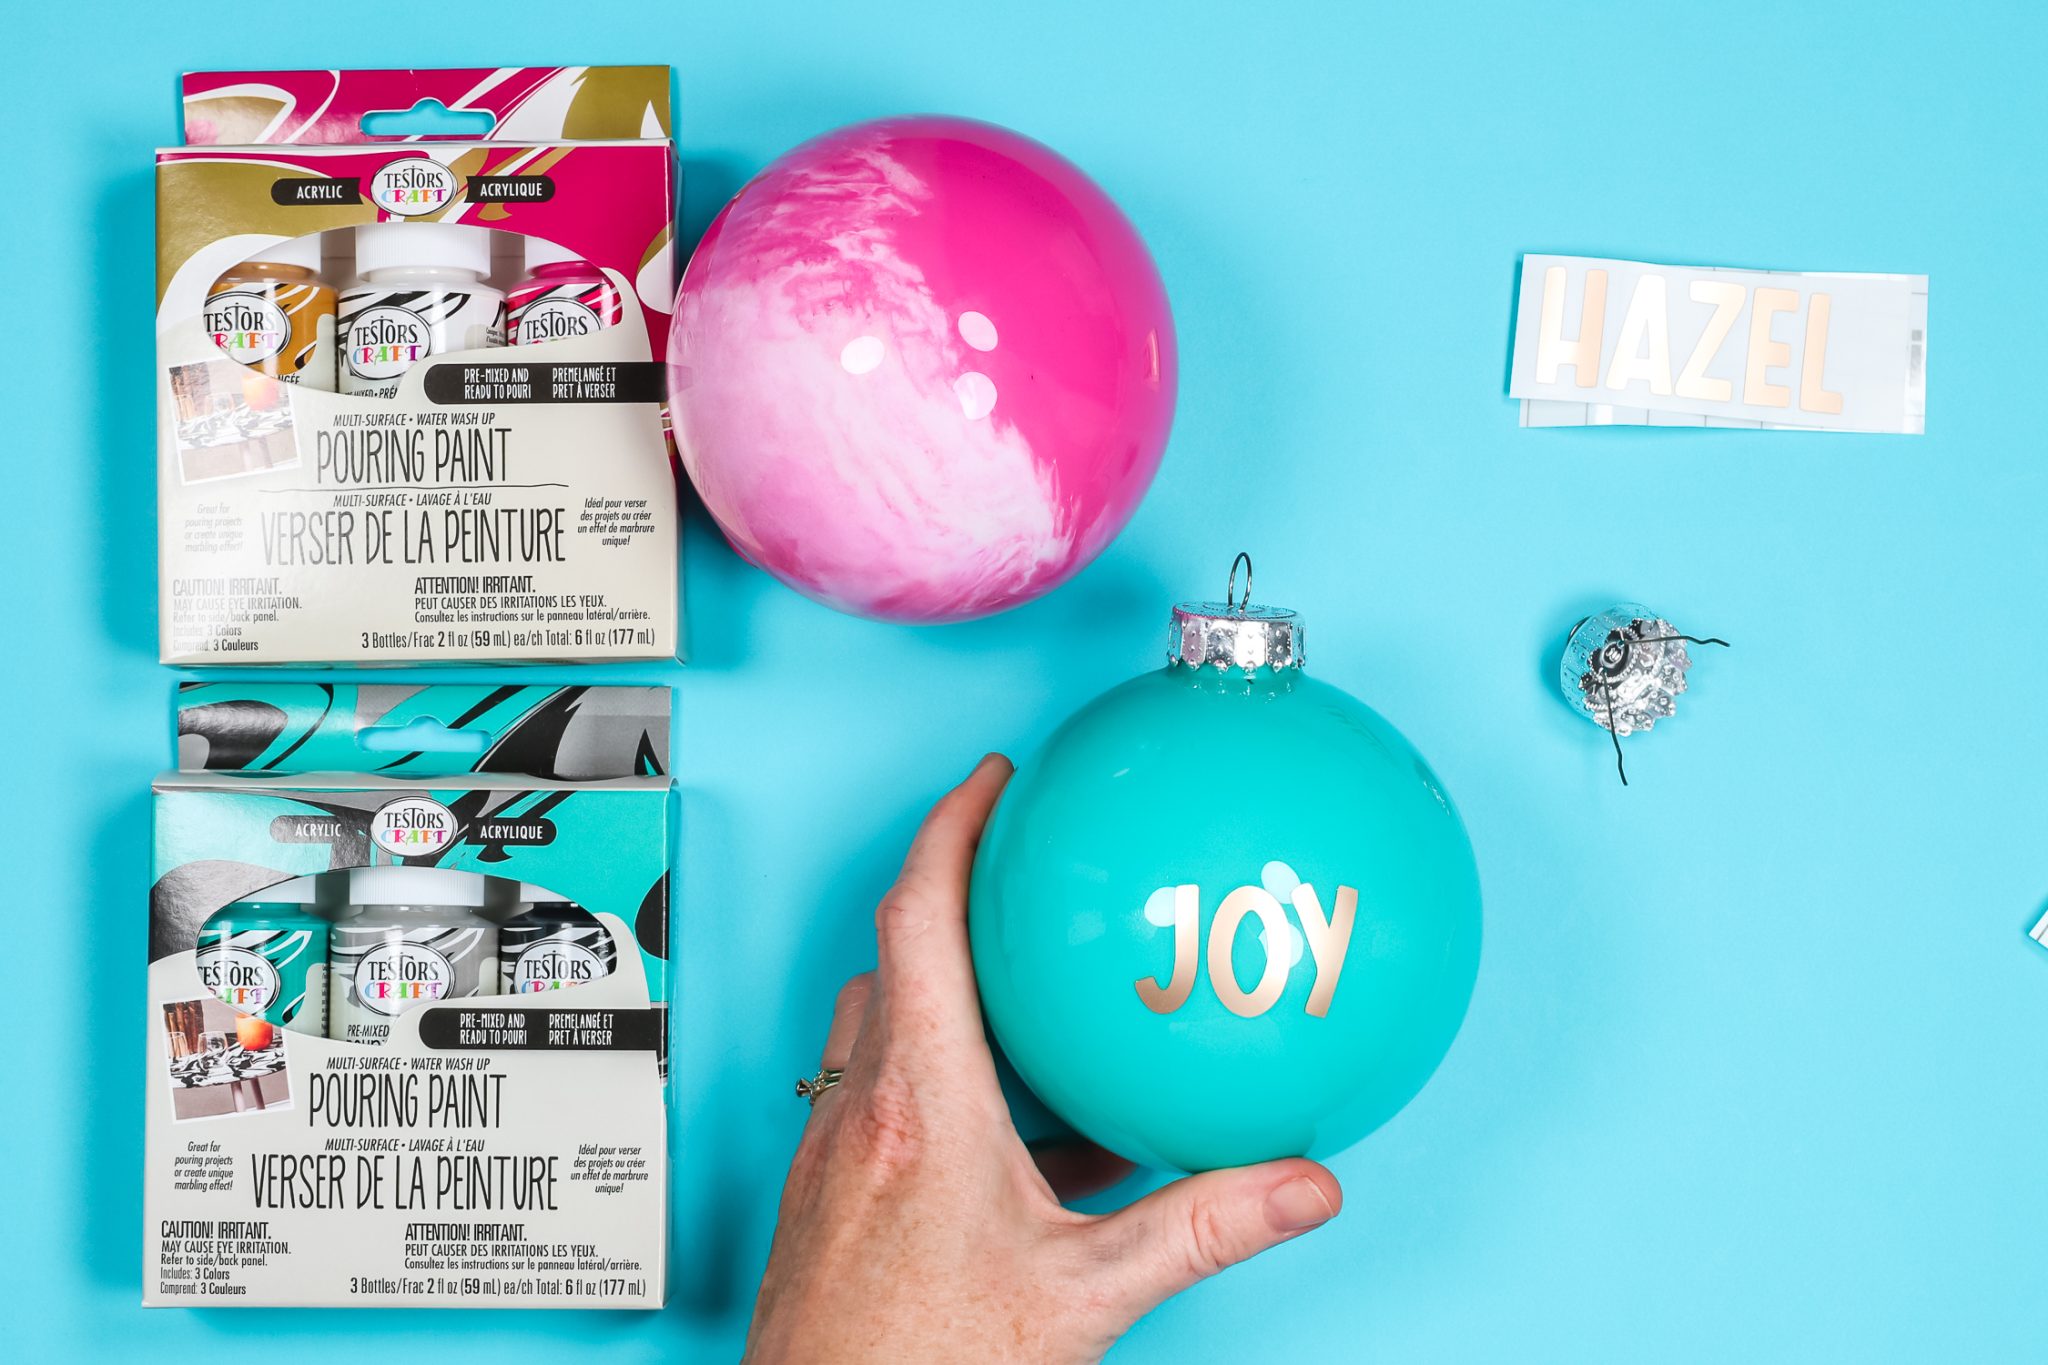
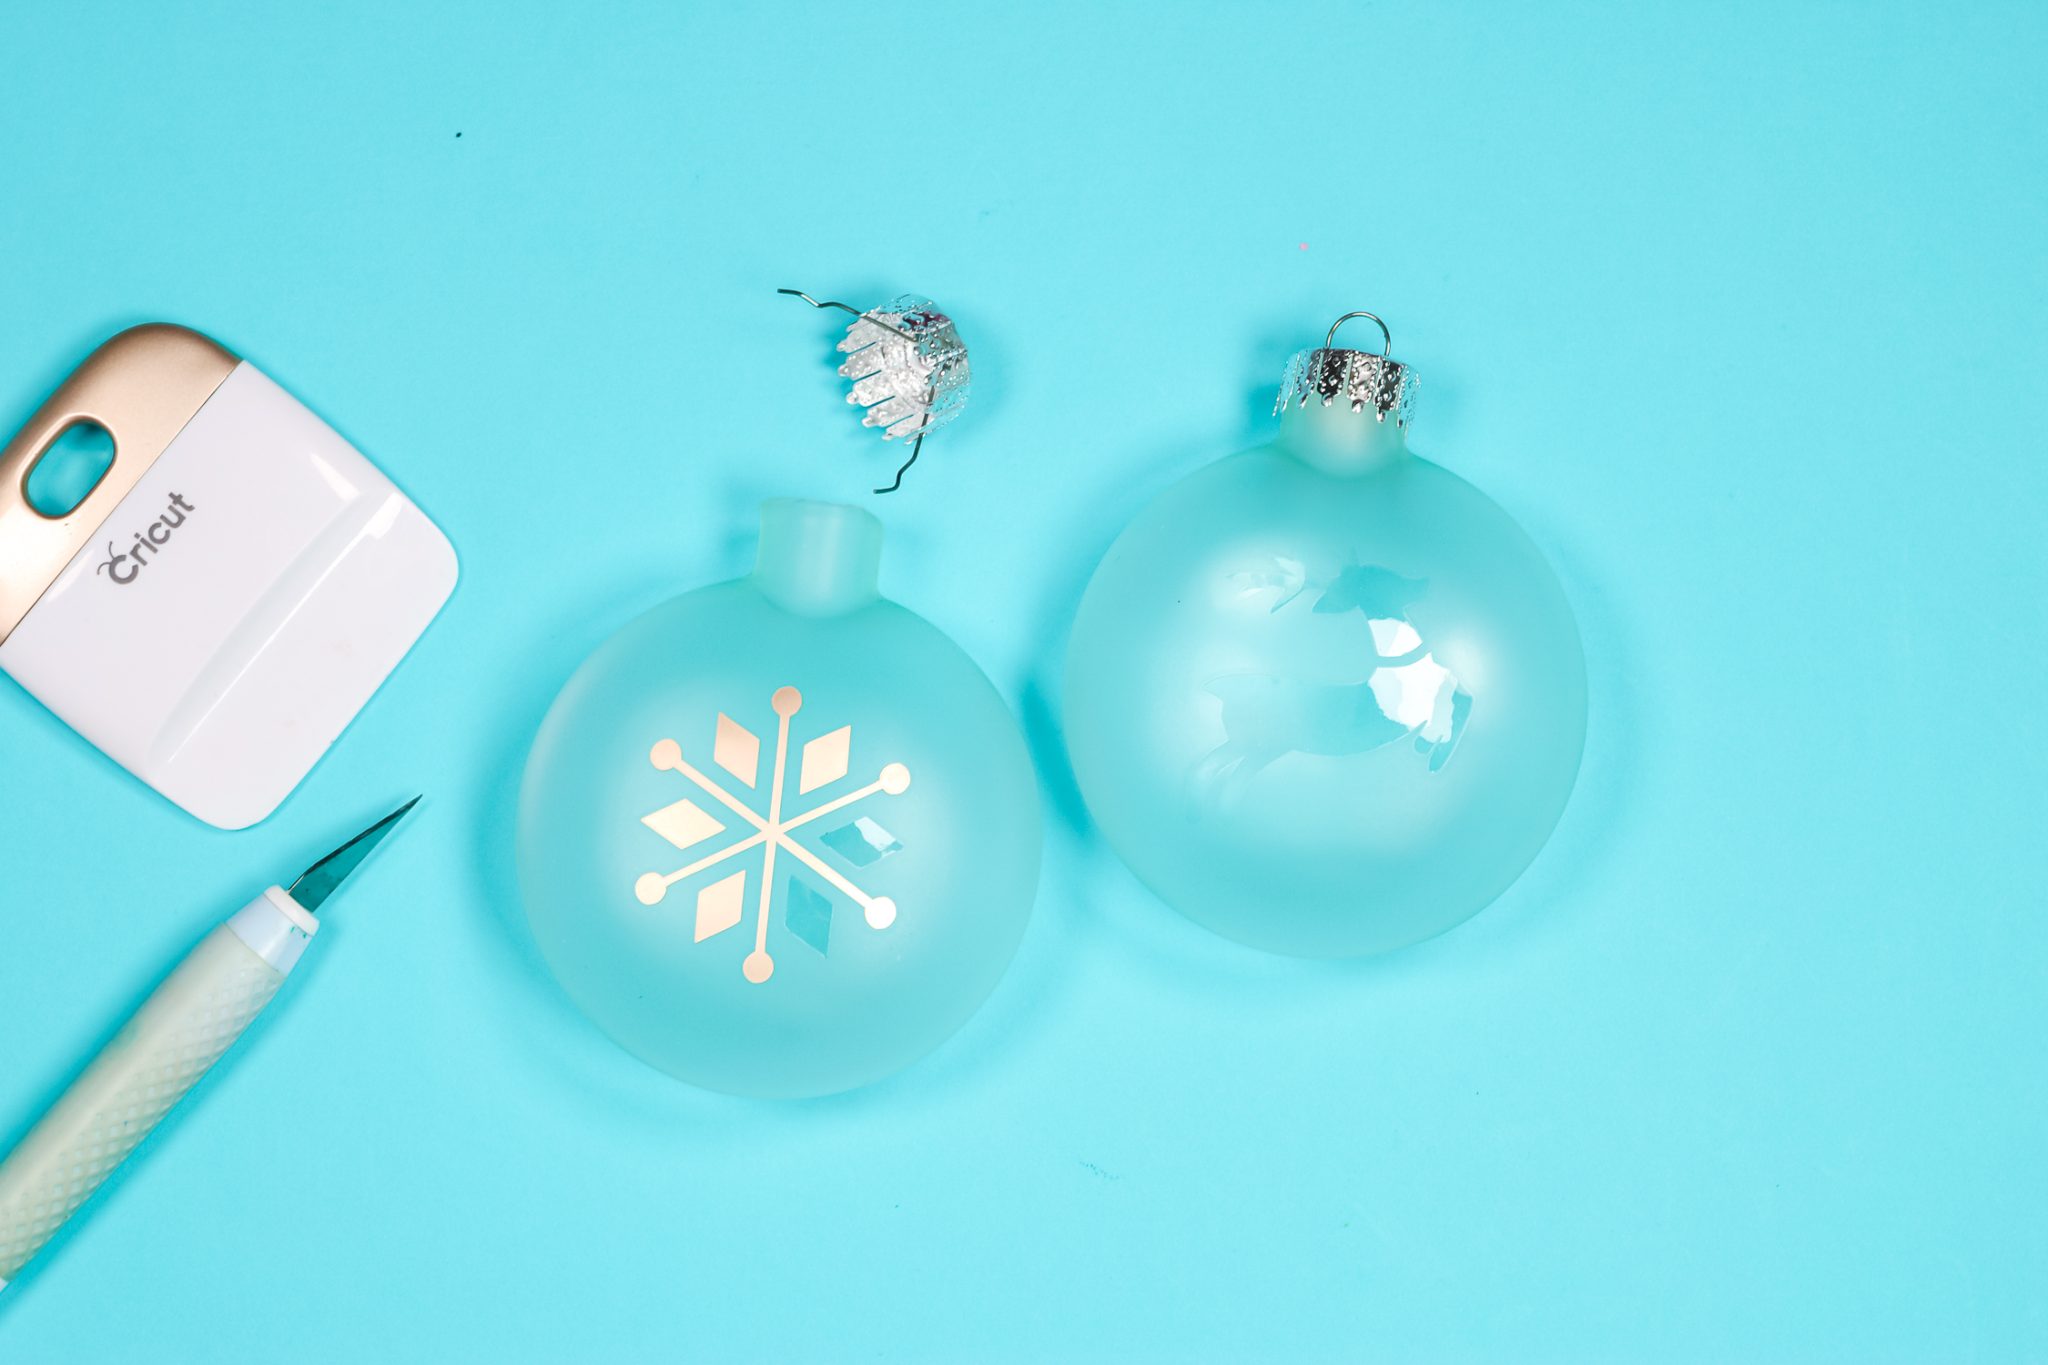
Adding Vinyl to the Front
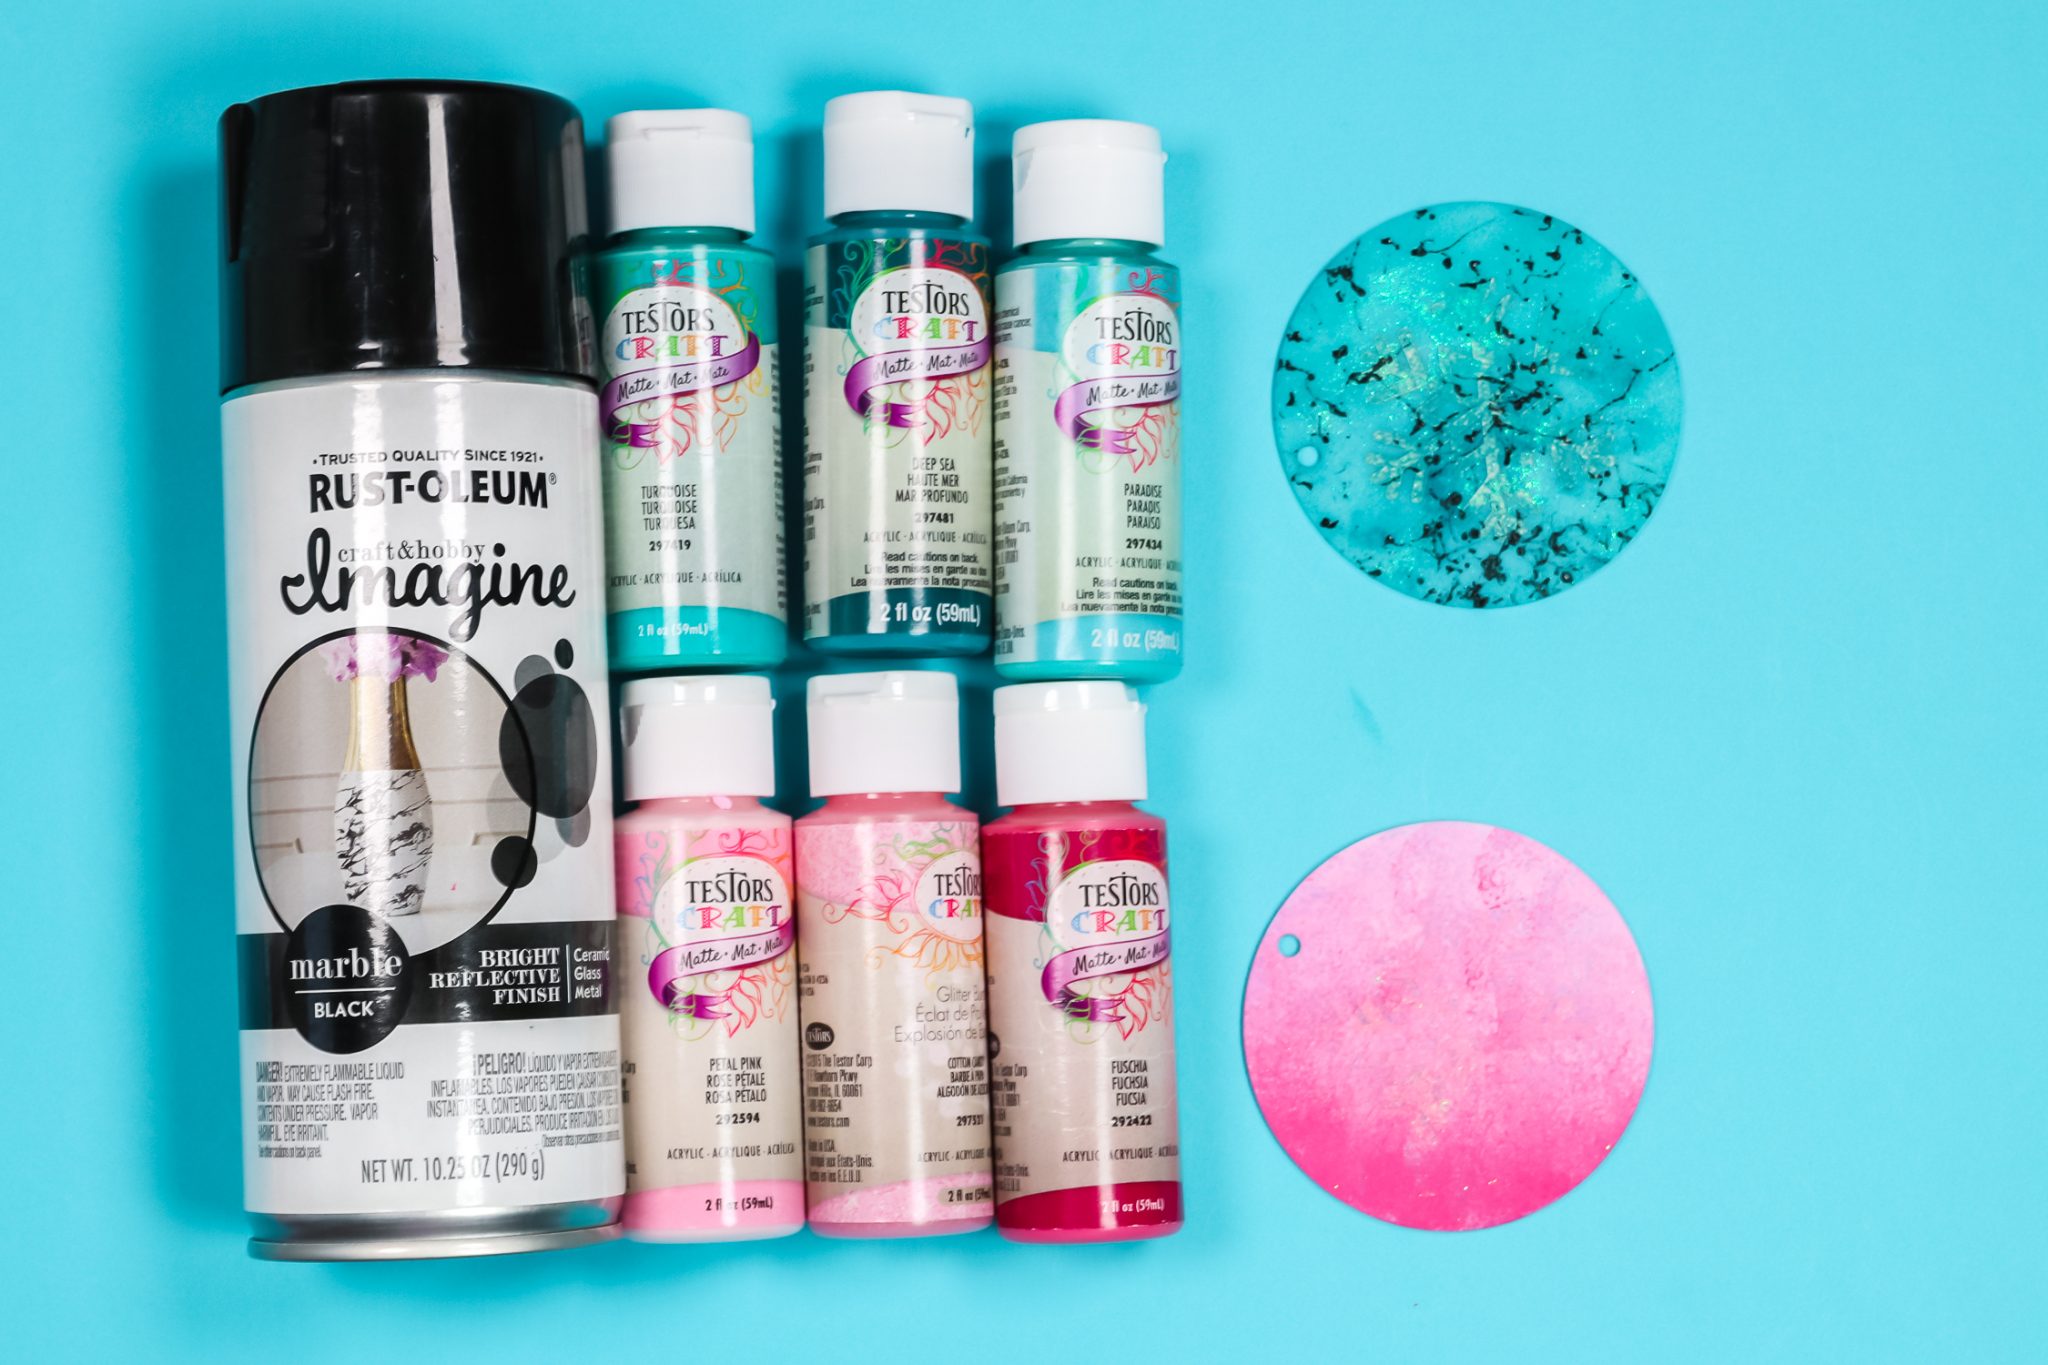
Once your ornaments are dry, it is time to add the vinyl! The top ornament shown in the photo below has pink, white, and a little gold paint. The bottom is just the aqua and white paints. I love the Testors Paint Pouring Kits because you can mix and match the colors inside for a different look on each ornament you make.
Don’t know how to cut vinyl on your Cricut? You can see more about that process here!
Add the transfer tape to the front of the vinyl and burnish well. You can add this before you put it in the gift basket if you wish. Your recipient can use an old gift card for the burnishing. Then remove the backing from the vinyl and carefully place on the side of the ornament you like best. Burnish down and remove the transfer tape. Press the vinyl down well and add the topper back in place. This ornament is ready for the tree!
You can choose any color of vinyl that you want for these and add words or shapes as well. I like personalizing this idea with names but you can change it up if you wish!
I just used fonts for these poured paint ornaments. You can see more about using fonts with a Cricut here.
Hot Mess Paint Ornament
The second idea in our list of DIY gift baskets is the hot mess paint ornament. I know you are going to love this paint technique. Be sure to remove any protective film from the acrylic ornaments. These had a film on both sides. You can use a weeding hook or something sharp to grab the edge then peel it off. You may want to do this before adding these to the gift basket.
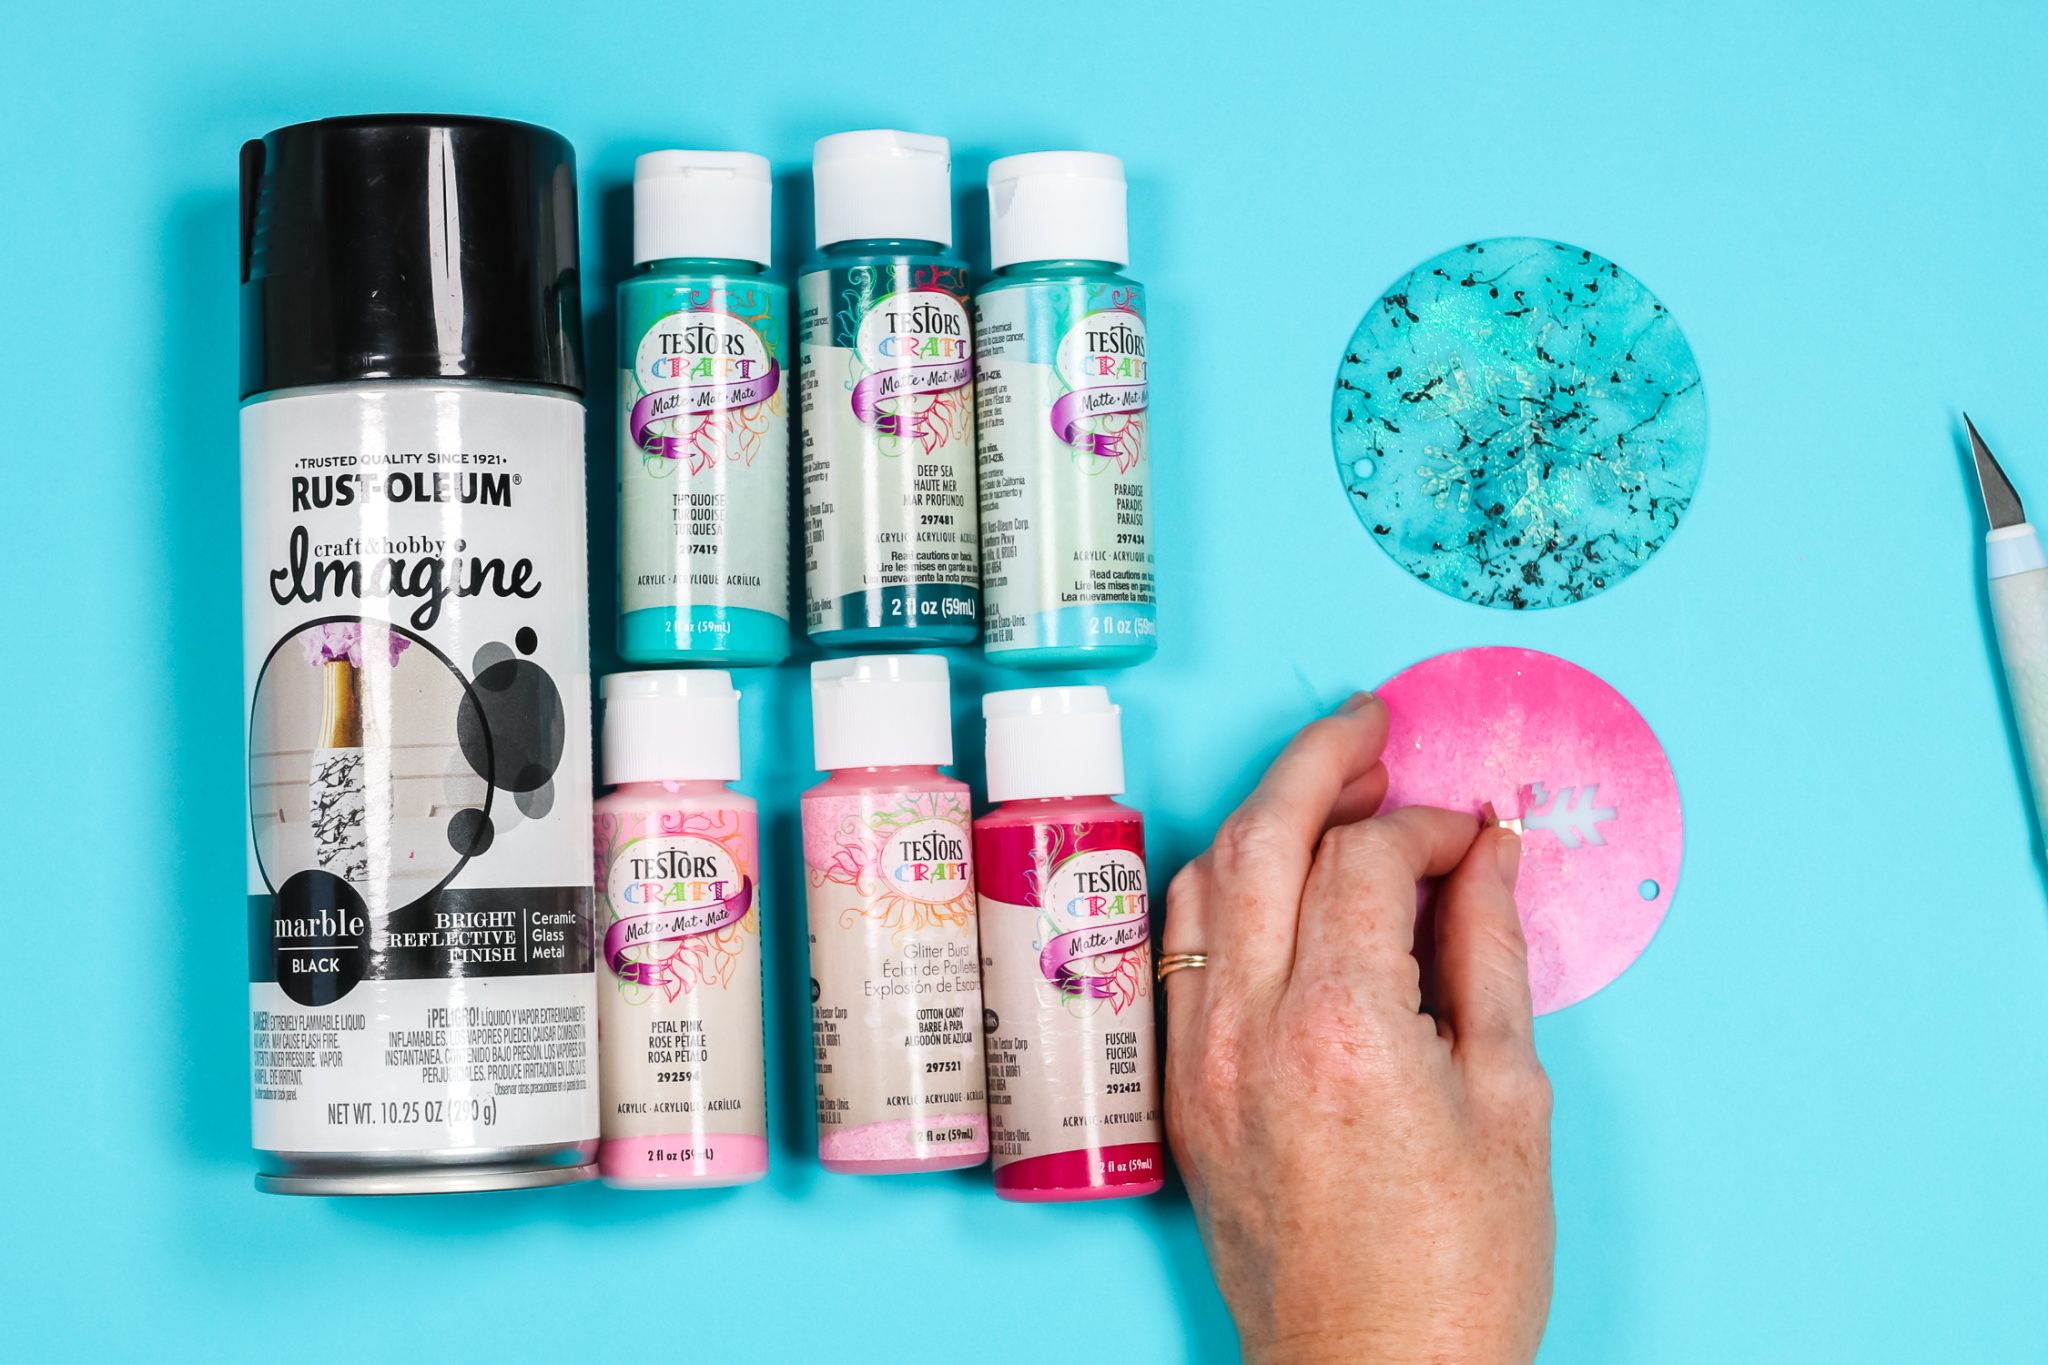
Apply the vinyl to the ornament by using the transfer tape. Add the transfer tape to the vinyl and burnish well. An old gift card can be used for the burnishing. Then peel back the backing on the vinyl and use the transfer tape to add to the ornament. Peel back the transfer tape. Then just use a variety of Testors Craft Paints to cover the ornament surface. This “hot mess” technique is just how it sounds. Add whatever colors you would like in any order! There are no rules!
Optional: Add marble spray paint
Allow the acrylic paint to dry. You can add Rust-Oleum Imagine Marble Spray over the top after it is dry if you would like. Just quickly spray as much or as little of the marbling over the surface as you would like. NOTE: If you are using this as a kids craft, the spray paint portion should be completed by an adult.
Once everything is dry, remove the vinyl from the surface. You can use something like a craft knife to help lift up the edges.
Then just add a ribbon and these are ready for your tree! I love this painting technique and it is perfect for letting the kids make their own Christmas tree ornaments. There are no rules with these! Just paint and have fun! Remember that you can use whatever color and type of vinyl you want with these as it is just used as a masking. I love the snowflake designs I used but you can also pick any shape or even add words!
See more about finding free designs in Cricut Design Space for projects like this one here.

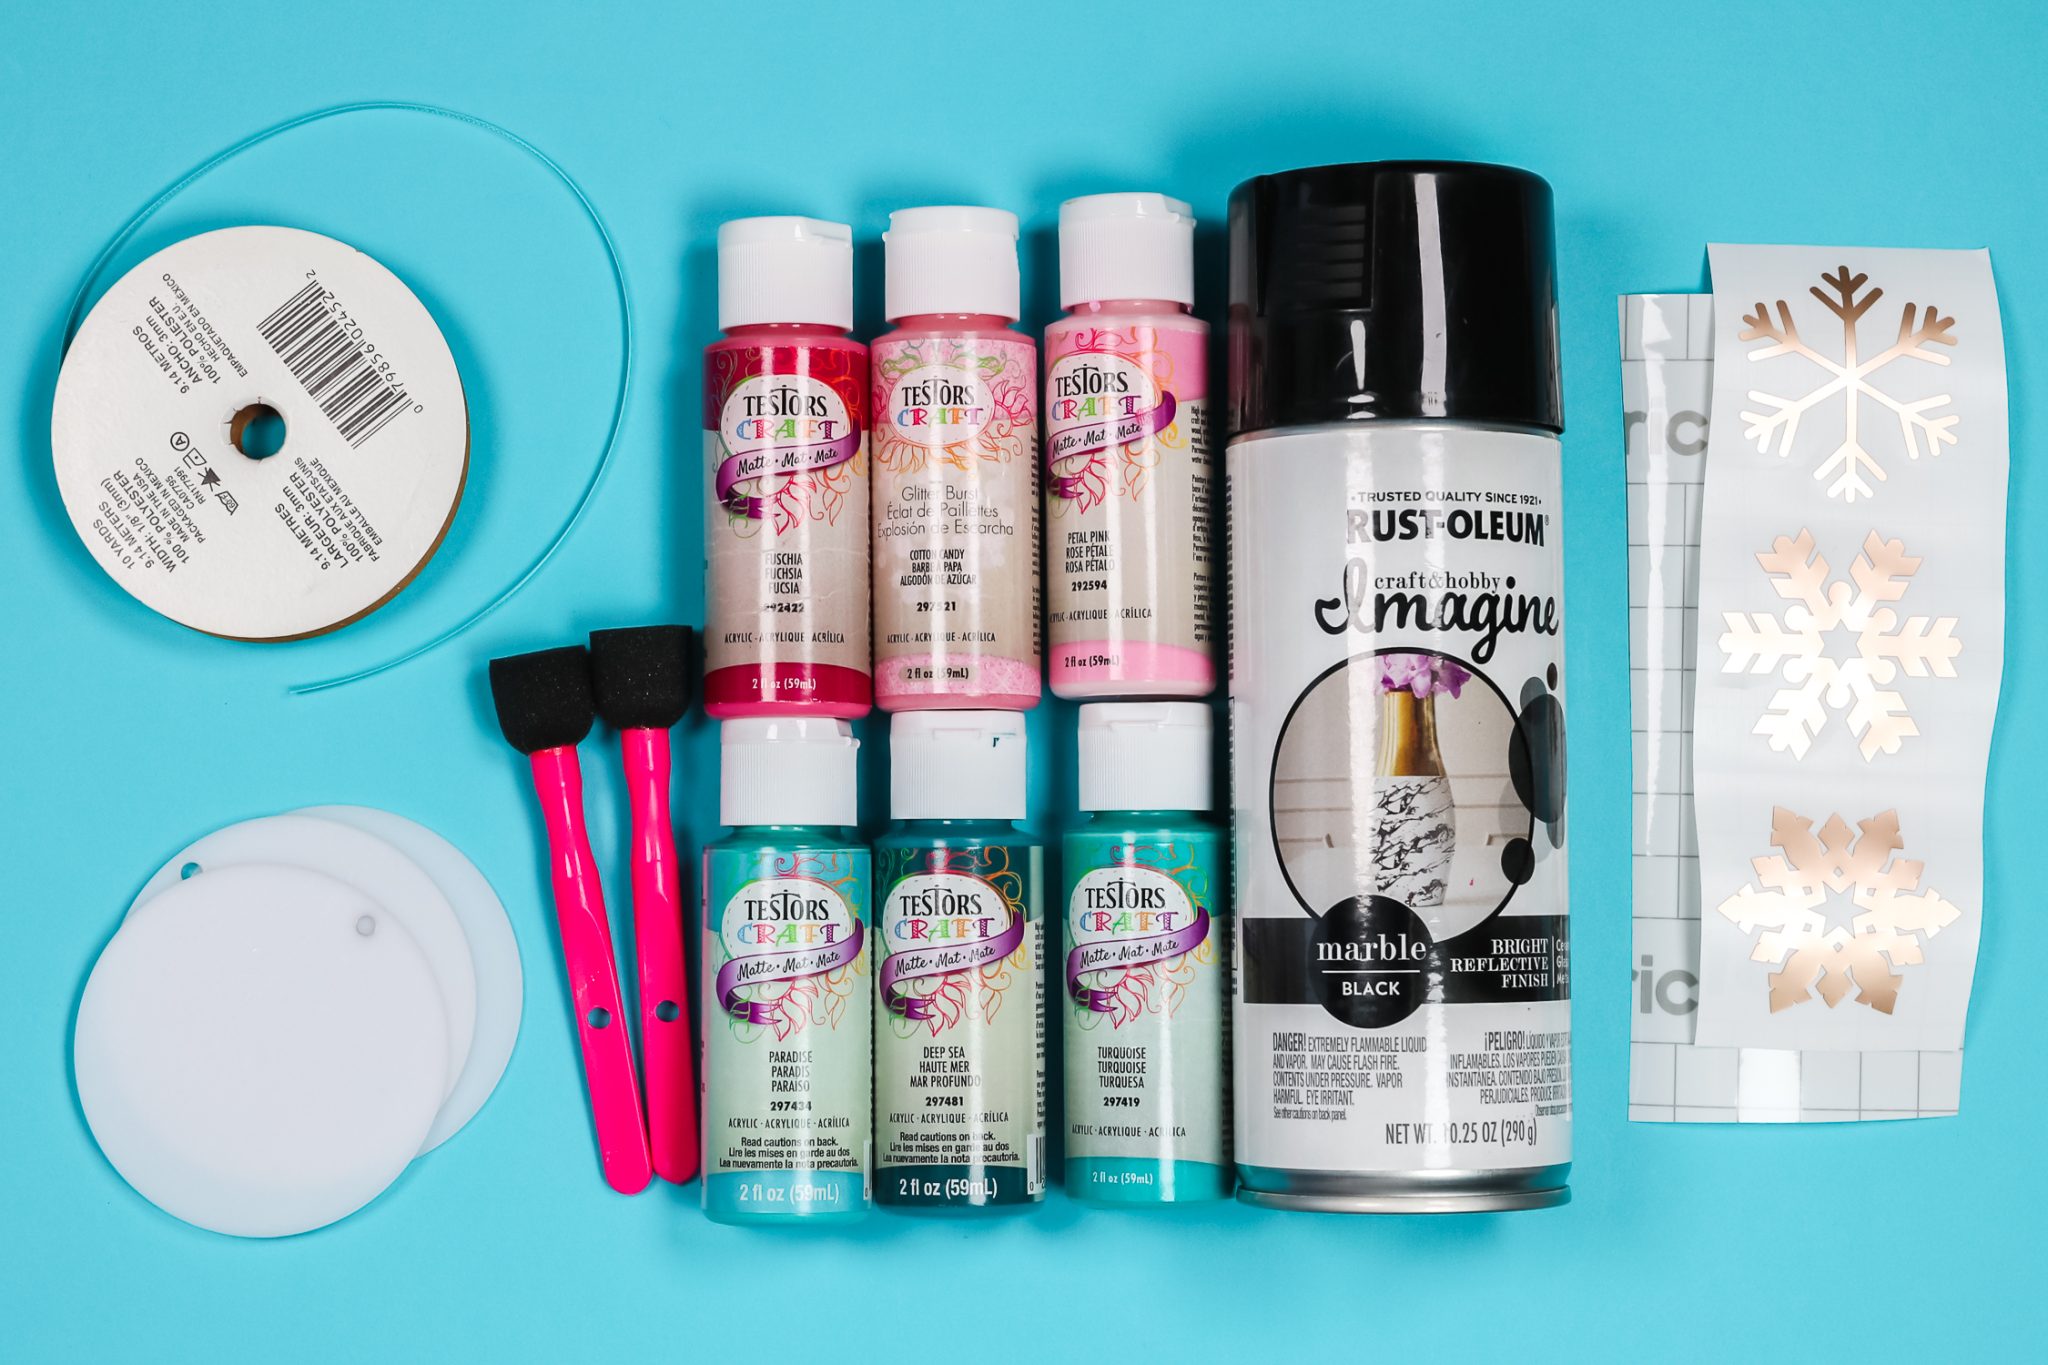
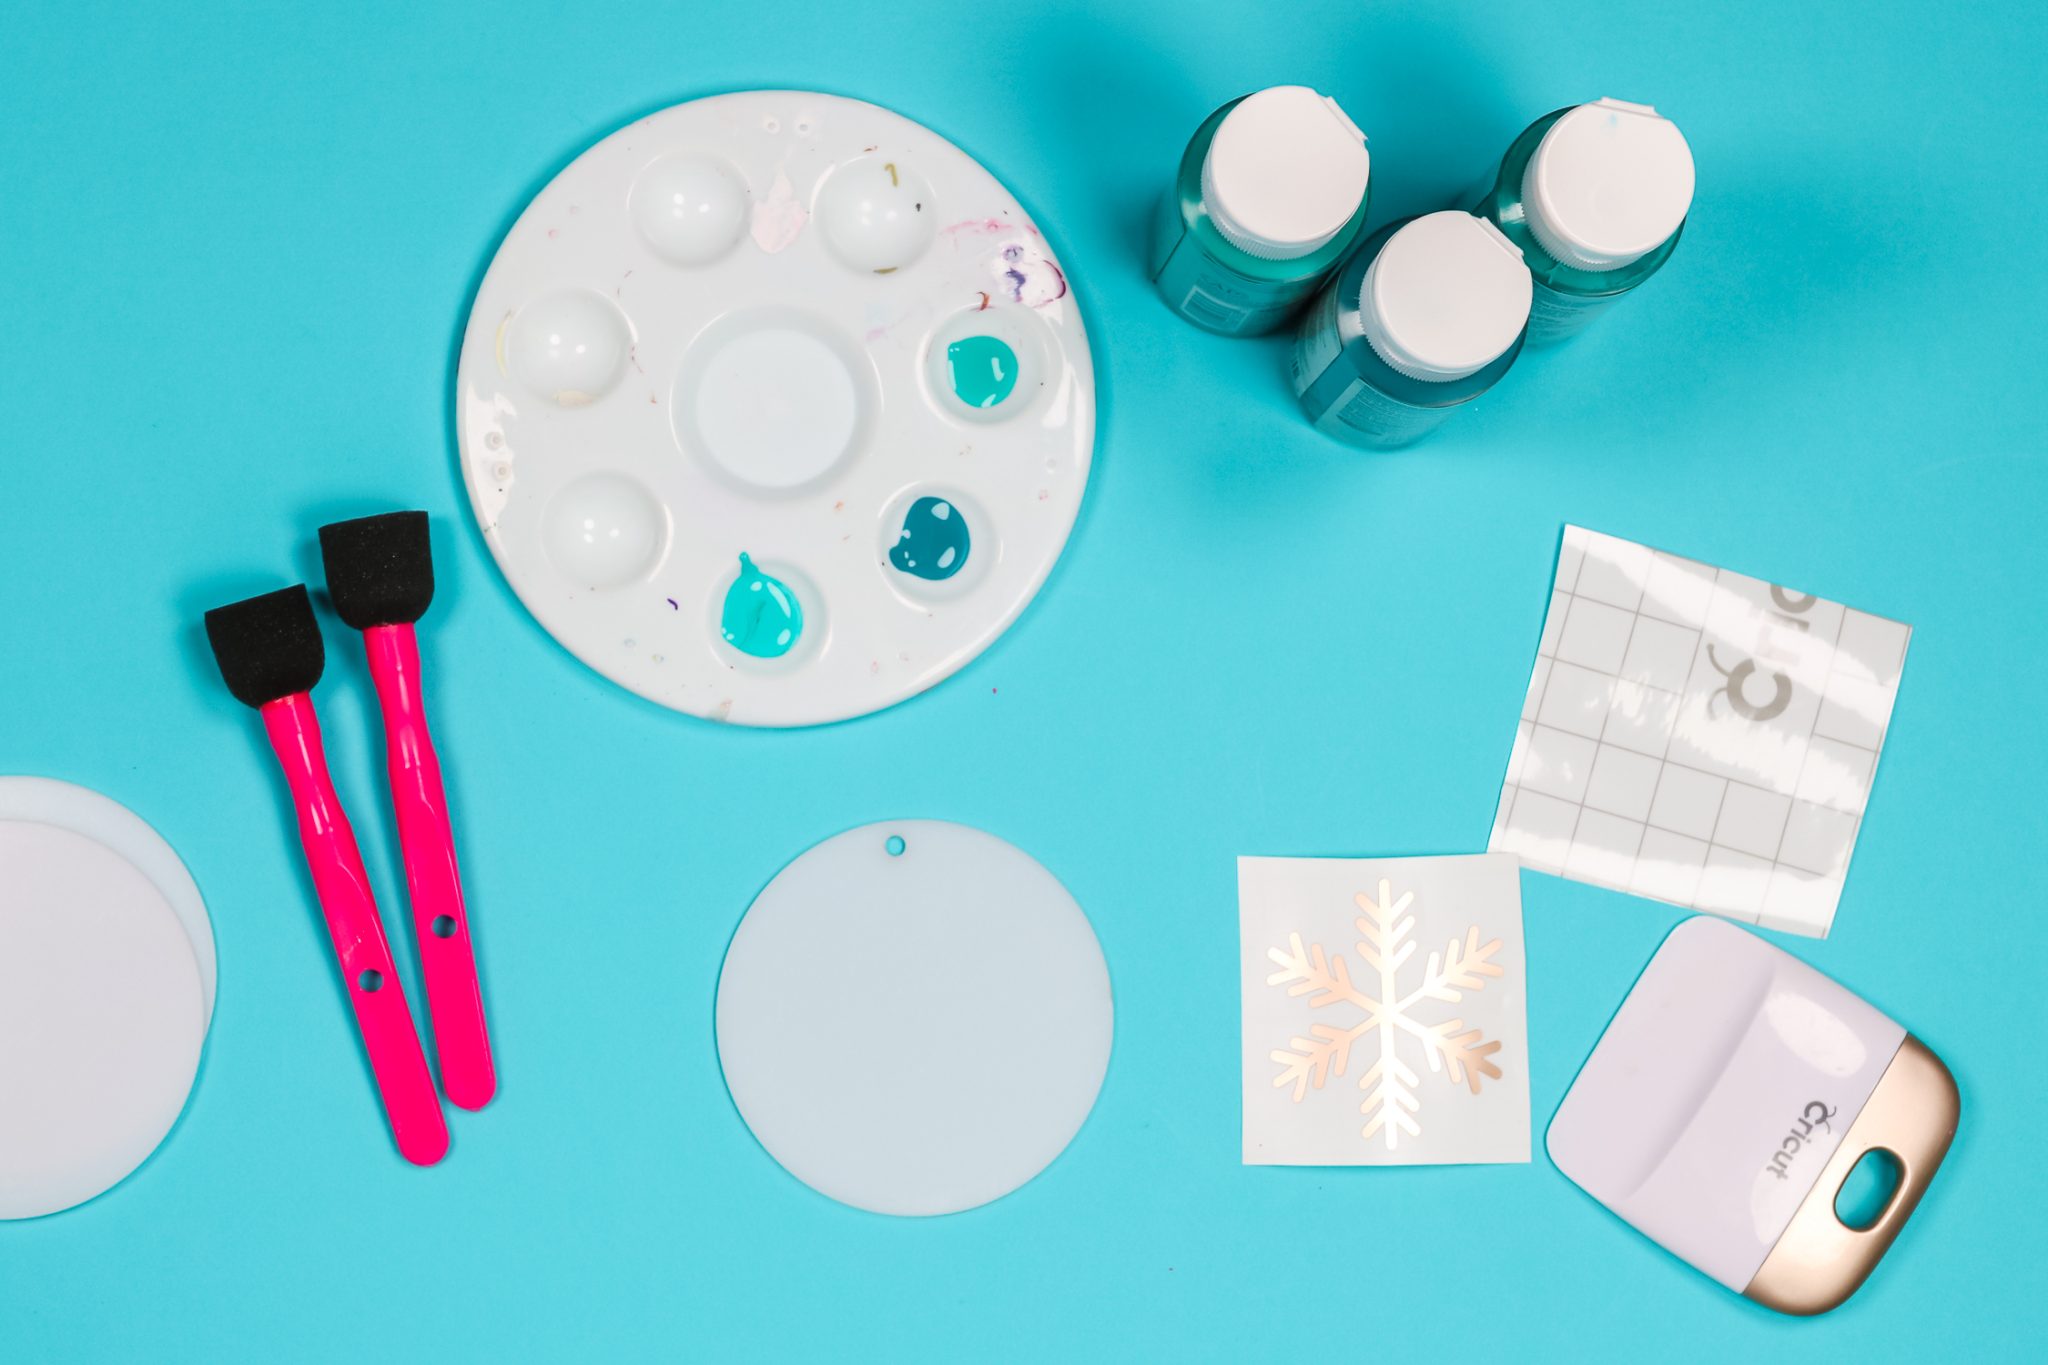
Frosted Glass Ornament
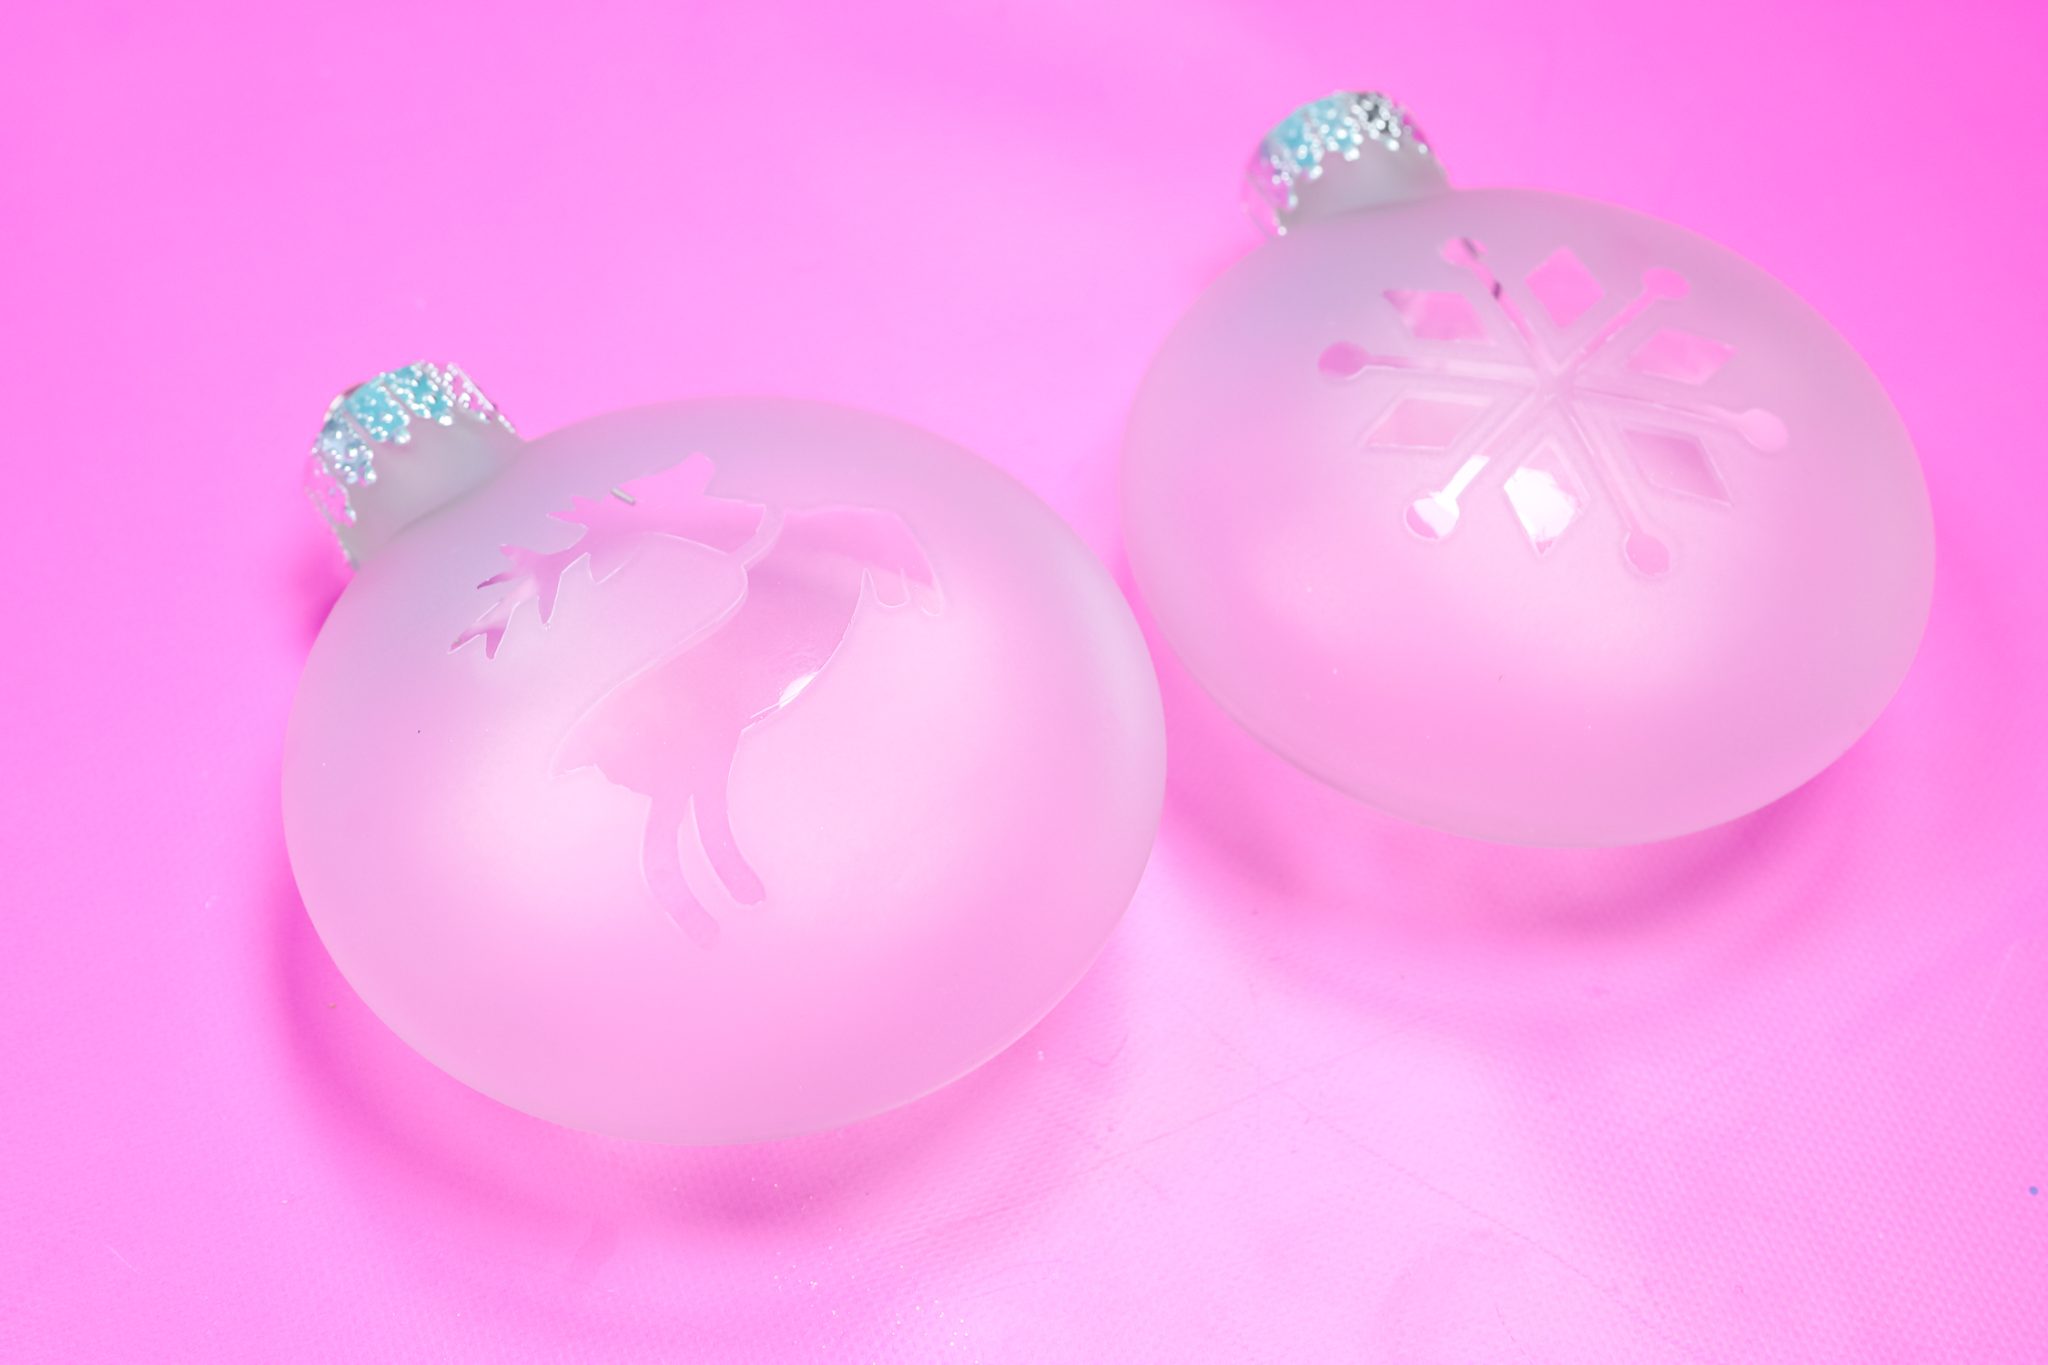
The final ornament idea is also the most elegant. I like using these flat disc ornaments for this but any would actually work. Remove the topper and add vinyl to the front using transfer tape. Apply transfer tape to vinyl and burnish well. You can use an old gift card for burnishing. Then remove backing from vinyl and apply to surface. Burnish again and remove transfer tape. Be sure to press the vinyl down REALLY well on the surface.
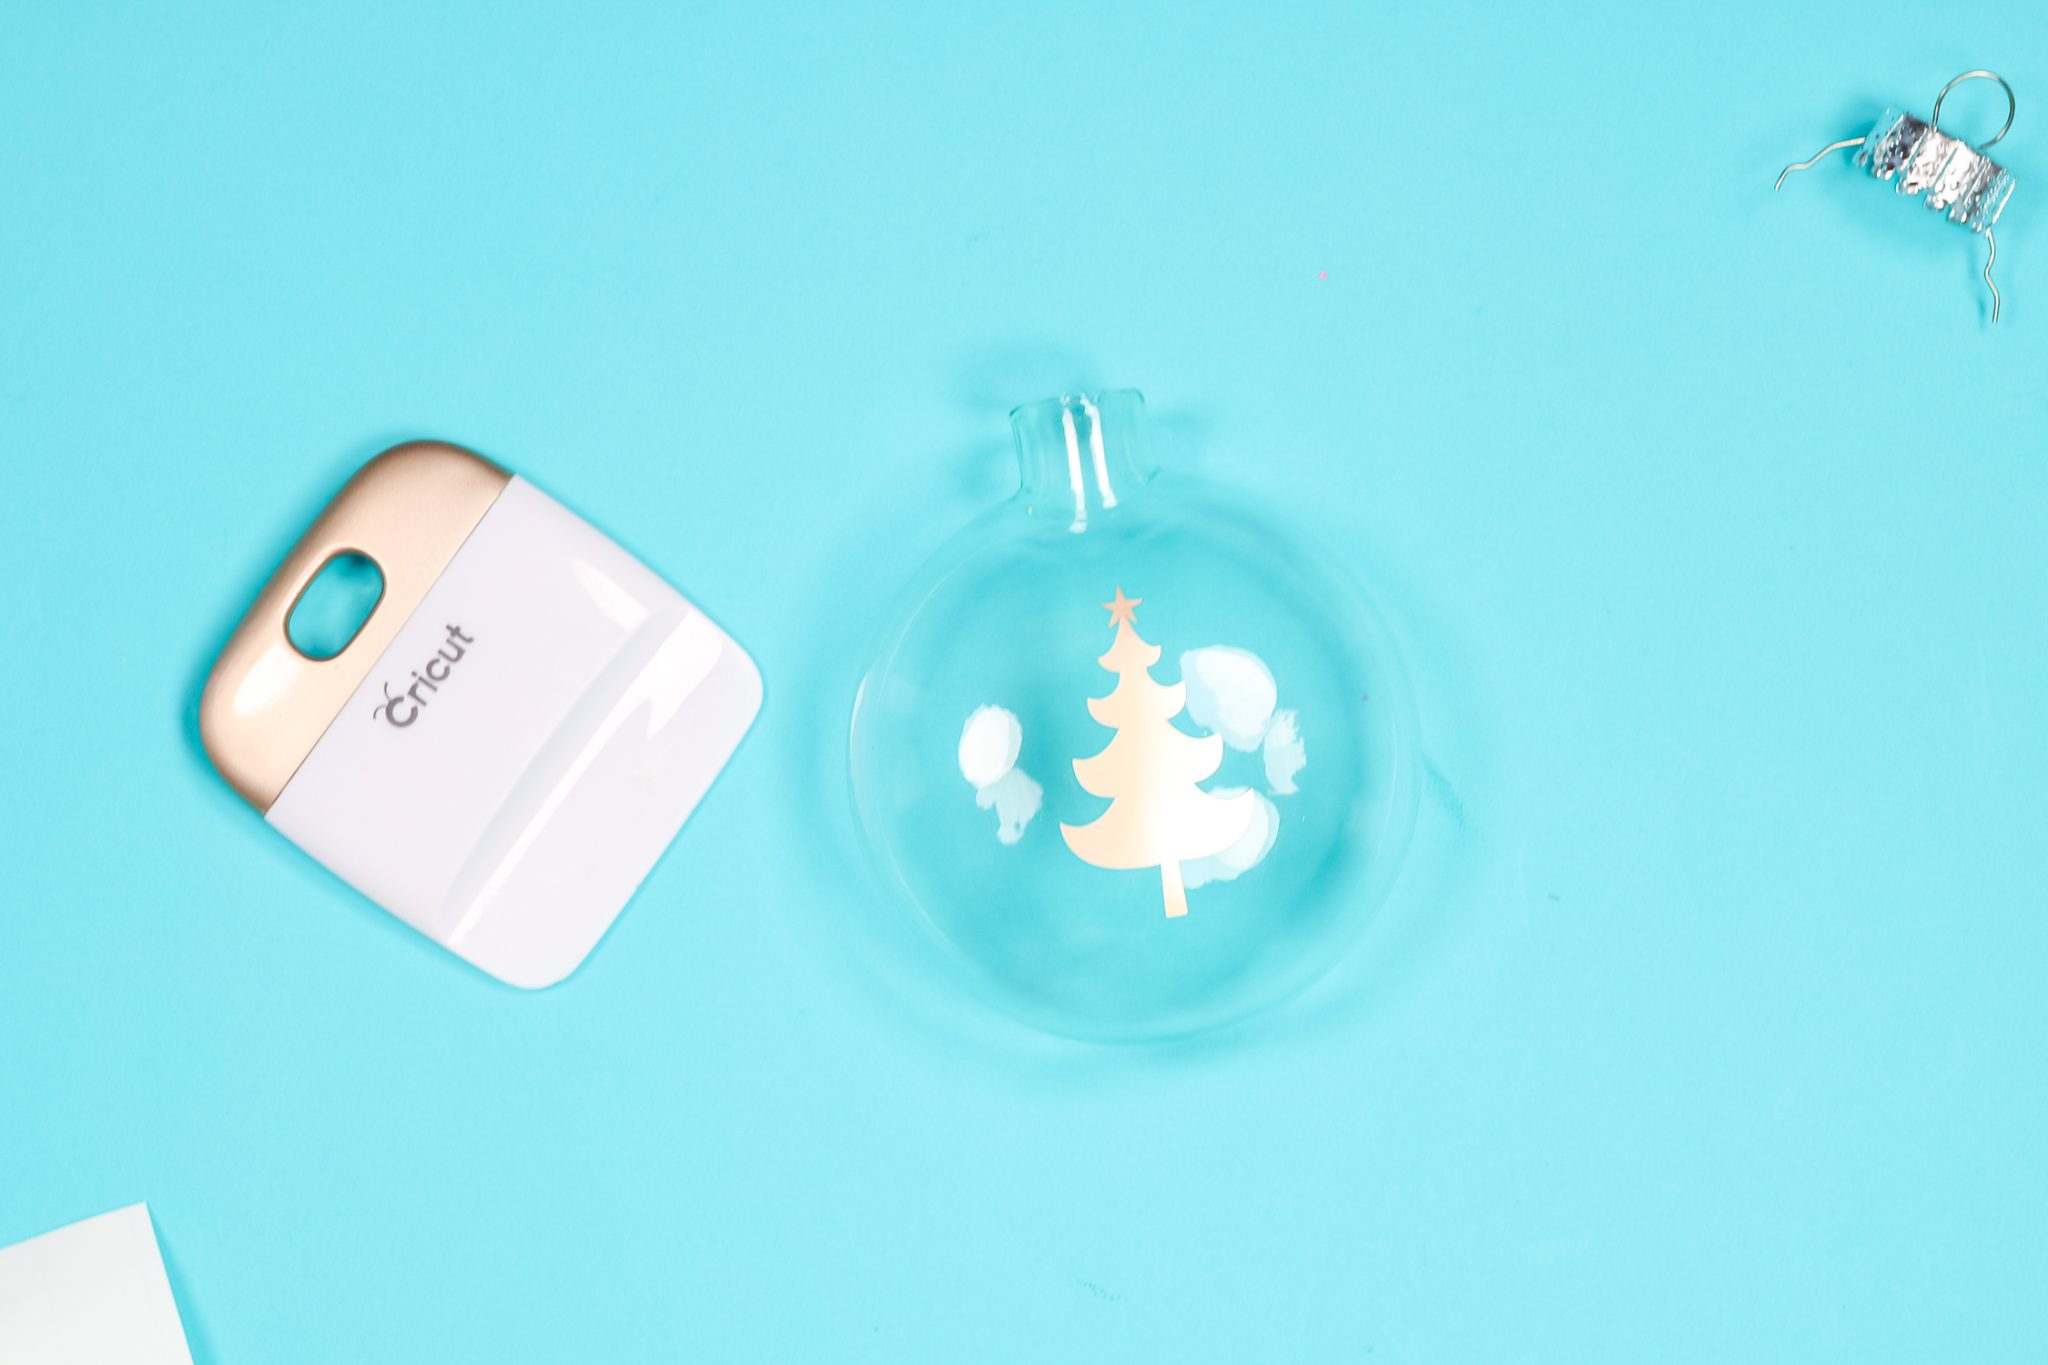
Then take your ornaments outside and spray with Rust-Oleum Imagine Frosted Glass Spray Paint. Be sure to shake the spray paint well and spray in several light coats. This paint is intended to just frost the glass so it may be hard to tell where you have painted. I only painted the front of my ornaments but you can allow the front to dry and turn over to paint the back. Once the spray paint has dried, just remove the vinyl. I use a craft knife or even tweezers to help lift the edges.
Add the topper back in place and these are ready for your tree. I love the simple elegance of these ornaments. Again with these you can use any type of vinyl you would like and cut it into any shape. Then just enjoy these gorgeous ornaments on your tree.
Gifting Your DIY Gift Baskets
Now you just need to decide which of these DIY gift baskets goes to which person on your gift-giving list! I love giving the gift of creativity and everyone wants to craft during the holidays. So, grab your paints from Testors and Rust-Oleum to add to some gift baskets today. You might even want to grab enough paint to make your own versions of these ornaments. After all, these are too fun and easy-to-make to NOT add to your tree this year!
So, will you be making some of these DIY gift baskets? Does this spark any other creative ideas for gift giving? I love giving unique gifts that my gift recipients will love and this is just one example of that. I know everyone on your list will love a gift like this one!
Love these DIY gift baskets and want more ideas? Try the links below as well!
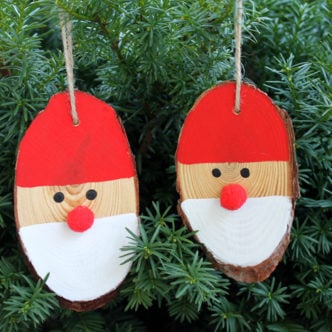
Adorable wooden Christmas ornaments that are finished in 15 minutes or less. They’re so easy to make and add a festive farmhouse touch to any Christmas tree.

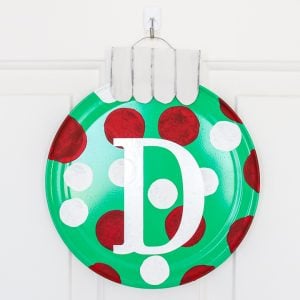
Make a cute sheet pan wreath that looks like Santa’s belly in minutes!
Today I am going to share some cute thumbprint art for your Christmas tree. Get kids of all ages involved in making a thumbprint tree then you get the pleasure of the memory year after year as you pull your ornaments from storage.