This post and photos may contain Amazon or other affiliate links. If you purchase something through any link, I may receive a small commission at no extra charge to you. Any supplies used may be given to me free of charge, however, all projects and opinions are my own.

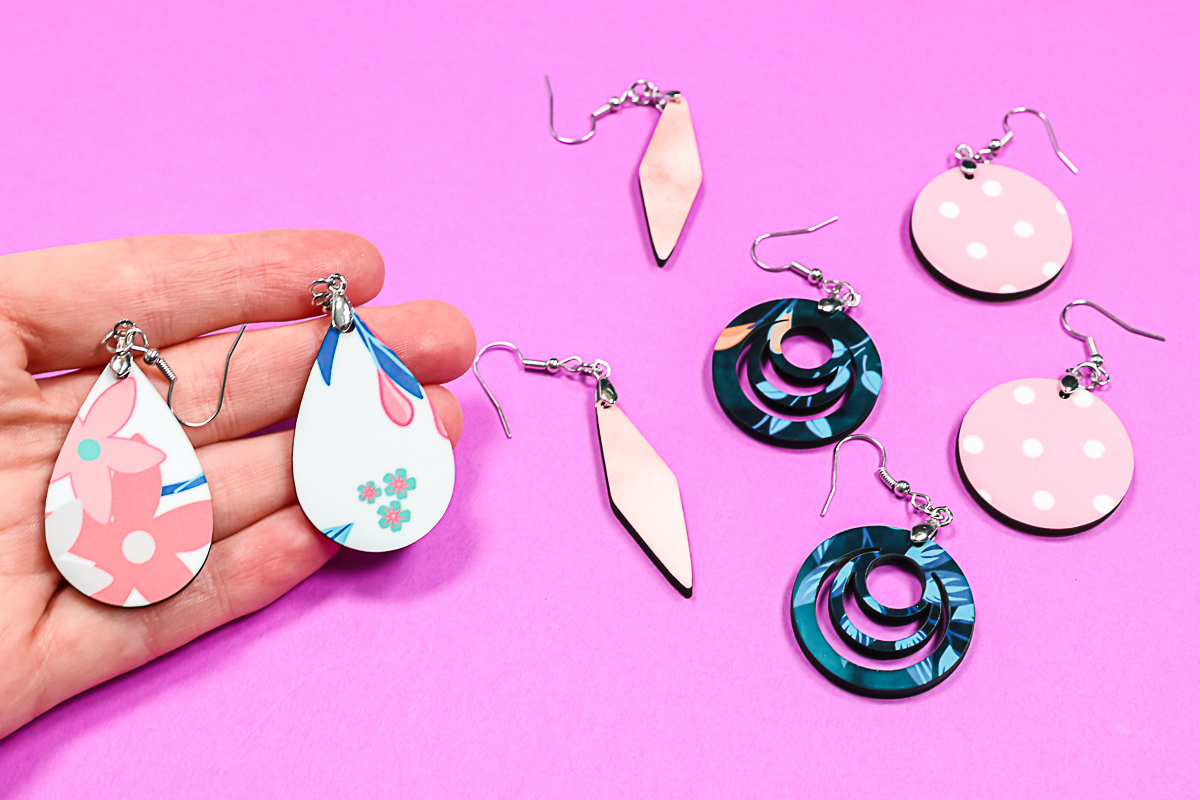
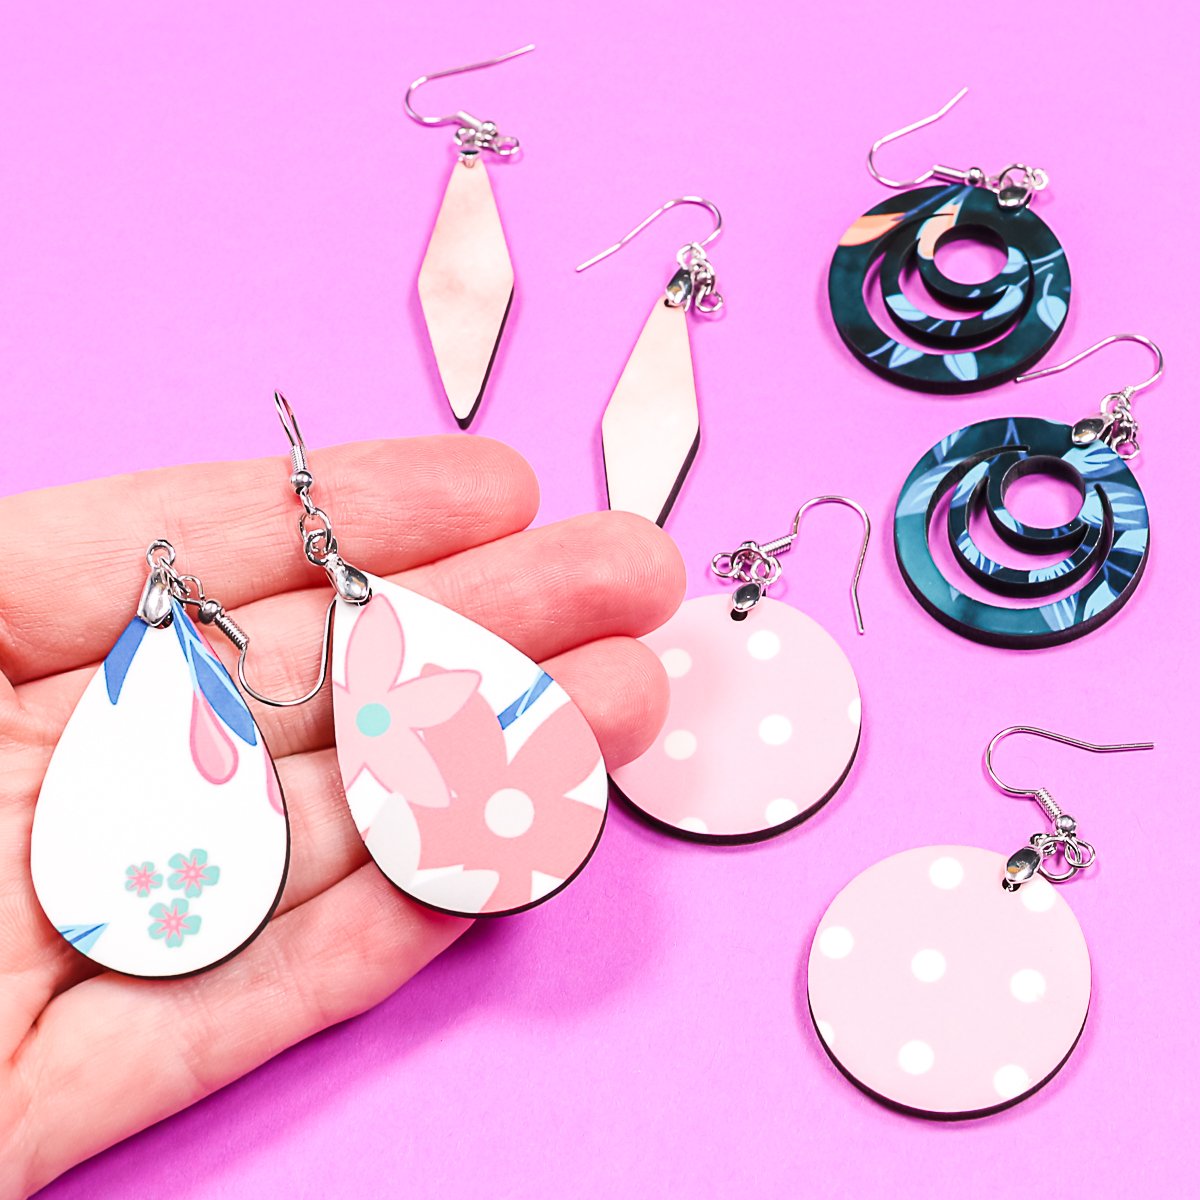
If you love sublimation, you’re going to love making sublimation earrings. In this post, I’m going to make these earrings two different ways, but there are tons of different ways to make sublimation earrings. Just look for sublimation blanks on Amazon in a variety of materials. Today I’m going to use MDF sublimation earring blanks, as well as some metal sublimation earring blanks. I’m going to do both dangly earrings, as well as stud earrings. Whatever type of earring you’re looking to make, you can make it with your sublimation printer as well as your heat press. SPOILER ALERT: One of the blanks DO NOT work as planned! Be sure to read below to see which one!
Sublimation Earrings
I love smaller sublimation projects like this for using up those small pieces of sublimation prints that I sometimes have leftover. Projects like this make great use of those small pieces and that means less waste that I’m throwing in the trash can and more projects that I can make with sublimation. Click play on the video below to see how to make these earrings!
Can’t watch the video or miss some of the information? Follow along below!
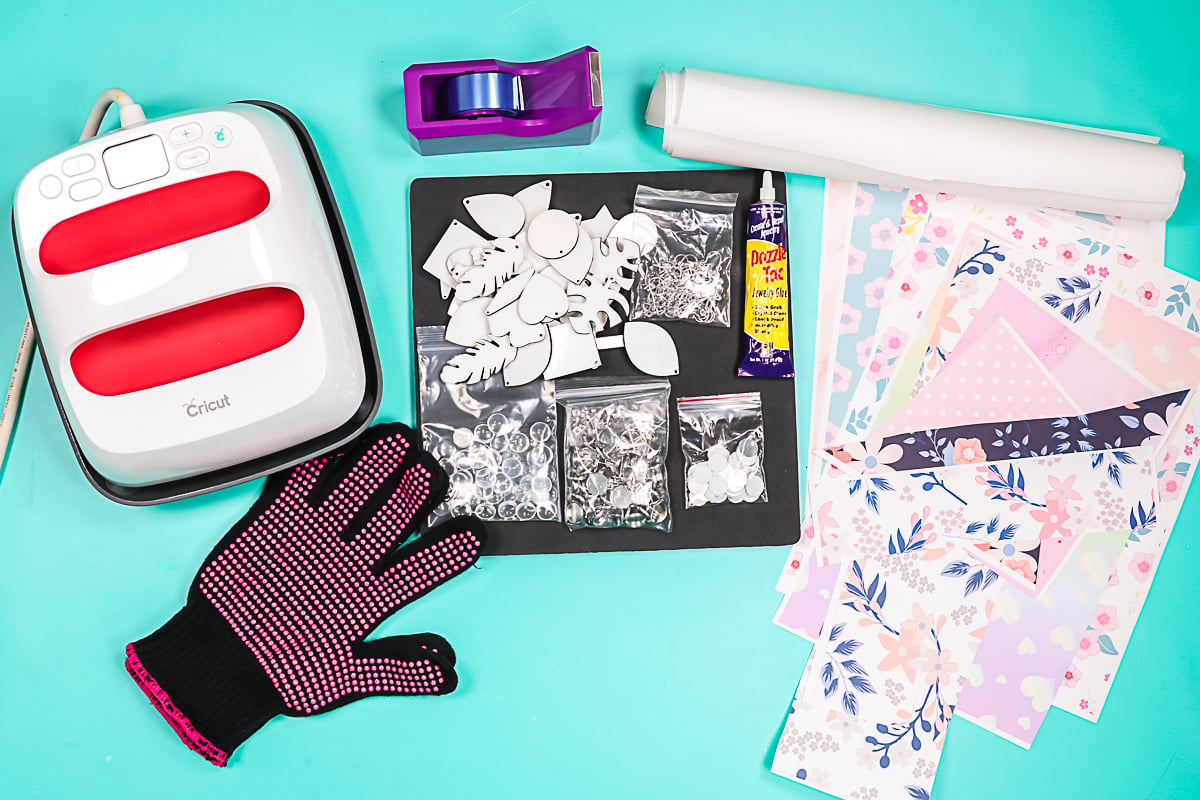
Supplies Used
Designs Used
How to Do Sublimation on Earrings
I’m going to do two different earrings. One is a metal earring blank and it comes with the studs as well as a glass piece that you can put over the top. The others are sublimation wood earrings that also come in a kit with everything you need to assemble them after sublimation. There are other sublimation earrings on the market. I’m just going to do two as an example.
Metal Earrings
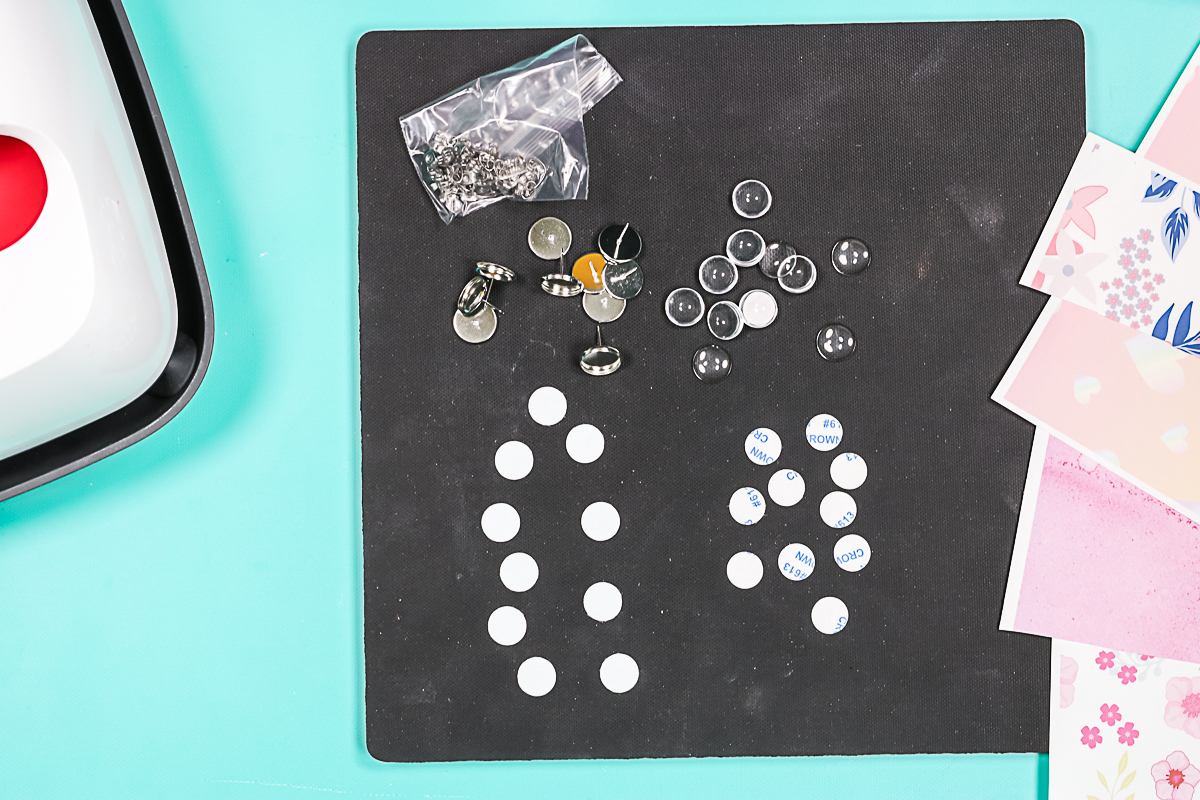
For these metal sublimation earrings, you’re going to have several pieces included in your package. There will be the metal pieces and they will have a silver back. There will be adhesive pieces that will be flexible with no backing. You’ll have glass pieces, studs, as well as earring backs.
Sublimate right on the white side of your metal pieces. There is a protective sheet over the top. It’s clear, so you won’t be able to see it, but you’ll need to peel back the protective sheet on the white side of every single blank.
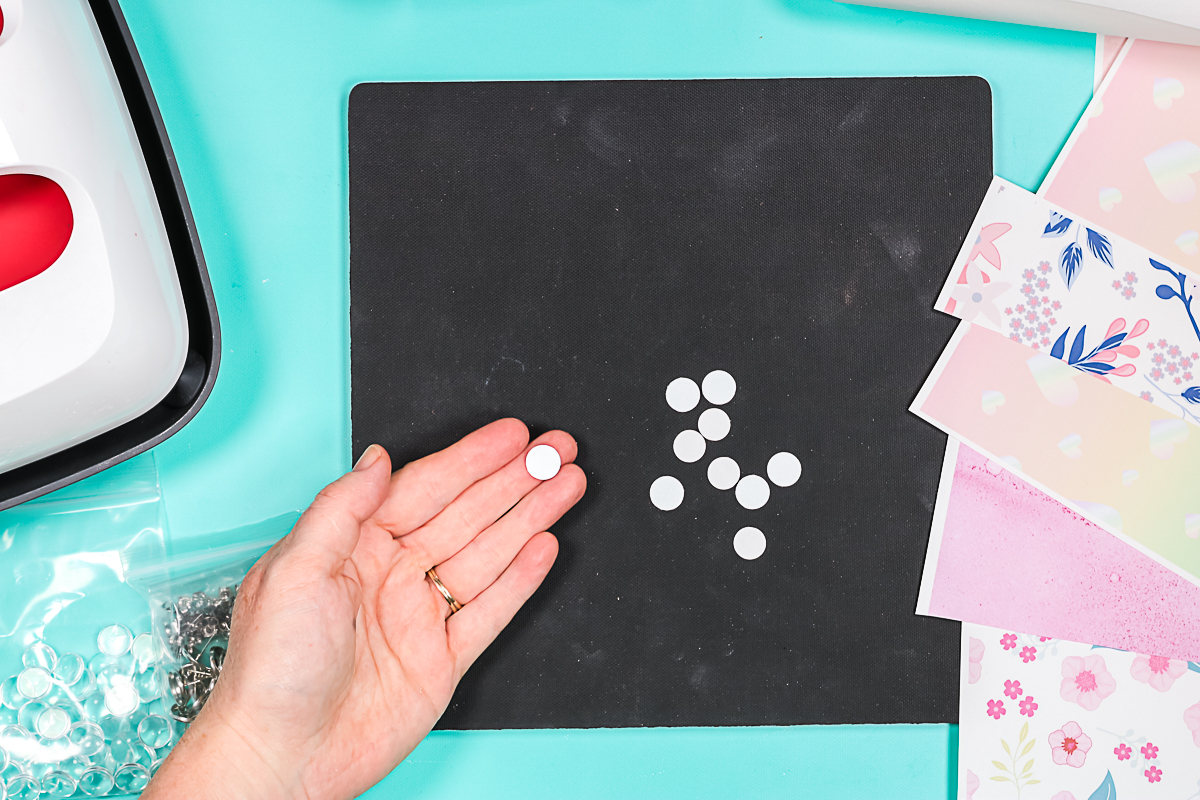
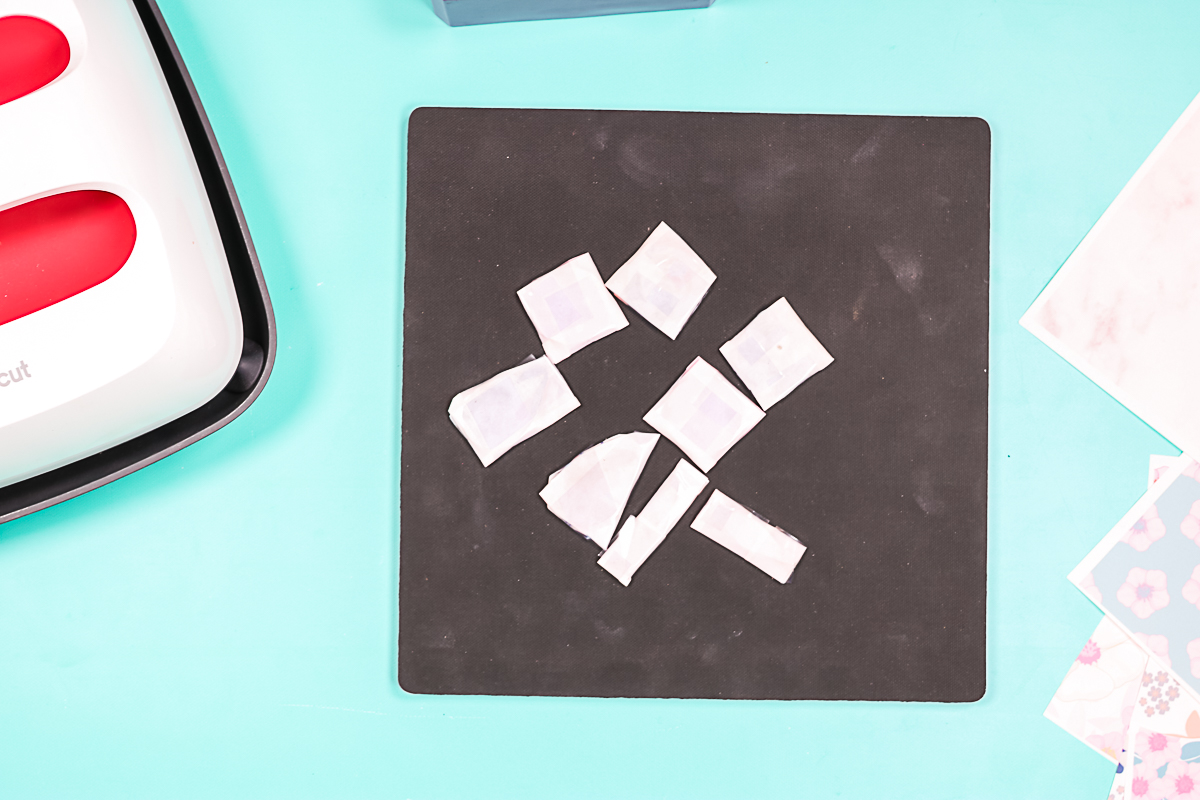
Because these are so small, I tend to sublimate several at one time. For each of these blanks, you’ll want to put the white side down onto your sublimation print. Locate them approximately on the portion of the design you want on the earrings.
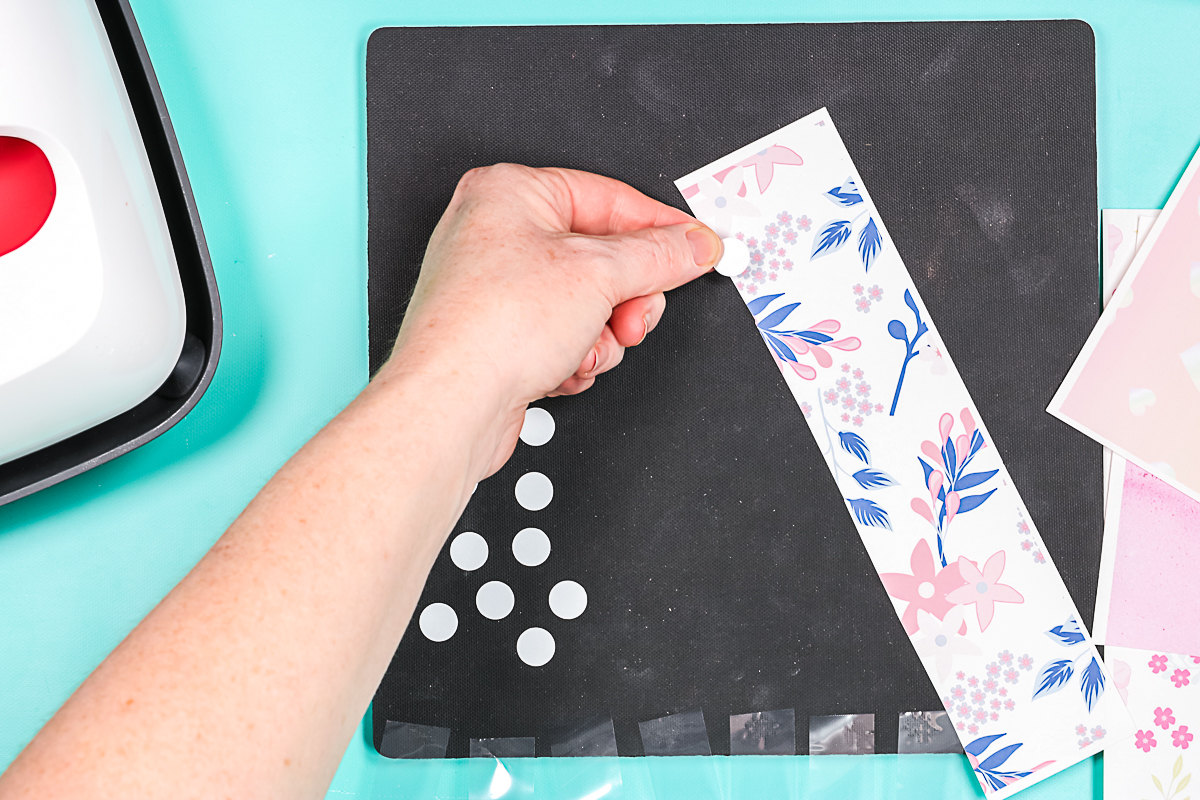
Cut around the sublimation print with a pair of scissors and use a piece of tape to secure those into place on the print. IRepeat the same procedure for each set of earrings.
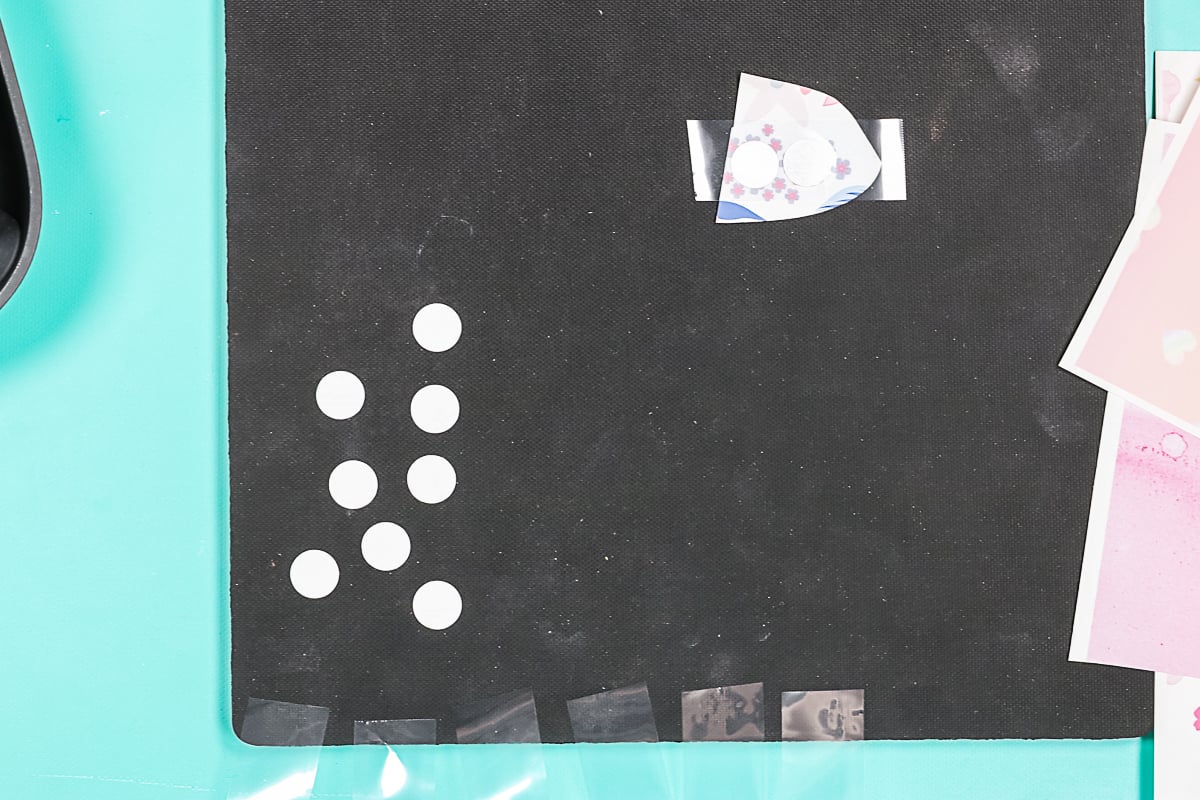
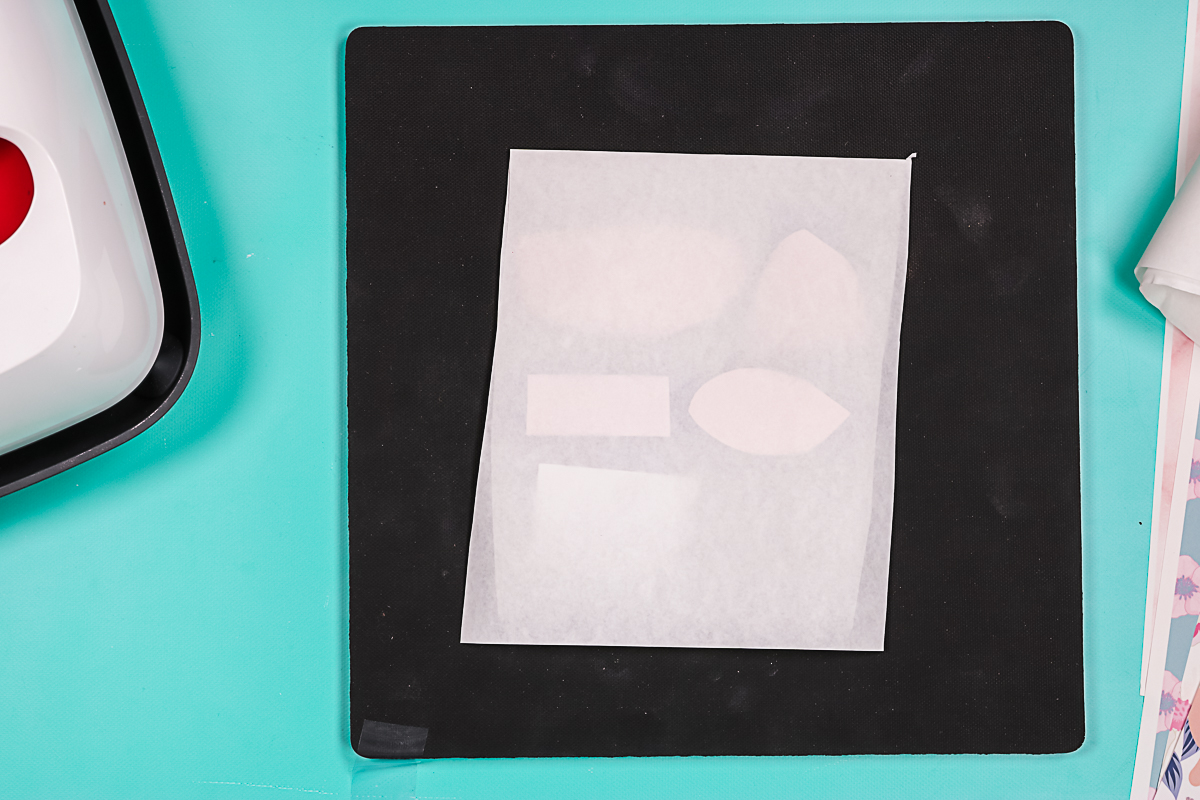
Arrange sublimation print-side up on some protective paper. You will want to cover with protective paper as well.
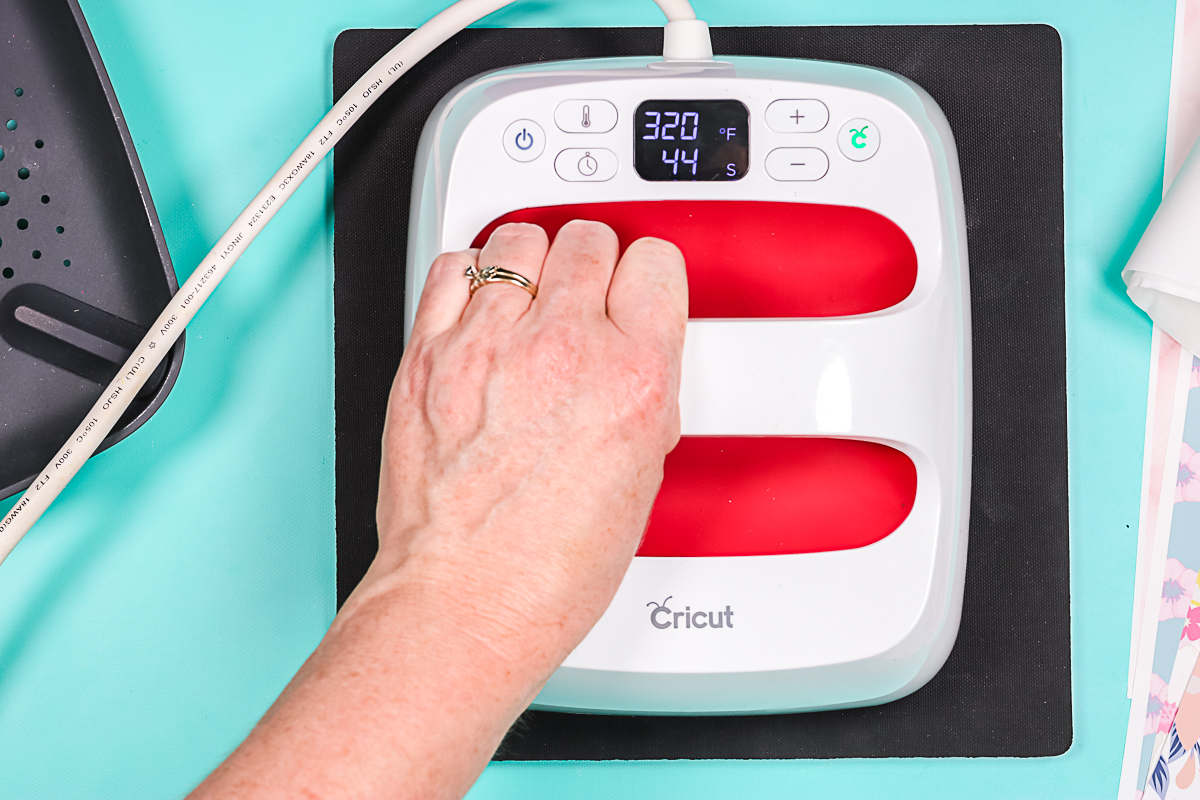
Now everything is covered top and bottom, we’re going to press. These press at 320 degrees Fahrenheit for 60 seconds.
Add the EasyPress to the top, press the “go “button, and hold it down with light to medium pressure for the full time.
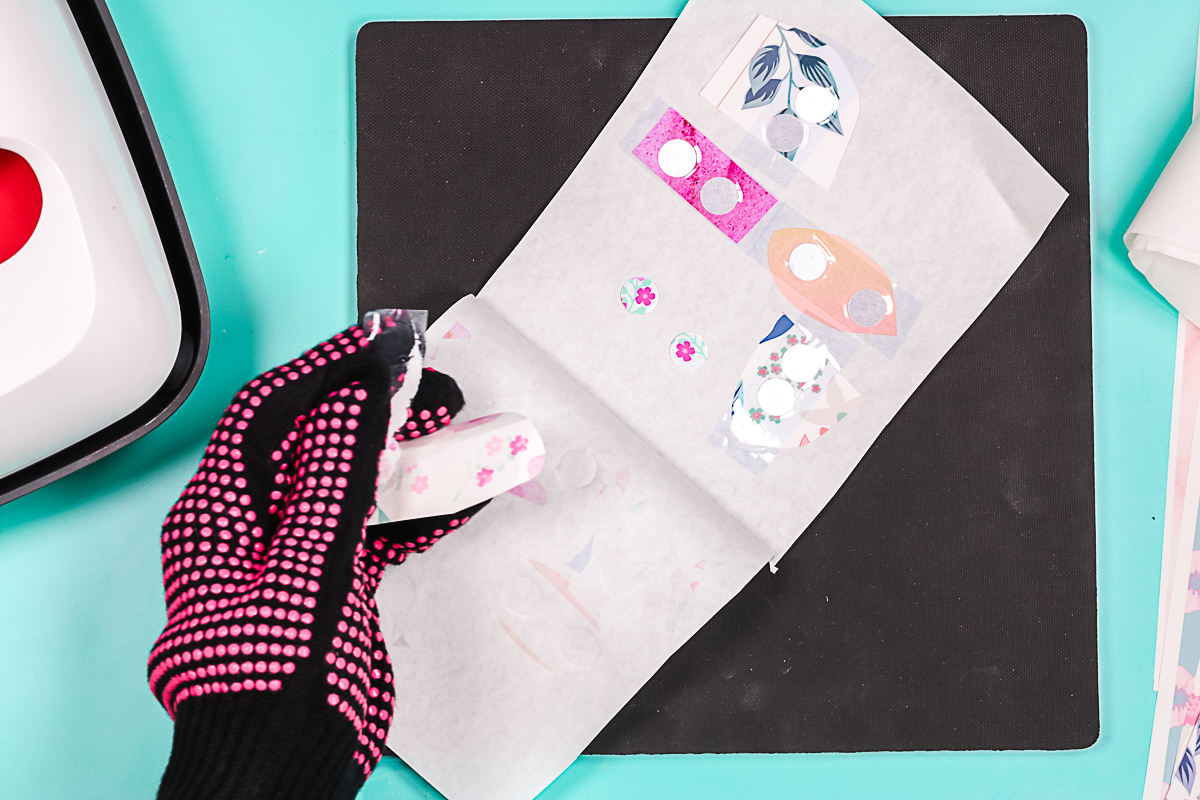
Once they are done, remove the EasyPress and peel back the sublimation print. Peel away the tape to reveal your design.
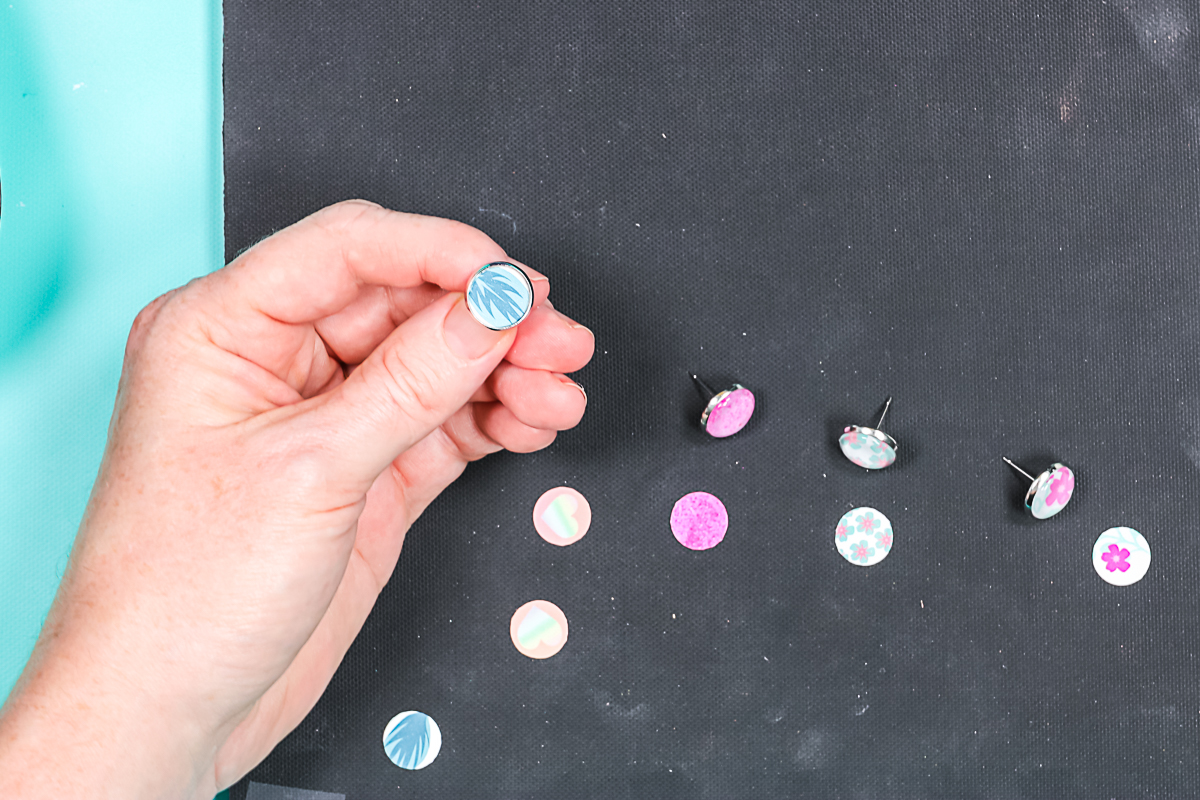
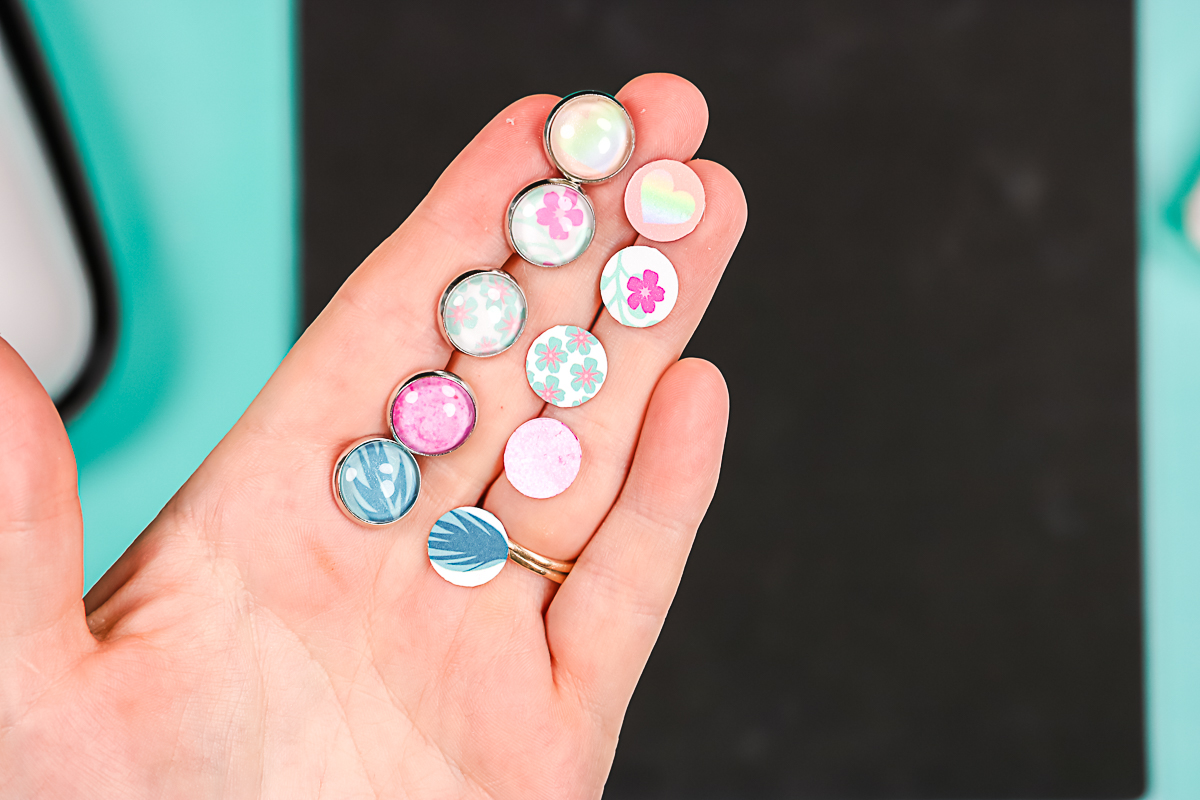
Here is one of our sublimation earrings and I’m going to assemble one so you can see how to assemble it into the earring itself.
First, you’ll need the adhesive disc. We’ll just peel off the backing from one side and then you’ll put that adhesive-side down into the stud. It has a protective paper on the other side, which will peel right off. Add the sublimated metal pieces to the adhesive.
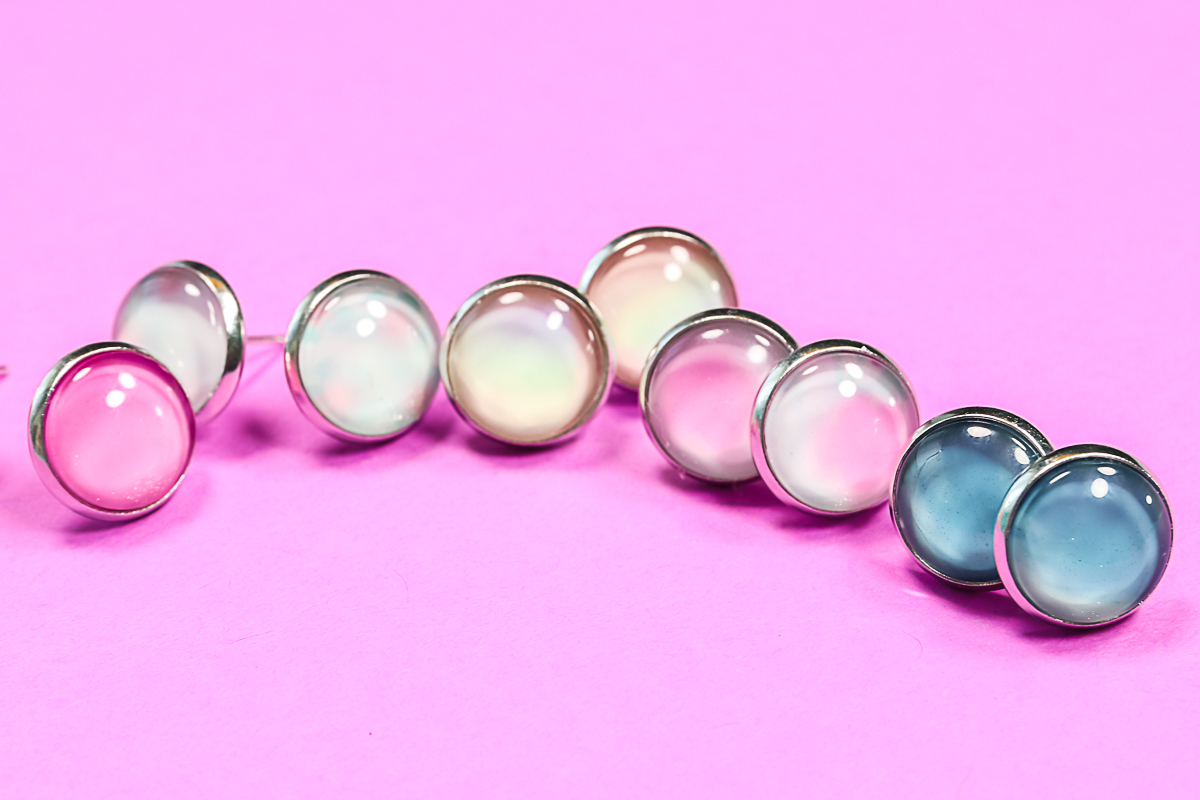
Then add a drop of jewelry adhesive and add the glass piece to the top. You can see how much the print changes when you first add the glass piece in the image below. The glass disc magnifies whatever you sublimate on it.
These looked really great when I first made them. Then overnight, all of that changed! The jewelry glue that I used destroyed the sublimation print and I was left with something that is best described as “fuzzy”. I checked the reviews on these earrings after that experience and there were nothing but bad things that were said. So, I do think you would have to experiment with adhesives and work to get these sublimation earrings to work correctly.
Wood Sublimation Earrings
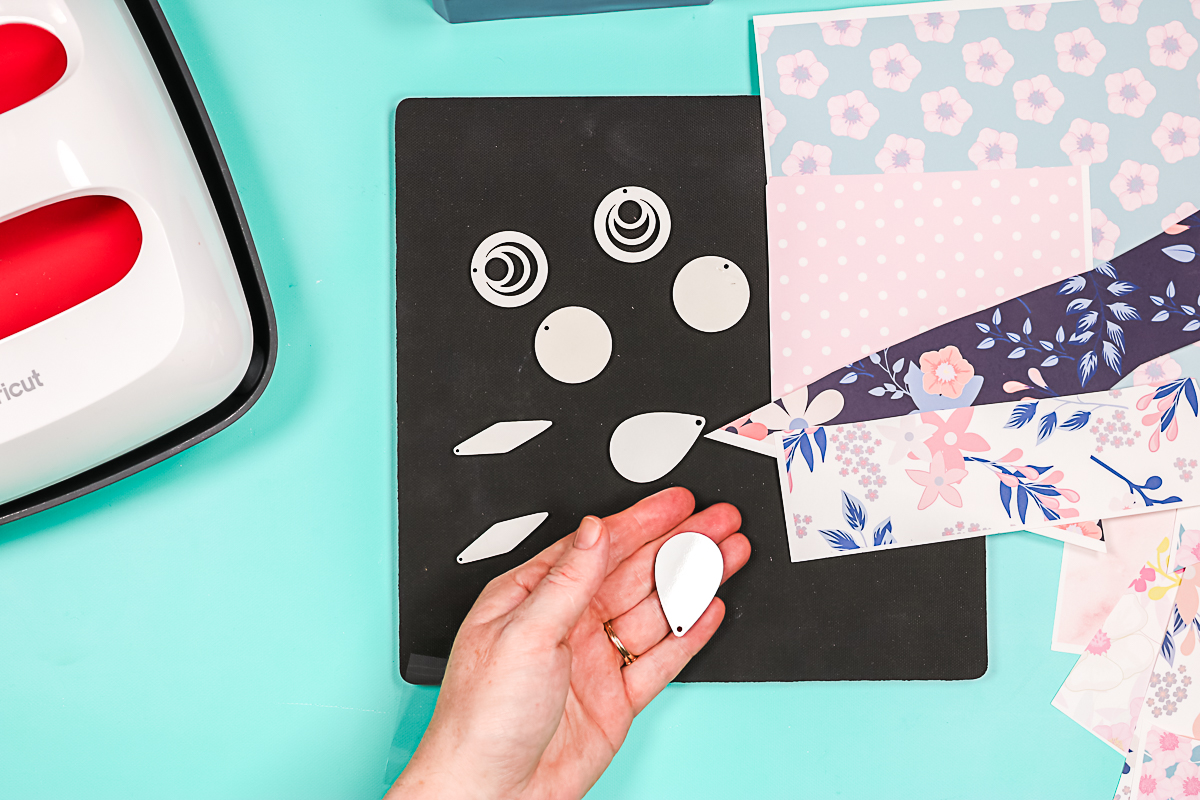
Let’s move on to some earrings that actually worked! These are wood MDF earrings. The kit has earrings in various shapes as well as everything you need to assemble them.
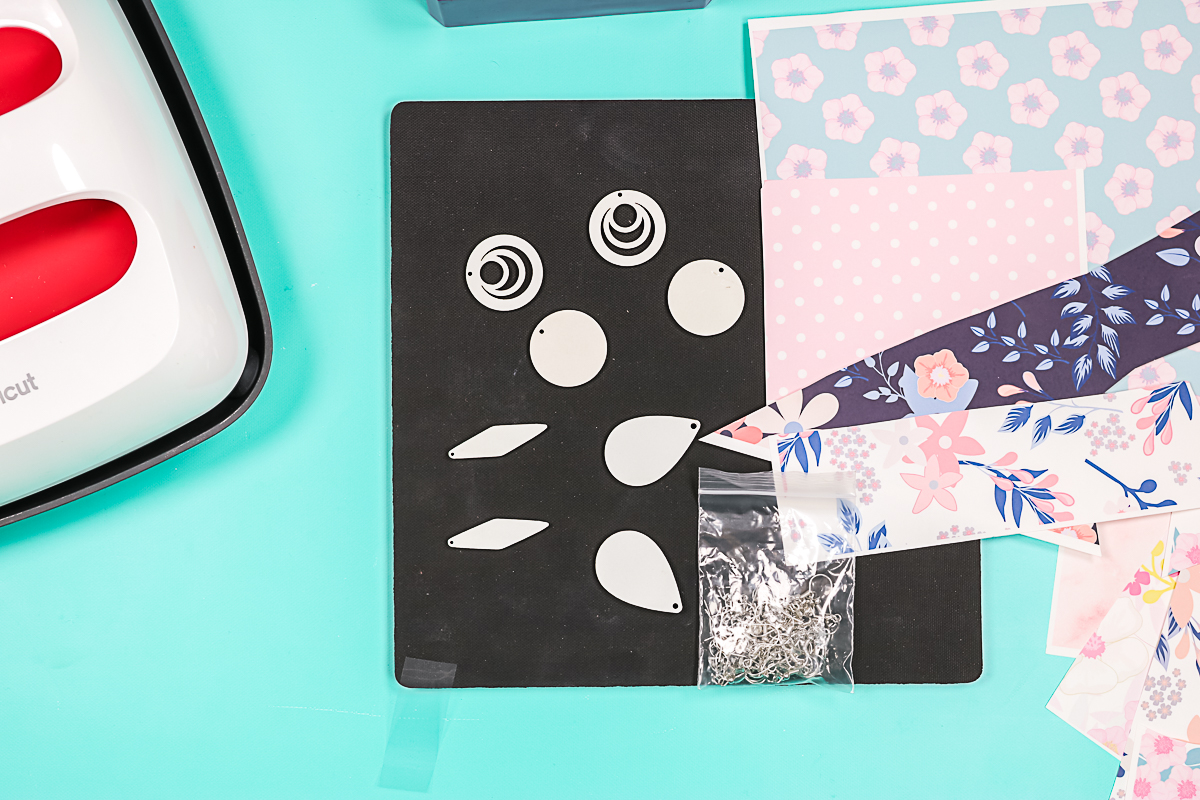
To sublimate on these, you can sublimate on both sides. You will need to remove the protective film. It will have a clear protective film on both sides of the earring. You’ll just want to peel that and remove it from both sides.
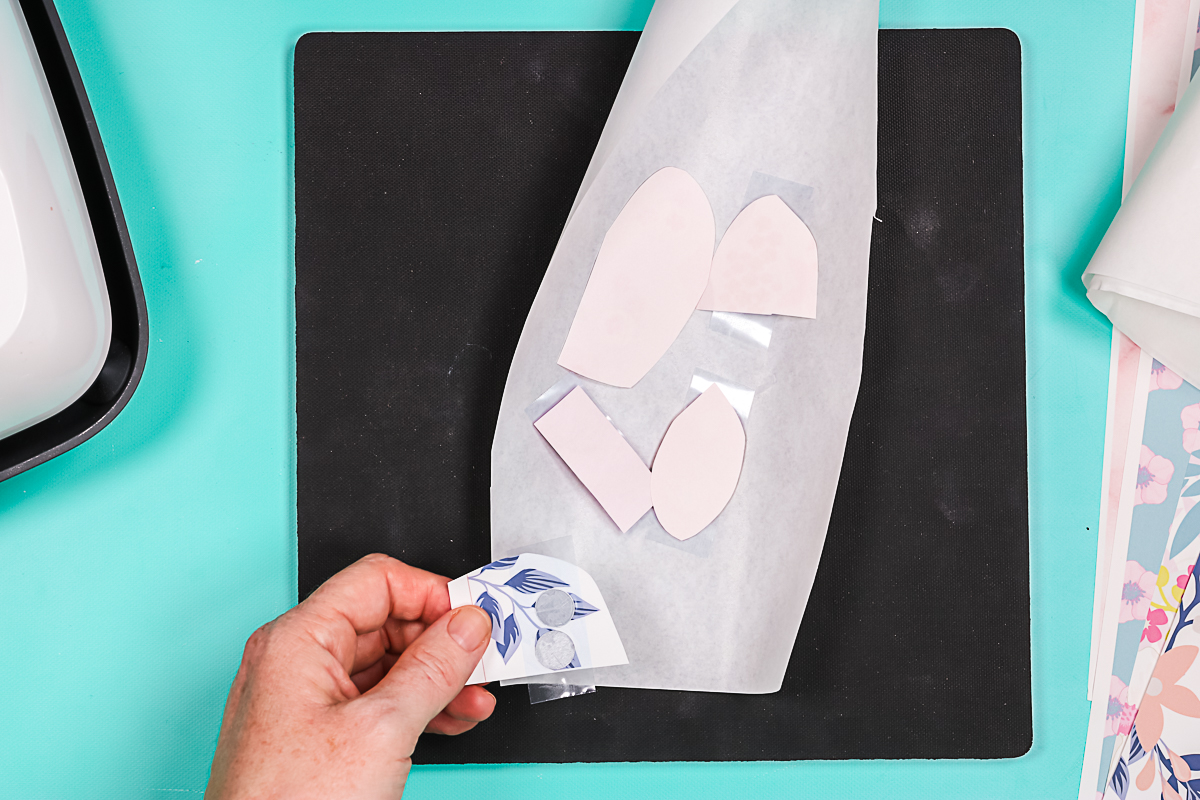
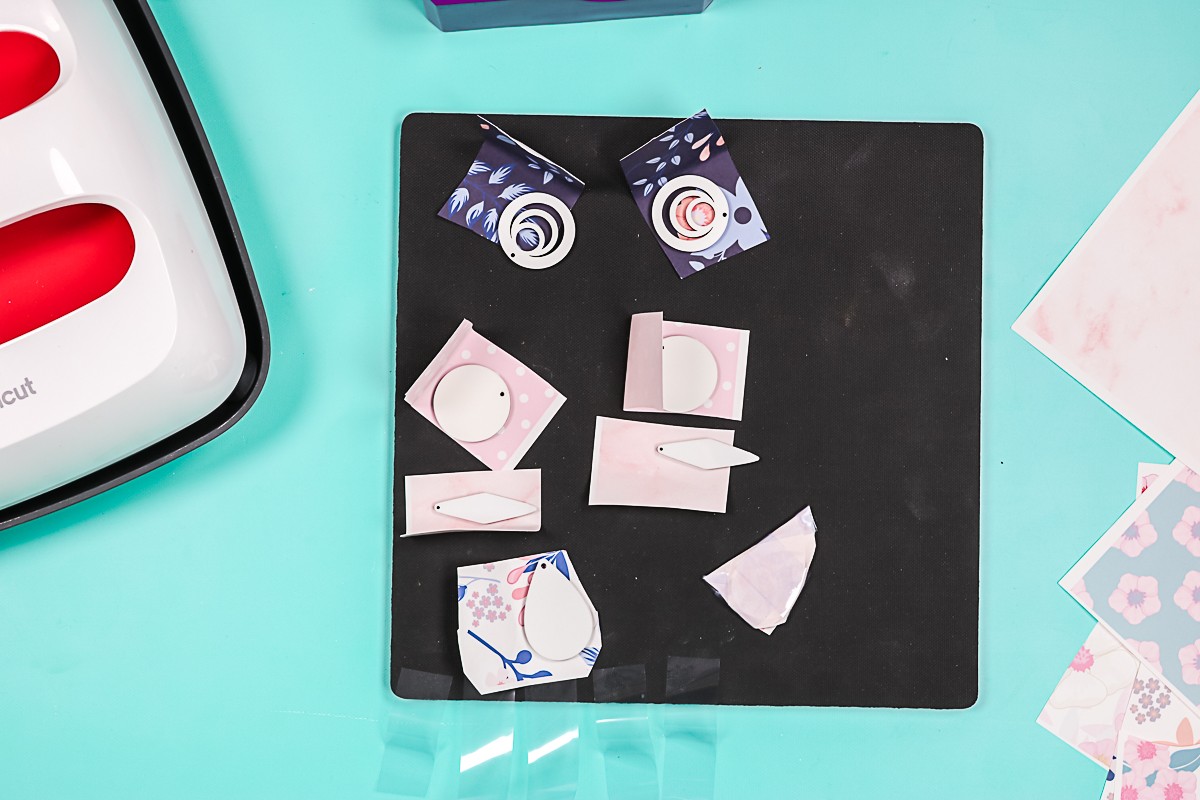
For each of these earrings, I’ve chosen a sublimation print and roughly cut it to size. I’m going to place it where I want my design to go. I just place it where I want it to be and then add a couple of pieces of tape just to hold it secure. I am going to do both sides of these – again, that’s optional. You could just sublimate one side, put your print on similarly to the way we did the metal piece above, and it would be fine. For me, I would like both sides of this sublimated. You can trim some of the print away as you work with the tape. Make little packages with the earrings inside. I’m going to repeat for each set of earrings.
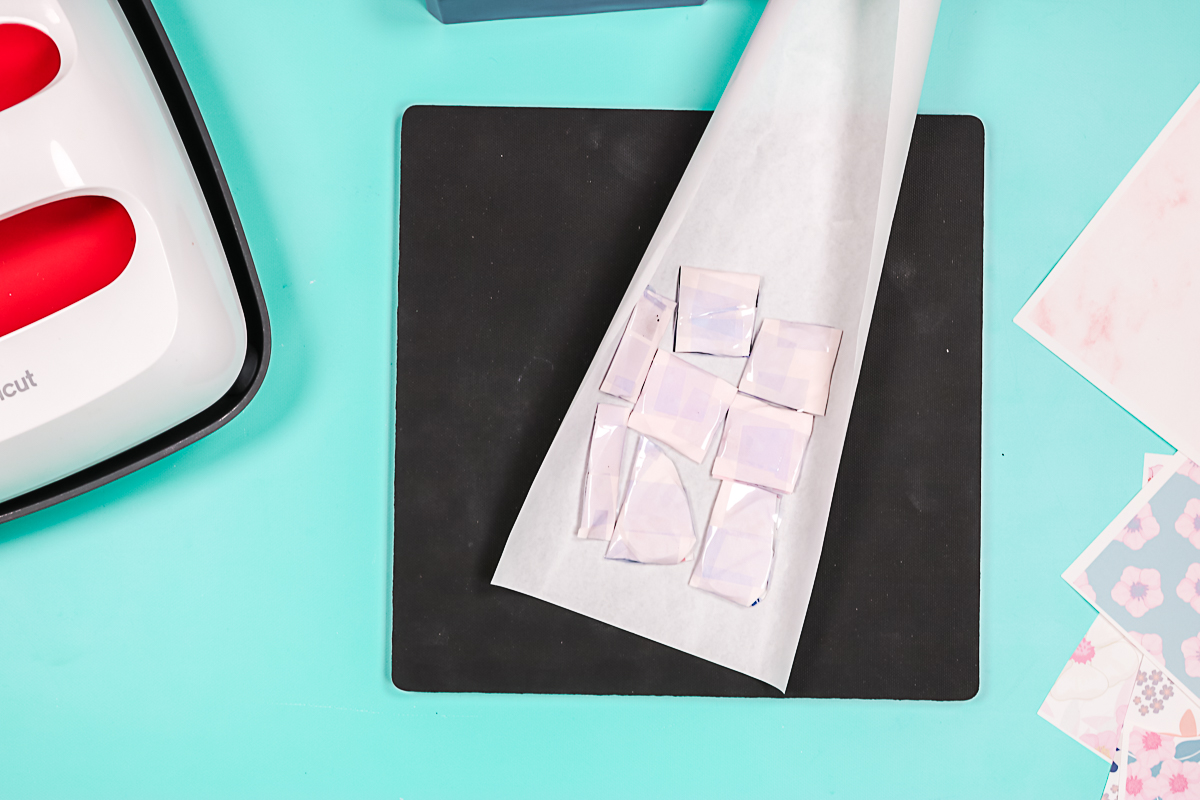
Then, put each of the little packages on some protective paper. Fold it over so it’s protecting the top and bottom.
Press twice – once from the top, once from the bottom at 355 degrees for 60 seconds. Press down with light to medium pressure for the full time and then flip it and press again.
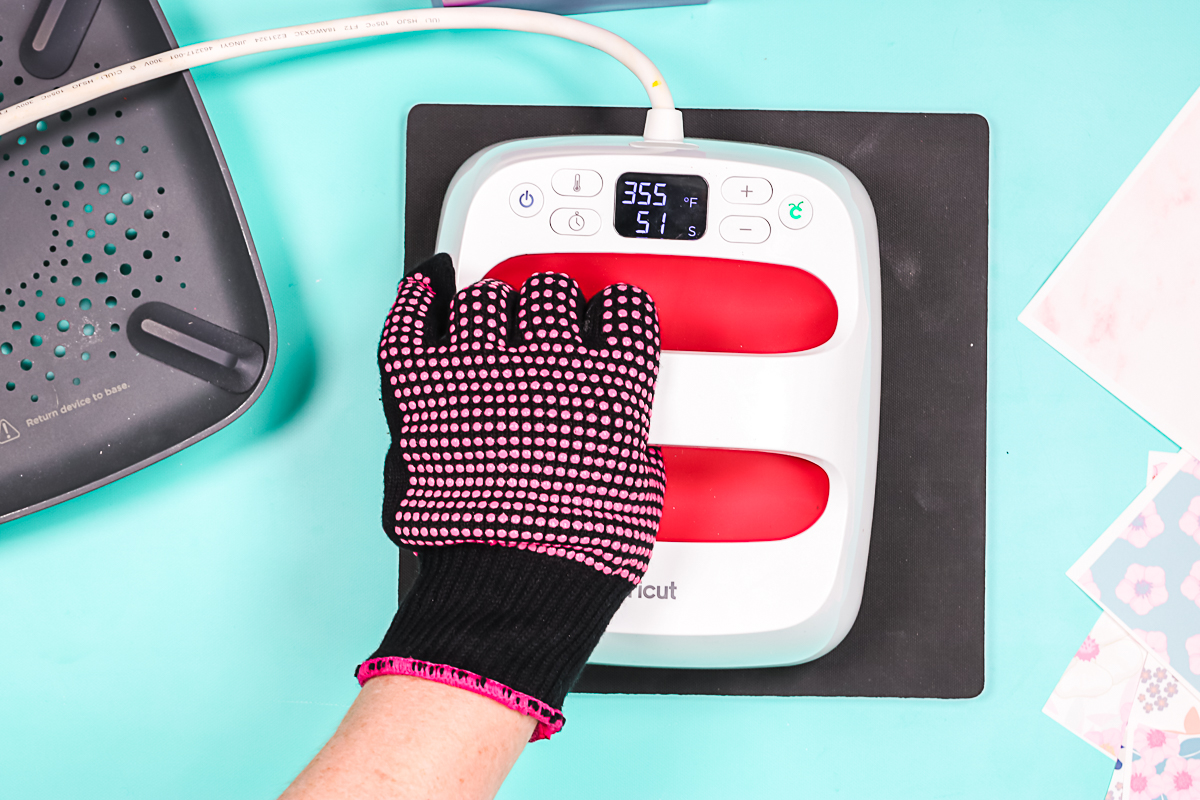
Once it’s done pressing the first time, use heat-resistant gloves and flip the entire package over. Press again at 355 degrees for 60 seconds, light to medium pressure. Once it’s done this time, these are ready to be peeled back to reveal their design. These will be extremely hot, so you might want to let them cool a little bit before you peel back the sublimation print.
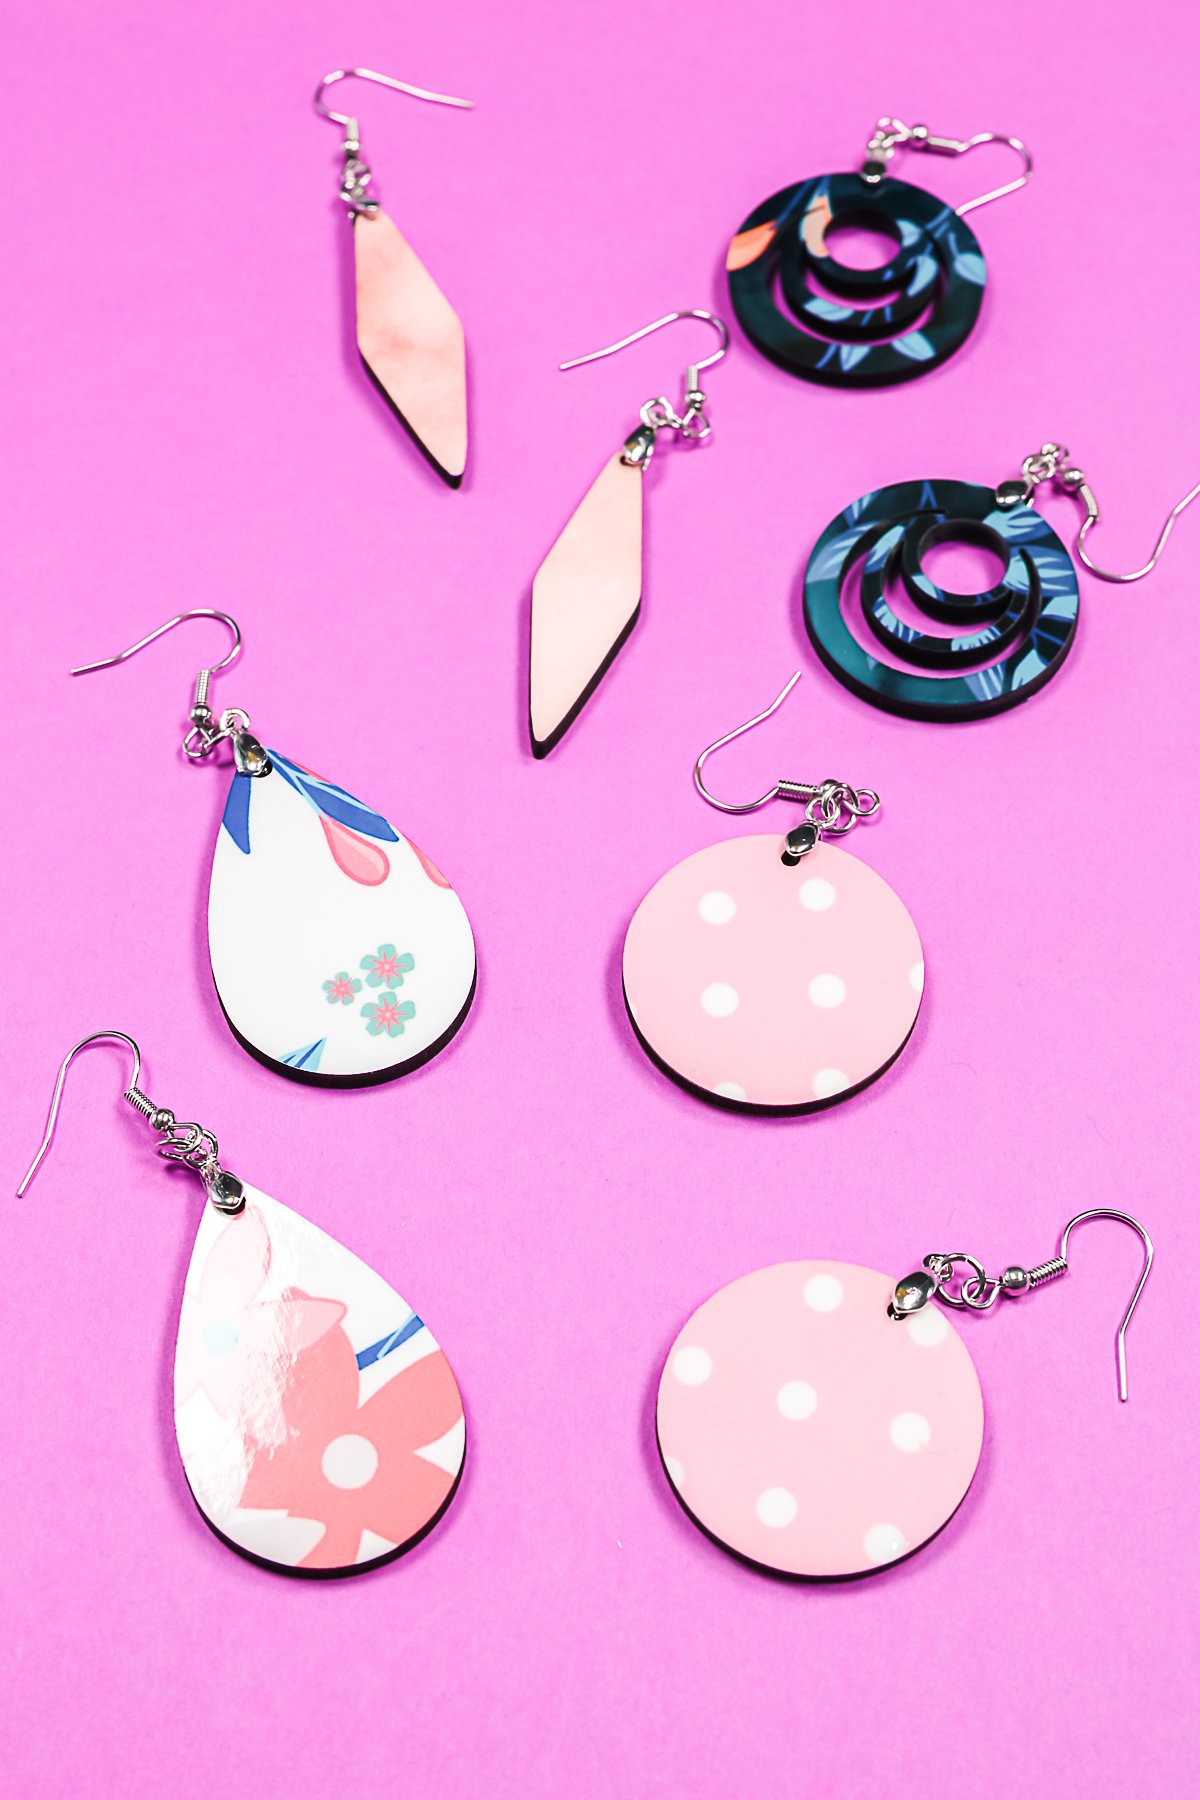
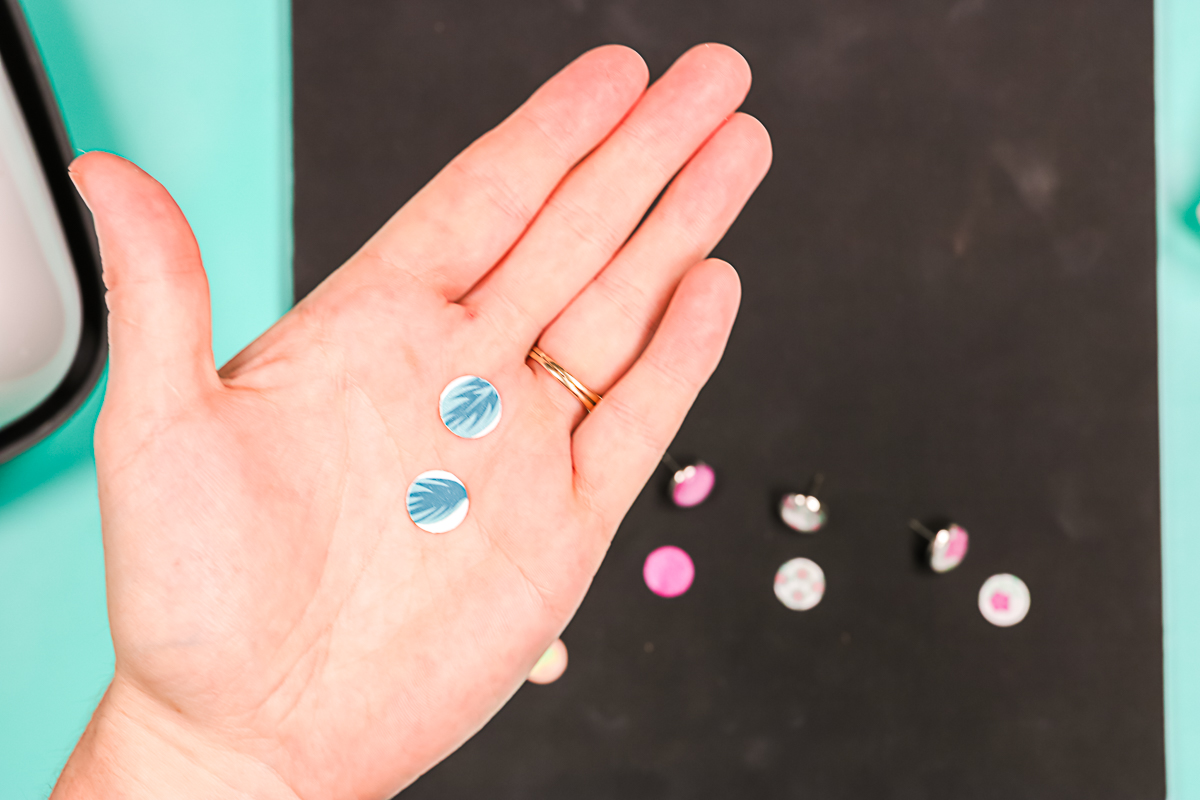
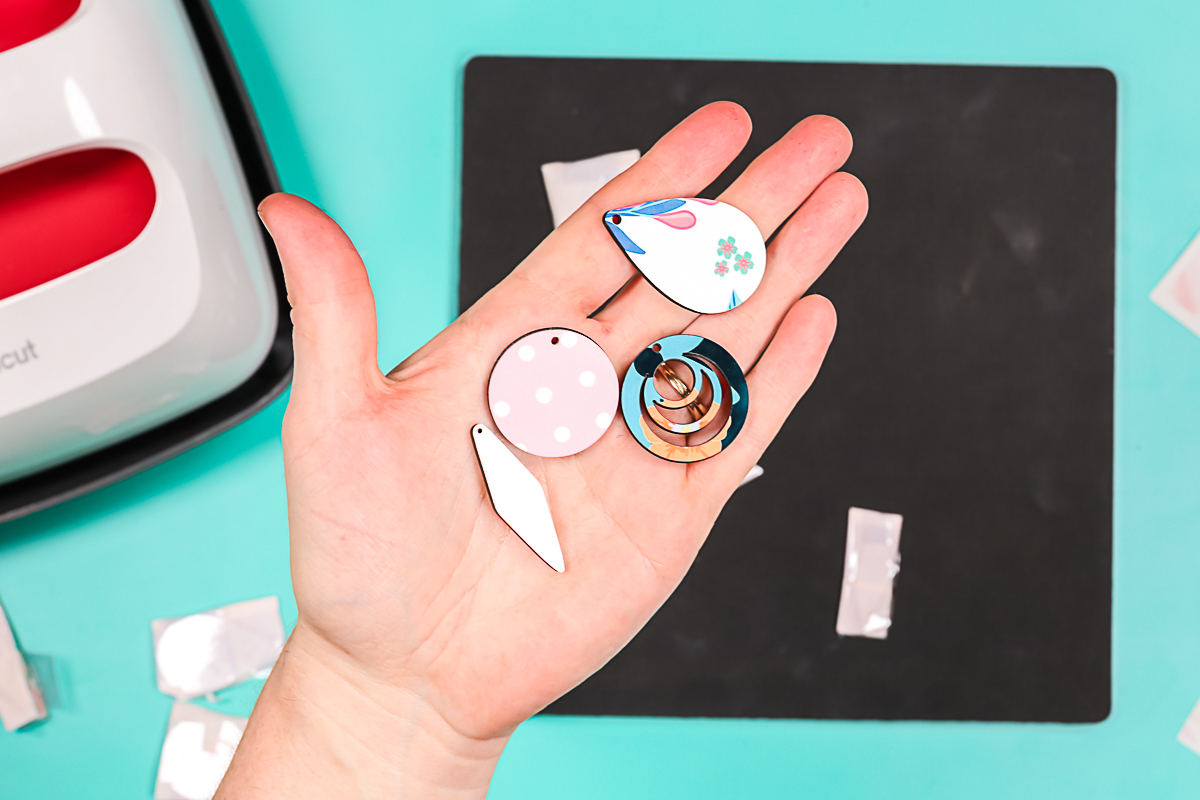
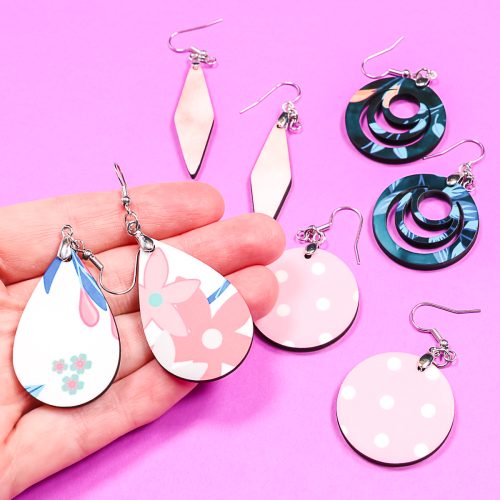
Here are each of my designs with the sublimation print removed.
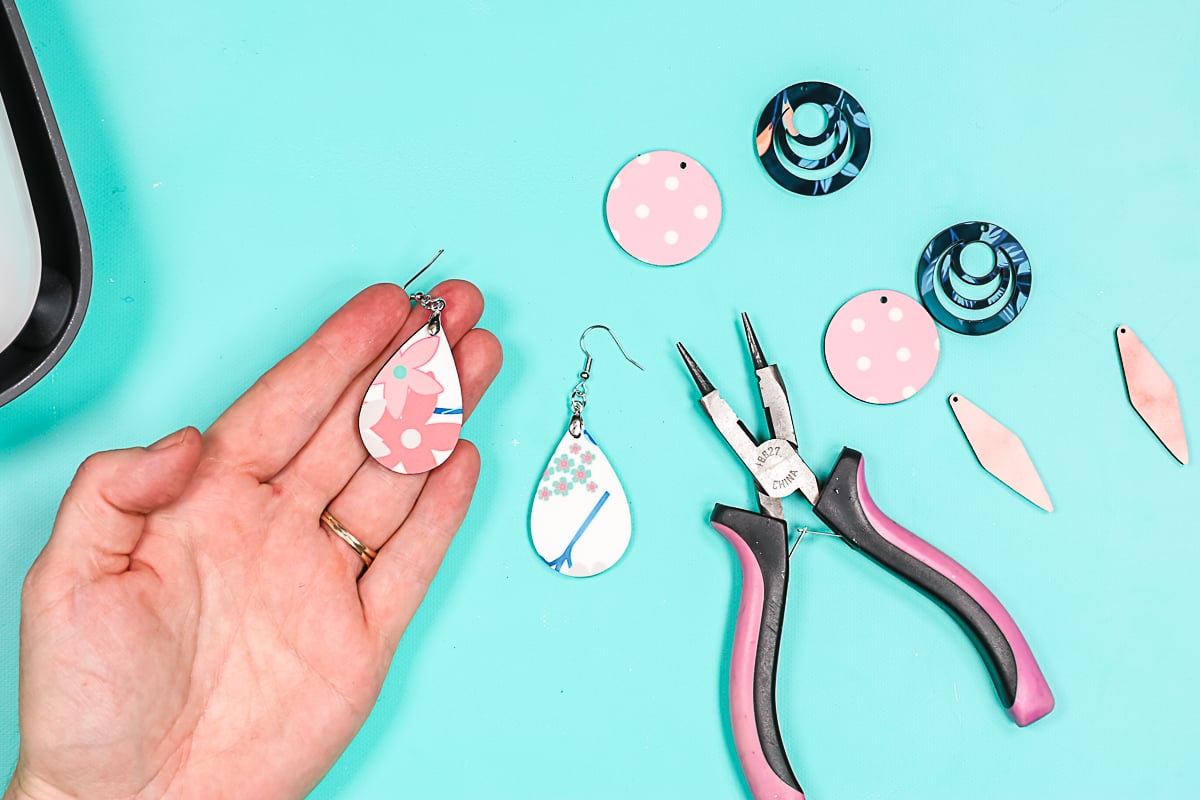
For each of these, you want to pull apart the clasp on the end of the earring. I find using a pair of pliers helps a little bit. You just add the hole in the earring to the clasp and squeeze shut the clasp. You may have to use a pair of pliers to squeeze it to get it together and then you have a completed earring.
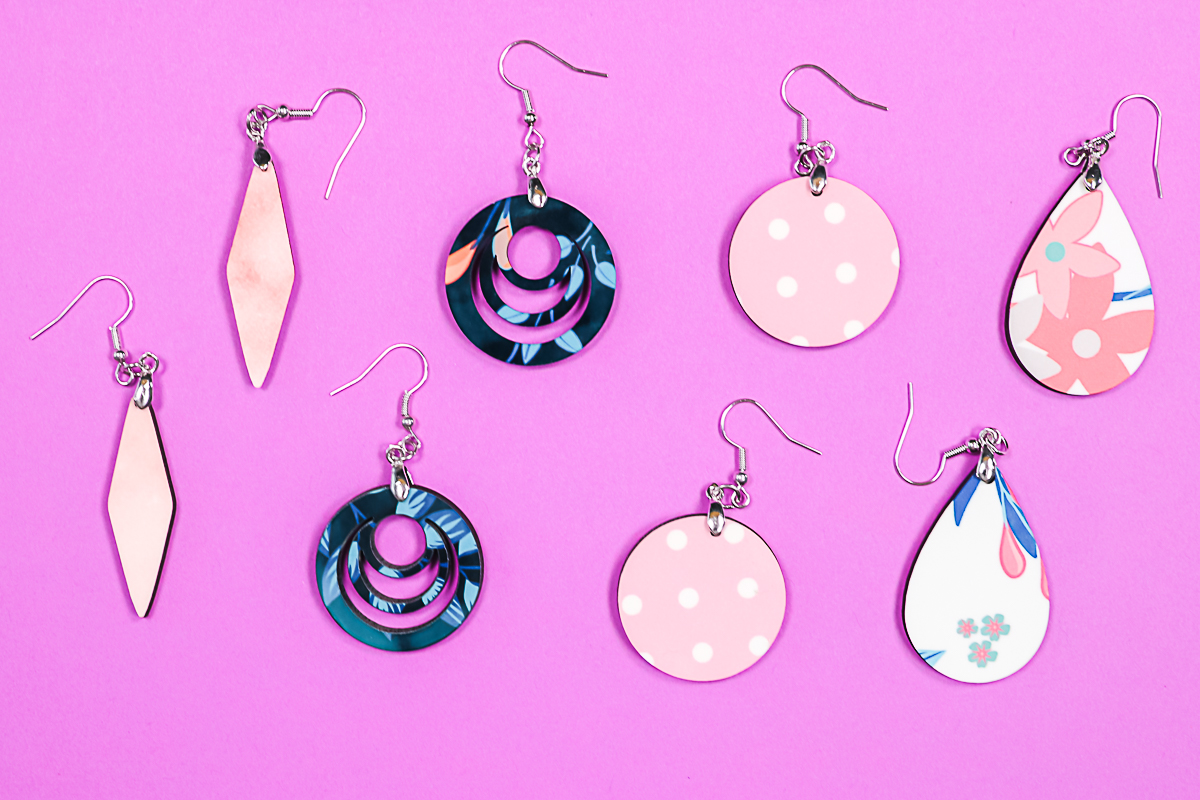
Repeat for the rest of your sublimation earrings and enjoy a gorgeous addition to your wardrobe!
Failure on Studs
On the stud earrings, the glue I used to hold on that glass piece made the sublimation ink run. Still want options to make these? Someone suggested a glue called Diamond Glaze somewhere in the reviews. Another person said that they put clear vinyl over the sublimation, then put it into the earring back, then added glue to put the glass piece on top. I was disappointed in these from the beginning as they are so small and after reading the reviews, I do not recommend this particular sublimation blank. When you are ordering those Amazon blanks, as I’ve said before, sometimes you get what you pay for.
MDF Earrings Results
The MDF earrings, however, turned out amazing. I love them! They are easy to sublimate on and I would highly recommend that version of sublimation earrings. I highly recommend the MDF earrings. They are great, but you might want to watch the rest of those listings on Amazon because some of them work and obviously some of them do not.
Now all that is left is for you to pick a pattern for your sublimation earrings! I think you will find that you can use any pattern that will match your outfit. You might even add a monogram to your print for something a bit extra!
Grab your sublimation blanks and get started on this project! It is an easy way to get started with sublimation or add more blanks to your craft room for creating! Sublimation earrings are so easy to make for yourself or to give as gifts!
Love these and want more sublimation crafts? Try the links below!

Make a flag for your garden, car, or even just a fun party with a sublimation printer and any design!

Make your own custom license plates with sublimation in minutes!
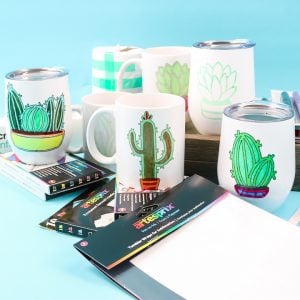
Use a small oven to add sublimated ink to mugs and tumblers with our technique and tips.
Want to print the instructions to make the sublimation earrings? Try the card below!
DIY Sublimation Earrings
Make your own earrings with a sublimation print and these MDF wood blanks.
Supplies
- Sublimation printer, ink, and paper you could also use Infusible Ink sheets instead!
- Printable designs (Floral Papers, Light Pink Marble Floral, and Polka Dot Papers)
- Cricut EasyPress or heat press
- Lint Roller
- Heat Resistant Tape
- Artesprix Protective Paper
- Heat Resistant Mat
- Heat resistant gloves
- MDF Wood Earrings
Instructions
-
These are wood MDF earrings. The kit has earrings in various shapes as well as everything you need to assemble them.
-
To sublimate on these, you can sublimate on both sides. You will need to remove the protective film. It will have a clear protective film on both sides of the earring. You’ll just want to peel that and remove it from both sides.
-
For each of these earrings, I’ve chosen a sublimation print and roughly cut it to size. I’m going to place it where I want my design to go. I just place it where I want it to be and then add a couple of pieces of tape just to hold it secure. I am going to do both sides of these – again, that’s optional. You could just sublimate one side, put your print on similarly to the way we did the metal piece above, and it would be fine. For me, I would like both sides of this sublimated. You can trim some of the print away as you work with the tape. Make little packages with the earrings inside. I’m going to repeat for each set of earrings.
-
Then, put each of the little packages on some protective paper. Fold it over so it’s protecting the top and bottom.
-
Press twice – once from the top, once from the bottom at 355 degrees for 60 seconds. Press down with light to medium pressure for the full time and then flip it and press again.
-
Once it’s done pressing the first time, use heat-resistant gloves and flip the entire package over. Press again at 355 degrees for 60 seconds, light to medium pressure. Once it’s done this time, these are ready to be peeled back to reveal their design. These will be extremely hot, so you might want to let them cool a little bit before you peel back the sublimation print.
-
Here are each of my designs with the sublimation print removed.
-
For each of these, you want to pull apart the clasp on the end of the earring. I find using a pair of pliers helps a little bit. You just add the hole in the earring to the clasp and squeeze shut the clasp. You may have to use a pair of pliers to squeeze it to get it together and then you have a completed earring.