
Y’all, I promise you that I’m working on the studio, and I thought that I had the last big project done. I spent the weekend wiring up the last of the electrical outlets in the room, and this project was a beast. One part took me most of yesterday. And I had such high hopes that by the end of the weekend, I’d be able to finally cross this item off of my “to do” list, only to find out afterwards that something has gone wrong that now requires troubleshooting. Let me explain.
I started off wiring the outlets behind the cabinets in the office corner of my studio. These outlets are all on one circuit, and that circuit starts with the outlet on the wall to the left of the cabinets, and then wraps around to the outlets behind the cabinets. The first outlet on this circuit behind the cabinets is behind those two middle drawers in the left section.

If you take those drawers out, there’s a panel that raises up for easy access to that outlet. That’s where the sconces are plugged in. (I still need to get cover plates for all of these outlets.)

Nothing about this was easy — working at awkward angles, working with 12-gauge wires, trying to fit things where they need to go, working around the bracing that these cabinets are screwed into. But I figured things out. In the lower cabinet section, I ended up having to cut the back panel out of the top portion completely because my printer was literally one inch too deep to fit on the shelf with the back panel. *Sigh* But it’s fine. No one will see on a regular basis but me.

If I bend down low and look, the view is especially messy. I may end up at least painting everything white. Or I may not worry about it. I do need to put cover plates on the outlets, but other than that, who really cares what it looks like? I’m the only one who will ever see it, and at least the printer fits on the shelf now.

So I got all of those outlets wired (five in all) inside the cabinets, and then plugged in my sconces to be sure they worked. They did! For the first time since I finished these cabinets, the sconces actually worked.

Obviously, I don’t want to have to take the drawer out and plug the sconces in every time I want them on, so I plugged them into a remote control outlet (this is the one I got — affiliate link) that is controlled by this cute little remote. I searched and read lots of reviews on different ones to be sure I was getting one that would work through walls (or in this case, through a cabinet).

The remote comes with mounting tape, so I mounted the remote right here. It’s like having a light switch there.

I was feeling pretty accomplished after getting that done, and I was ready to tackle the other section. I knew this section was going to be much more challenging, and I’ve been putting this off for an embarrassingly long time. This circuit starts with the outlet below the framed landscape plan, and then goes to the left, feeding two more interior outlets on that wall (including the one directly behind the TV)…
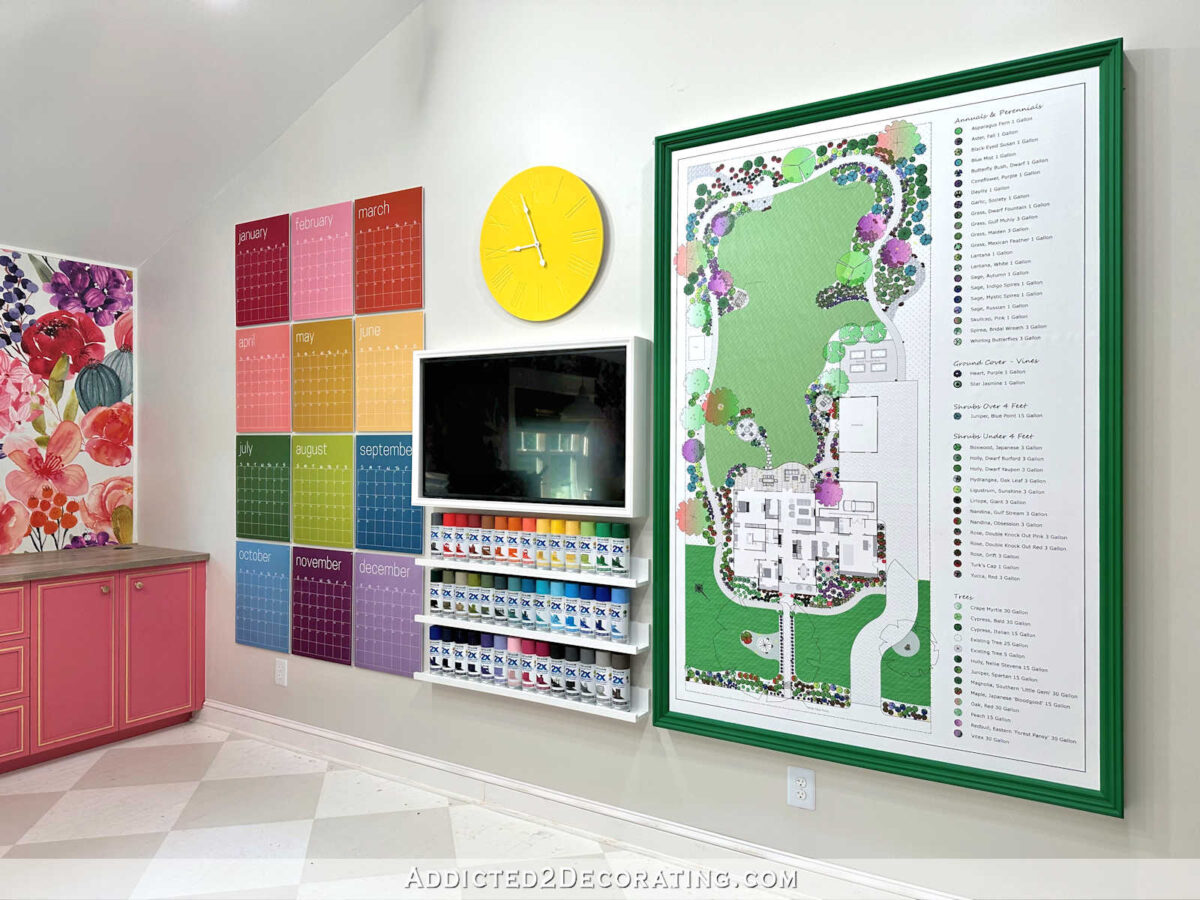
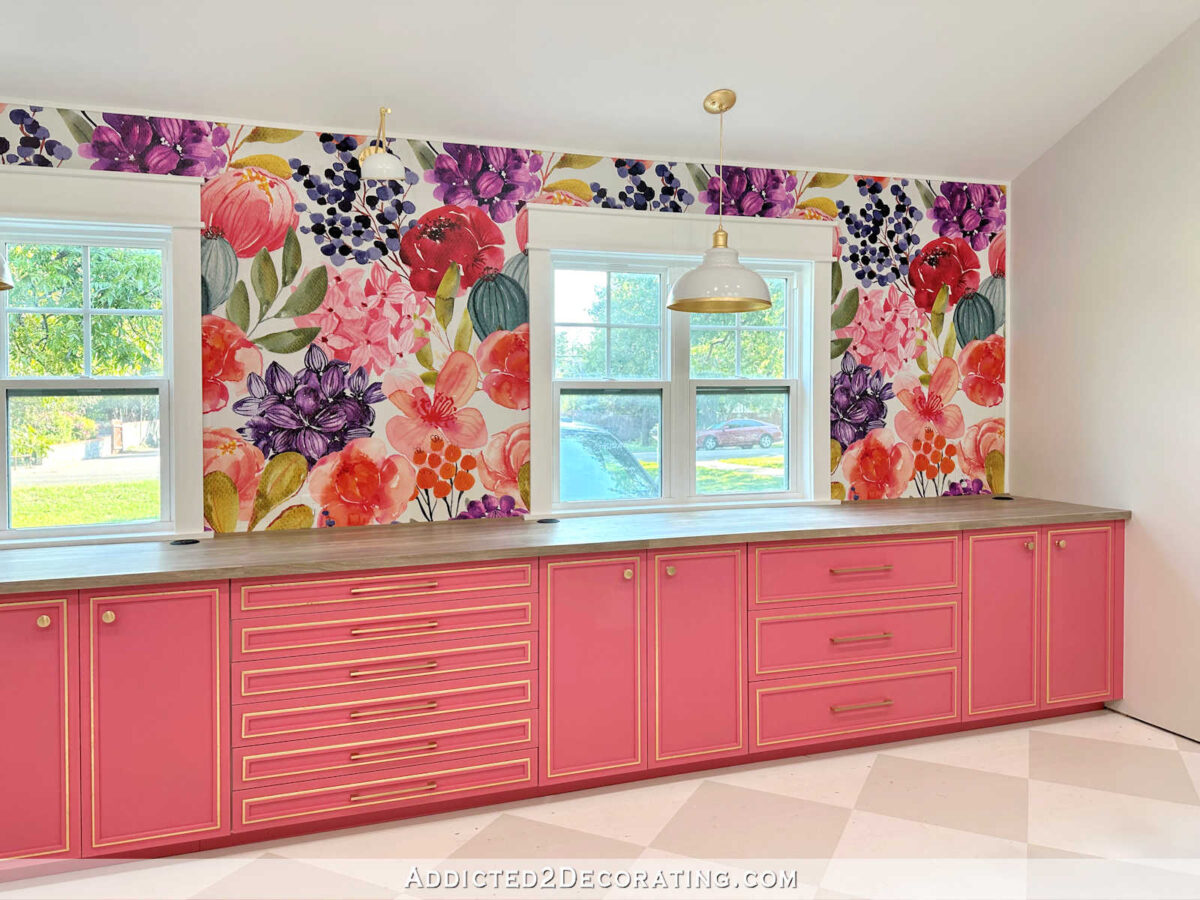
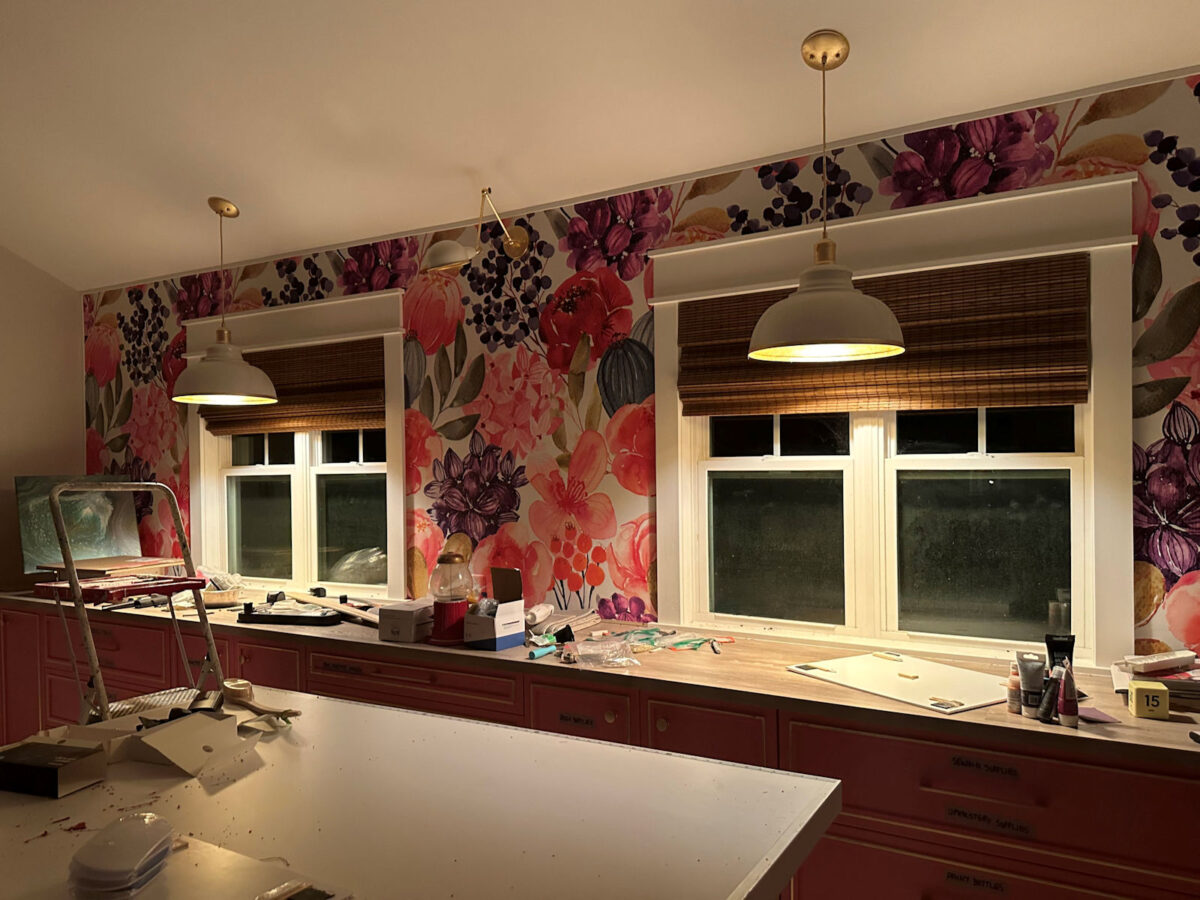
And then it wraps around and feeds the entire front wall, including the outlets and the pendant lights.
This circuit has never been completely wired (which means that I’ve never had working pendant lights or working outlets on the front wall) because that circuit also includes two outlets on the exterior of the side wall of the studio. And this just seemed so overwhelming to me.
I tried doing these outlets once, and I couldn’t do it at the time. So I gave up, and never tried again. But this time, I was determined. I had to start by cutting down that ugly trash tree that keeps growing like a week in this area just so that I could even get back there to work. I should have gotten a picture before I cut it down. It was at least as high as the roof over the breakfast room. So that took a while, but I got most of it down, at least enough so that I could get back there to that side wall of the studio.

And then I got the outlets installed. This was such a challenging and frustrating project. In order to wire these outlets, I had to cut through the concrete siding, the OSB underneath that, and the original solid wood siding that was under that. I used my Dremel Multi-Max to cut through all of those layers, but it struggled to get the job done. But I finally got the holes cut out, and got the outlets wired up.

And for the first time ever, I now have functional lights and outlets on the front wall of the studio. (I forgot to put a bulb in the center wall sconce, but it’s on that same circuit, and on the same switch as the pendants.)
All of that would have felt like a tremendous victory except that yesterday evening, I went to push the button on the little remote to turn on the sconces behind my desk, and nothing happened. No lights came on. I took the drawers out, unplugged the sconces from the remote receiver, and plugged them directly into the outlet, and nothing happened.
I went to the breaker box to see if the breaker had tripped for some reason. Nope. The breaker was just fine. I plugged a tool into the first outlet on that circuit (the one on the wall beside my desk), and it worked just fine. So after all of that, and after thinking that I finally had all of the wiring finished in the whole room, the outlets behind my desk aren’t working for some reason.
I am beyond frustrated. I can’t even imagine what has gone wrong. The only thing I can think of is that the first outlet behind the desk area is defective. I’m hoping and praying that’s all it is, and that I can just swap it out with a new one and everything will work properly. Because if that’s not the problem, I have no idea how to troubleshoot this. I’ll have to call a pro to fix it for me. For the time being, I’ve turned off that circuit completely. That seemed like the safest thing to do until I (or someone else) can figure out what’s going on.
So I didn’t get to mark this huge, looming project off of my list quite yet. That was very discouraging. But I’ll continue to press on, and it will get done. As far as the rest of the room, I still have two doors to paint, and then lots of cleanup to do. If I can figure out this electrical issue sooner than later, I could easily have this room done in the next couple of days.

Addicted 2 Decorating is where I share my DIY and decorating journey as I remodel and decorate the 1948 fixer upper that my husband, Matt, and I bought in 2013. Matt has M.S. and is unable to do physical work, so I do the majority of the work on the house by myself. You can learn more about me here.