This post and photos may contain Amazon or other affiliate links. If you purchase something through any link, I may receive a small commission at no extra charge to you. Any supplies used may be given to me free of charge, however, all projects and opinions are my own.
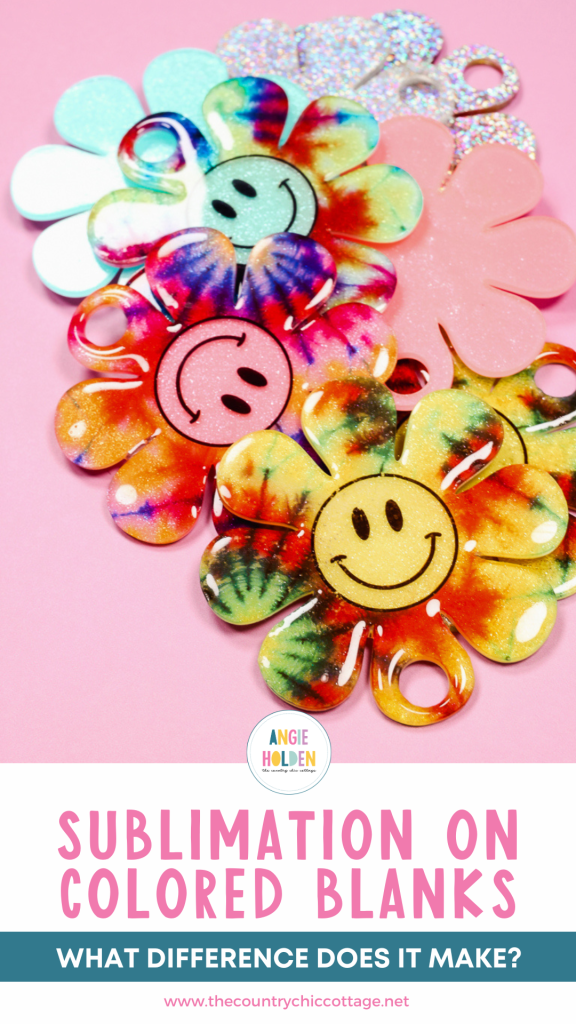
I am very excited to show you how to add sublimation on colored blanks to create fun, customized water bottle toppers. This tutorial will show you the effects of using colored sublimation blanks so you know what to choose when you have a project idea.
I consider this an intermediate project just because it has a few steps to it. If you’re new to sublimation, my Sublimation Beginner’s Guide is a great place to start.
This project is part of our Sublimation Camp Craft Challenge, which we do once a month on YouTube. We want to encourage our Sublimation Camp members to keep making projects all year to get the most out of camp.
You can watch us make these projects live by pressing play on the video below.
We are making customized tumbler toppers today using colored acrylic sublimation blanks. Let’s chat about what makes an acrylic blank good for sublimation.
What Colors Can You Sublimate?
Sublimation ink is translucent, which means that it is going to show whatever color it is applied to. If you try to apply sublimation to really dark colors, you won’t be able to see the ink at all.
For best results, you’ll want to use a white blank. You can use other light-colored blanks, but they will impact the final product’s appearance. If you’re using a blue blank and add yellow sublimation ink, you will get a greenish color.
There is also no white ink in sublimation. That means anything white in your design will be whatever color your blank is.
Clear is another example that you’ll want to test. Adding sublimation ink, especially lighter colors, to a clear blank can be hard to see unless it has something behind it to help the colors show up better.
These are all things you’ll want to keep in mind when you’re combining sublimation ink and colored blanks. Let’s test a few blanks to see the results.
How to Sublimate on Colored Blanks
If you love to stay hydrated but don’t love having a tumbler that looks like everyone else’s, you’ll love making your own customized sublimation water bottle topper.
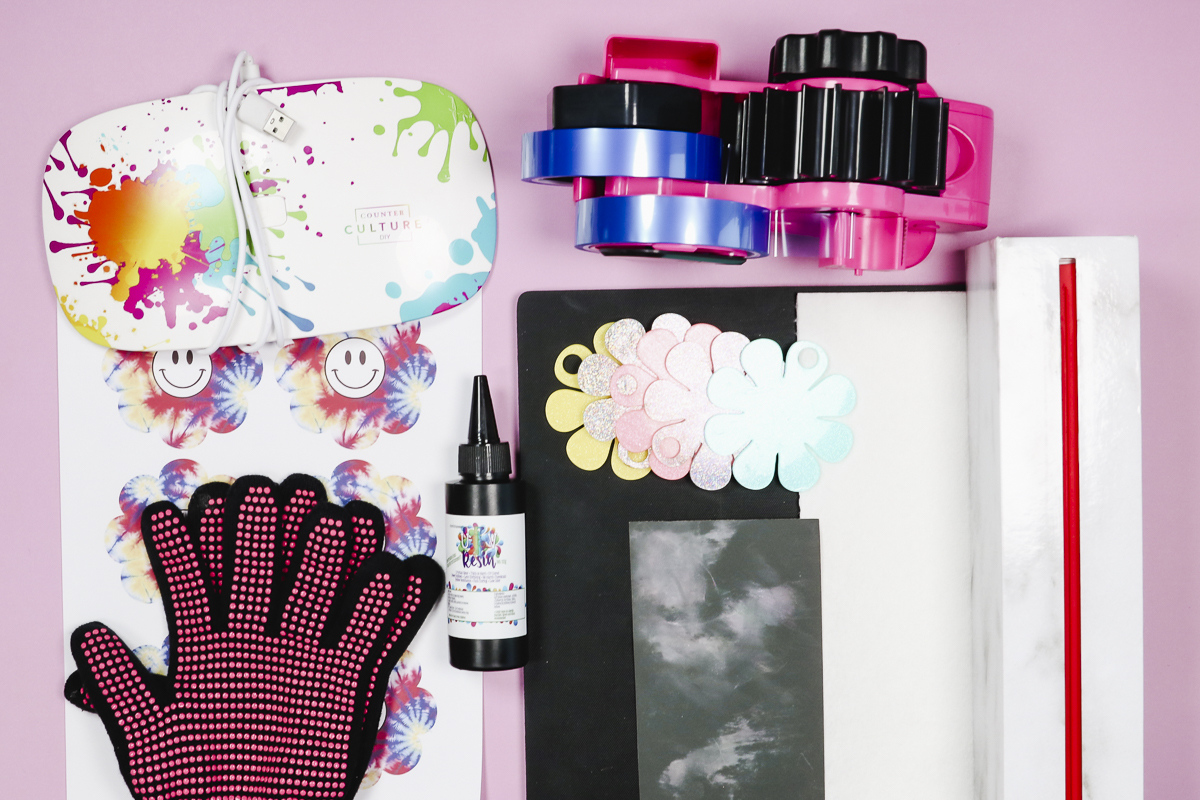
Supplies Used
NOTE: Using a UV resin is not required for this project. The ladies at Craft Chameleon did this in their example and I wanted to try it out. I really like the end result so I included those supplies to the list.
What Type of Acrylic Can You Sublimate?
When it comes to acrylic you can sublimate on any white or light-colored cast acrylic. Now you can find cast acrylic in a variety of colors including glitter and that is what we’ll be using today.
You can also find acrylic pieces that have a white sublimation coating on them. These pieces will say they are for sublimation.
You do want to make sure that the acrylic you’re using either says it is cast acrylic or specifically lists that it is for use with sublimation. There is another type of acrylic called extruded acrylic and that will melt and be a mess if you apply heat to it.
Step 1: Prep the Sublimation Blank
First, we want to prepare the blank. Most of these acrylic sublimation blanks come with a clear protective film on them.
Use a weeding hook to gently lift the protective film. Take your time and be careful, you don’t want to scratch the blank.
Make sure to check both sides for the protective film so you don’t melt it into the blank.
Next, we want to make sure the blank is clean. Use a lint roller or rubbing alcohol and a lint-free cloth to go over the surface to remove any dust, lint, etc.
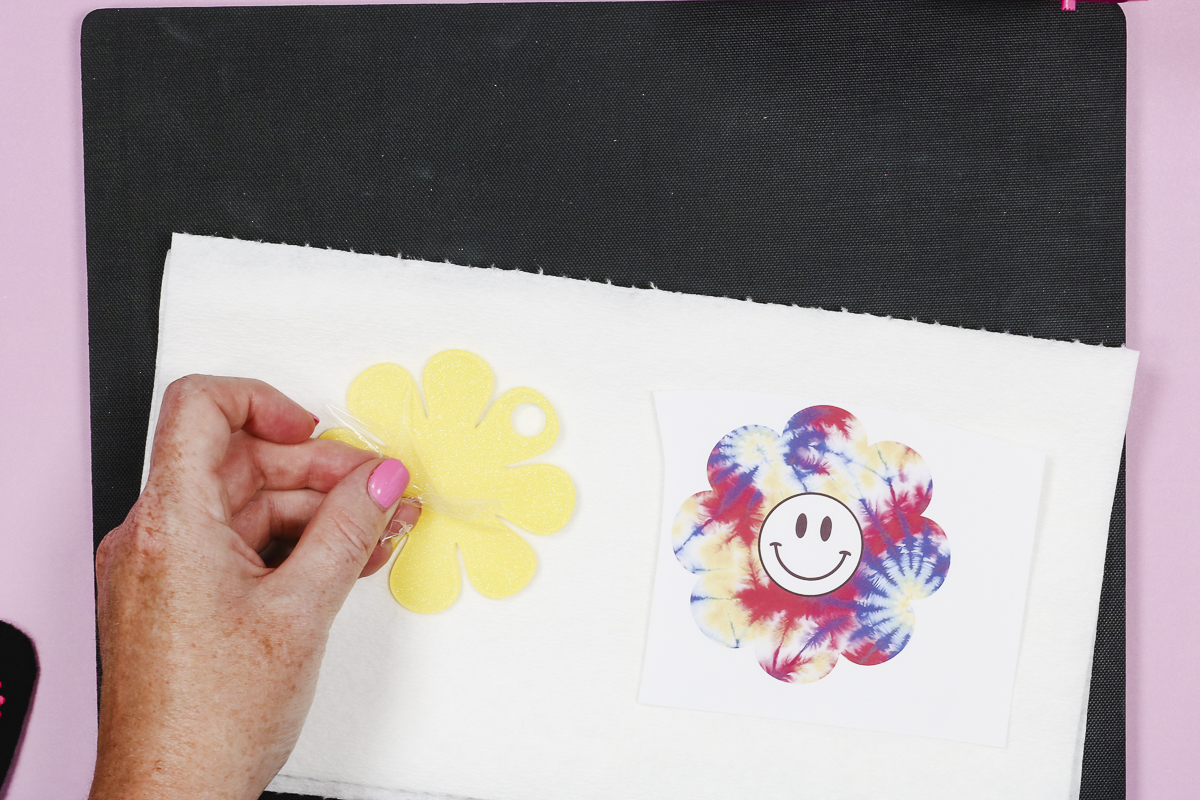
Step 2: Add Sublimation Print to Colored Blank
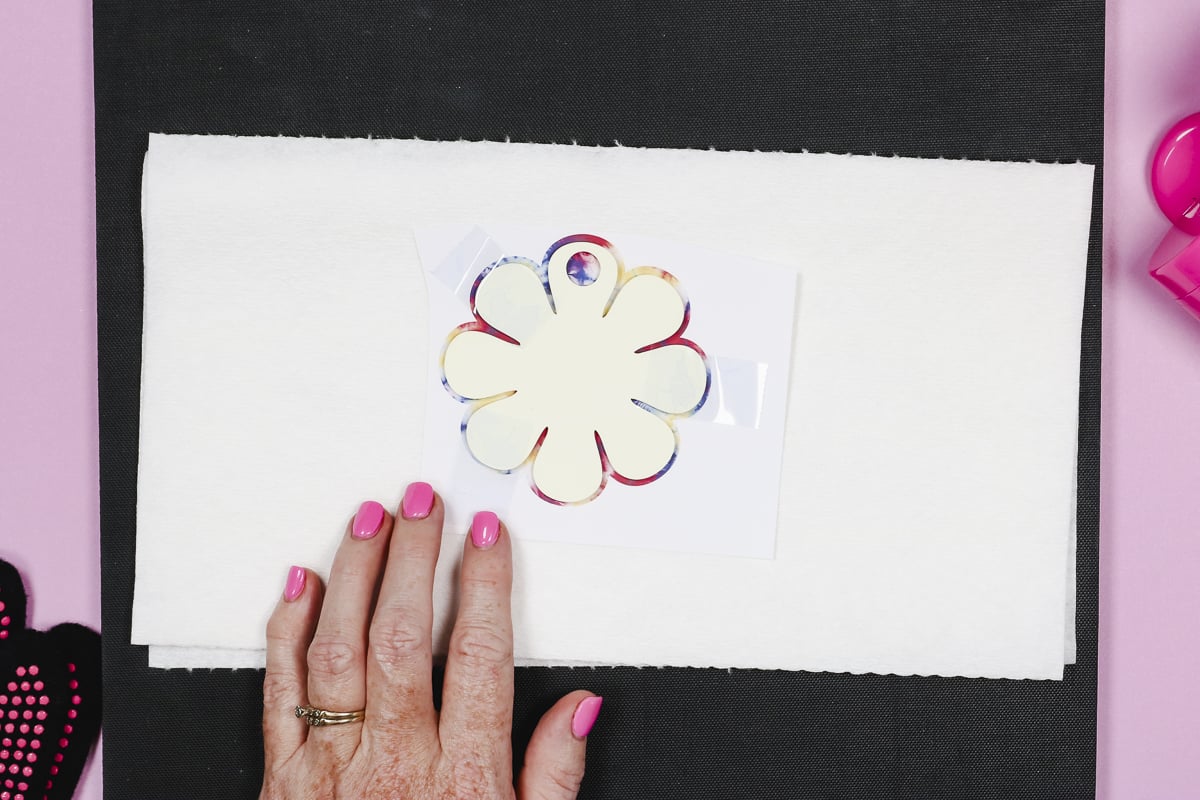
With the colored sublimation tumbler toppers, I am using today you need to make sure to mirror your design. You’ll add the sublimation print to the top of the blank.
If you are using a sublimation acrylic with a coating, you do NOT mirror your design and you would add the print to the white side of the acrylic.
You can use either sublimation adhesive spray or heat-resistant tape to apply the print. If you find you’re getting tape marks in the acrylic I would use an adhesive spray.
Locate the print right where you want it and we’re ready to press.
Step 3: Press Colored Sublimation Blank
Now that we have the sublimation print located, it’s time to press. I am using an EasyPress today but you can do this with any heat press.
I am using a firm heat-resistant mat and paper towels that don’t have any color or pattern. When Craft Chameleon taught their class at Sublimation Camp, they shared this tip for getting an even consistent transfer.
Note – If your paper towel has any type of pattern that will transfer. If it has any color, it will sublimate to your blank. Viva paper towels have an option that has no textures or print.
Layer a few paper towels on the heat-resistant mat and then put down the protective paper.
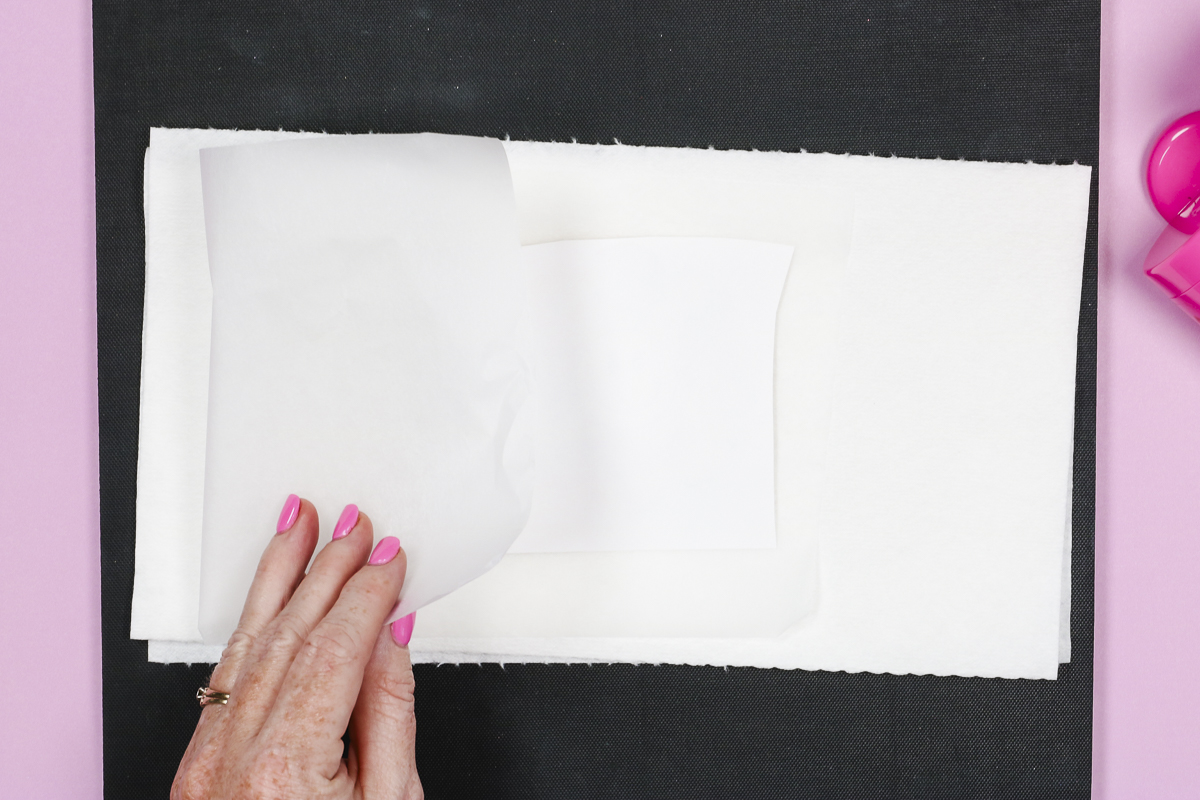
Next, place the blank on top with the print side up. Cover with protective paper and press with medium pressure at 385 degrees for 80 seconds.

Step 4: Cool Acrylic Blank
Your acrylic blank will get warm and bendy so as soon as the time is up, move it to a solid surface and cover with something heavy while it cools.
You can use a couple of heavy books. Make sure that whatever you use is large enough that it covers the entire blank.
You want to allow the sublimation blank to cool completely under something heavy. If you don’t your blank can warp.
Note – if your blank warps you can warm it up again to straighten it back out.
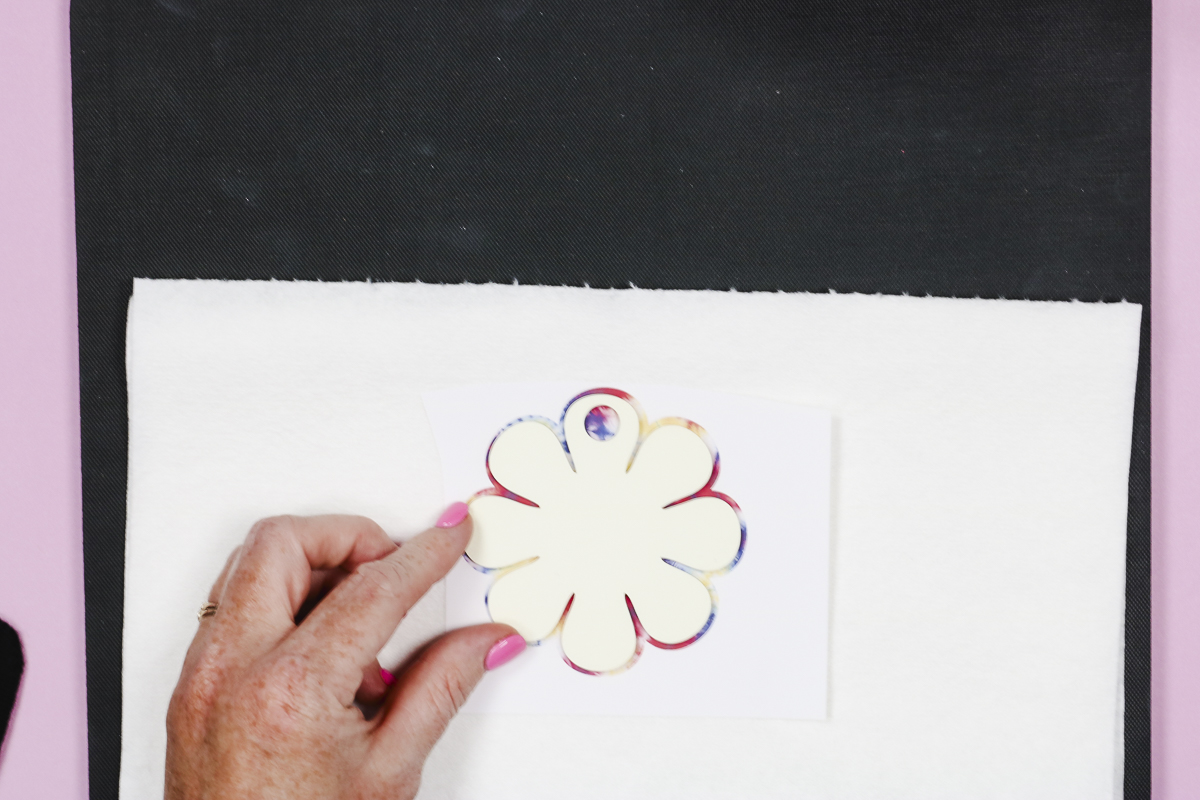
Step 5: Remove Sublimation Print from Blank
When you peel back the paper, it is very normal for the sublimation paper to stick to the acrylic, do not panic.
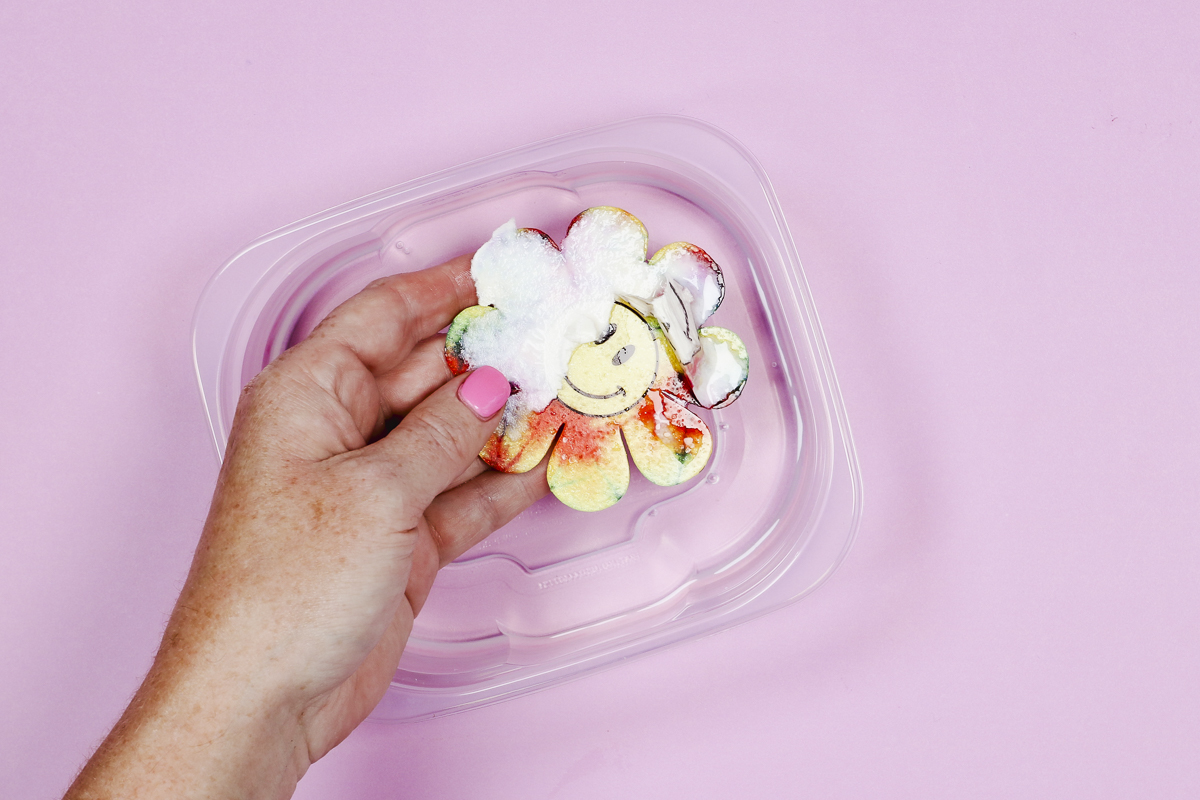
To remove the paper that stuck to the blank, place the blank in a bowl of water with the paper down in the water and let it soak.
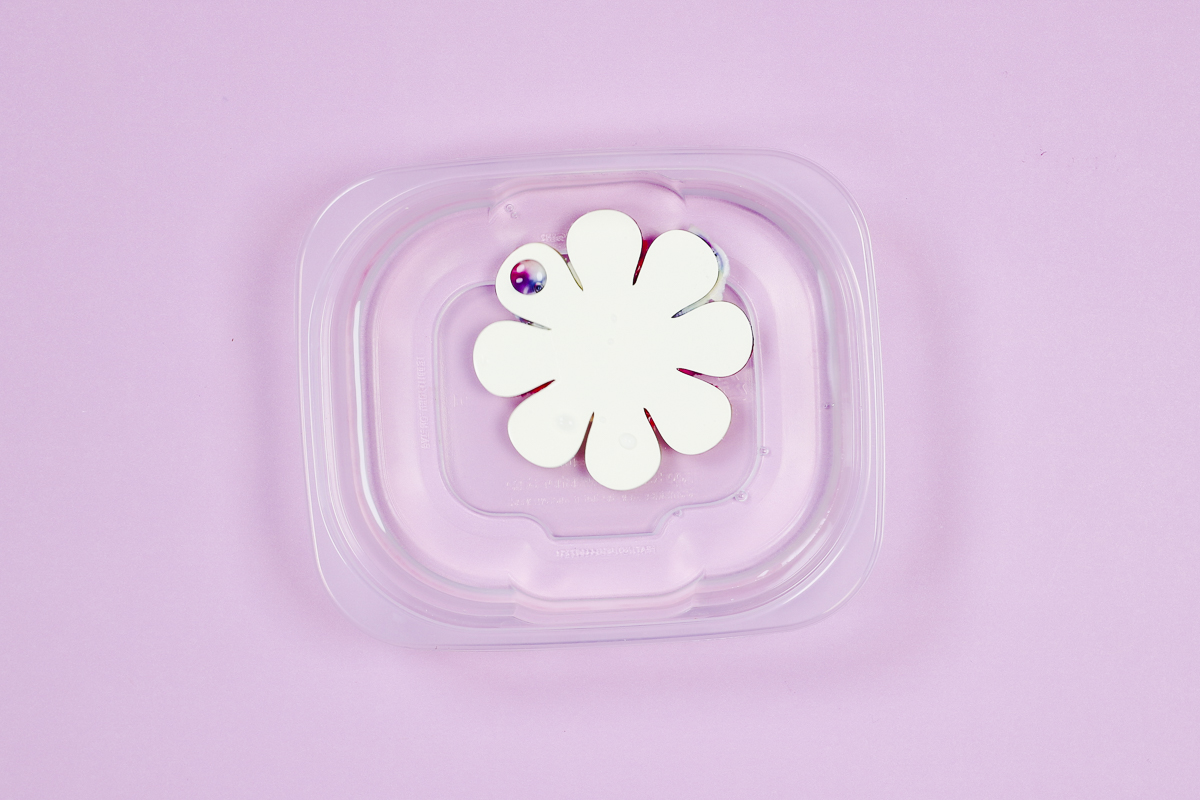
If you can allow it to soak for 10-15 minutes, the paper will come off very easily. Use a scraper to remove the paper once it’s soaked for a little bit and reveal your sublimated colored blank.
Make sure you get all of the paper removed before moving on to the next step. I like to allow the blank to dry a little bit because any paper still stuck to it will turn white making it easy to see where it is.
If you used spray adhesive and some of that stays stuck to your blank, use rubbing alcohol to remove it.
Step 6: Apply UV Resin (OPTIONAL)
This step is totally optional, I really like the look of these sublimation-colored blanks after adding the UV resin.
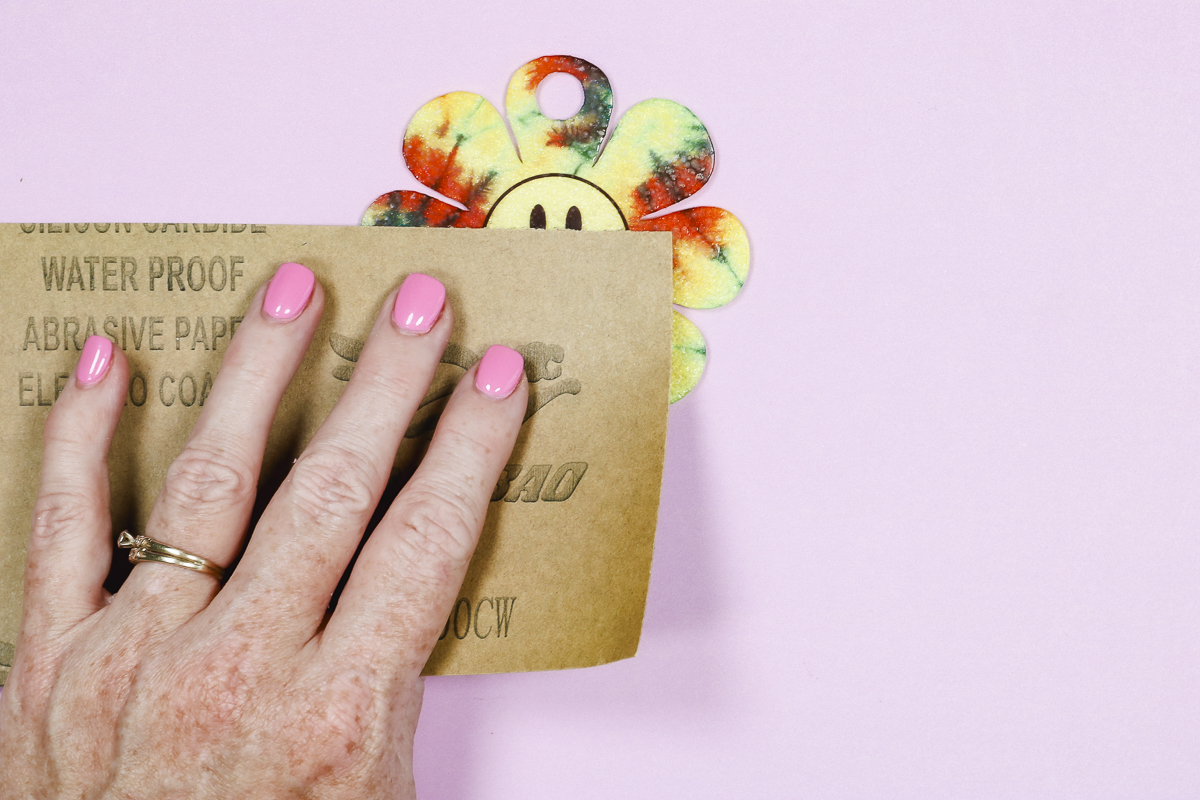
Use a very fine grit sandpaper and buff the surface so the resin has something to grab. Clean the blank really well after buffing.
The UV resin I’m using is very beginner-friendly, there is no mixing required and it is non-yellowing.
Before applying resin to my project, I like to use a piece of double-sided or painter’s tape folded over to lift the blank a little bit and hold it in place.

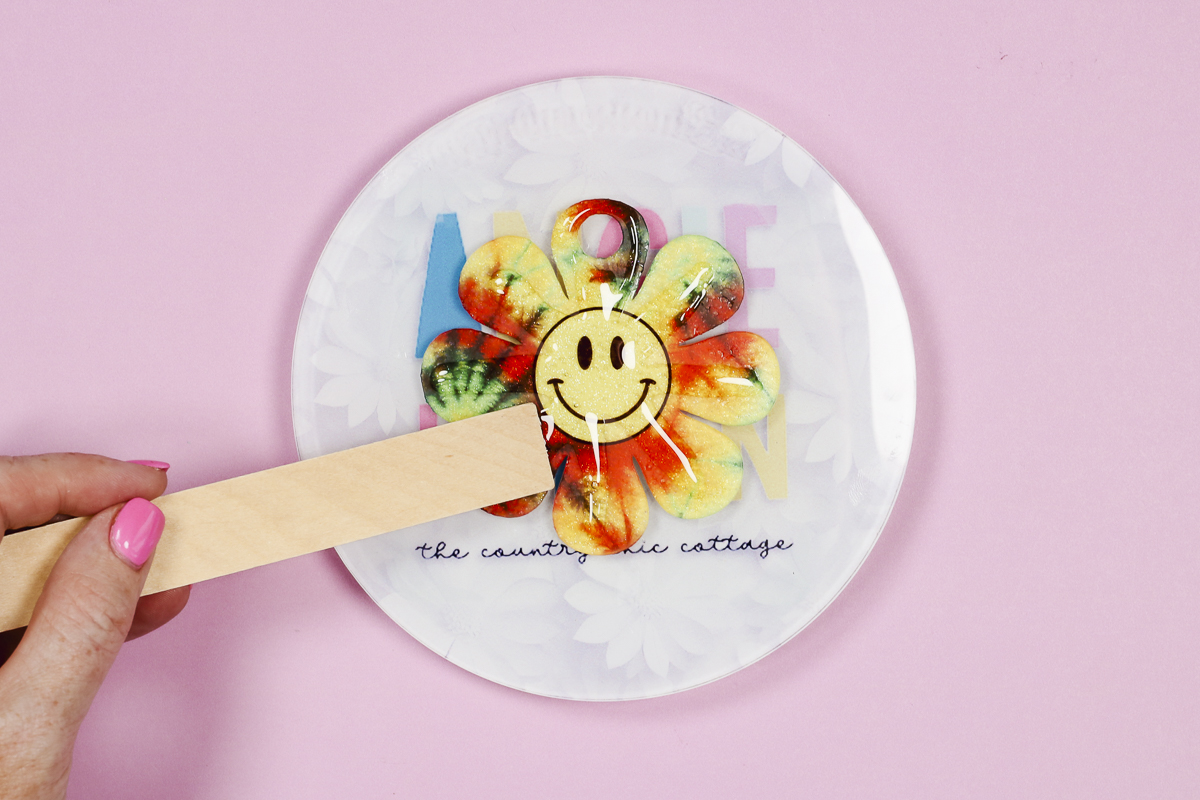
Add the resin to the blank lightly and use a popsicle stick to push it to the edges first. Once you have the resin pushed to all the edges, you can add a little more if needed.
Next, use the negotiator tool to get all the bubbles to the surface where they can pop so you don’t end up with any bubbles in your resin.
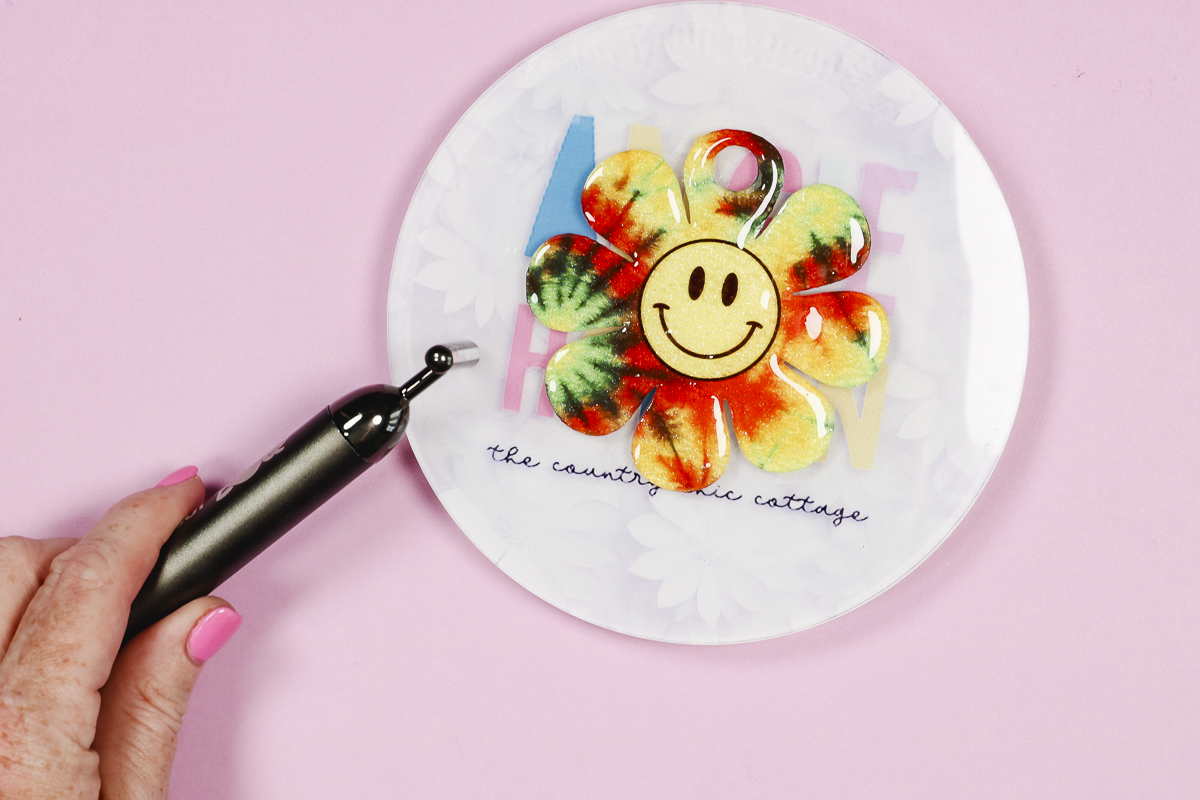
Before curing, check the surface for any bubbles that haven’t popped, and use a pin or the corner of a popsicle stick to pop them.
If you don’t have a negotiator, allow plenty of time for the bubbles to rise to the surface and pop.
Step 7: Cure UV Resin Under UV Light (OPTIONAL)
You can use any UV light to cure the resin. If you do your nails at home and have a UV light, that will work.

I like to place the end of the popsicle stick that has resin on it under the light with the sublimation blank so when the time is up I can check the resin on the popsicle stick instead of the blank. This eliminates getting fingerprints in the resin on the blank if it isn’t cured completely.
You can also leave fingerprints if you touch the resin while it’s still warm. Let the resin cool for a few seconds after removing the light before testing.
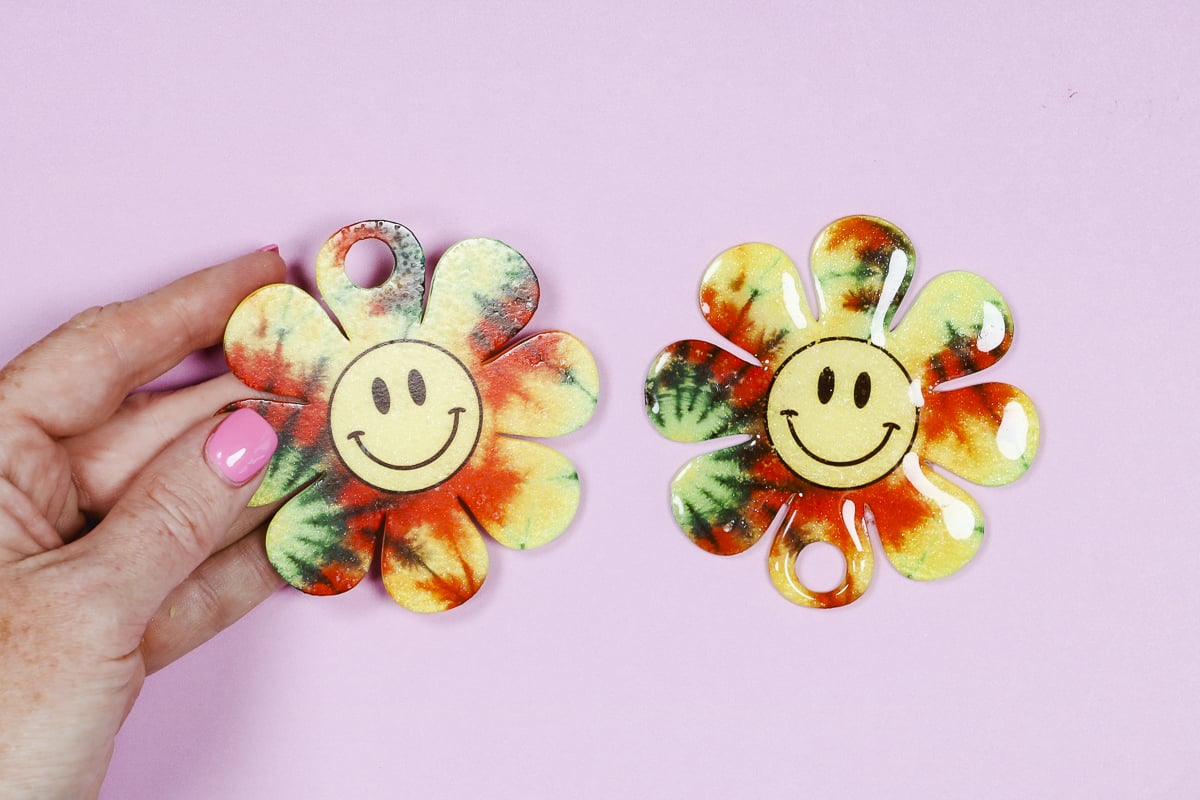
I am a huge fan of adding UV resin to acrylic colored sublimation blanks. I think adding the resin makes the design really pop off and gives it a more professional finished look.
You can see in the image below that on the left the surface looks dull and bumpy. The one on the right is the version after applying the resin and it looks amazing!
The other thing I found with the UV resin is that it can save blanks you think are ruined. I had one blank that I did something wrong on, I am not sure what but it was uneven and bumpy. I added the UV resin to it and it looks perfect.
If you want to use sublimation and acrylic, I would recommend keeping some UV resin on hand.
Results of Sublimation on Colored Blanks
I love how these colored sublimation tumbler toppers turned out. Every color is fun and works well with sublimation.
You will want to make sure that you take into consideration what color blank you’re using and the design you’re applying to it. The color of the blank will change how the design looks after it’s pressed.
On the versions below, I used the same sublimation print on all of them, however you can see that the colors look different on each one. This is because the color of the blank is showing through the sublimation ink.
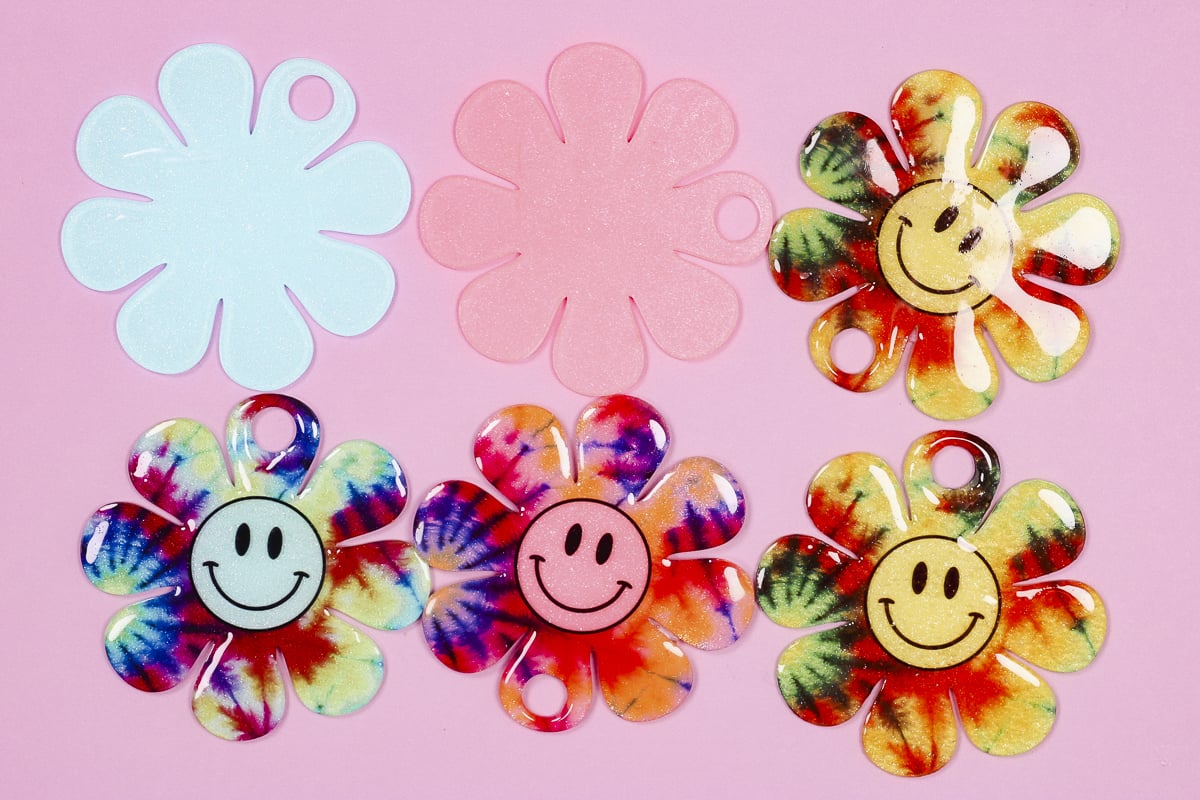
Here we used acrylic as an example but this same thing will happen with any color sublimation blank. So if you have blanks that are not white, be sure to take into account the changes that will take place in your final project.

I hope I’ve answered any questions you have about using sublimation on colored blanks and have you excited to try making your own custom tumbler toppers.
If you have any additional questions, leave them in the comments and I’ll be happy to answer them for you.
If you want to learn more about sublimation on all different types of blanks you can still get an All Access Pass to Sublimation Camp.