
After having several pros come out and look at the home gym floor to determine what the problem was, we all seemed to agree that there was damage to not only the hardwood flooring, but also damage to the subfloor. Everyone seemed to agree that there’s no way the floor could be that badly damaged, with such severe hills and valleys in the floor, without the subfloor also being affected.
So imagine my shock when they took up the hardwood flooring, and I saw that the subfloor was actually in reasonably good shape for a 76-year-old house.

The subfloor was exactly what I had expected. It was comprised of random widths of lumber, from 1 x 6’s to 1 x 10s, with lots and lots of knot holes. But there was no damage at all. Nothing was warped, and there’s not a single bit of water damage anywhere to be found.

As I suspected, there wasn’t any kind of moisture barrier in this room. That’s a real mystery to me. Why wouldn’t there be a moisture barrier between the subfloor and hardwood flooring in there? I know for a fact there was one (tar paper) between the original flooring and the subfloor in the hallway. I know for a fact that there’s tar paper between the original flooring and the subfloor in the living room, entryway, and music room. So why was there no tar paper in here? Was the flooring in this room replaced at some point, and they forgot to replace the tar paper before installing the new flooring?
There were only two small areas in the room that had a moisture barrier of any kind, and that’s because I put them down. First, there was this small area in the entrance to the room. When the wall with the door was moved further into the hallway, that created a longer entrance into the room, and I had to fill in some hardwood flooring. Before I did that, I put down some tar paper. But that only extended about three feet into the room.

And then I put down some Tyvek paper in the closet area before I put the flooring in there. I didn’t use real flooring in there, though. I used leftover MDF to fill in where there was no flooring. But that worked out fine because of the moisture barrier.
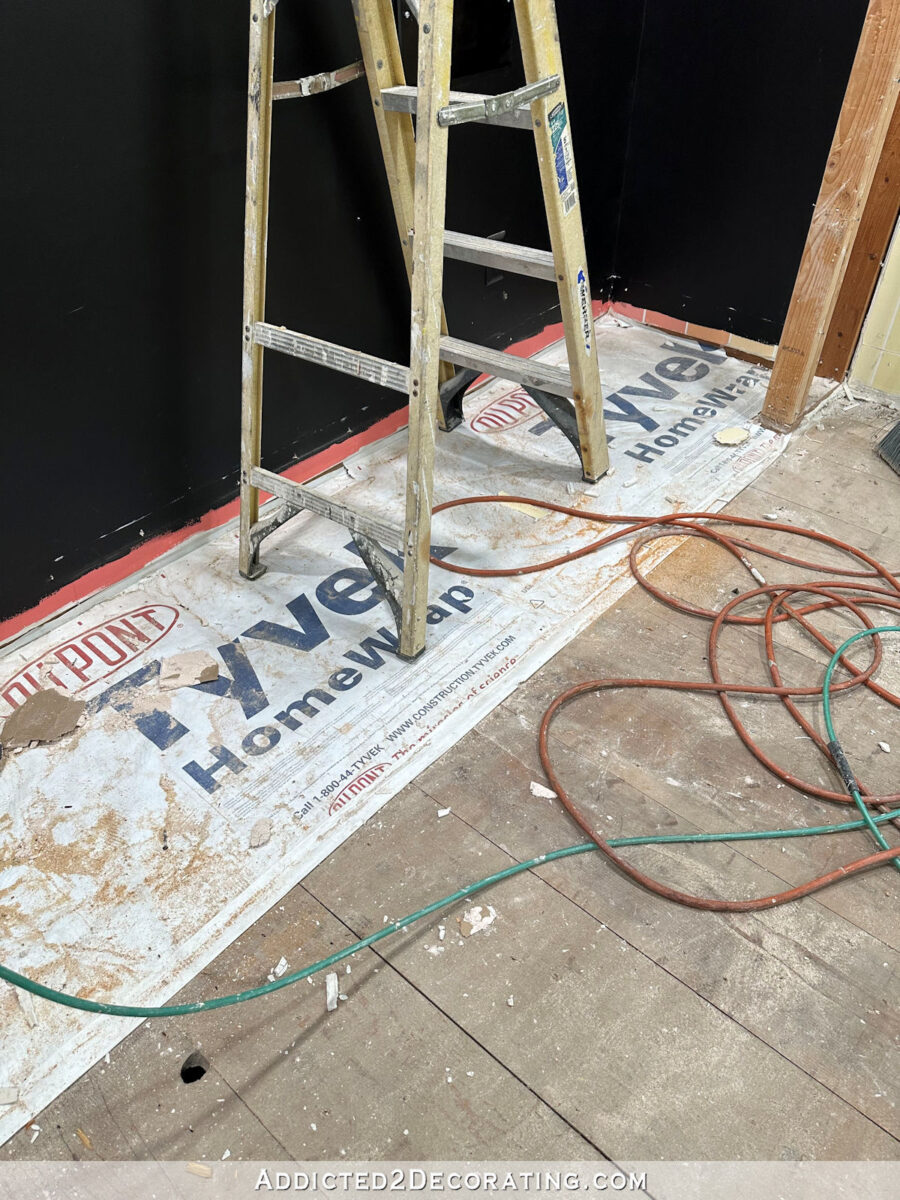
I was also very curious to see what the subfloor would look like under that one floor board that seemed to be deteriorating over time. This floor board was such a mystery to me. It wasn’t termite damage. There’s no evidence of any termite damage anywhere. So what was it? Water damage? Some sort of strange fungus? I don’t know what it was, but it was causing this one floor board to turn to dust.

I forgot to get a picture before they brought all of their tools in and placed them along that wall, but there was no damage to the subfloor under that board. I couldn’t believe it.
So after all of the flooring was taken up and cleared out of the room, I had a few minutes when I doubted the plan to take up and replace the subfloor. No, this subfloor isn’t what’s used today, but this thing has withstood 76 years. And 76-year-old lumber is whole different thing from today’s lumber. It’s harder and stronger and just overall better.
But in the end, I decided to stick with the original plan and have the subfloor removed and replaced. I don’t like being wasteful, and I don’t like redoing things of this scale just for the sake of redoing them. (This goes far beyond just repainting a wall, and creates a whole lot more waste.) But my main reason for sticking with the plan is so that we can have an insulated floor.
Since this room is going to be our final and forever bedroom, I want it done right, and I want it to be as cozy as possible. So I need insulation under the floor, and the only way to do that is to take up the subfloor and replace it. Our crawl space is way too cramped to get insulation under there any other way.
And really, it would be nice to replace this lumber with all of the knot holes with something more solid.

This subfloor not only has lots of big knot holes, but it also has some pretty significant cracks.

Most of the cracks haven’t affected the integrity of the boards…yet. But I just don’t like the idea of having these big cracks in the subfloor. This one in particular runs right through the middle of the room.

There’s really only one area where a crack has compromised the integrity of the board, and it just happens to be right here at the doorway to the bathroom. So that’s not good at all. I can actually feel it give a little bit when step on it, and it no longer sits flush with the board next to it.

So in the end, I decided to keep with the original plan and have it all replaced so that we can have a cozy insulated floor and a more solid subfloor without cracks or knot holes. I think that once winter gets here, I’ll be glad I decided to stick with that plan.


Addicted 2 Decorating is where I share my DIY and decorating journey as I remodel and decorate the 1948 fixer upper that my husband, Matt, and I bought in 2013. Matt has M.S. and is unable to do physical work, so I do the majority of the work on the house by myself. You can learn more about me here.