Yesterday, I showed y’all how I organized my three drawers in my studio that hold my jewelry-making supplies using removable trays that I can use to easily transport my supplies to and from my desk. I had been envisioning that organization for a while, so it was relatively quick and easy to implement.
But when I got through with that, organizing the rest of my studio seemed like a very daunting task. All I could focus on were the piles of seemingly unrelated items covering the surfaces of my work tables and long countertop. So I used a process that a commenter told me about several weeks ago that she called organizational mapping, if I remember correctly. Even if I got that name wrong, organizational mapping is a pretty good description of what I did yesterday.
Rather than trying to go through everything in my studio, one item at a time, and figure out in the moment where to each thing, instead I decided to sit down at my computer, find pictures showing the three different sections of cabinets in my studio, and then use my photo editing program to label the different drawers and cabinet sections. I did this process while sitting at my desk in the studio so that I could see everything that is currently sitting on my worktables and long countertop (i.e., all of the items that need to be stored).
As I looked over the items needing to be stored, categories of items started to emerge. And as those categories came to mind, I began to map them on my photos, placing them in an area and in an arrangement that seemed logical to me.
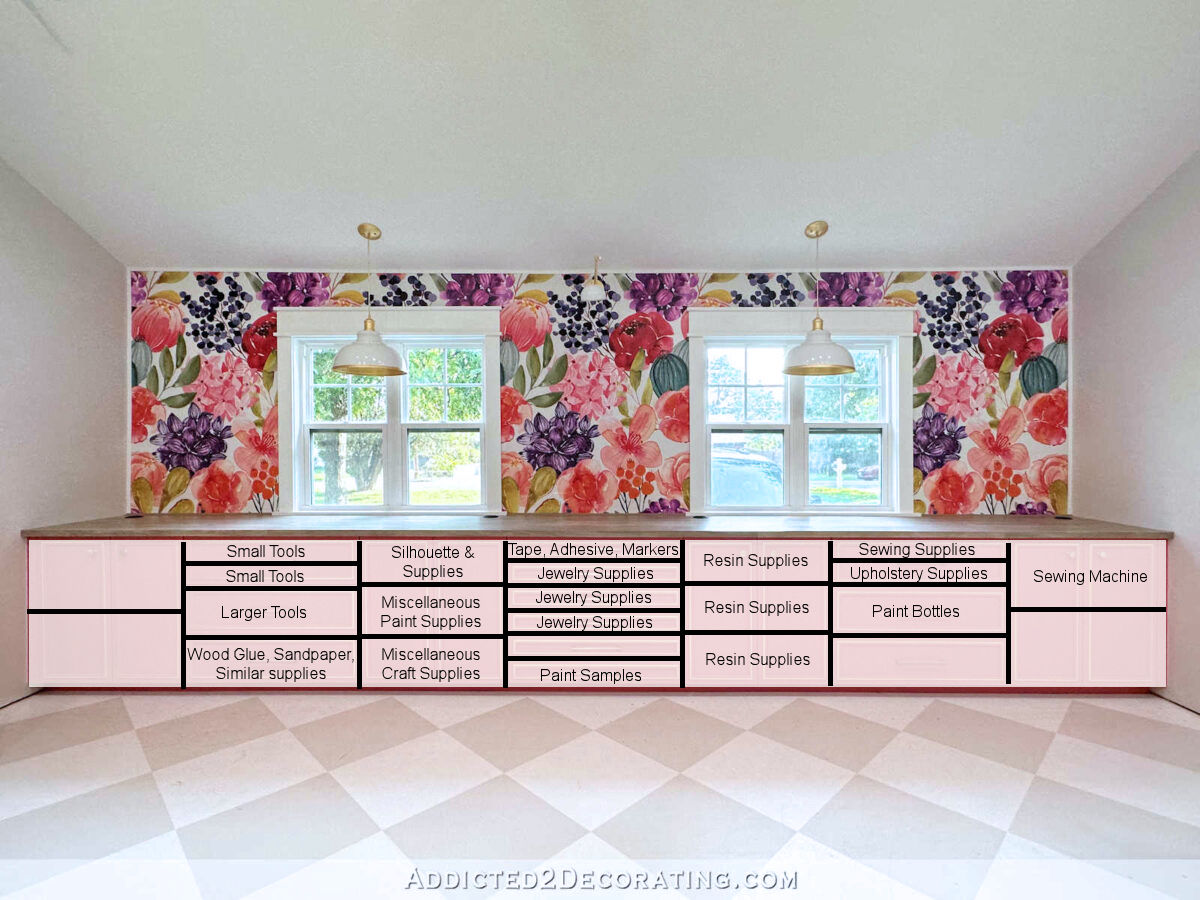
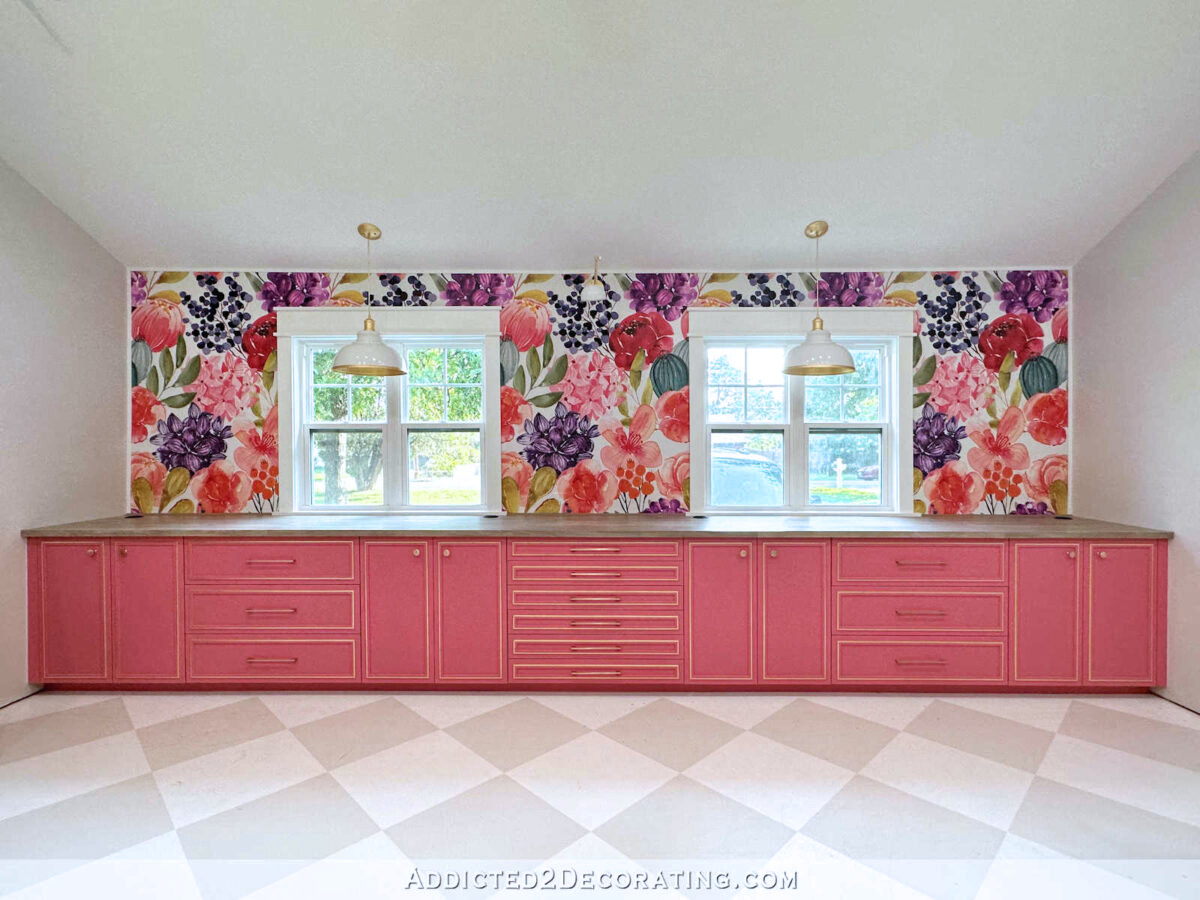
Here’s an example. I found this older photo showing the entire mural wall of cabinets…
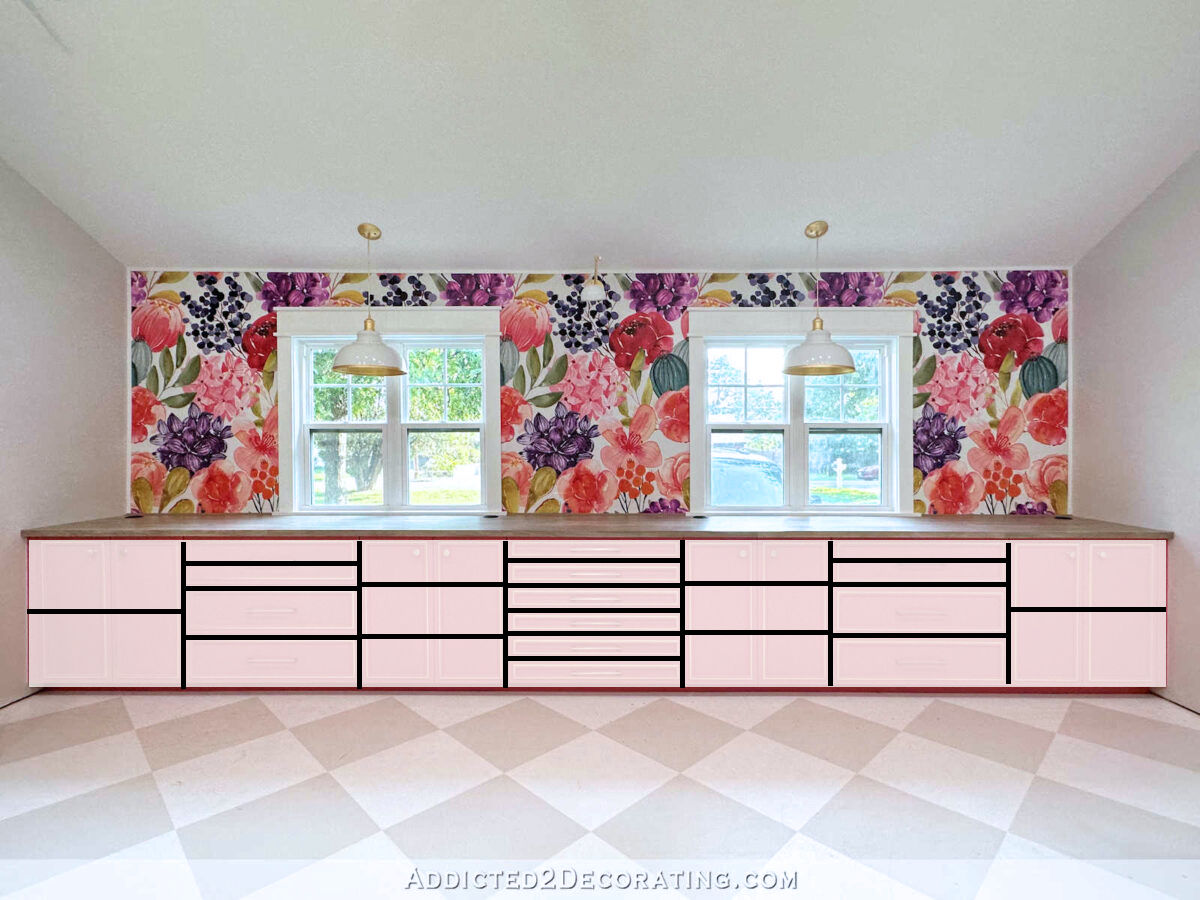
And then I used my photo editor to section off all of the drawers and cabinet sections…
And then I began to think through what category of items I wanted to put into each section. And because I could see everything that needed to be stored sitting right in front of me, this process went fairly quickly.
And I was pretty excited to see that I have empty storage that I can grow into! What if I want to learn to crochet? I have plenty of room now!
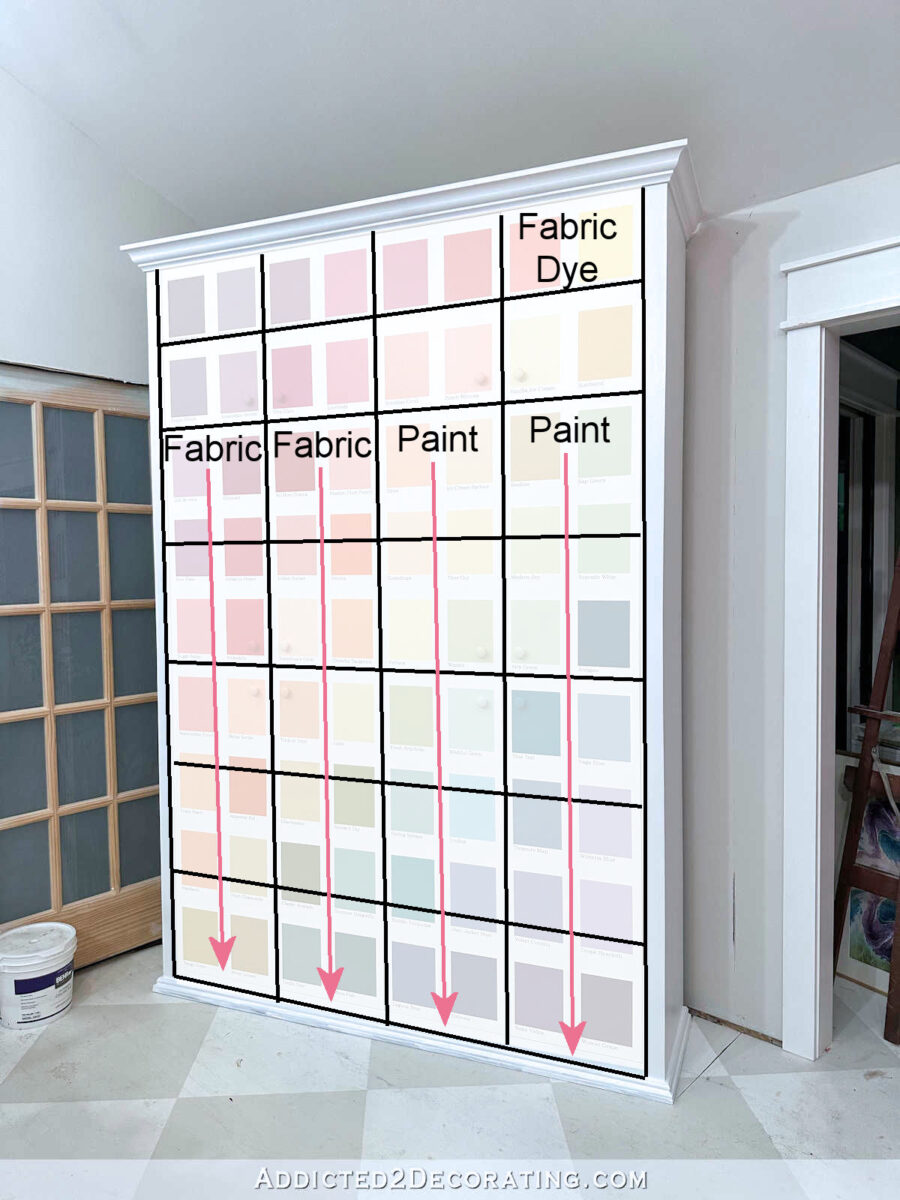
I did the same thing with the other two sections of cabinets. I found this picture of the paint swatch cabinet…
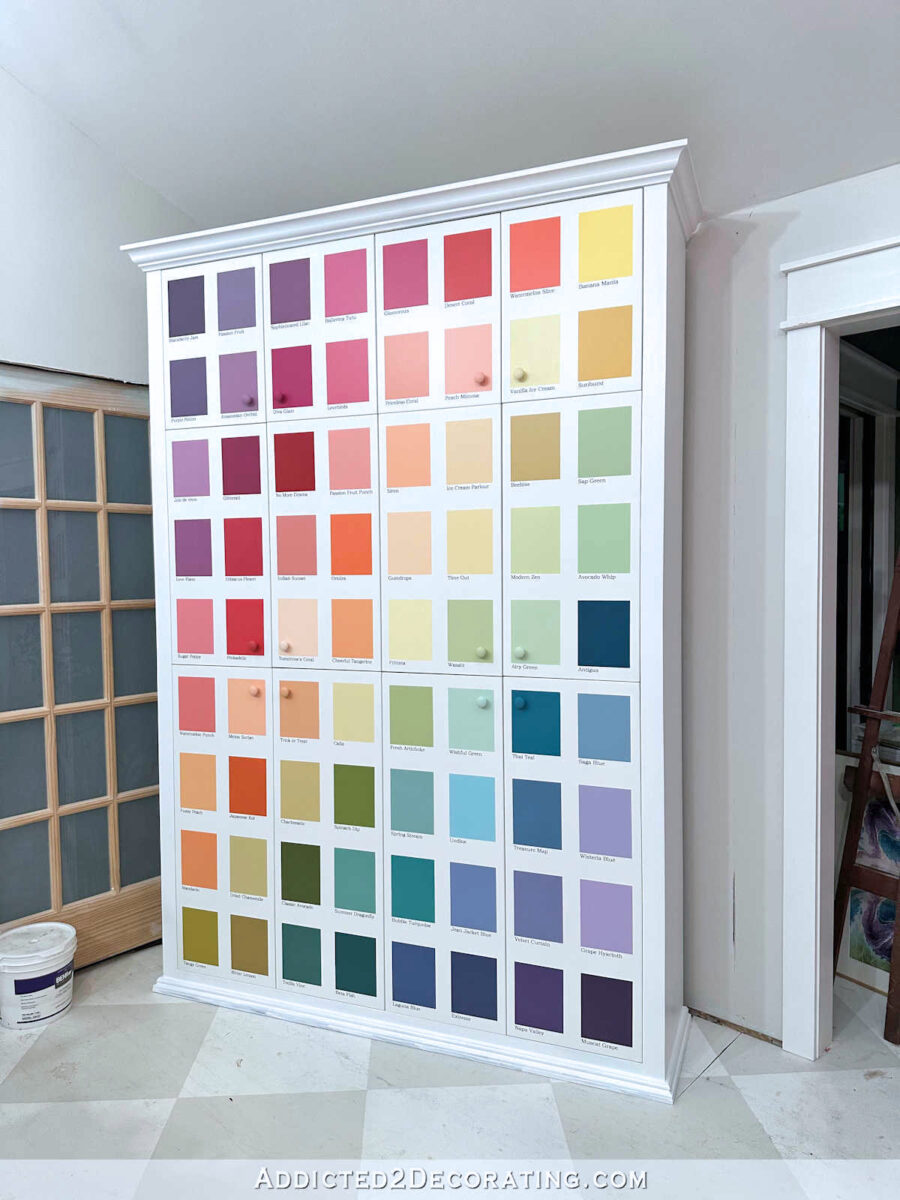
I have to admit that this one was very easy, and I probably didn’t need to map this one out at all. 😀 I’ve known all along this was going to hold my gallons and quarts of paint and my fabric. But I do have empty storage area in this cabinet also.
And finally, I did the office area. This one was also pretty easy because, well, it’s office stuff.

I’m actually going to be using the left and middle sections for office stuff, while reserving the entire right section of cabinets for more art/craft/maker supplies. I don’t know what will go there yet, but as I said, I like the idea of having plenty of room for growth as new interest come up.

Taking the time to do this mapping has made this organization process seem a whole lot less overwhelming. And another benefit of doing it this way is that I can now plan out what I’ll need to purchase for each section — drawer dividers, baskets, small containers, paper trays, etc. This has actually made me kind of excited about the process of getting organized!
I can’t remember who recommended this to me (and I can’t remember on which post the suggestion was made) but I’m so thankful for this suggestion! Tips like this make the whole organization process so much easier for those like me who long to get organized but have a harder time than those who thrive on making sure that there’s a place for everything and everything stays in its place. But like I’ve said a thousand times, once an organizational system is in place, I’m pretty good at keeping things organized. So this mapping system will help me reach that goal of getting my organization in place with a whole lot less stress.
Note: You don’t have to use a computer and photo editing software to do this! If you’re more of a paper and pen kind of person, just take pictures of your cabinets, print them out large on computer paper, and then use a pen or marker to label the shelf sections and drawers. This can be a very easy, low-tech process. I just decided to do this on my computer using my photo editing software because (1) I’m used to using that software and can do it pretty quickly, and (2) my printer isn’t usable right now. 😀

Addicted 2 Decorating is where I share my DIY and decorating journey as I remodel and decorate the 1948 fixer upper that my husband, Matt, and I bought in 2013. Matt has M.S. and is unable to do physical work, so I do the majority of the work on the house by myself. You can learn more about me here.