This post and photos may contain Amazon or other affiliate links. If you purchase something through any link, I may receive a small commission at no extra charge to you. Any supplies used may be given to me free of charge, however, all projects and opinions are my own.
Today I’m excited to set up and try out the new WeCreat Vision Laser. This laser has the ability to cut a variety of different materials including wood and acrylic. This may just be the craft laser for you!
WeCreat sent me this laser but all projects, thoughts, and opinions are my own.
If you’re still trying to decide if a laser is something you need to add to your craft room or small business, check out my free Laser-Ready course.
I’m going to use the WeCreat Vision to make a few different projects that will include both cutting and engraving.
You can watch me go through the whole process by pressing play on the video below.
WeCreat Vision Laser
Let’s take a closer look at the WeCreat Vision laser and set it up!
WeCreat Vision Laser Specifications
I am using the 20-watt laser, you can also get a 40-watt version. With the 20-watt version, I can cut materials that are a bit thinner than the 40-watt and it will also be a little slower.
There is also a 2-watt Infrared Laser Head that you can add to the Vision for engraving.
Both the 20-watt and 40-watt laser heads are diode lasers. Things like clear acrylic and some other materials may be hard to cut with a diode laser.
With the 20-watt laser, I can cut things like wood, leather, colored acrylic, cardboard, denim, and more.
Maximum Cut Thicknesses
The maximum thickness that you can cut with the 20-watt laser is 10-millimeter. With the 40-watt laser, the maximum is 18-millimeter.
The maximum thickness depends on the type of material so go to the WeCreat website for specific information on material thicknesses.
Maximum Material Size
There is an optional auto-pass conveyer that you can add to the bottom that would increase the overall size. Without the conveyer, the maximum cut size is 15.75 inches by 10.63 inches. With the auto-rise feature, the maximum height is 5.51 inches.
The material you put in the laser can be slightly larger than that but the maximum cut size area is 15.75 by 10.63.
Laser Safety
Before you even get started with your laser, be sure you are aware of all safety precautions.
- Anytime you use a laser make sure you have a fire extinguisher or fire blanket on hand.
- Always use laser-compatible materials. If you use materials that are not WeCreat branded, ensure they say they are laser-safe to avoid toxic fumes or other issues.
- You don’t have to worry about eye safety with this laser. The lid of the WeCreat Vision Laser has a protective cover and if you open the cover it will stop automatically.
- Make sure your laser is ventilated out a window or use the optional air filter accessory that is sold separately.
You can learn more about laser safety in my Beginner’s Guide to Laser Safety.
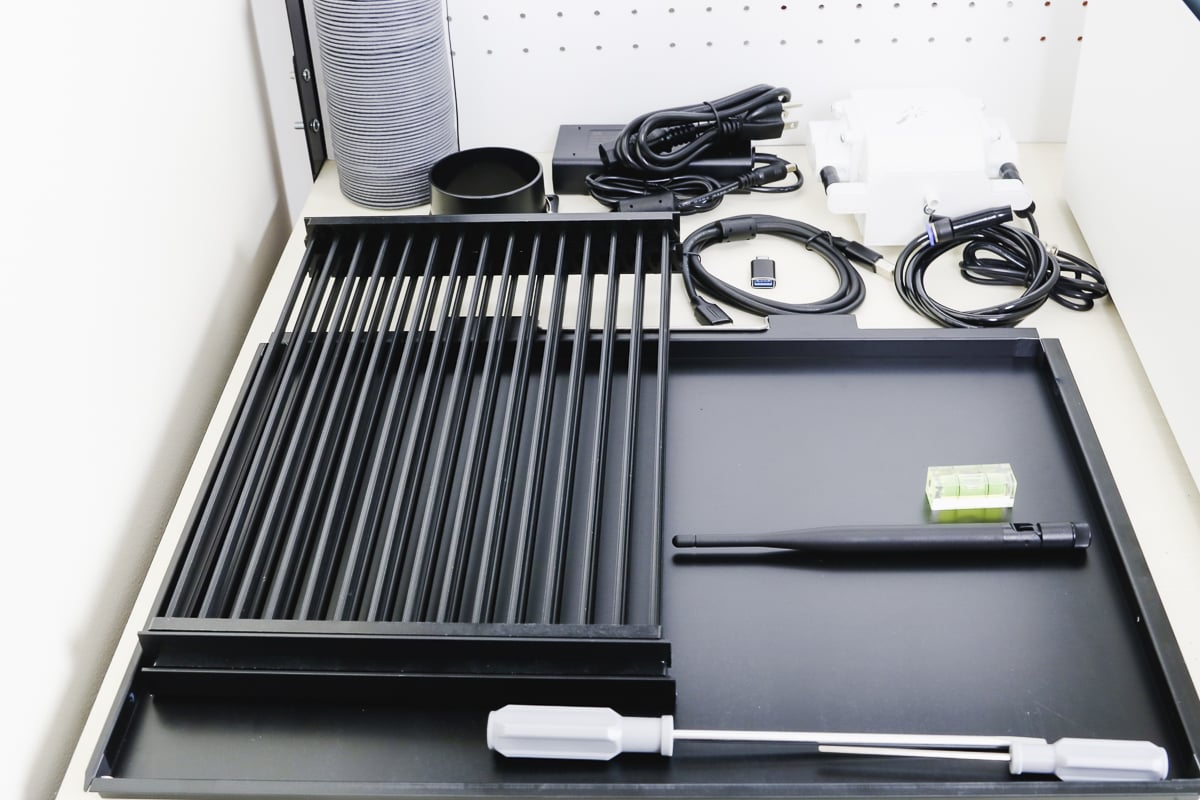
What Comes in the Box
Included in the box you’ll find a the laser itself. Also included is:
- Manual that will walk you through the setup process
- Two Sheets of Basswood
- Two laser beds
- Detachable Tray
- WiFi Antenna
- Mini-level
- Tool (Type and amount will depend on which bundle you purchase)
- Grease
- Exhaust Hose
- Exhaust Hose Connector & Clamp
- Power Cord
- USB Cord
- Air-Assist + Tube
- Additional Spare Parts
How to Set Up the WeCreat Vision Laser
This is a quick walk-through of the setup process. There is an instruction manual with a QR Code that includes several videos if you want an in-depth look at setting the laser up.
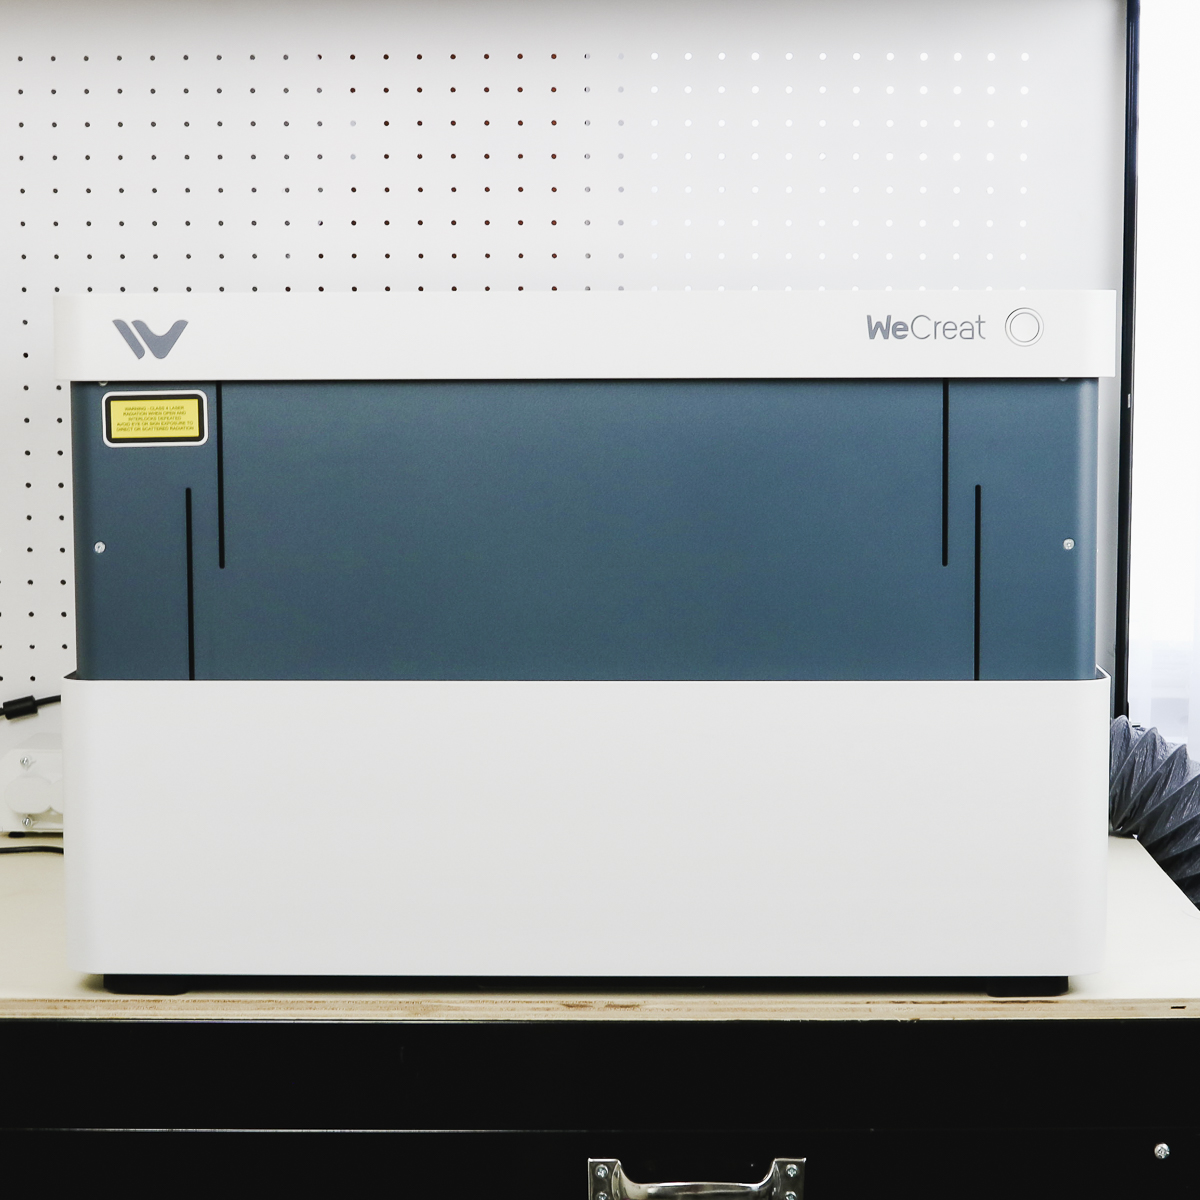
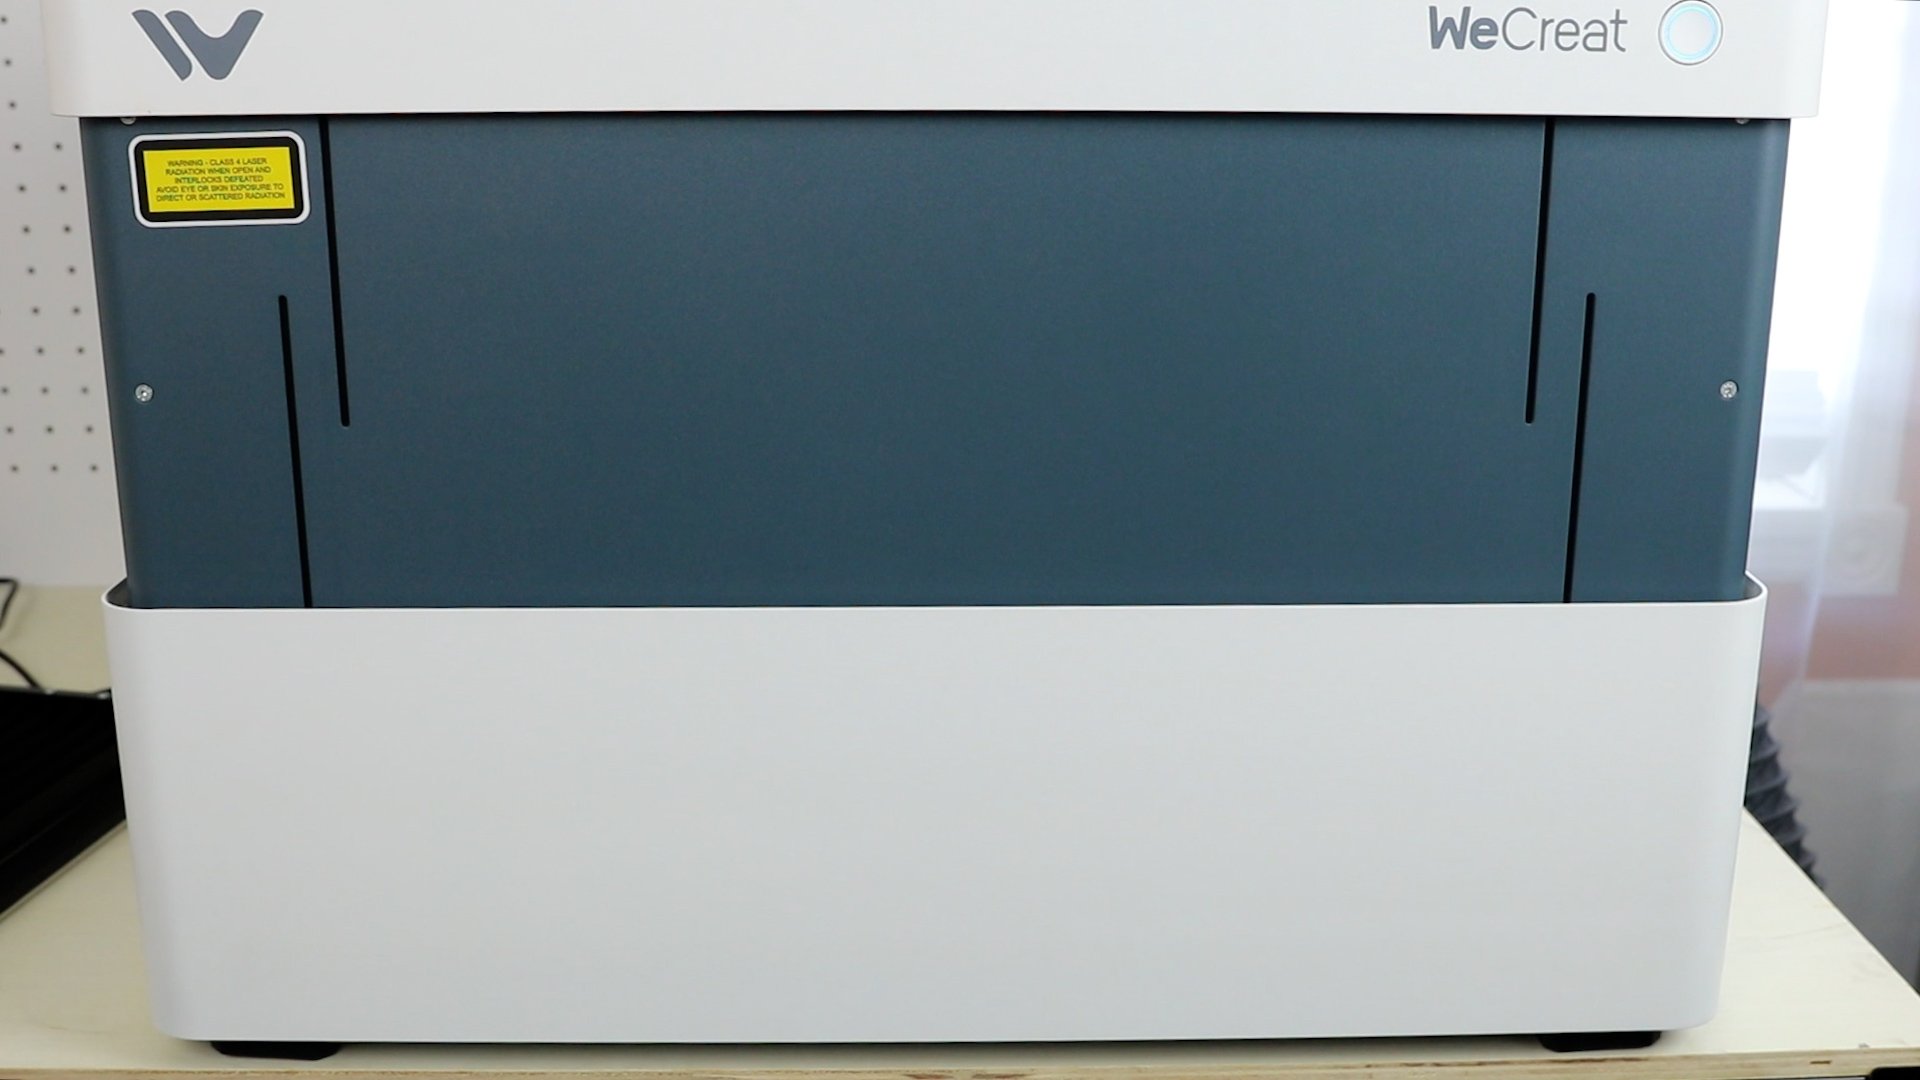
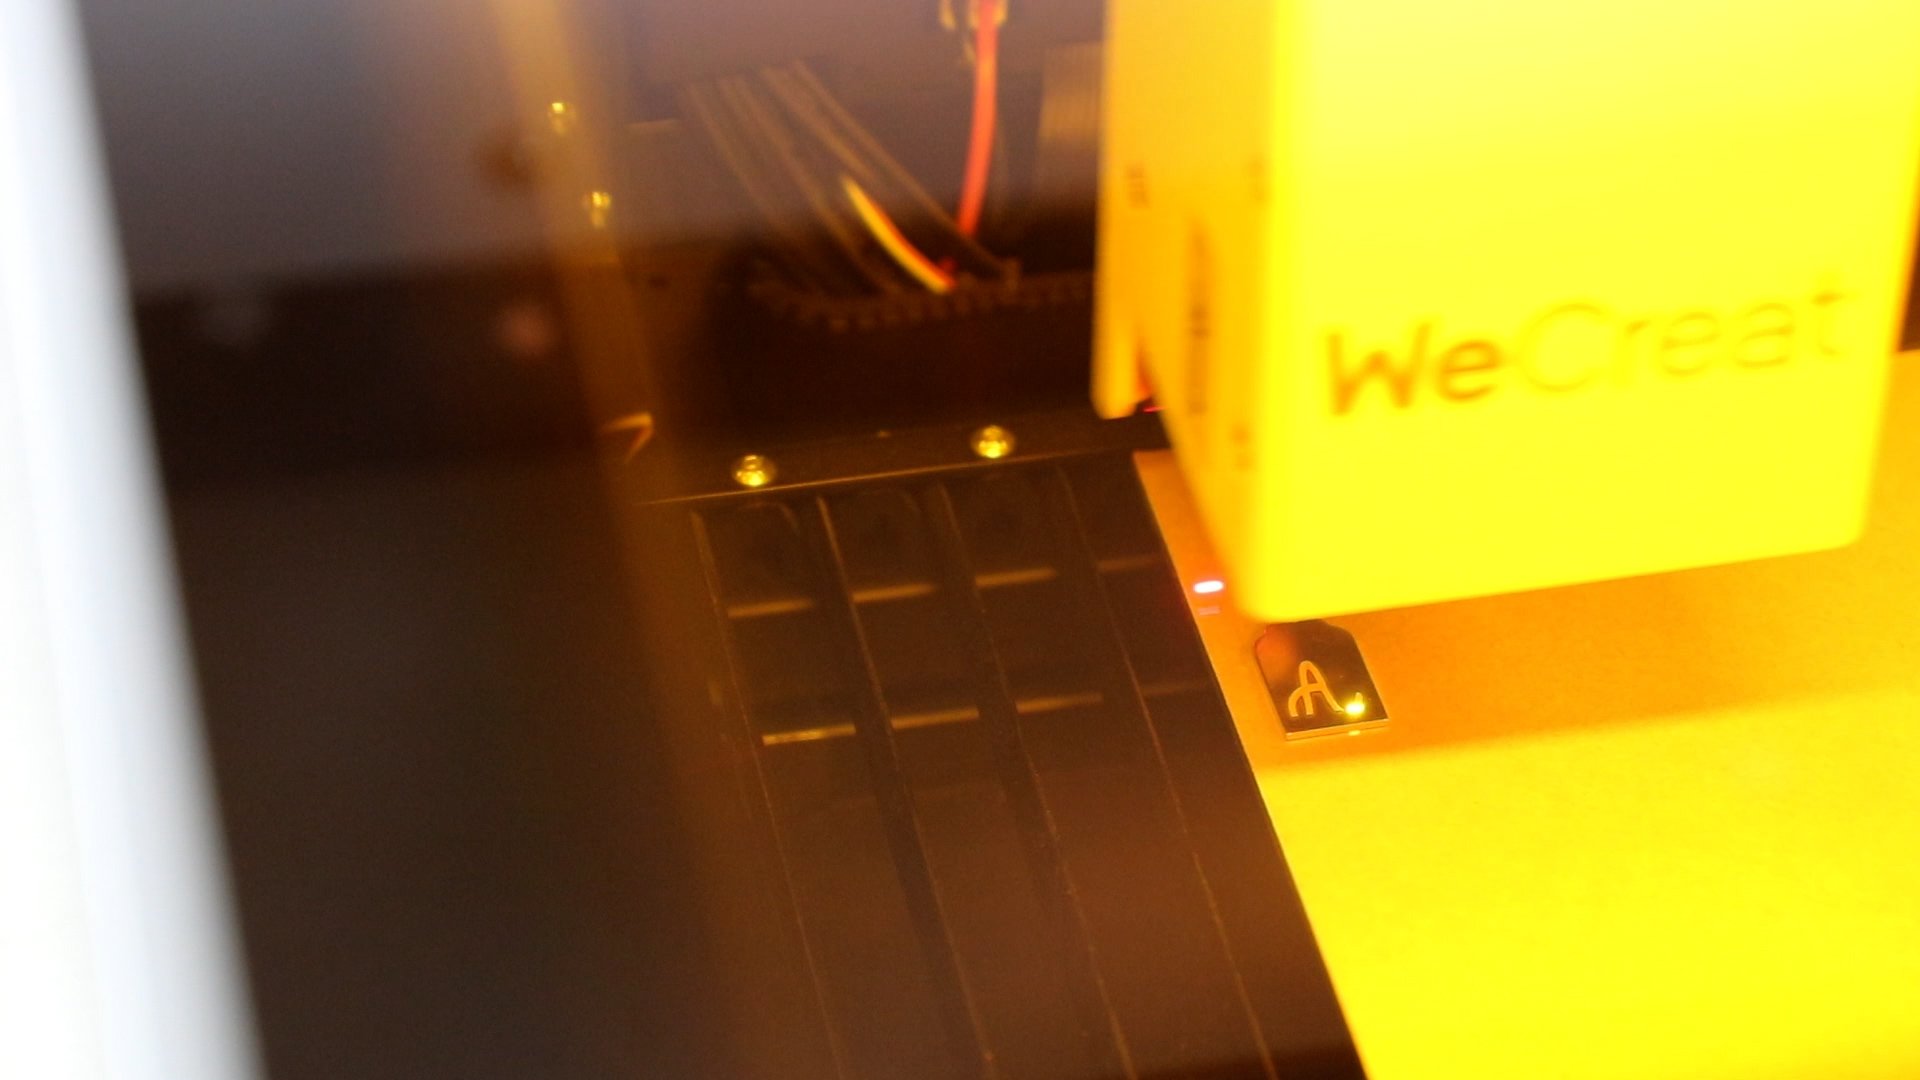
The laser at it’s minimum height will look like the image below. This is how it will look when it ships to you.
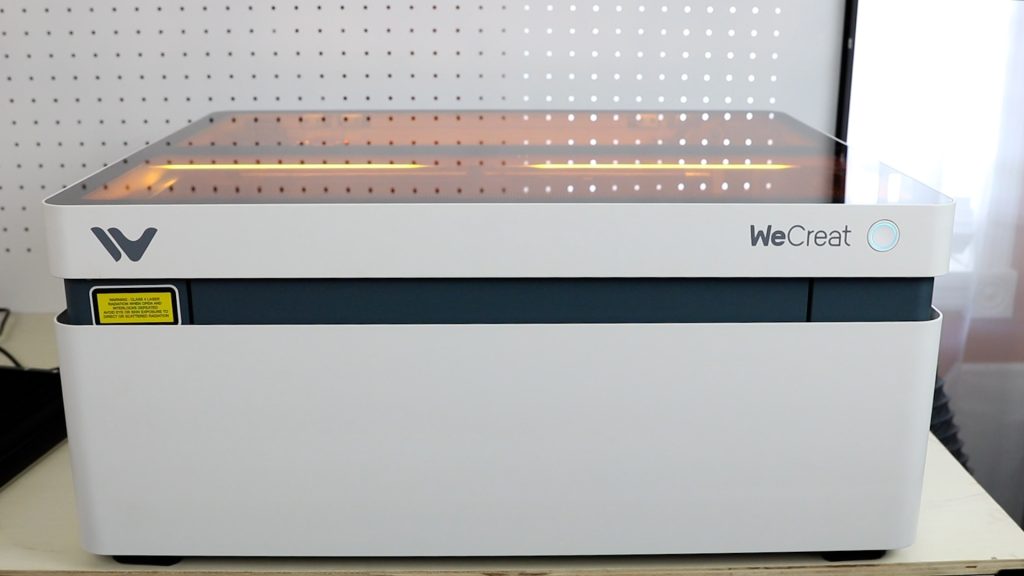
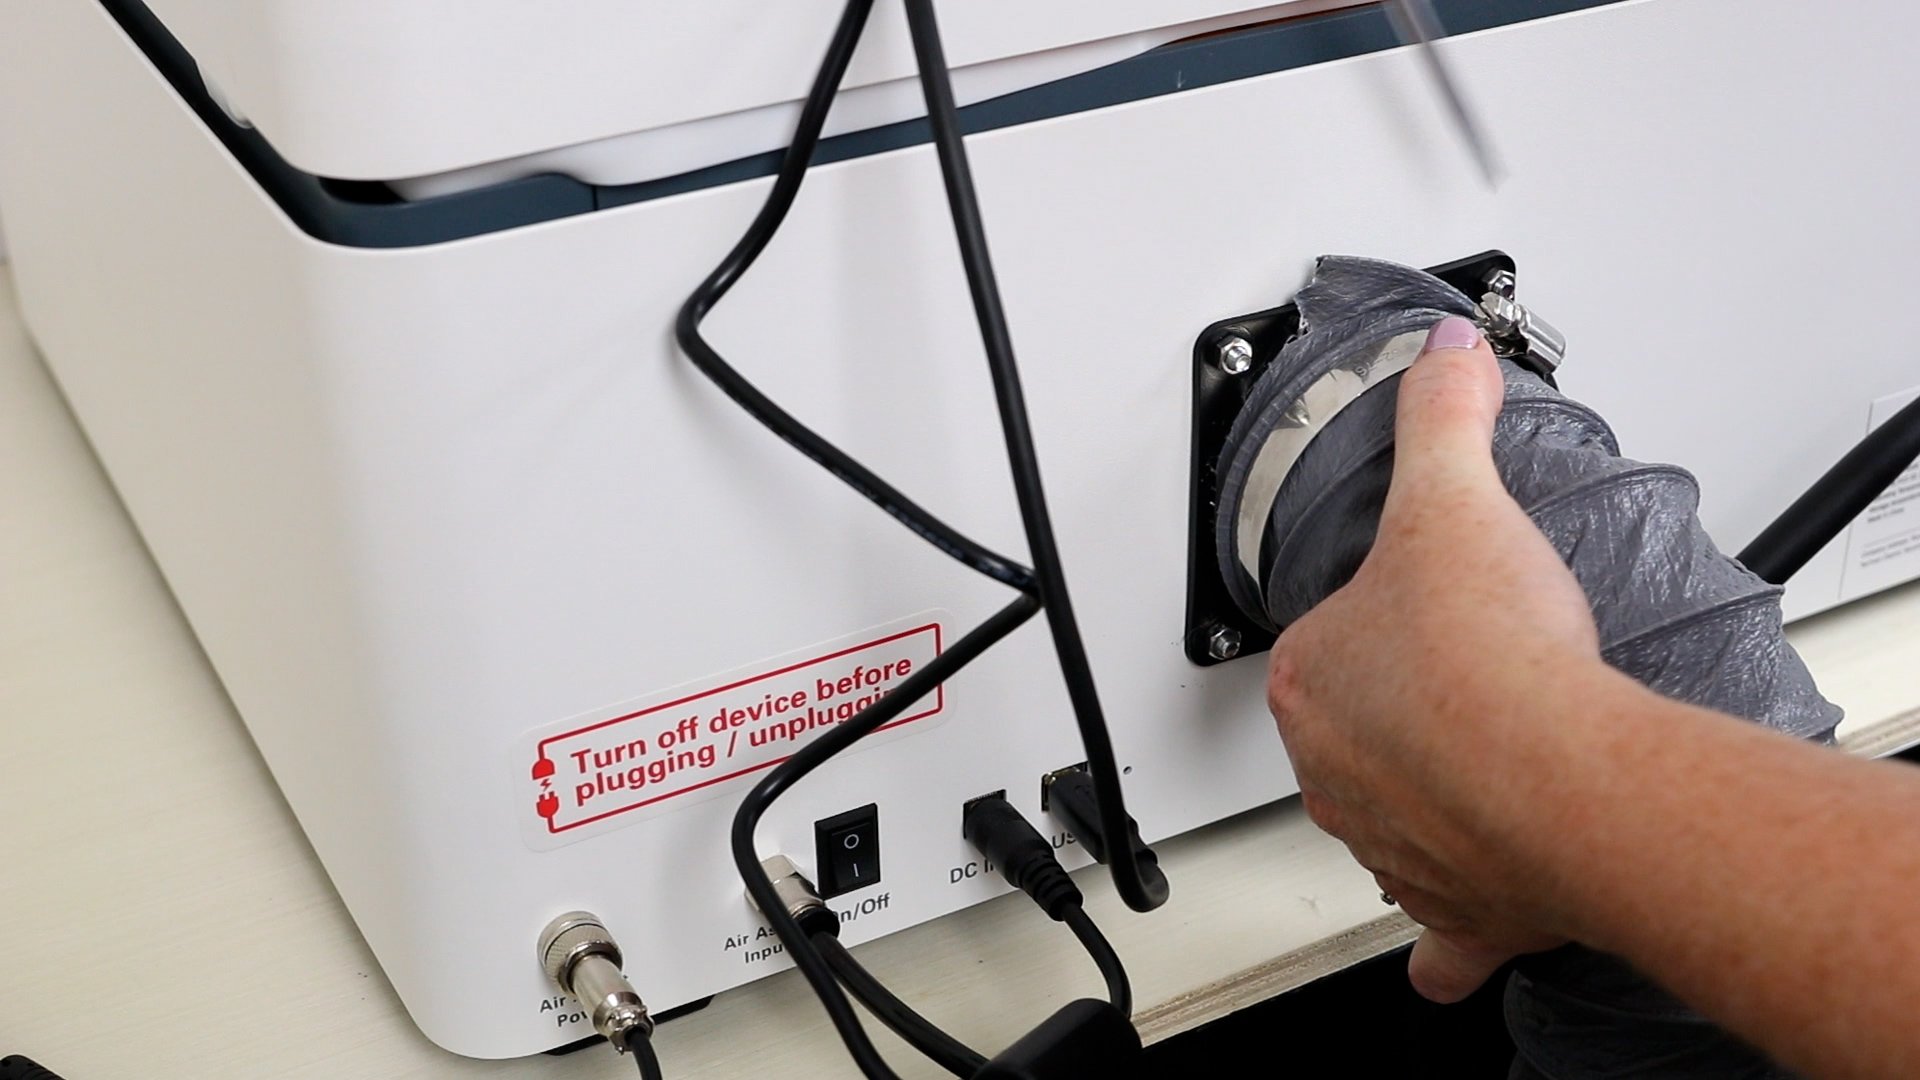
The setup is simple, start by adding all the cords to the back of the laser. Each connection is marked so it’ll be an easy process.
Connect the hose connector with the clamp and the other end of the hose will either go out the window or you can connect it to the WeCreat Fume Extractor which is a separate purchase.
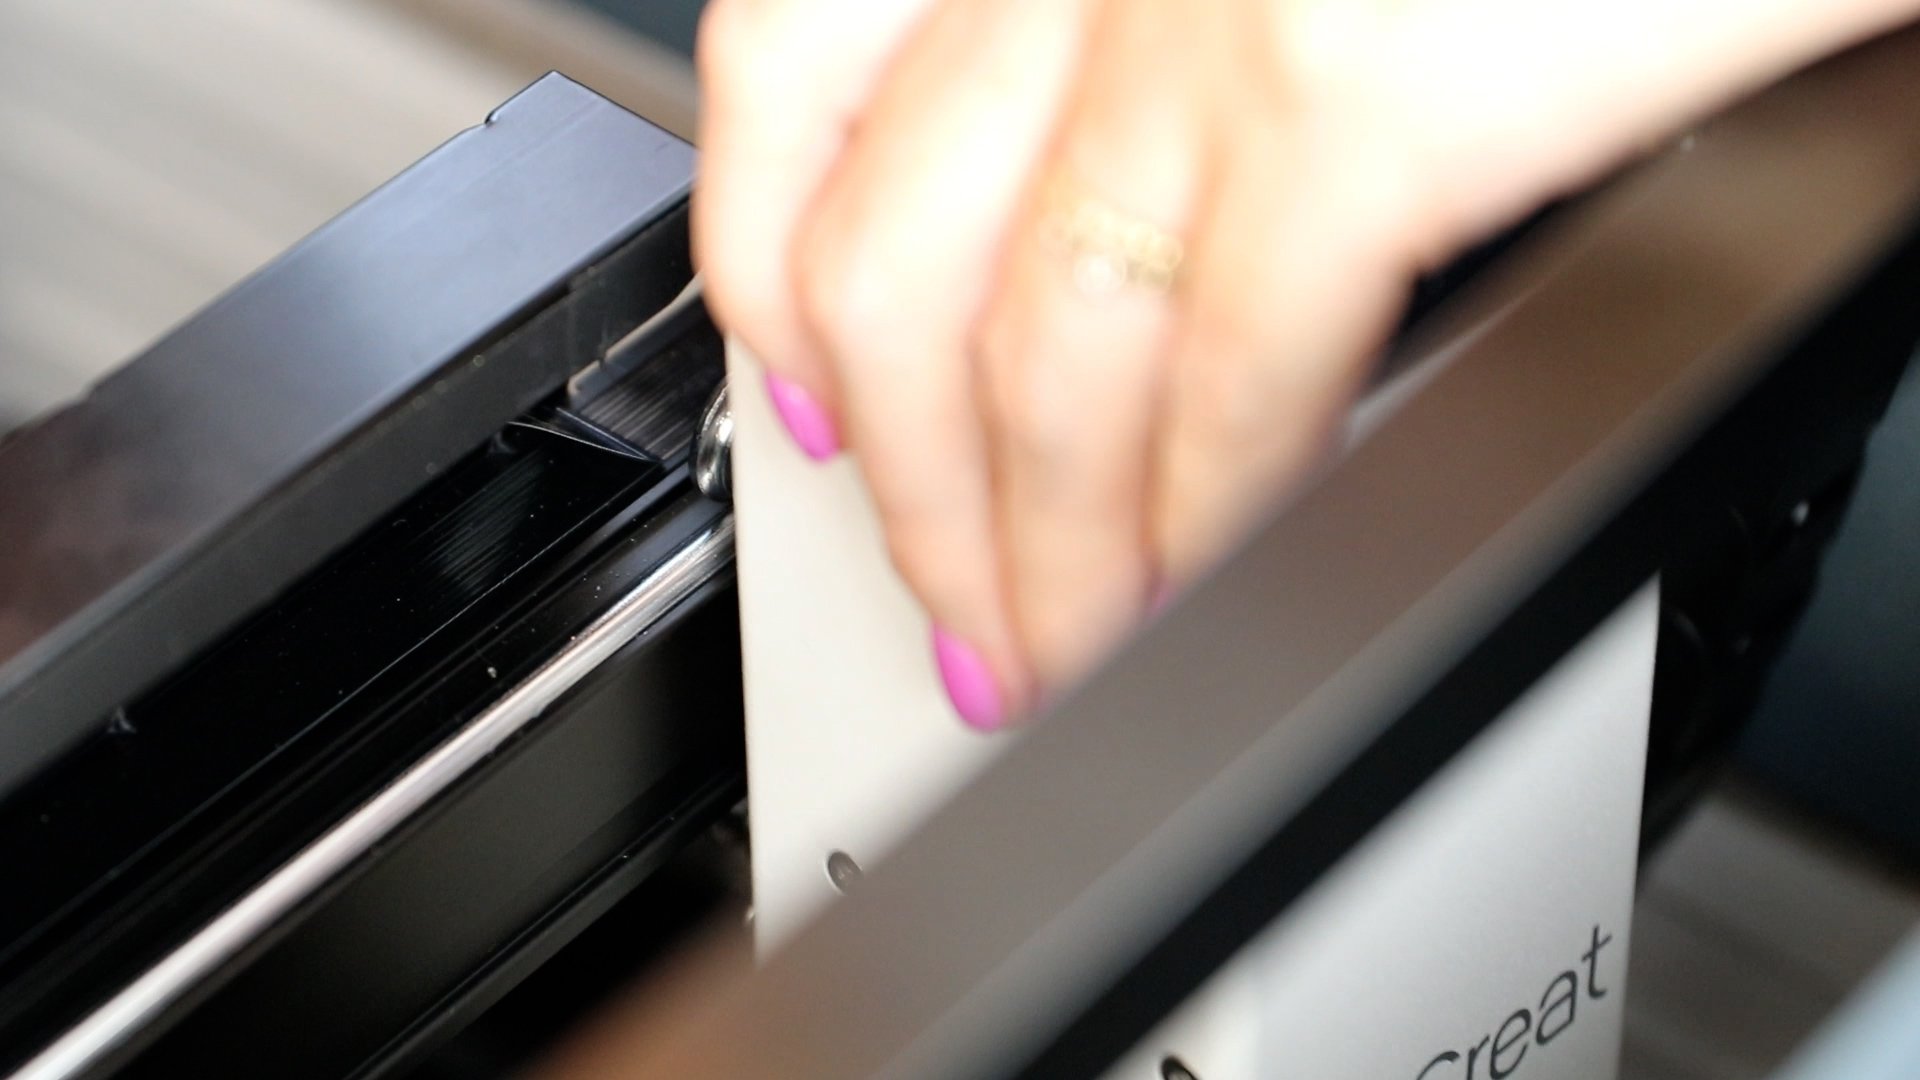
Add the detachable tray into the front, it slides into the grooves. I found it easier to slide it into place by lifting the laser up a little bit.
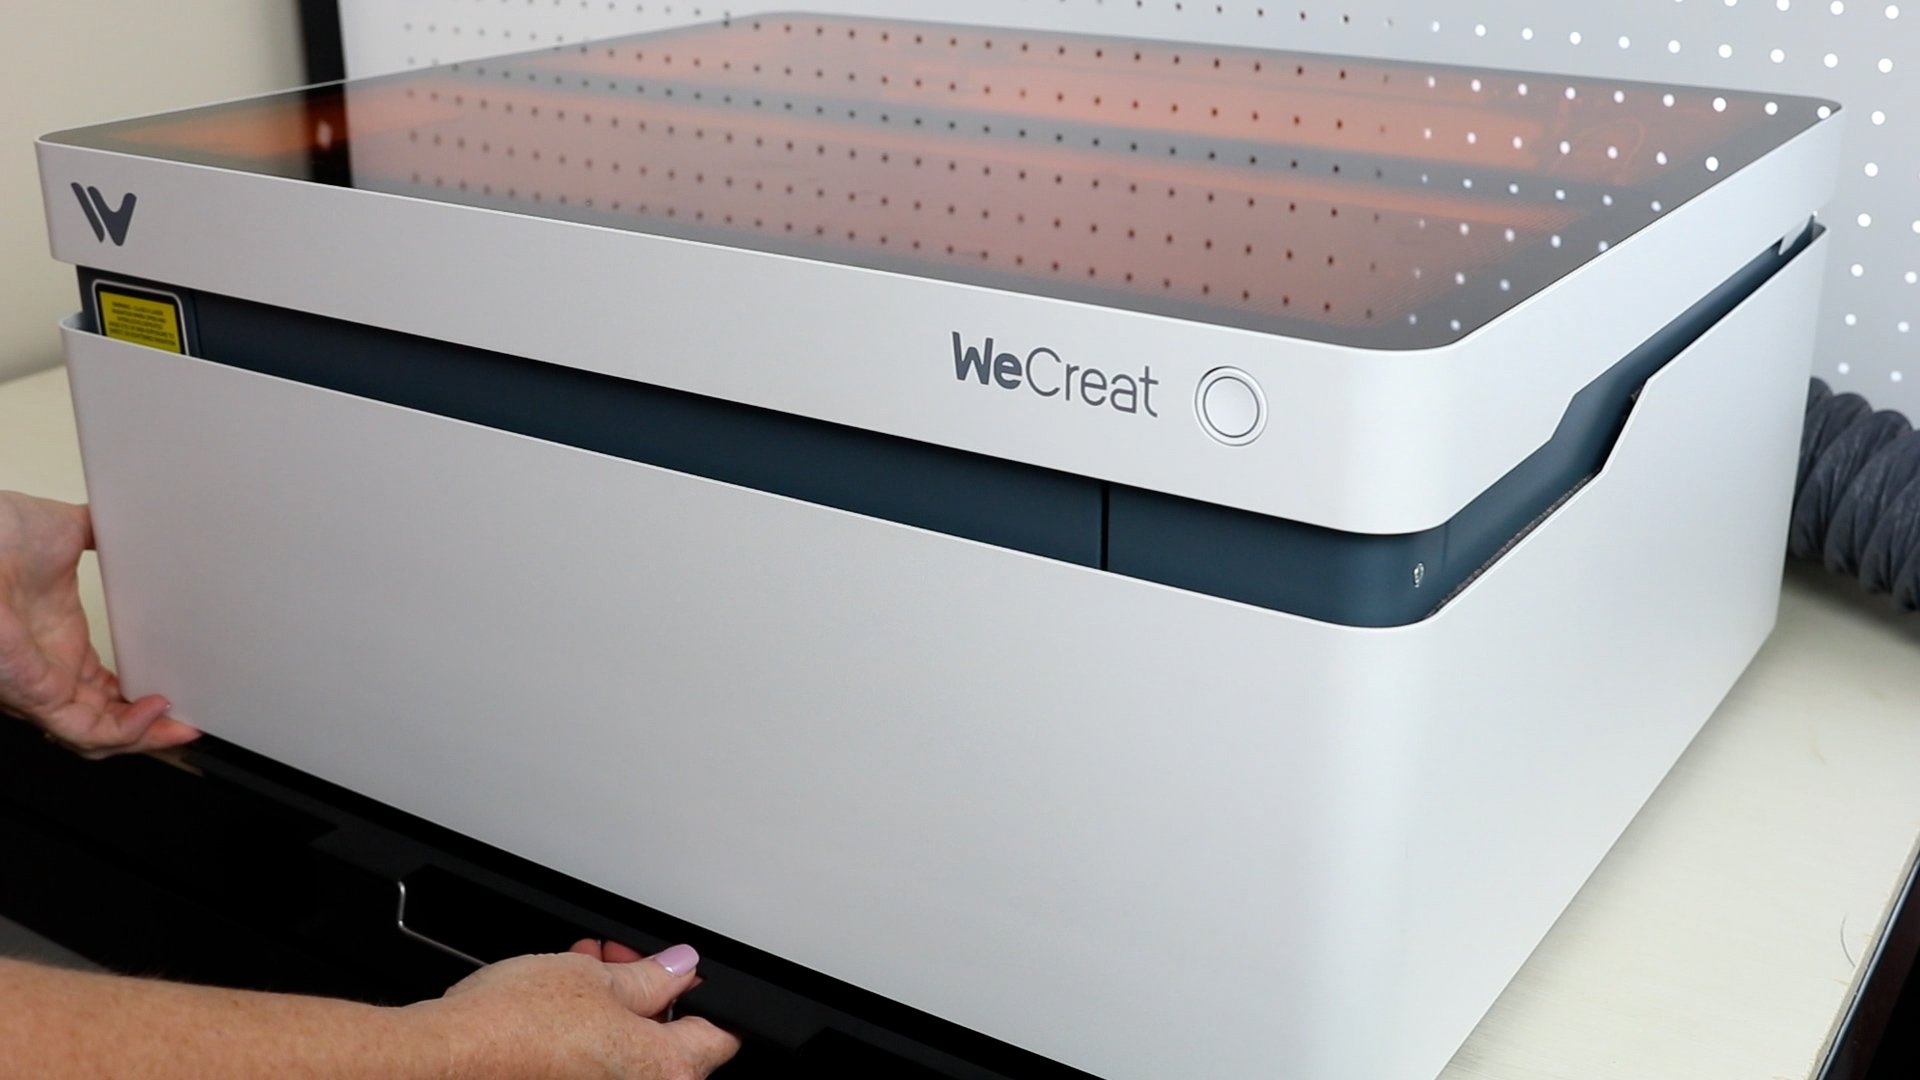
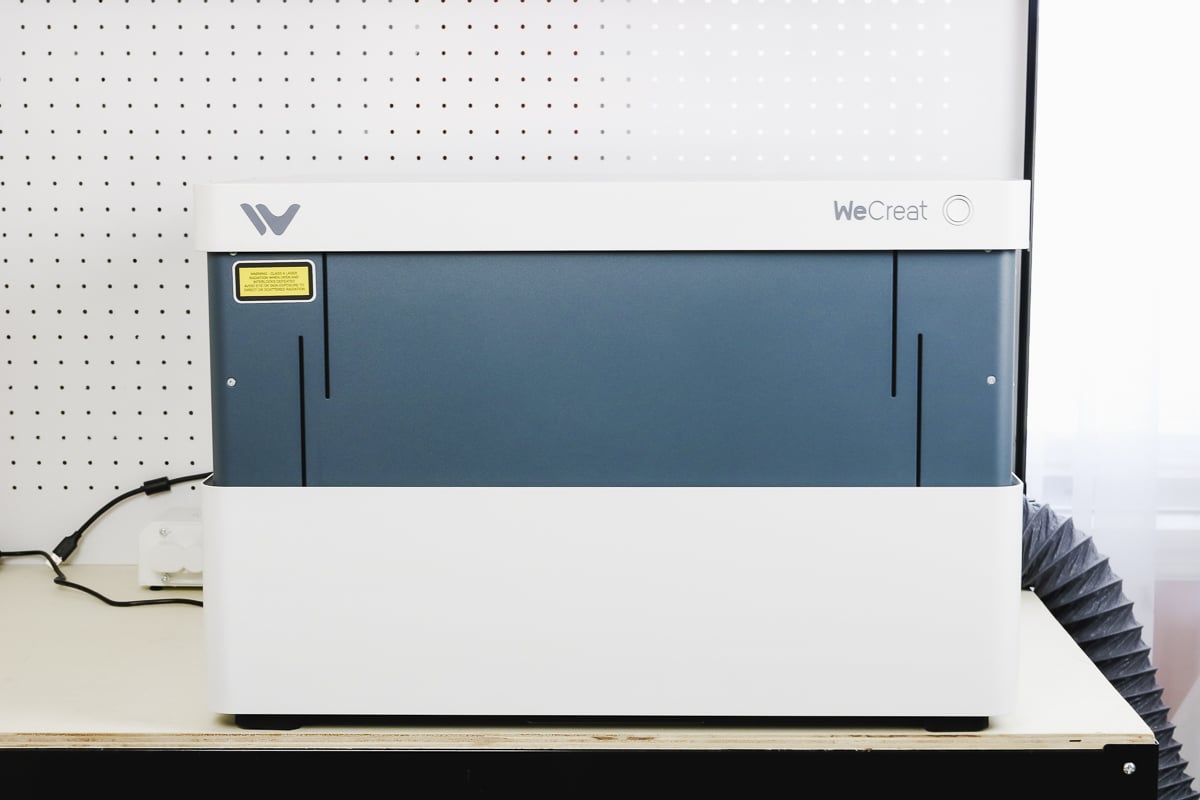
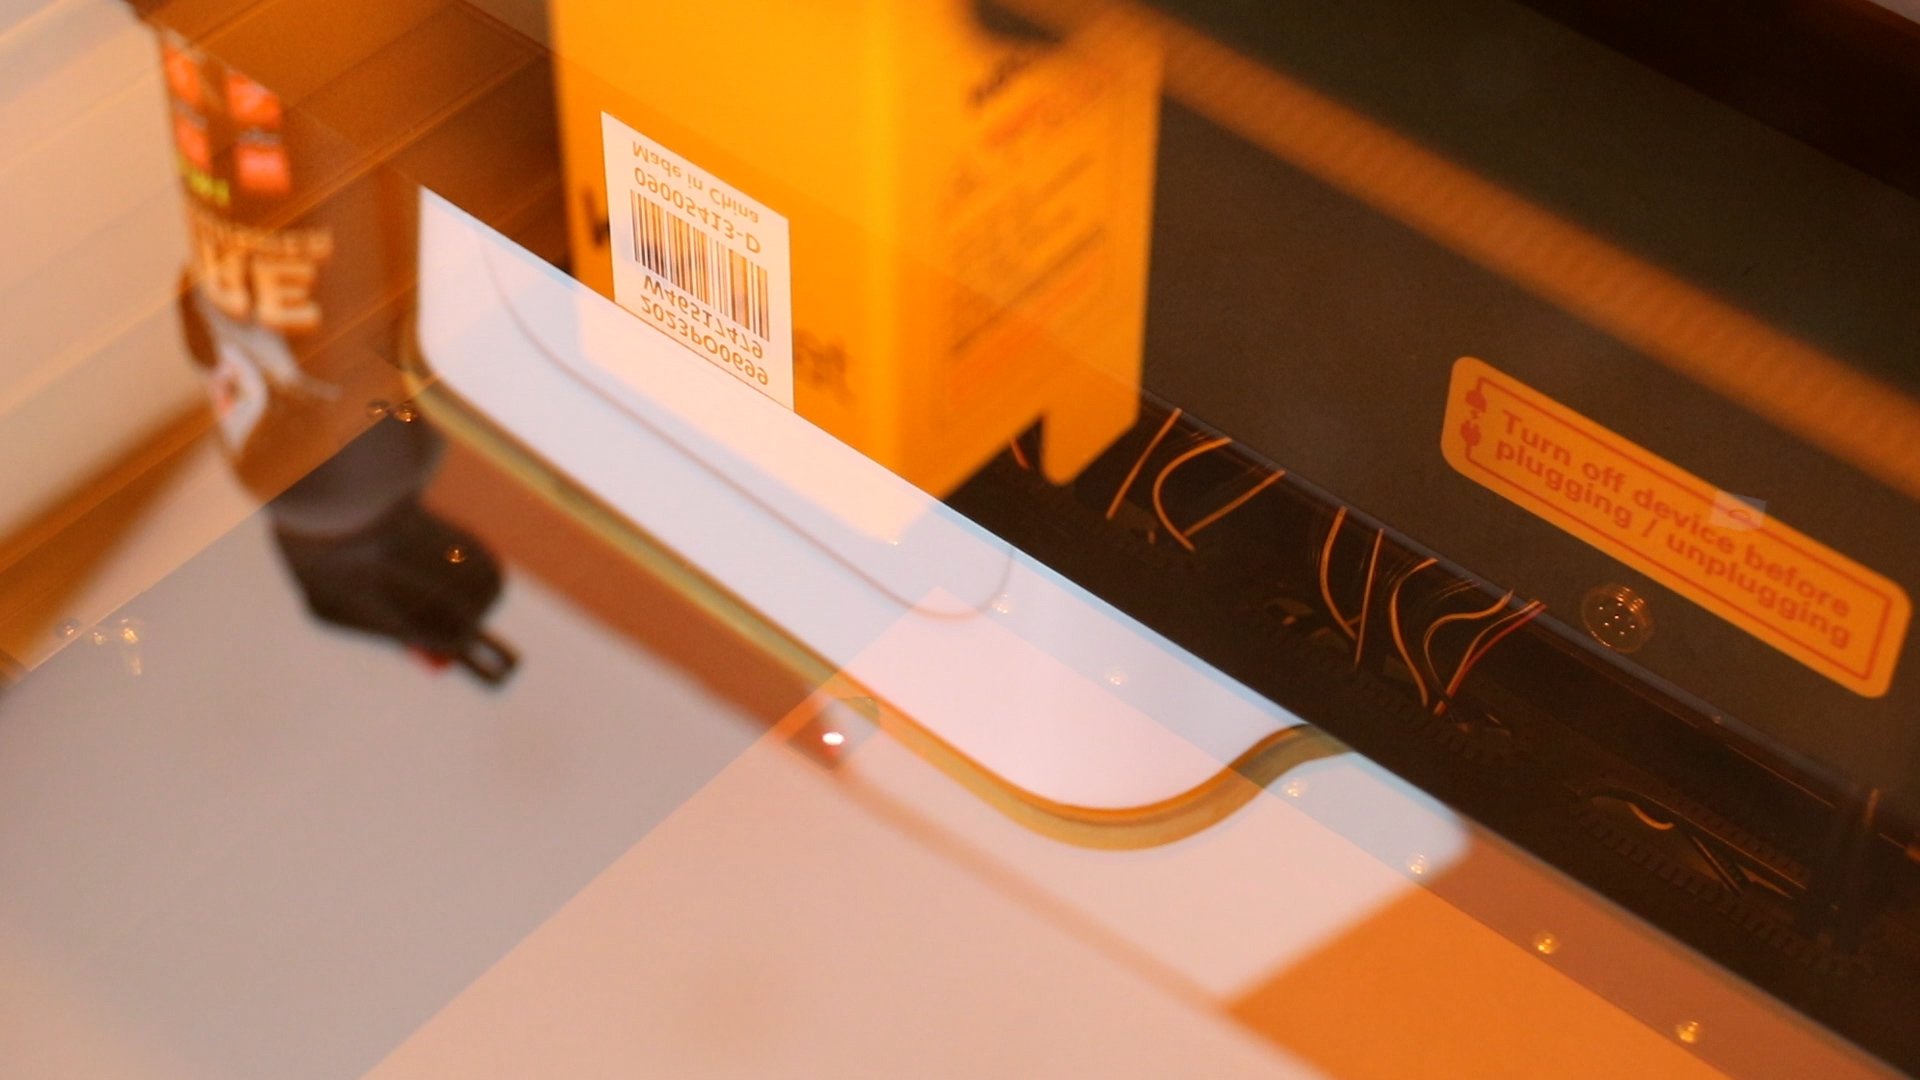
Plug the laser in and turn it on with the switch on the back. You’ll hear the laser start up and then you’ll see it begin to rise. This laser has an auto-rise feature, I’ll talk more about that in a moment. Once the laser rises, it will be at maximum height and will look like the image below.
Open the laser lid and add the laser beds to the bottom with the screw side up.
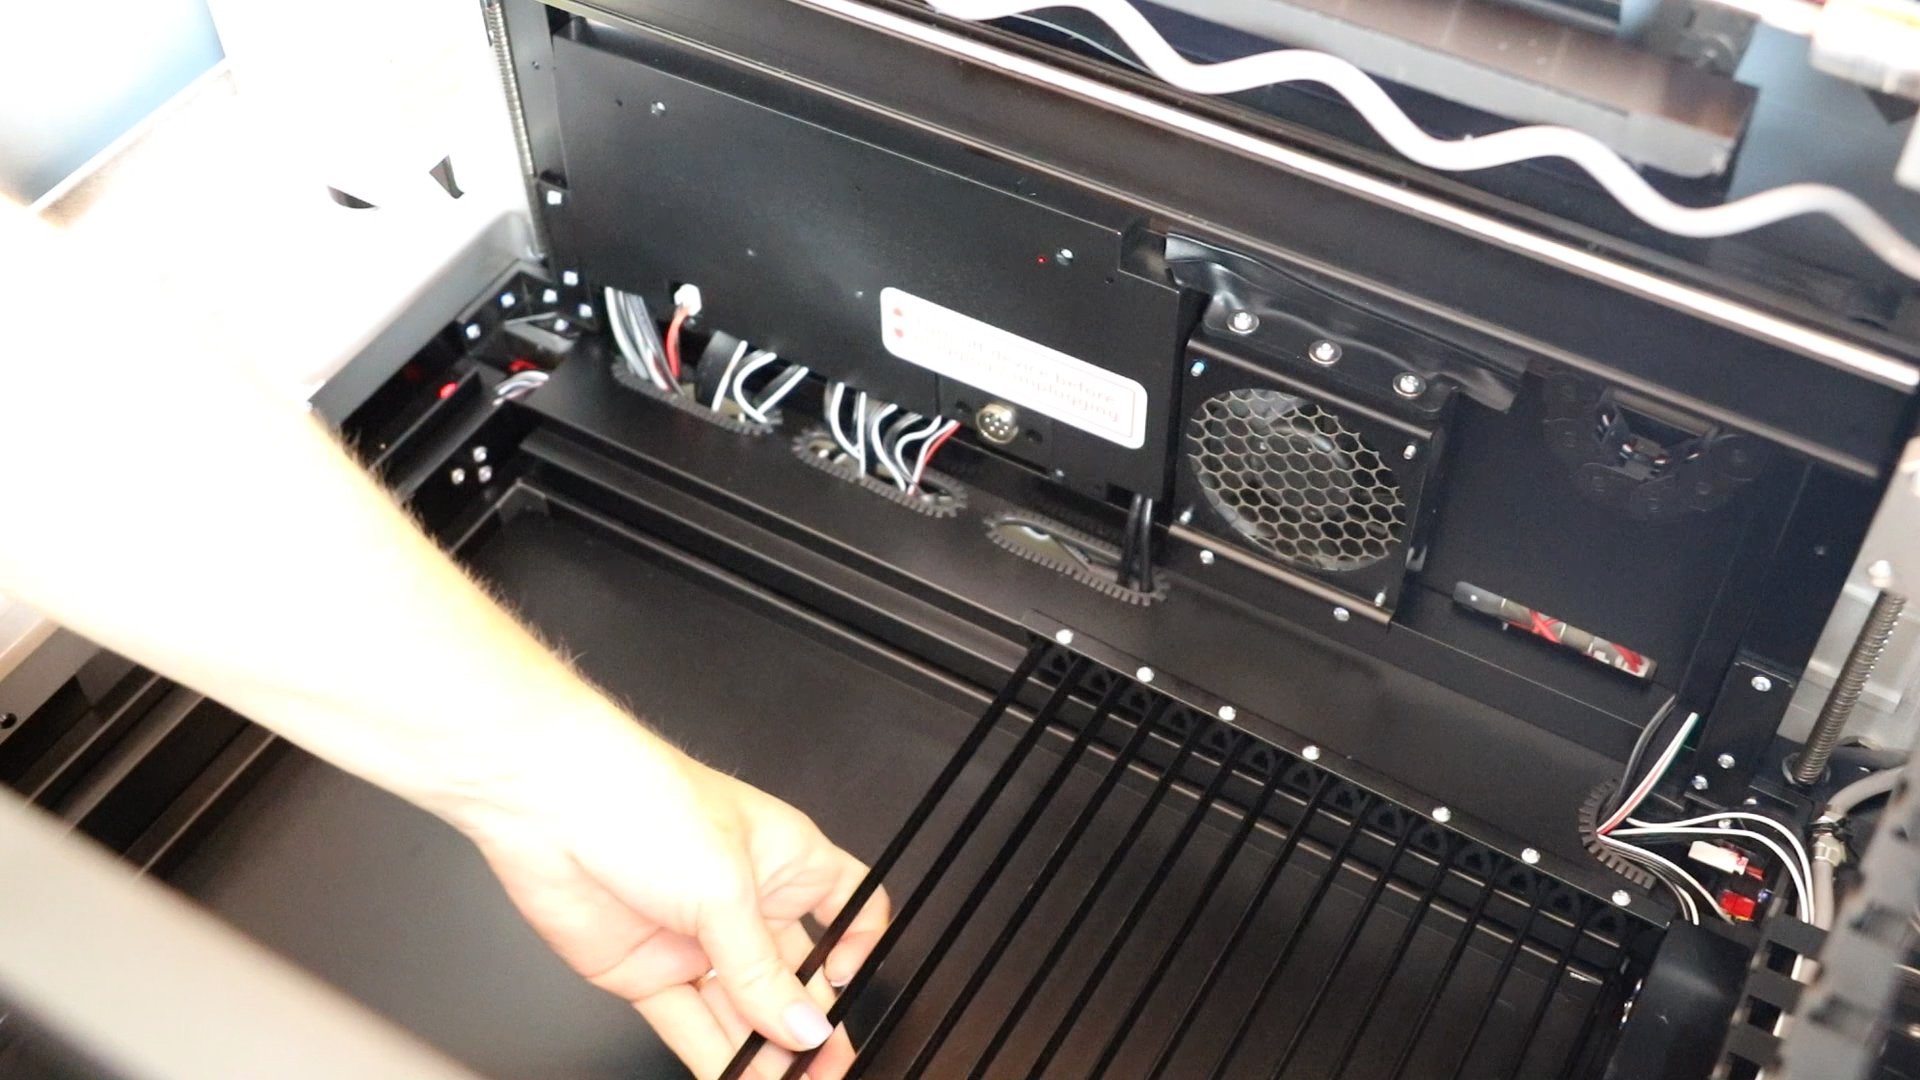
That is it! Your laser itself is set up. Now let’s start using it!
WeCreat MakeIt Software
You will need software to upload designs and send them to your laser.
With this software, you can upload designs or use shapes to design a project. There are also text options and more. I am sharing how to use this software later in the post.
With your laser set up and ready for operation, you need to download the WeCreat MakeIt software and make sure you’re connected to the laser.
NOTE: The Vision laser is compatible with Light Burn, if you’ve used that you can use it with this laser as well.
There are two different types of accounts, a Free account and a Premium account. I am using the free account and you can use your own images and the free features with that account.
If you have a Premium account that will give you access to a variety of projects. You can click on the Discover tab to see those projects and decide if a premium account is something you need.
When you are first setting up the laser, you need to connect it with a USB port. After that, you can connect it via WiFi.
Cutting Wood with Wecreat Vision
The first project I’m going to make is a cut project using pre-painted wood from WeCreat.
How to Upload a Design into WeCreat MakeIt
I am using the WeCreat MakeIt software today. Click Start a New Project to begin.
Click Upload and find the SVG on your computer. If you don’t have an SVG file, you can upload a PNG and trace it but using an SVG is easier for a first project.
Click Open and when it’s on the canvas you can resize it as needed. I have mine set to about seven inches wide.
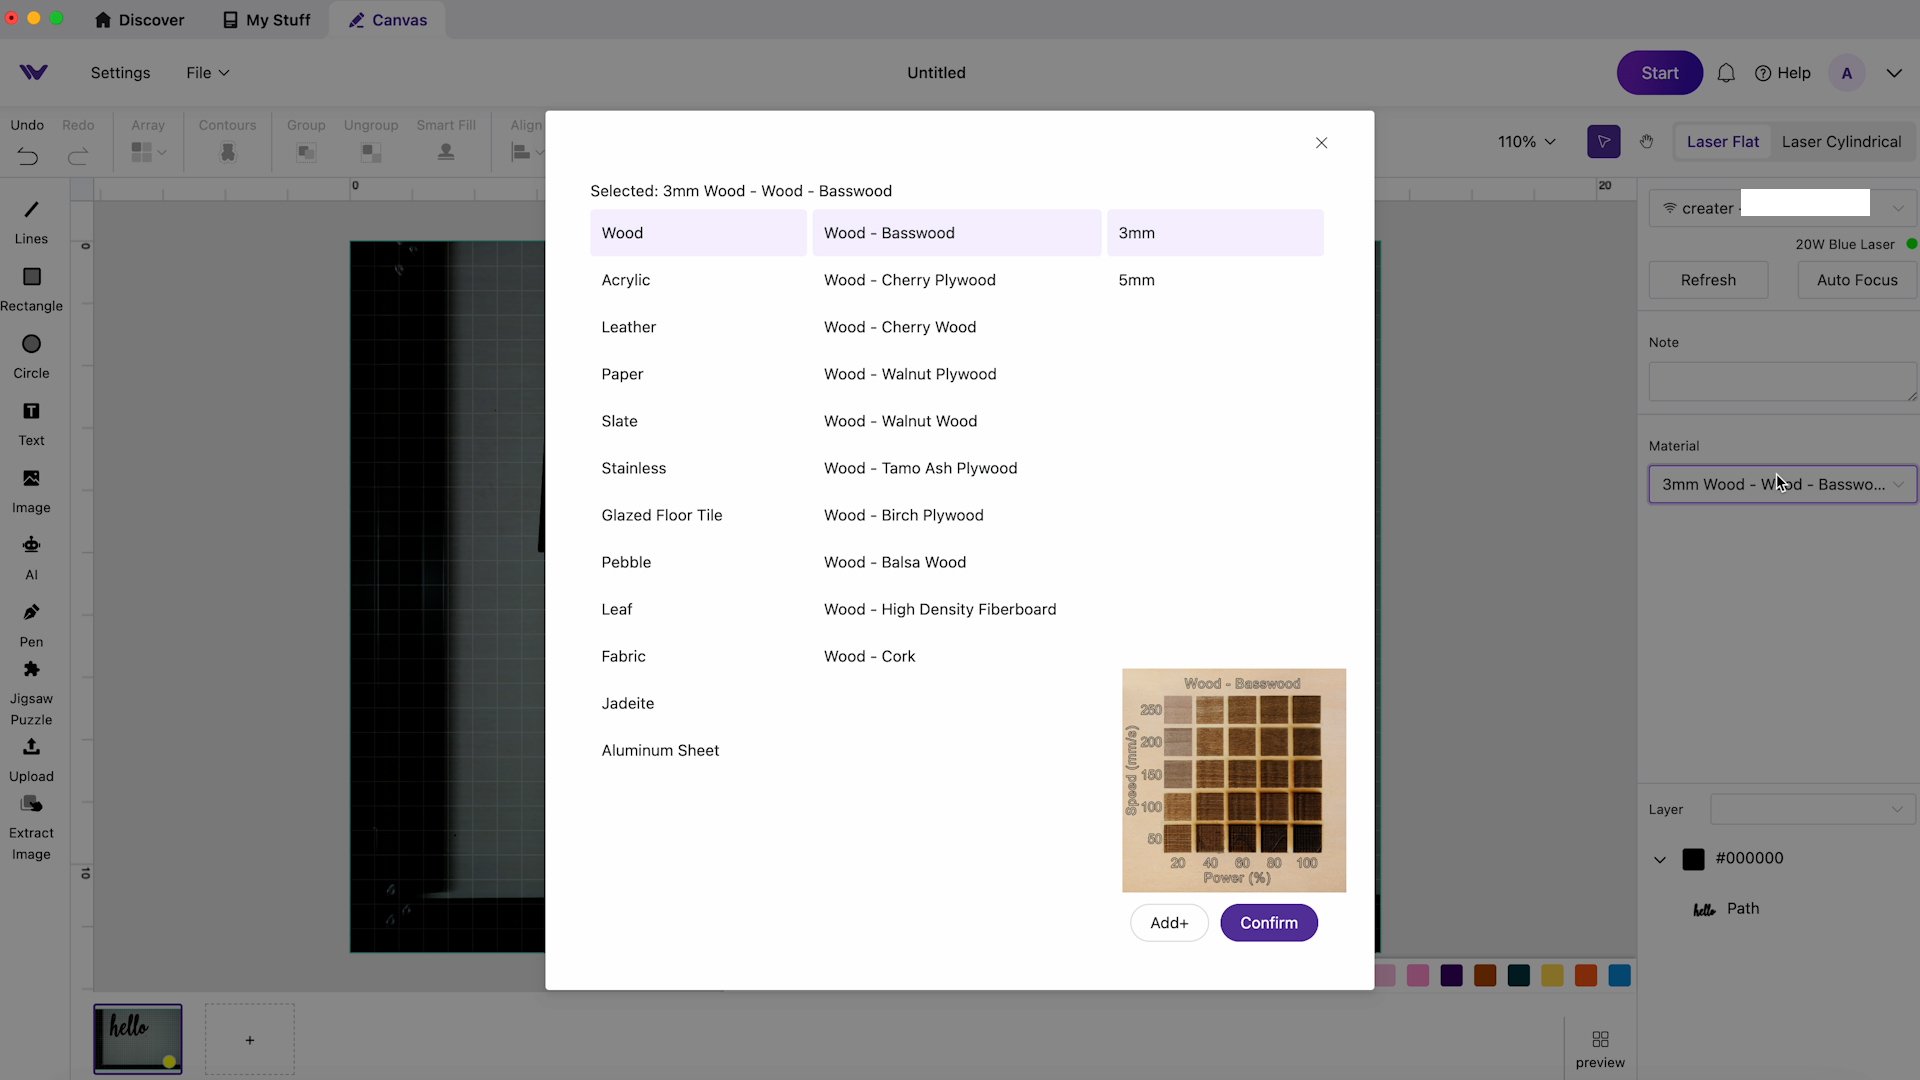
Choosing a Material Type
On the right side, click Materials and you can see a variety of different materials. I am cutting a 3-millimeter wood material.
After selecting the material you will see an image that gives you an idea of what an engraving would look like with different settings. Since I am cutting this design, not engraving it I don’t need to worry about it at this time.
Add Material and Locate the Design on the Screen
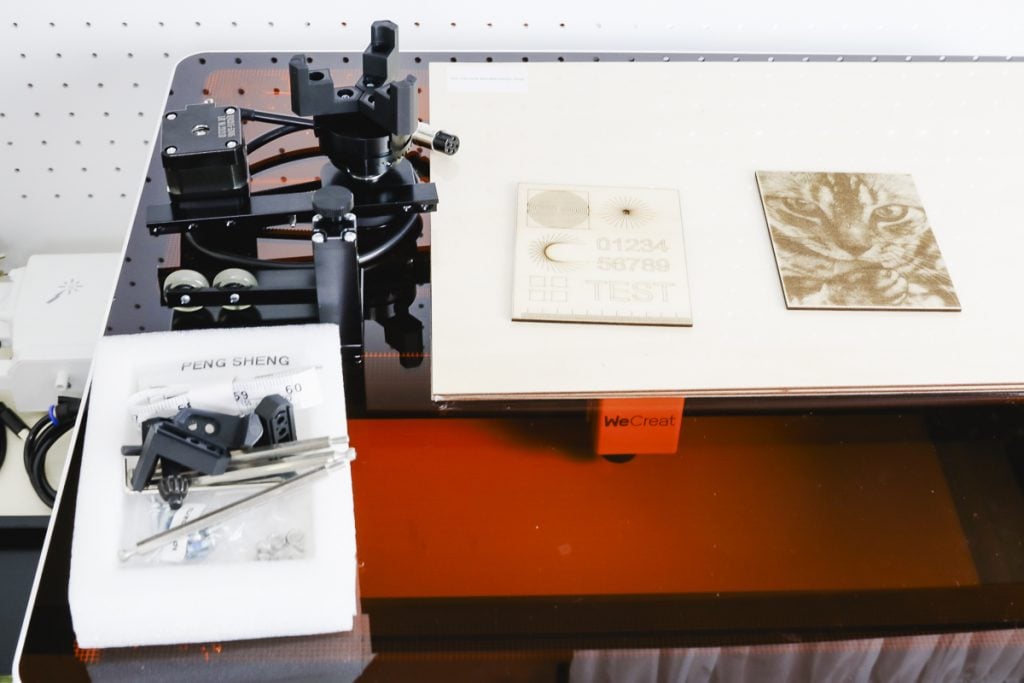
Open the lid of the laser and add you material inside. It should rest on your laser bed.
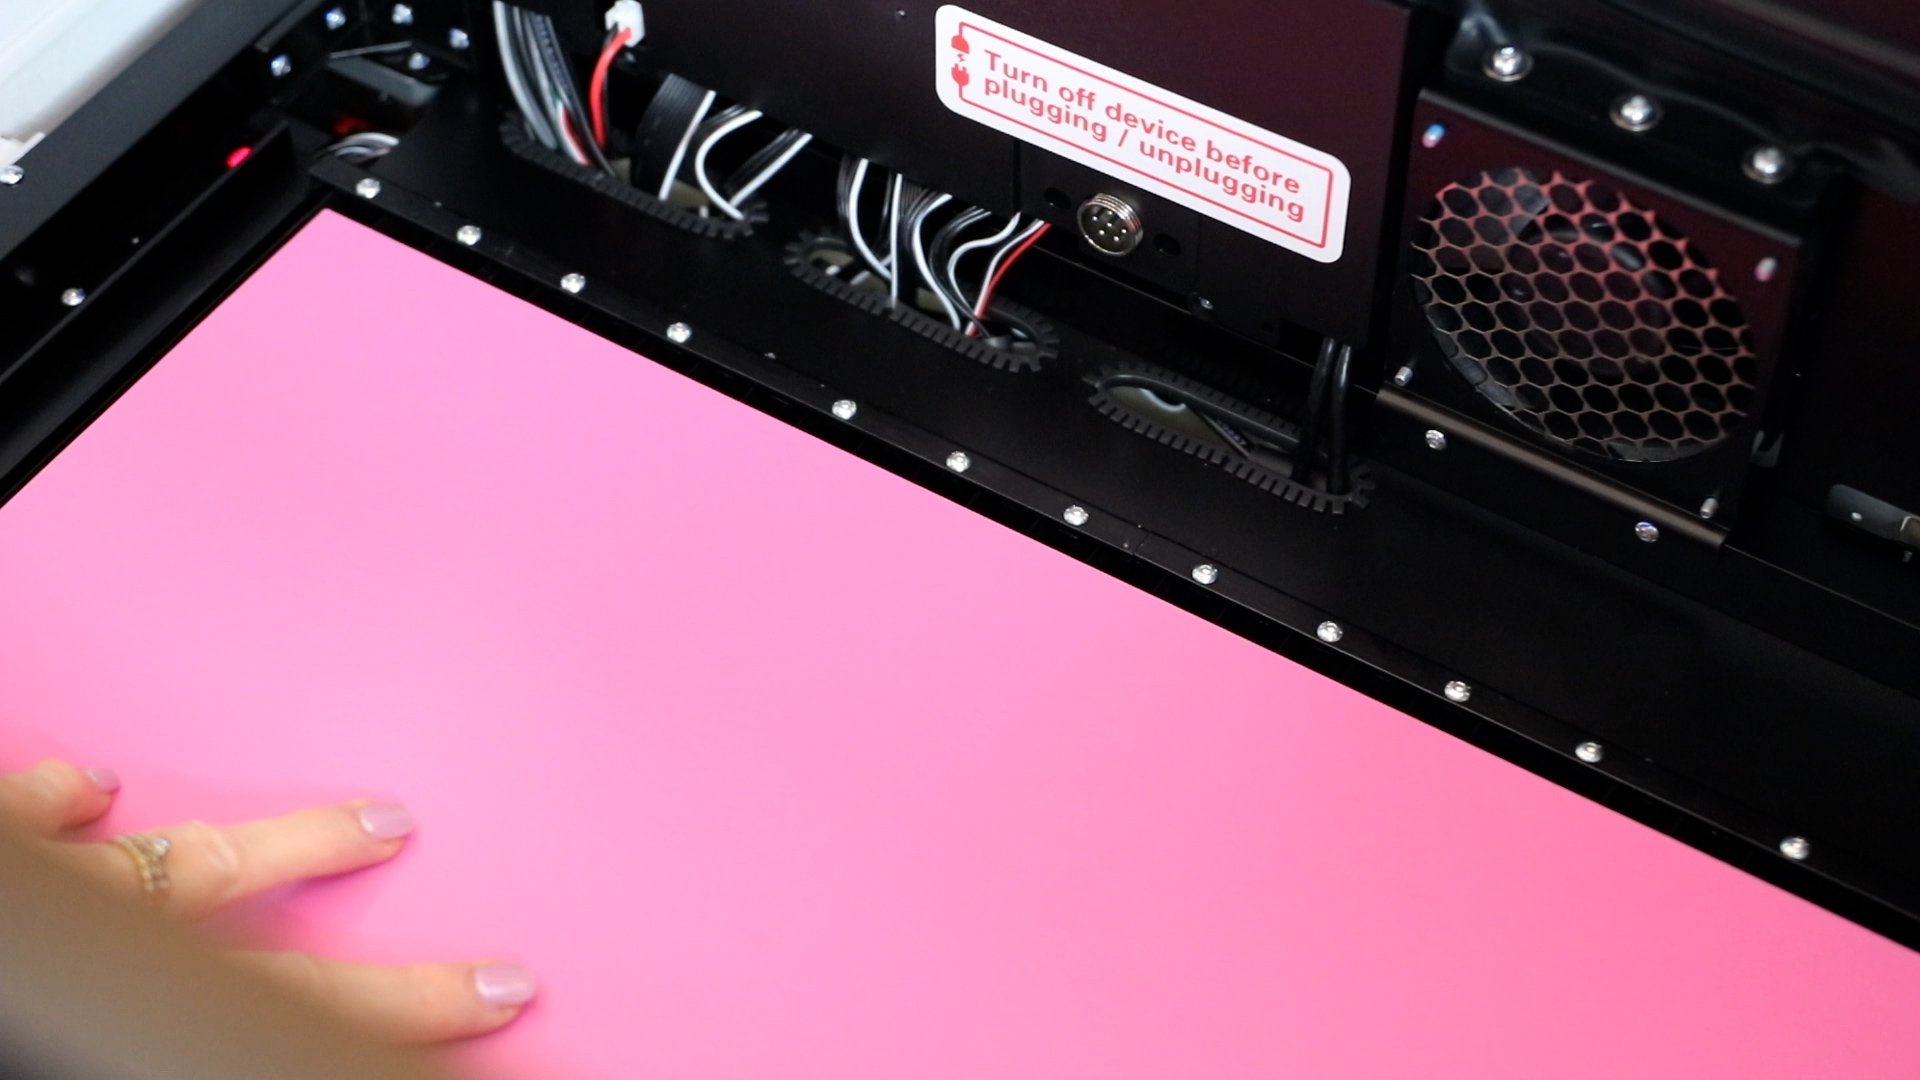
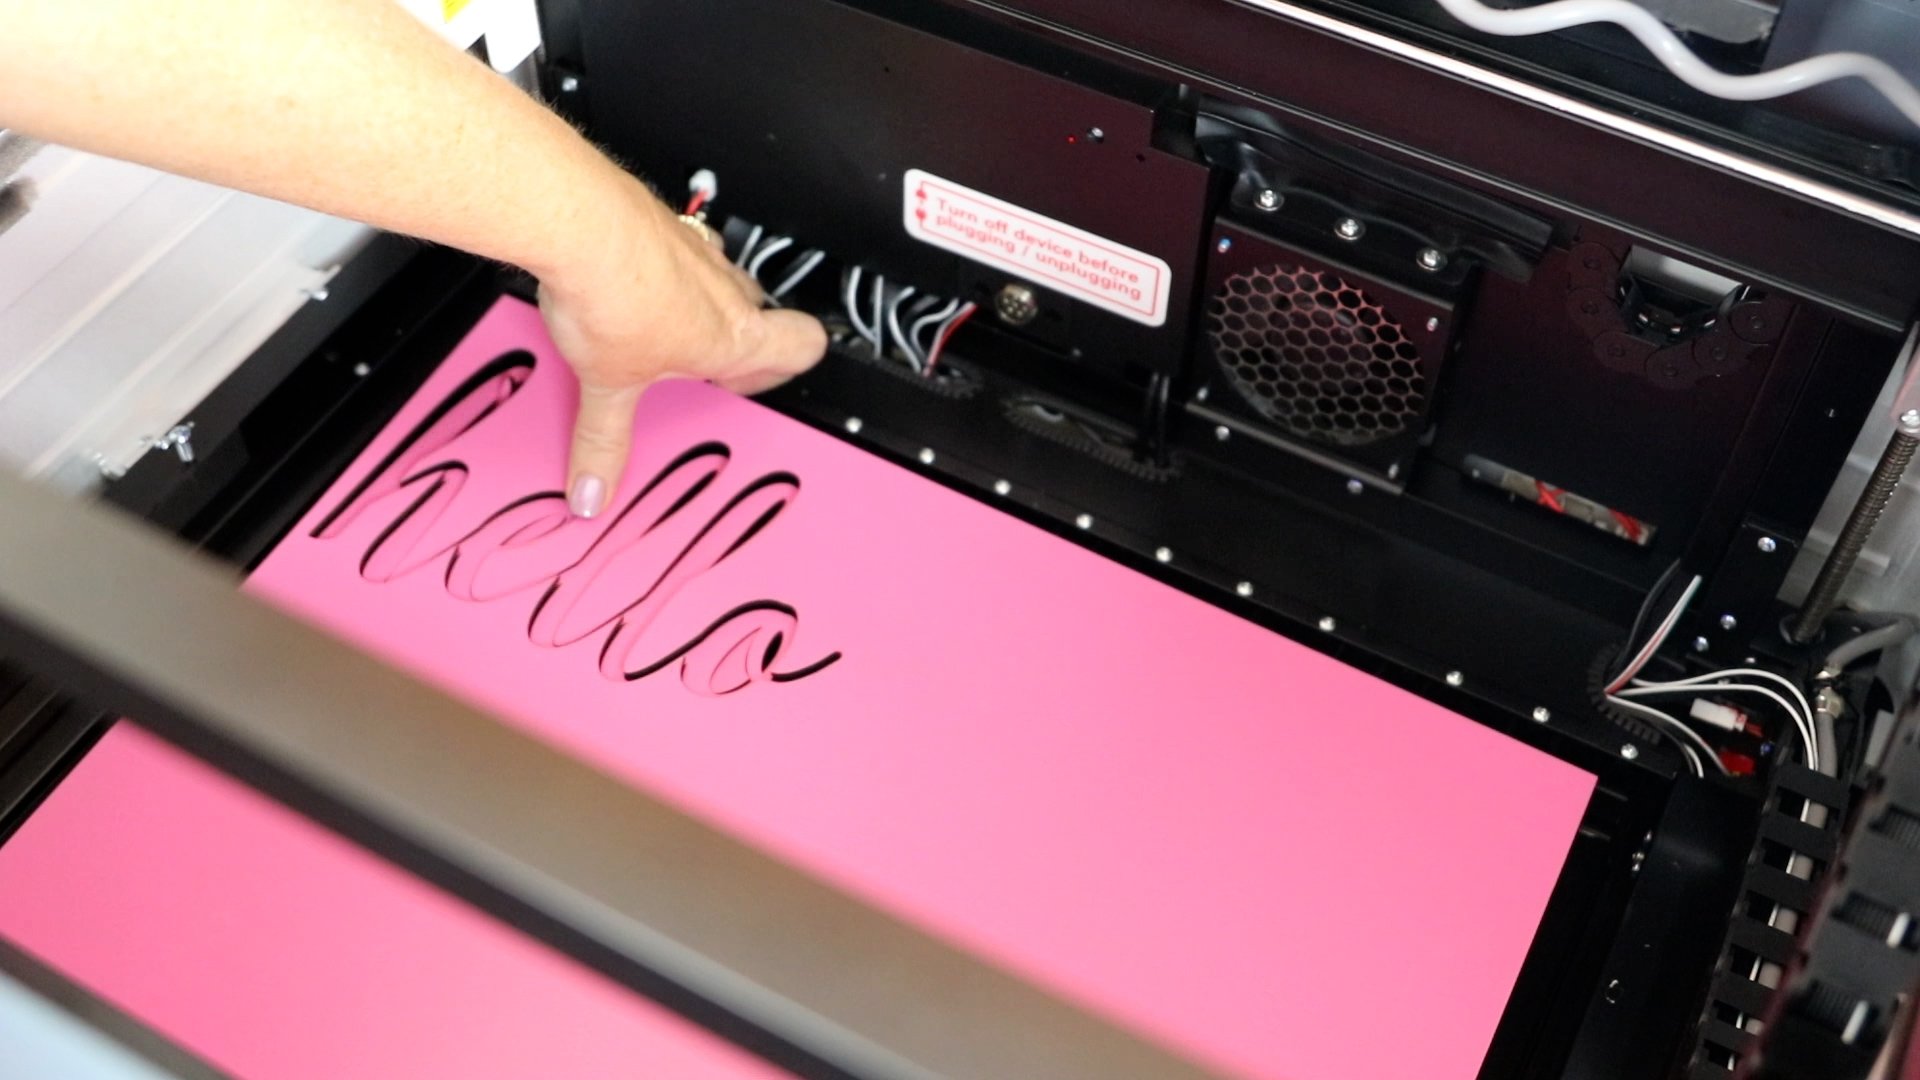
Click the Refresh button and you’ll see the pink painted wood (in this case) that I added to the laser on the screen. There is a camera in the laser that will be used to display an image in the software.
Now I can adjust the location of the design to get the most out of the material. You can get an exact location with the camera feature.
Material Settings
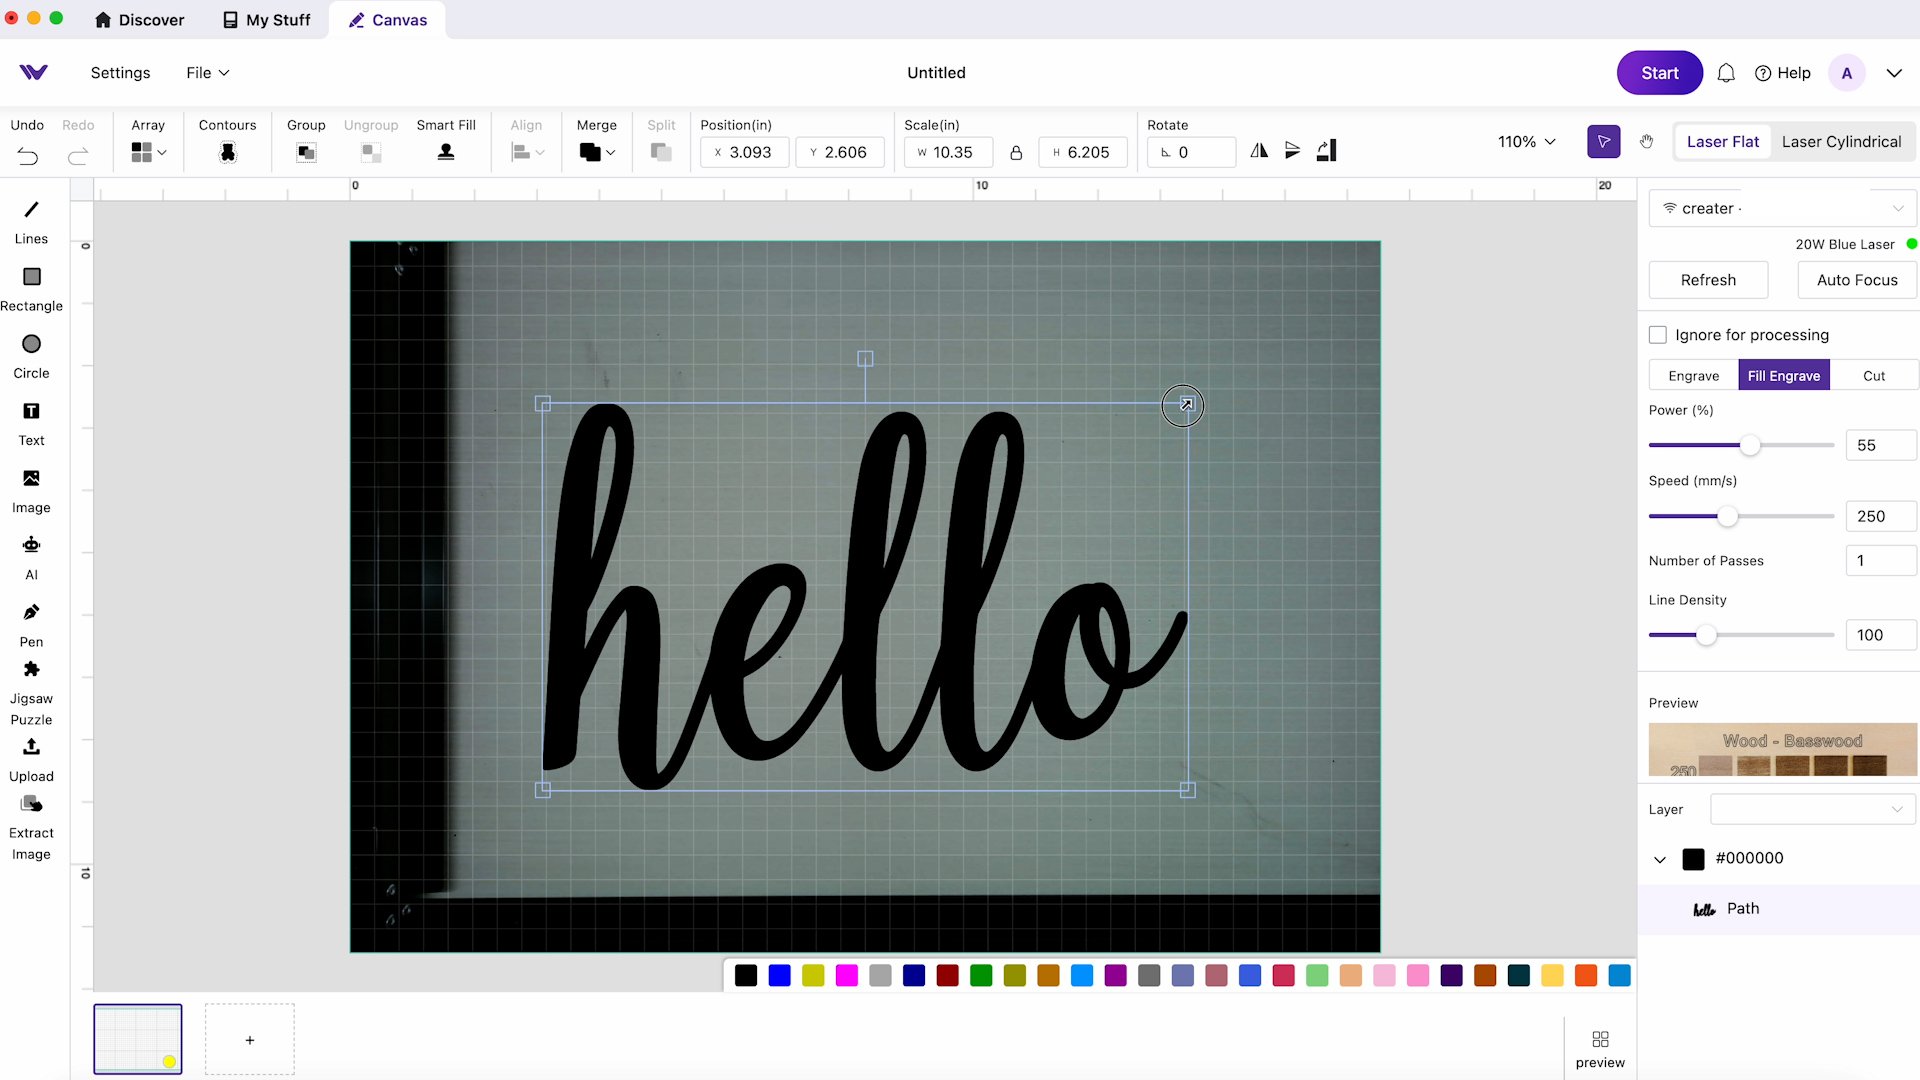
Next, I’m going to change the Cut file type. The different options are:
- Engrave – this setting will engrave around the outer edge.
- Fill Engrave – this setting will engrave the outer edge and the inside.
- Cut – this setting cuts through the material around the outside edge.
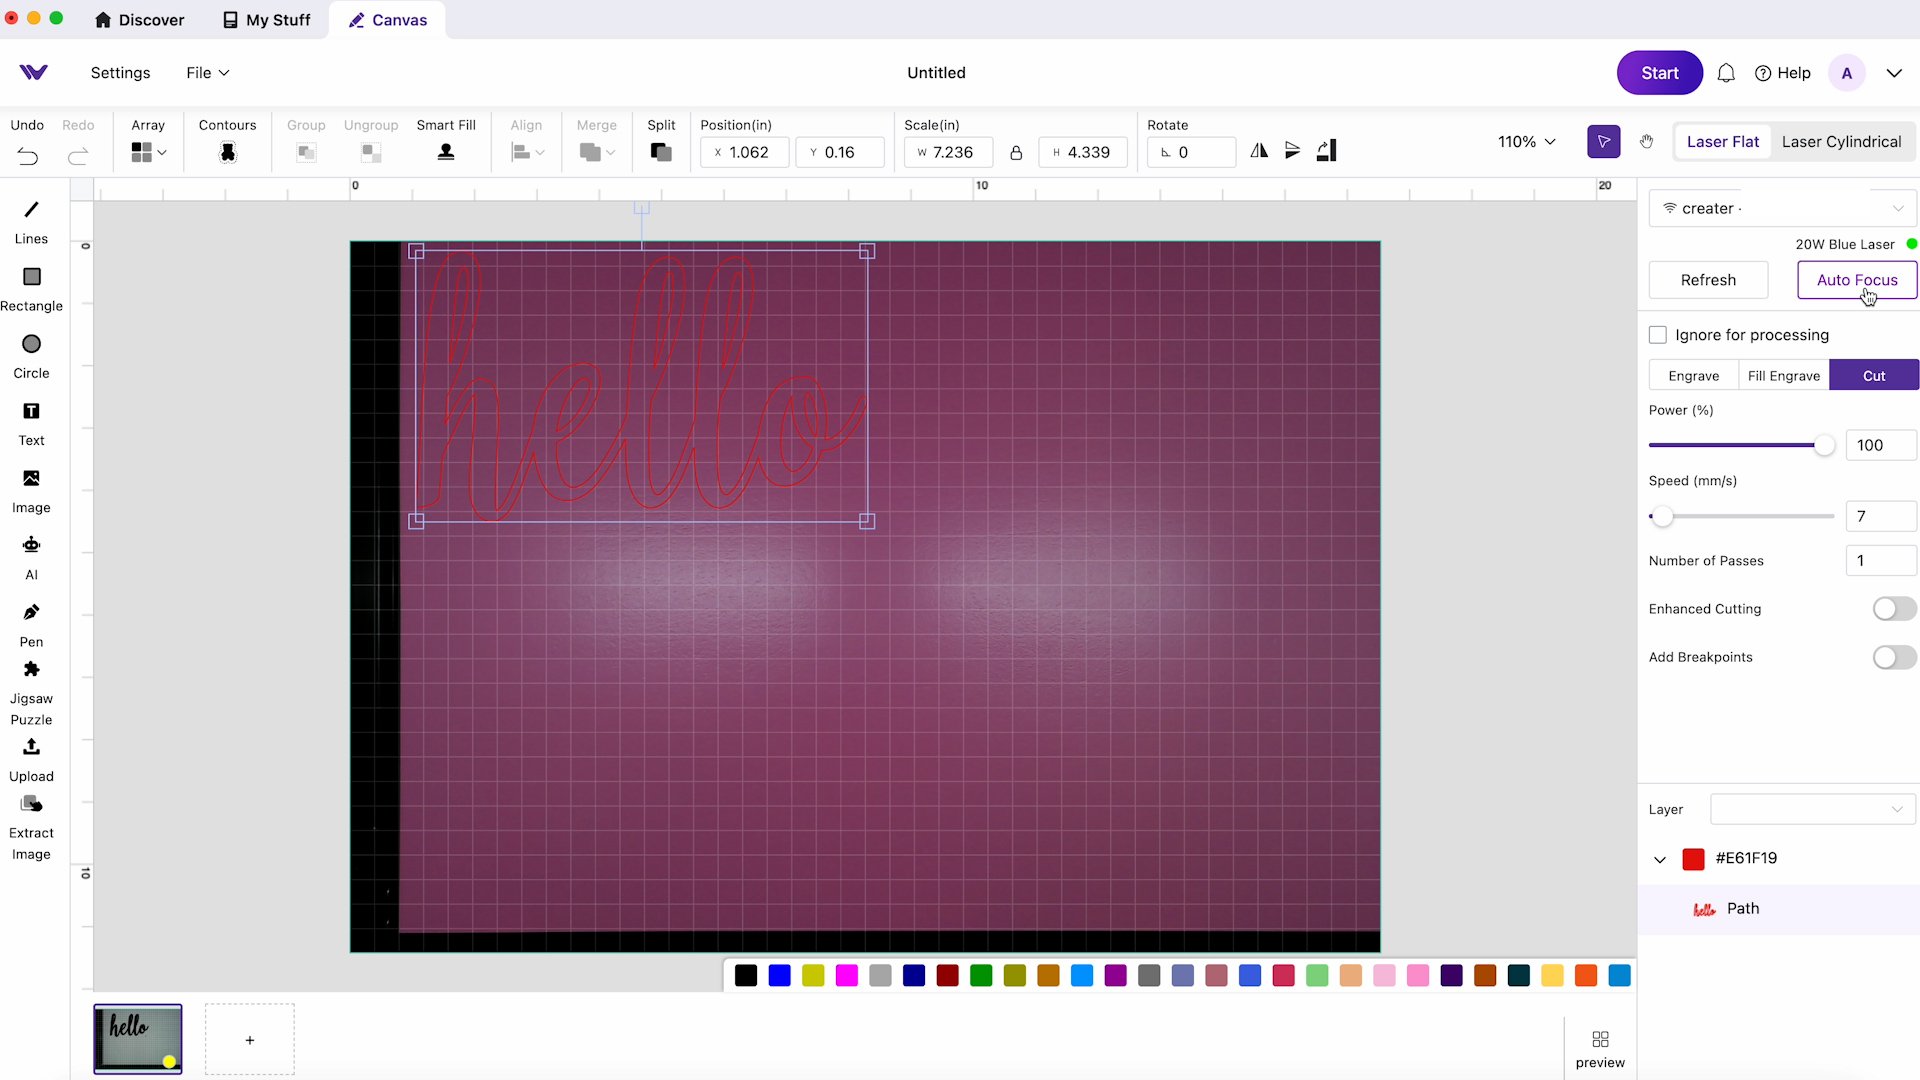
I want to cut out this design so I am selecting Cut.

At the top of the right side of the screen, make sure you have it set to Laser Flat. If you’re using the rotary attachment, you would select Laser Cylindrical.
Confirm there is a green light next to the laser name. This indicates everything is connected via WiFi.
Auto Focus on Material
Click the Auto Focus button, allowing the machine to auto-focus on the material.
The auto-lift feature may lower during this process. Because this material is fairly thin it doesn’t need to be very high. For thicker materials, it will stay raised all the way up.
Turn on the Air Filter
If you’re venting out a window, you do not need to worry about the air filter. If you are not venting out a window, make sure you turn on the air filter before you start cutting.
Cutting Wood
Click Start in the software to begin the cutting process. Then you will need to press the button on the front of the laser to start the cut.
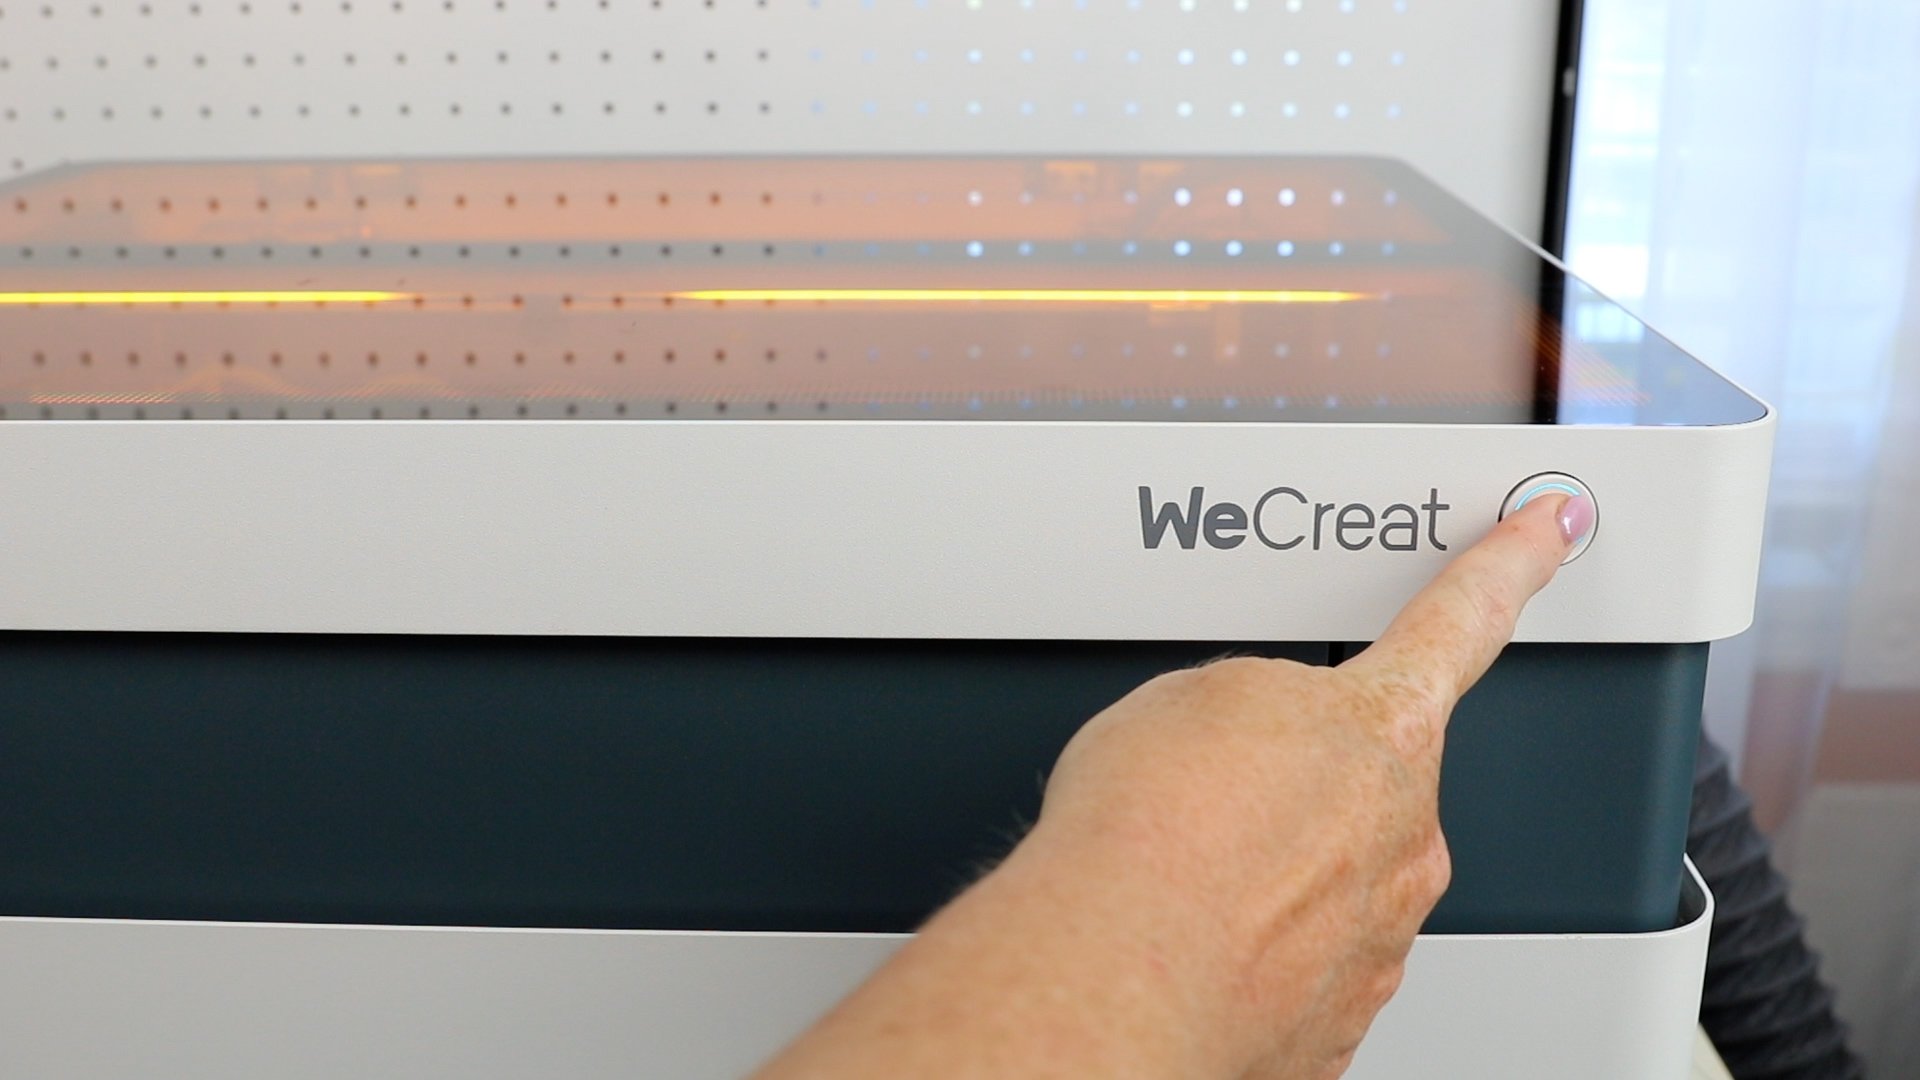
The laser will then cut the design that you added to the software.
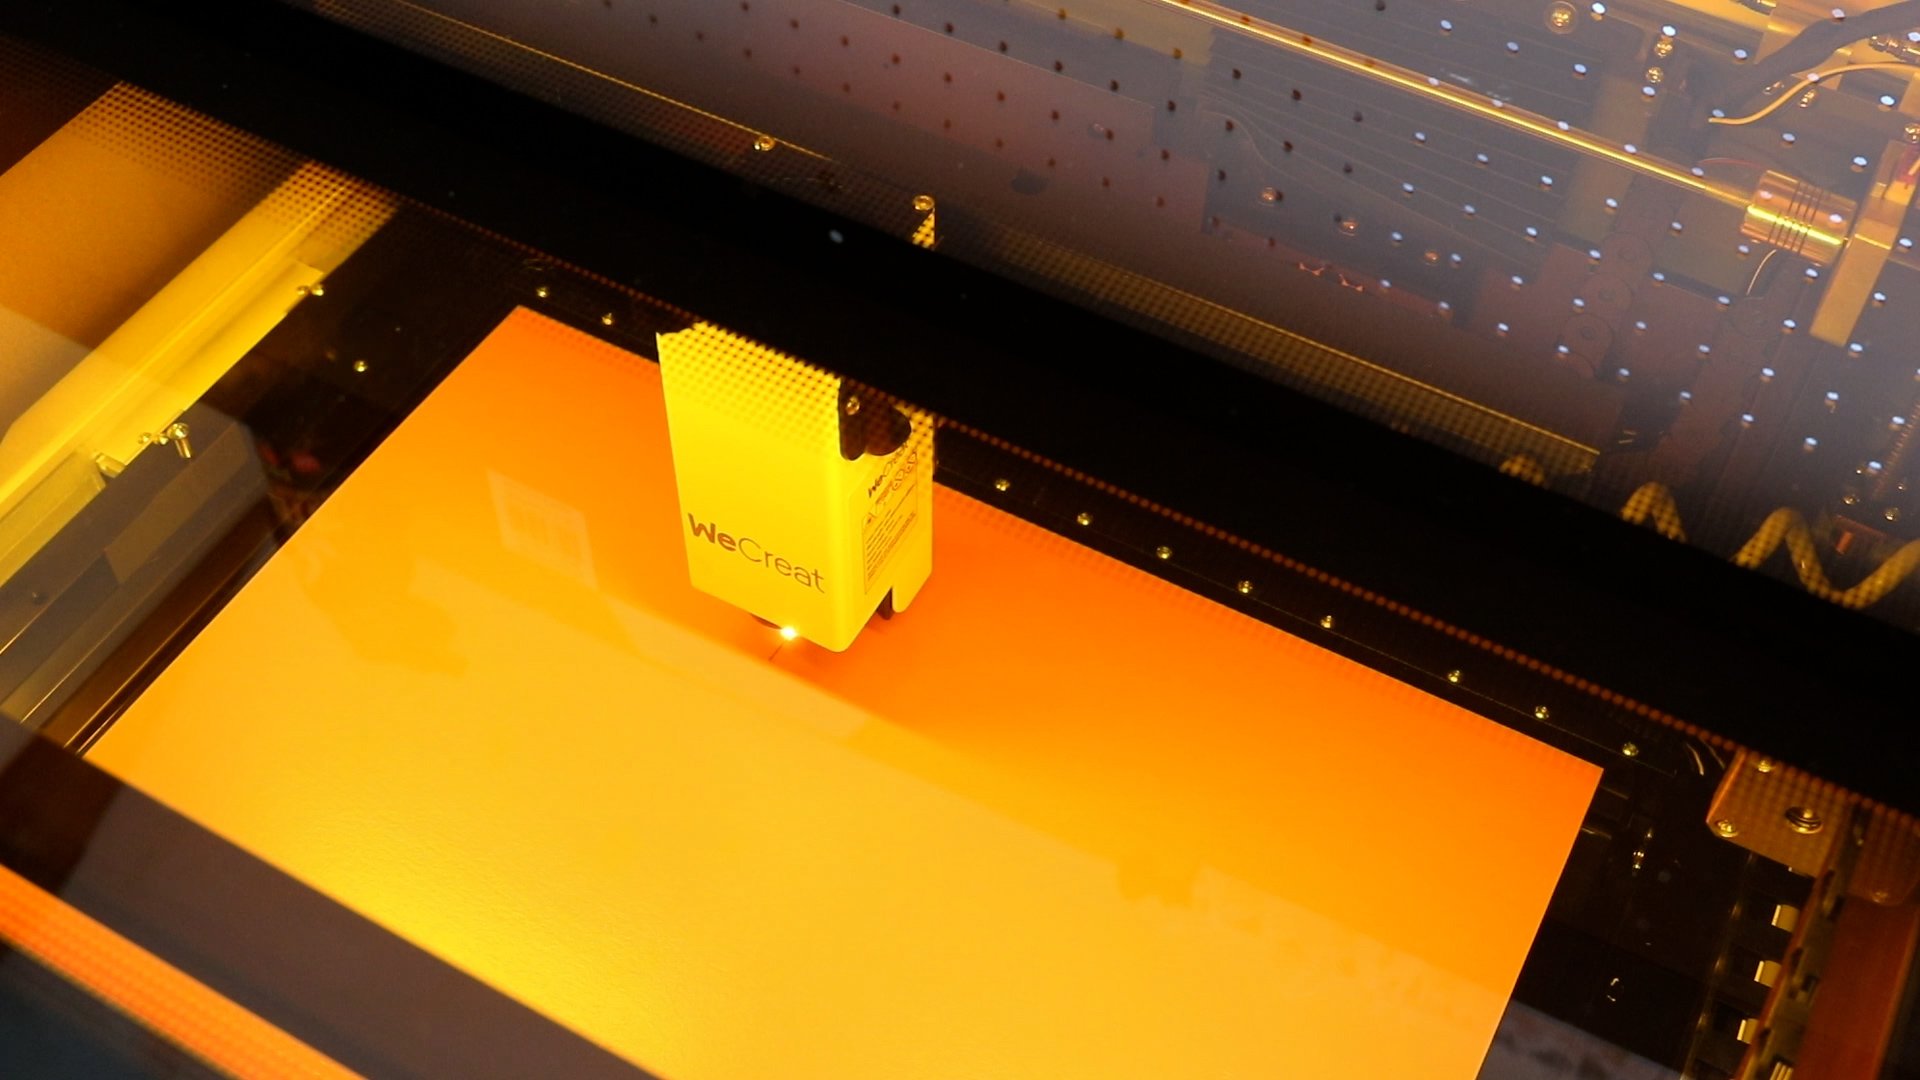
When the cut is complete, the WeCreat Vision will rise back up to the original height. You can then remove the cut material from the machine.
NOTE: The laser will be at its full height during the loading and unloading process.
How to Engrave Wood with the WeCreat Laser
Next, I am going to cut and engrave a piece of wood. I am using the same wood I cut above, the WeCreat painted wood.
The process overall is very similar to the project we just did above. I will just do a brief overview.
Set Up Design
Click the + sign to get a new canvas on the screen. Refresh the screen to see the material and now I can add the design.
I want to cut a circle out of the wood. I set the circle size to 10.5 x 10.5 inches and have that set to a Cut file type.
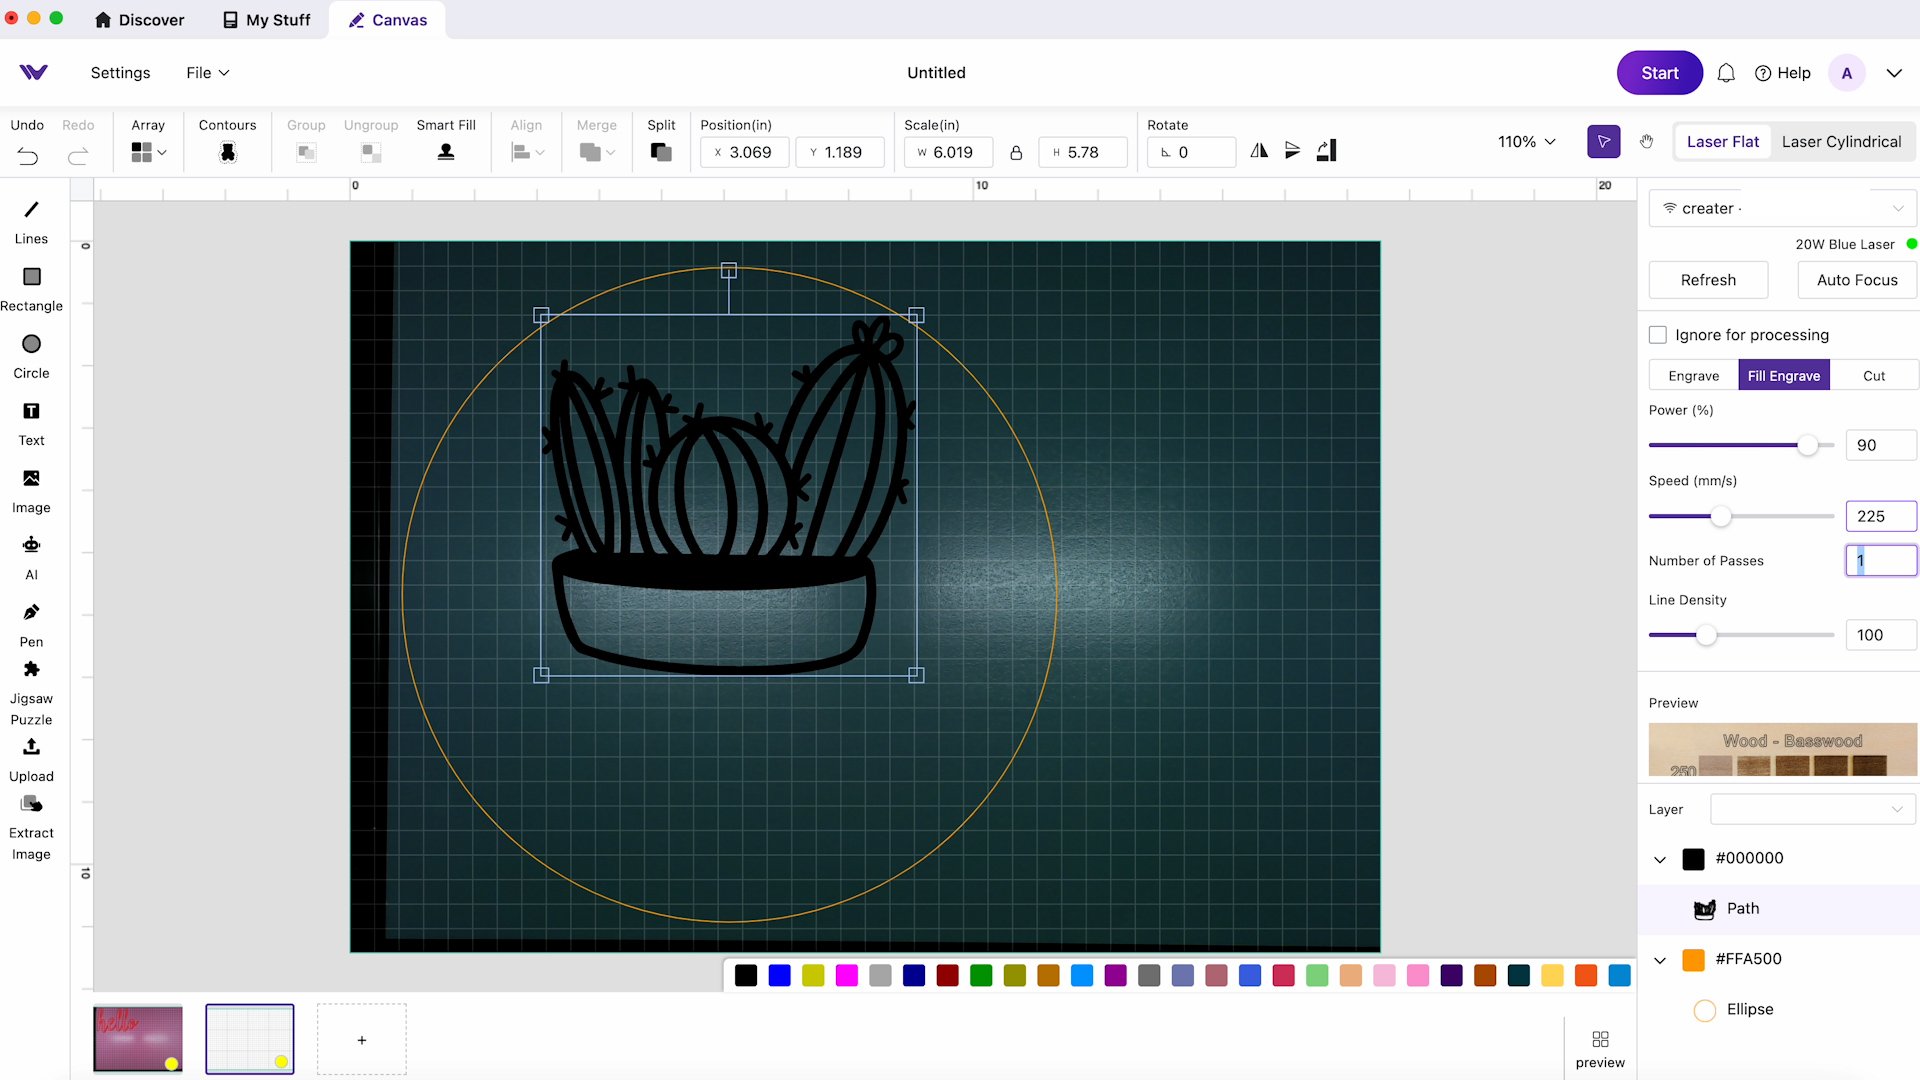
Now I’m adding a cactus SVG that I am going to have engraved into the wood. Change the file type to Fill Engrave and locate it where I want it on the circle that I am cutting.
For the Fill Engrave, I am setting the power at 90% with a speed of 225.
Engrave and Cut Wood
Click Auto-Focus and then Start. Click Send and then press the button on the front of the WeCreate Vision to start the project.
Once the project is complete, remove it from the Wecreat Vision.

Next, I want to try the 2-watt Infrared Laser Head to see how it performs. The 2-watt infrared laser head does not come with the machine. You will need to purchase it separately.
To install this laser head you need to
- Make sure your laser is unplugged. Any time you’re working on the inside of the machine it should be unplugged.
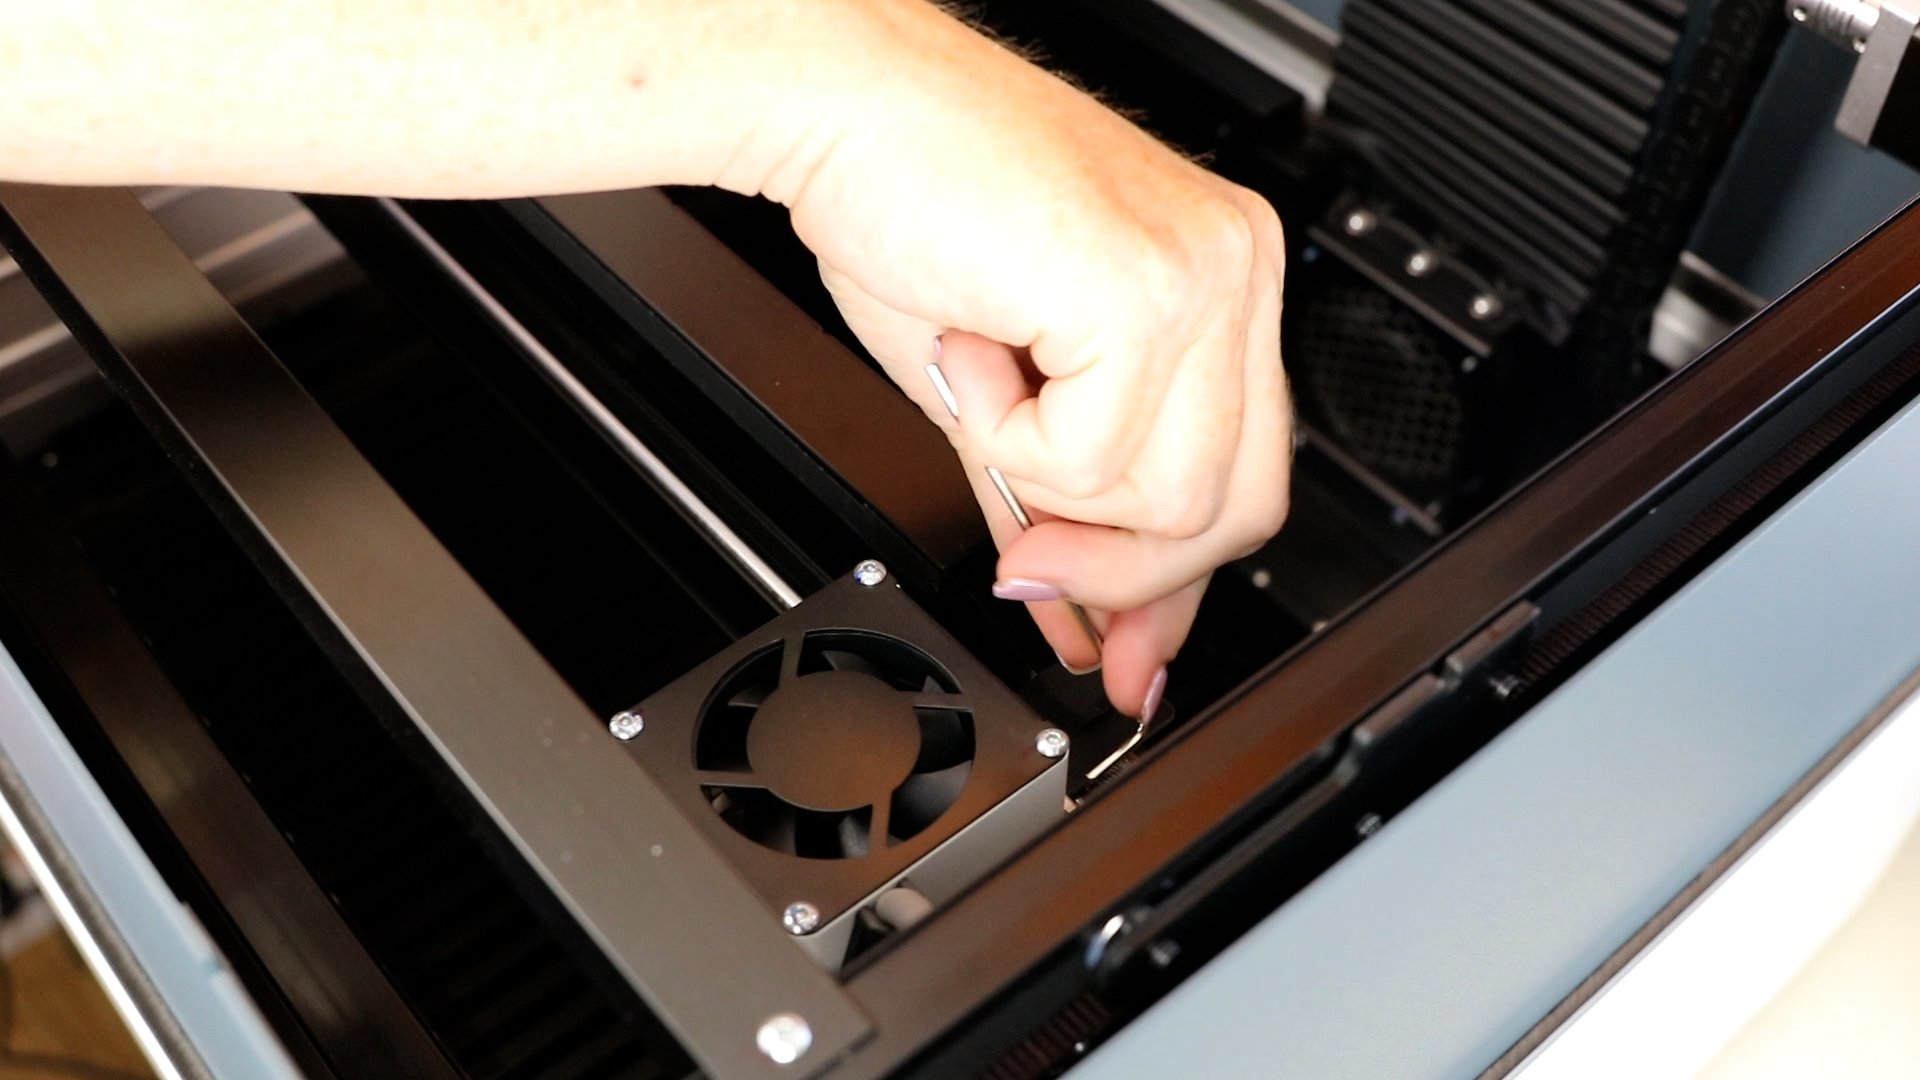
- Remove the 4 screws on the back of the laser module.
- Carefully lift the laser module off the x-axis.
- Open the black latch on the laser module’s control board and pull out the connecting wire.
- For the 2-watt Infrared laser head, you can remove the air tube. Rotate and loosen the metal nut of the air tube connector and pull off the air tube.
- A new circuit board comes with a new laser head. Remove the two screws and take out the board.
Note – Save the circuit board you removed if you plan to use the laser head again (in this case the 20-watt laser head). You will need to put it back by repeating this process in reverse.
- Install the circuit board that comes with the 2-watt laser module and replace the screws.
- Plug in the wire harness.
- Carefully place the module on the x-axis and replace the four screws.
- Plug the connecting wire into the module control board.
These steps are outlined in the manual that comes with the laser head.
Note – I had to reboot my laser several times to get it to recognize the 2-watt laser head. Check your connections and make sure they’re tight. You should see the 2-watt laser in the corner of the screen if you have it connected correctly.
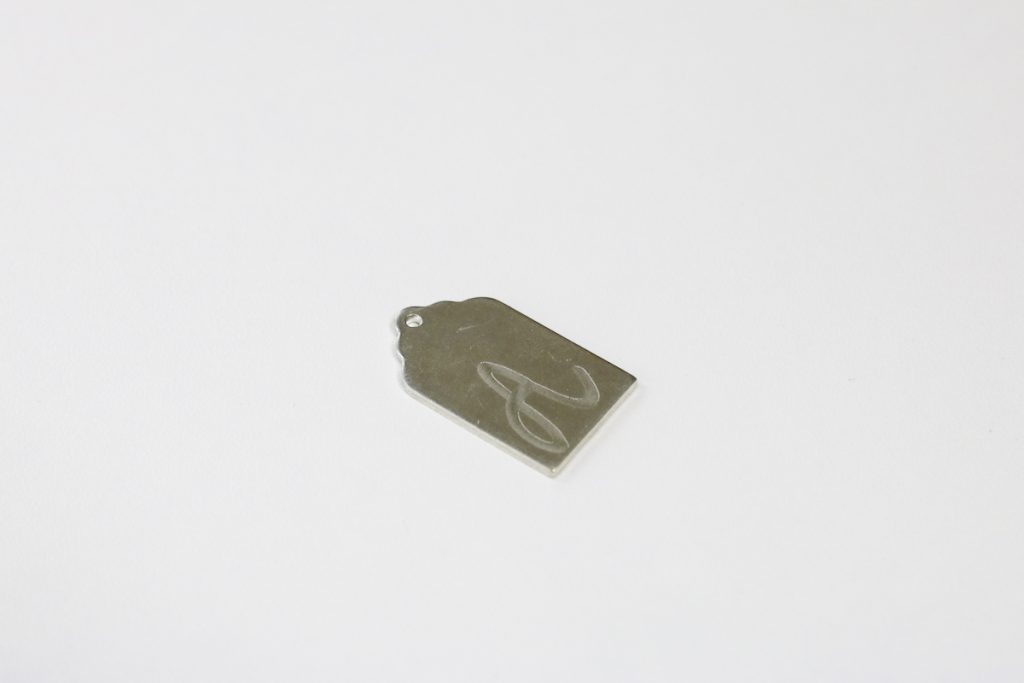
The 2-watt infrared laser head is perfect for doing small, intricate engraving projects. I am going to add a monogram to a small jewelry charm.
Making Design
Using the Text feature in WeCreat MakeIt I was able to scroll through fonts within the program and look at System fonts to choose which one I liked best.
Locate Design
Open the laser and add your blank. I added mine one top of piece of plywood that I also added to the laser. My charm was so small it would fall through the laser bed.
Refresh the screen to see the material inside the laser so you can size the monogram to fit the blank.

Auto Focus on Material
Next, I am going to click Auto-focus to focus on the material. Locate the laser head directly over the charm.
My Vision auto-focused perfectly on the charm.
Material Settings
When you select your material, the screen will look completely different from the other laser head.
I selected Metal and then chose a 0.8-millimeter Aluminum. There are a variety of different materials you can choose from to use with this laser head. Just like with wood you can see an example of what the engraving will look like so you can pick the right setting for the look you’re going for.
WeCreat Framing Option
Now we can click Start and send the design to the laser.
Because this blank is so small I am going to use the Framing option. Click the framing button while you’re standing next to your laser and it will frame out the entire area where it is going to engrave and you can make sure that it’s over your blank.
If the framing is not over your blank, you can either move the design within the computer program or move the blank itself and then relocate it in the program.
Note – Framing will start immediately when you press the button. You need to be next to your laser in order to see it when you click on it.
Engrave Your Blank
When you’re confident the framing is in the right location click Continue and then press the button on the front of the laser to start the engraving process.
The engraving was very quick and looks amazing on the charm.
Finished Project Results
Let’s look at the projects we made with the WeCreat Vision Laser.
20-watt Laser Head Projects
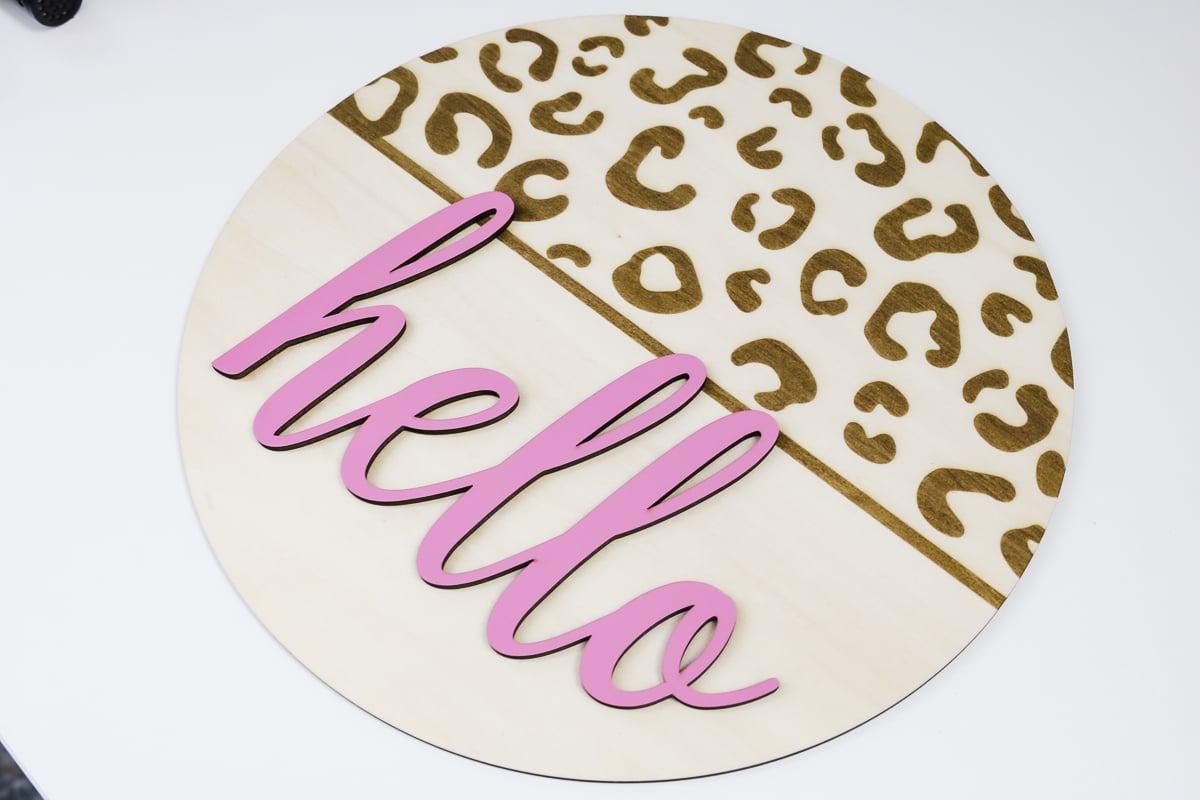
The first project I made was this Hello sign cut out of painted wood by WeCreat. I love this product, it’s one of my favorite materials I’ve cut with any laser so far.
Even without masking the wood, there was no residue and it cut really well.

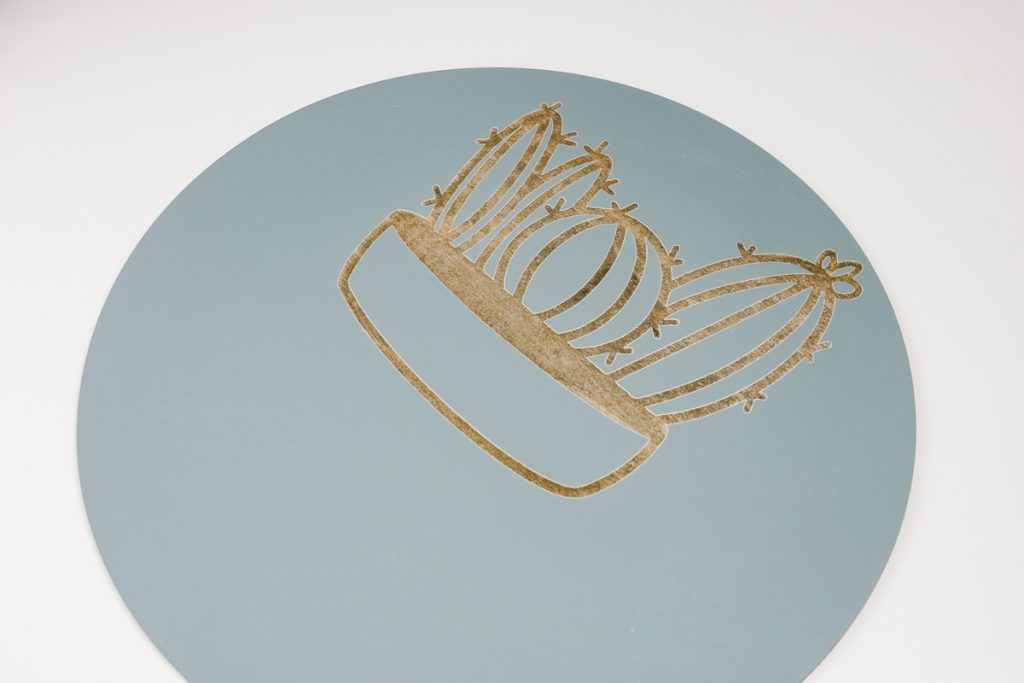
Next, I wanted to try cutting and engraving so I used the same painted wood product to see how it would do.
The cut lines once again look great and the engraving is really good but I don’t feel like it stands out well on this grey-painted wood.
I would make sure and test your blank before making a whole project to make sure the engraving stands out how you want it to.
There is nothing wrong with the engraving at all, it would just be more noticeable with a different color combination.
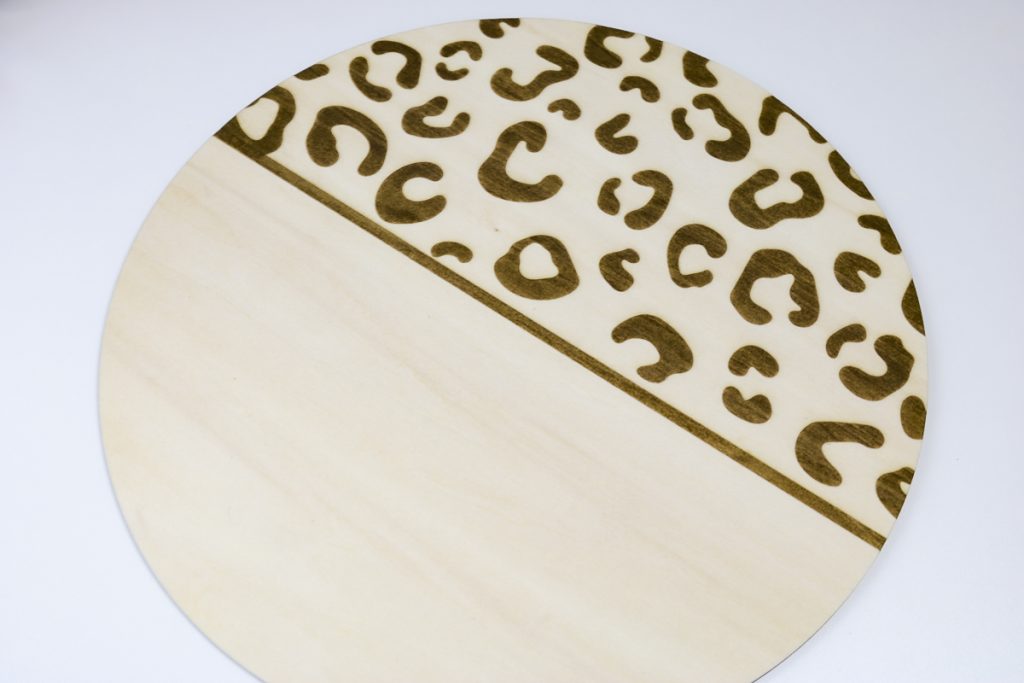
To really test the engraving I used a piece of plain wood and you can see the engraving stands out so much better with this light-colored unpainted wood.
Now, I can add my cute pink Hello cut out and I have a circle door hanger in no time. Simply add a ribbon or bow to the top and a way to hang it and it’s complete.
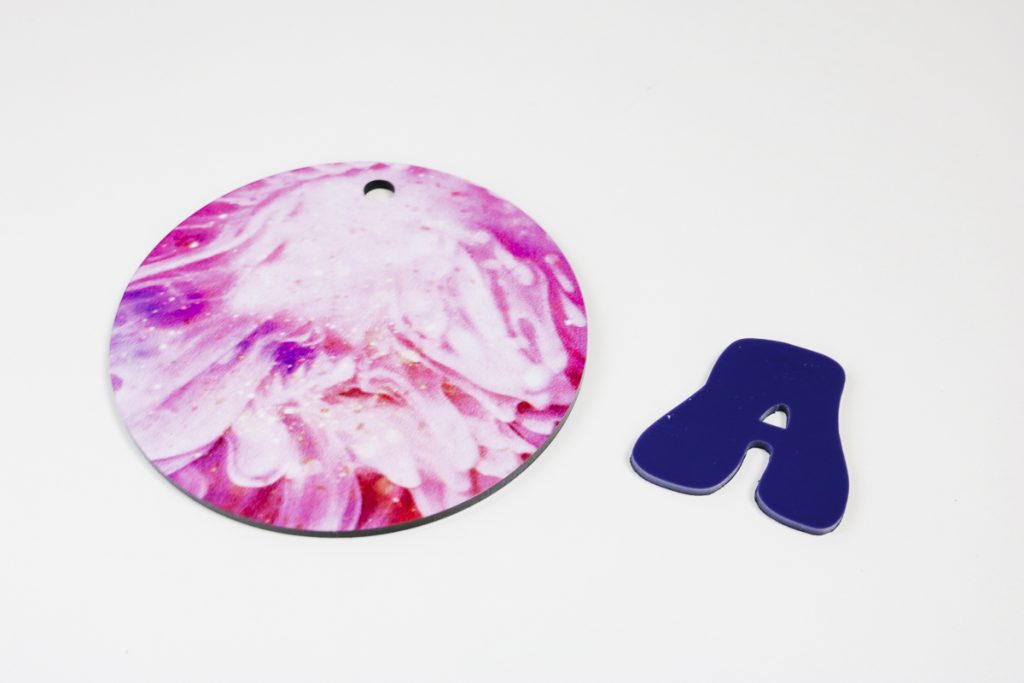
Next, I decided to try cutting acrylic with the WeCreat Vision. The first is a round tag, it is black acrylic with a design on both the front and back. It cut really well without any type of masking.
I also cut a plain acrylic A out of purple and again, it looks great. I think combining these two pieces will make a cute bag tag or keychain.
2-watt Infrared Engraving Head
The 2-watt infrared engraving head did a great job on the small charm. A 20-watt Diode laser wouldn’t even mark the surface of that shiny metal material. A diode laser can remove the coating from coated metal but it can not engrave metal. You need an infrared laser to do that.
The 2-watt laser head allows you to do really small, detailed engravings quickly and easily.
Changing out the laser head was a little tricky the first time but not hard. Just make sure you follow the steps. I feel like it’ll get easier now that I’ve done it once.
Pros and Cons of the WeCreat Vision Laser
Now that we’ve talked about the laser and looked at some projects I was able to make with it let’s talk about the pros and cons.
WeCreat Vision Pros
- I love how the laser rises up and down on its own. You don’t need to purchase a separate riser to do projects like tumblers.
- This laser comes with air-assist which is a great added benefit at no additional cost.
- I used the 20-watt laser head today and it did great. You can choose the 40-watt laser head to get increased capacity and I think it will work equally as well.
- The photo in the software that shows you what the different settings will look like for engraved projects is a great feature and helped me achieve great results the first time.
- The setup was very easy, with no problems at all.
WeCreat Vision Cons
- I found the software a bit hard to use and I definitely think it has a learning curve. Once you use it a few times, it will probably be easier but at first, it may frustrate you.
- I love the auto-rise base but don’t love that it always stops in the fully up position. Because it is tall it can be difficult to lean into to change materials. If you aren’t very tall, you will want to put this on a lower table or get a step stool so you can easily reach into it.
- The framing option worked well but I didn’t like that it started immediately after I pressed the button. I have a laptop so I was able to move it close to the laser so I could watch it but if you only have a desktop computer you may need someone to help you do that part.
- I like that you can purchase an air filtration system to work with this laser but it is quite loud while it is running.
- The other thing I didn’t love about the air filtration system is that it does not come on automatically when the laser turns on. You will have to remember to start it before you start the laser. Your laser does need to filter either out the window or through the air filtration system so you may need to add a reminder to your table or the front of the laser to make sure you do not forget to turn it on.
My Wecreat Vision Review
I really like the WeCreat Vision Laser and cannot wait to use it on my projects in the future. There are a lot of features that I am a fan of and I think the items on the con list will lessen as I am able to use it more.
Where to Get More Information and Purchase the WeCreat Vision
Use the links below to purchase your own Wecreate laser.
If there is anything you’d like to see me make or if you have more questions about the setup or the WeCreat MakeIt software, leave them in the comments and I’ll be happy to answer them for you.