This post and photos may contain Amazon or other affiliate links. If you purchase something through any link, I may receive a small commission at no extra charge to you. Any supplies used may be given to me free of charge, however, all projects and opinions are my own.

Today I am going to show you how to press a DTF transfer to a shirt. If you’re interested in DTF printing and how to use it even if you don’t own a DTF printer, I’m here to help.
This tutorial is all about pressing DTF transfers, not about using a DTF printer or printing your own designs. If you are interested in learning more about DTF printers, my beginner’s guide is a great place to start.
You can watch Cori and me go through the whole process of pressing a DTF transfer by pressing play on the video below.
What is a DTF Transfer?
DTF stands for Direct to Film. DTF is different than sublimation because it can be used on any type of fabric in any color. True DTF prints include white ink so they can be added to any color of fabric, including dark colors. DTF ink is also opaque so the fabric does not show through the print.
DTF does sit on top of the fabric vs. becoming part of the fabric like sublimation. I think DTF prints have a really nice feel to them, they are thinner than HTV and have a long wash/wear life.
A DTF transfer is a design that is printed onto film with DTF ink. You will use a heat source to apply the transfer to your material to create a finished product.
Where to Order DTF Transfers?
You can order DTF transfers from a variety of different places. I have used and recommend everyone listed below. I do not have a specific Etsy seller that I use. If you choose to use Etsy, make sure you check the reviews for each shop. I like to read a variety of reviews to make sure any questions I have are answered.
If you own a DTF printer, you can print your own transfers. If you don’t, try ordering a gang sheet and try a few different projects.
How to Press DTF Transfers
Now that we’ve talked about what DTF is and how it works, let’s make a project.
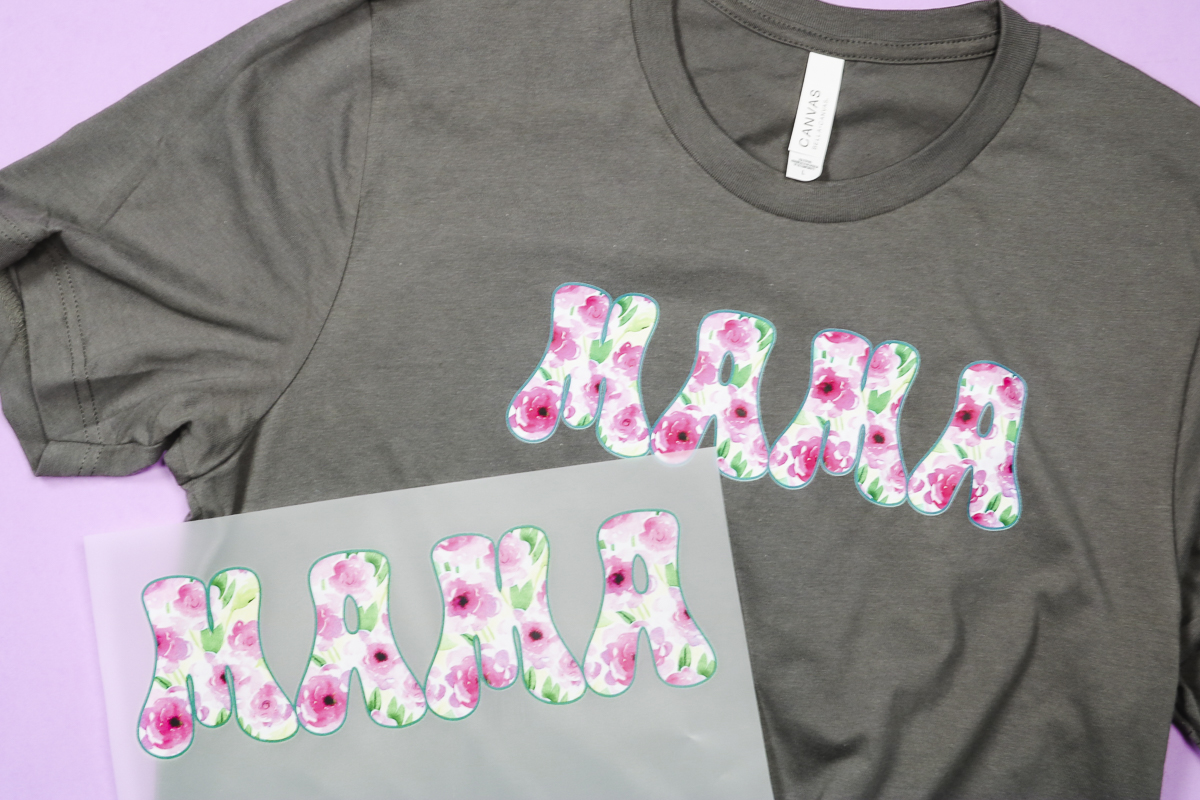
For my project today, I am going to add a DTF transfer to a shirt but you can add them to a variety of textile surfaces.
Supplies Used:
Step 1: Prepare the Blank
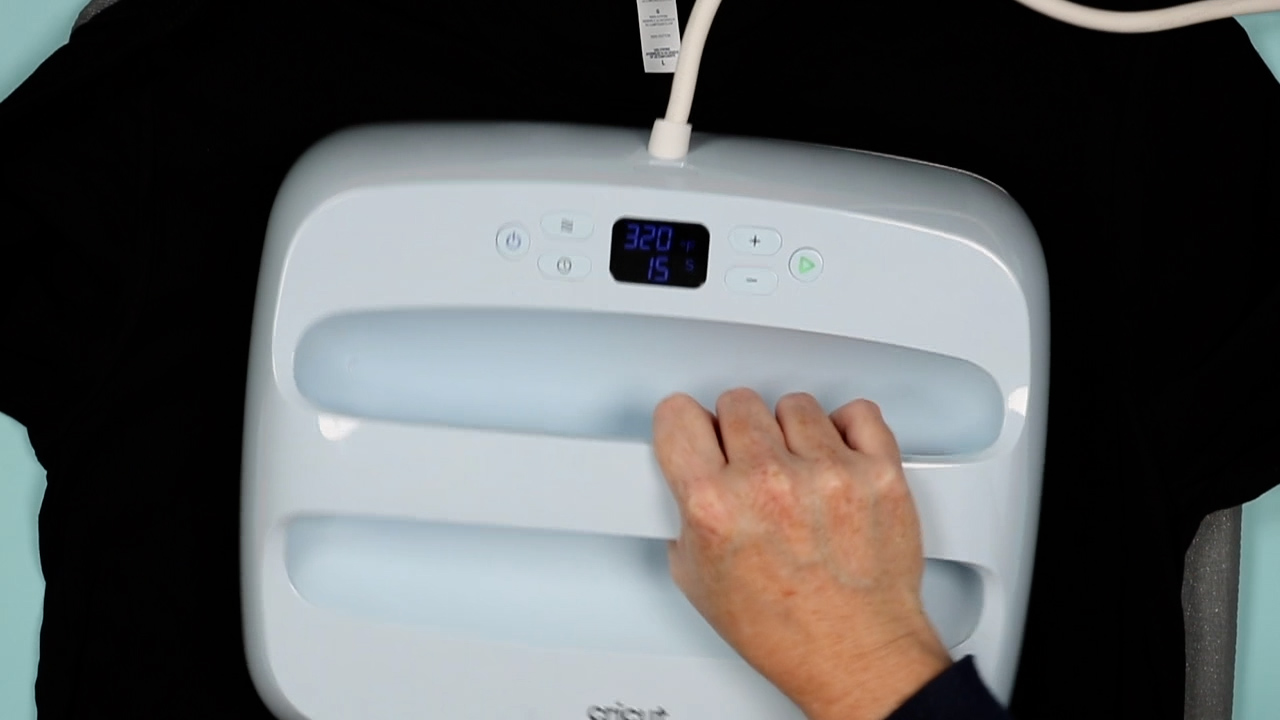
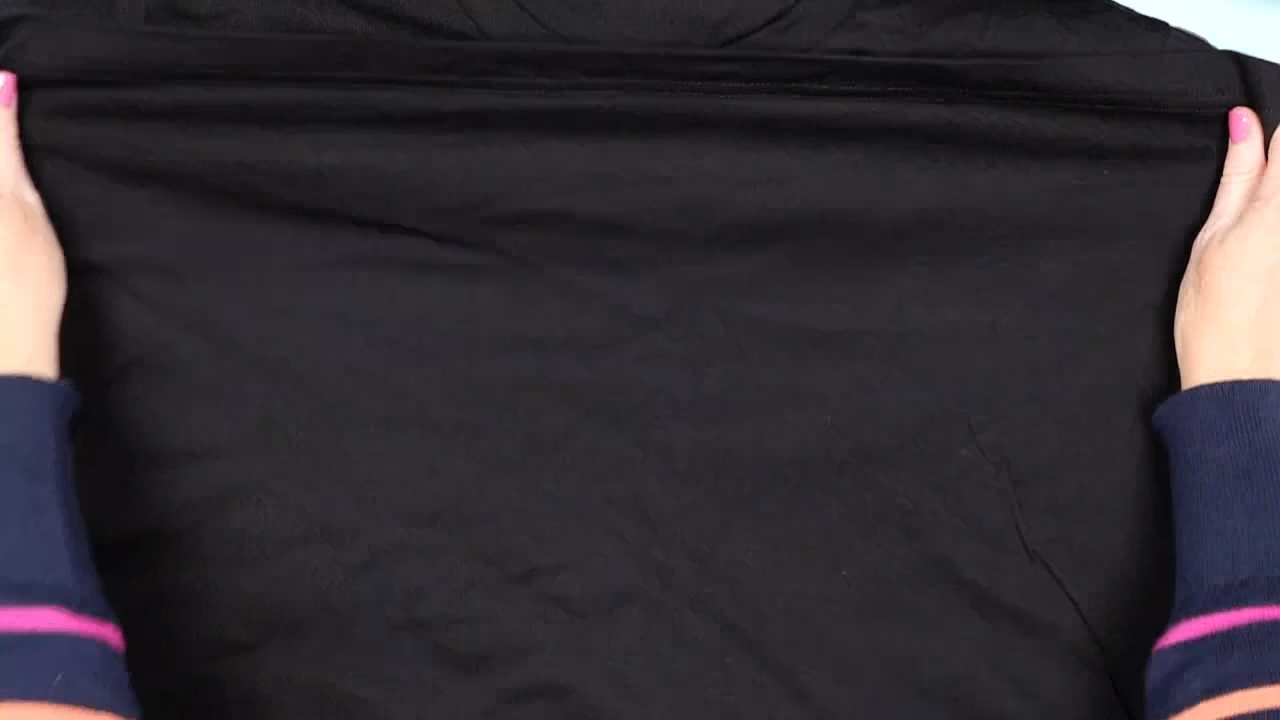
First, prepare the blank. You want to preheat the blank to remove any wrinkles and moisture from the fabric.
Use the same temperature that you will use to press the DTF transfer. Your transfer should come with recommendations for time and temperature. If it doesn’t, a general rule is 325 degrees for 10-15 seconds. Because I am using my EasyPress I am upping the time to 20 seconds.
You can adjust the time and press again if you find that the DTF transfer hasn’t stuck down well.
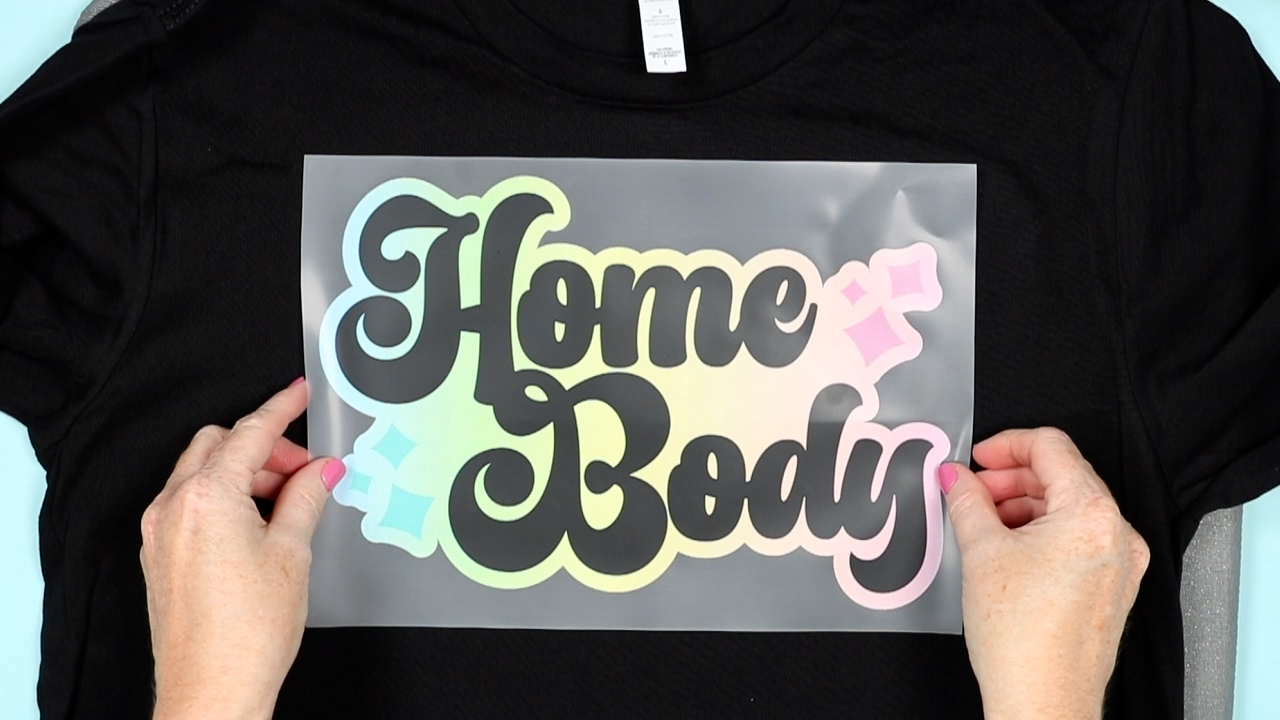
Step 2: Locate DTF Transfer on the Blank
Now we’re going to add the DTF transfer to the blank. Use a ruler or a shirt placement tool to locate it exactly where you want it.
Because an EasyPress can move while you’re pressing, use heat-resistant tape to hold the print in place. If you’re using a regular heat press, the tape may not be necessary.
Step 3: Transfer the DTF Print to the Blank
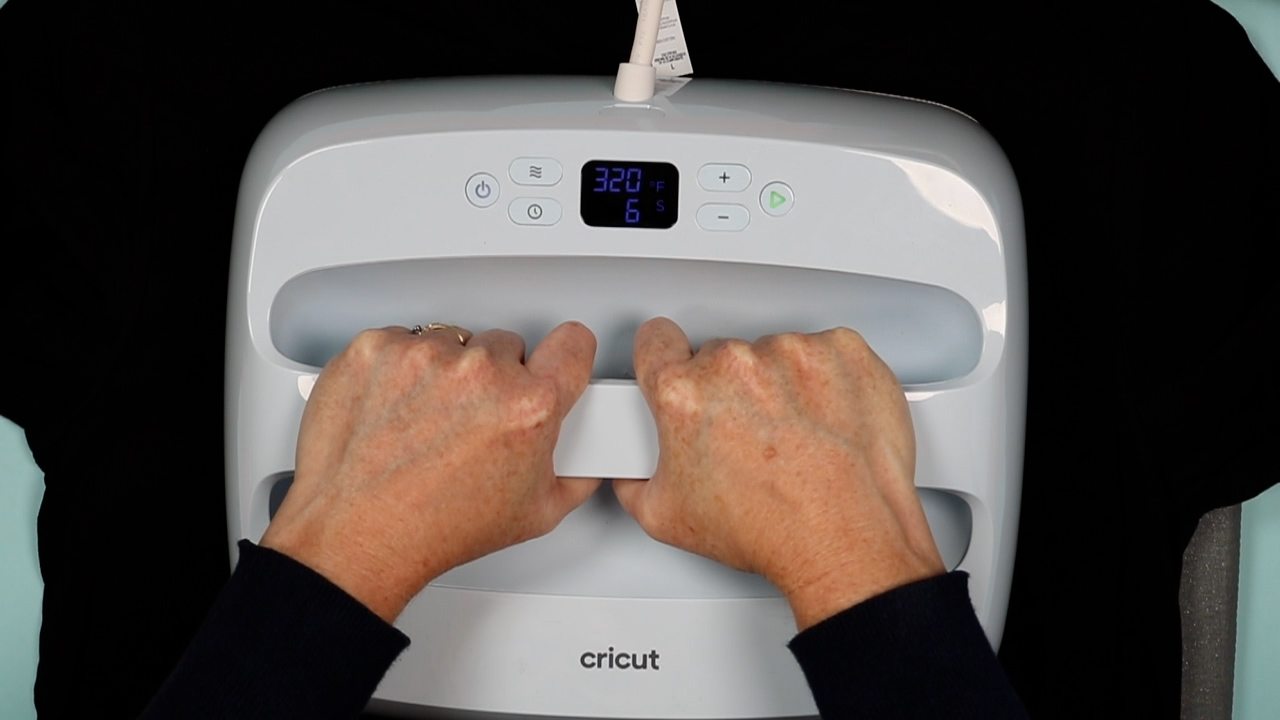
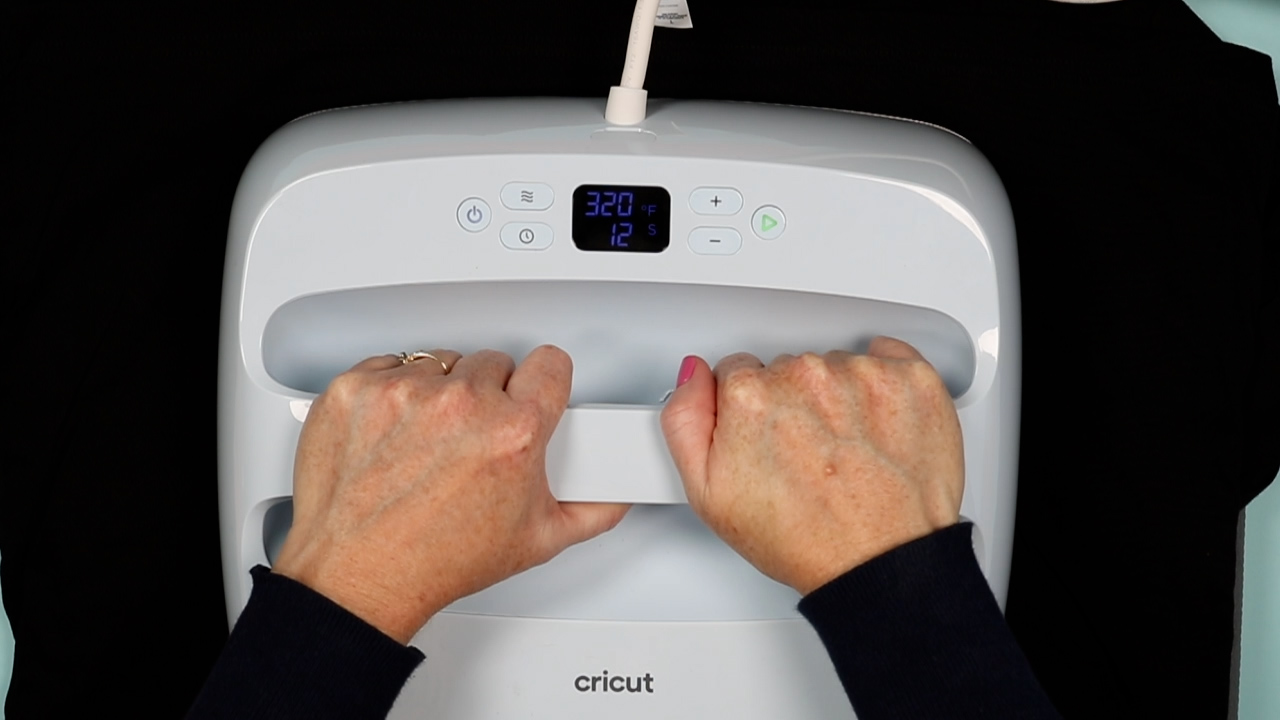
With the print located, press the design for the recommended time and temperature.
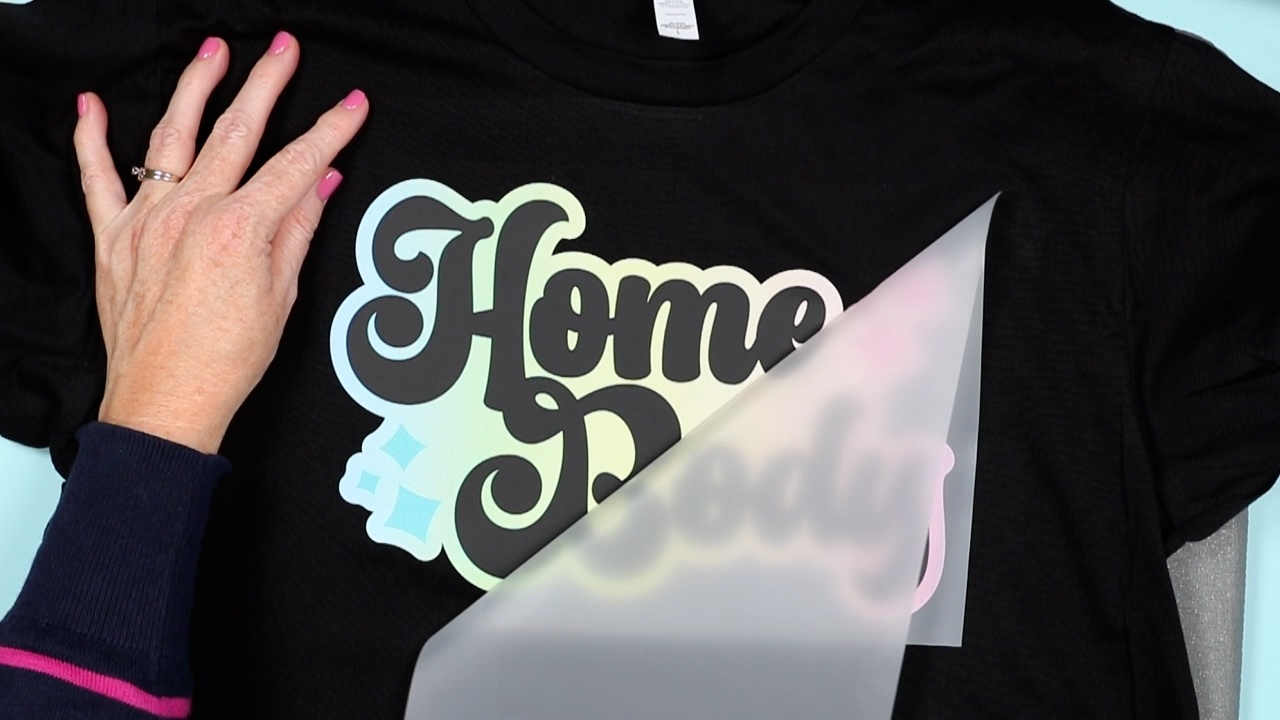
Allow the DTF print to cool before peeling back the carrier sheet. You can speed up the cooling process by rubbing a DTF Cooling Block over the surface.
When the design is cool, peel back the carrier sheet, and peel it back in a continuous motion.
Step 4: Post Press Print
With the carrier sheet removed, cover the print with a pressing cloth or just take the end of the shirt and put over your design.
Press again for the recommended time and temperature. This second press will finish the adhesion of the print and really get it into the fibers of the shirt!
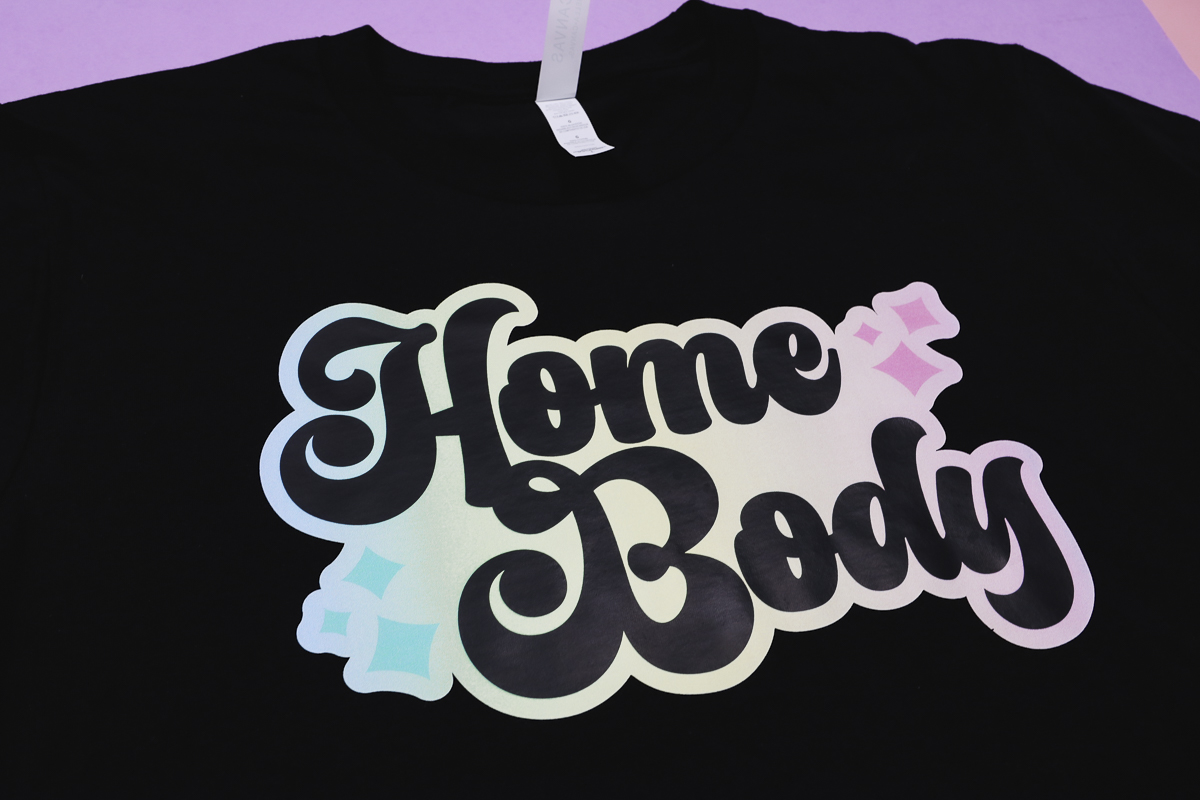
After the post-press, your shirt is finished!
Avoid stretching the design or washing it for 24 hours. Follow the washing instructions recommended for your print type.
DTF Print FAQ
Here are a few common questions about DTF prints.
What Heat Press Can You Use with DTF Transfers?
For DTF transfers, you can use just about any heat press. I have used an EasyPress, the Cricut Autopress, and a regular heat press.
You do want a consistent temperature and pressure across the whole design. If your press is smaller than the design you can press it in multiple passes.
What Blanks Can You Add DTF Prints To?
I’ve tested a variety of different blanks and Cori from Hey, Let’s Make Stuff tested some others and we’ve found that DTF transfers work really well on porous surfaces like fabric, tote bags, shirts, hats, and even wood.
It does not work well on hard surfaces like ceramic and glass. In our experience, it peeled off like a sticker on those hard surfaces.
Do I recommend DTF prints?
I love how DTF prints look when they’re transferred. They feel great and the ability to add them to any type of fabric and any color makes them a favorite.
Currently, I am ordering my DTF prints. Due to the cost and maintenance of DTF printers, I have decided to order my prints until the printers evolve more.
Even without a DTF printer, I love the prints so much that I can’t stop using them.
I hope I’ve answered any questions you have about how to press DTF transfers. If you have any additional questions leave them in the comments and I’ll be happy to answer them for you.