This post and photos may contain Amazon or other affiliate links. If you purchase something through any link, I may receive a small commission at no extra charge to you. Any supplies used may be given to me free of charge, however, all projects and opinions are my own.

Are you tired of weeding HTV? Today I am going to show you an amazing self weeding paper from iColor Presto. This material makes using detailed designs easier than ever. You can use any fabric type in any color with this paper which makes it a great option for people who don’t want to weed and want to use dark colored or cotton materials.
Are you trying to decide which heat press is right for your crafting needs? Between the Autopress, EasyPress, and clamshell presses, there are a lot of options on the market. Learn all about different heat presses in my heat press comparison post.

The iColor Presto self weeding paper is a two-step process that is used with a laser printer. You can use any laser printer with this paper. The laser printer I used only prints black which works great with this product.
You can watch me walk through the whole process by pressing play on the video below.
What is Self Weeding Paper?
iColor Presto two-step self weeding paper is a colored sheet you print on with a laser printer. After printing you add an adhesive and then press.
You’re able to get super intricate, detailed designs without having to weed anything. If you’re tired of weeding HTV this product may be perfect for you.
This product is only one color. So you would only use it on a design that works with a single color. You can get the paper in letter, tabloid, and A4 size and it comes in a wide variety of colors, both plain and metallics.
I am testing it on shirts that are both cotton and cotton-poly blends. I think, as long as the fabric can handle the heat you can use this product.
Supplies Used
A Closer Look at iColor Presto Self Weeding Paper
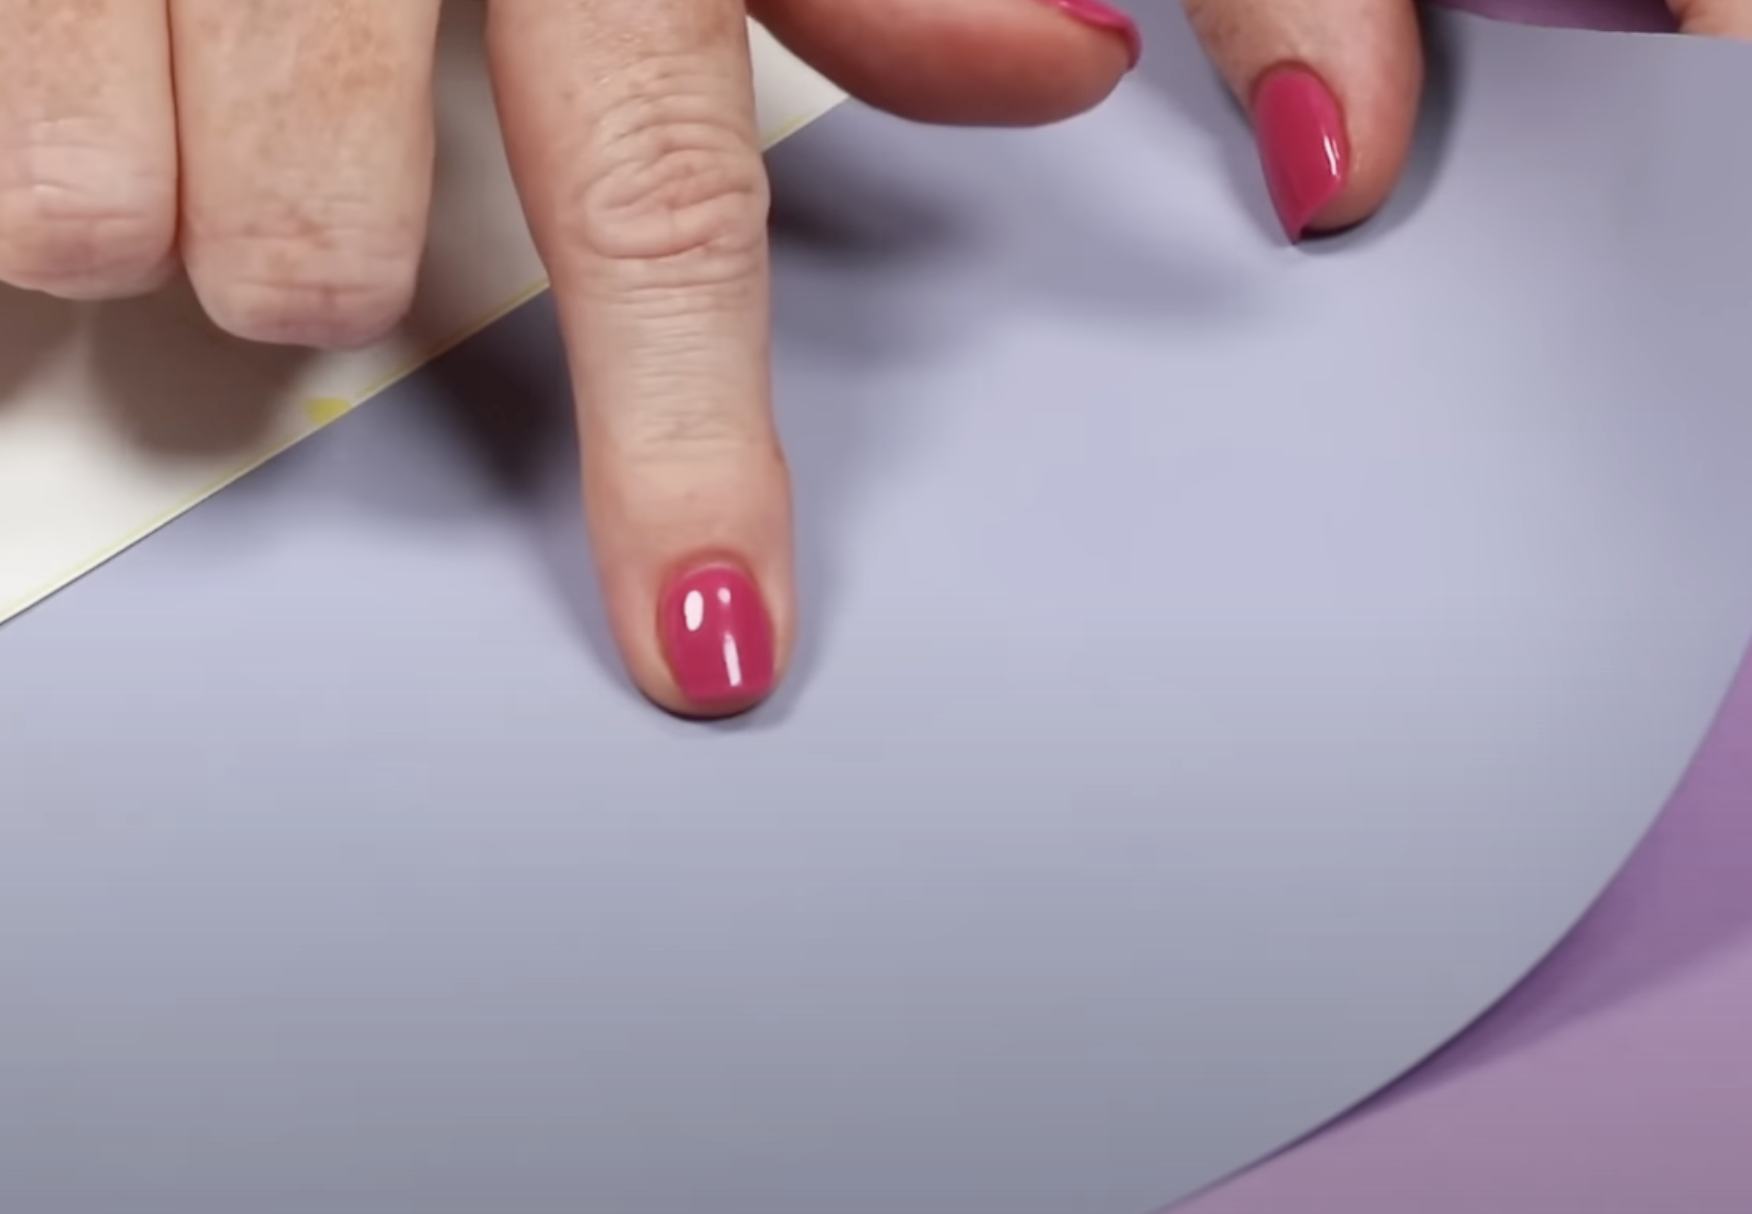
There are three sheets that come in the package. The first is a set of colored sheets and there is a shiny side and a dull side. You will print onto the dull side.
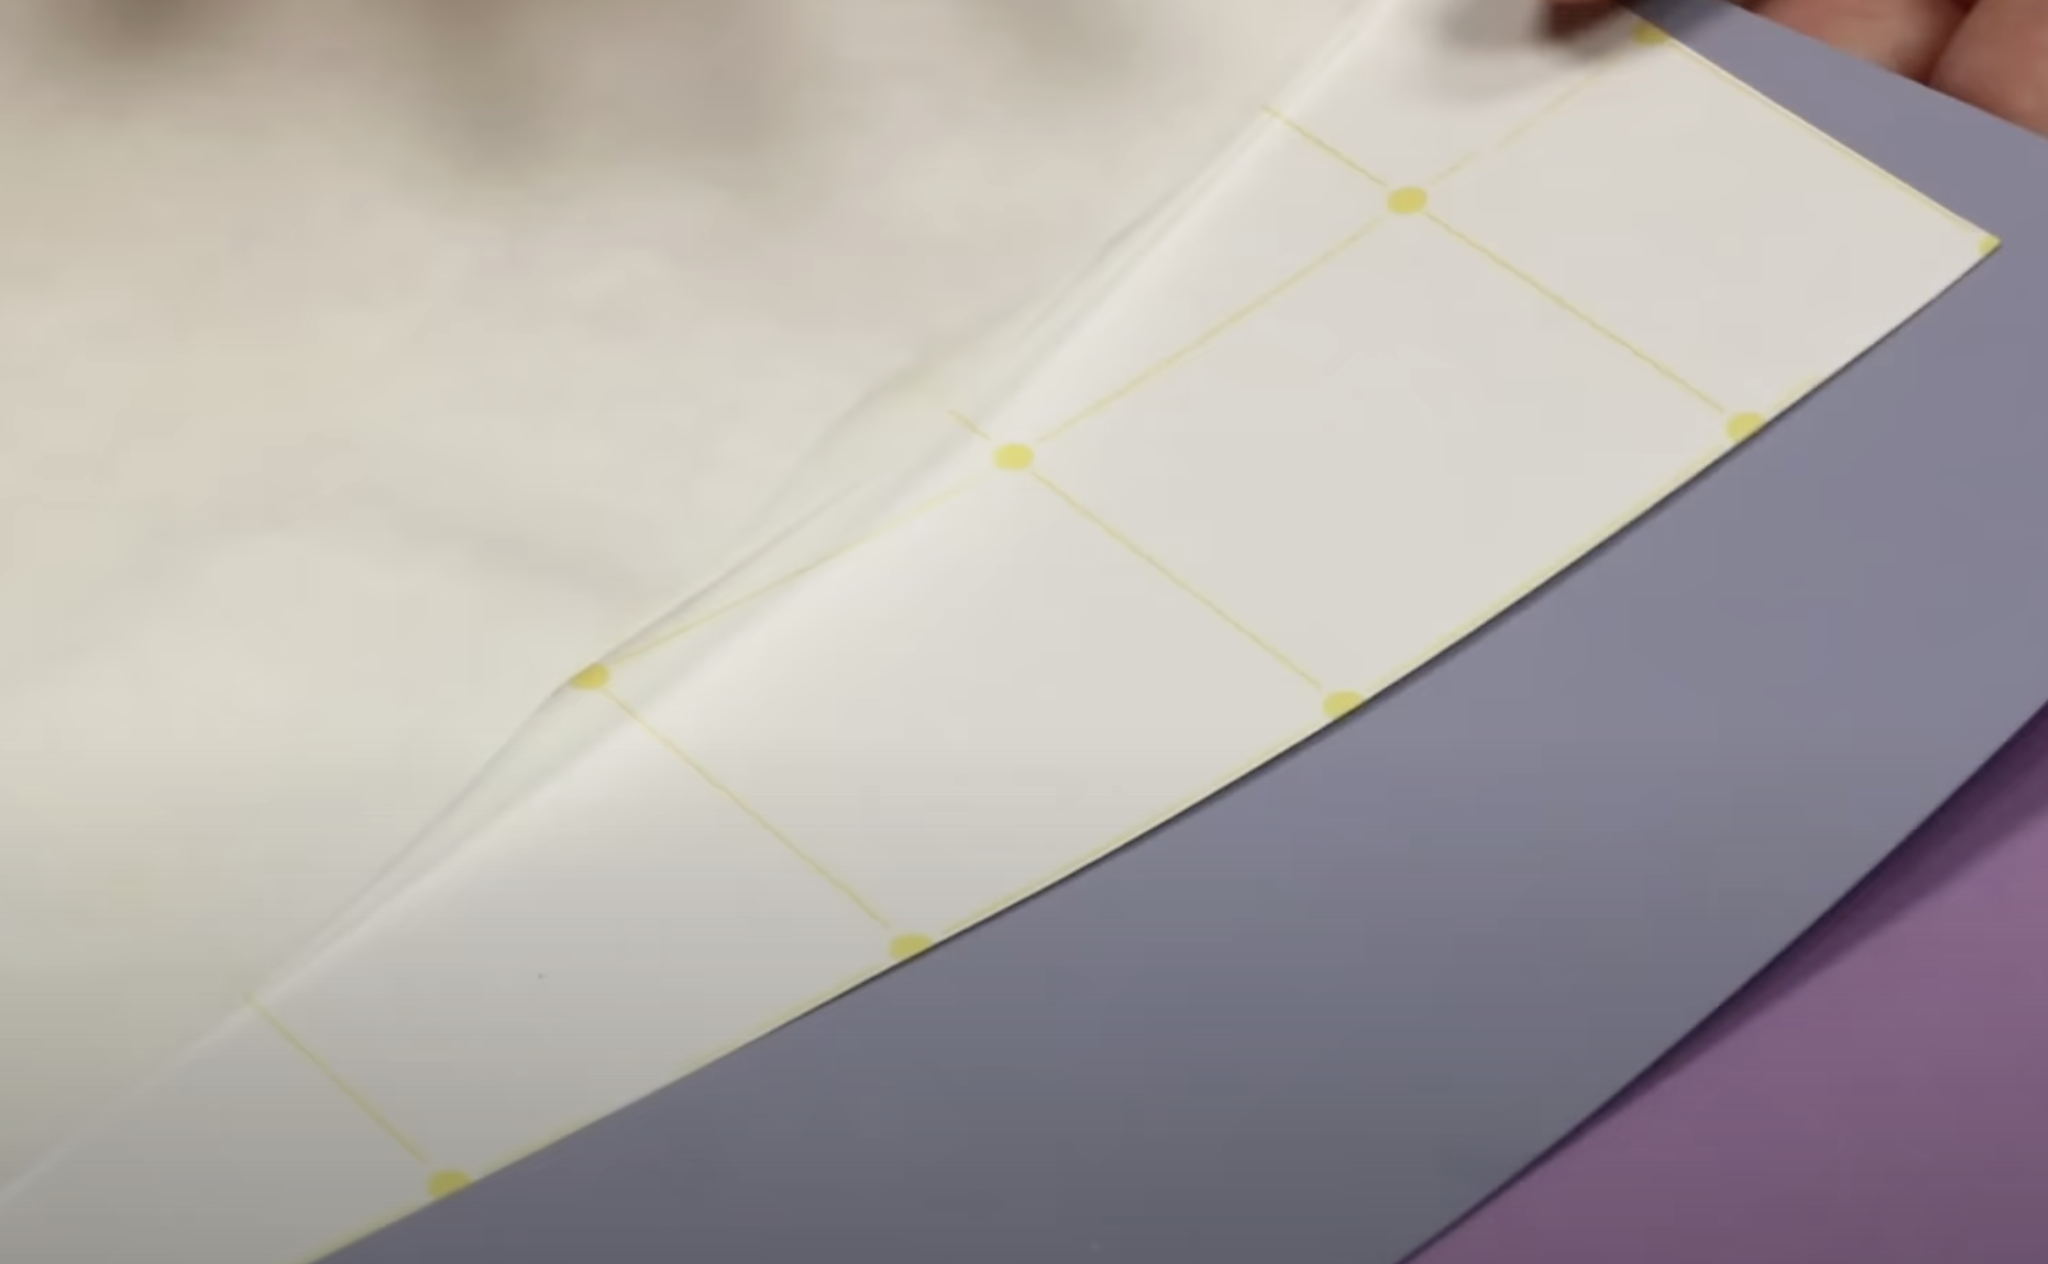
The second sheet is an adhesive sheet. There is a liner that has a yellow grid and the other side is an adhesive. The third sheet is a cover sheet that you’ll use in the heat press to cover the self weeding paper.
How to Use iColor Presto! 2 Step Paper
Now that you have your supplies, it is time to use this paper to make a project!
Step 1: Print on Paper
Before you begin make sure you know what side of the paper your printer prints on. You need to print on the dull side of the self weeding paper so you need to know how to load it into the printer.
If your laser printer is a color printer, you want to print in black and white or monochrome. If you can change the percent of your colors, set it to 100% black.
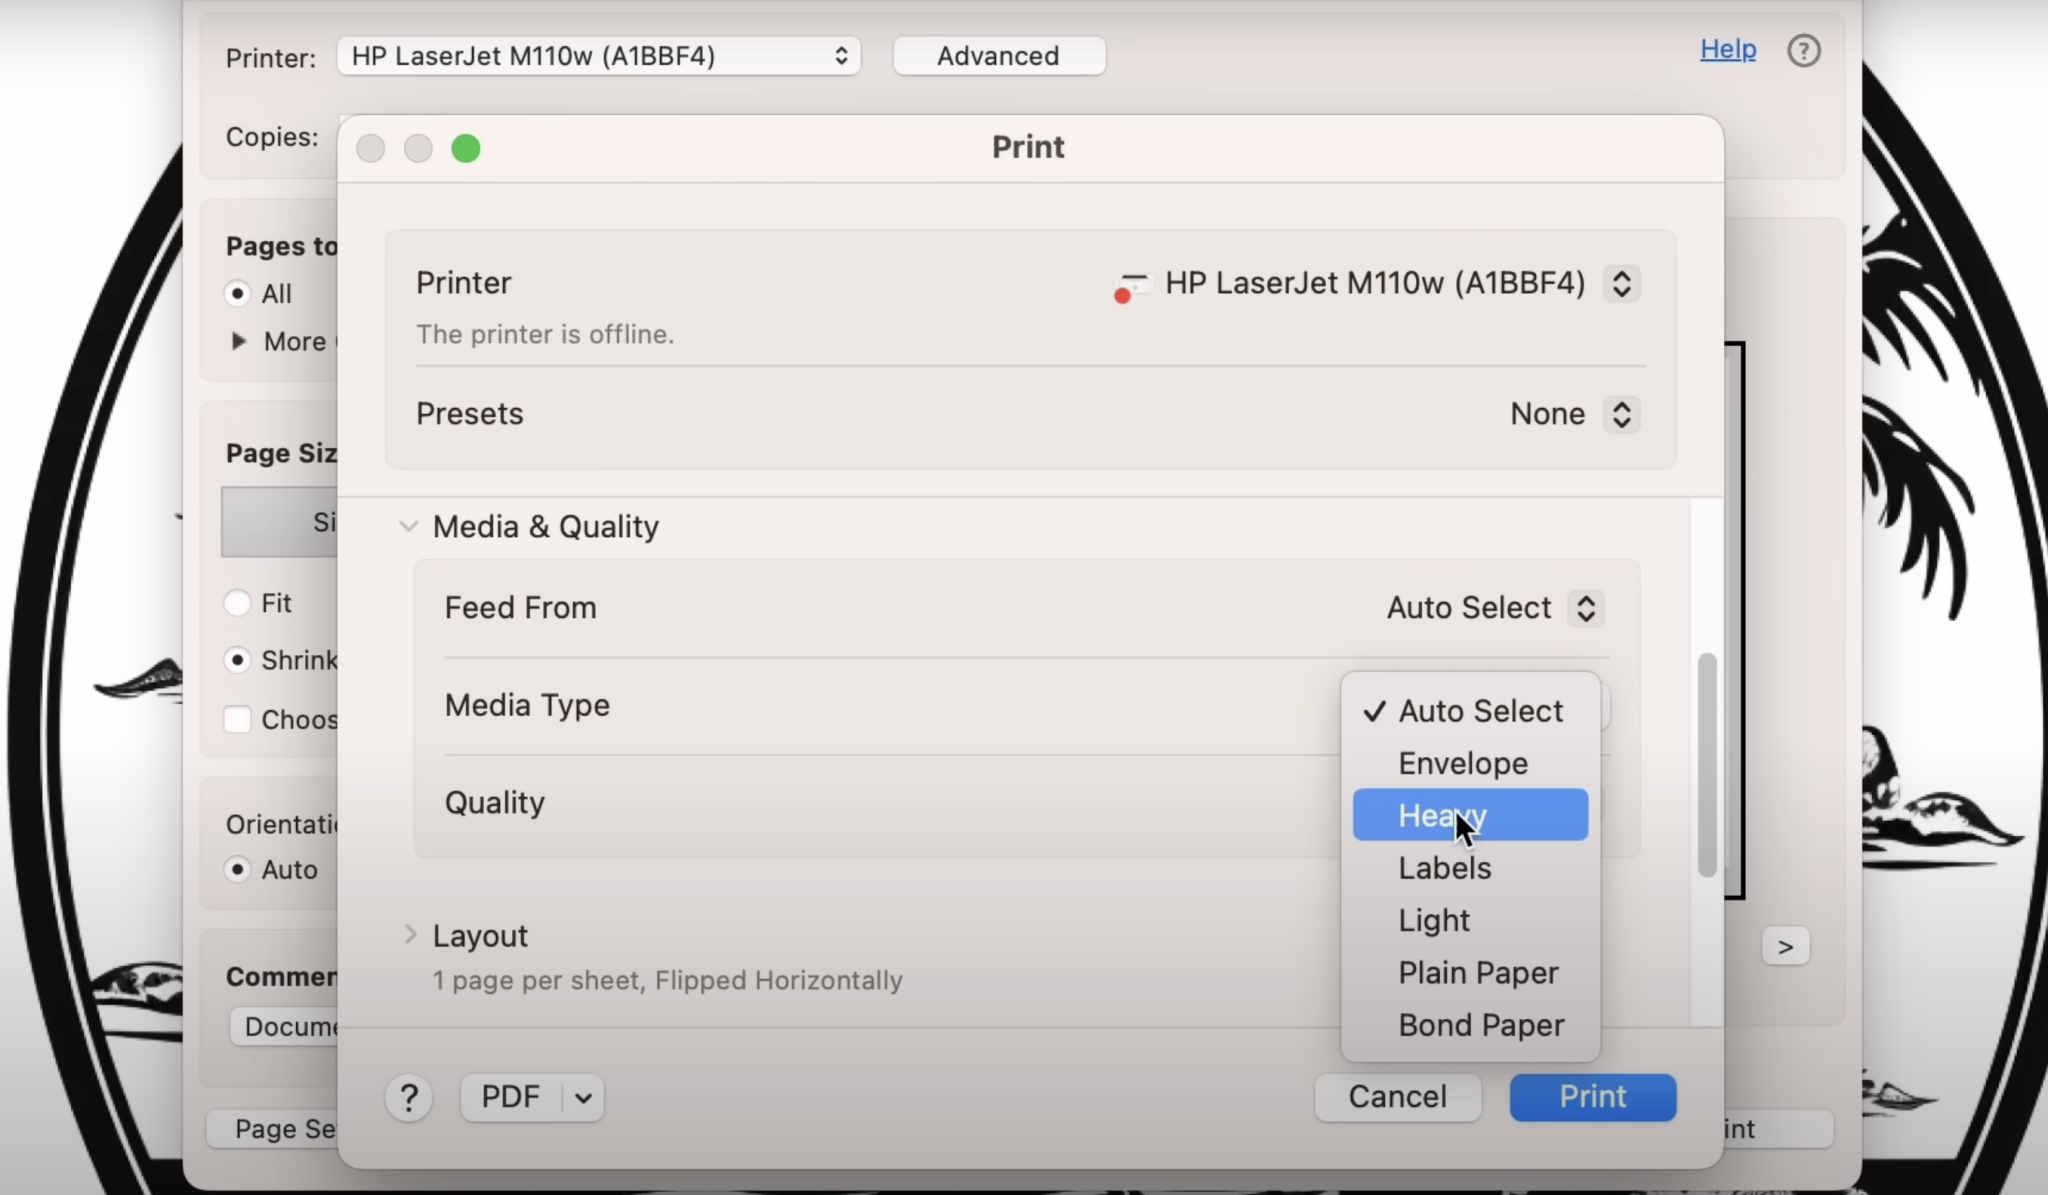
My printer works best when I use the paper setting Heavy Media. You may need to play with the settings to get the paper to feed through your printer.
Make sure your design is mirrored before you print.
Note – if you don’t own a basic laser printer but own a white toner printer you can use that for this material. You need the print to be as black as you can get it.
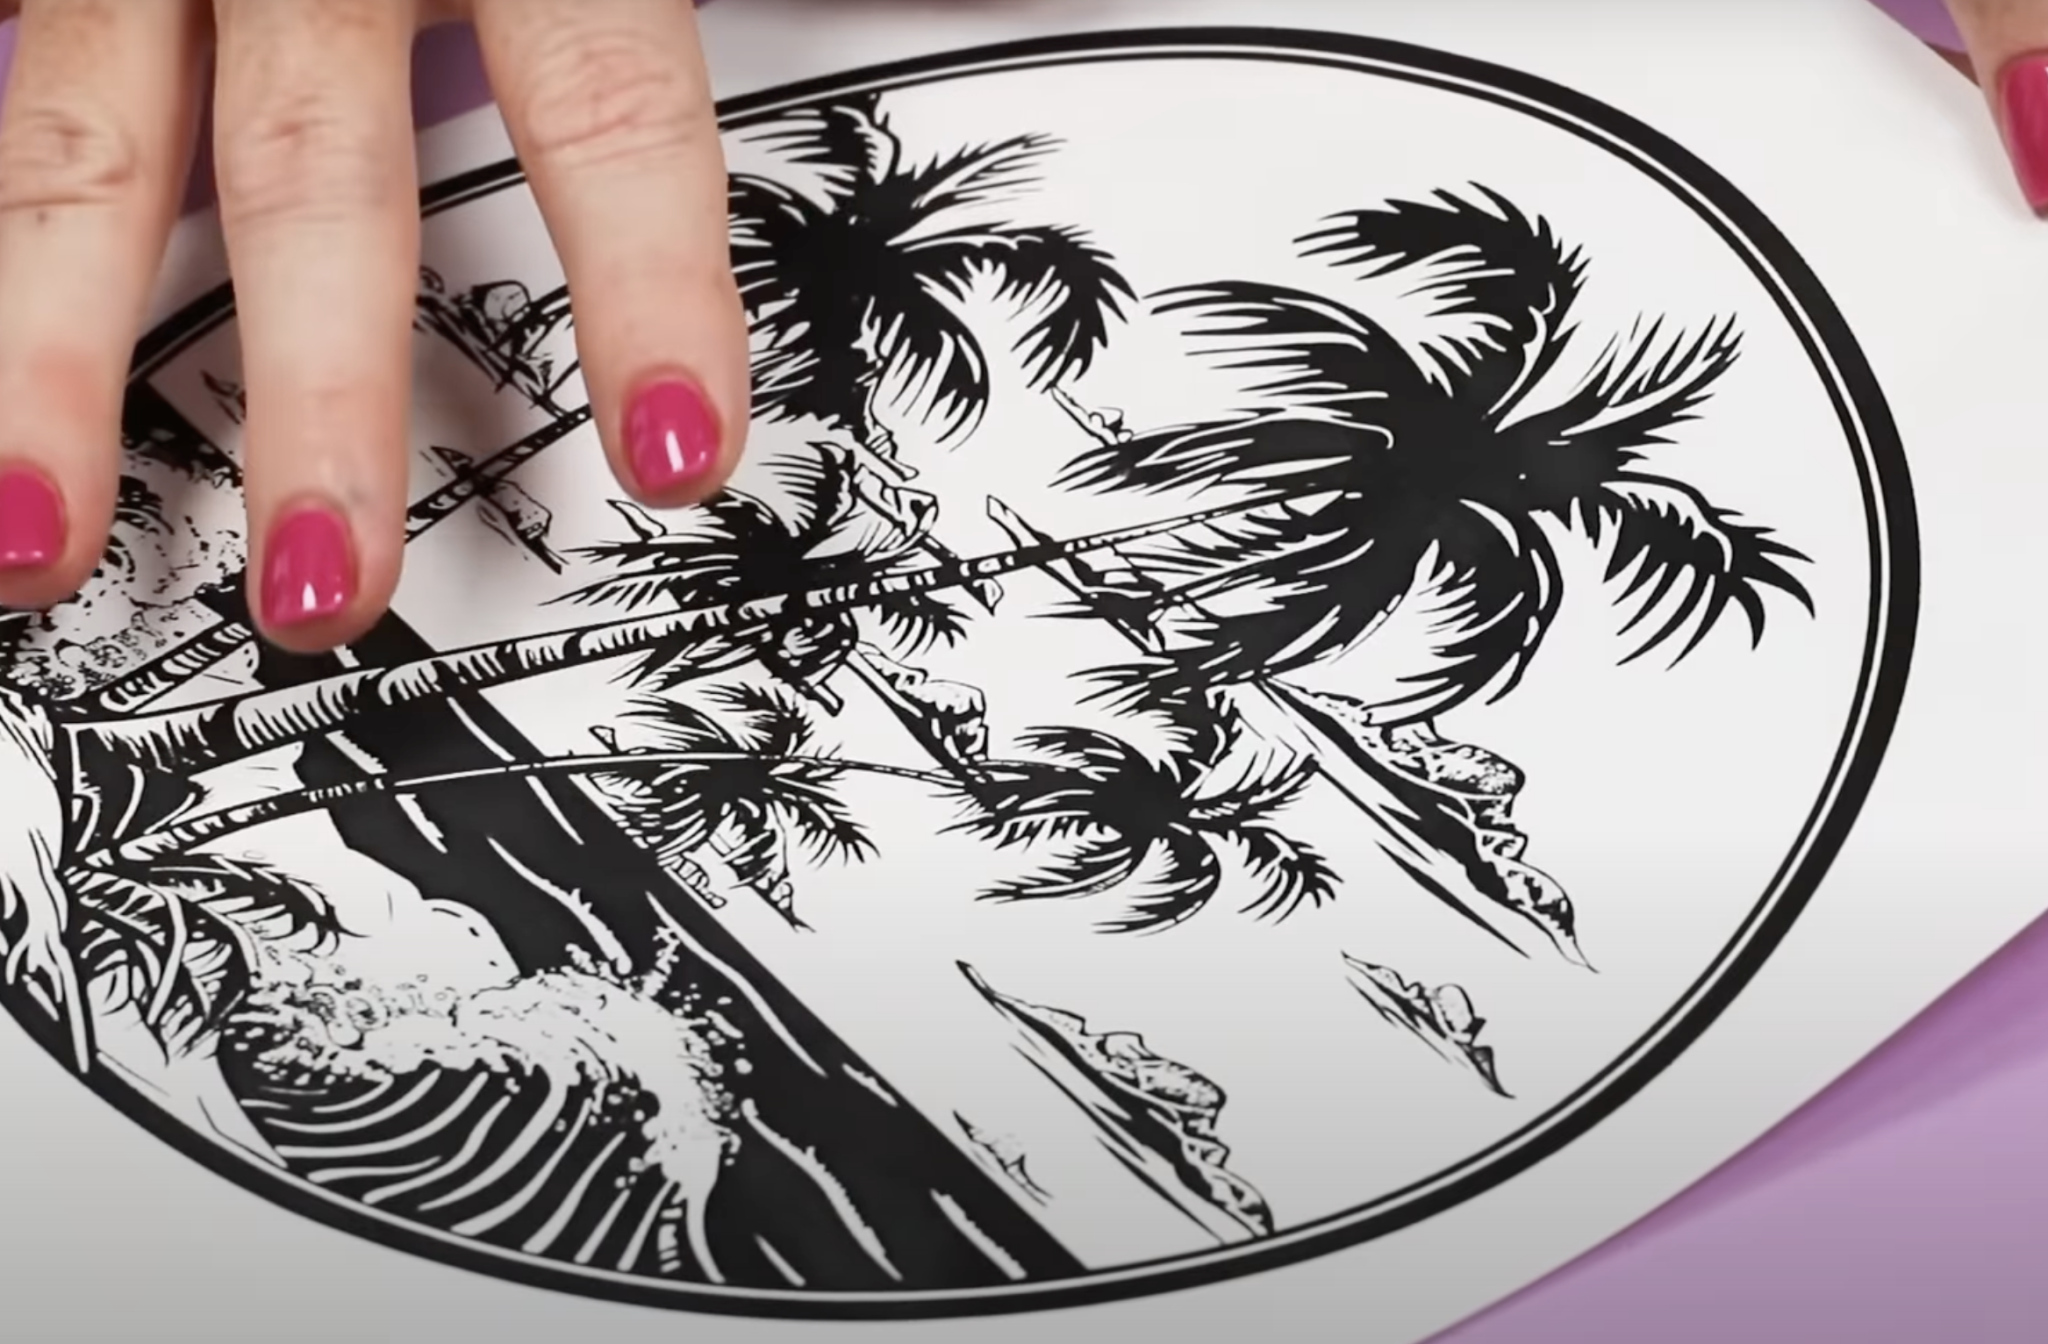
Here is a close-up of white self weeding paper after the design is printed on it. The design is printed on the dull side of the paper with black toner.
Step 2: Marry the Adhesive to the Self Weeding Paper
Now that we have the design printed it’s time to press. The pressing process is a multi-step process and you want to make sure you’re following each step.
The first step is making sure that you heat the bottom platen for at least 5 minutes. You want the whole inside of your heat press to be hot. This is an important step, do not skip it.
I have my heat press set at 285 degrees. That is the temperature I used for each step.
- Add paper to the bottom of the heat press.
- Place the print on top with the toner side up.
- Add the adhesive sheet on top with the adhesive side down and the yellow grid liner side facing up.
- Cover the liner with paper and press for 120 seconds with medium to heavy, even pressure.
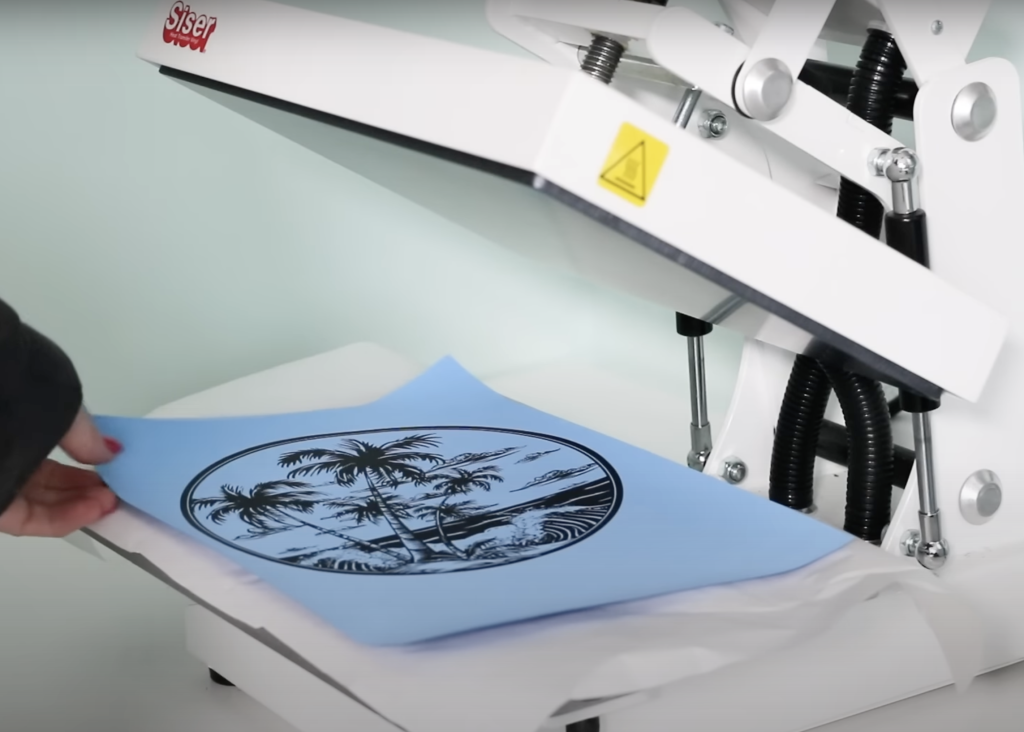
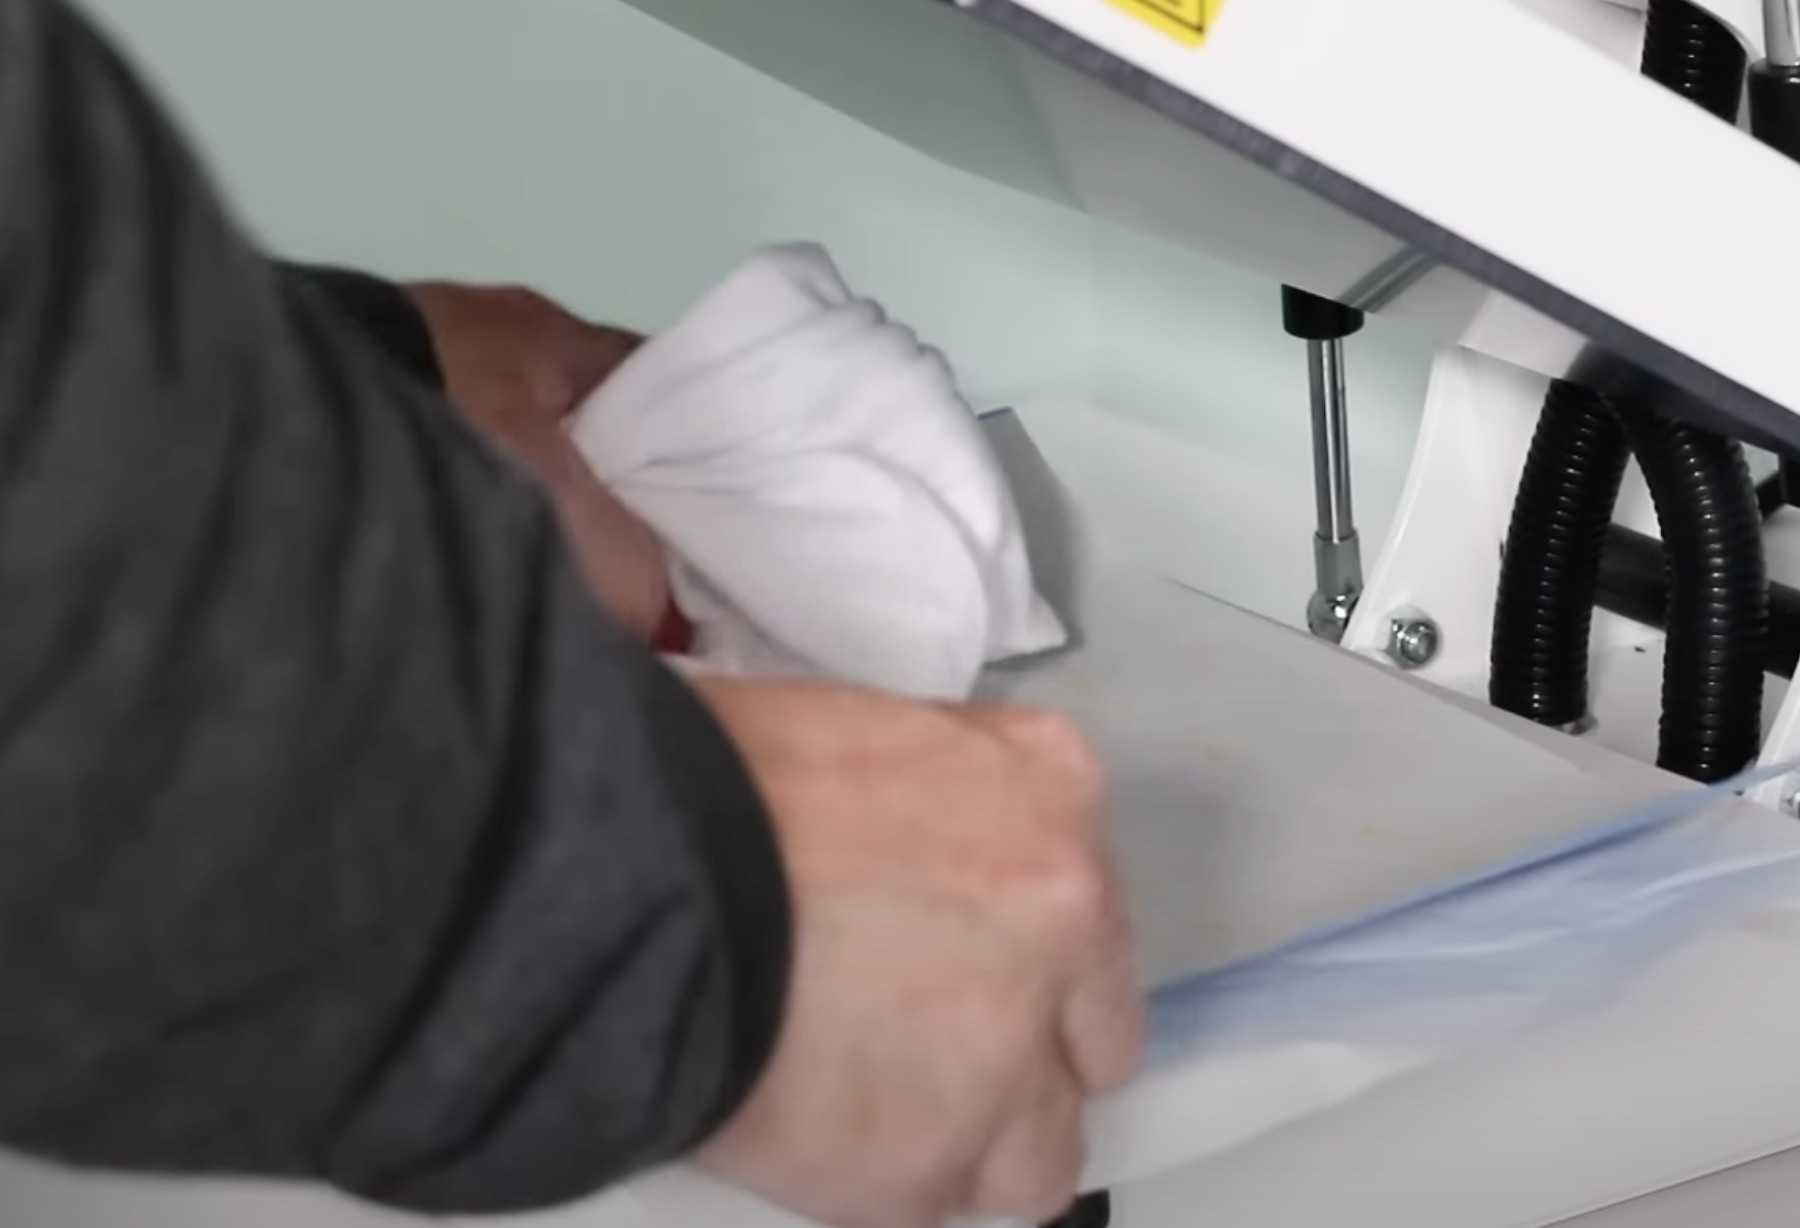
When the first press is done, open the heat press and use your shirt or another textile to rub the sheet for about 5 seconds.
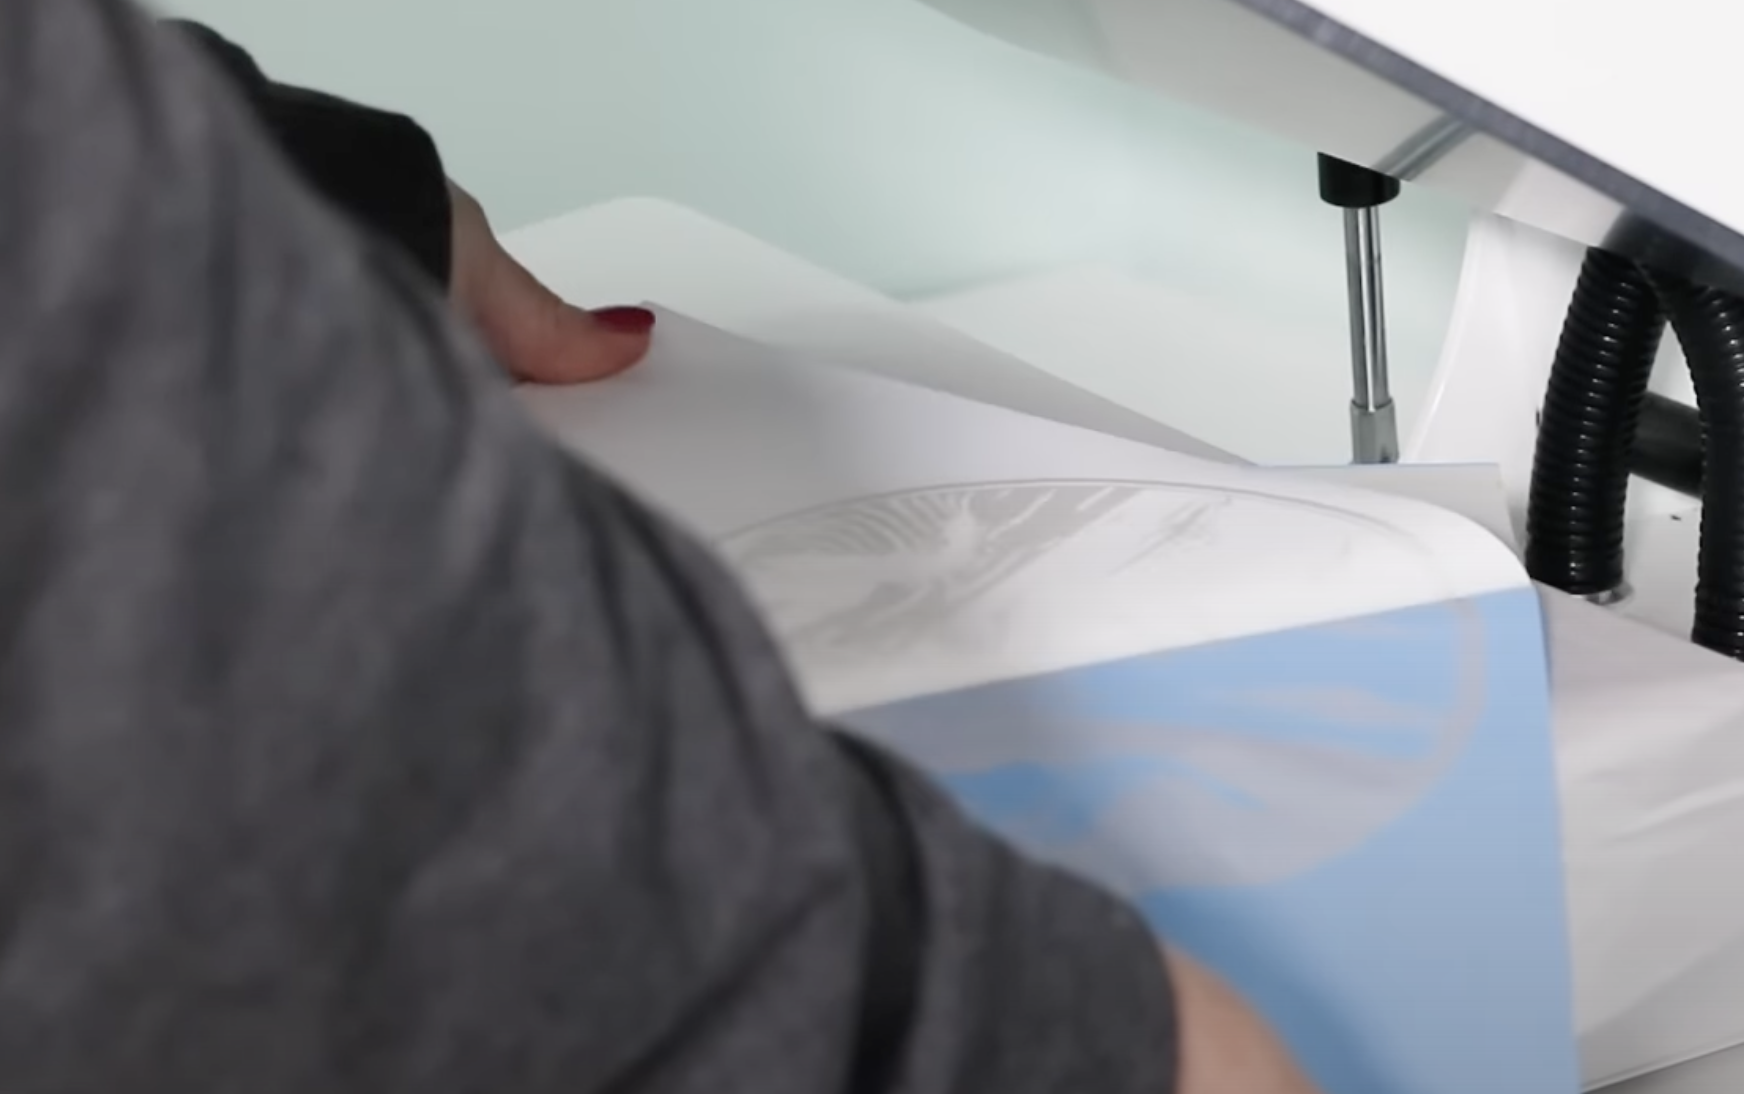
Keep the print on the press while you peel back the adhesive sheet because you need everything to stay hot.
With the adhesive layer removed, trim away all the excess paper. The adhesive may look weird around the edges so we want to remove the excess.
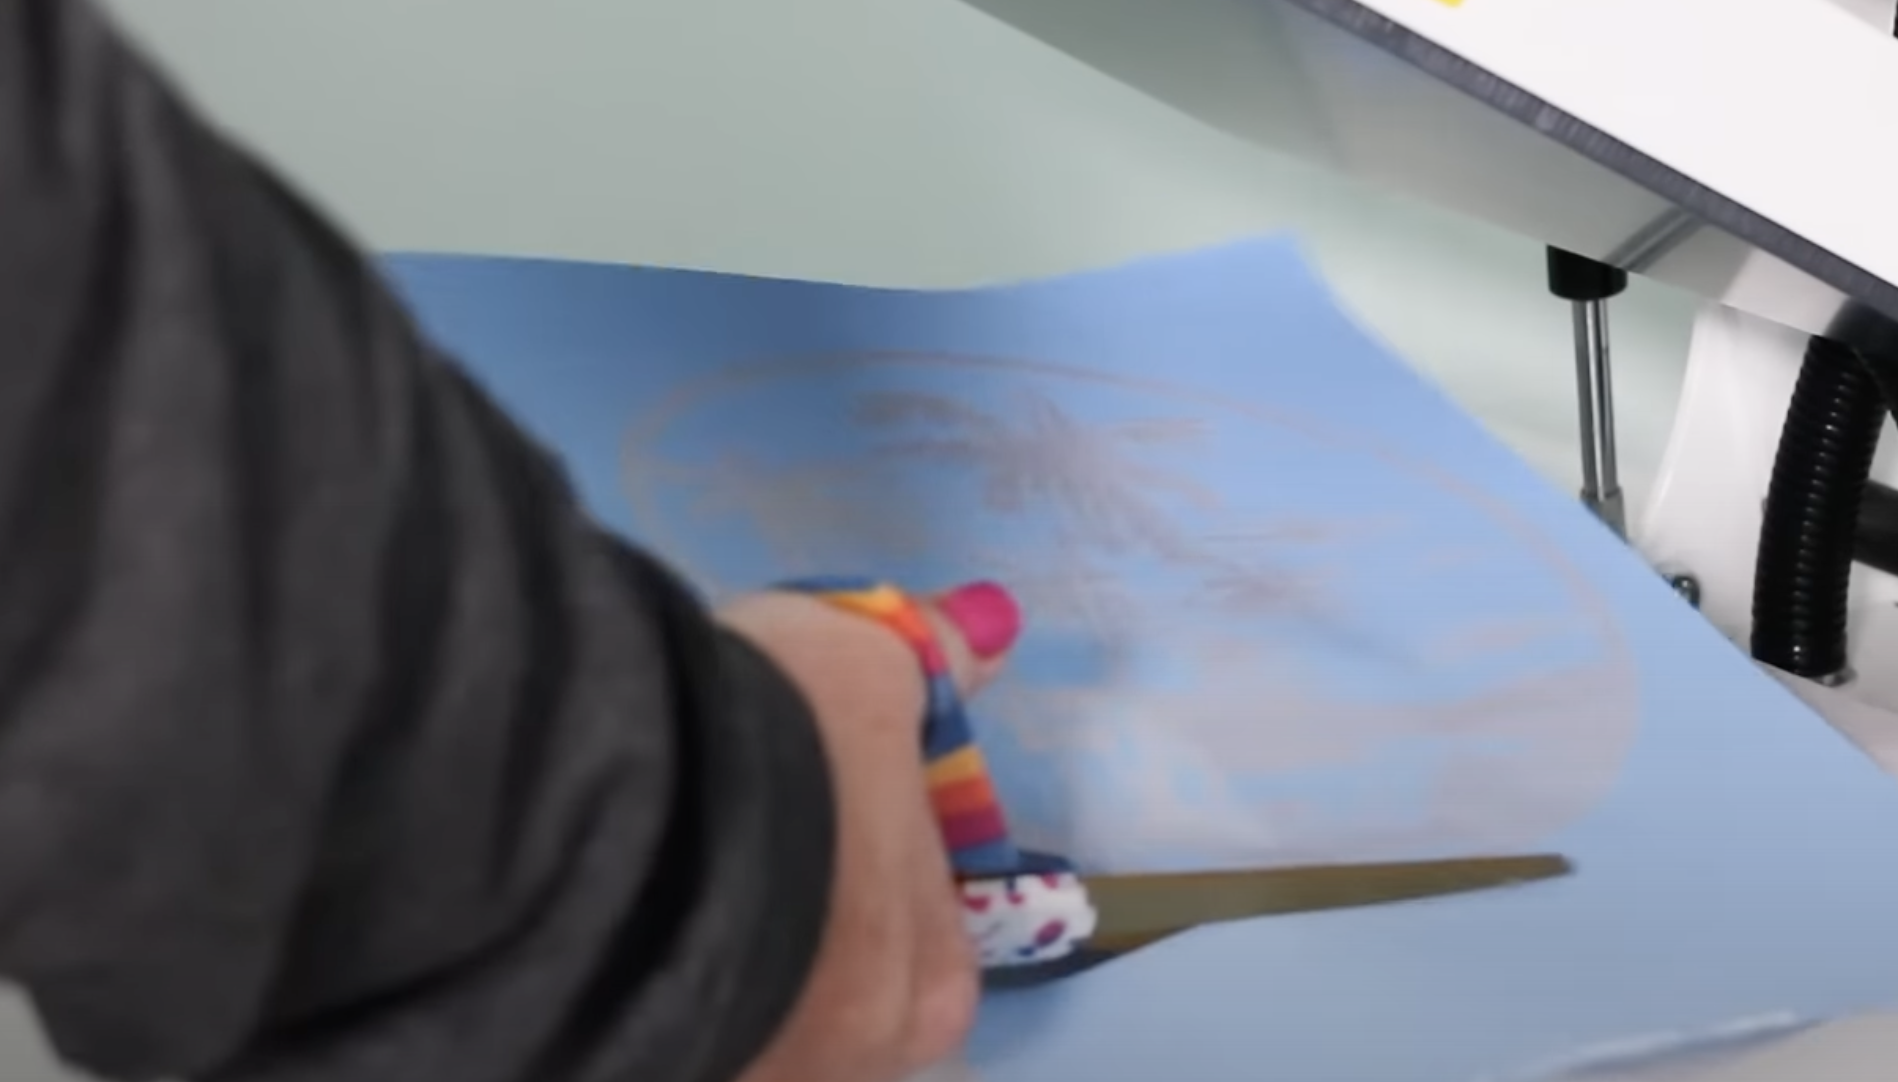
After you peel the adhesive sheet off, all of the black toner should be covered with the adhesive. The adhesive is not wet so you don’t have to worry about smearing it if you accidentally touch it.
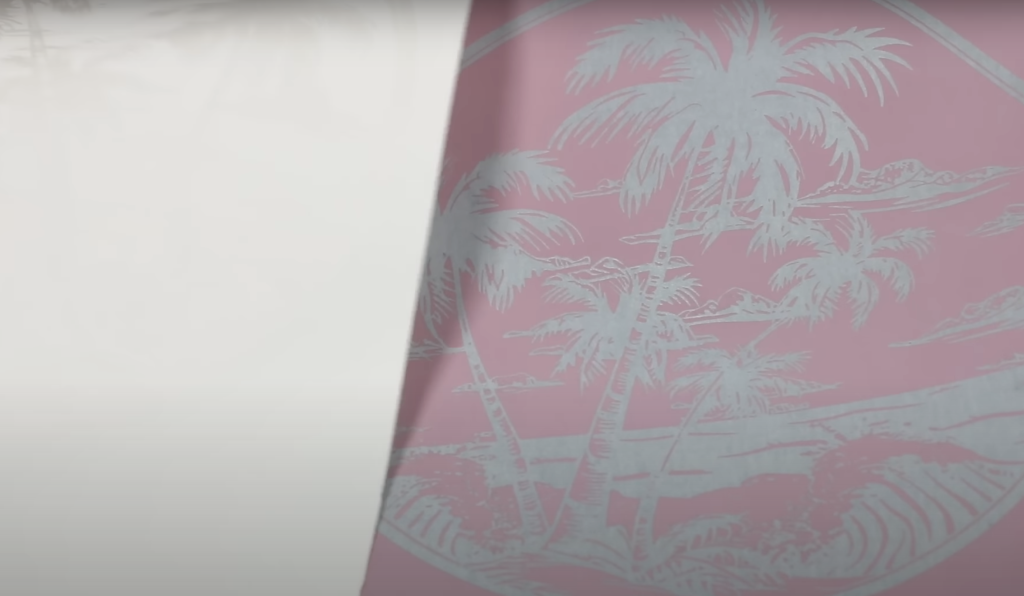
You can see on the adhesive sheet everywhere that the adhesive came off and transferred to the toner. By reviewing both the adhesive sheet and the self weeding paper you can tell if you’ve gotten a good peel or not.
Step 3: Press Self Weeding Paper to Fabric
Remember, we need to keep the bottom of the heat press hot before pressing the self weeding paper to the shirt.
I always pre-heat my fabric to remove any wrinkles and moisture. This helps keep the bottom platen hot and is a great time to make sure the pressure setting is correct.
Locate the self weeding paper to the shirt, adhesive side down, and tape it into place with heat-resistant tape so it doesn’t move when we open and close the press.
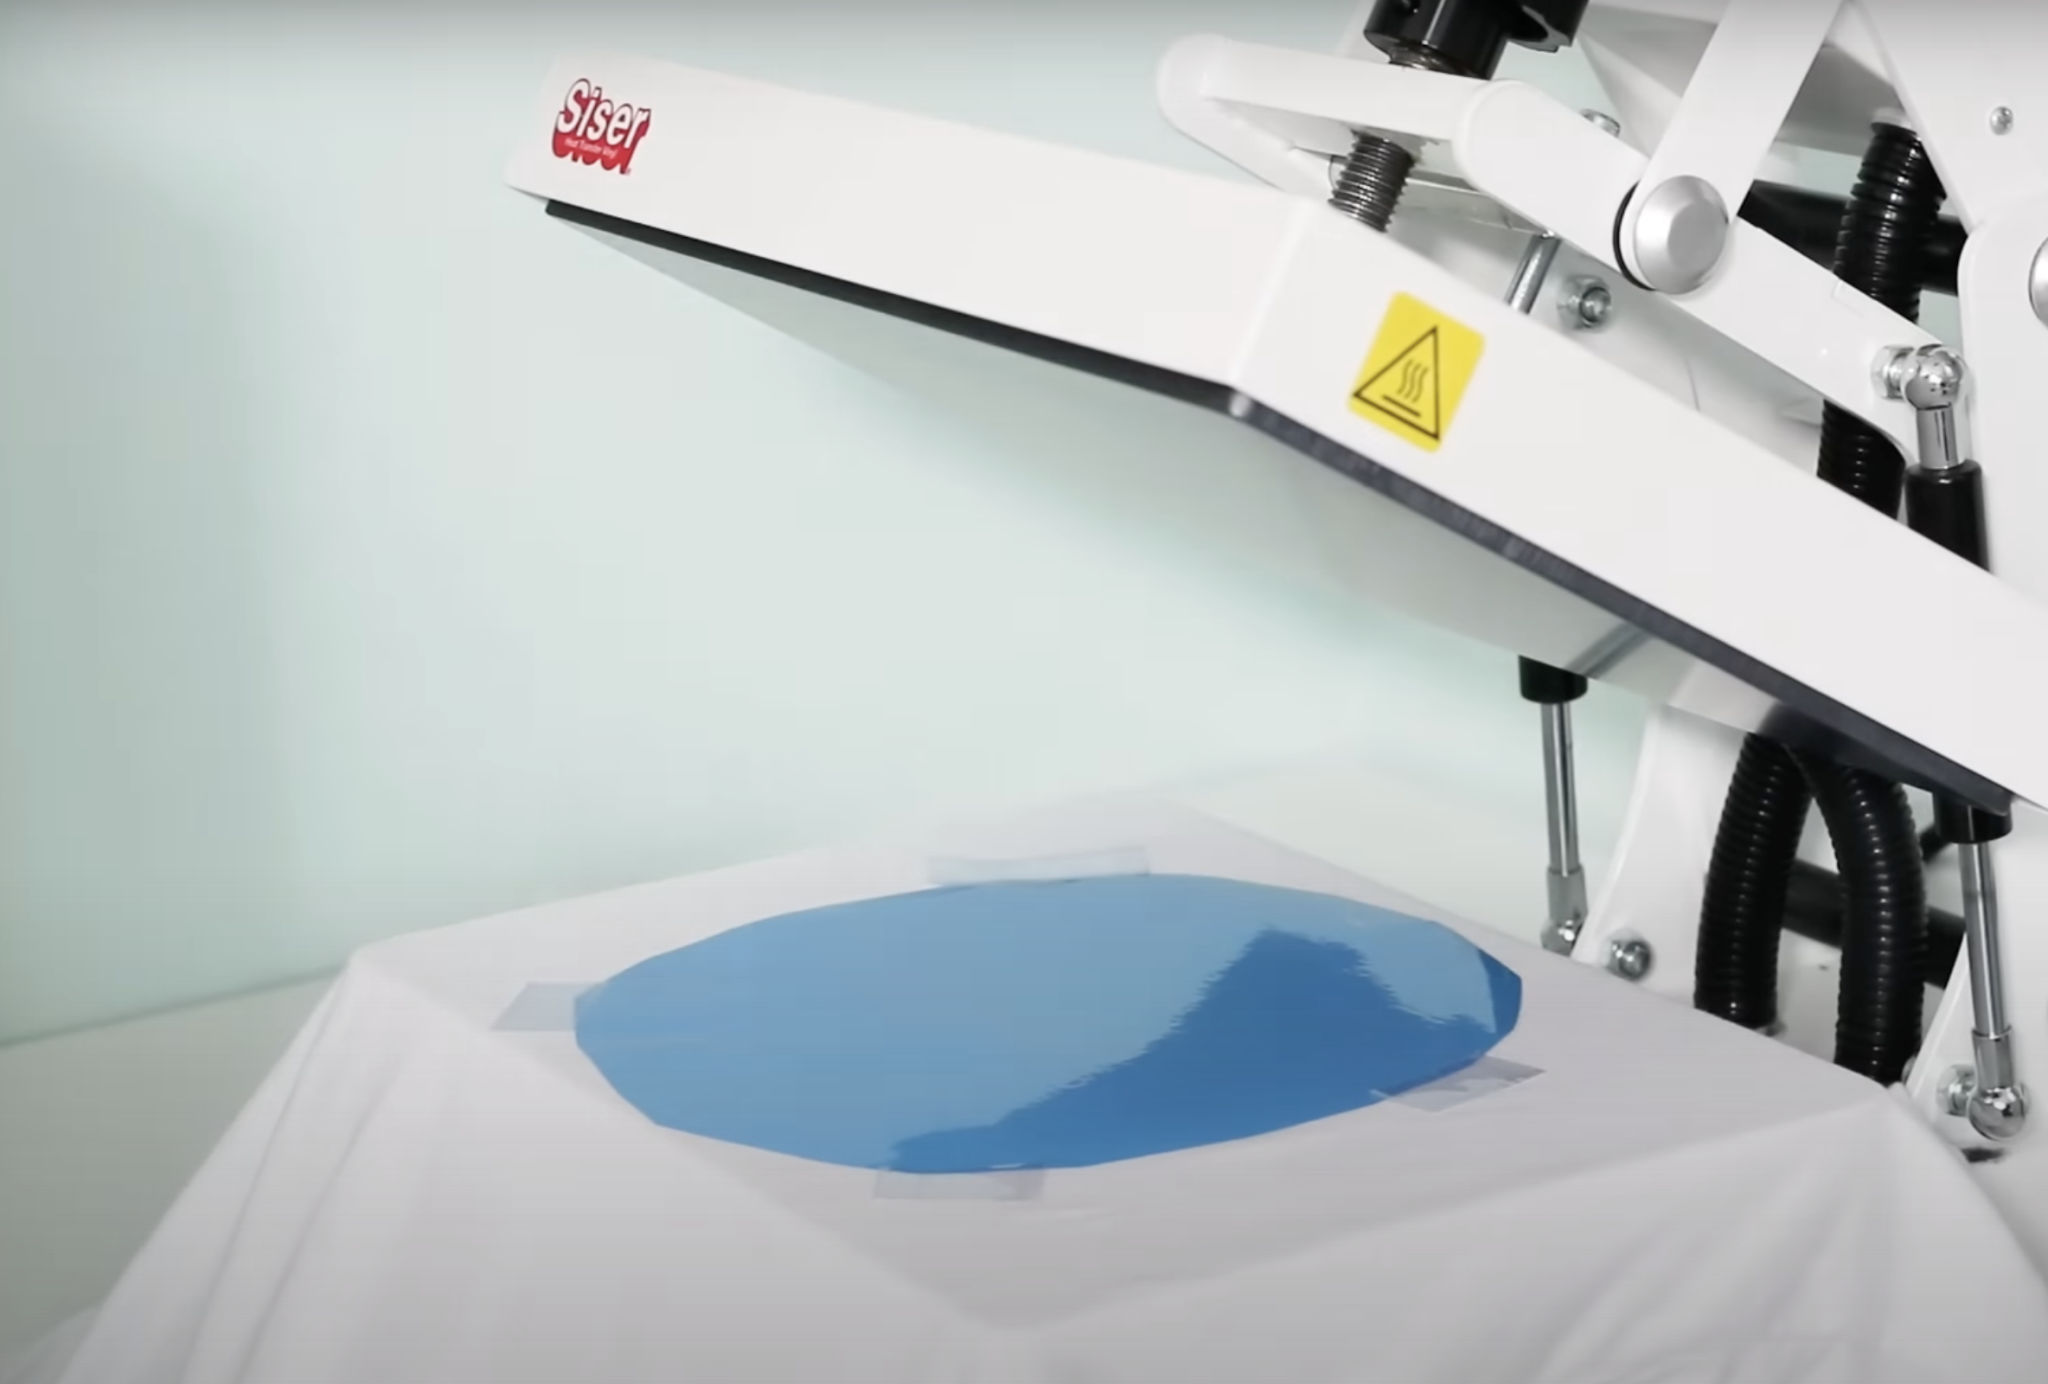
Cover the print with paper or a Teflon sheet and use medium to heavy pressure to press. I am pressing at 285 degrees for 30 seconds.
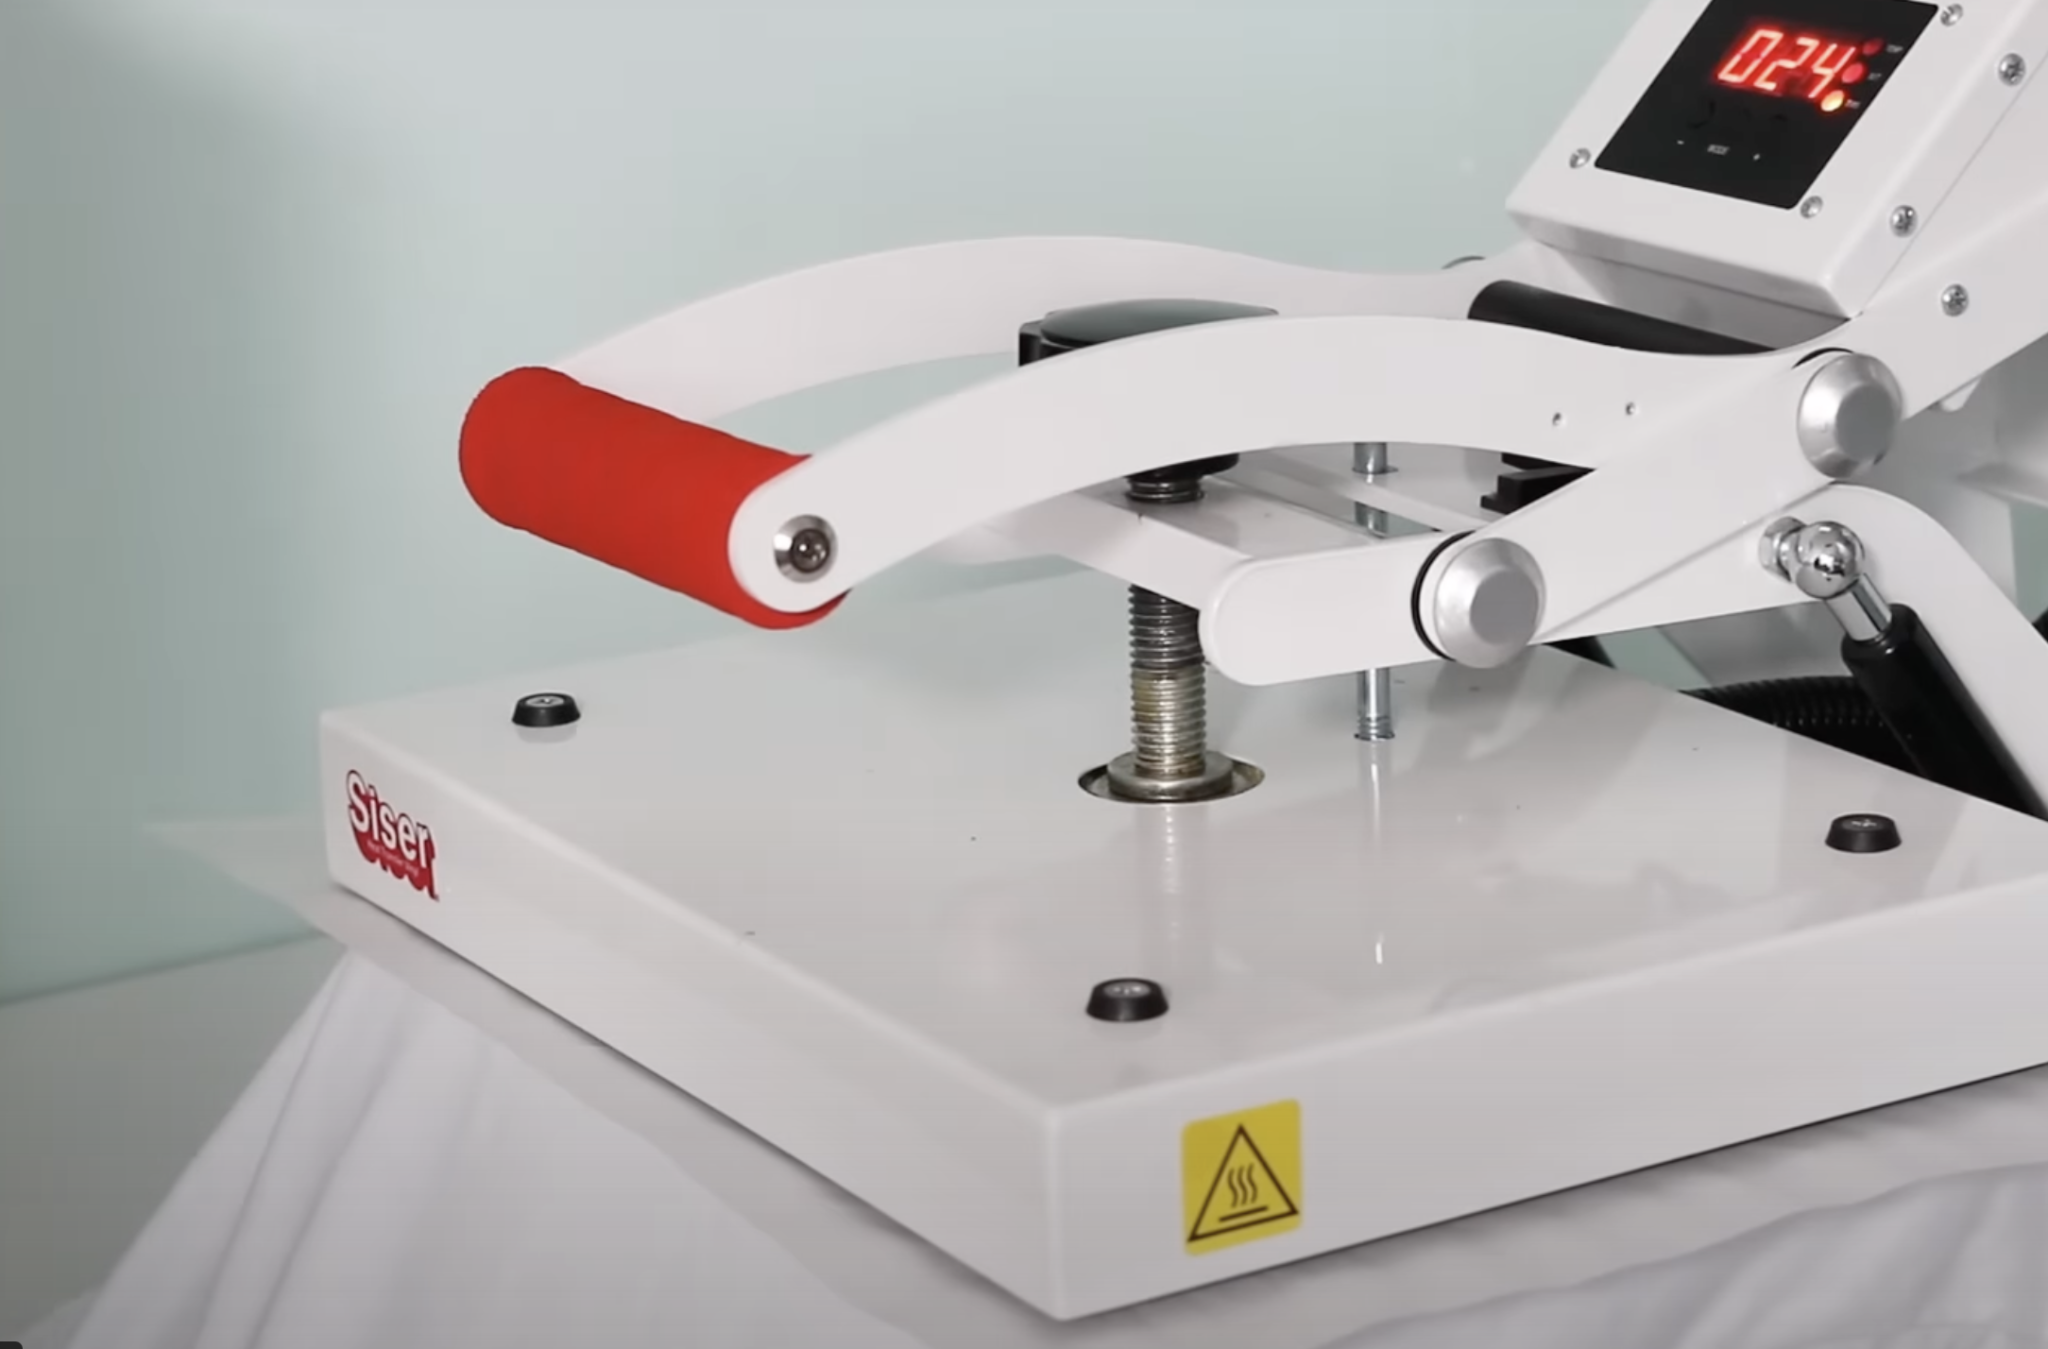
When the time is up, open the press, remove the shirt from the press, and allow it to cool for at least 5 minutes.
Step 4: Remove Paper and Reveal Pressed Design
The iColor Presto Self Weeding Paper needs to cool for at least 5 minutes but don’t allow it to cool for more than 60 minutes before peeling it.
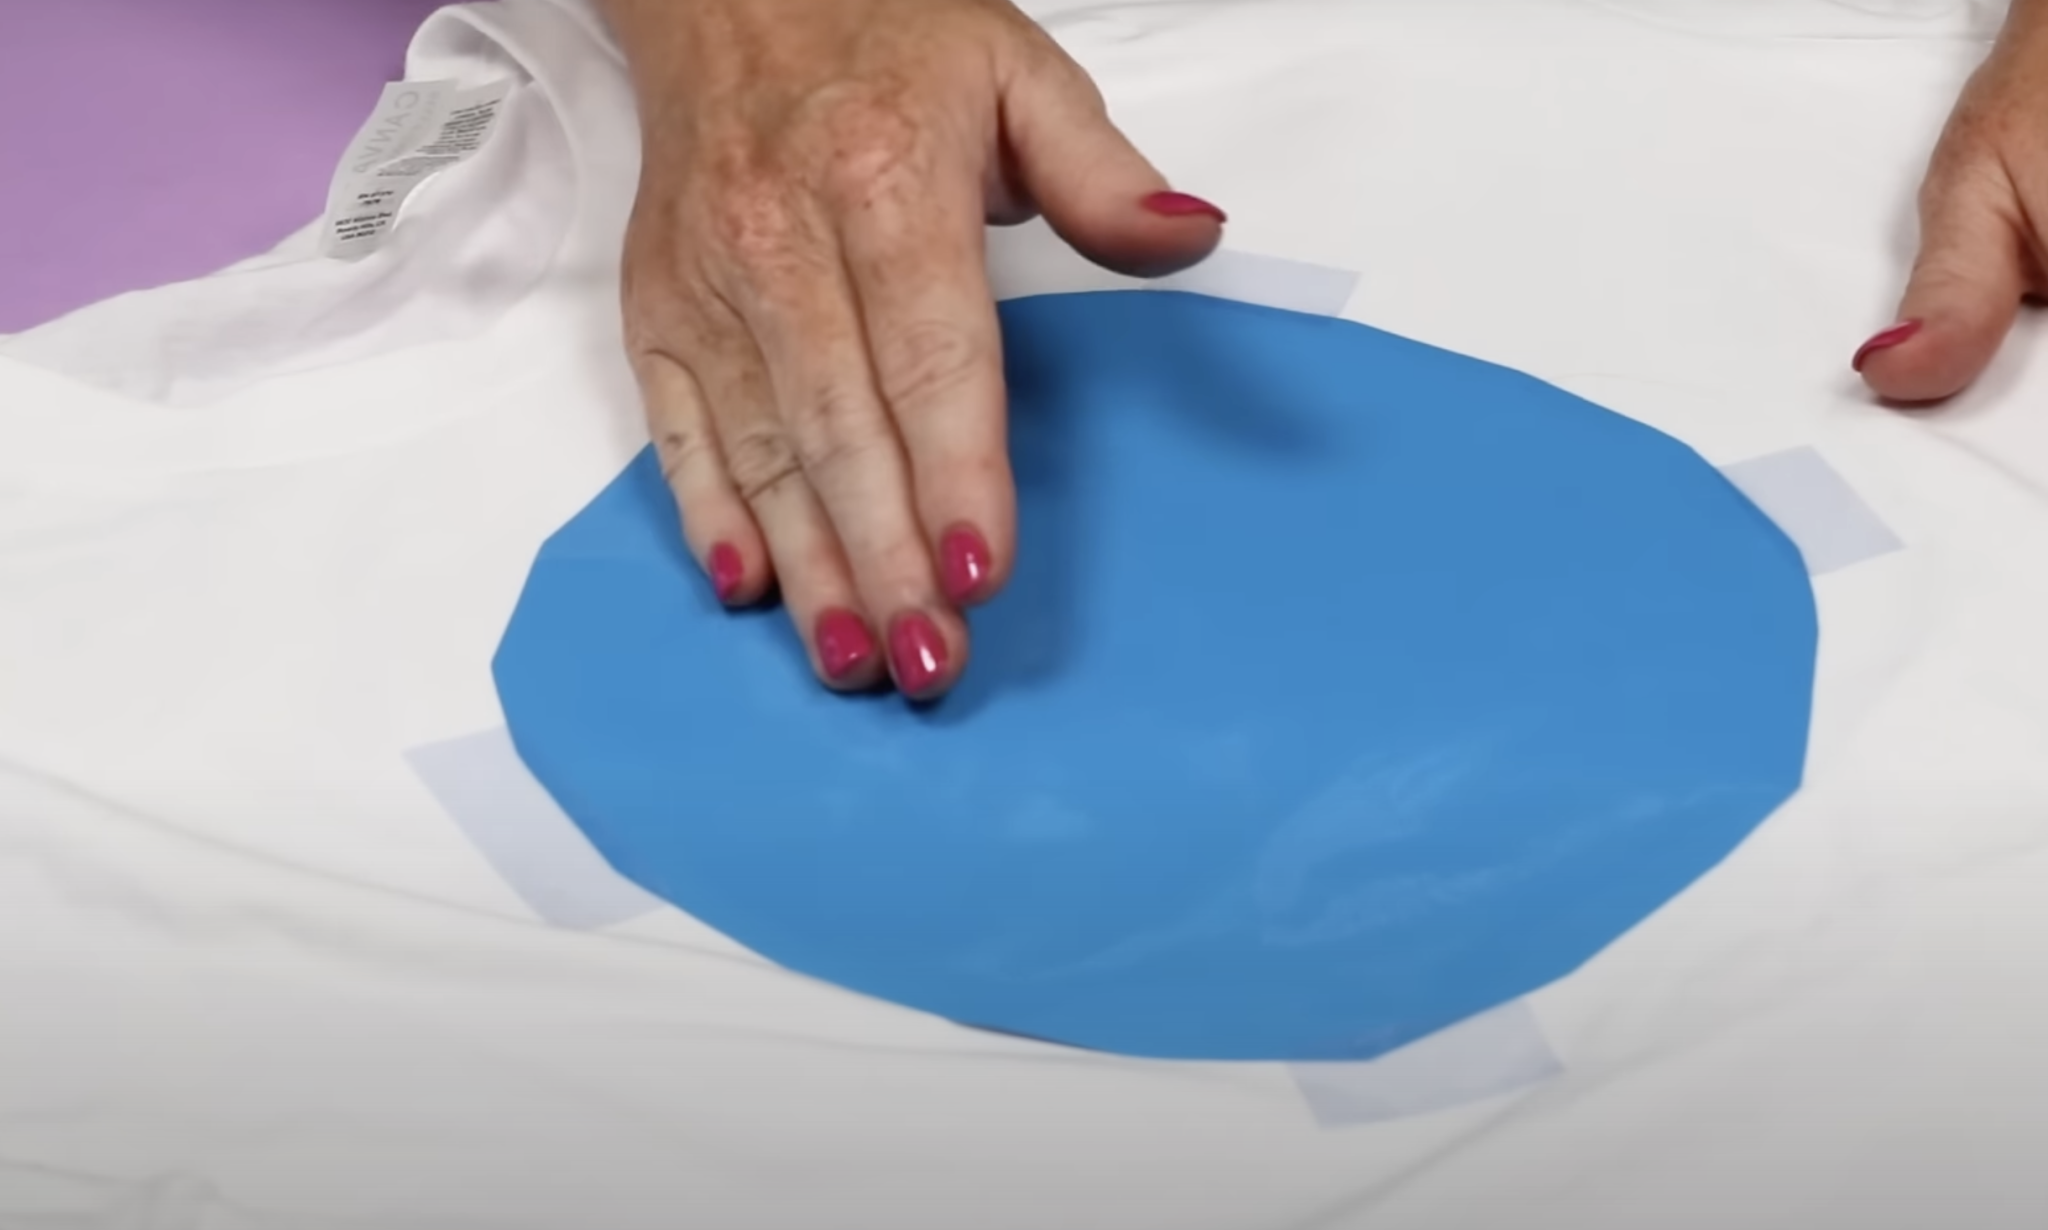
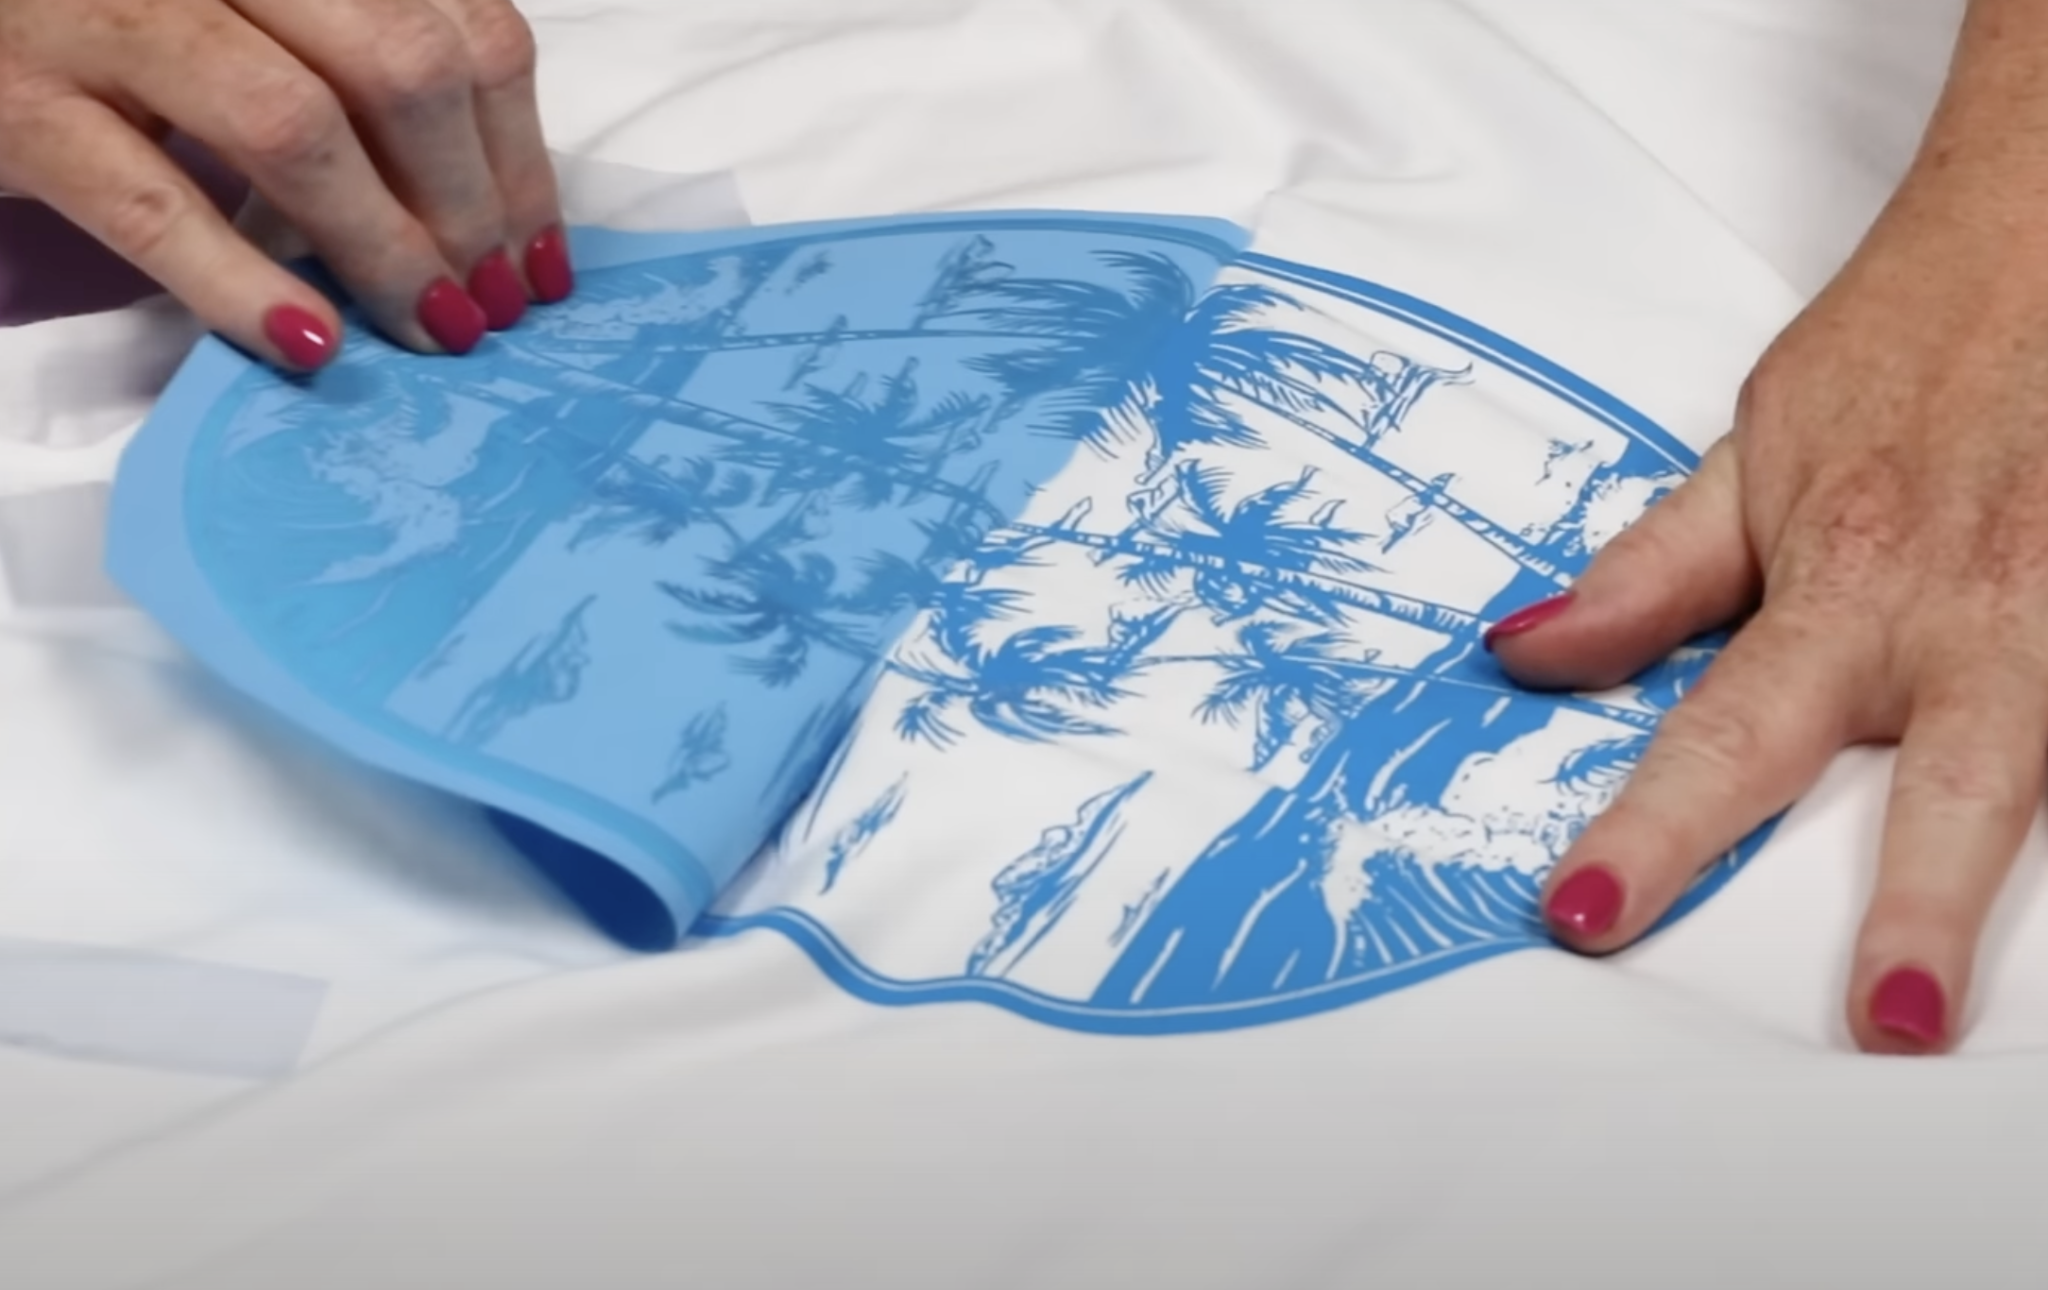
Peel back at one edge and roll it back at a steady pace at an angle. Don’t try to peel it straight up.
Step 5: Post Press Design
After removing the self weeding paper, we need to do a post-press.
Add the shirt back to the press and cover it with the iColor t-seal sheet. I liked the way that sheet worked best. If you don’t have the t-seal sheet, you can add paper to the top and then press at 285 degrees for 20 seconds.
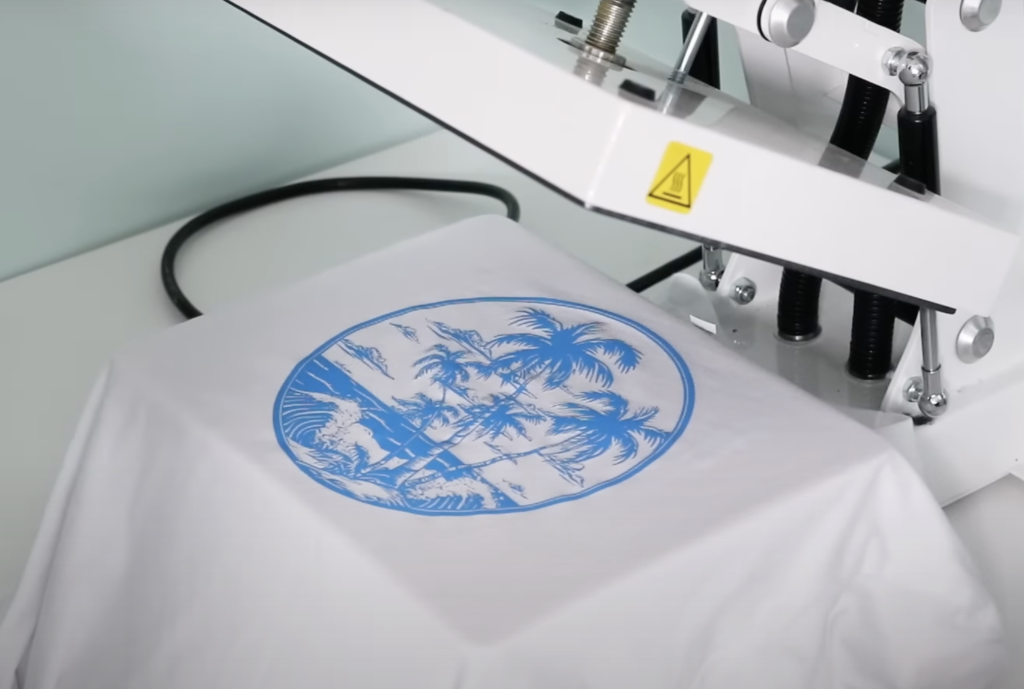
If you used a lower temperature during the pressing portion, use that same temperature for the post-press.
When the time is up, open the heat press and wait 10 seconds before peeling back the t-seal paper to ensure nothing sticks.
Step 6: Gently Stretch the Shirt and Design
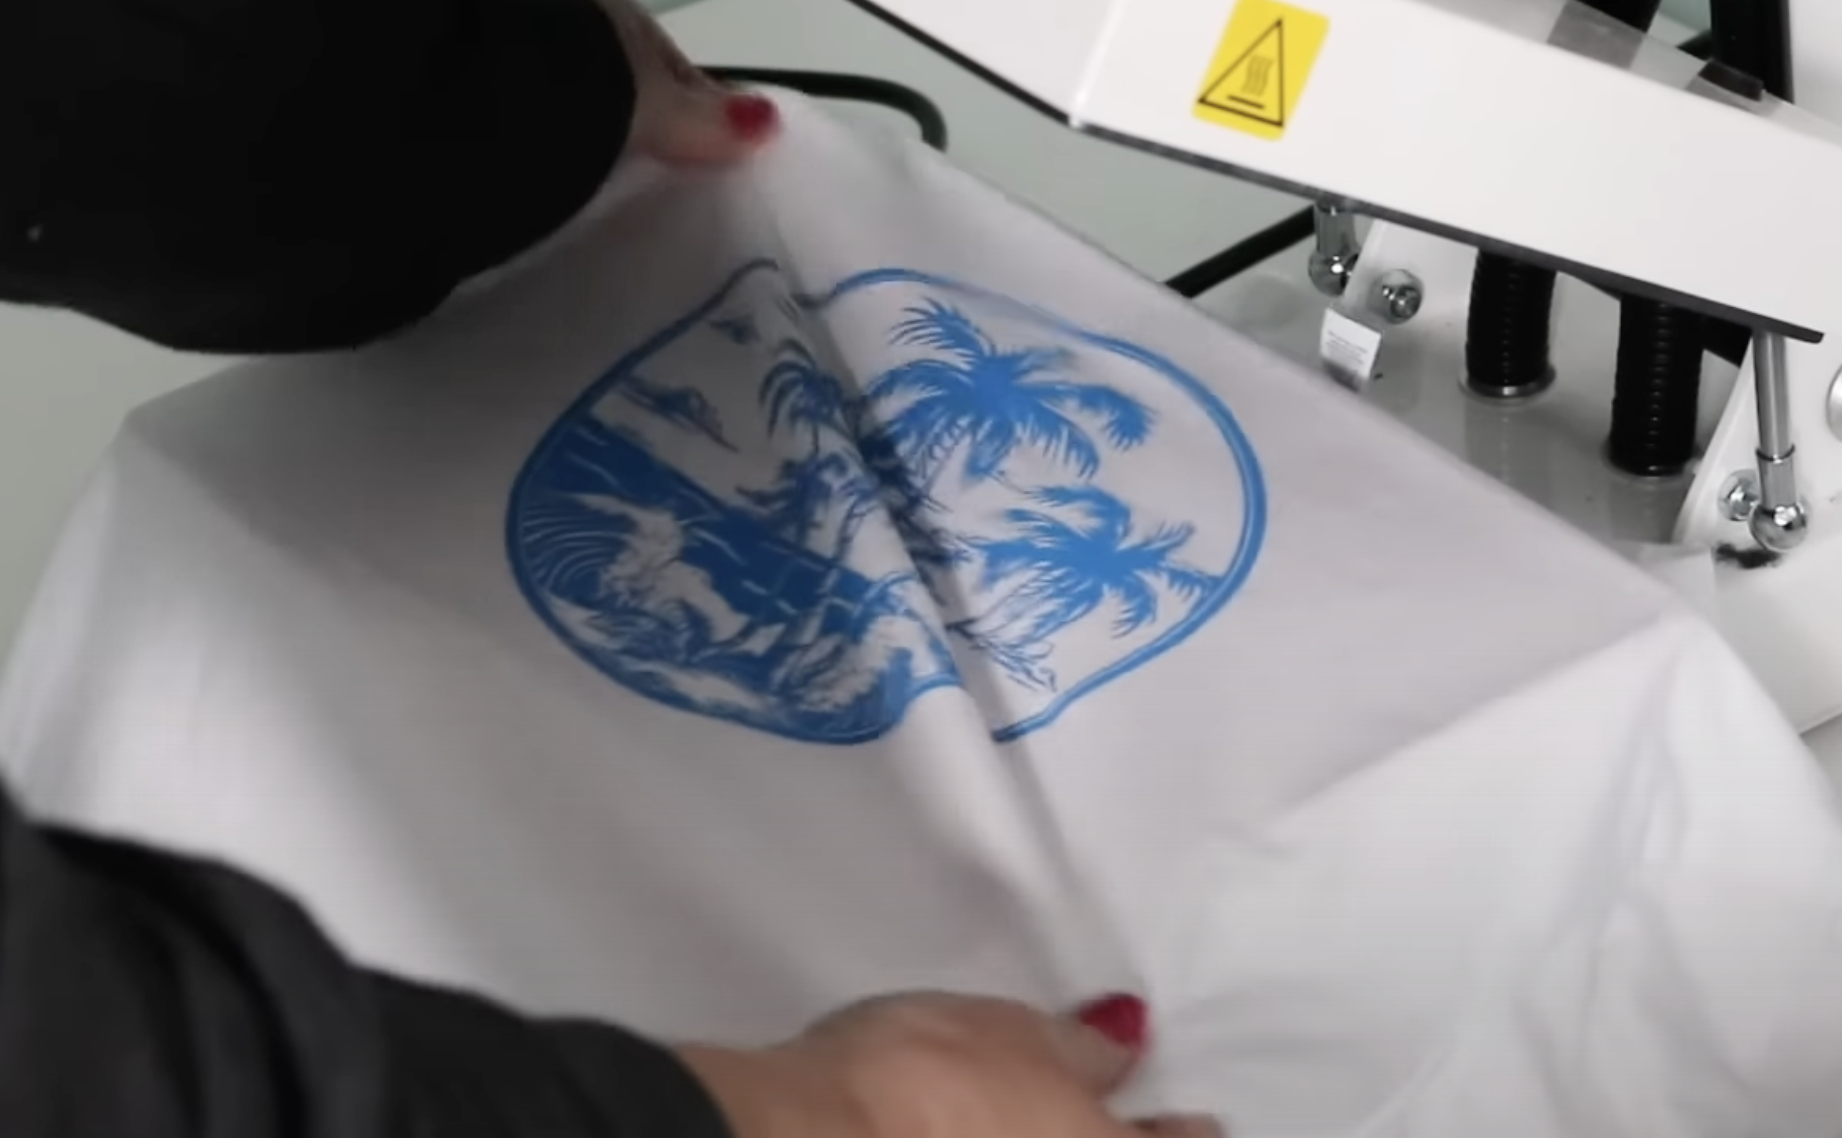
After you remove the t-seal paper we need to gently stretch the shirt and design. This gives you a better feel and stretchability on the print.
After the post-press, the shirt is finished and there is nothing else you need to do.
Finished Shirts with iColor Presto! Self Weeding Paper
Let’s look at the finished projects to see how they all turned out.
Metallic Self Weeding Paper on a Shirt
I am really impressed with how this metallic self weeding paper worked. You can see that while the design does sit on top of the fabric it gets down into the fabric. The metallic shows well even after the post-press and you can see all of the tiny details really well.

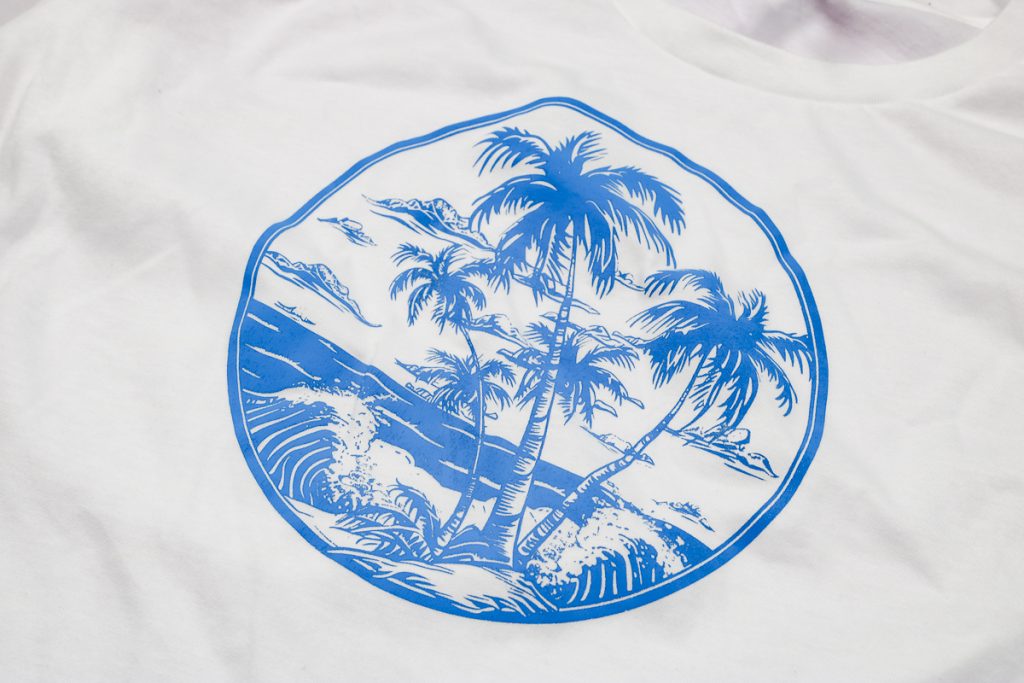
Colored Self Weeding Paper on a White Shirt
Here you can see how well the blue design turned out. All of the fine details transferred beautifully and I am so happy I didn’t have to weed all of this!
White Self Weeding Paper on Black Fabric
I am really impressed with how well this white design looks on the black shirt.
Even though I printed black toner onto this white self weeding paper the white is bright and very detailed even on black fabric.

Close-up of Shirt with Cold Platen
I wanted to show you why it’s important to keep the bottom platen hot during this process.
In the photo below you can see that the adhesive looks frayed around the edge and you can see that adhesive after it’s pressed.
When the platen cools the adhesive has more of a ripped edge vs. a clean edge.

I pressed the design to see if it would go away during the process and it did not. If you don’t get a clean peel after applying the adhesive I would probably scrap that piece and start again.
Frequently Asked Questions About Self Weeding Paper
Can I do multiple colors of self weeding paper on one project?
Yes, I think you can I’m just not sure how easy it would be because the paper itself isn’t see-through so lining up multiple colors would be difficult depending on the design.
How does this paper hold up in the wash?
When you’re done pressing, the product will last 30-50 washes when washed correctly. Wash inside out with no fabric softener and tumble dry low. If you need to iron it, make sure you put something over the top to protect the paper.
How does it feel after pressing?
This material sits on top of the fabric with an adhesive but I think it feels really good. It’s not stiff and it’s not thick so I like it!
Does iColor Presto! Stretch?
The product itself has a little bit of stretch but when you stretch it out too much you can see gaps like you’re stretching it apart. I wouldn’t recommend it for super stretchy fabrics but it should work well with shirts that have normal stretch to them.
What heat press can I use with Self Weeding paper?
I would recommend a traditional heat press for this product because it will apply the consistent pressure that you need to make these shirts correctly. You could possibly use an EasyPress or a Cricut Autopress but you will need a firm mat and you still have to get the bottom mat hot first.
I do think an EasyPress would make it difficult to keep the bottom mat hot. If you try it, make sure you’re pressing down as hard as you possibly can for the final two steps.
You can try the EasyPress or the Autopress but there will be trial and error and with the cost of the material that can get expensive and if you have inconsistent results that would be very frustrating.
Pros and Cons of Self Weeding Paper
Self Weeding Paper Pros
- You do not have to weed this material. I love it for intricate designs.
- You can use this product on any type of fabric and any color of fabric. Yes, white print on black fabric works.
- Self Weeding paper has a long life when washed correctly.
Self Weeding Paper Cons
- You need a laser printer and if you don’t have one that is an added expense.
- Self Weeding paper sheets are one color and I think doing a multicolor design would be difficult.
- The learning process is tricky in the beginning. You need to follow the steps and learn what it looks like to know what is a good peel or not.
I hope I’ve answered any questions you have about iColor Presto Self Weeding paper! If you have any additional questions, leave them in the comments and I’ll be happy to answer them for you.

