This post and photos may contain Amazon or other affiliate links. If you purchase something through any link, I may receive a small commission at no extra charge to you. Any supplies used may be given to me free of charge, however, all projects and opinions are my own.
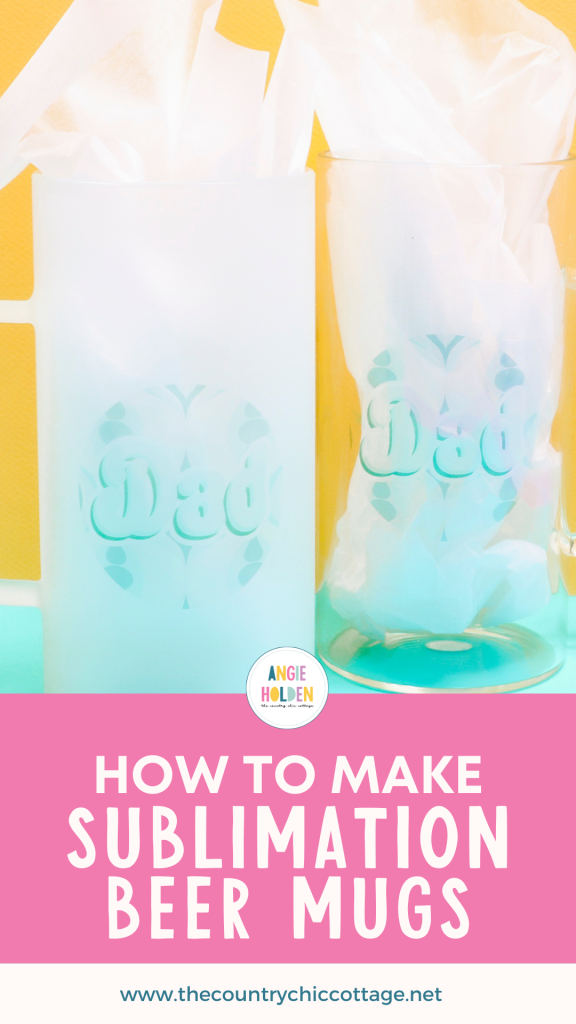
Are you looking for an amazing gift idea? Today I will show you how to make customized sublimation beer mugs. I’m going to test both clear and frosted beer mugs so you can see how each one looks after it is sublimated.
If you’re ready to make your own sublimation beer mugs you will need a sublimation print that is printed with sublimation ink from a sublimation printer onto sublimation paper.
You can watch me walk through this entire process by pressing play on the video below.
Sublimation Beer Mugs
Sublimation beer mugs are different than regular mugs, they are larger like a beer stein, and are typically clear or frosted glass.
I am not going to use my Cricut Mug Press for this project because I have seen others have their Cricut Mug Press break after placing glass mugs in it. I am using my HTVRont Auto Tumbler Press for both of these mugs.
Supplies Used
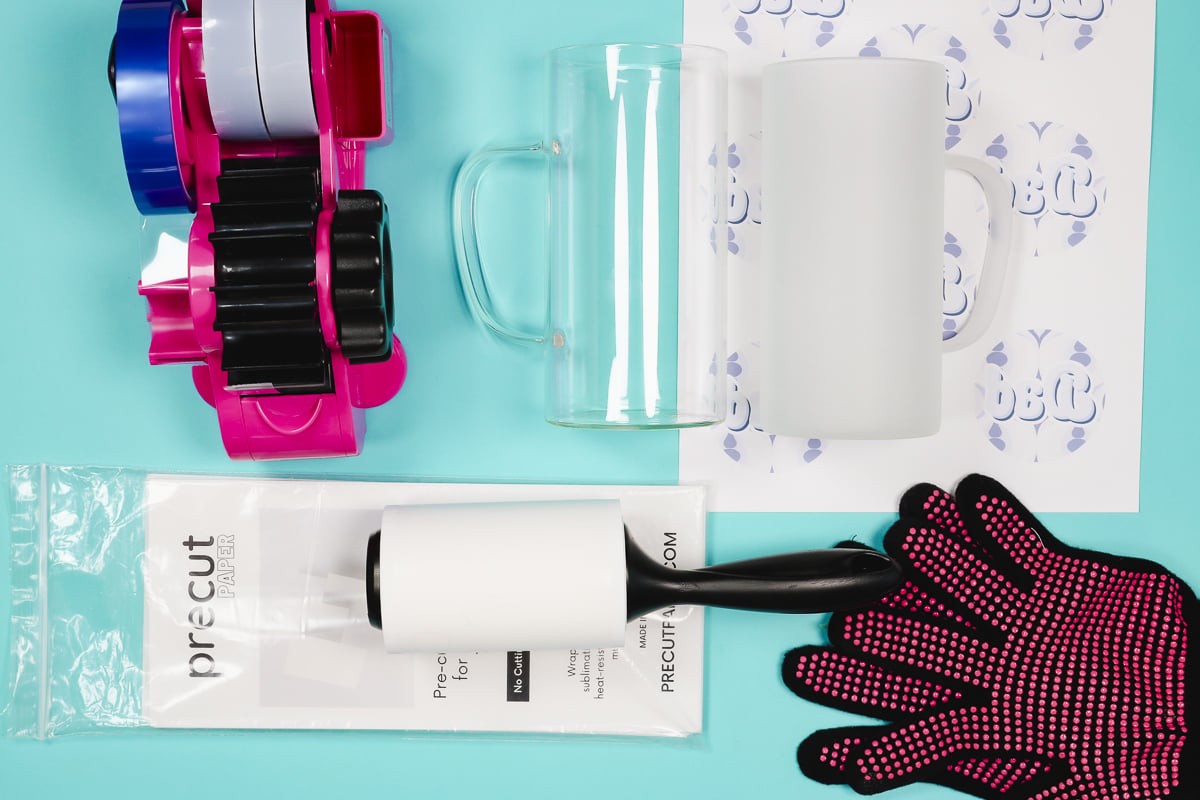
How to Make a Sublimation Beer Mug
I am going to put the same design on both of these sublimation beer mugs so you can see the finished result on both the frosted and clear mugs.
I am using my HTVRont Auto Tumbler Press, if you don’t have a tumbler press you can make these in a sublimation oven using shrink sleeves around the design.
Step 1. Print Sublimation Design
First, we need to print our sublimation design. Regardless of what type of design you’re printing you need to make sure the image is mirrored or it will be backward after it’s pressed.
Make sure you’re printing on sublimation paper with sublimation ink from a sublimation printer.
Step 2. Clean the Sublimation Beer Mug
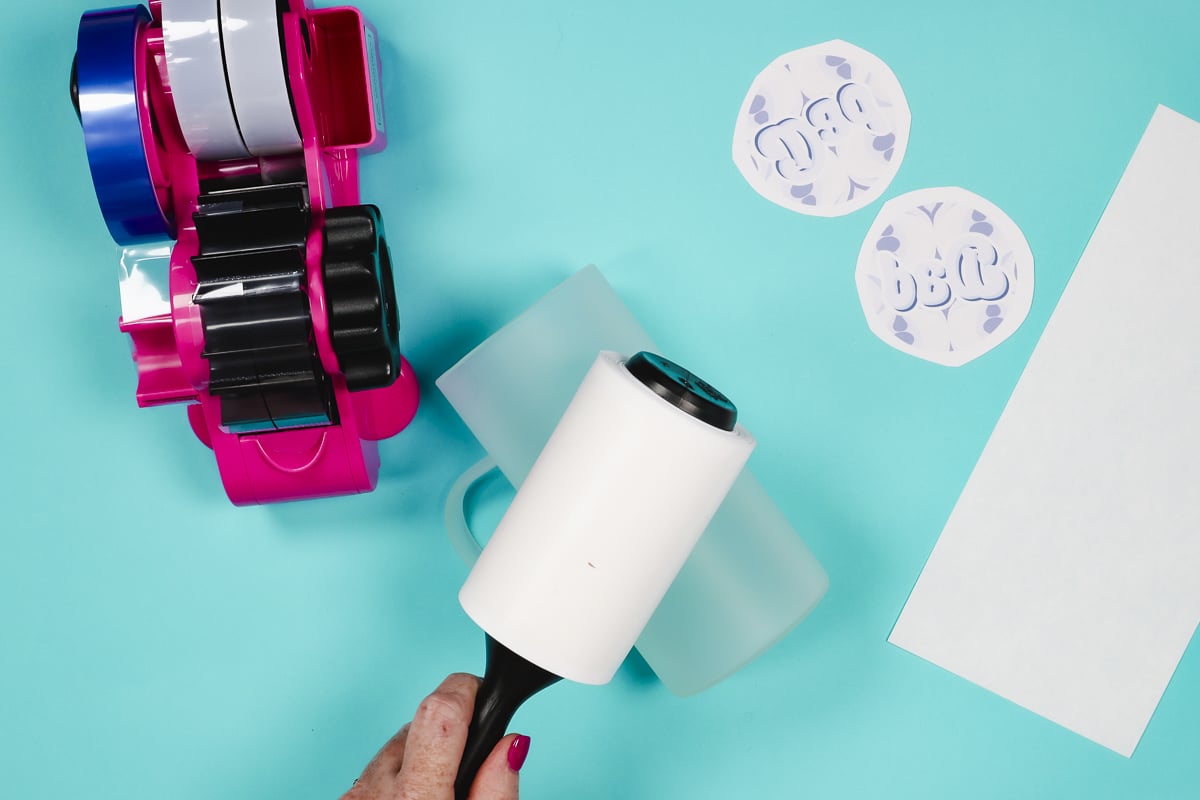
Now we need to clean the mug really well. Make sure you are using a beer mug with a sublimation coating. I am using a lint roller to do this. You can also use rubbing alcohol and a lint-free cloth. If you use rubbing alcohol, make sure the mug is completely dry before adding the sublimation print.
Step 3. Locate Sublimation Print onto Beer Mug
How you locate your design will be determined by the type of design you’re using.
I am using this dad design and I’m adding the same design to both sides of the mug. Doing this ensures that no matter which hand you hold the mug in you’ll be able to see the design.
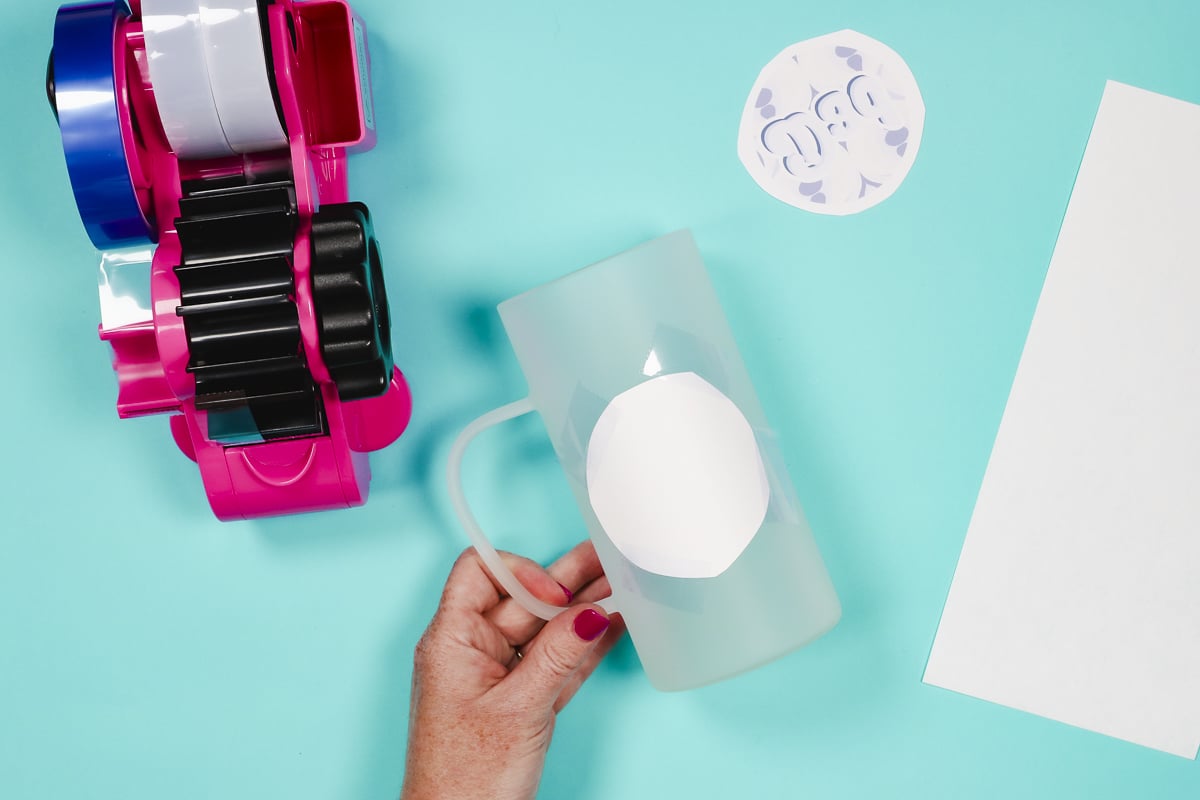
My design is sized approximately 2.5 x 2.5 inches. You can make your design larger or smaller, that is up to you. I am locating my design centered vertically between the top and bottom of the handle.
If you’re using a different design, you can do a full wrap on these mugs. When using a tumbler press, make sure you leave room on both sides of the handle. If you’re using a sublimation oven, you can wrap it under the handle as well.
With the image located where you want it, use heat-resistant tape to hold it in place. Repeat the process on the other side of the mug.
Step 4. Add Protective Paper to Sublimation Mug
Whenever I’m using a mug or tumbler press I like to cover the sublimation print with a piece of protective paper. Today I am using a protective paper that is pre-cut to size. You can use larger protective paper, just trim it to the correct size.
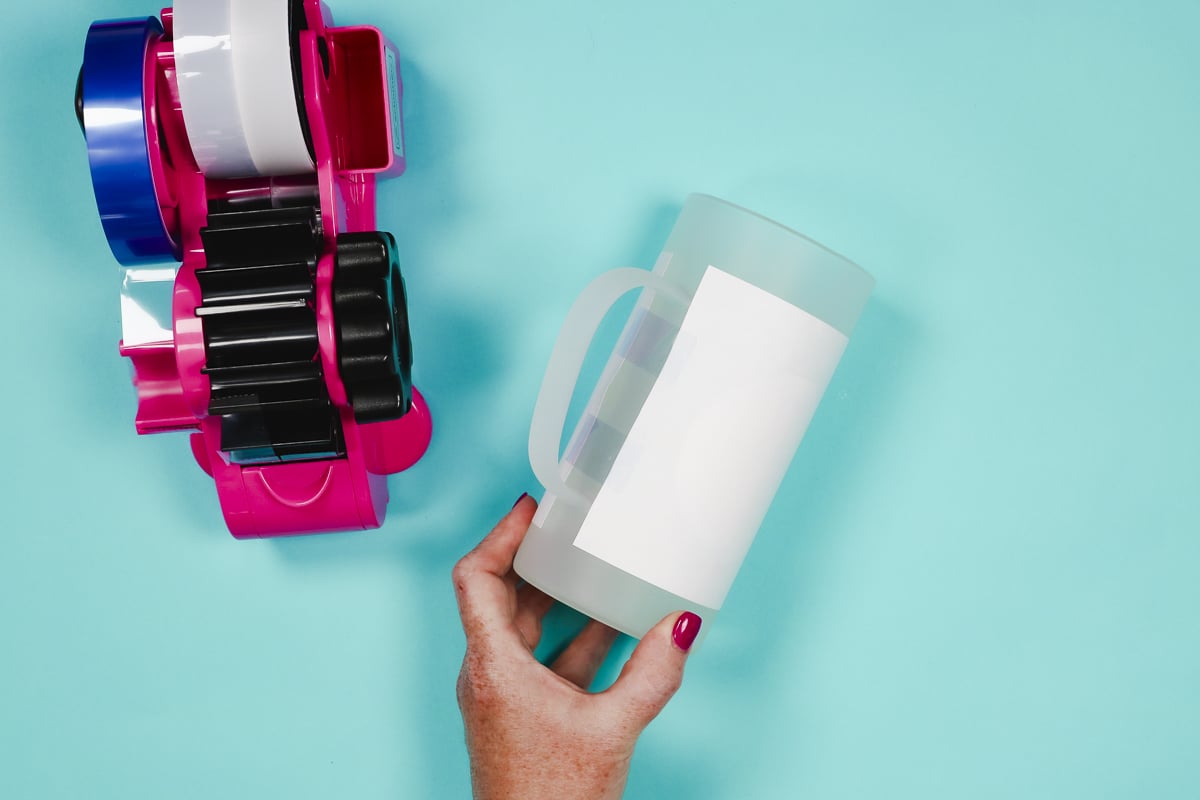
Protective paper protects the inside of the press from any sublimation ink that may come through the sublimation paper.
Use heat-resistant tape to hold the protective paper in place and then repeat the entire process for the other mug.
Step 5. Press Sublimation Beer Mug
I am using the HTVRont Auto Tumbler Press for my sublimation beer mugs. These mugs are too large to press more than one at a time so, with this press slide the mug so it is centered in the middle of the press.
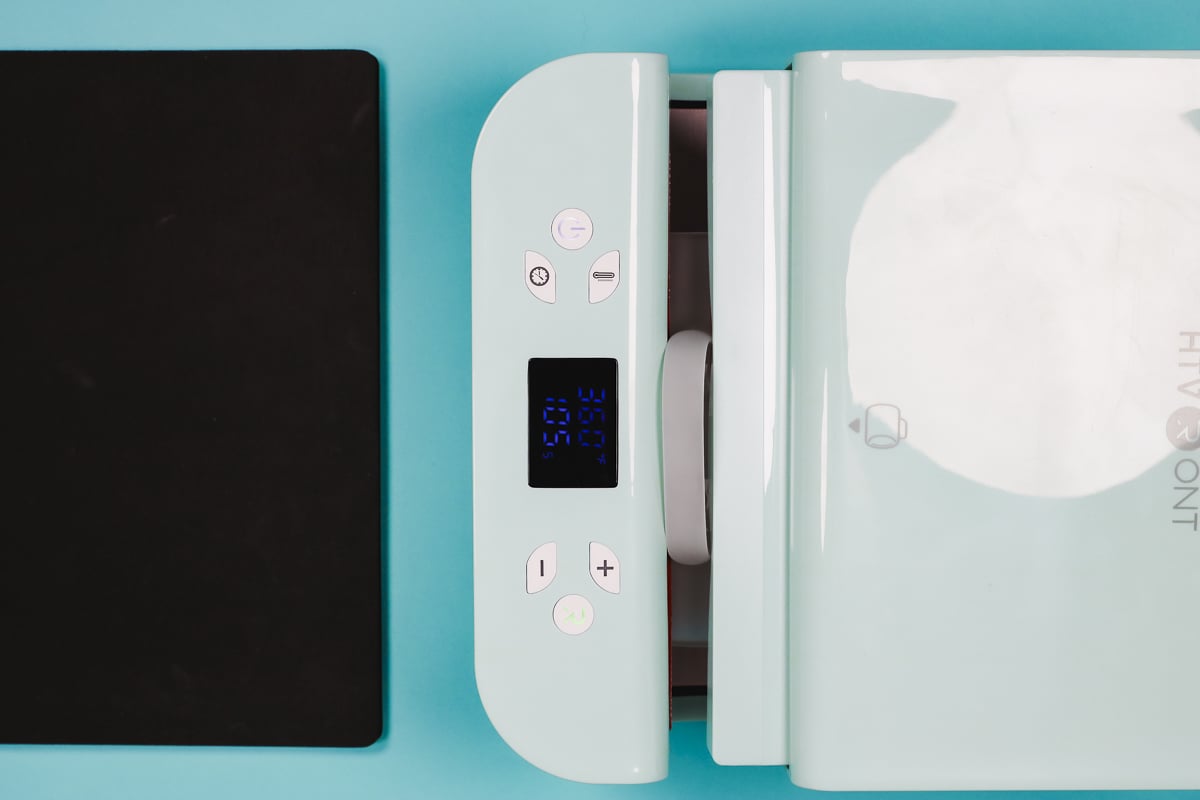
Before you press the button to close I have found with this press it does better if you put the mug in and move the handle to the side closer to the display screen.
Press the button and it will close automatically and the timer will count down. When it’s done, it will open automatically.
Step 6. Remove the Mug From the Press
Because this is a glass blank the handle might be hot. Use heat-resistant gloves to remove the mug from the press and place it on a heat-resistant mat, it will be very hot.
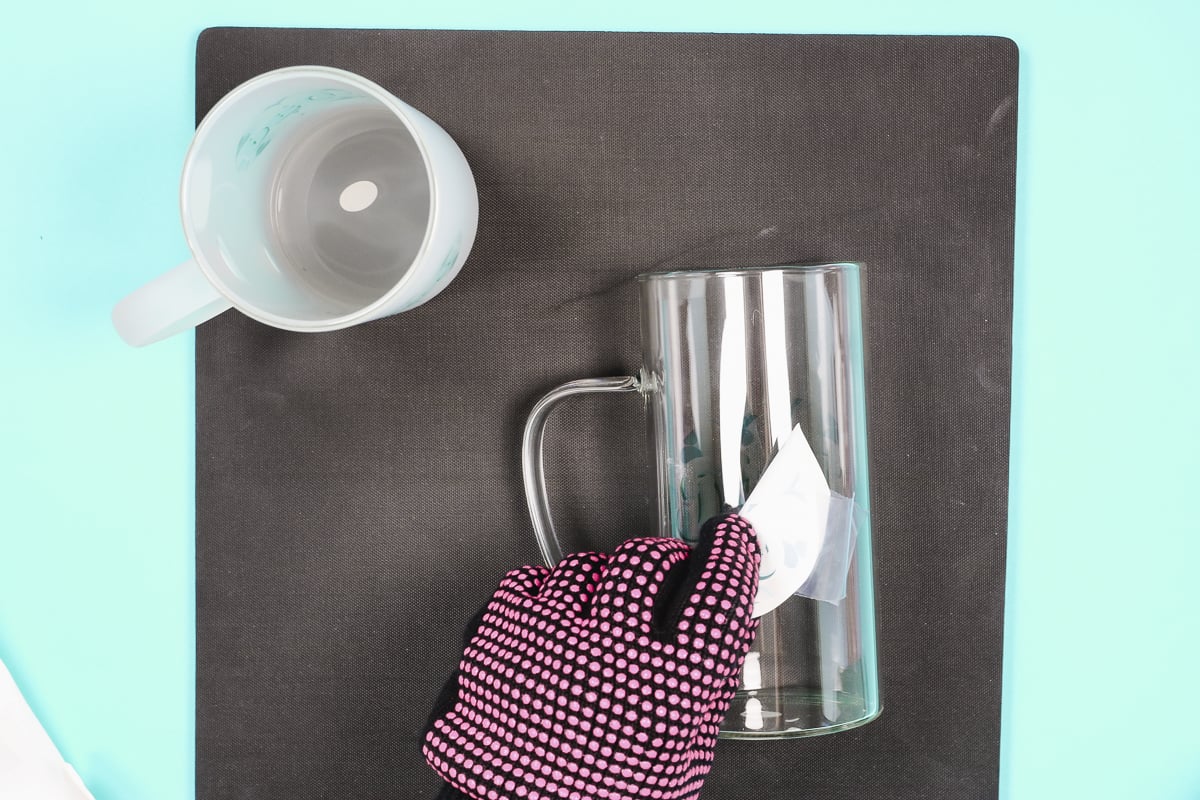
I like to remove the protective paper and sublimation print while it is still hot. If you need to, you can use something like a weeding tool to lift the tape to make it easier to peel off.
Step 7. Reveal Finished Sublimation Beer Mug
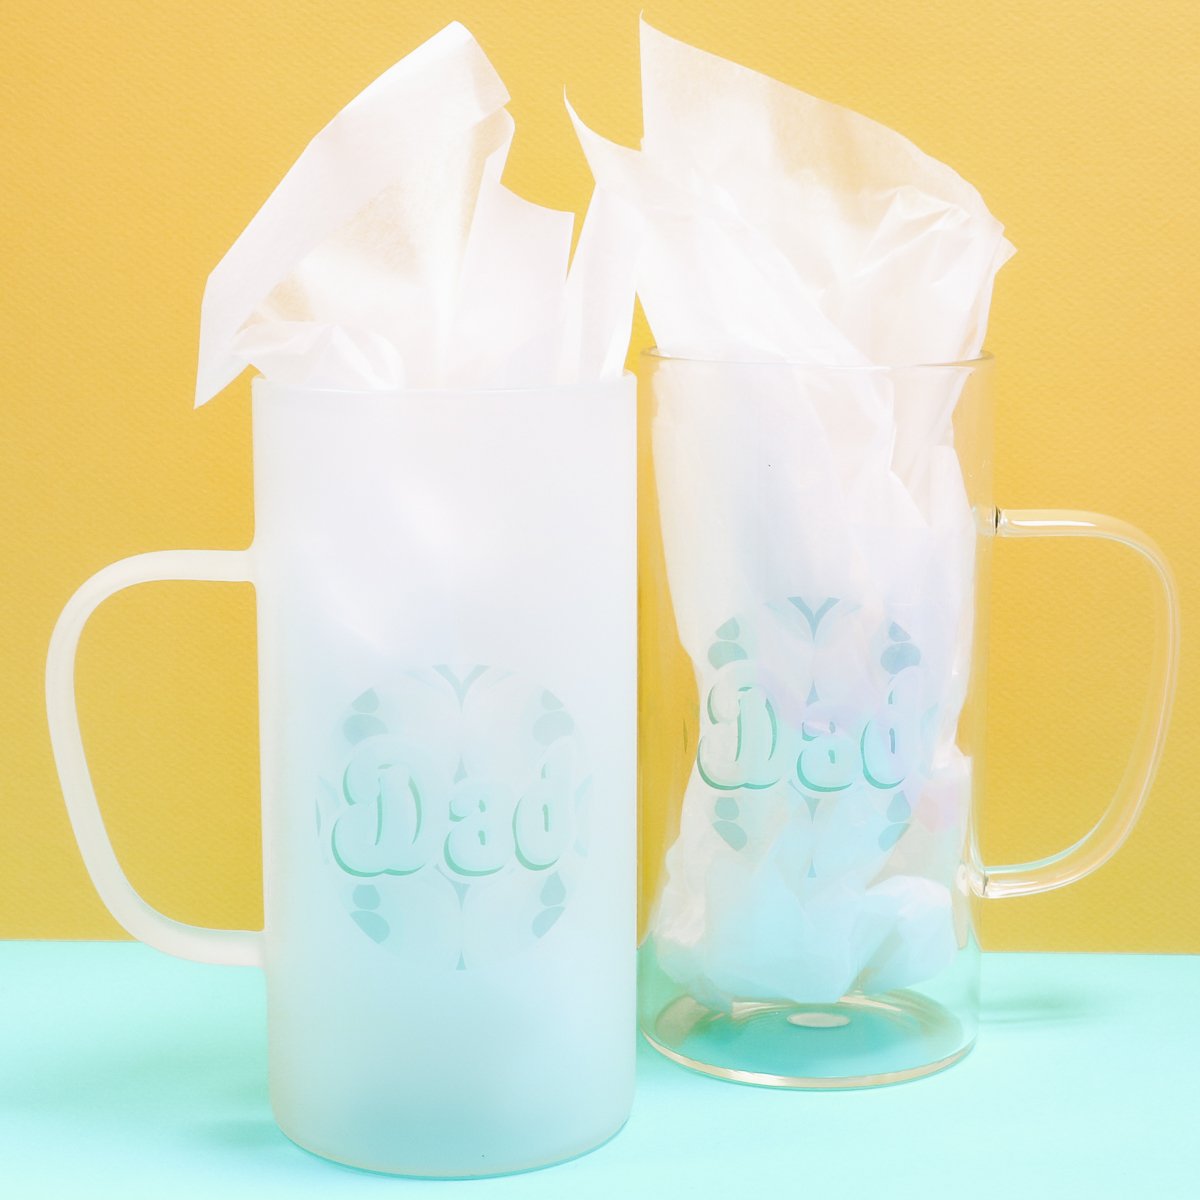
Now we can look at the finished sublimation beer mugs up close. I added white paper to the inside of the clear mug to make it easier to see that the design is on the mug.
The design pops off the frosted version a lot more than it does on the clear mug.
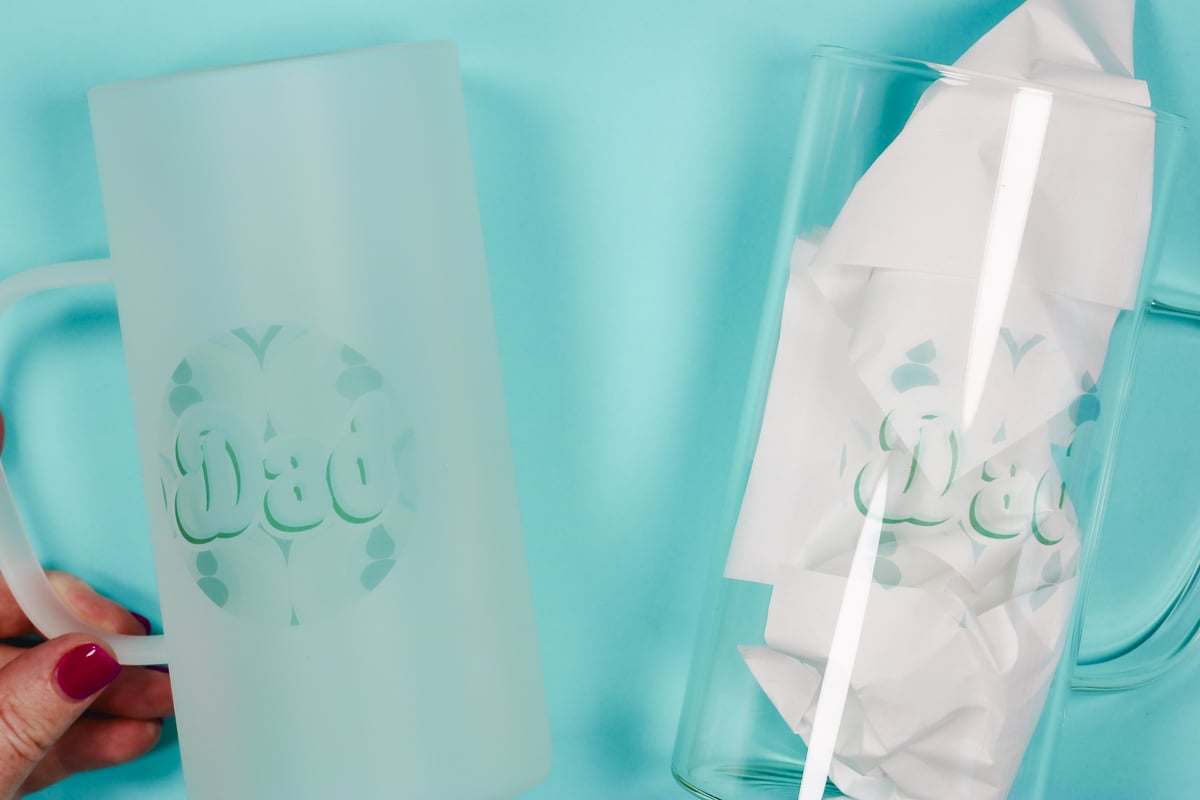
When comparing these two, I like the frosted mug better however I don’t think either design is very dark.
Frequently Asked Questions About Sublimation Beer Mugs
Now that we’ve seen how both mugs turned out let’s answer some of the questions I’ve been asked most often.
How Do I Get the Sublimation Print to Be More Vibrant?
One thing to remember when making glass sublimation projects is that sublimation ink is translucent. Because both of these mugs are clear getting the colors to show may be difficult, especially if you use lighter colors.
I have seen people try printing twice on their sublimation paper to lay down more ink. You can play with the settings on the print to lay down more ink, you might get a more vibrant result.
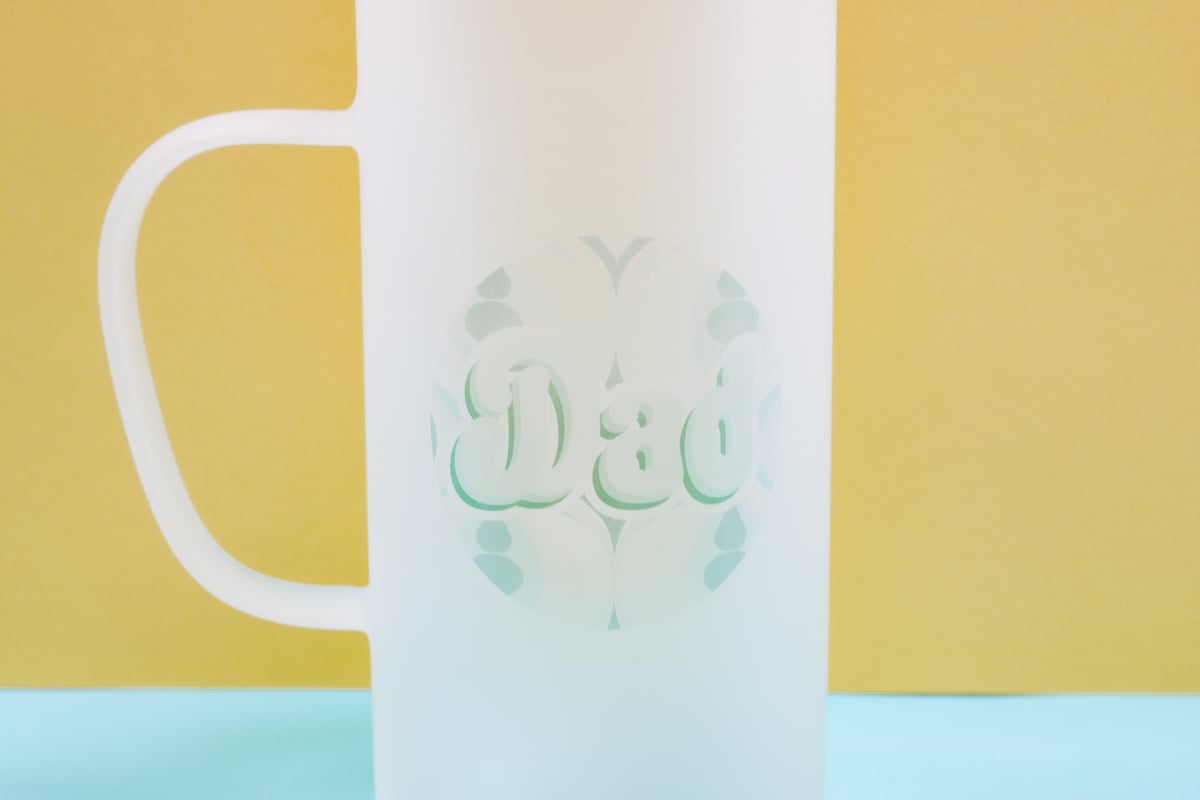
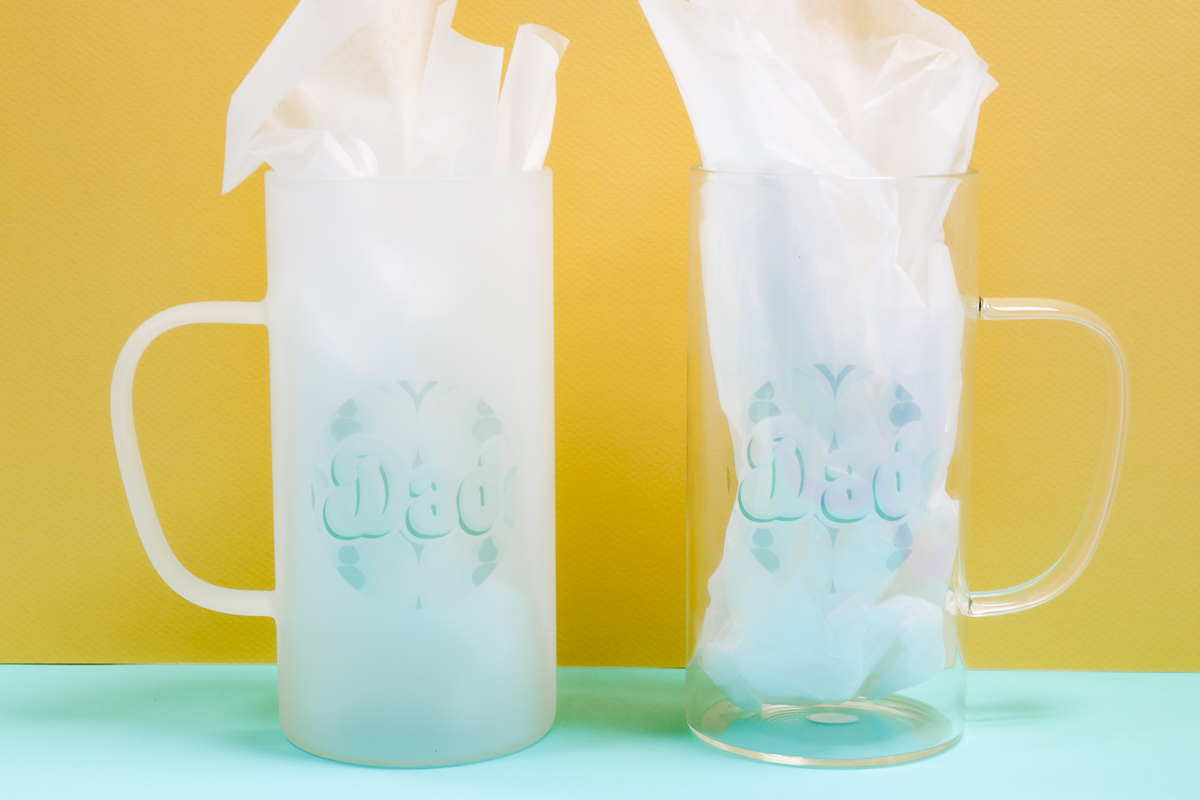
As you can see the image on the frosted mug looks much better than the image on the clear mug.
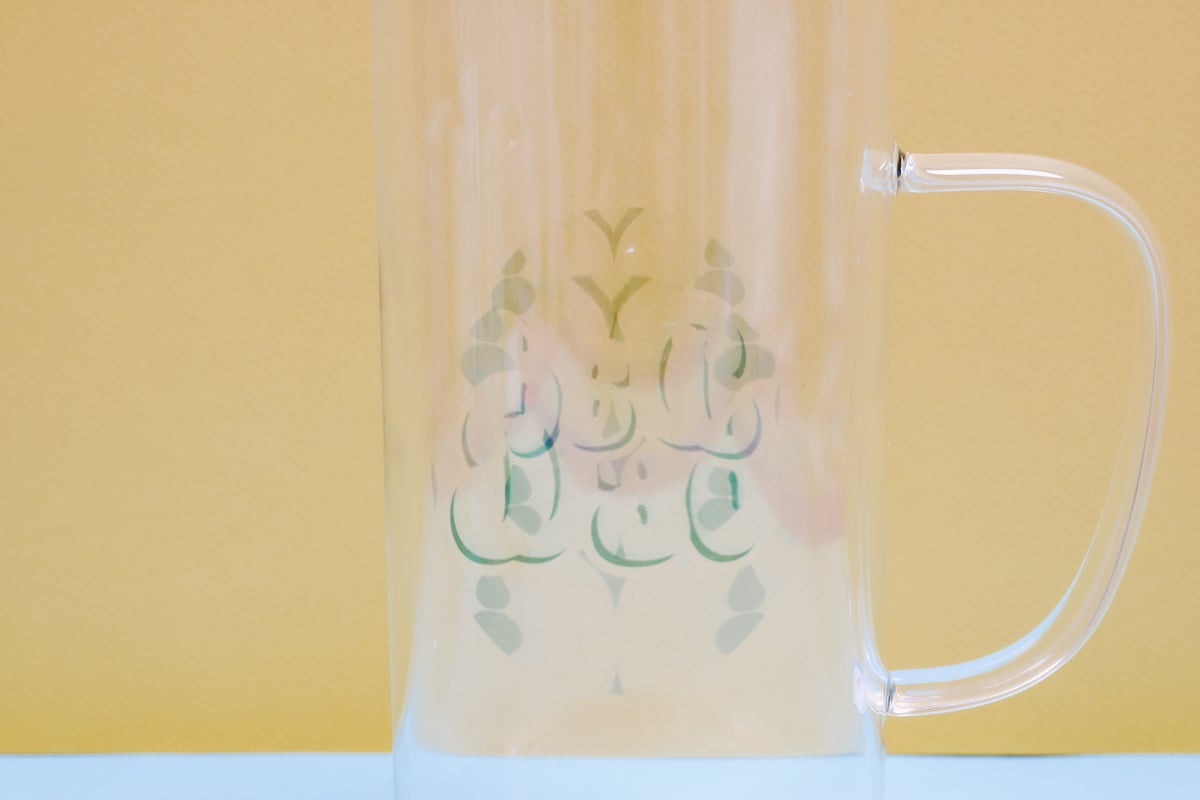
I added the design to both sides of both mugs. With nothing in the clear mug, you can see the design on both sides through one side.
Do Different Colors Work Better on Sublimation Beer Mugs?
Yes, if you use darker colors your design will show up better on a clear or frosted beer mug. Designs that are all black show up better than designs that have different colors.
Which Mug Would You Choose?
Based on the results today I would choose the frosted sublimation beer mug every time. The design pops off more even when using colors that are lighter.
Unfortunately, all designs are going to be more muted on these mugs than they would be on a mug that has an opaque finish. I feel like the muted design works well on the frosted glass. Since the glass itself has a faded white look a faded design fits with it.
Did You Adjust Your Printer Settings?
I did not adjust my printer settings for these mugs. With both mugs, I used my normal printer settings.
Final Thoughts on Sublimation Beer Mugs
I really like the idea of these sublimation beer mugs and they are easy to make. I am not a big fan of the finished product though. They’re just not my personal favorite.
If I were going to use these glass sublimation beer mugs, I would look at a different application process. Other options would be UV DTF and permanent vinyl. With both of those options, make sure you follow the washing instructions for the longest lasting results. These may be a less expensive option as well because you wouldn’t need a sublimation blank.
I hope I’ve answered any questions you have about how to make sublimation beer mugs. If you have any other questions leave those in the comments and I’ll be happy to answer them for you.