This post and photos may contain Amazon or other affiliate links. If you purchase something through any link, I may receive a small commission at no extra charge to you. Any supplies used may be given to me free of charge, however, all projects and opinions are my own.
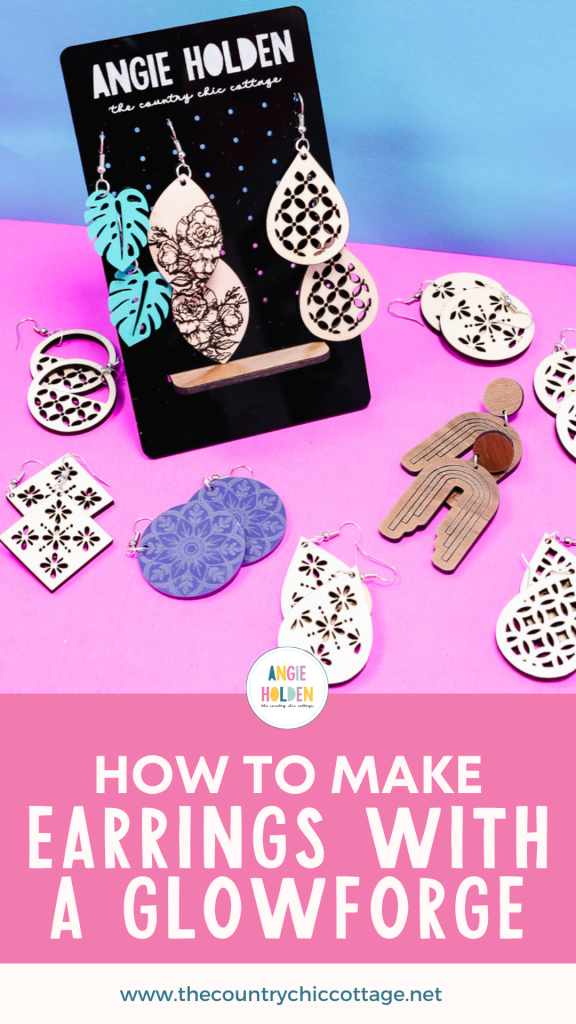
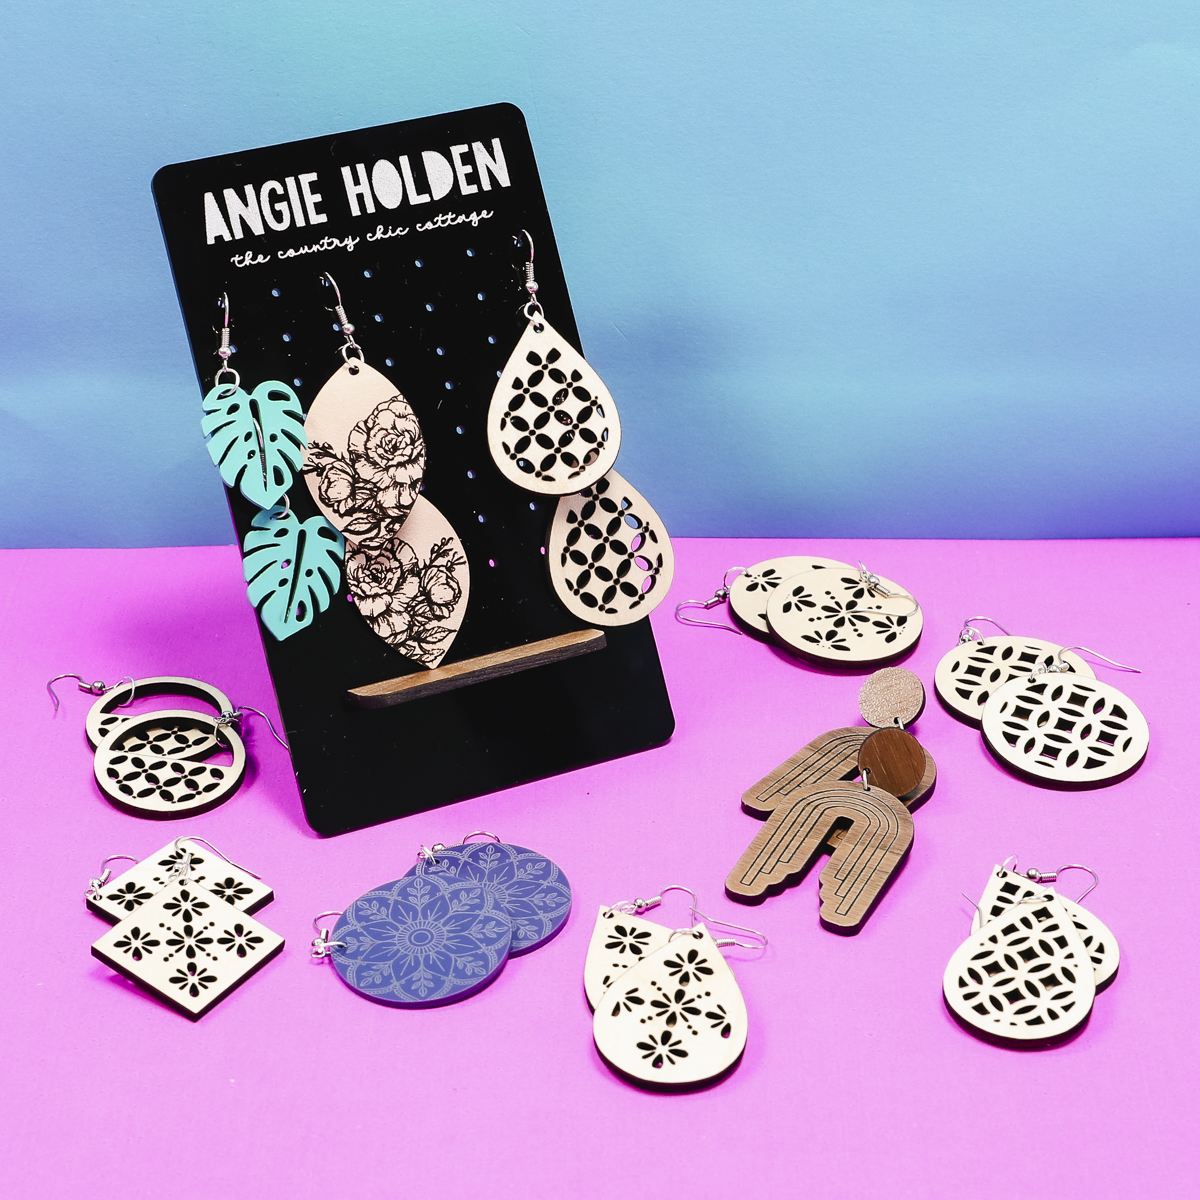
Are you ready to learn how to make earrings with your Glowforge? Today I’m going to show you how to use your Glowforge Spark to make a variety of earrings with different materials to help you decide which ones you want to try first.
Glowforge Spark is the newest Glowforge laser on the market and is perfect for anyone just getting into laser crafting. You can use any Glowforge machine for this same project.
If you want to learn more about Glowforge Spark and what you can do with it, I have a whole tutorial showing you everything it can do.
All of the materials I’m using today use Glowforge Proofgrade materials so they are all safe to use in your Glowforge Spark.
You can watch me go through the whole process by pressing play on the video below.
Making Earrings with Glowforge
You can make earrings with Glowforge out of a variety of different materials. If you aren’t using Proofgrade materials make sure the material you’re using says it is laser compatible or laser ready.
If you’re using a different material, you may need to play with the material settings. The Glowforge community is a great place to start with material settings of unknown materials.
Supplies Used
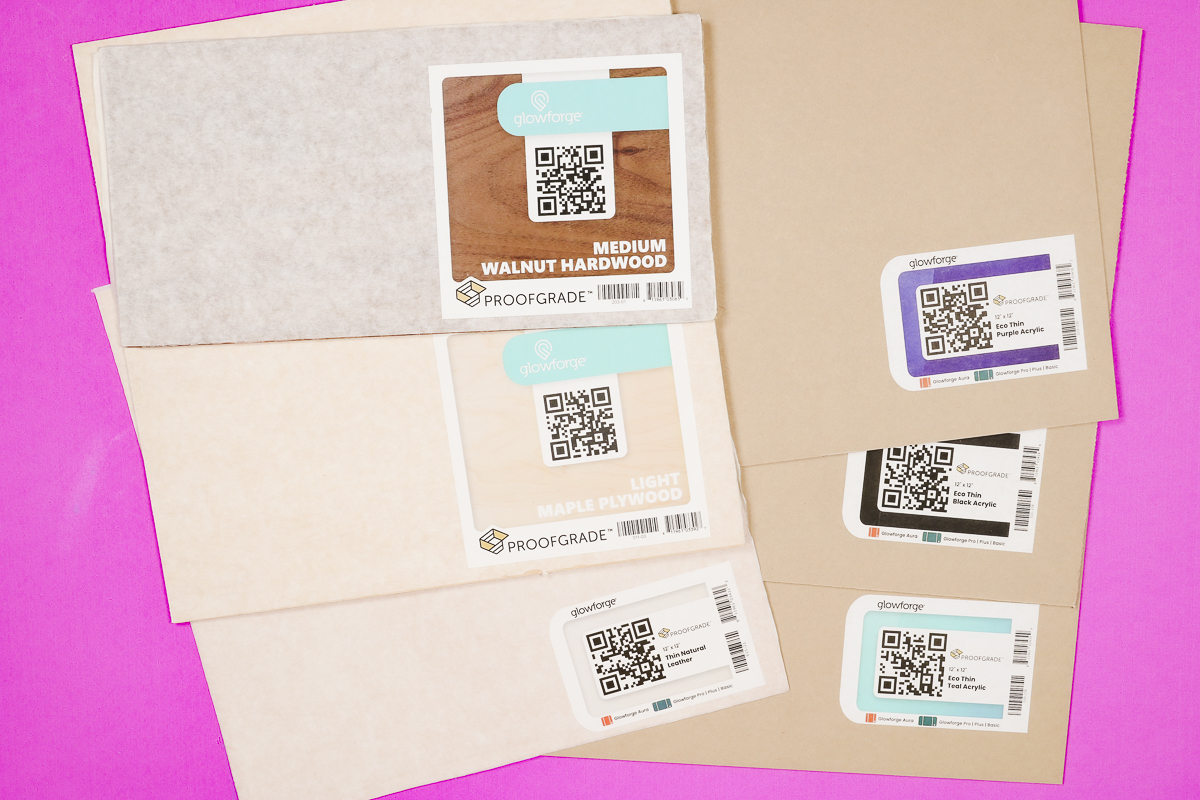
Glowforge Spark is a Diode laser, while it can cut acrylic it can’t cut clear acrylic. If you’re using Glowforge materials and the material says Glowforge Aura or Glowforge Spark, you can use them in the Glowforge Spark laser.
Please note – Glowforge materials have masking on the front and back. Do not remove that before cutting. It protects the material.
Step 1: Choose an Earring Design
I have my Glowforge Spark set up and I am using it hooked to my air filter.
For this project, I am choosing a design from app.Glowforge.com. All of the designs I am using today are right in the Glowforge app. If you have other designs, you can upload and use those as well.
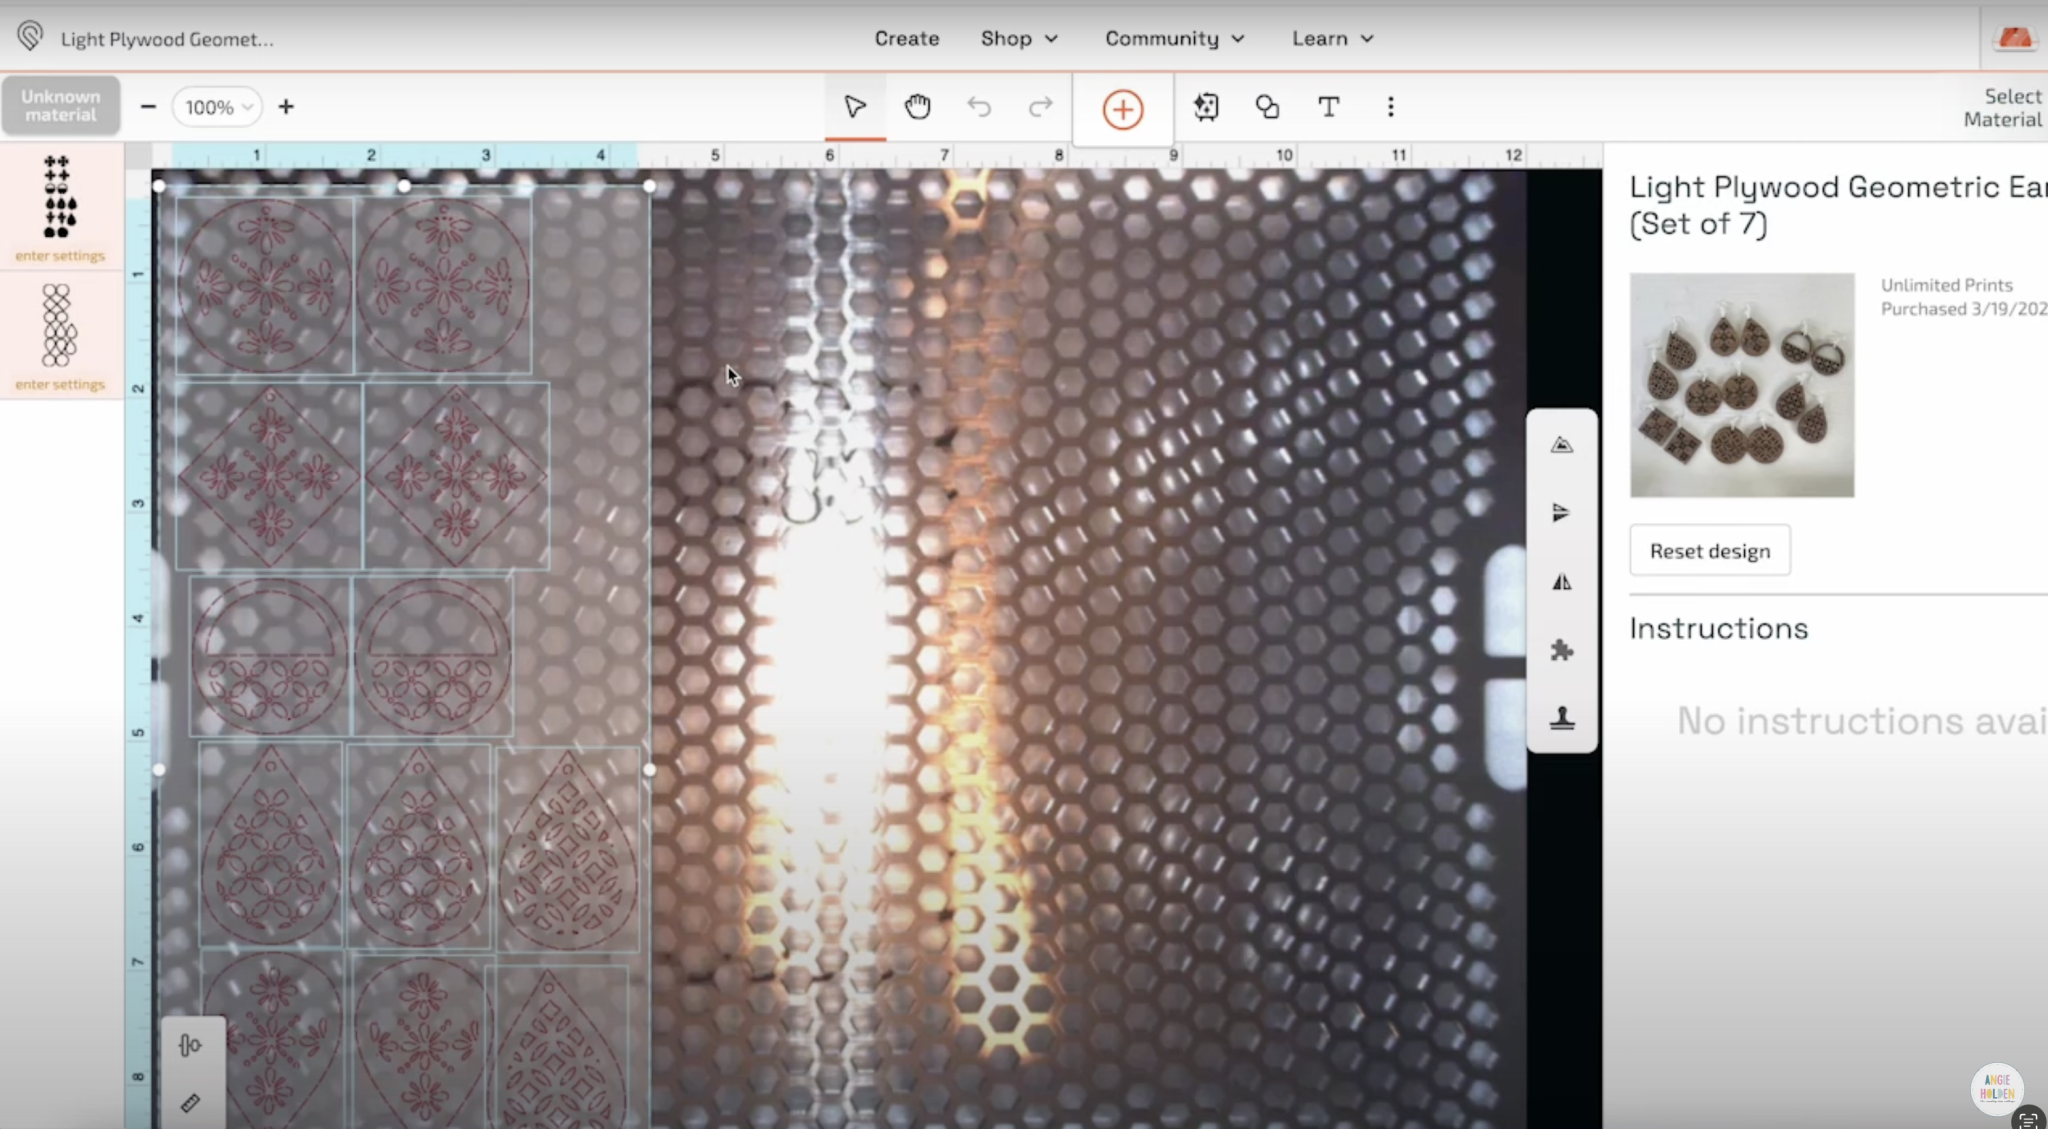
I found a set of light plywood earrings in the app and clicked on it to add it to the screen. Now, on the screen, you can see the inside of your Glowforge Spark as well.
Step 2: Add Material to Glowforge Spark
For the first set of earrings, I am going to use the Light Maple Plywood. Lift the lid of the Glowforge Spark and add the material to the laser.
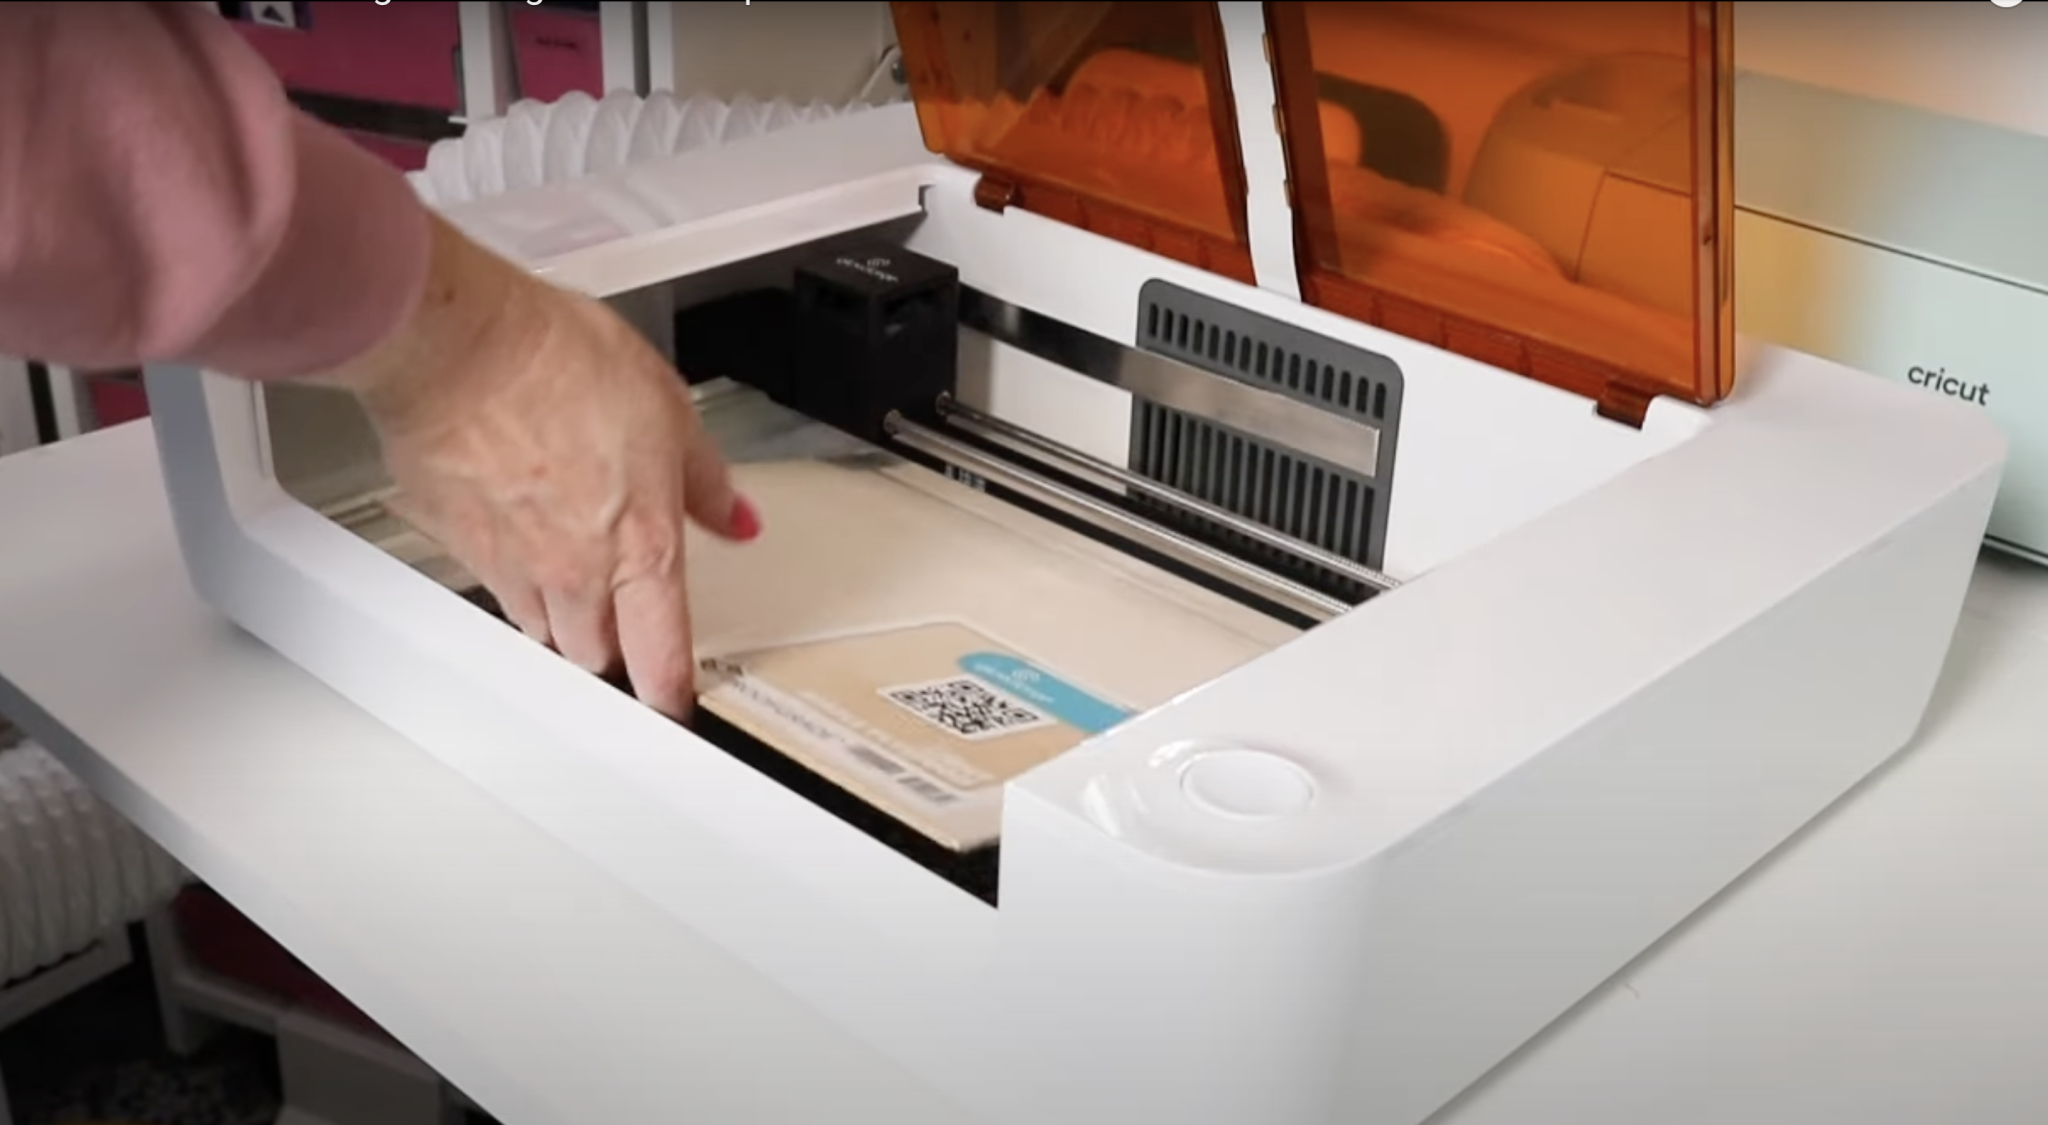
I am using a 12 by 12 sheet of plywood so I want to make sure that the QR code is where the camera in the laser can see it.
With the material inside the Glowforge Spark, the camera reads the QR code and now the program says Light Maple Plywood.
Step 3: Adjust the Earring Design on the Material
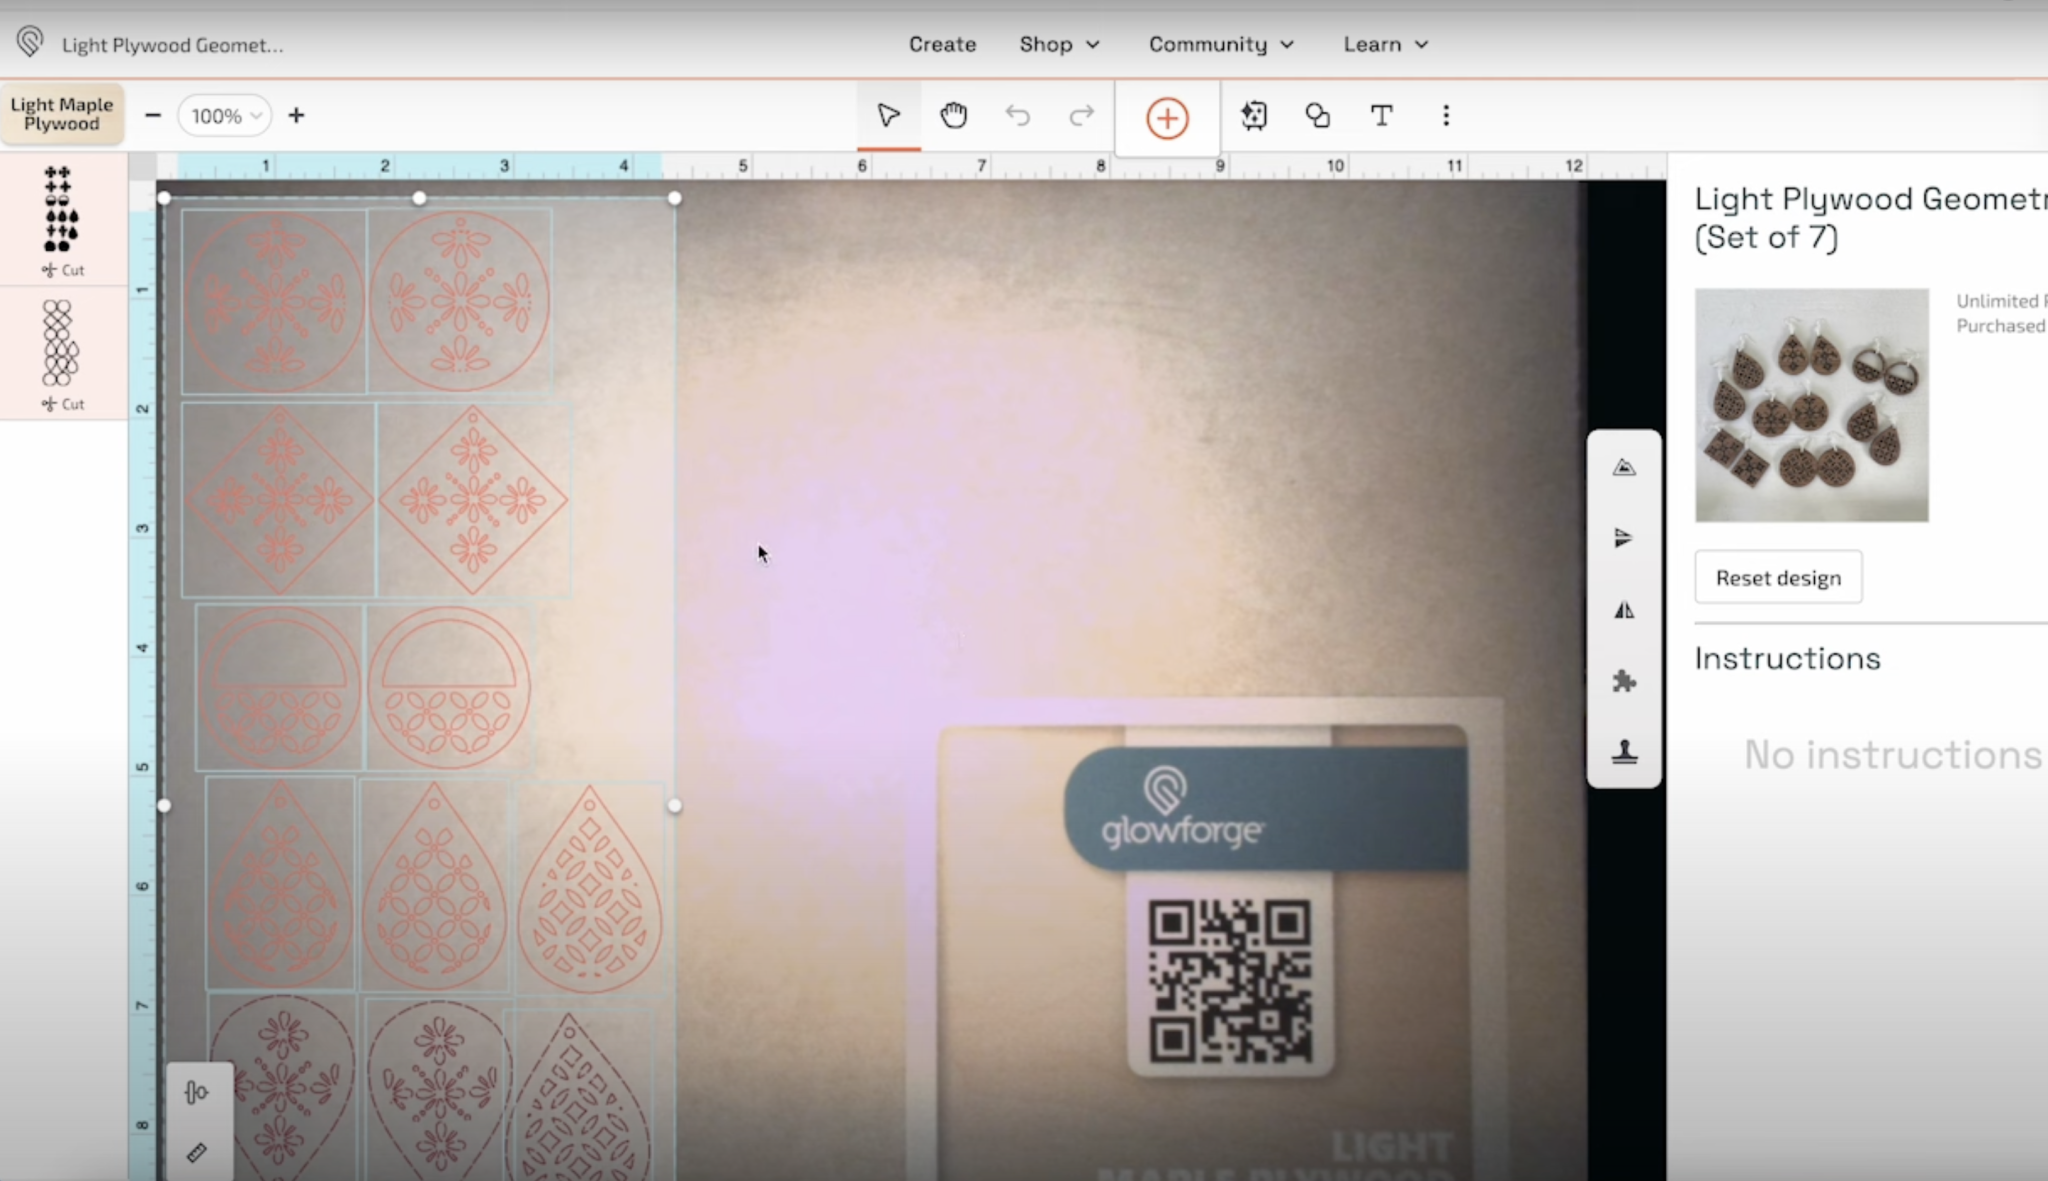
Some of the designs in the Glowforge app may be set up for a larger Glowforge laser. You can see in the photo below that the earring design hangs off the end of the material.
To fix this I am going to click on the design and rotate it 90 degrees and move it to the top of the material.
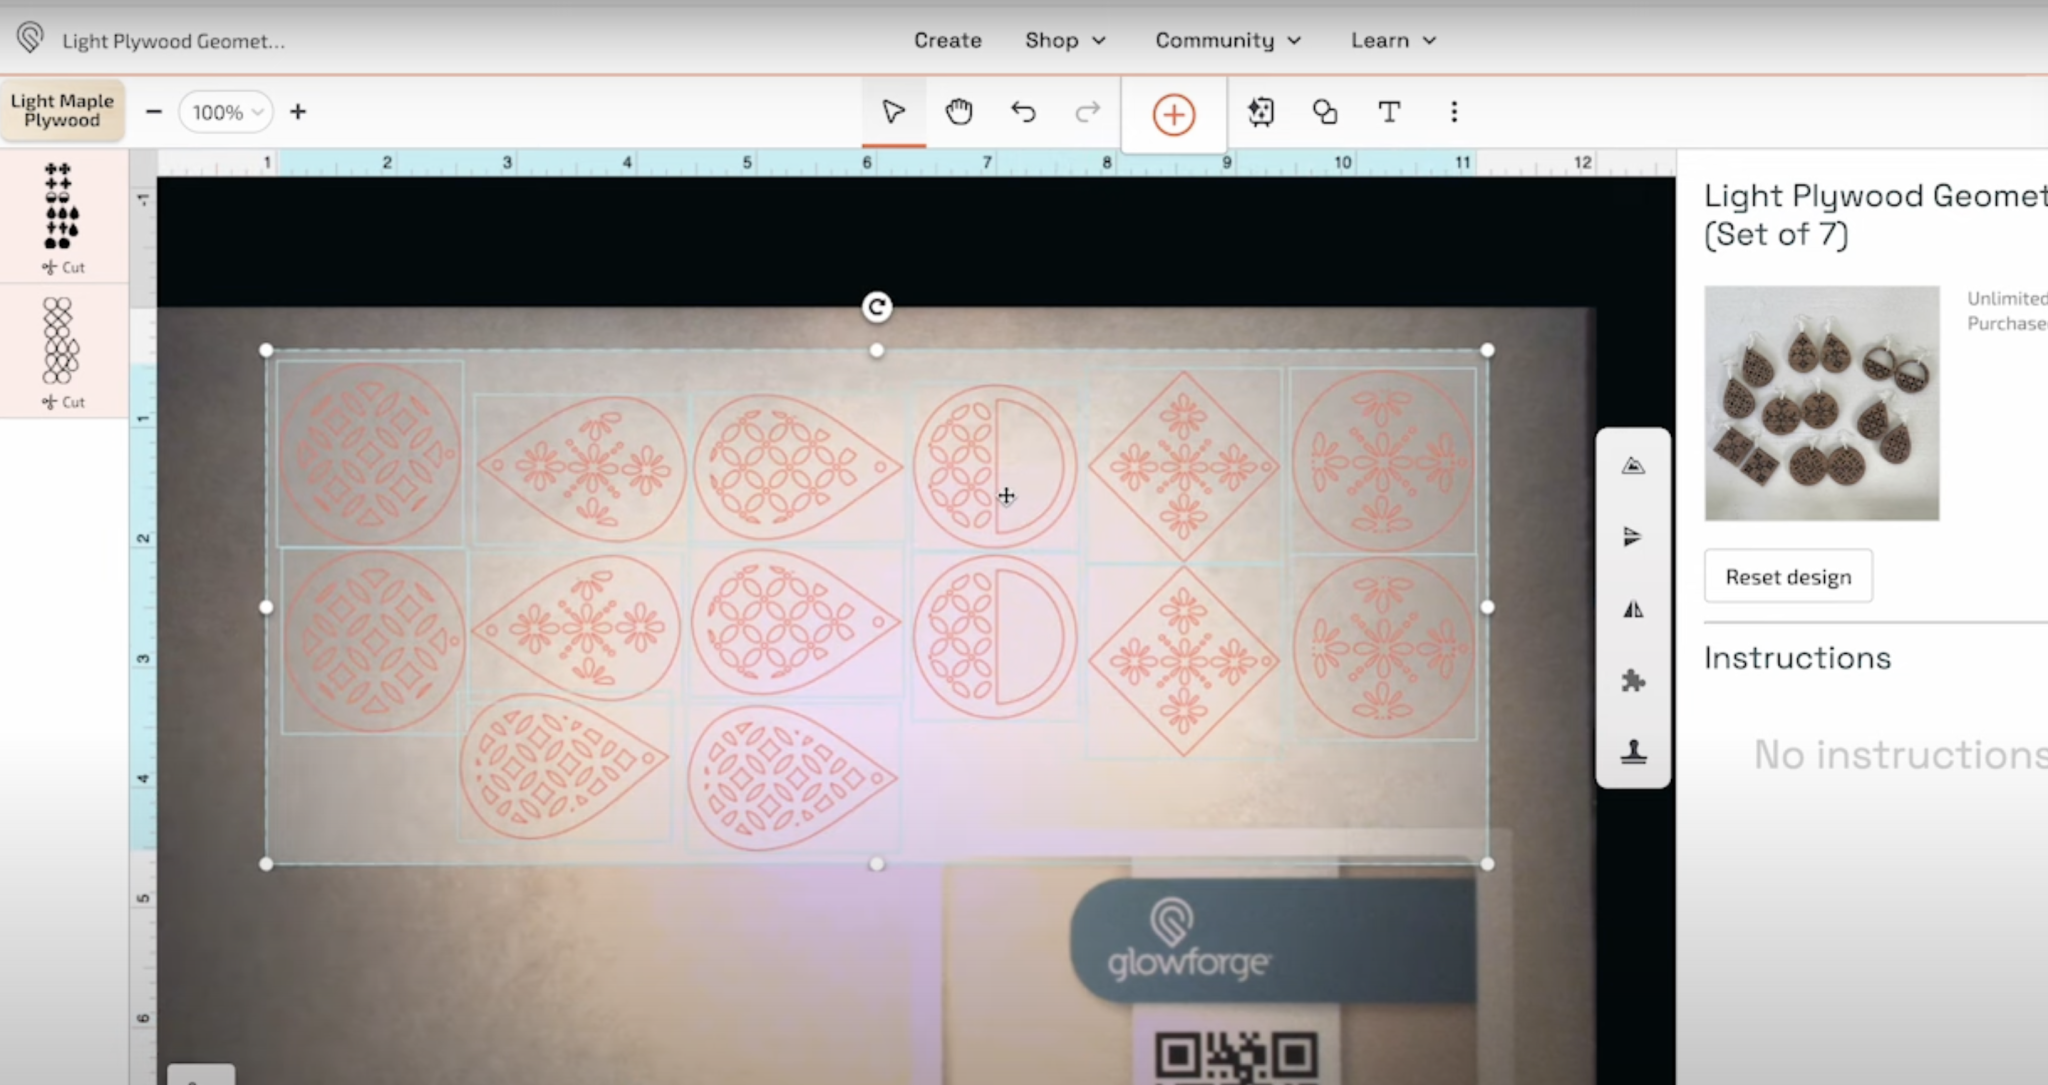
Now that the design fits on the material we’re ready to cut.
If you look on the left side of the photo above, you can see that it says Light Maple Plywood and the layers are set to cut. Since this is a Proofgrade material all of the settings are set for us.
Step 4: Cut Earring Designs with Glowforge Spark
To send this design to the Glowforge Spark, click Print. You’ll hear the machine start up and if you’re using the air filter that should start as well.
Make sure you see on the screen that the Glowforge Spark is connected to the air filter and that it is online before doing any cutting.
Next, on the screen, you will see how long the laser is going to take. For this material and this file, it is going to take my Glowforge Spark 1 hour and 18 minutes to cut.
This is important to pay attention to because once you start cutting you should stay by your Glowforge the entire time it’s cutting for safety reasons. You can do other things but you should be nearby the whole time.
If you’re ready, press the button on the Glowforge Spark to start the cut.

Step 5: Remove Earrings from Glowforge Spark
When it’s done cutting, you’ll want to wait for everything to cool down before removing the earrings. The app will tell you when it’s done.
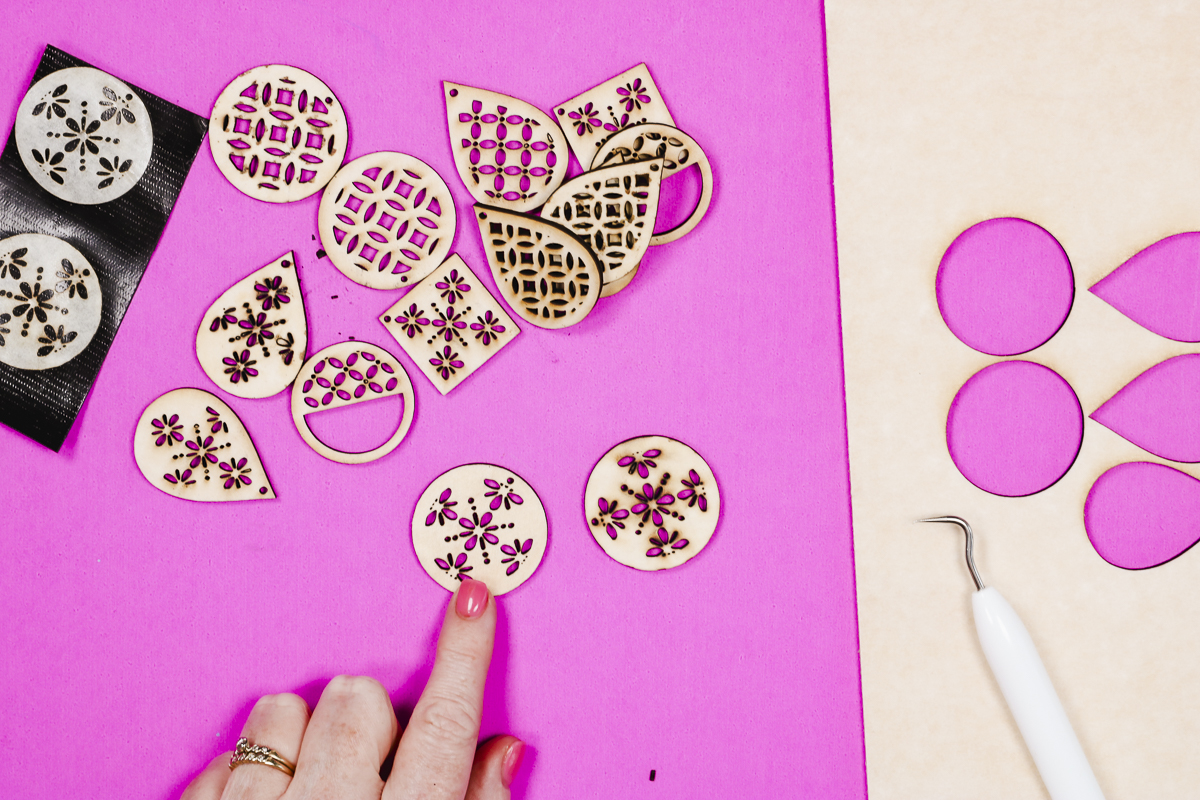
Now you can open the lid and start removing the pieces. There are a lot of intricate little pieces in these designs. Many of them will fall out into your Laser. I would keep a small vacuum nearby to clean those up.
Step 6: Remove Masking from Glowforge Earrings
Some of the really tiny details can get stuck in the earring and you may need to use something like a weeding tool to push them through. They are cut, they just can’t fall out easily.
Remember earlier I told you that the Proofgrade material has masking on both sides. I’m going to show you why that is a good thing.
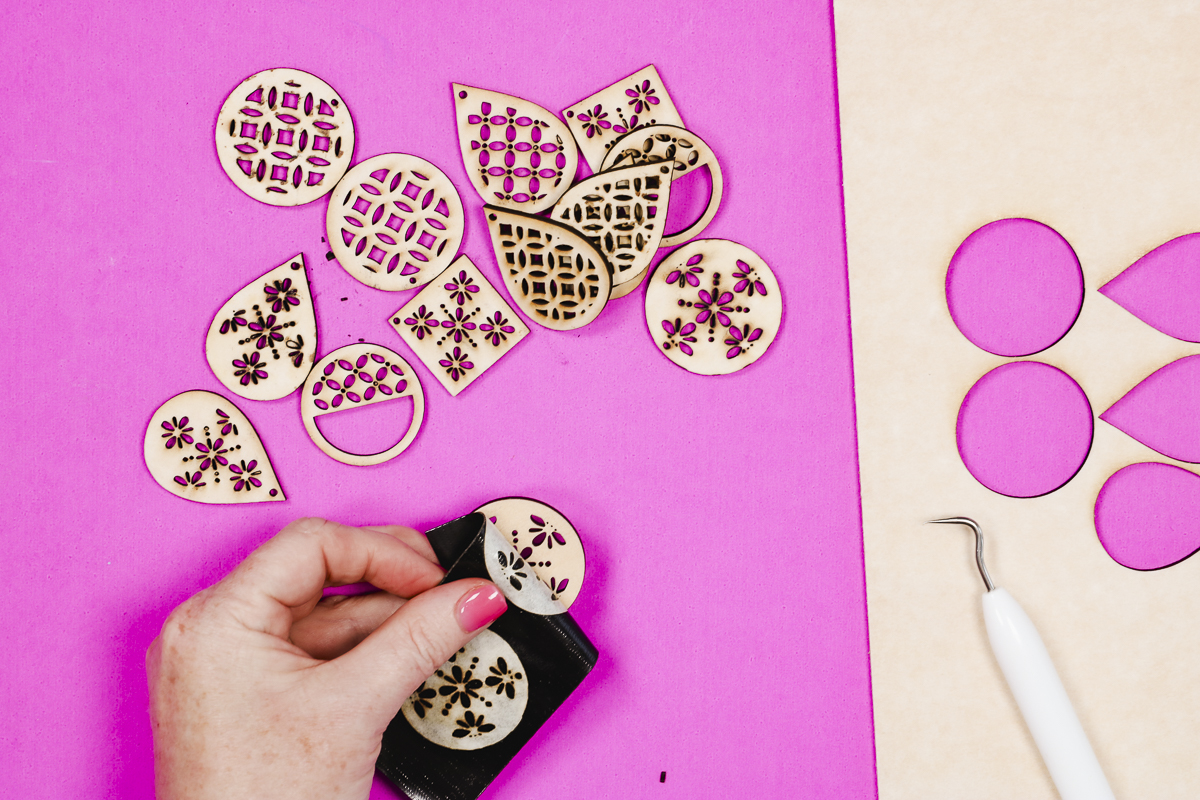
When these earrings come out of the laser you can see there are burn looking marks on them. Those burn marks are only on the masking.
I like to use Gorilla Tape to help remove that masking. I don’t want to use a weeding tool as that might scratch the material.
Press the Gorilla Tape down and peel it back and you’ll see that the masking lifts right off. Make sure you remove the masking from both the front and back of the material.
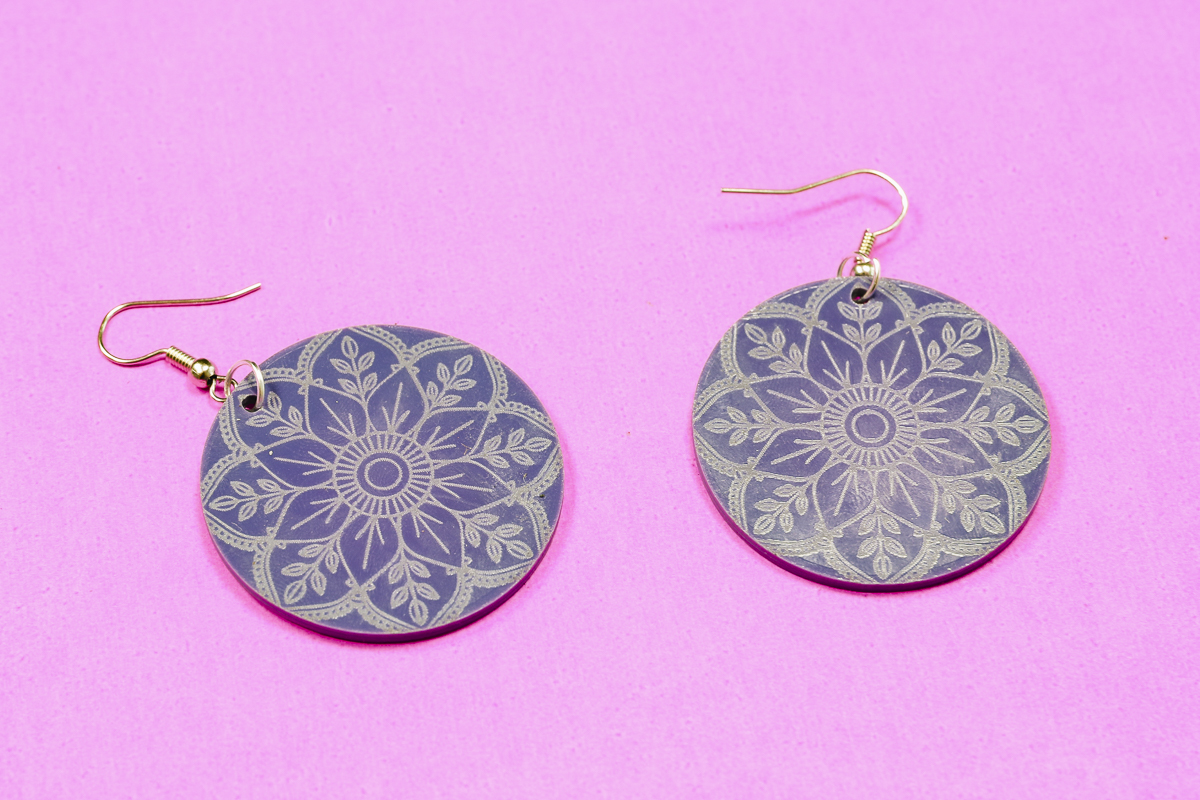
You can see in the photo above the earring on the left has the masking removed and the earring on the right still has the masking. The earring on the left looks much cleaner than the earring on the right.
Optional: Adding Engraving and Score Lines
All of these earrings are using only cut lines. Let’s look at designs that use both engraved and score line types.
How to Add Engraving to Earrings with Glowforge Spark
For the next earring, I’m using an acrylic Proofgrade material and a design that has both cut and engraved line types.
The camera in the laser can read the QR code and it will make all the setting adjustments for me.
For this design, the insides of the design are made up of engraving lines and the outside as well as the earring hole are cut lines.
I can adjust the depth of the engraving. There are three options:
- draft is the most shallow
- SD is a little deeper
- HD is even deeper
I am leaving the depth to draft for this project. With all those settings we’re ready to go. I can see that the project will take 23 minutes and I can press the button on the Glowforge and it will cut.
When the machine is done, remove the material from the Glowforge Spark and use Gorilla Tape to remove the masking.
Because this earring design has engraving you may need to use something like a scraper tool to push the tape onto the mask in the details to get it all removed.
How to Add Scoring to Earrings with Glowforge Spark
The final line type in the Glowforge Spark is the score line. For this project, I am using Proofgrade Medium Walnut Hardwood.
I’m going to follow all the same steps I did for the previous earrings and for this project, the Glowforge app says it is going to take about seven minutes to make.
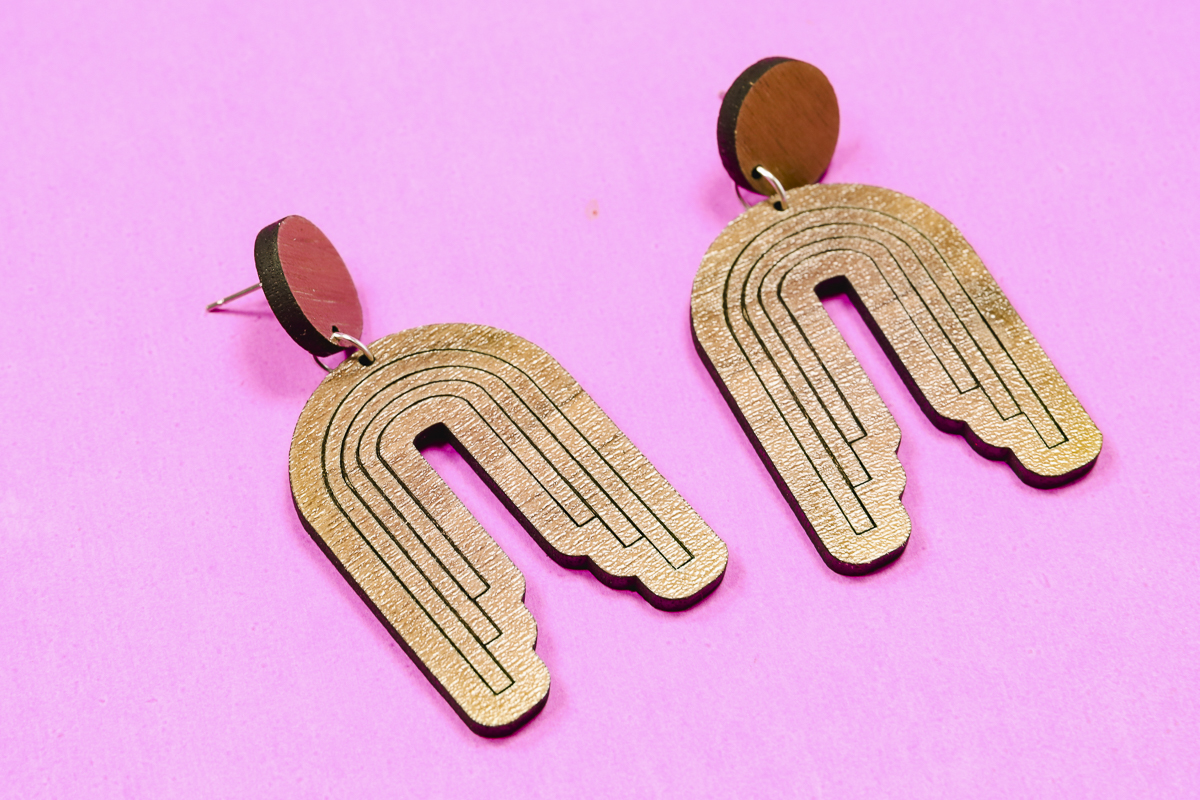
When using engraved or scored lines, you can use something like a paint pen before removing the masking to add color to the engraved/scored lines. You do not need to do that but it is another fun option.
Step 7: Finish Earrings Made with Glowforge Spark
There are a variety of different ways to finish these earrings. I am using a combination of jump rings and earring hooks and I’m using pliers to attach them.
For earrings that are using a stud, I am using jewelry glue to attach the stud to the back of the earring.
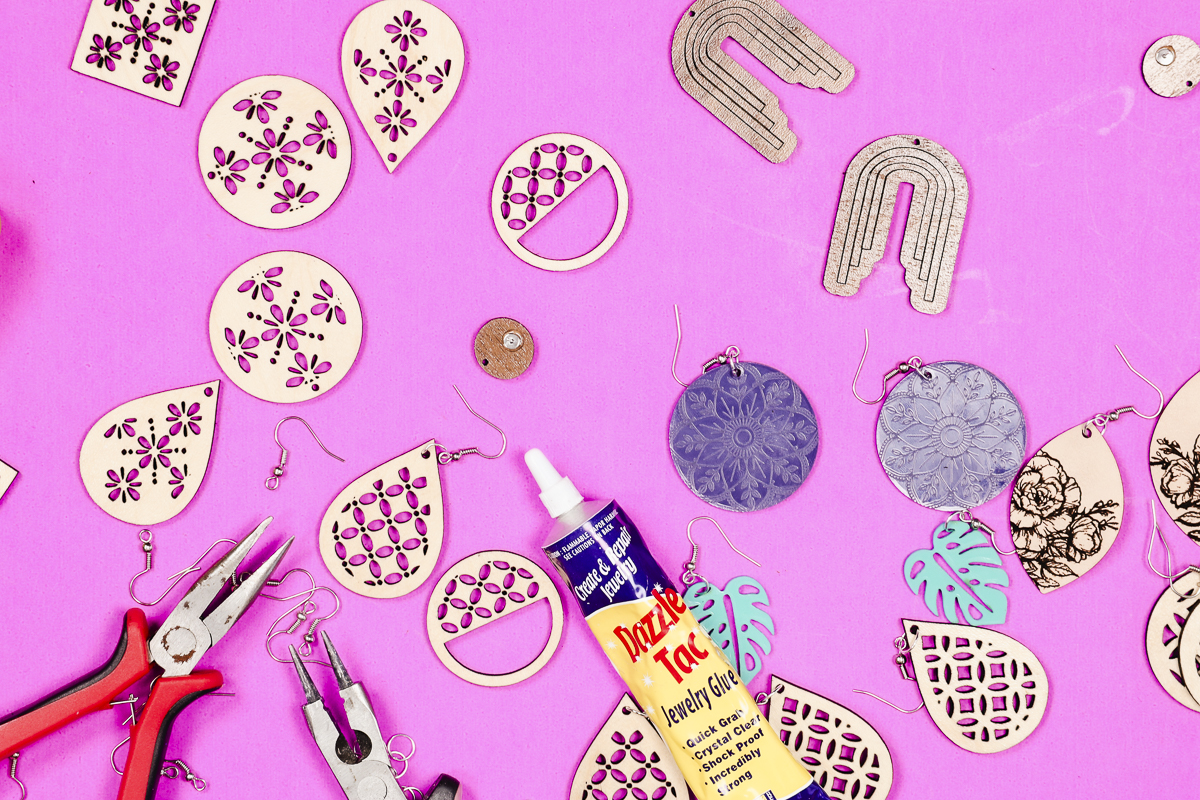
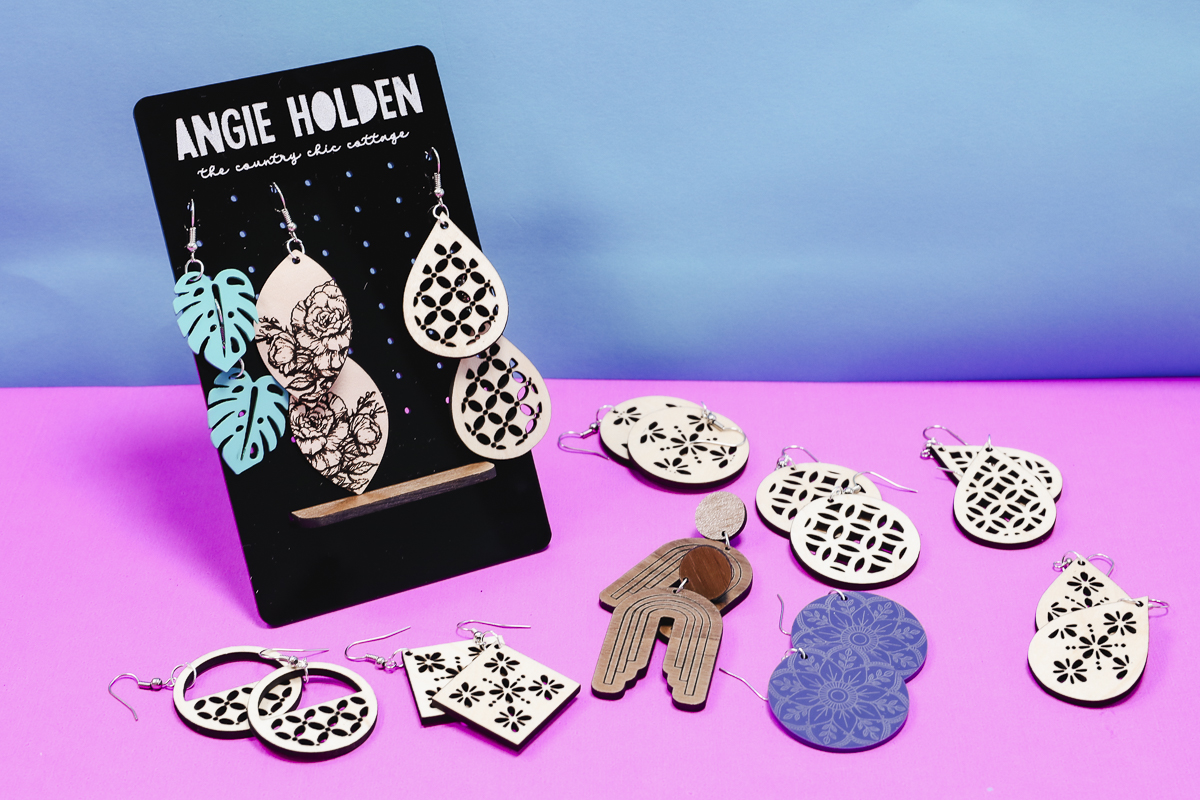
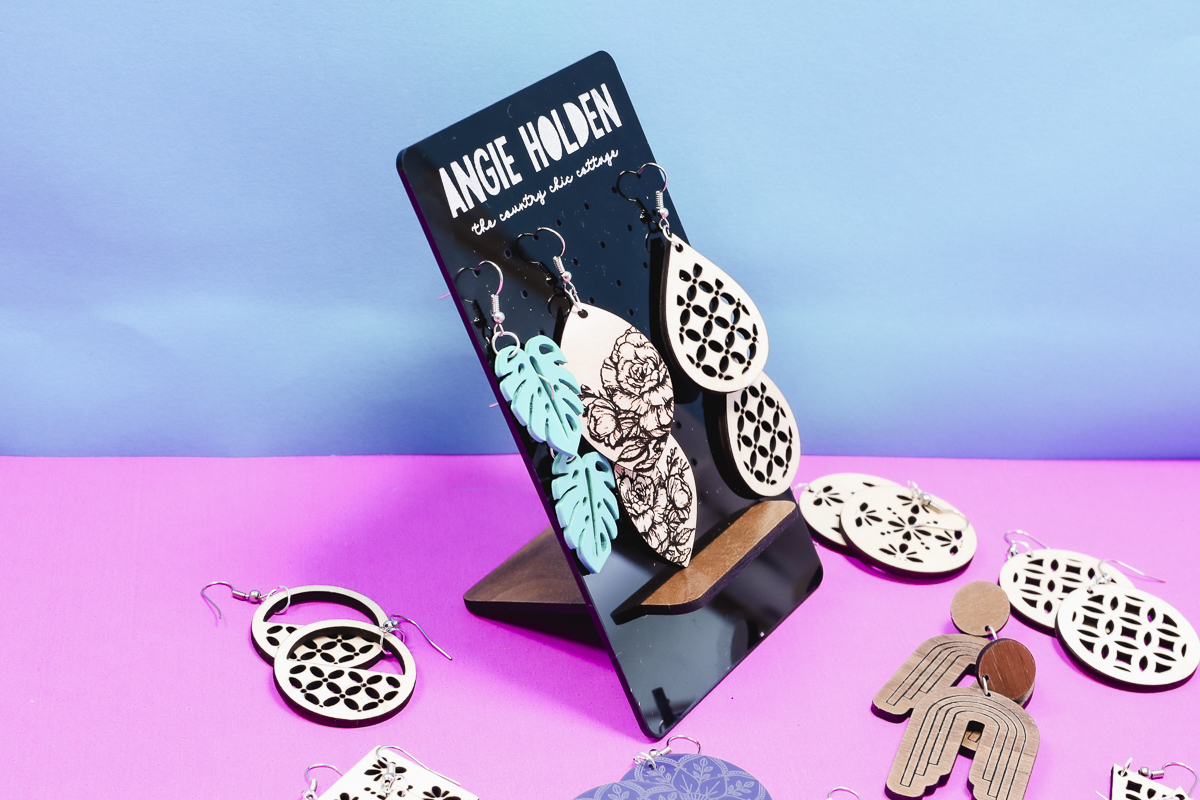
Once assemly is complete, these Glowforge earrings are ready to wear and just look at how fun they are!
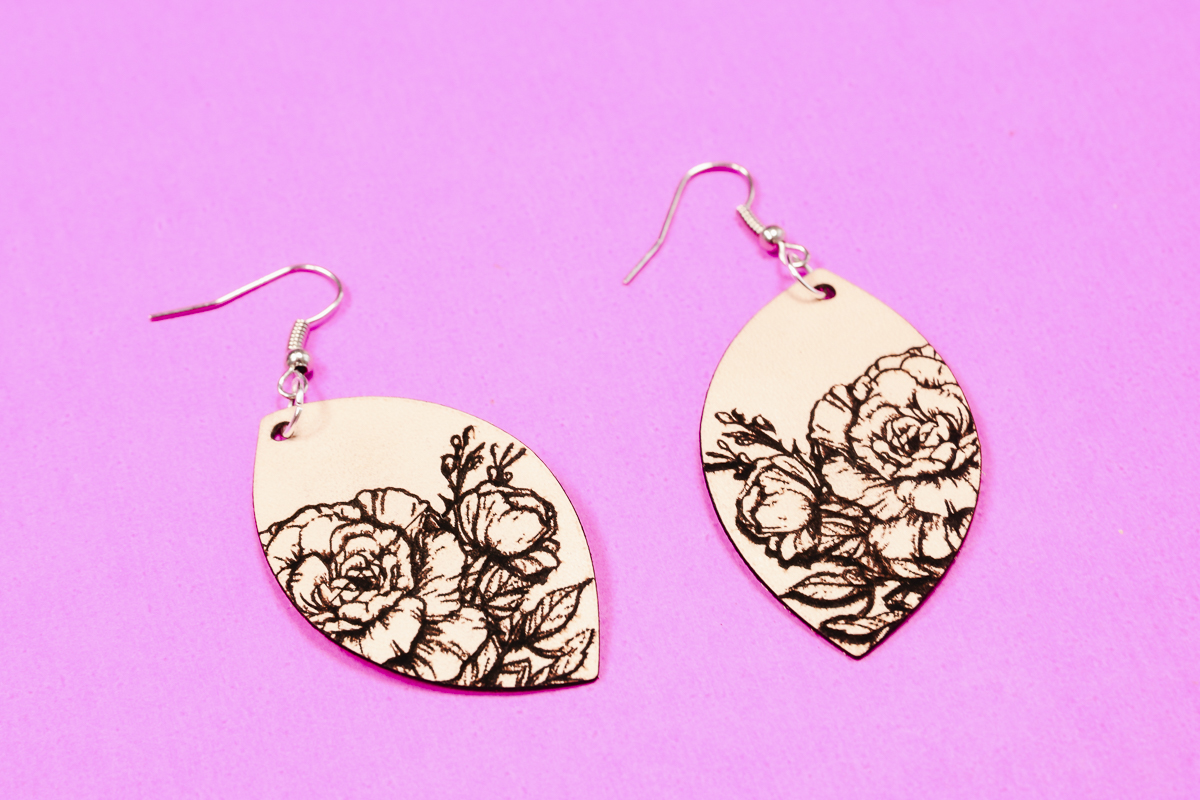
While I was making earrings, I made a few more examples to see how they would do. These earrings are thin leather with an engraved floral design.
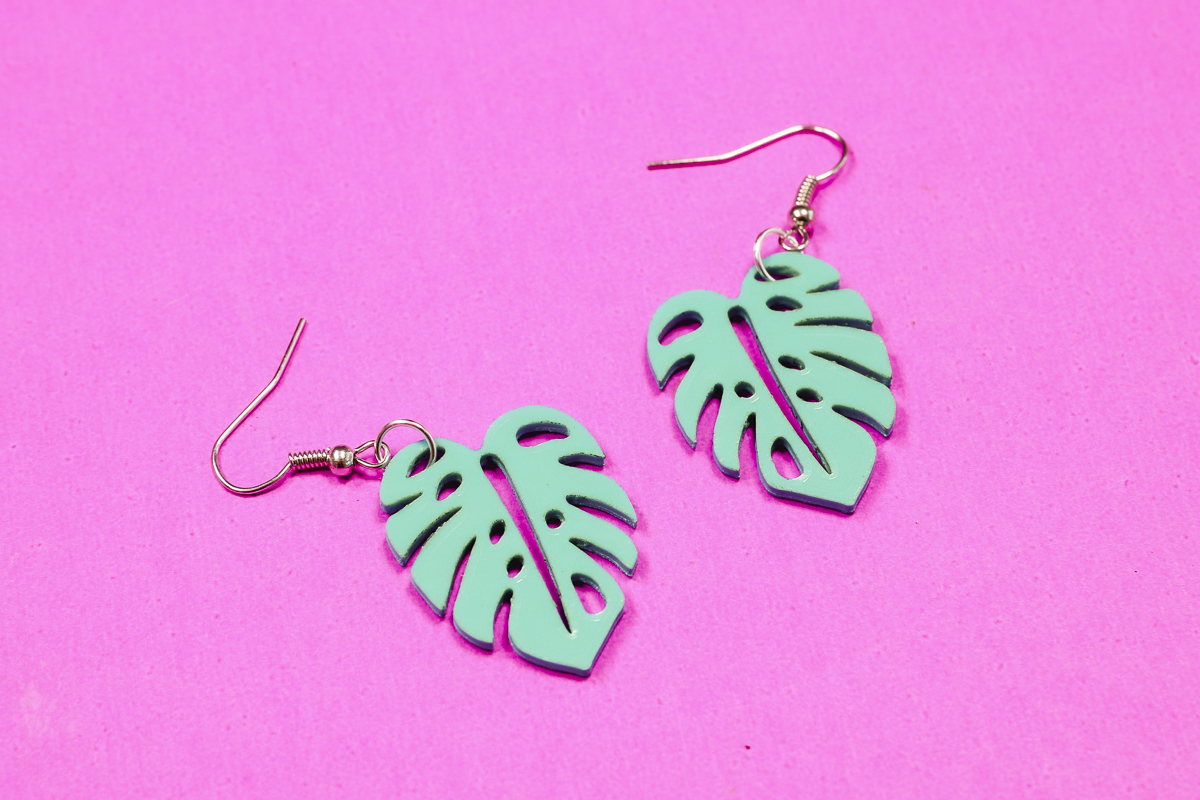
Here is the teal acrylic and this design is one I cut with the Glowforge Spark.
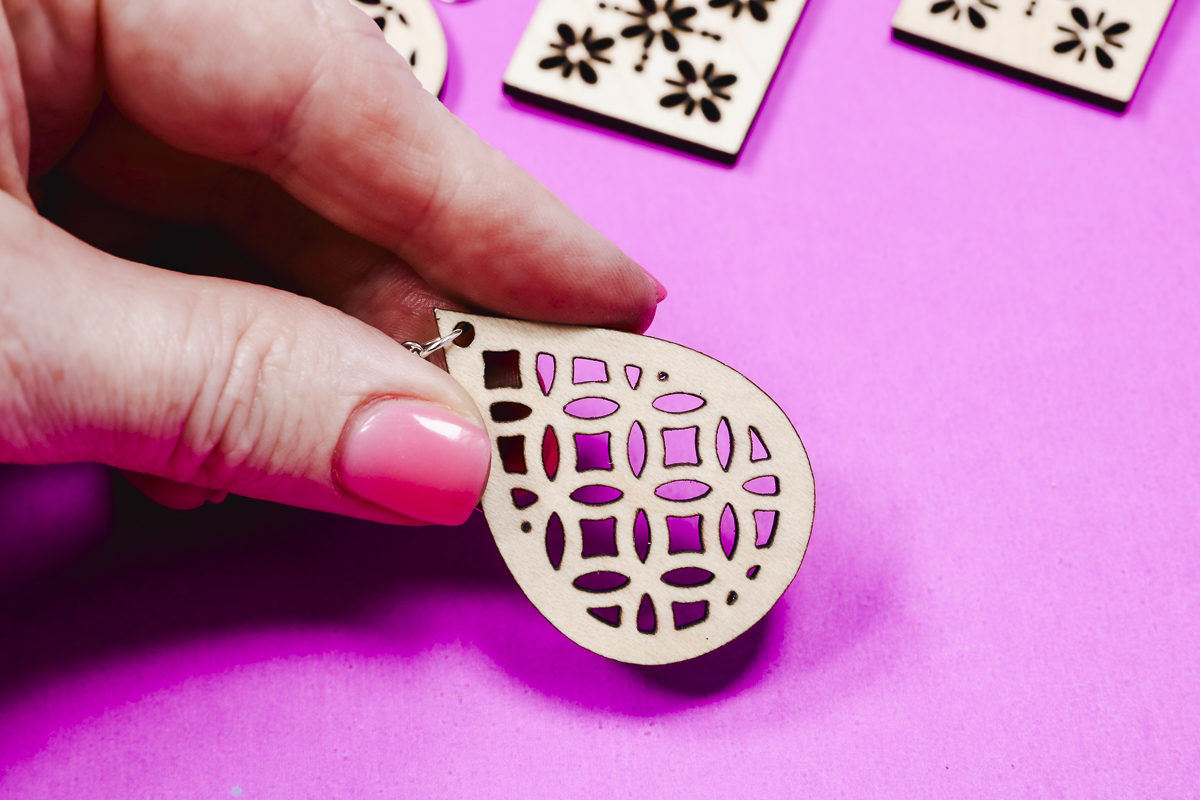
Here is another earring I cut from the Maple Plywood with the Glowforge Spark.
You can mix and match materials and techniques to create whatever earrings you would like.
I did not add any paint to the earrings but you could if you wanted to after you remove the masking.
I do want to note that on wood materials the edges of the design will turn a darker brown. The surface will remain the original wood color but the edges will turn darker.
I love the way all of these earrings look. Everything from wood to acrylic and leather cut, engraved, and scored beautifully.
I think these examples show that you can make any earrings you’d like with the Glowforge Spark. I love making small projects like this with my Glowforge spark because I can get very intricate cuts on them with fine details.
If you’re a laser crafting beginner, I highly recommend looking at the Glowforge Spark. It’s easy to use, small and compact, and not as intimidating as a larger laser may be.
It was easy to cut a wide variety of materials to create very detailed earrings making this a great beginner project for anyone settings started with laser crafting.
I hope I’ve answered any questions you have about making earrings with Glowforge Spark. If you have any additional questions leave them in the comments and I’ll be happy to answer them for you.