This post and photos may contain Amazon or other affiliate links. If you purchase something through any link, I may receive a small commission at no extra charge to you. Any supplies used may be given to me free of charge, however, all projects and opinions are my own.
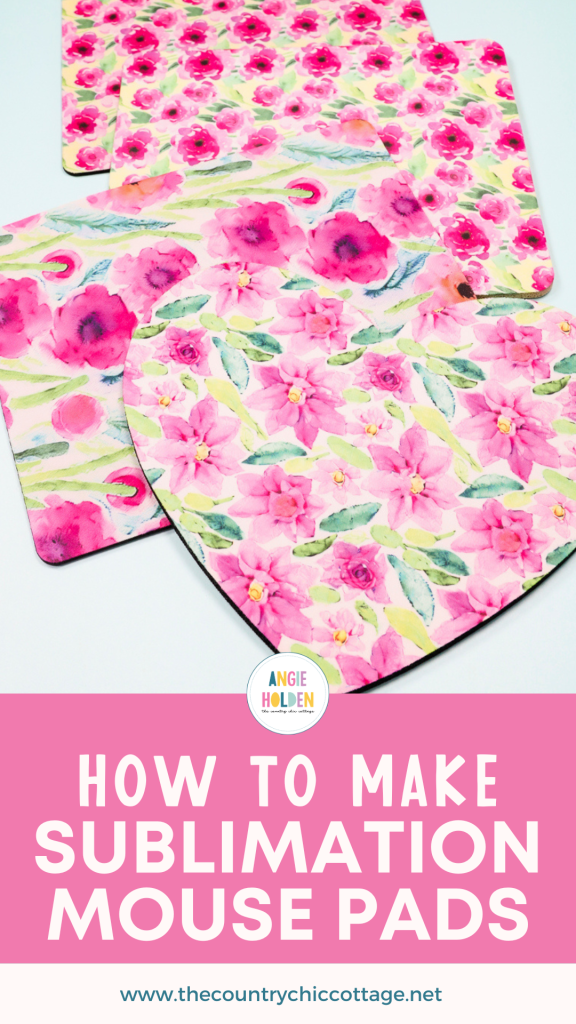
As we’re prepping for the holiday season, I am excited to teach you how to make sublimation mouse pads correctly. I have tested many different mouse pads to perfect the process and I can’t wait to help you create sublimation mouse pads because they make amazing gifts.
If you’re new to sublimation, my Beginner’s Guide is a great place to start.
Sublimation Mouse Pads
If you’ve ever struggled with making sublimation mouse pads, my tips and tricks are sure to help you make the adjustments needed to get perfectly giftable mouse pads every time.
You can watch me walk you through the whole process by pressing play on the video below.
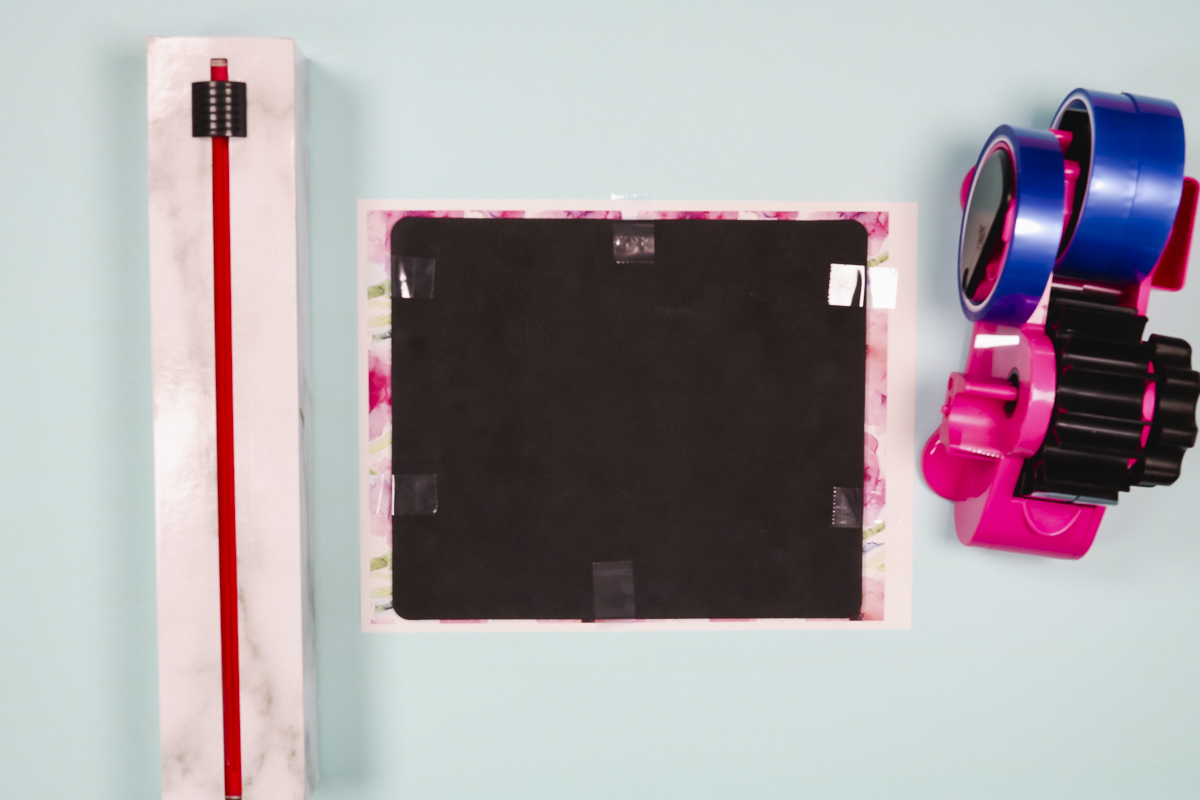
Supplies Used
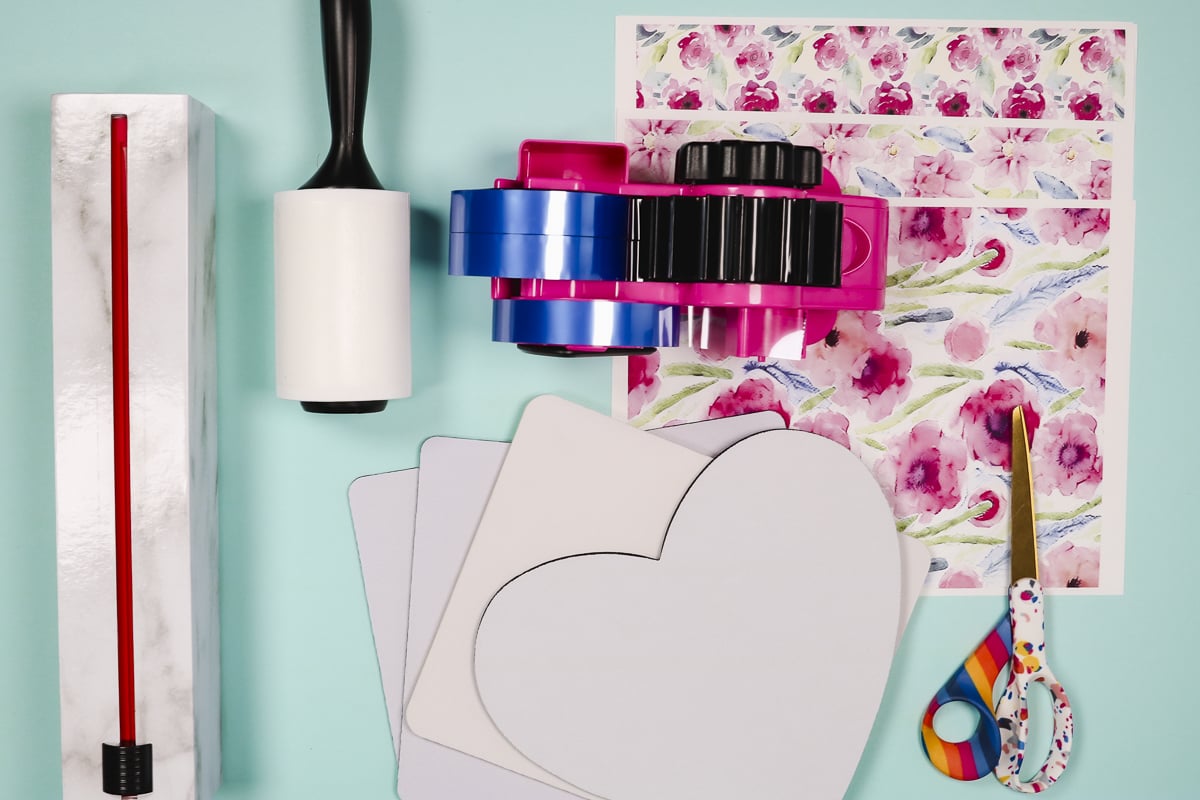
Sublimation Mouse Pad Blanks
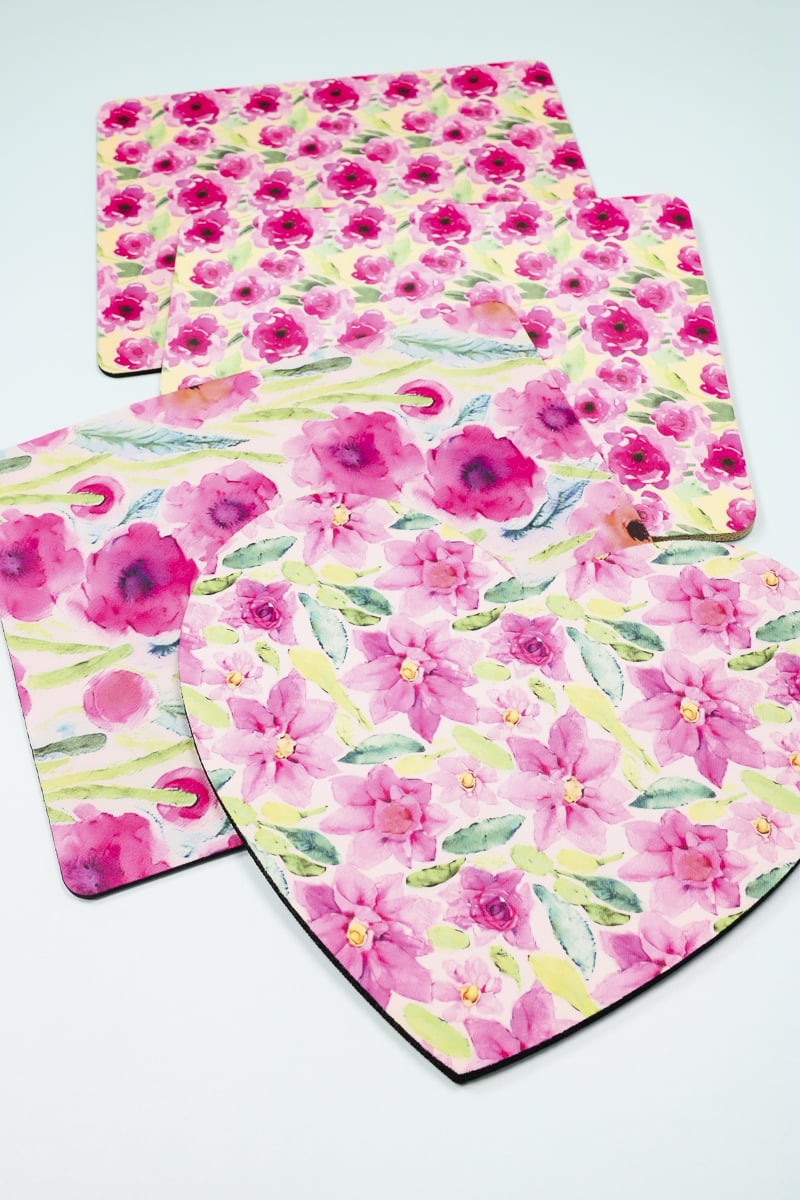
I’m going to compare a few different sublimation mouse pad blanks today to show you how they look before and after sublimation is applied. Looking at these mouse pads side by side the one with the tan background has a much brighter white surface than the black-backed one.
How to Make a Sublimation Mouse Pad
To make a sublimation mouse pad, the first thing we need to do is preheat. Because I know this material holds a lot of moisture, I’m going to preheat it for a long time at the full temperature.
IMPORTANT: These mouse pads are made from Neoprene. Neoprene can hold a lot of moisture, so you want to preheat it really well.
These blanks call for a temperature of 385 degrees for 50 seconds. I am going to pre-press for the full 50 seconds and watch to see if I am still having steam from the mouse pad.
If there is still steam, press again. Continue to press until you no longer see steam. Not only does this remove any moisture in your blank it will also preshrink it. This will lead to more success when you’re sublimating your mouse pads.
Apply Sublimation Print to Mouse Pad
The process for sublimating mouse pads is the same for all these different blanks.
We have preheated mouse pads, so they need to cool completely before adding the sublimation print. A sublimation print is sublimation ink printed onto sublimation paper from a sublimation printer.
Once the mouse pad is cool, lint roll the entire surface to remove any dust, hair, or debris.
Next, we need to add the sublimation print to the mouse pad.
Rather than print my sublimation print to fit my blank, I printed a full sheet of the design. I find this makes it easy to add the mouse pad and get the whole thing covered.
Place the mouse pad onto the sublimation print white side down and tape the edges down really well. You do not want the sublimation print to move.
Sometimes heat-resistant tape doesn’t stick to neoprene very well. If you are having a problem with the tape sticking, you can use a sublimation spray adhesive to hold the print in place.
Add Mouse Pad and Sublimation Print to Heat Press
Add a piece of protective paper to the bottom of the heat press and then place the blank on top of the protective paper with the sublimation print up.
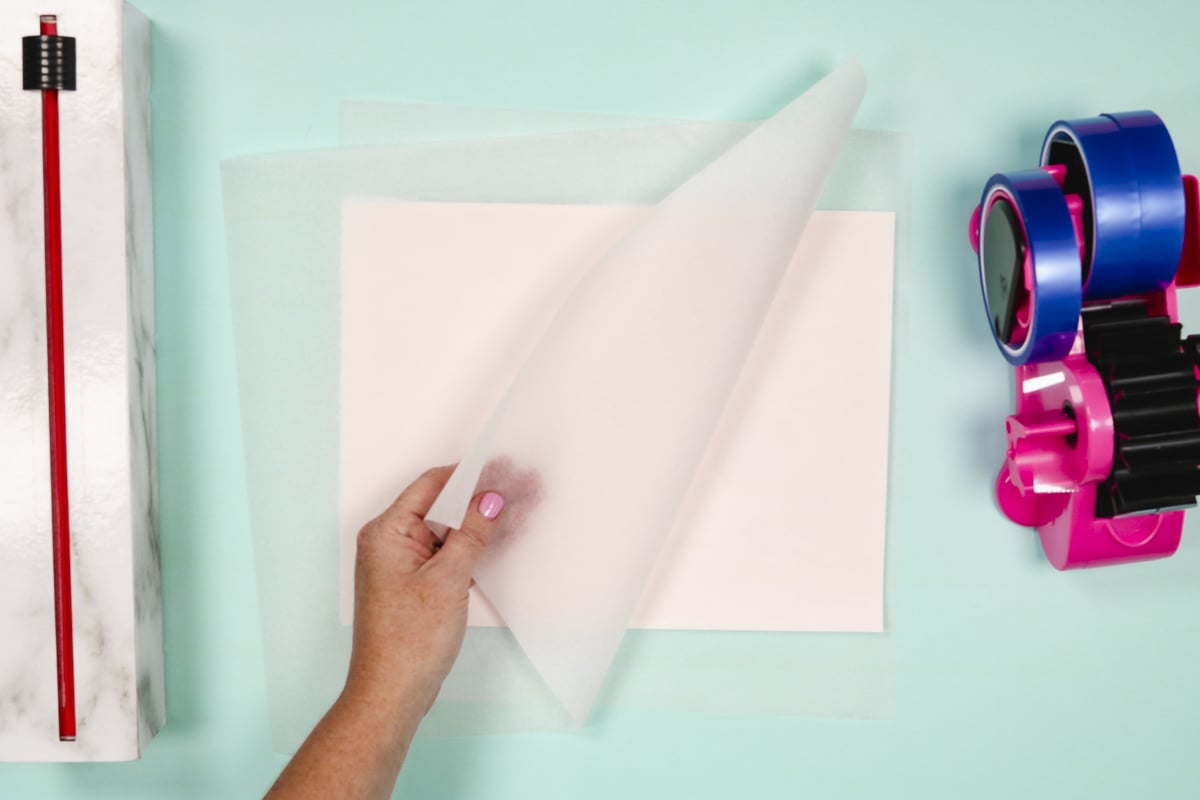
Add a piece of protective paper to the top and then press. I am pressing for 50 seconds at 385 degrees. These call for light to medium pressure. Press for the entire time and when the time is up, remove the project from the heat.
I found that neoprene can get very hot. I recommend using heat-resistant gloves to remove it from the press. You can remove the sublimation print while hot.
Once the sublimation print is removed, your sublimation mouse pad is done.
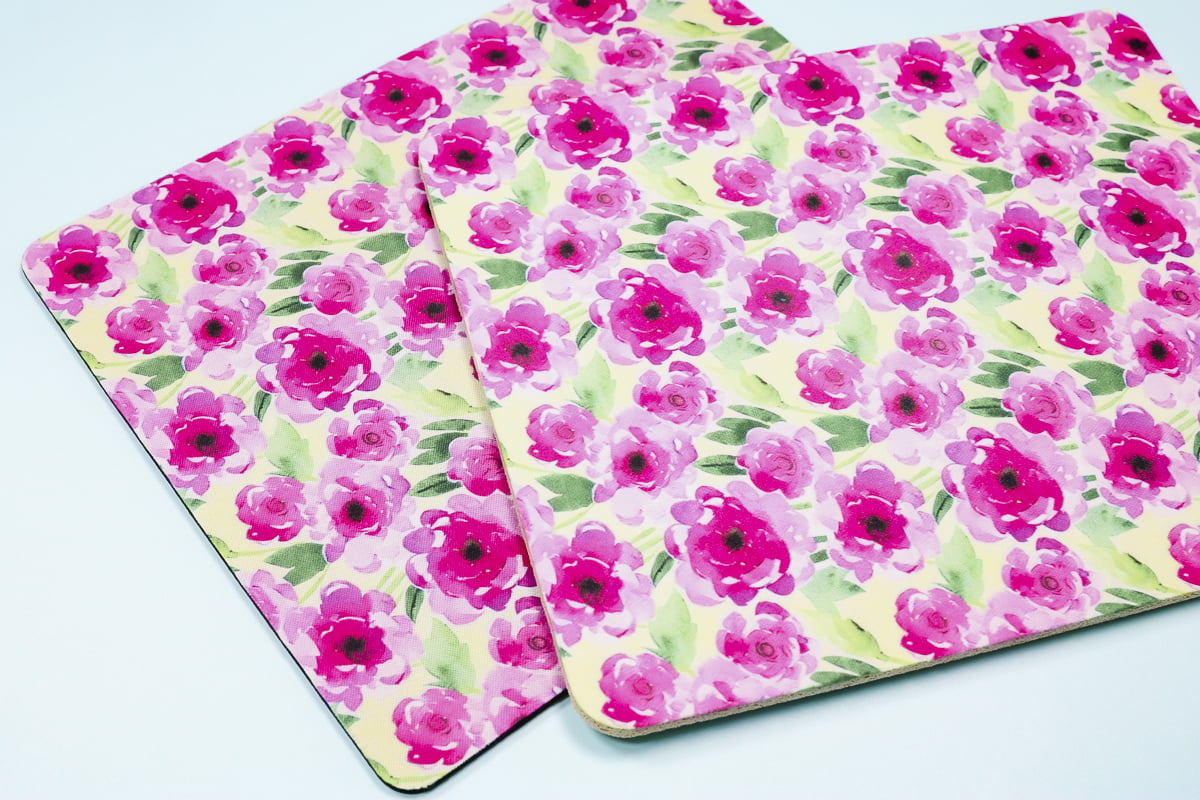
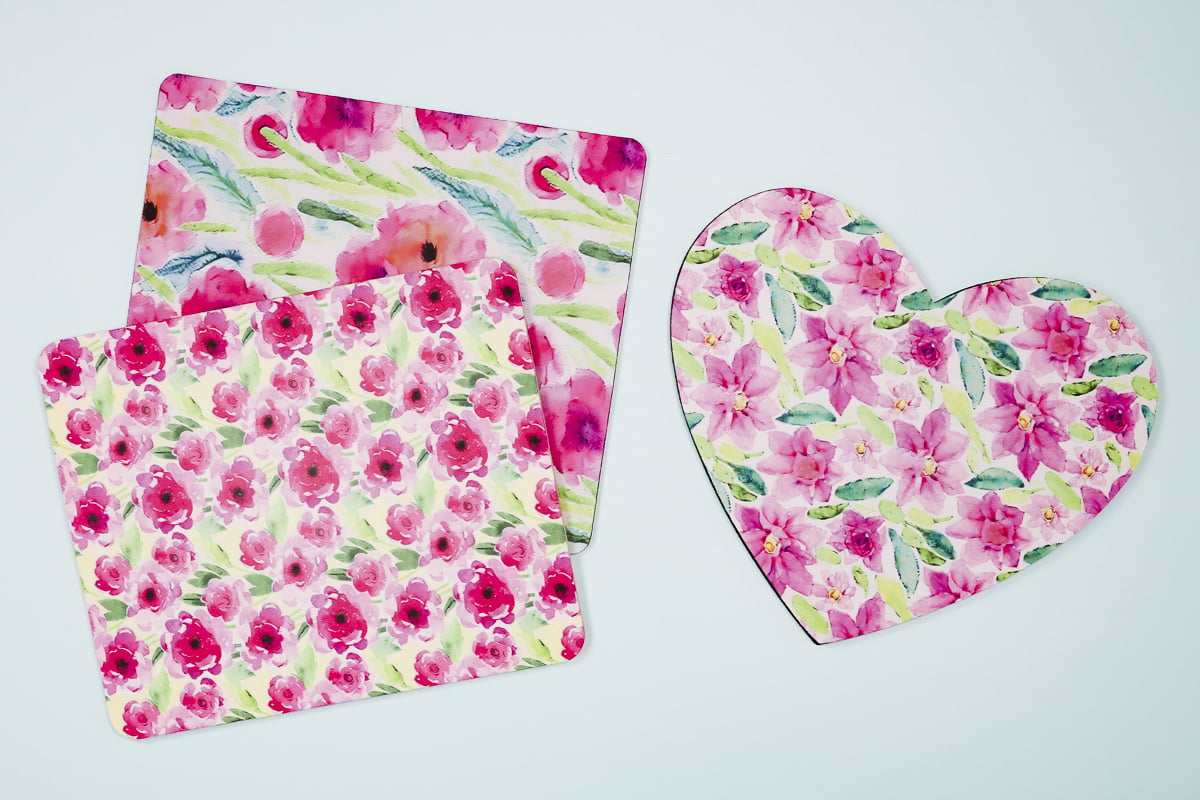
Close Up of Finished Sublimation Mouse Pads
This first example is an inexpensive mouse pad from Amazon with a black background and the results are gorgeous. This is just a classic mouse pad and I think it turned out perfect.
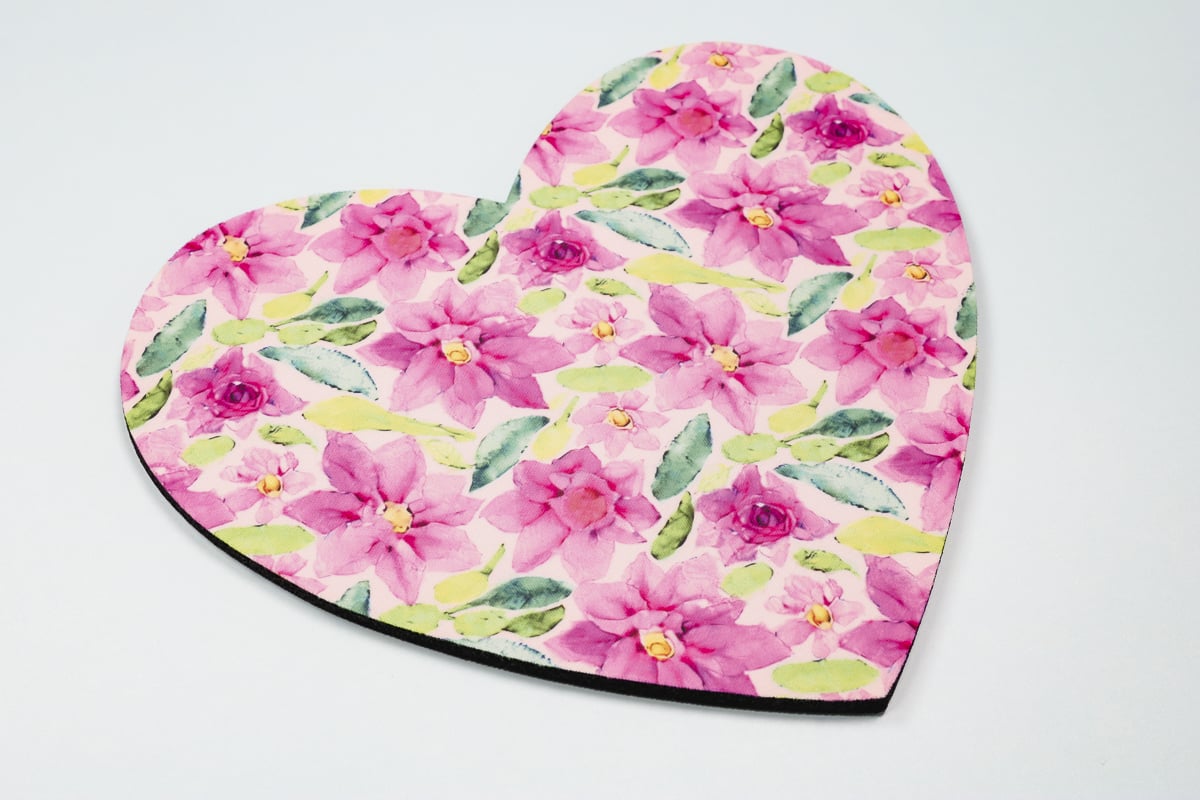
This heart-shaped sublimation mouse pad is a more expensive mouse pad and is probably two to three times thicker than the inexpensive version I used above. Even though it has a black background the white is nice and bright, and it turned out great.
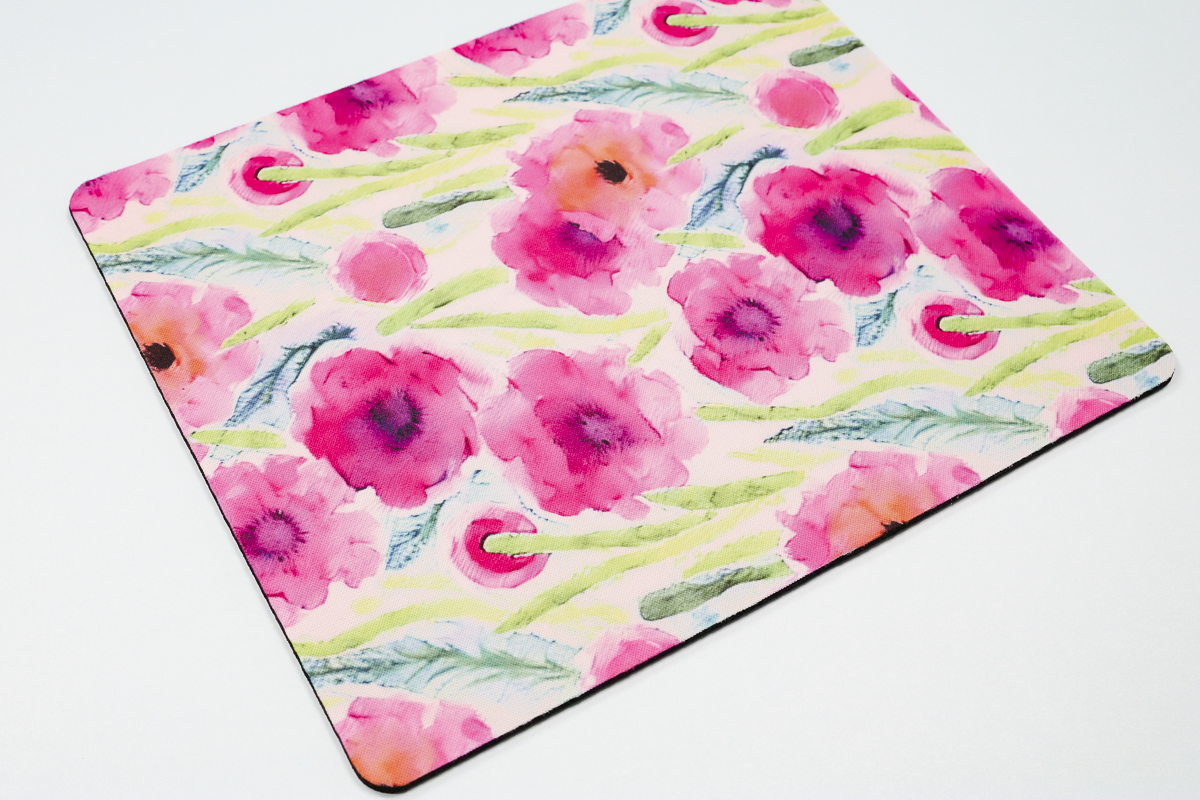
This right mouse pad in the photo below is the one with the tan background and the nice bright white sublimation side. I feel like the colors on this one pop off more than the other options we tested today.
In my experience, the brighter white the sublimation side is when you start the better the finished image will be. This is especially important for getting colors right when using photos.
How to Troubleshoot Issues with Sublimation Mouse Pads
Let’s talk through some problems you may run into when making sublimation mouse pads and how to prevent them.
- If you feel like your image is dull, it may be the black background showing through the white sublimation layer. I find this happens most often with lower quality blanks so make sure to test your blank first and to read reviews. You can also avoid this by choosing a mouse pad with a lighter background.
- If you’re struggling with ghosting or fading, I can almost guarantee it’s from moisture. Mouse pads are horrible for retaining moisture. I think every blank I used today I pre-pressed for the full-time, two to three times to get as much moisture out of them as possible. Watch the steam, if you’re still having steam after pre-pressing, press it again.
- The one other option that may cause ghosting is if your tape is not holding the print in place. The mouse pad I used with the tan background, I could not get the tape to stick to it. I ended up using the DyeTrans Pro Spray and sprayed my sublimation print really lightly to make sure it stuck down to the mouse pad and didn’t move at all, and it worked really well.
Final Thoughts on Sublimation Mouse Pads
Now that we’ve walked through the whole process which mouse pads do I recommend? I think you can’t go wrong with any of the options I tested today.
I tend to reach for the inexpensive Amazon mouse pads first. For most designs, they work really well.
If your design has a lot of white or you’re finding the colors aren’t quite right, I would try a mouse pad with a lighter back color or use a more expensive blank.
I do think how bright the white side is makes a difference in the finished product. If you are working with a photo or a design that has a lot of white or light colors, it may be best to start with a sublimation mouse pad that is nice and white, to begin with.
I hope I have answered any questions you have about making sublimation mouse pads. You should now have all the information you need to create beautiful mouse pads for yourself and for gifts. If you have any additional questions, feel free to leave them in the comments and I’ll answer them for you.
Print the instructions for these custom mouse pads using the card below!

Sublimation Mouse Pads
If you’ve ever struggled with making sublimation mouse pads my tips and tricks are sure to help you make the adjustments needed to get perfectly giftable mouse pads every time.
Instructions
How to Make a Sublimation Mouse Pad
-
To make a sublimation mouse pad the first thing we need to do is preheat. Because I know this material holds a lot of moisture, I’m going to preheat it for a long time at the full temperature.
-
These blanks call for a temperature of 385 degrees for 50 seconds.
-
I am going to pre-press for the full 50 seconds and watch to see if I am still having steam from the mouse pad.
-
If there is still steam, press again. Continue to press until you no longer see steam.
-
Not only does this remove any moisture in your blank it will also preshrink it.
Apply Sublimation Print to Mouse Pad
-
Now that we have the mouse pads preheated, they need to cool completely before adding the sublimation print.
-
Once the mouse pad is cold, lint roll the entire surface to remove any dust, hair, or debris.
-
Next, we need to add the sublimation print to the mouse pad.
-
Rather than print my sublimation print to fit my blank I printed a full sheet of the design. I find this makes it easy to add the mouse pad and get the whole thing covered.
-
Place the mouse pad onto the sublimation print white side down and tape the edges down really well. You do not want the sublimation print to move.
-
Sometimes heat-resistant tape doesn’t stick to neoprene very well. If you are having a problem with the tape sticking, you can use a sublimation spray adhesive to hold the print in place.
Add Mouse Pad and Sublimation Print to Heat Press
-
Add a piece of protective paper to the bottom of the heat press and then place the blank on top of the protective paper with the sublimation print up.
-
Add a piece of protective paper to the top and then press.
-
I am pressing for 50 seconds at 385 degrees. These call for light to medium pressure. Press for the entire time and when the time is up, remove the project from the heat.
-
I found that neoprene can get very hot. I recommend using heat-resistant gloves to remove it from the press and the sublimation print.
-
Once the sublimation print is removed your sublimation mouse pad is done.