This post and photos may contain Amazon or other affiliate links. If you purchase something through any link, I may receive a small commission at no extra charge to you. Any supplies used may be given to me free of charge, however, all projects and opinions are my own.
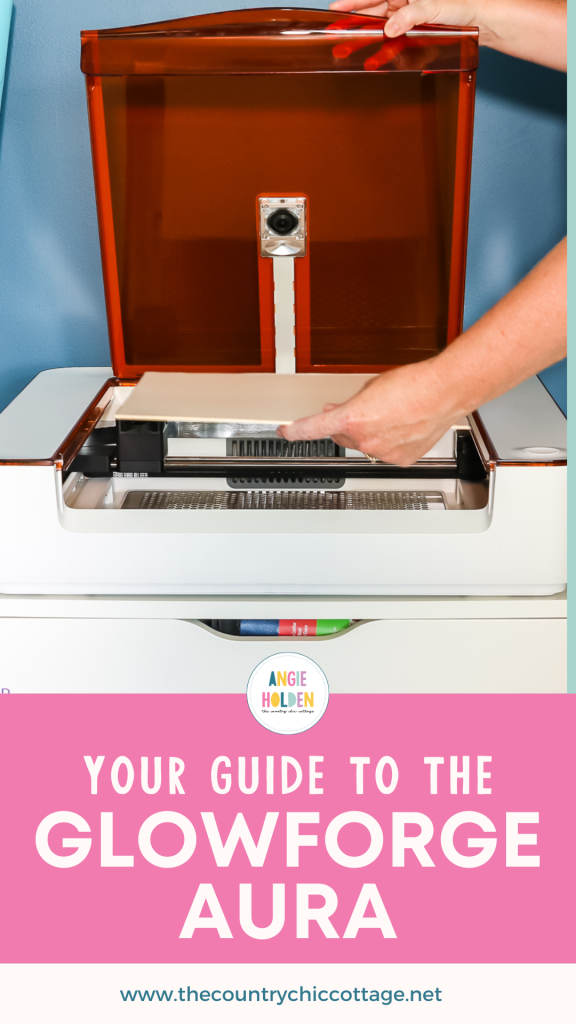
The Glowforge Aura is being released July 2023 and is the newest craft laser on the market. If you have been wanting to try laser crafting, this may be the next machine you need in your craft room. Read on to see more about this laser, what it cuts, and other exciting features you need to know about.
This post will help you if you are considering purchasing the Aura from Glowforge or if you have already purchased it and need to know how to use it. This may be an upgrade from your current Cricut machine to cut thicker materials with ease.
Glowforge Aura
If you would like to watch a video of the Aura being set up and making some cuts, click play on the video below.
Can’t watch the video or missed some of the information? Just follow along below!
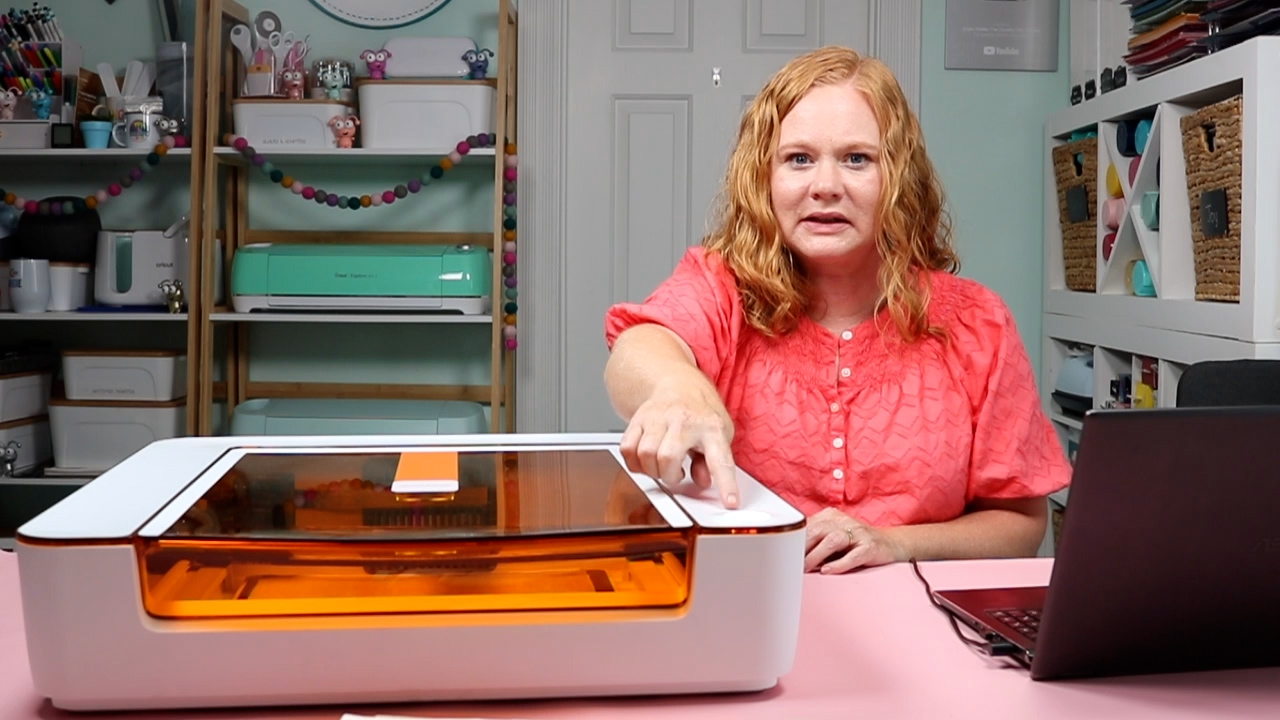
Unboxing and Setup
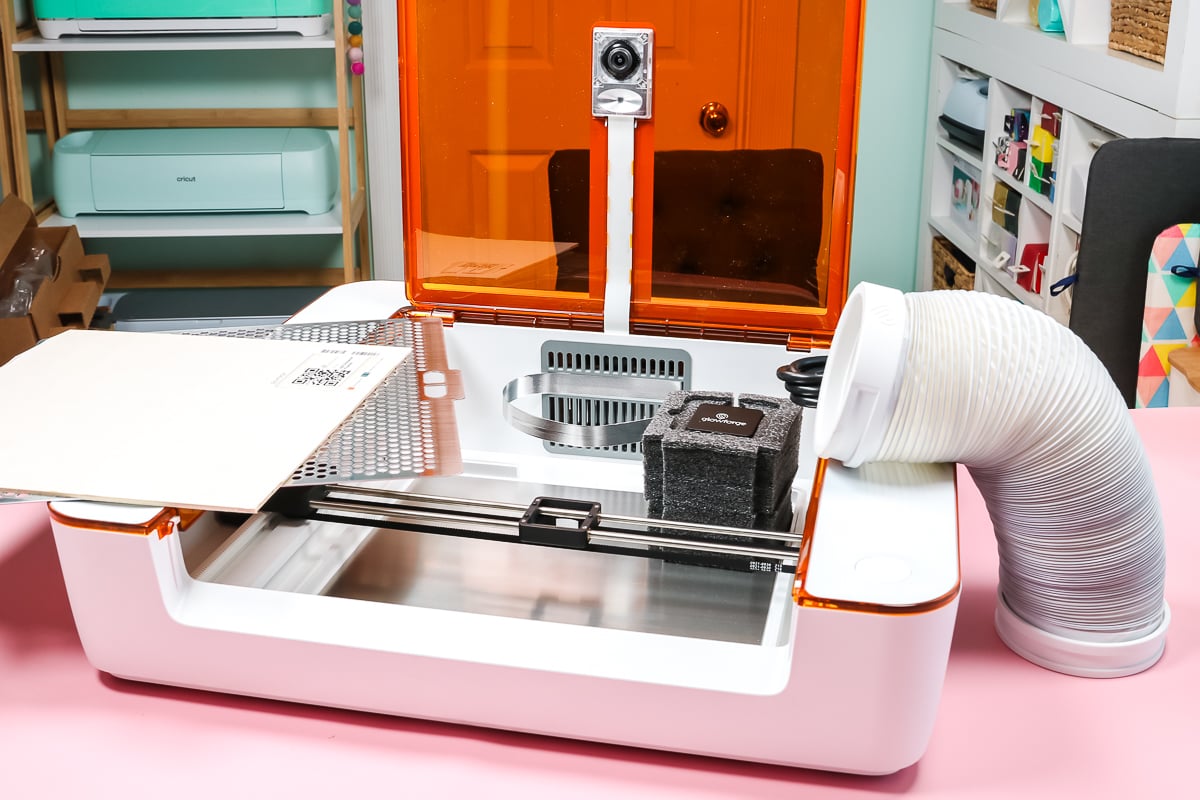
Remove your machine from the box and you will find some accessories inside of the box. There is a QR code as well as a website address located inside your box. Use these to help guide the setup process.
The website will walk you through removing packaging material, assembling, and setting up the machine. It will make a temporary internet connection then you will connect to the machine. This will set your Glowforge Aura up like a printer so that you can print using the Glowforge program.
What is in the box?
You will find the following inside of the box:
- Machine (with laser head that will need to be put into place)
- Power cord
- Ventilation tube
- Proofgrade Plywood sheet
- Crumb tray
Connecting the Laser Head
Remove the protective packaging around the laser head. Then add it to the square that is located on the rails. It connects via magnets so it should just drop right into place.
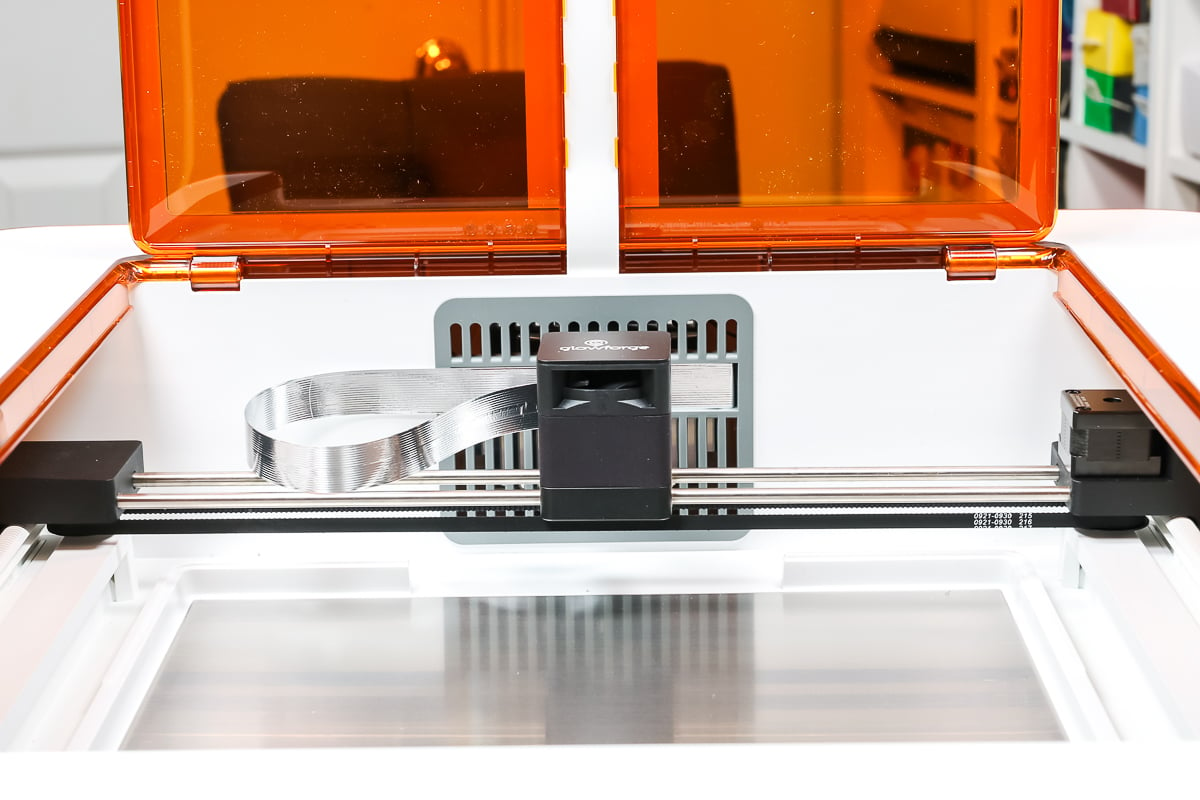
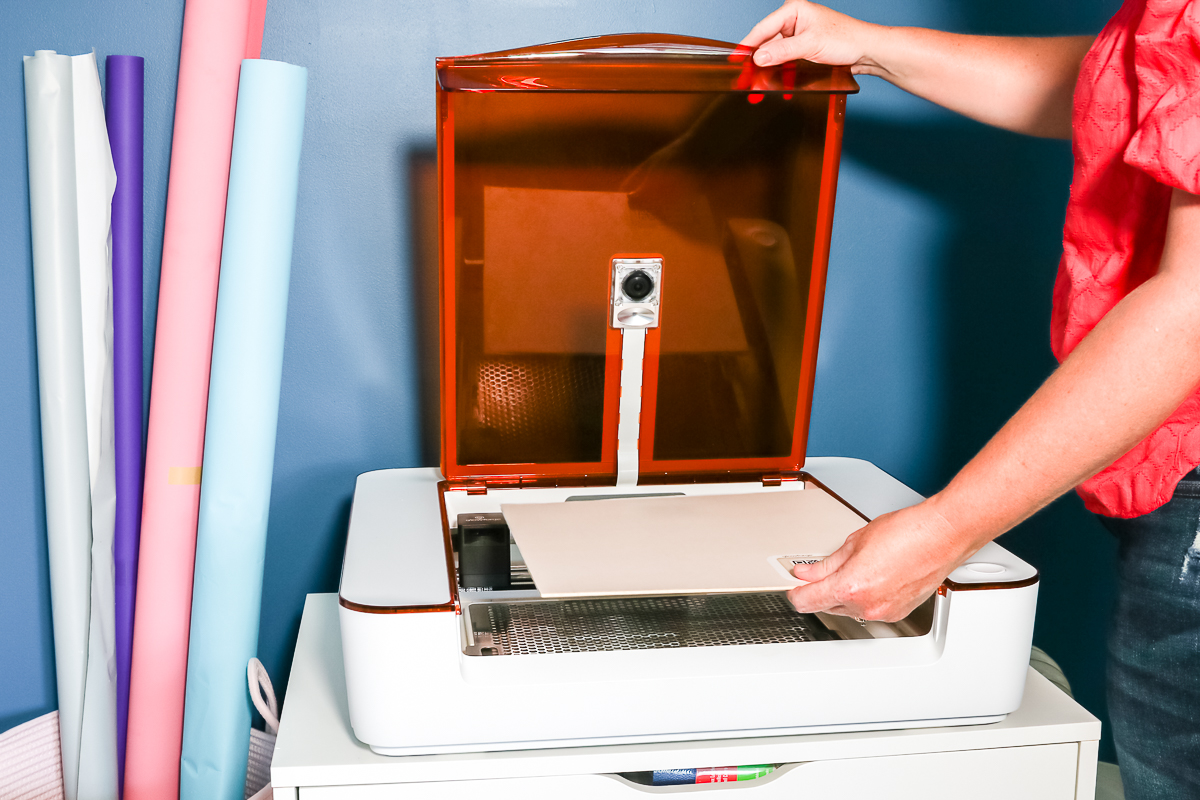
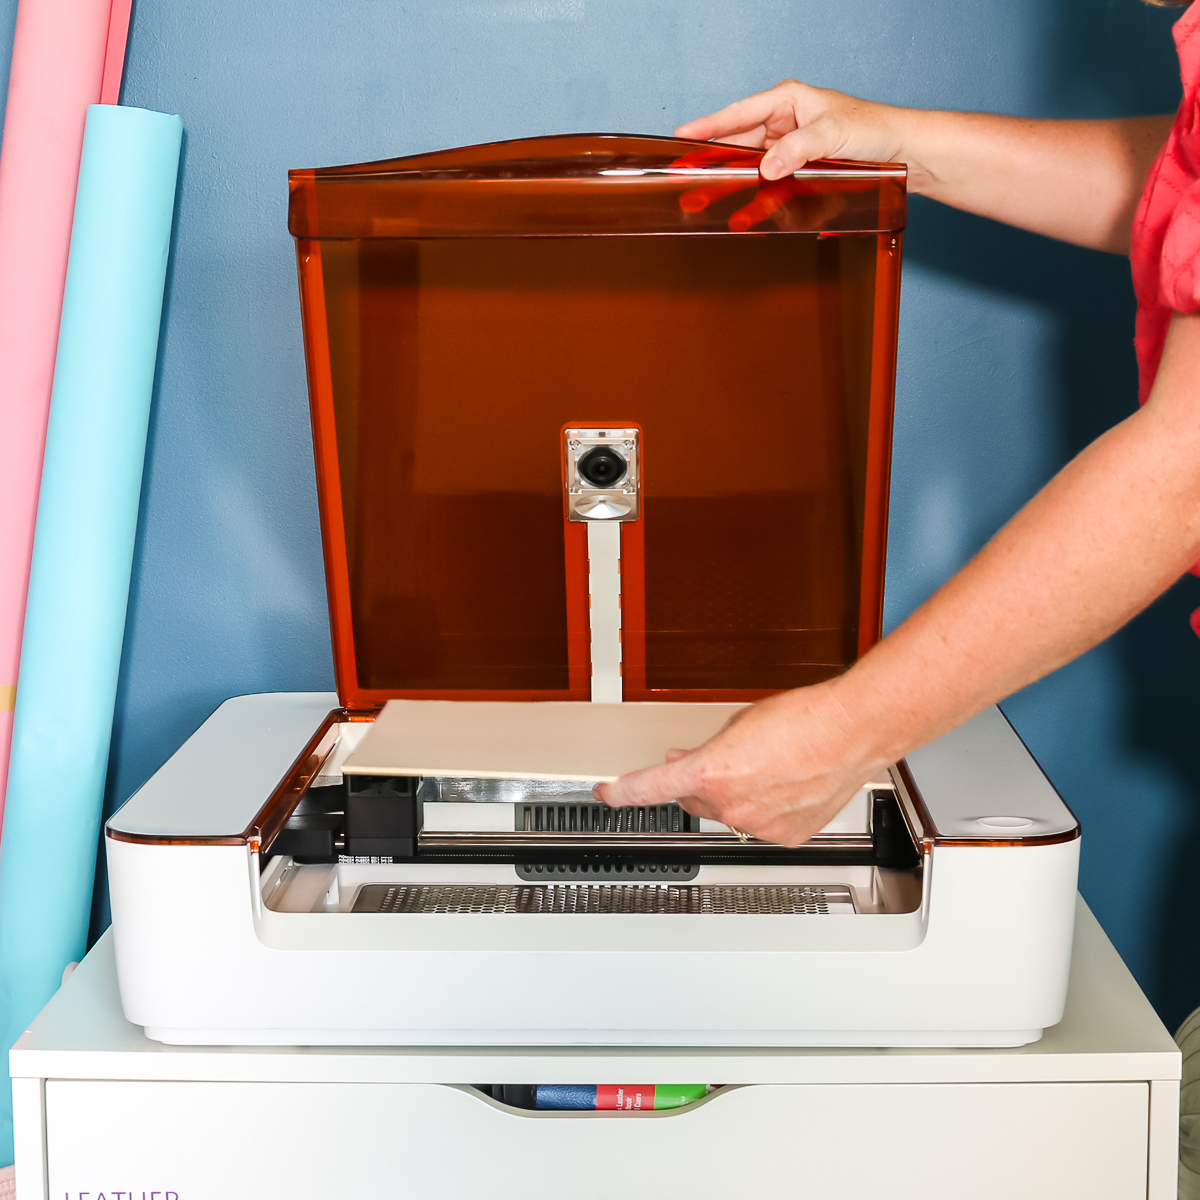
Installing the Crumb Tray
Gently push the laser head all the way to the back of the machine. Drop in the crumb tray. It will rest on the white portion at the bottom of the machine. This can easily be removed later for cleaning or to add thicker objects to the machine.

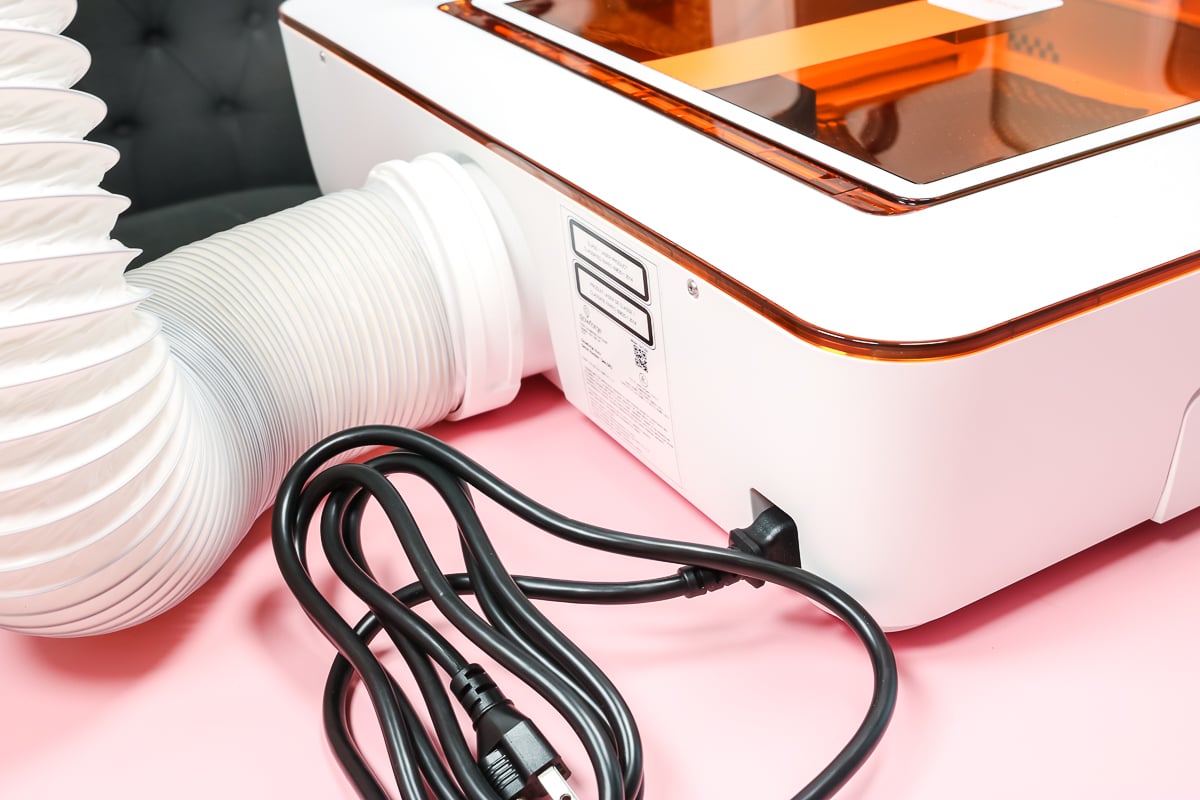
Adding Cord
Insert power cord into the back of the Glowforge. Do not turn it on until you have completed the ventilation and the rest of the set up steps.
You will plug in the machine to turn it on and unplug it to turn it off. The machine will go to sleep after being at rest for 30 minutes. You can leave it plugged up at all times. To wake up from sleep mode, press the button on the machine or lift the lid.
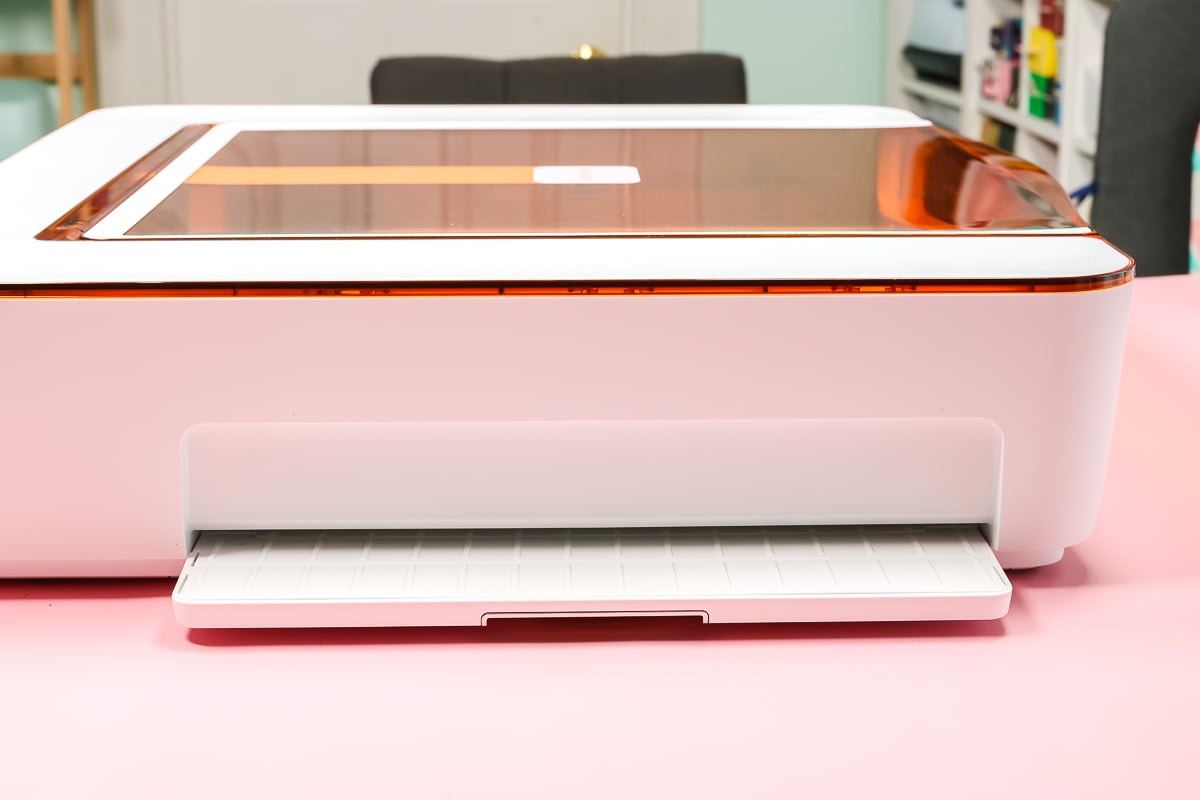
Pass Through Tray
On both sides, flip down the door to open a pass-through tray. This will allow larger objects to be cut and engraved in your Glowforge Aura. Note that all objects still need to be flat so you may need to prop up the material hanging out of your machine to ensure it is flat under your laser head.
Laser Safety
Always stay with your machine when cutting. Keep a fire extinguisher on hand at all times. Ensure that all materials that you cut are laser compatible. Keep the lid shut during operation to protect your eyes from the laser. Review all safety instructions before operation.
Ventilation
Never operate a laser without ventilation! You have a few options when ventilating this machine:
Ventilation Out of a Window
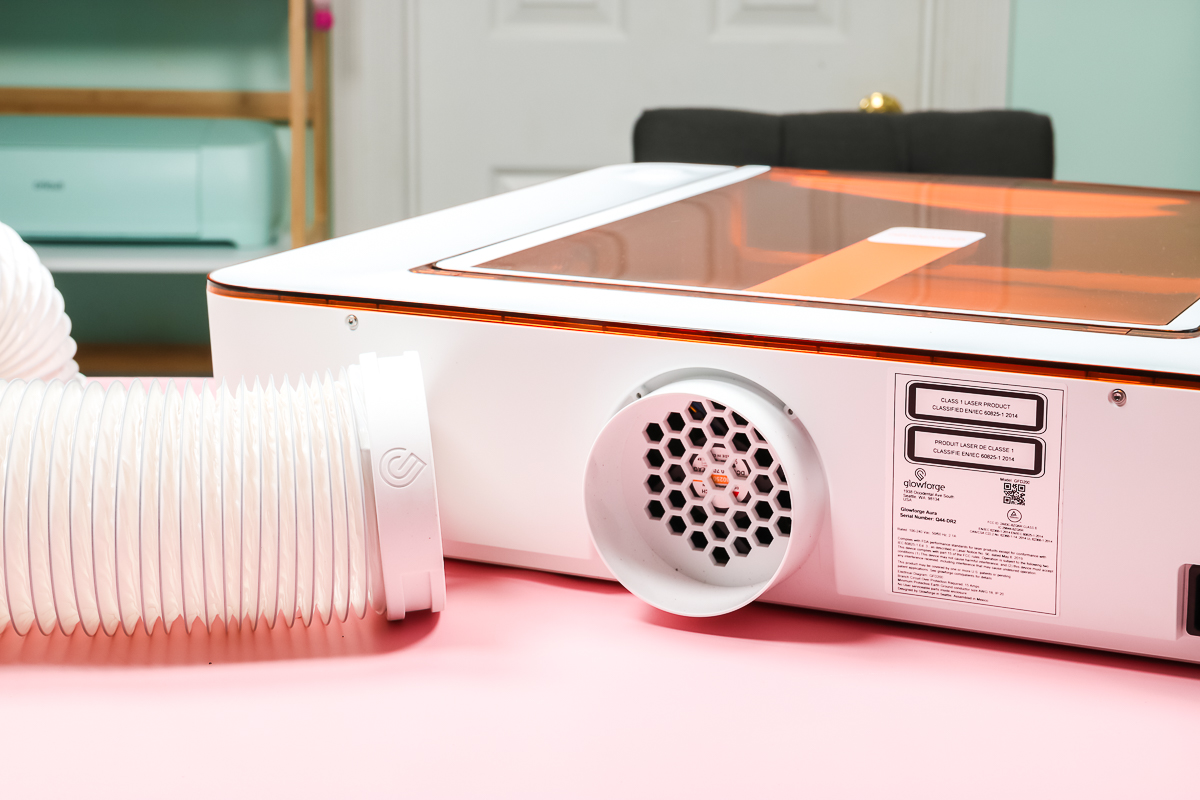
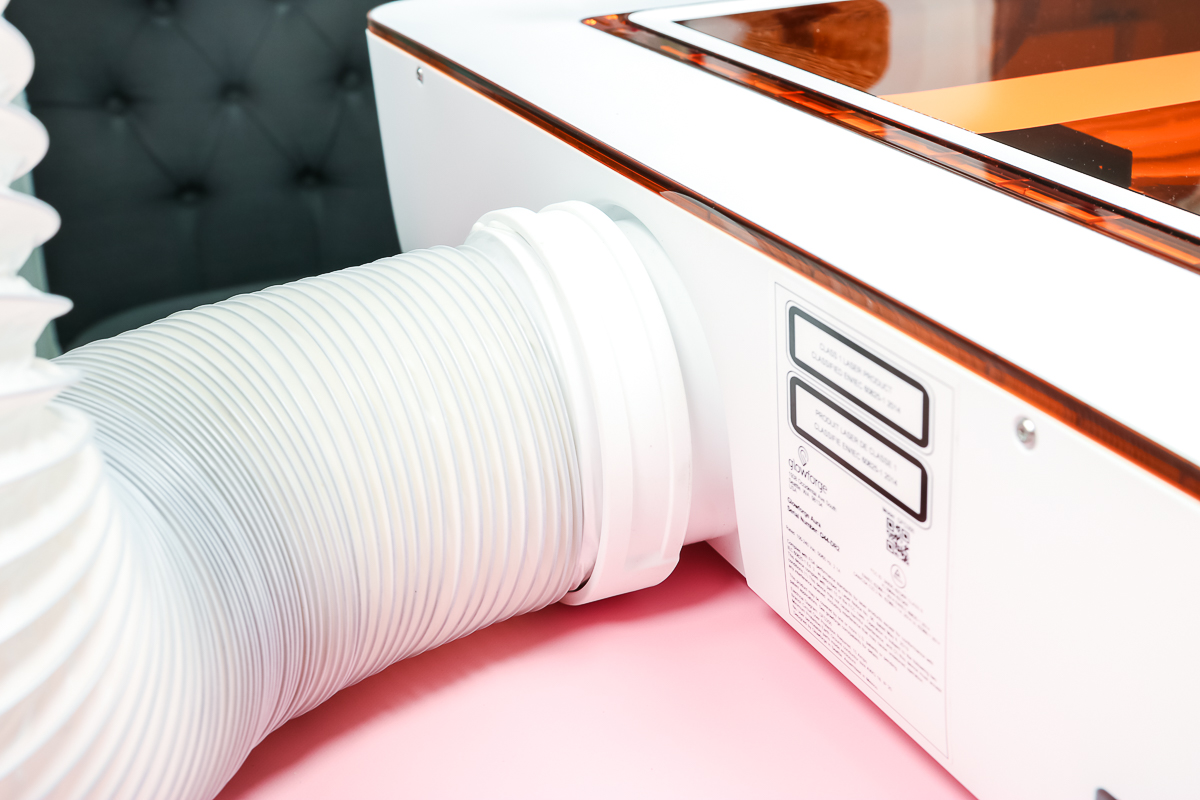
Attach the tube that comes with the Glowforge Aura to the back of the machine. Just push the tube onto the adapter on the back of the machine. Then put the other end of the tube out of any window to ventilate the fumes from the laser cutting.
You can remove the tube from the window when the machine is not in operation, however, you never want to vent this tube indoors.
Using an Air Filter for Ventilation
Want to use your Glowforge Aura anywhere you would like in your home? The optional air filter accessory might be for you. Attach the other end of the ventilation hose to the top of the air filter. Then plug the air filter in.
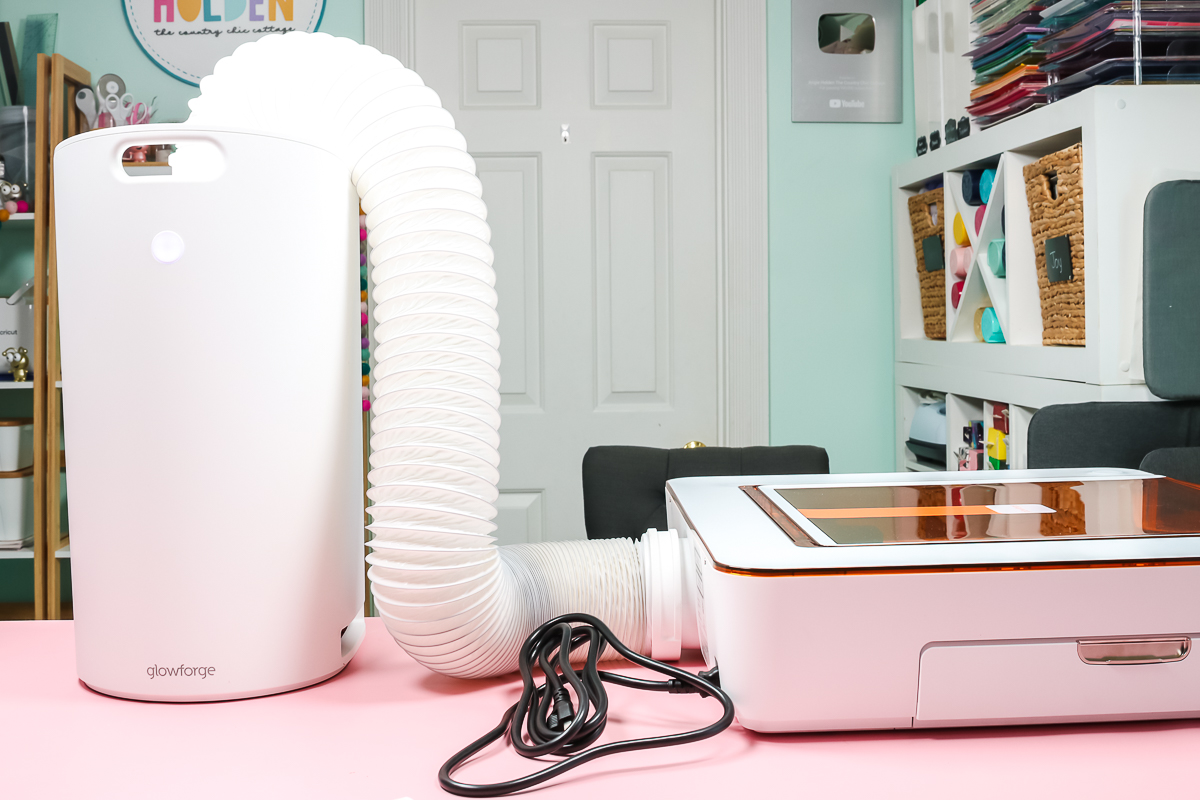
Your Glowforge will communicate with the air filter via Bluetooth and it will turn on anytime that your machine is cutting. The button on the front will illuminate when the filter is on. You may also see this light flash when you are hooking it up to your machine.
The filter is the size of a small trash can. It has dual HEPA grade and activated carbon gas filters that remove 99.9% of particles. This will last up to 100 hours of printing before you need a replacement cartridge.
Environmental Conditions
You do want to make sure that you operate your machine under certain environmental conditions:
- It should be 60 – 75 degrees F in your space.
- No high humidity conditions. (You will need to especially watch this if you are ventilating out of a window.)
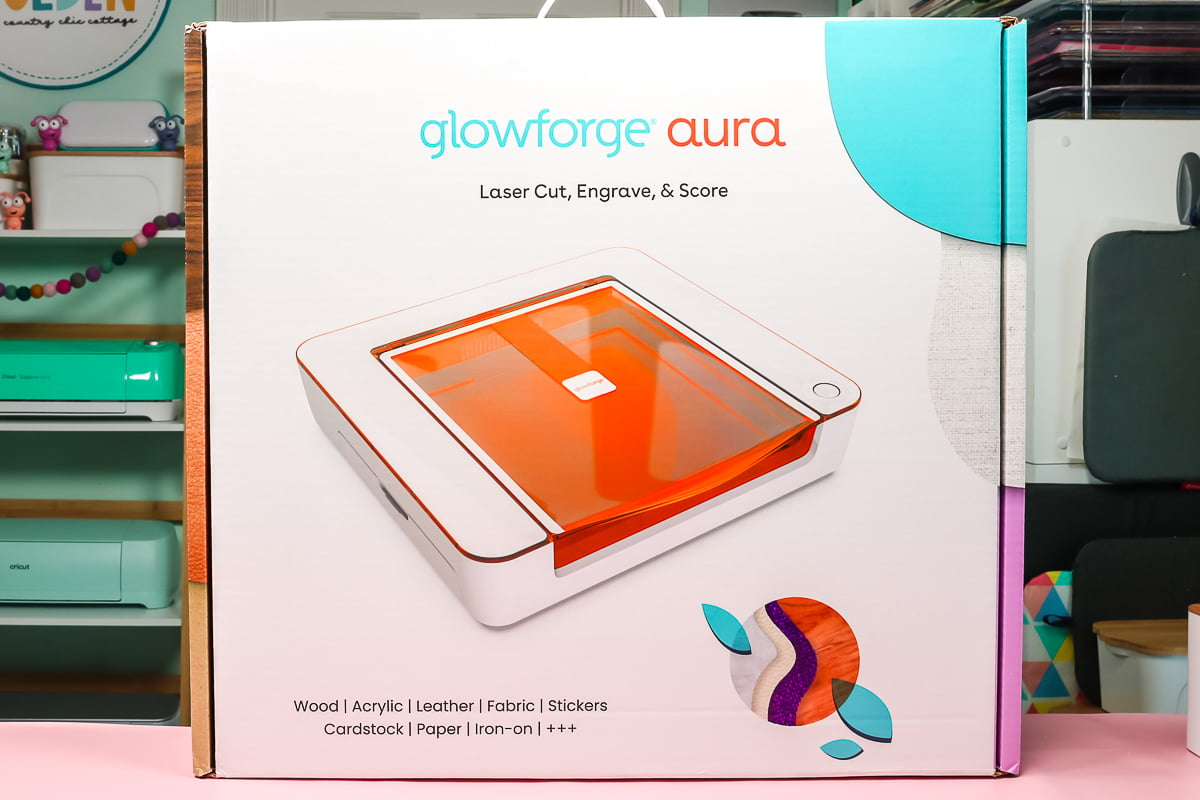
Glowforge Aura Materials
This machine cuts 100s of materials up to 1/4 inch thick. Below I am walking you through what materials you can use in your machine and which you should avoid. Some materials can be hazardous to cut with a laser so be sure to follow all of the directions below for safety reasons.
Masking
You will want to mask most materials you cut with your laser. This sticky material is applied to both the front and the back to protect the surface of your material from getting a “burned” appearance from cutting.
There are some engraving projects where you would NOT want to add masking! You also want to make sure that any masking you use is designed to work with a laser cutter.
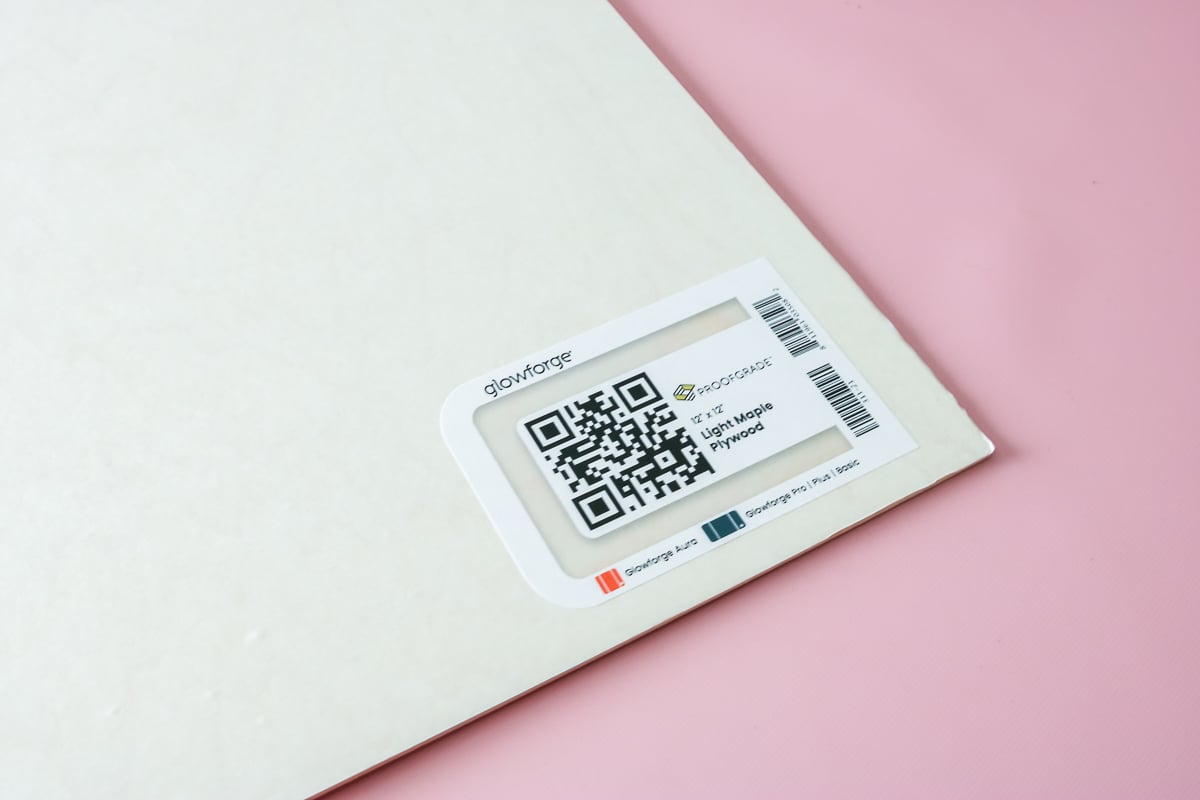
Proofgrade Materials
These are materials directly from Glowforge that are designed to work with your machine. These have a few benefits that make them ideal for beginners.
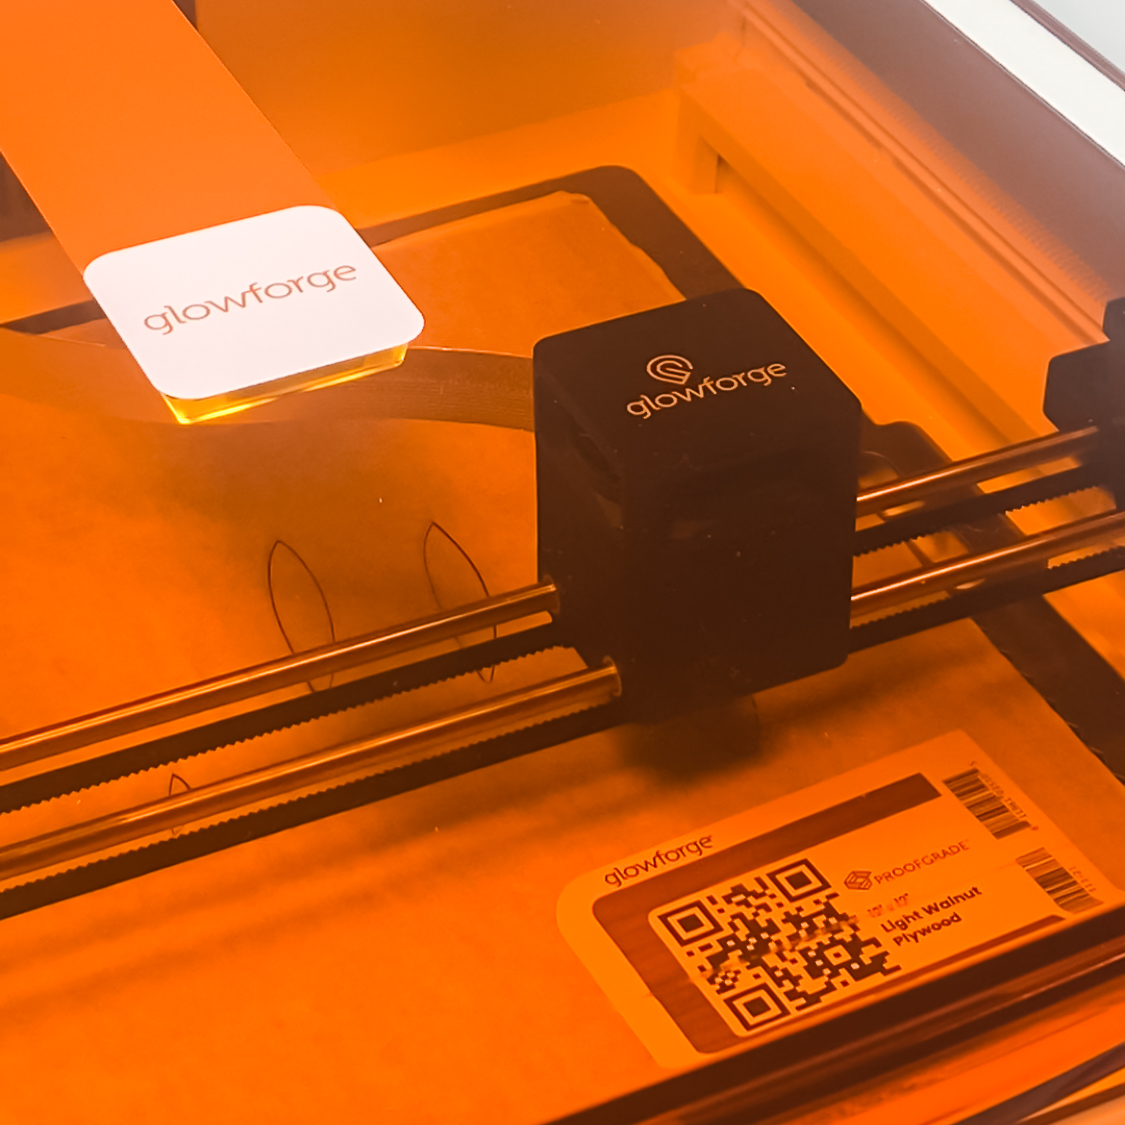
- Has a QR code that the machine will scan. This tells the machine exactly what you are cutting and the machine will automatically set the cut settings. These cut settings are tested by Glowforge so you know you are getting the best cut possible. There is a camera on the lid of the Aura to read this code.
- Says what machines they work on right on the label so you know which materials work in the Aura machines.
- The masking is already added to the front and the back. This masking is also made to work in a Glowforge so you may have more luck with it than other brands.
Here are just some of the proofgrade materials you can find from Glowforge:
- Plywood in Walnut, Bass, Cherry, Maple
- Hardwoods in Walnut and Basswood
- Veneers in Maple, Walnut, and Cheery
- Leather
- Acrylics (colored ONLY – cannot cut clear)
- Iron-on (this is a special material and NOT all iron-on products will work)
Other Materials
You do not have to use the Glowforge materials in this machine. When you are picking other materials here are a few things to look for:
- Always make sure the material says it is laser compatible or laser ready.
- All materials MUST be compatible with a diode laser!
- For cut settings, you will need to try the presets in the Glowforge software. There will probably be some trial and error to find what works. You can use the Glowforge community for research or to ask questions.
- Settings for the Aura are different than any other machine that Glowforge makes. You cannot go by settings that someone else used for a material if they used another type of Glowforge machine.
Some materials can damage and ruin your machine! Please look at each material carefully before using in your Glowforge Aura!
Here is a brief list of materials that can be cut or engraved with this machine:
- Iron-on (laser-safe ONLY)
- Stickers (laser-safe ONLY)
- Leather (no chromium)
- Acrylic (3 mm max)
- Wood (3 mm max)
- Cardstock
- Paper
- Fabric
For cardstock, paper, and fabric, you may have some trial and error with settings and the fire risk may be increased.
NOTE: For materials that are not proofgrade, you will need to add a masking if one does not come on it from where you purchase.
Materials You CANNOT Use
There are some things that the Glowforge Aura will not cut and there are some materials that will even damage your machine. Some of the materials below are also toxic when cut with a laser. Ensure that any materials that you use DO NOT fall on this list.
Here are the materials to AVOID using in this machine:
- Clear acrylic
- Leather that contains chromium
- Carbon-based materials
- PTFE or Teflon based materials
- PVC based materials (most adhesive vinyl and iron-on products would fall into this category)
- PVB based materials
- Beryllium Oxide
Material Sizes
What materials sizes can the Glowforge Aura handle? Here is a brief rundown:
- 12 inch wide maximum
- 1/4 inch thick for cutting (with crumb tray)
- 3/4 inch thick for engraving (crumb tray removed)
- Pass through drawer allows for longer pieces of material as long as you can keep the material flat.
Glowforge Software
For designing and printing, you will head to this website. Be sure to bookmark it for future use. You will need to set up your machine first. Glowforge Print is free, however, you will have to pay for certain designs. A Glowforge Premium account is a monthly fee that will get you designs for free as well as other benefits.
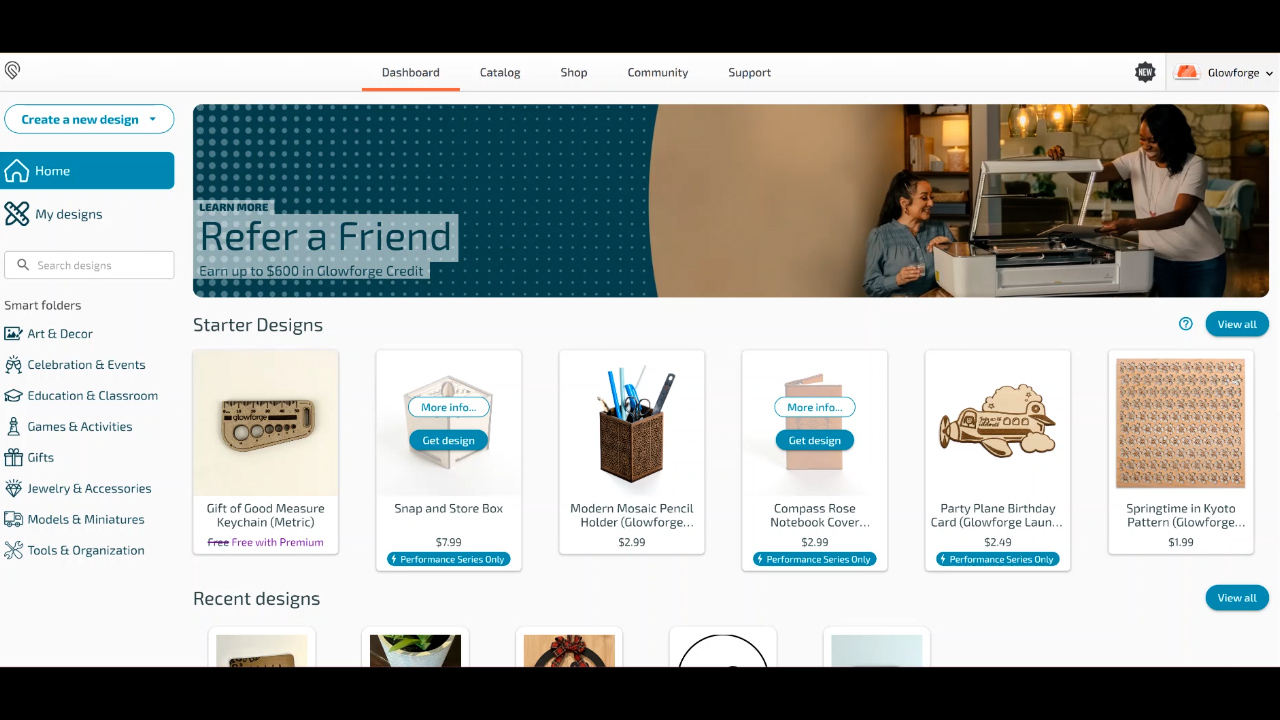
When you open this page and log in, you will see some free designs that you can get started with right away. I will be doing a full post on the software at a later date, however, I have a brief overview below.
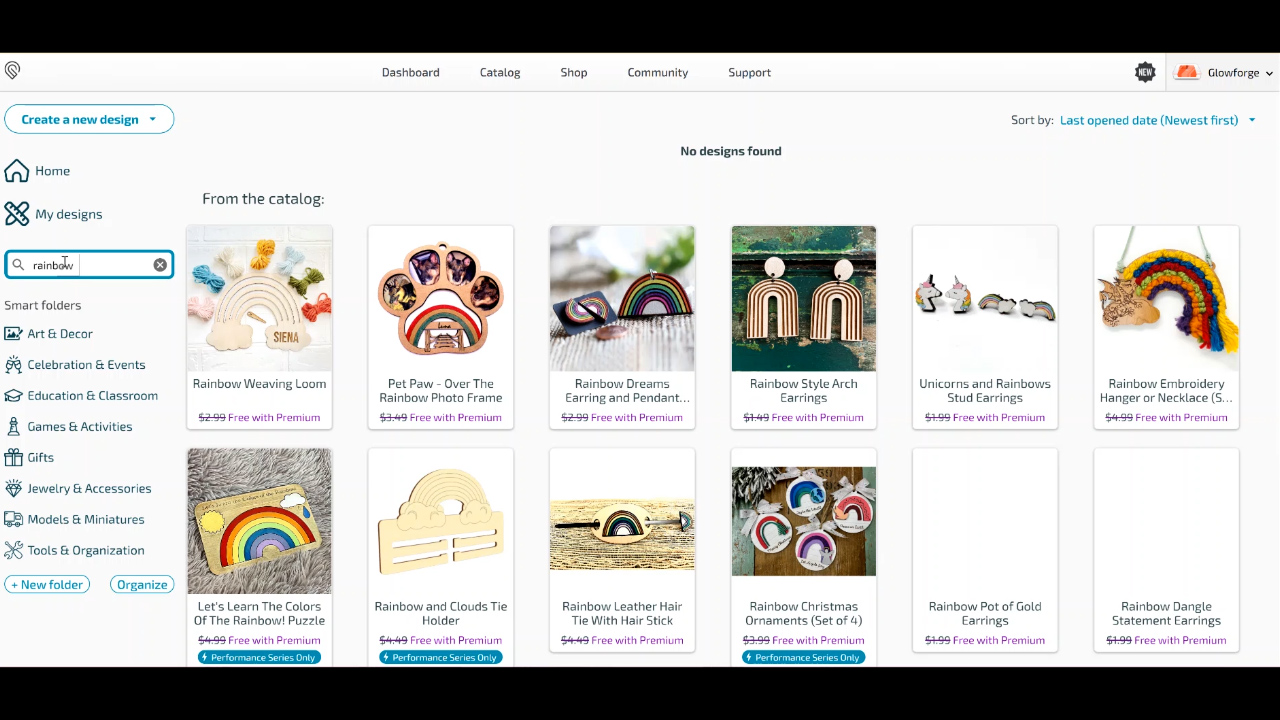
Designs from Glowforge Catalog
Click a smart folder on the left or add any search term to the box to find a design. You can purchase designs or use those that are free with your premium account. The designs do include a commercial license.
NOTE: These designs are made for a Glowforge so they are a great place to start when you are a beginner.
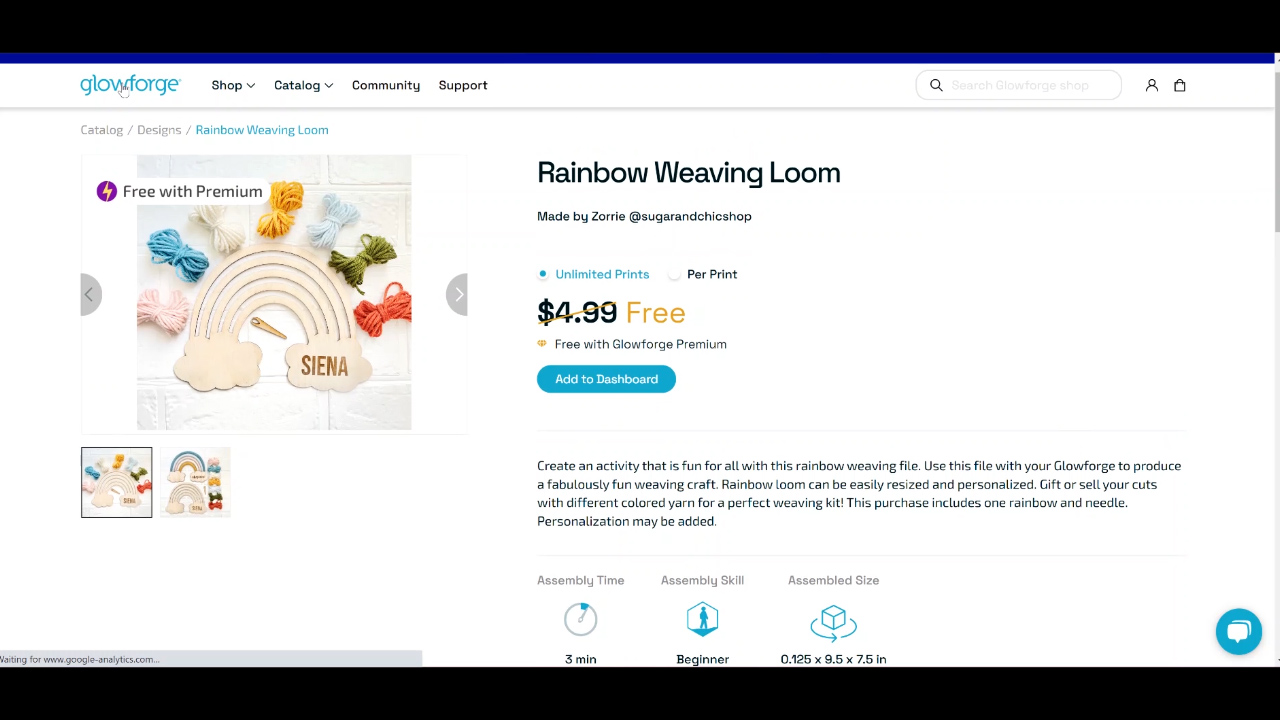
Pick any design you like and click add to dashboard. That will add it to your main page. From there, you can add these and print them.
Creating or Uploading a New Design
Click create a new design and you will see a few options. These include creating a blank design, uploading a file, and tracing a design. Just to keep it simple, I am going to show you how to start with a blank design.

When you click to create a blank design, you will see the inside of your Glowforge machine on the screen. Click the plus sign to import artwork. From here, you can import something but there are also several designs already loaded. I went to “perfect for coasters” and found something I liked.
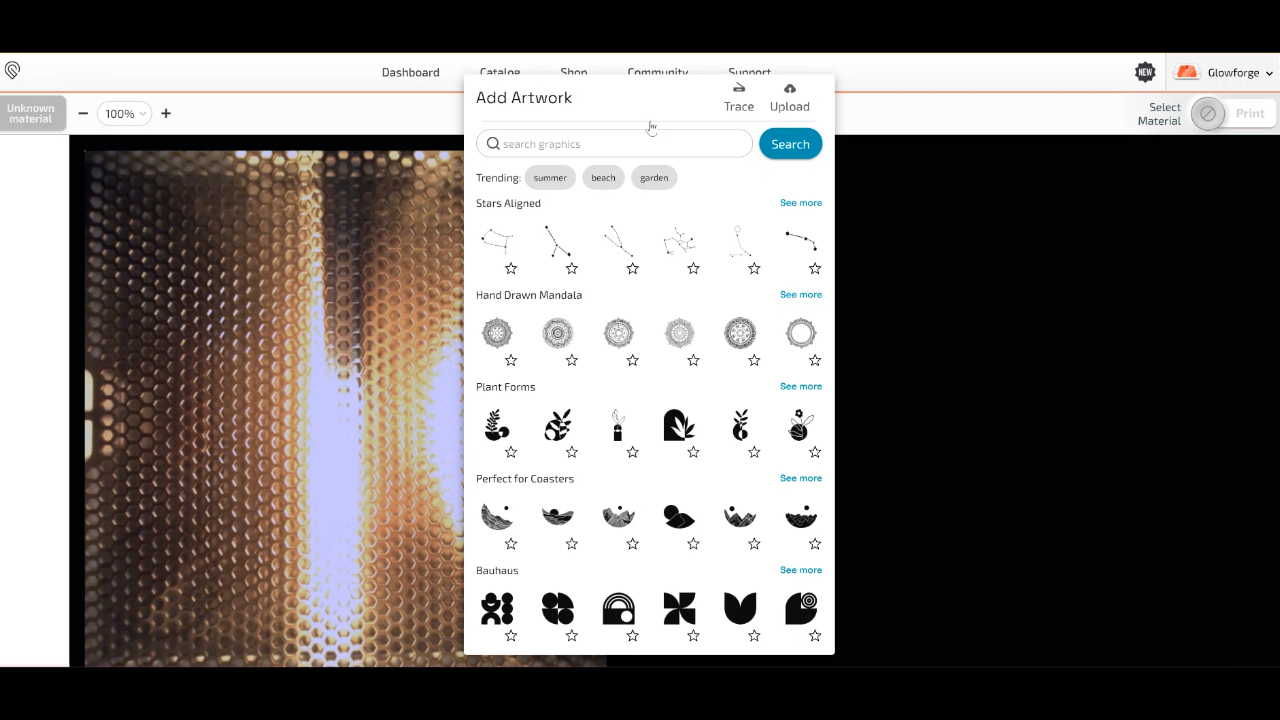
Click one of those to add the design. These happen to be engraving designs so I then added a shape to cut a circle around the engraving.
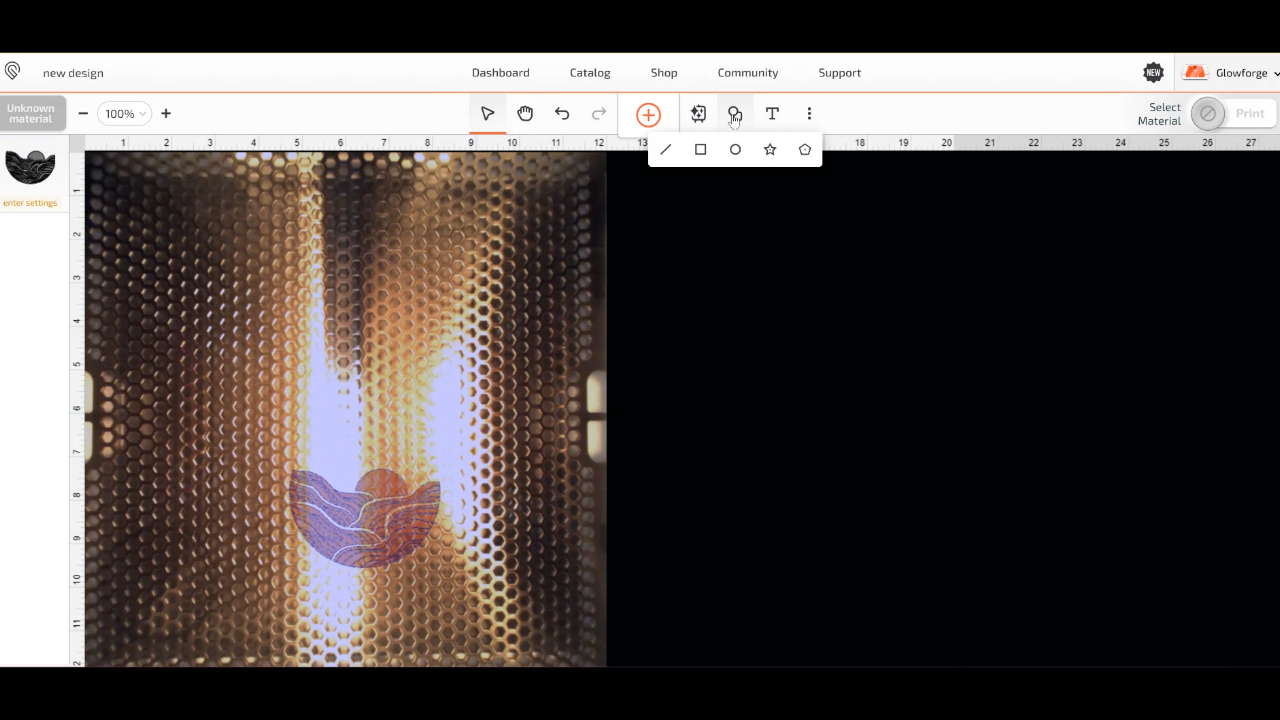
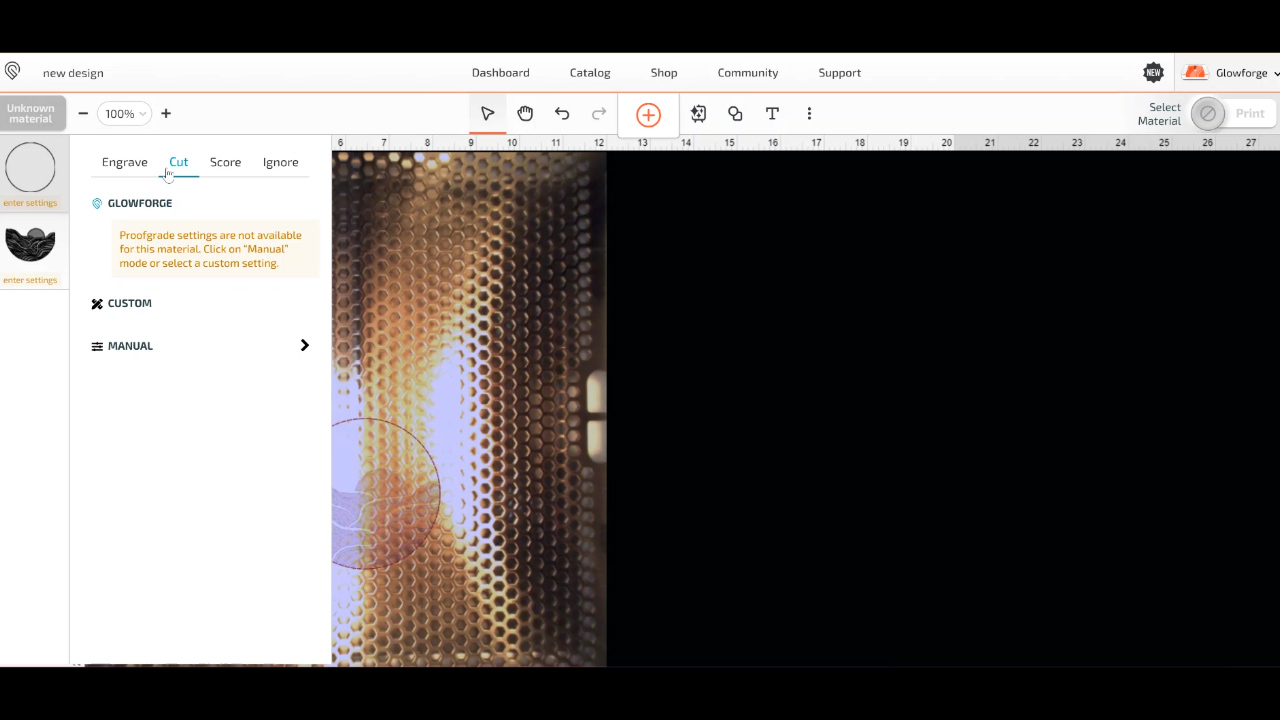
Resize the circle and/or engraving to fit inside each other. You can click settings to see whether each line is cut, engrave, score, or even ignore (which does not do anything when you send it to your Glowforge).
Making a Cut
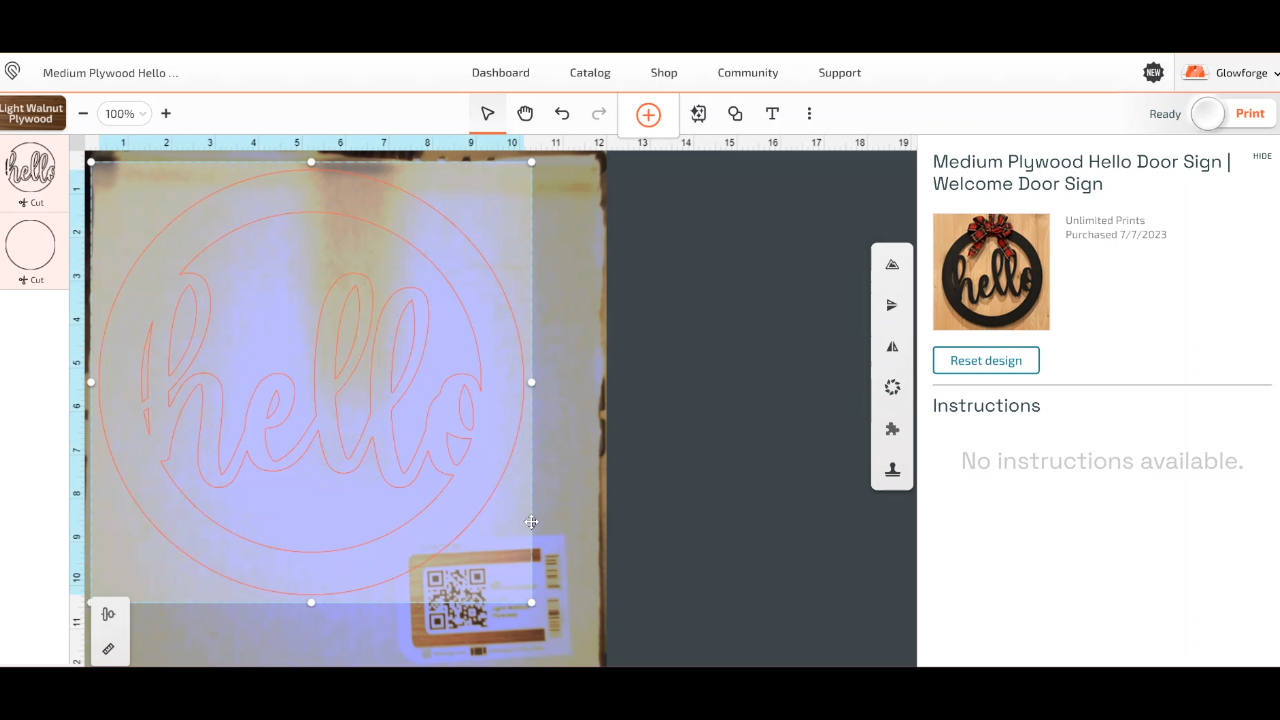
I clicked on a design from the catalog that I had added to my dashboard for this demonstration. Once you click it, you can then see the design outline and the inside of your machine.
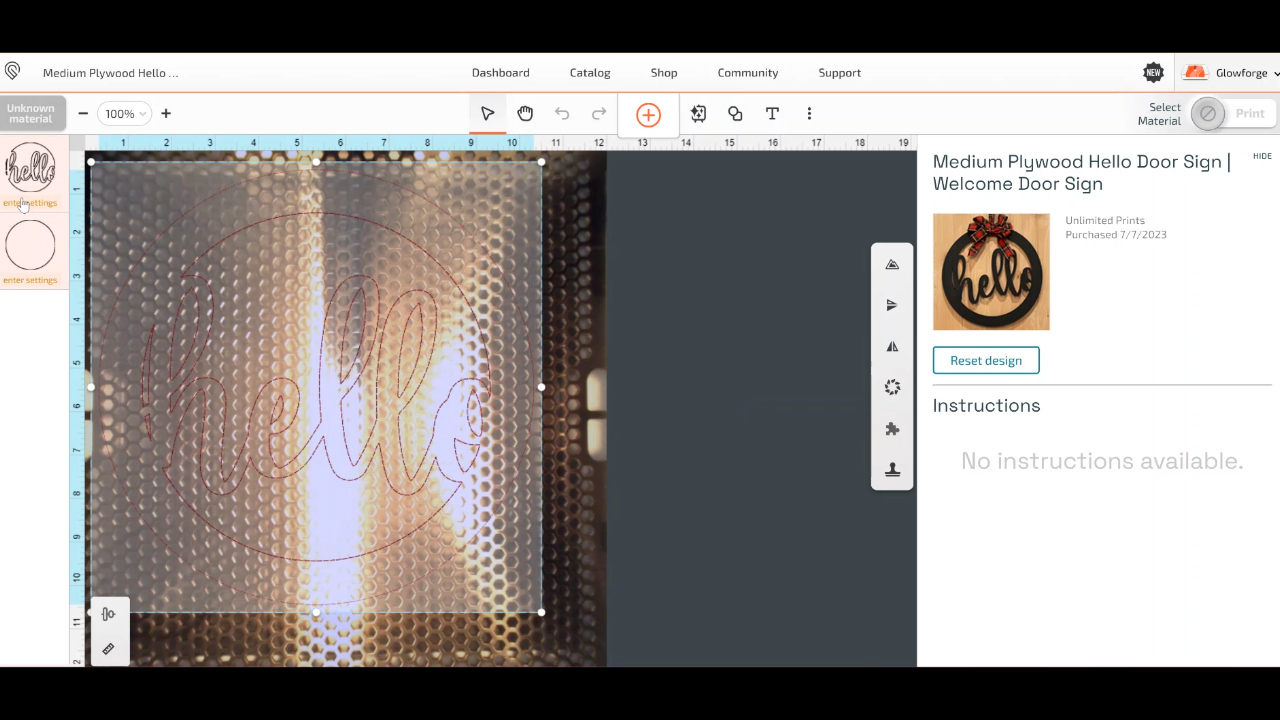
Make sure your settings and size look correct before continuing. You can add multiple designs or projects to one sheet to cut all at once.
Adding Your Material
Open the lid of the Glowforge Aura and add your material. I am using Proofgrade Plywood, in this case, to make this first cut a bit easier.
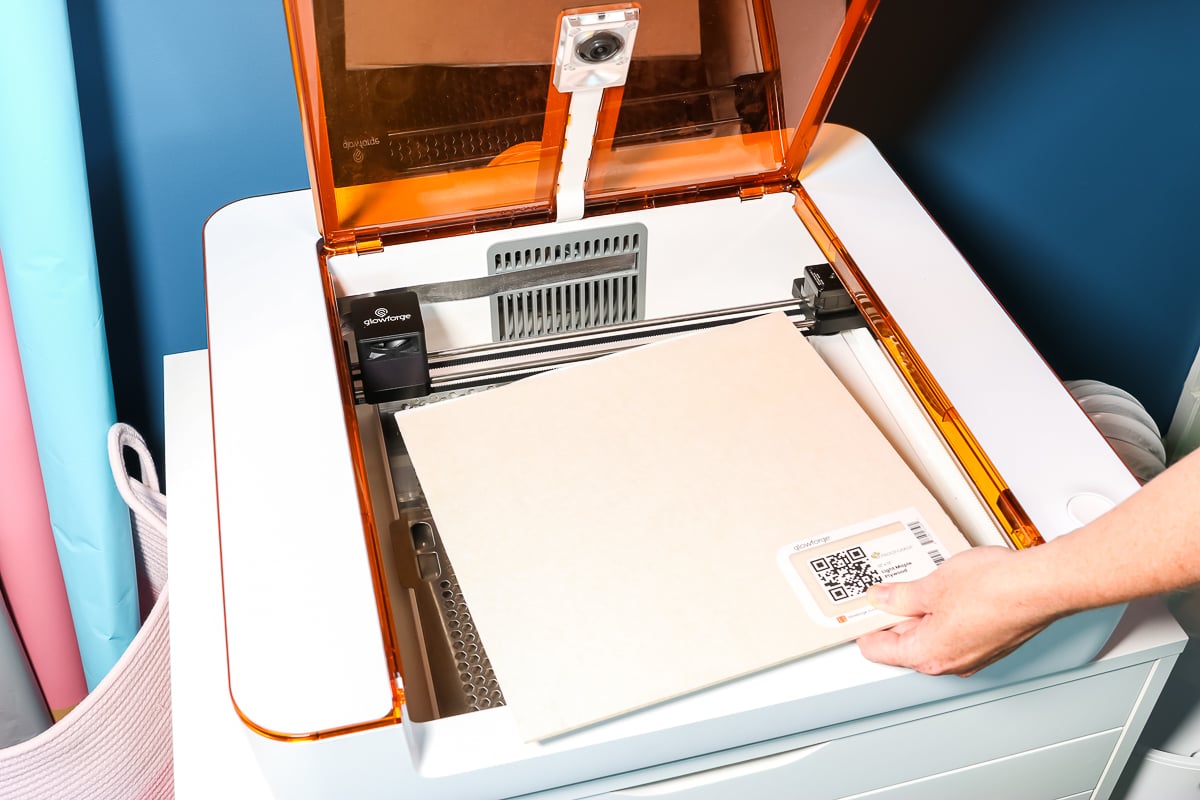
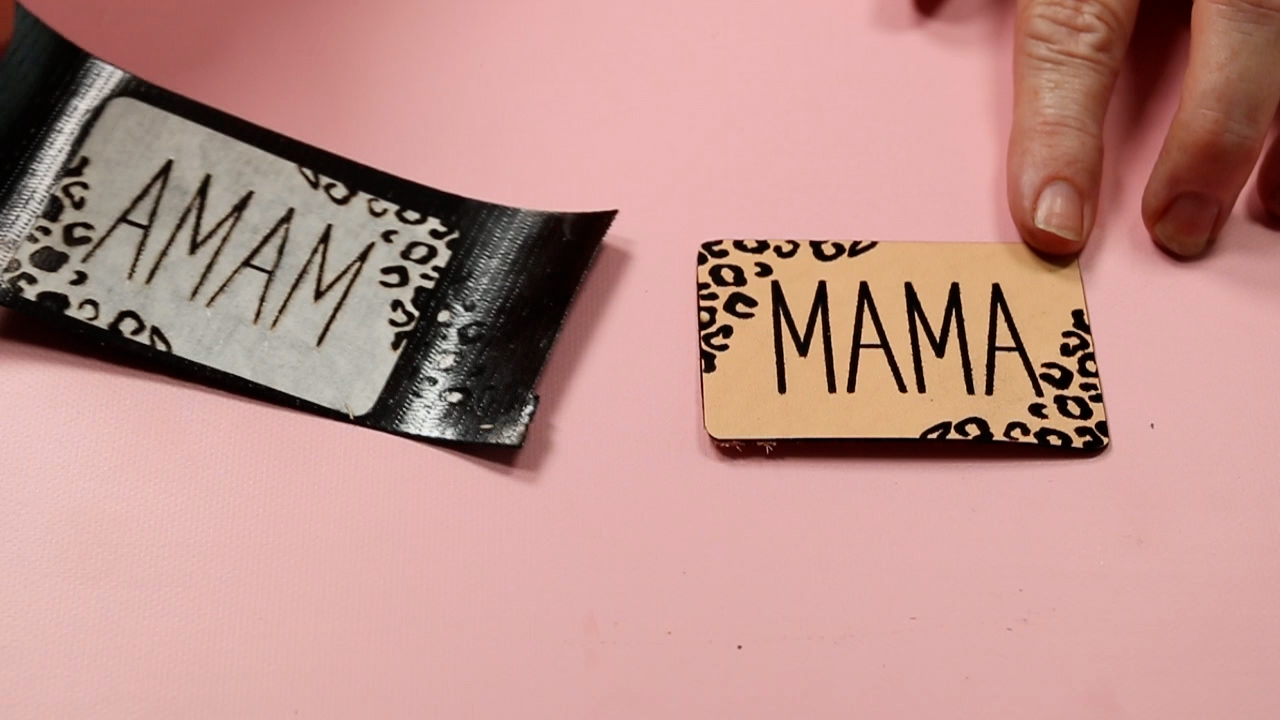
Once you close the lid, the Glowforge will scan the material and an image of what you have inside of the machine will appear on your screen. You can now move and resize your design to fit your material. You can add your cut over the label of the proofgrade material as the laser will cut right through it.
NOTE: At this point, you should also see your material setting in the upper left-hand corner as that QR code on the material has told the software exactly what you are using.
Printing to Your Glowforge Aura
Click “print” in the upper right-hand corner to send the design to your machine. Once you click print, the machine and air filter should start. This will be a bit noisy.
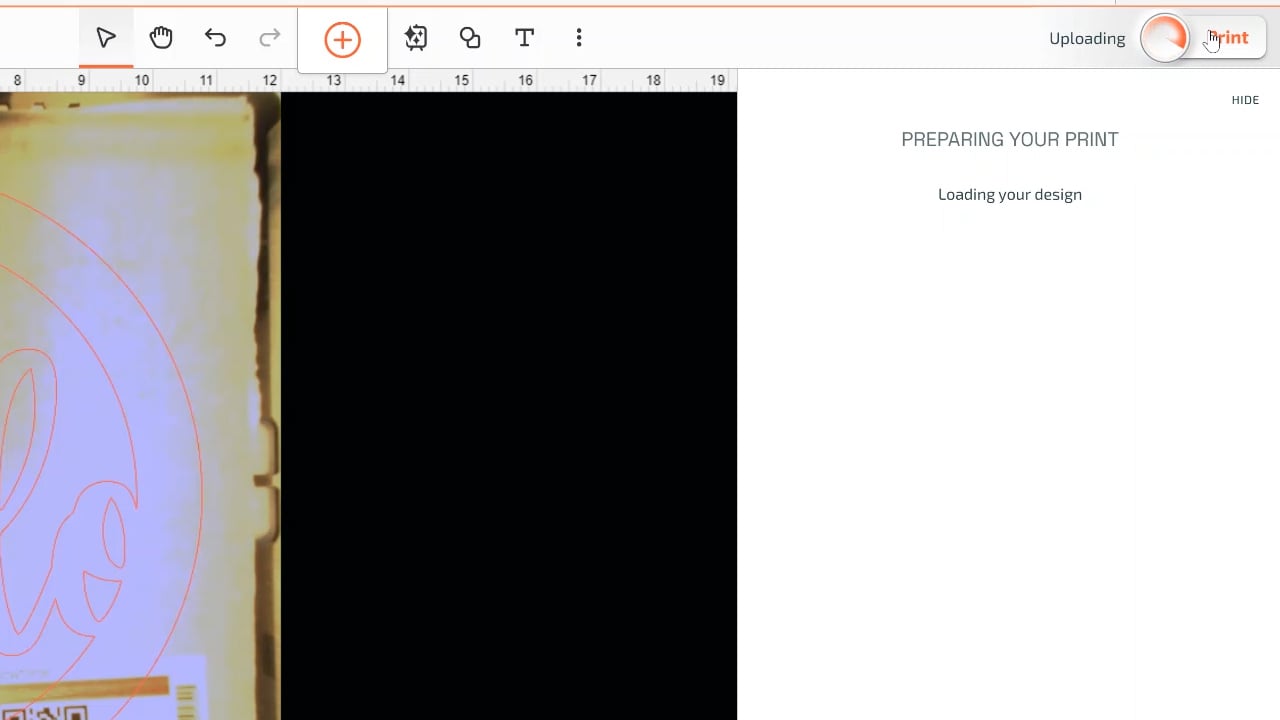
Once you hit print, the design will upload to the Glowforge and then it will tell you how long is left for your cut. Make sure you have enough time to stay close to your machine during this entire process for safety reasons.
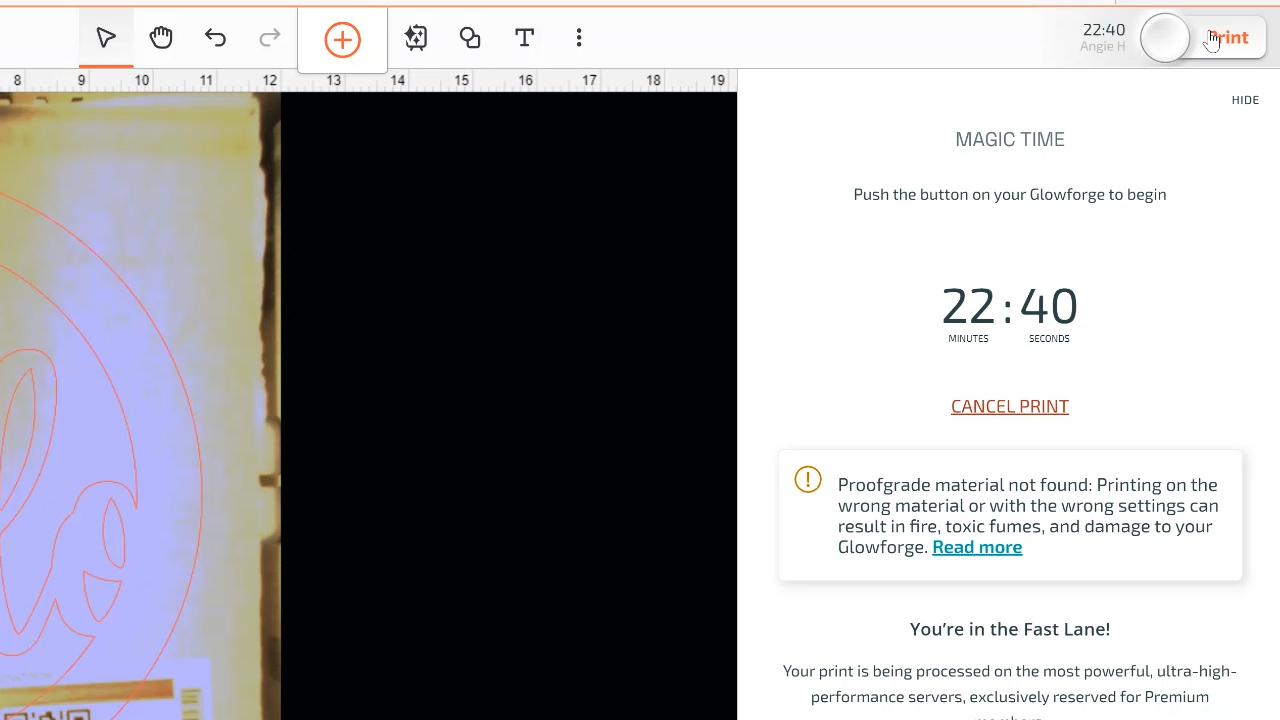
The Glowforge will auto-focus on your material for the best and most accurate cuts. Don’t open the lid or unplug the machine during the process as this will stop the machine. Once the machine is ready to cut, the button on the corner of the Glowforge will start blinking. Press it to start the process.
Then just allow your Glowforge to cut and/or engrave your material. I actually love watching this machine work! You can look at the laser while it is cutting as that orange lid will protect your eyes.
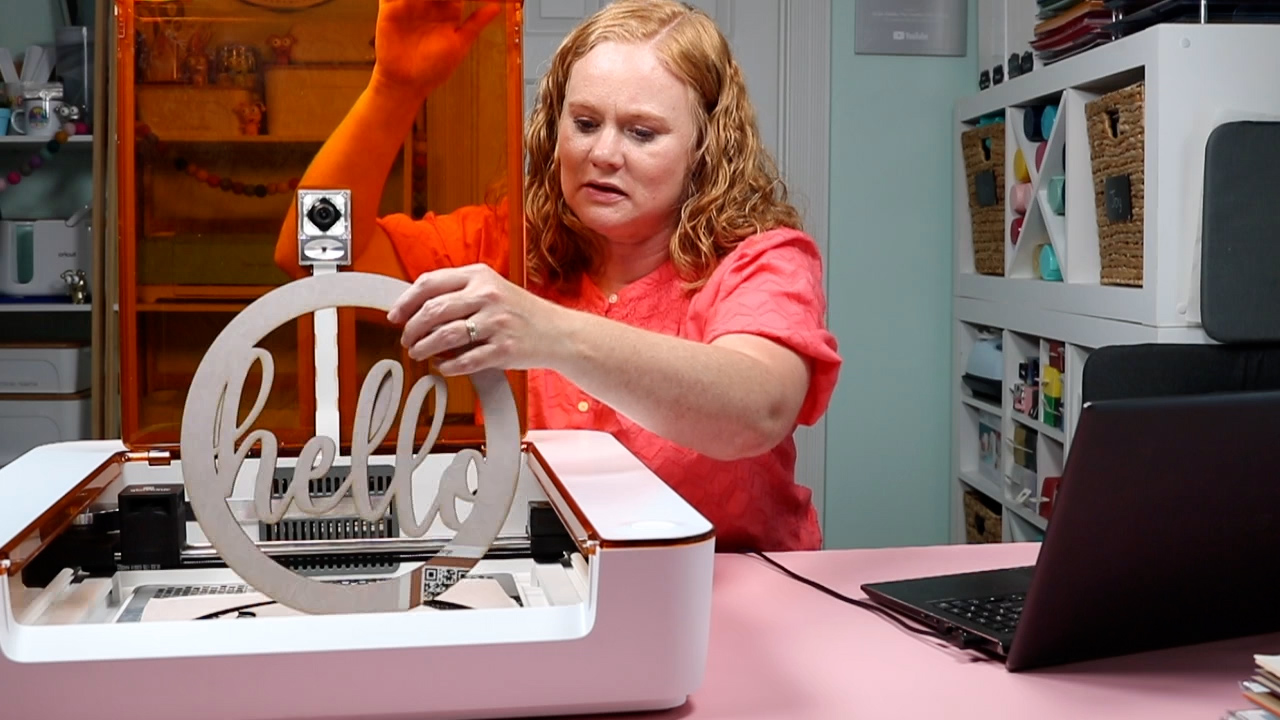
Removing Your Project
Once it is done, the air filter and machine will stop. The software will tell you to allow a few minutes at the end. This will ensure your material cools down as well as result in fewer fumes when you open the lid.
Once the software says print done, lift the lid and remove your project. You may find that small pieces are left behind inside that are scraps. You can remove these by hand and discard or use a small vacuum.
Removing the Masking
After you remove your finished piece, remove all tiny pieces that are scrap. Then you can peel back the masking. My top tip is to use a piece of Gorilla Tape to stick to the masking. This will help you peel it back.

Remove all masking from your entire piece on both the front and the back. You can see in the image below some of the burnt marks that the laser will leave on your material. This is what the masking will prevent from getting on your final project. The cut edges of your project will turn a dark brown when cutting with a laser.
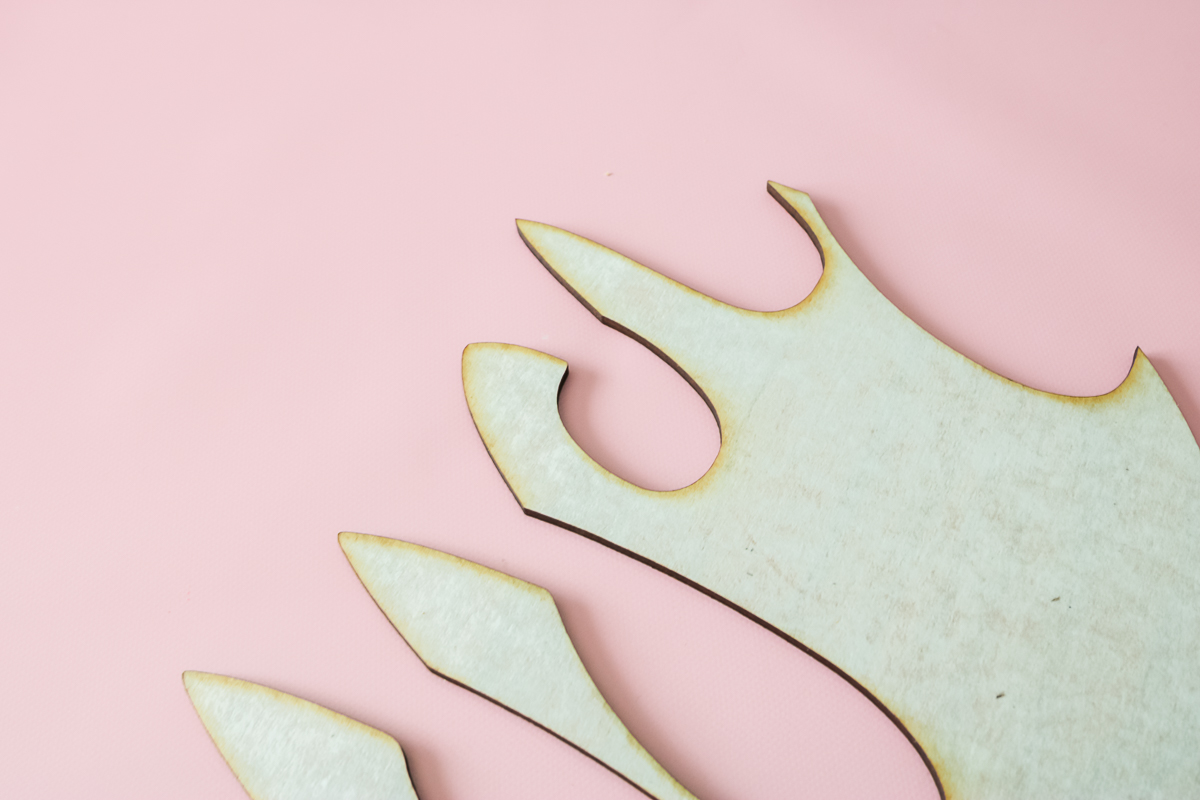
For smaller projects, you can even add the Gorilla tape over the entire project and peel it back to get the masking off. Once you remove your masking, the project is complete or you can paint and add other elements to finish it off!
More Project Ideas
I just did a few projects as examples for this post. There are 100s of materials you can cut and the things you can make with this machine are possible endless. However, this will give you an idea of a few things you can make.
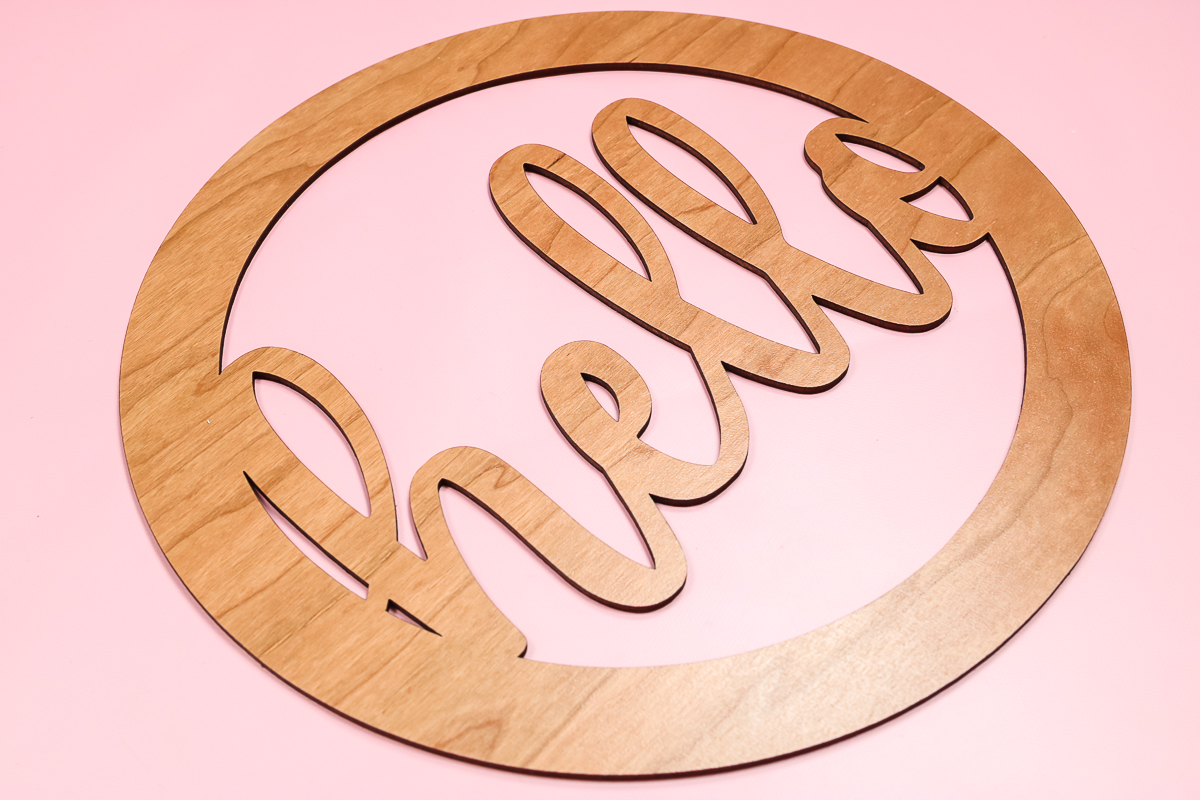
First is the hello sign from above that I cut from wood. This is a great example of a quick project that you can use right out of your machine.
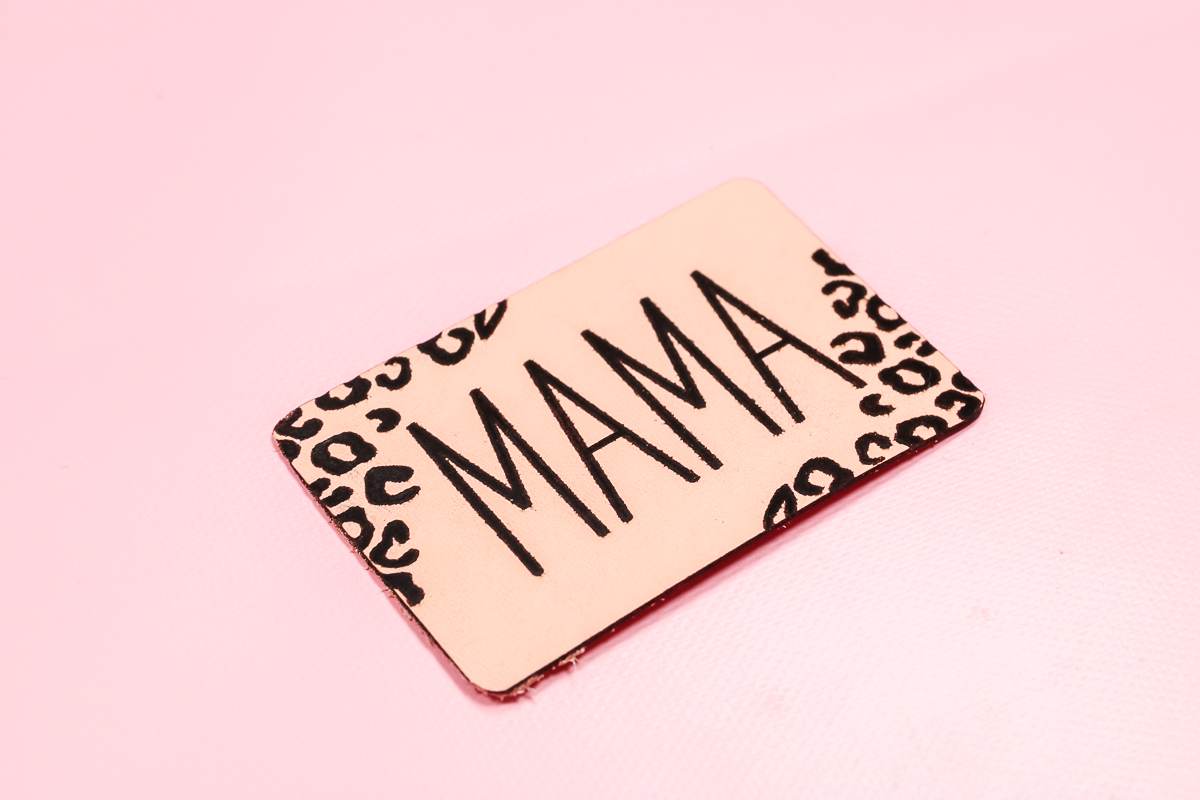
The second is an engraved leather patch. I both cut and engraved this one with the Glowforge Aura and now it is ready to add to a hat or another surface.
Third is an engraved acrylic keychain. I cut and engraved this one again and then added Rub-n-Buff to the engraving to really make it pop. All that is left is to add a keyring to this!

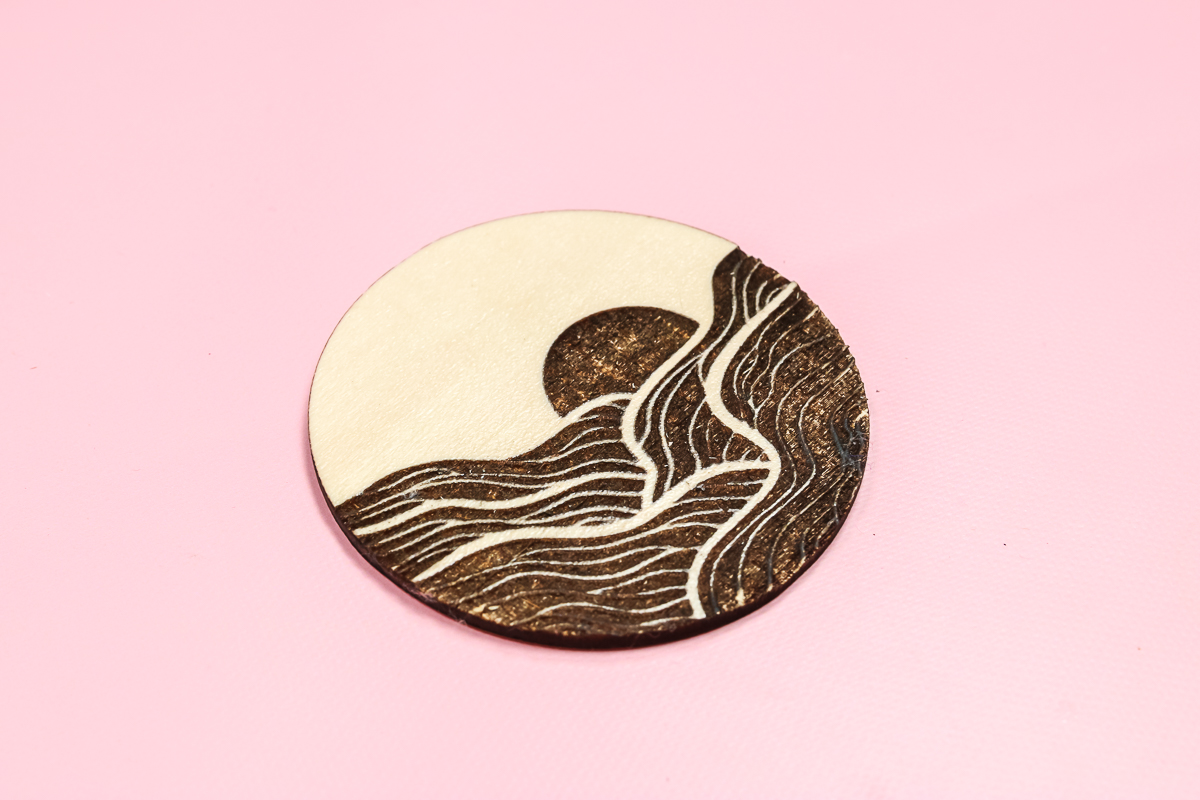
Finally, I made an engraved wood coaster. This has a more intricate engraving than my other examples and I love the way it turned out!
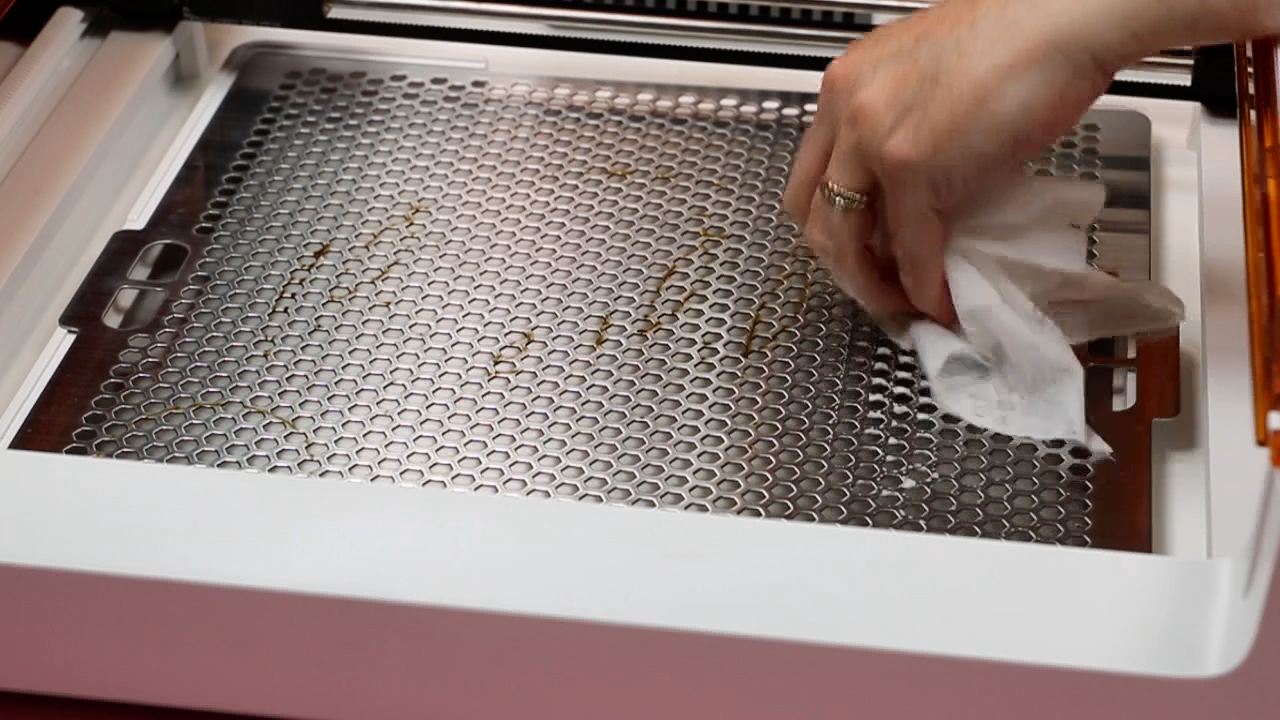
Cleaning Your Glowforge
It is important to keep the inside of your machine clean. Here are a few tips for cleaning:
- Vacuum up any small bits including those under the crumb tray.
- Wipe all surfaces with a cleaning wipe including on and under the crumb tray.
- Use a lens wipe on the camera if you ever notice dirt or debris on the lens.
- After about 10 hours of printing, clean the rails with a cleaning wipe.
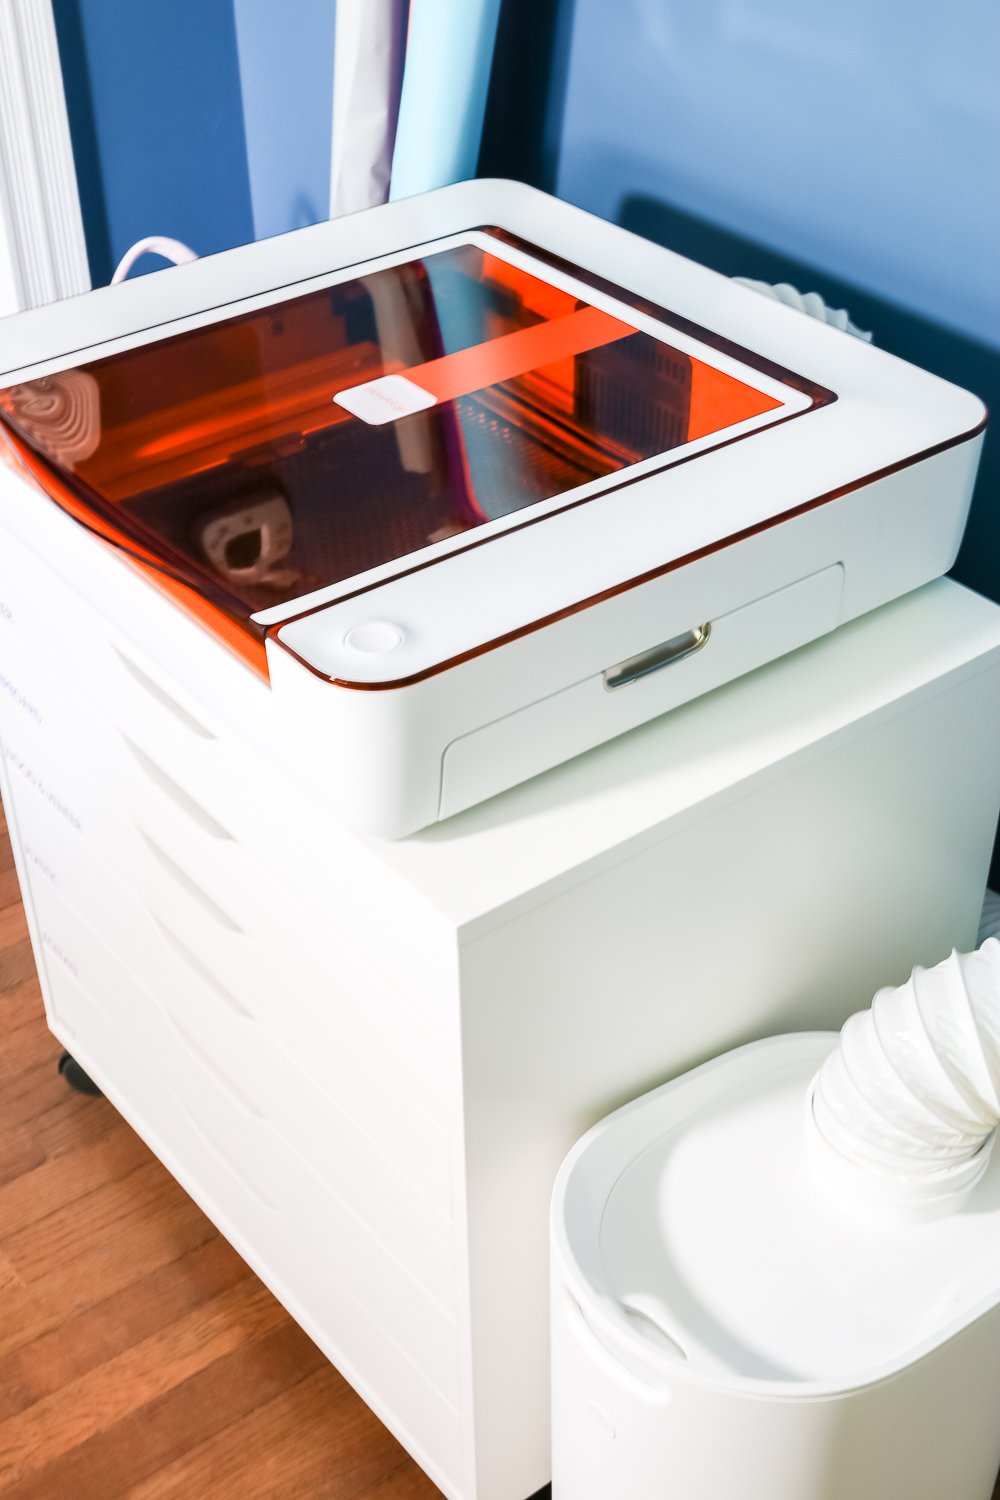
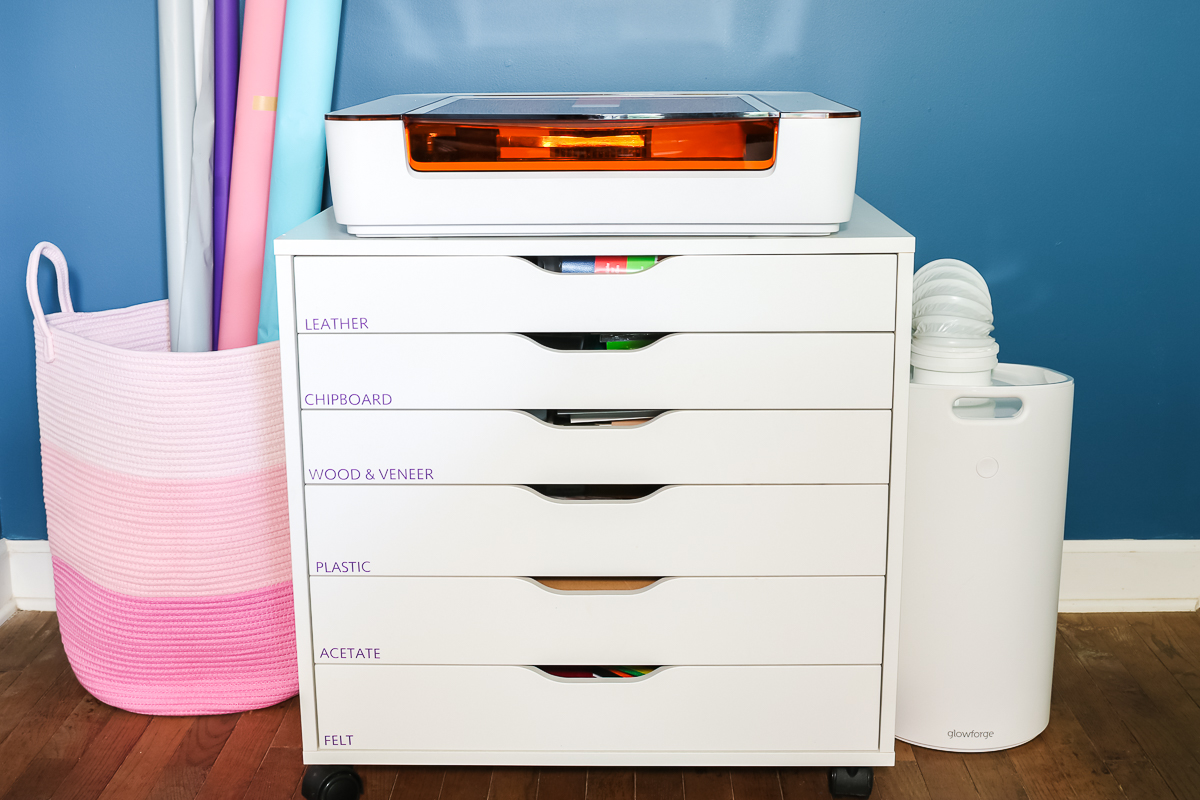
Cart for Glowforge Aura
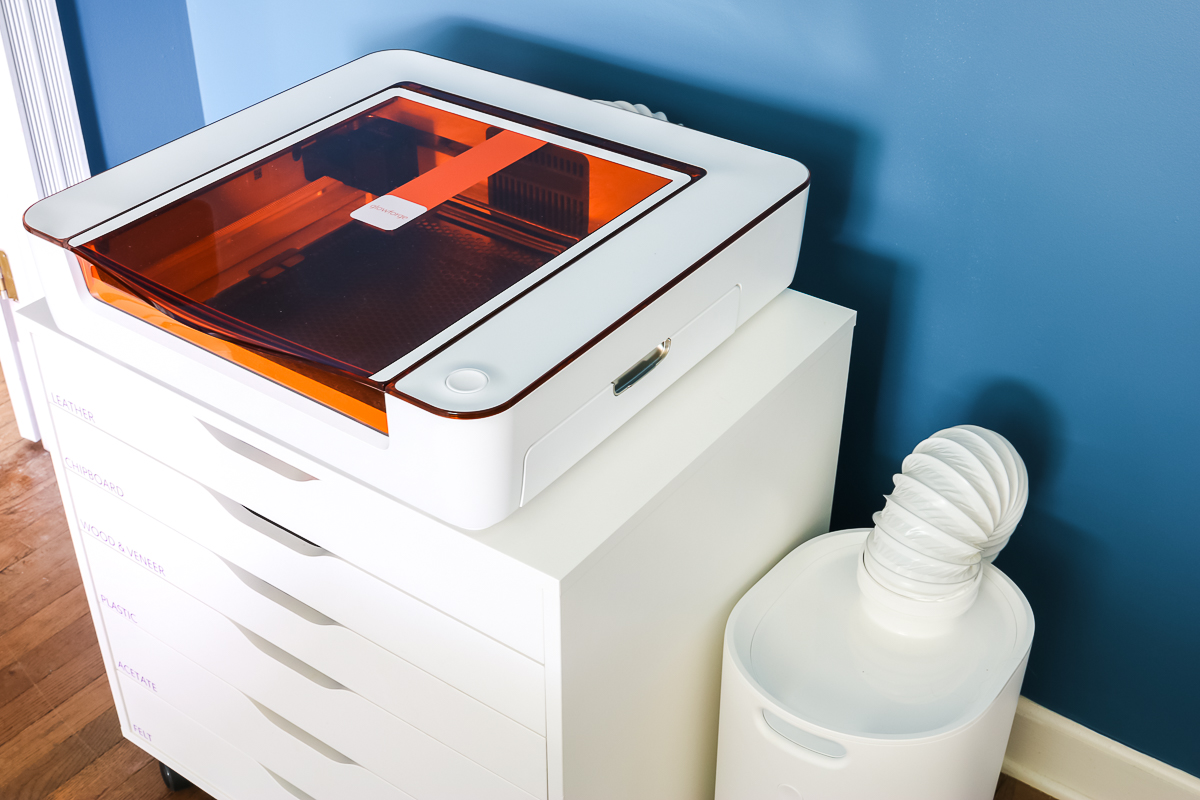
I ended up adding this to an Ikea Alex set of drawers and it did work perfectly. I like that these are on wheels and the drawers offer storage for materials. The machine fits almost perfectly on top but you will need to keep the air filter on the floor beside the machine in this case.
My Review of the Glowforge Aura
So, what do I think of this machine? I was extremely impressed. I think it is a great machine for beginners and at $1200 it is in a price range where a wider range of crafters can afford it. It is also sized to fit in a small area which is perfect for my space.
The range of materials it can cut is impressive for a small machine but it is limiting in comparison with other Glowforge machines. The thickness is limited as well as not being able to cut things like clear acrylic.
Also, this machine does not have the ability to engrave thicker objects or round objects like tumblers. You can get that with other craft lasers but not the Glowforge Aura.
I loved the precise cutting and engraving. The engraving on this machine is much better than I have ever been able to do with any of my Cricut machines. I am excited about the possibilities with this machine so stay tuned to see even more!
Do you need this machine?
I think this is a perfect machine for those that have wanted to try a laser cutter but cannot afford or have space for the larger machines. It is a great way to get introduced to laser cutting and see if you even want a larger machine. This may do all that you wanted to ever make with a craft laser!
If you want to take your engraving to the next level, a laser is a great way to do that! It is perfect for those who want to try more engraving projects and get better results.
I also think this is a great machine for those that are tired of craft cutters. If you are tired of sticky mats and blades that wear out, laser cutting may be the step up you need in your craft room. Plus with the increased material thickness, it opens up way more project possibilities!
Where to Purchase
Right now this machine is exclusive to JOANN and Michaels stores. Here are the links for purchase:
You can also see more about this machine on the Glowforge website here. So, pick up the Glowforge Aura for your crafting needs. If you have ever wanted to try a laser, this is the machine you need to do just that!