
This post and photos may contain Amazon or other affiliate links. If you purchase something through any link, I may receive a small commission at no extra charge to you. Any supplies used may be given to me free of charge, however, all projects and opinions are my own.

Have you ever used reflective HTV before? Are you trying to be safer while being outdoors in the dark? Today I’m testing out a variety of different reflective HTV options to see which one works best.
Since Cricut recently released its own version of reflective HTV, I thought this would be a great time to compare a few different varieties to see if one really outshines the other. I’m also going to discuss what type of projects this would be good for and what materials it would work best on.
If you haven’t tried using HTV before, you’ll find lots of tips and tricks in my post all about using HTV.

What is Reflective HTV?
Reflective HTV (aka Heat Transfer Vinyl or Iron-on) is a heat transfer material that has reflective properties that show when light hits them.
I want to show you how reflective each different variety is. You can actually watch me test each of these different materials and how the light reflects off each one by pressing play on the video below.
Supplies Needed
Different Reflective Options
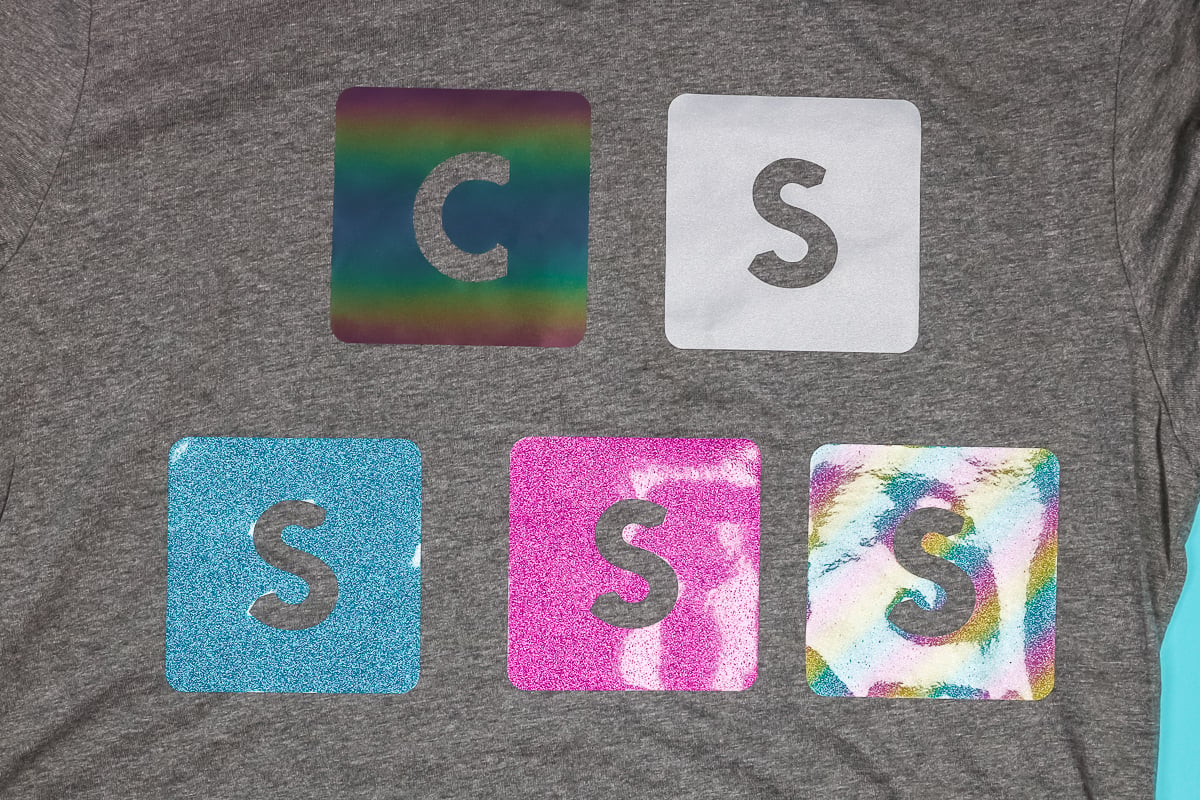
Before we make our customized sweatshirts I want to test the different reflective HTV options I found. From left to right, I will be testing Cricut reflective HTV, Siser reflective HTV, and 3 different colors of Siser twinkle. While the twinkle is not listed as a reflective HTV, it is supposed to have reflective properties like the reflective HTV.
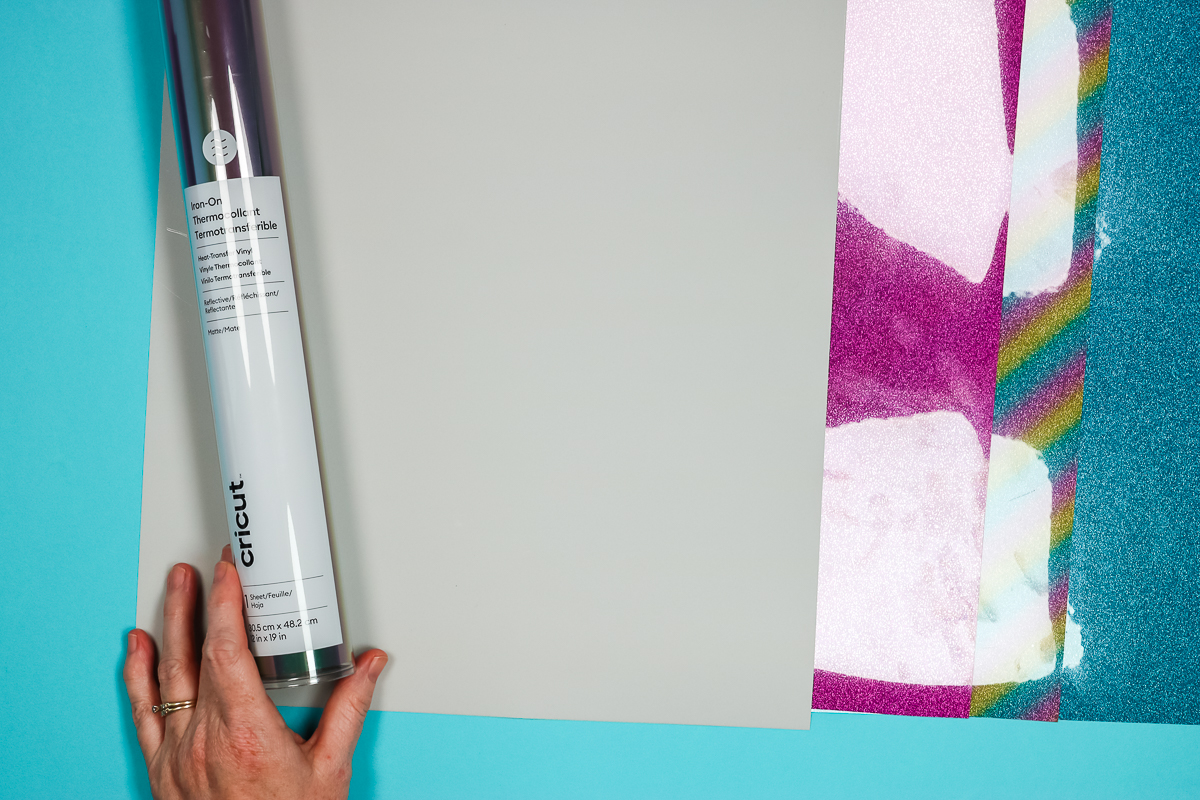
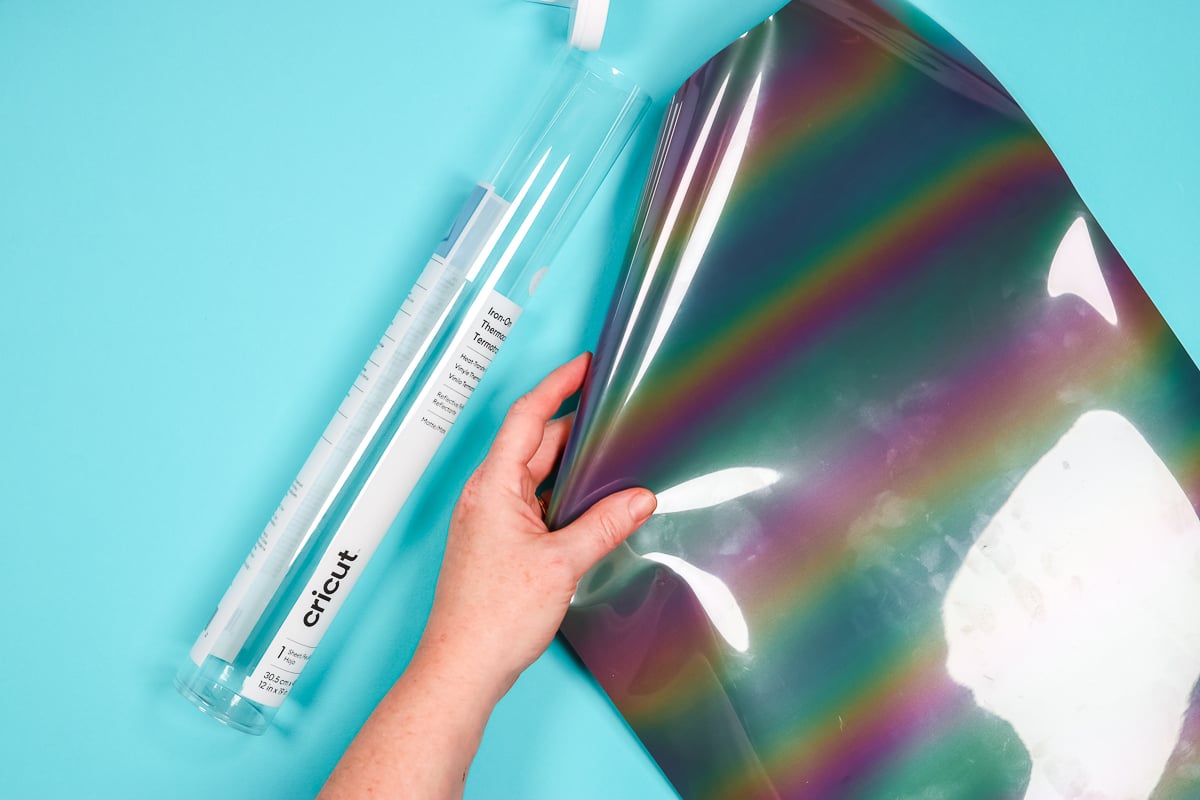
The Cricut reflective HTV only comes in the color black rainbow right now. As the light hits it, the rainbow reflects light.
The Siser reflective HTV that I like the best is a silver/grey color. It reflects light across the whole surface.
Since the Siser Twinkle also has reflective properties I wanted to test it as well. I chose these colors just because I like them.
In the photos above, the reflection you’re seeing is the clear plastic carrier sheet. We won’t be able to see the actual reflective properties until after they’re pressed.
Testing Reflective HTV
Before I make a whole project, I want to test them to see how they do and what the reflective property looks like after it’s pressed.
The Cricut reflective HTV and the Siser Twinkle HTV all have the same plastic carrier sheet. This is the same type of carrier sheet as regular Cricut Iron-on.
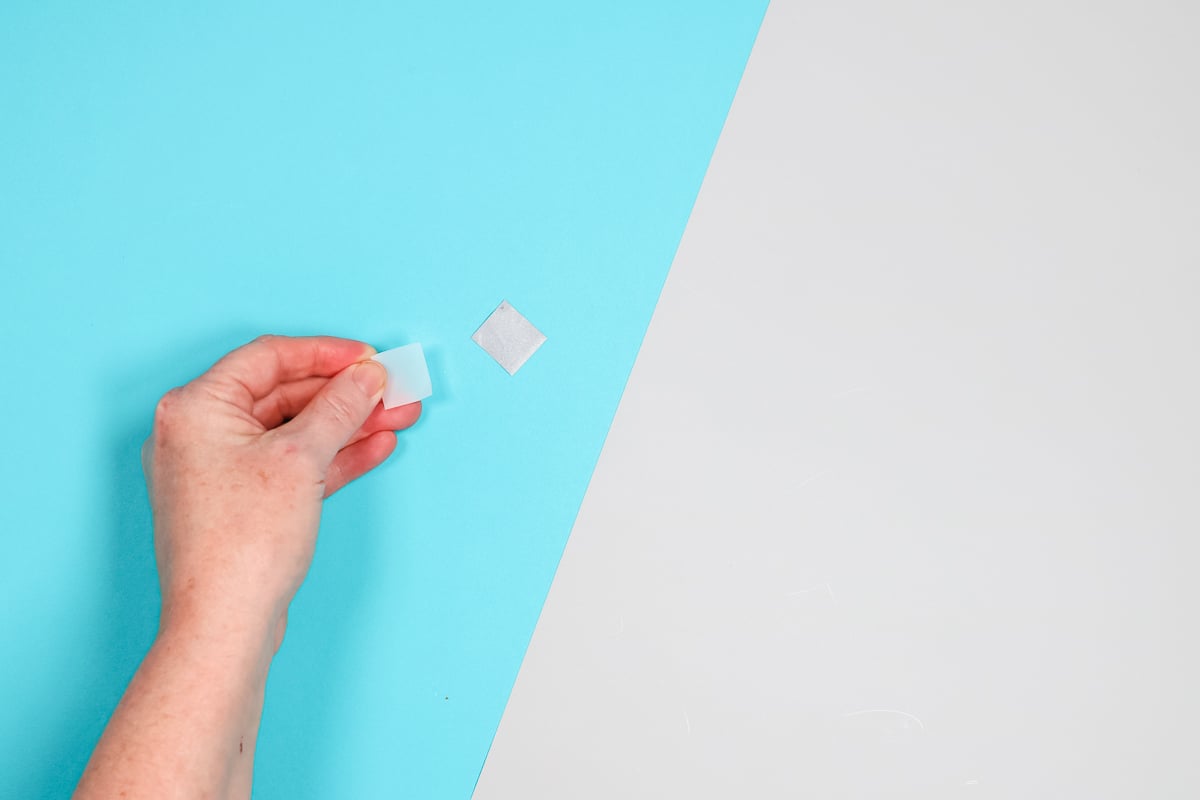
The Siser reflective HTV is different. This one doesn’t have a clear carrier sheet which made it confusing for me. When I received it, it looked dull on both sides. I actually had to cut a small piece and peel it apart to figure out what side was the top and which was the bottom.
The carrier sheet for the Siser reflective HTV is an opaque white-looking sheet. When looking at the Siser reflective HTV, the carrier sheet is actually the matte side. The grey side is the adhesive side.
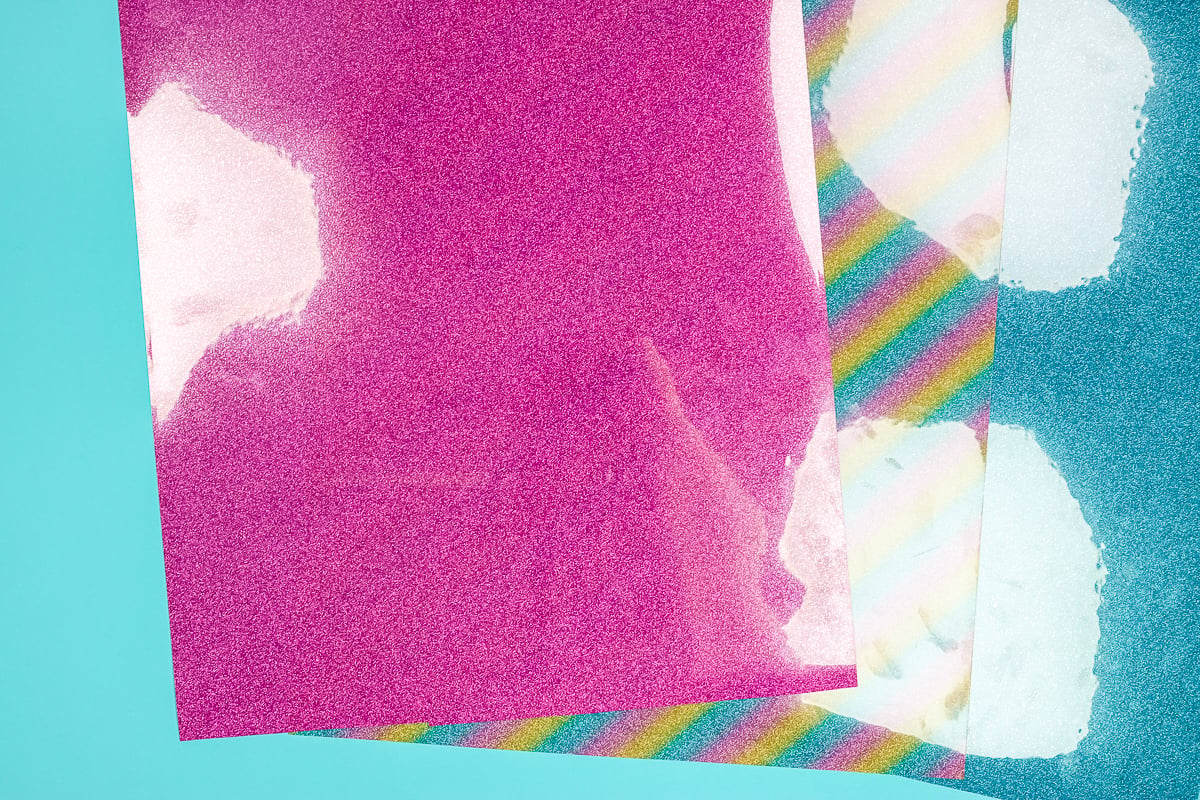
To test these different HTV materials, I’m going to cut out a piece of each and apply it to a t-shirt to see how they perform. In the photo below, you can see all of the different varieties. The top row has the Cricut and Siser reflective HTV options. In the bottom row, there are 3 different Siser Twinkle colors.
Which HTV Performed Best?
Now that I’ve cut and pressed each different HTV, let’s discuss which one worked best.
I really like both the Siser and Cricut reflective HTV options for a few different reasons. Both have great reflective properties. I think the Siser would do really well on a darker-colored material and the Cricut black rainbow would do well on a lighter-colored material. In the end, which one is best for you may depend on the look you’re going for.
Both the Cricut reflective and Siser reflective cut on the same cut setting for me. The Cricut setting “Reflective Iron-on” worked for both. They are both nice and thin and feel really great on the shirt.
You can see the Twinkle HTV on the bottom row of the shirt. I want to call out that these are extremely thick. I had to use a light cardstock setting with more pressure to cut them.
They do have a glittery finish but you can’t feel the glitter, it’s a smooth surface but every one of them is very thick. I will say it reflects the light well. I may be inclined to use it depending on the project but I don’t think it will be comfortable for larger designs.
How Well Do These Reflect Light?
It is kind of hard to see how well these reflect in photos. If you really want to see them with the light on and off, make sure and watch the video. This will show you really well how they reflect the light.
In the photo below, you can see the reflection on the different materials, especially the twinkle HTV.
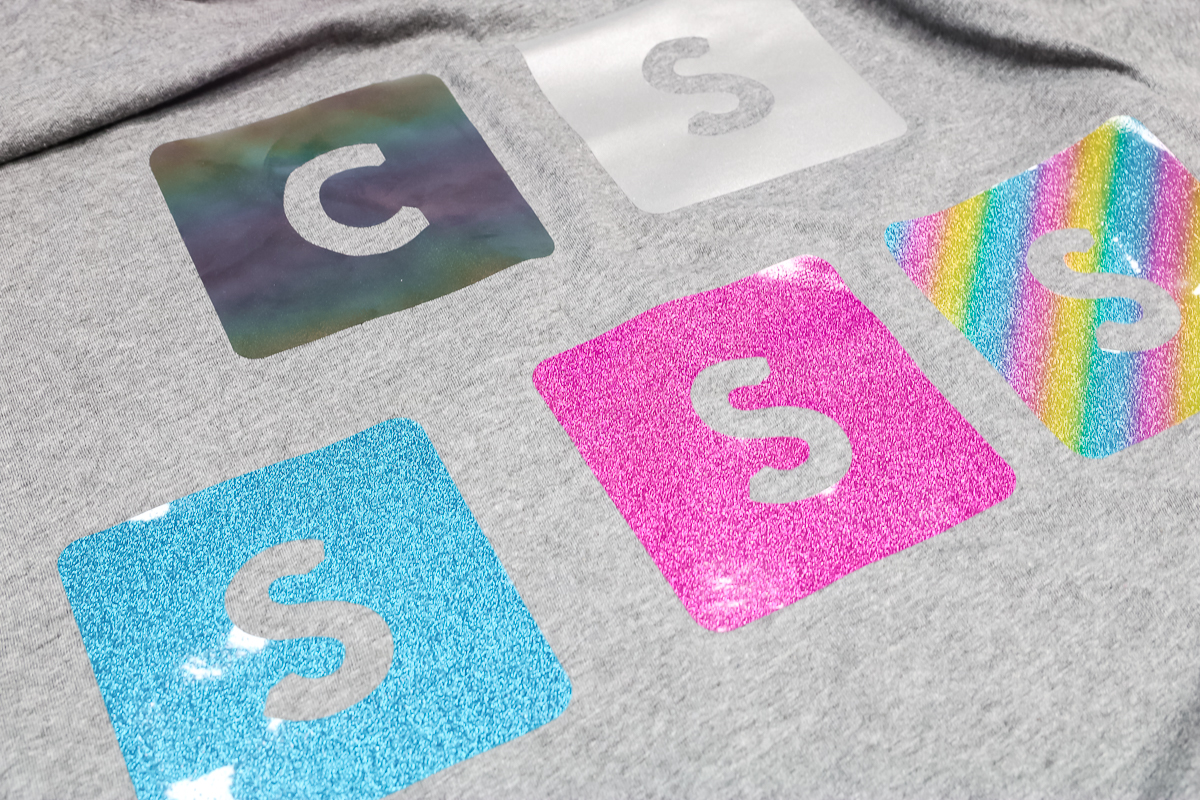
With the lights off and the flashlight light shining on them, they are definitely all very reflective.
If I had to say, I do think the Siser reflective HTV stands out the most. It’s possible this is because it’s a light color and reflects a bright white silver.
I think the twinkle products have a similar reflection but it’s not as bright as the original Siser reflective.
The Cricut product definitely reflects but it’s the rainbow portion that reflects. Those rainbow areas reflect the light but because it’s a black rainbow it’s not as bright as the Siser.
Which Reflective HTV is the Best?
If I had to choose which HTV has the best reflection based on this test, I would say it’s the Siser reflective HTV. I like the look and feel of it and it reflects really well. However, since it only comes in this light silver color, it wouldn’t work well on a project that needs a darker HTV.
If you want a dark HTV on your project, the Cricut black rainbow would be a great option.
Because I like both the Siser and Cricut options I am going to use both of them to make a customized sweatshirt.
The twinkle products had too many cons for me to want to make a full project with them. If you want to use it, I followed the directions on the Siser website for pressing times and temperatures. Light cardstock, more pressure is the setting I used to cut it on my Cricut machine.
How to Make a Sweatshirt with Reflective HTV
Let’s head to the Cricut machine and see how to cut the Cricut and Siser products. They have very similar instructions.
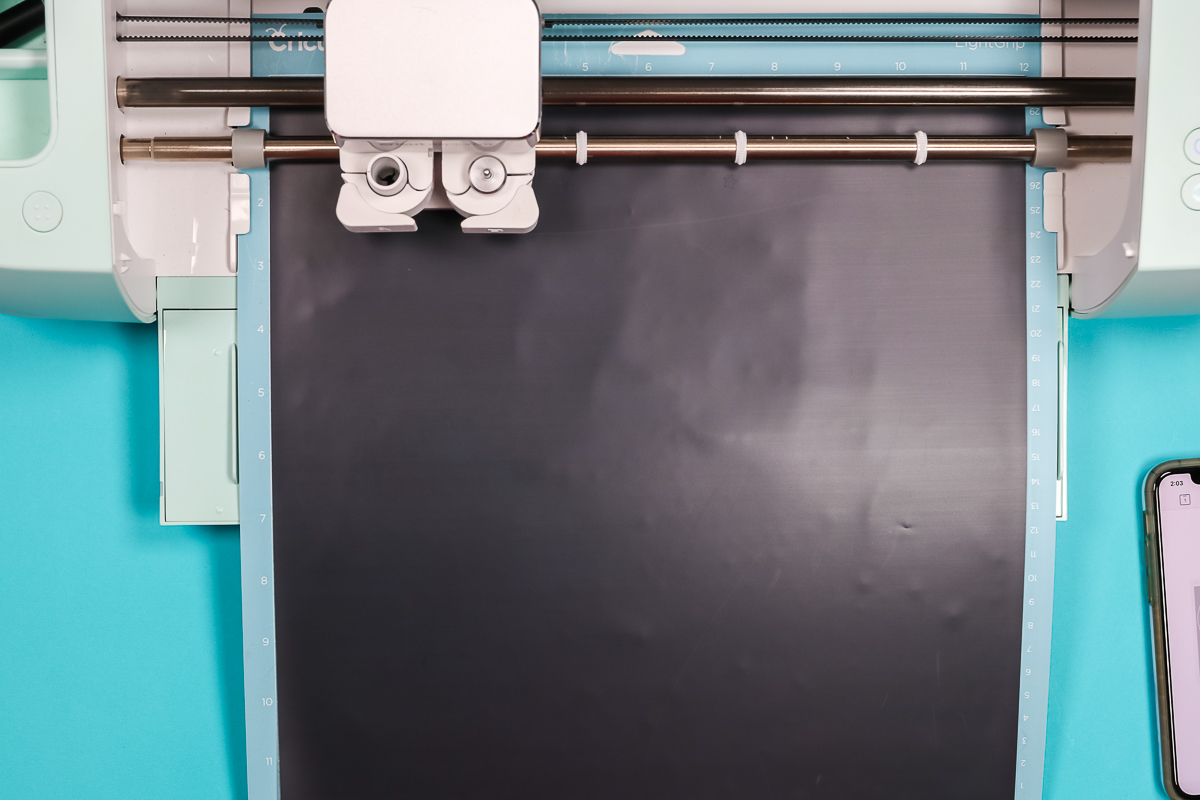
The Cricut product goes shiny side down on the mat. You want it pressed down on the mat really well, I find using a brayer helps ensure there is no lifting.
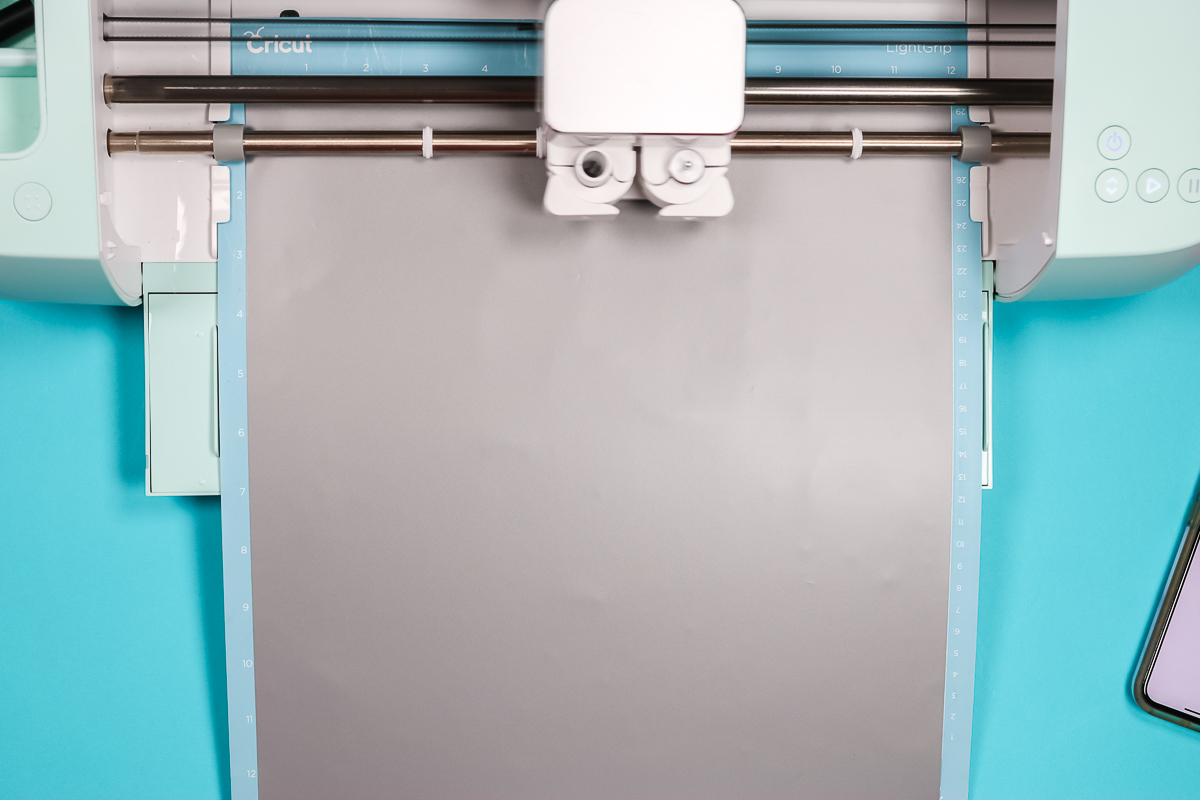
The Siser product is similar except you’ll place it matte side down on the mat. Remember, earlier we discussed how the carrier sheet on the Siser reflective HTV is like a milky white. That is the side you want down on the mat.
I’m going to cut the same design out of both materials. You can get this same design for free at the link above.
With your image open in Design Space, size it to fit your project, and then click Make It. Ensure you’ve mirrored your design and then choose Reflective Iron-on as the material. Design Space will prompt you to make sure the Fine Point blade is installed and then load the mat and press Cut.
When the machine is done cutting, unload the mat and we can proceed.
How to Weed HTV the is Reflective
I found that both of these materials weeded about the same. Using a weeding tool, remove any excess HTV. For my design, that means removing the area around the outside, all the little stars, the mountains, and the words. Make sure you leave the inside pieces of the letters.
I didn’t have issues weeding either material. They weeded easily and cleanly.
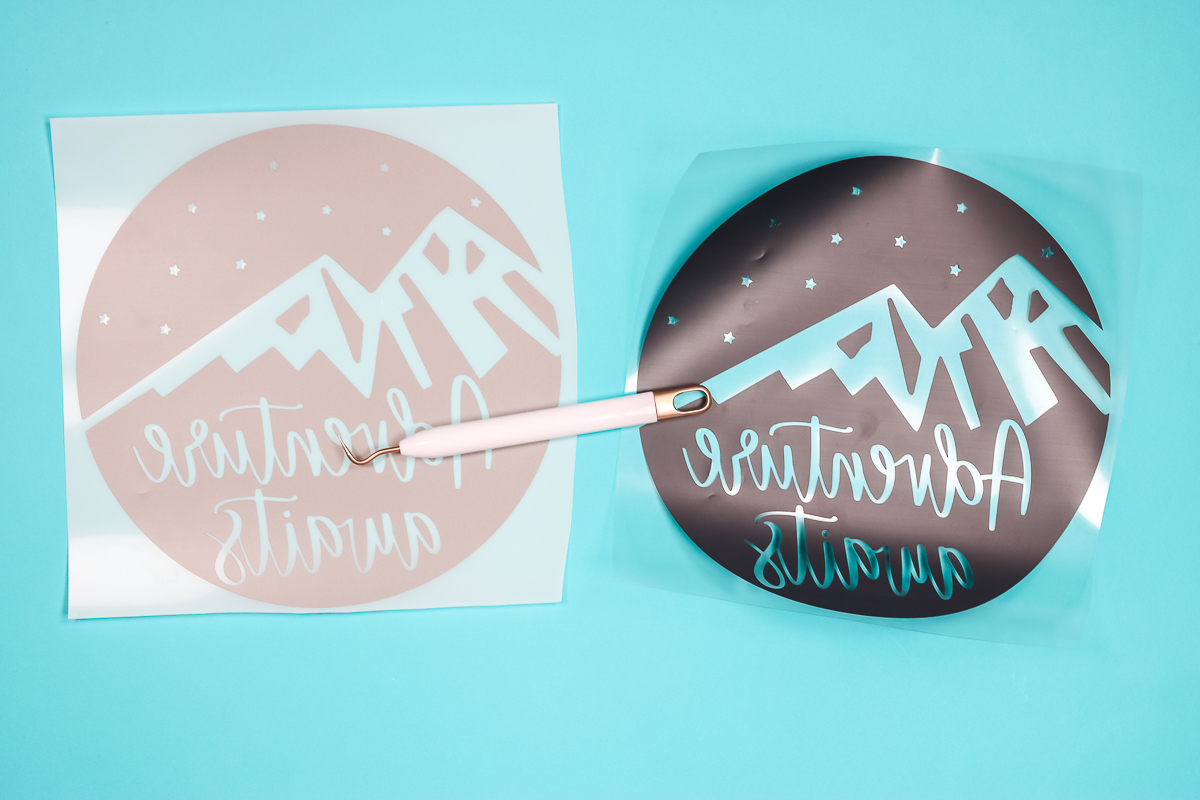
Here are both designs completely weeded and I’m going to press them onto two different hoodies.
With both of them weeded, you can see the difference in the carrier sheets, this is what makes the Siser reflective HTV look more matte on the back.
Adding Reflective HTV onto Sweatshirts
Because the Cricut HTV is so dark I am going to press it onto a lighter pink sweatshirt. The Siser HTV is a lighter grey so I am going to press it onto a darker sweatshirt.
I am using Bella+Canvas fleece sweatshirts. They have a variety of fleece options. I’m choosing the fleece because I think it’s a great option for those who may want to run or walk in the morning or at night. You could even do a full jogging suit with reflective HTV on both pieces for safety.
Cricut Reflective HTV Settings
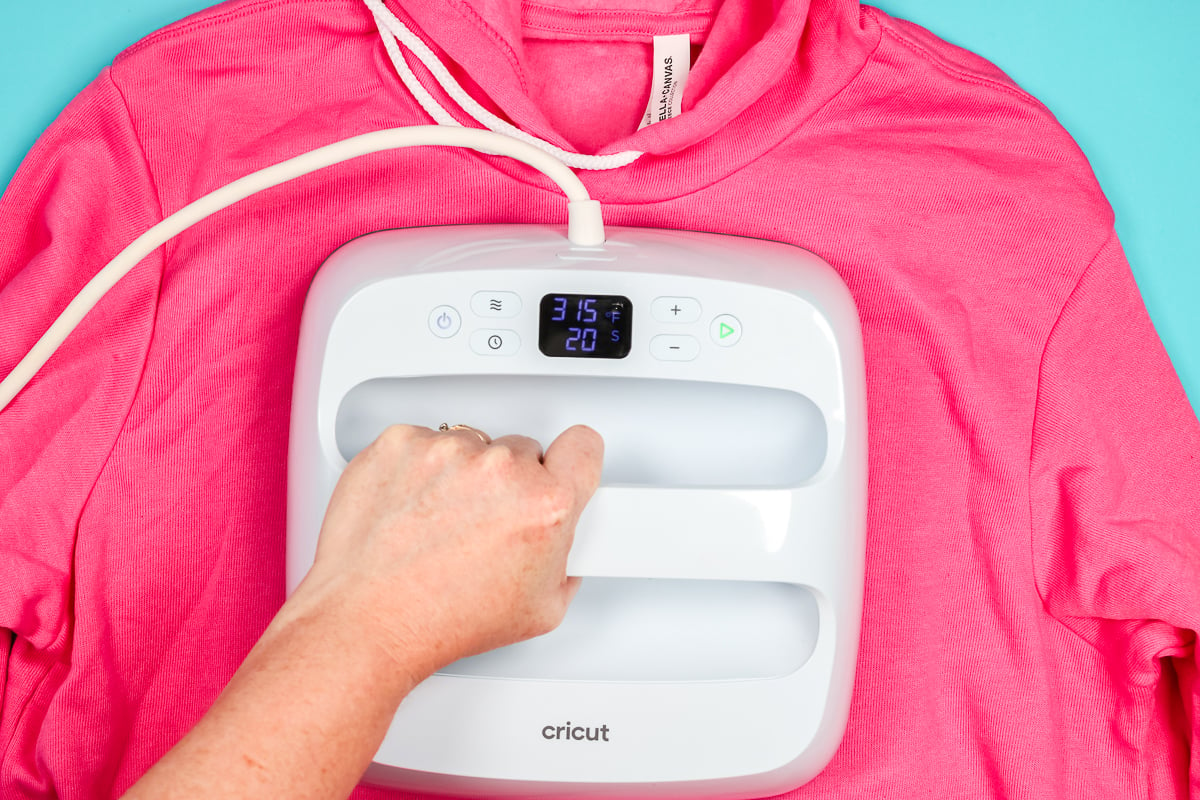
The time and temperature settings for Cricut reflective HTV on this sweatshirt are 315 degrees for 30 seconds. You should preheat your blank to remove any moisture.
I am using my EasyPress and EasyPress Mat. If you have a regular heat press, you can use that as well.
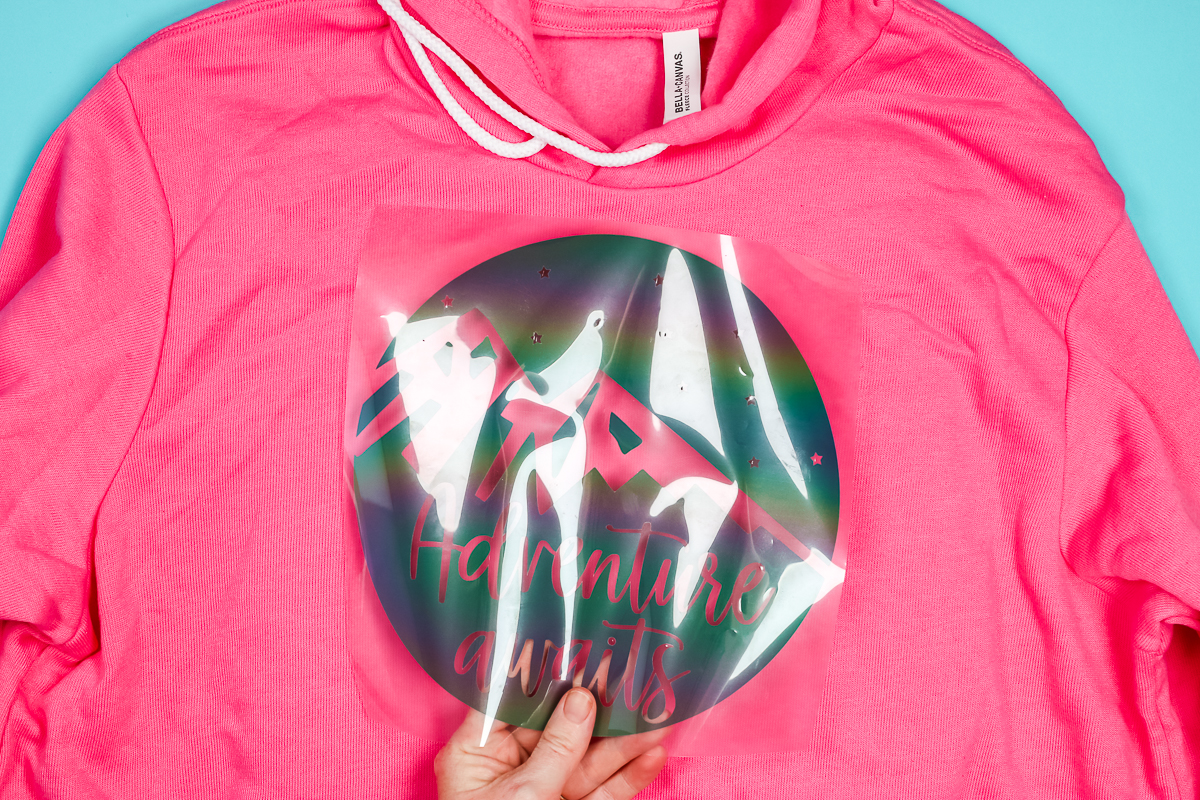
Locate the design onto the sweatshirt where you want it and then smooth it into place. The carrier sheet is sticky so it should hold itself in place.
This material does require firm pressure. If you’re using an EasyPress, that means you need to make sure you’re pressing down firmly for the full 30 seconds.
When the time is up, remove the EasyPress and then allow it to cool. Cricut reflective HTV is a cold peel. That means it needs to cool completely before the carrier sheet is removed.
A way to speed up the cooling process is to remove the sweatshirt from the EasyPress Mat. When it’s completely cool, slowly peel back the carrier sheet making sure everything is stuck down completely.

Cricut Finished Sweatshirt
I really like the black rainbow HTV on this lighter color. I think it looks so good.
With the carrier sheet removed, you can really see some of that rainbow reflective effect. I think larger designs are a great option for reflective HTV because there is more of the surface to reflect the light.

Siser Reflective HTV Settings
I am using the same type of sweatshirt for the Siser material. This time I am using a darker color.
The steps are the same but the instructions and settings are a bit different. We’ll begin by pre-pressing our sweatshirt and then locating our design right where we want it.

The Siser product has a heat setting of 305 degrees for 15 seconds with light to medium pressure. I am still using my EasyPress and EasyPress mat.

Another difference is that this material has a warm peel. You should still allow it to cool for at least 10-15 seconds before trying to peel back the carrier to ensure the adhesive has time to adhere to the fabric.
As always, peel back the carrier sheet slowly to make sure everything is stuck down.
With both materials, if you notice any lifting when peeling back the carrier sheet just lay it back down and press it again. Another option is to allow it to cool a little longer before trying to peel back the carrier sheet.
Siser Finished Sweatshirt
And now we have another customized reflective shirt. Even without shining a light on it, you can see how much light reflects off the HTV.
This color looks really good on a darker sweatshirt, I think it’s a great option and again, the larger image gives a nice big reflective area.

Comparing Cricut and Siser Reflective HTV
Let’s look at both hoodies up close to check how reflective they are. You can see in the photo below that even with just regular lights on in the room both materials reflect the light really well.

I think maybe the Siser product reflects a little more but the Cricut product definitely reflects. It may be a darker color but that rainbow really comes out in the direct light.
I’m starting to think maybe it’s just a trick of the eye that the Siser reflects more than the Cricut because it’s lighter to begin with. Either way, with light shined on the HTV they both reflect really well and are perfect for a variety of different projects.

Final Thoughts on Reflective HTV
Now that we’ve seen both products up close you can decide which one is right for you and the project you’re making.
I really like the black rainbow on the pink sweatshirt, I think it stands out and looks really good together. The silver on the dark blue is also a great pairing. I would keep the color of your fabric in mind when deciding which reflective HTV you’re going to use. I don’t think you can go wrong with either one.
Pros and Cons of Cricut and Siser Reflective HTV
Both materials reflect light really well and feel really good on the shirt.
I am not a huge fan of the Cricut material calling for both firm pressure and a cold peel. I consider myself an impatient crafter and the added time of waiting for the material to cool completely is a con for me.

If I was looking for material purely for safety reasons, I think I would try to incorporate the Siser product into my craft.
I am not sure how much it would stand out on a lighter-colored fabric and jogging in low light in dark colors, even with reflective material added may not be the best option. If I was looking for something like that, I would choose a lighter fabric and use the Cricut product.

I am a fan of the shorter time, lower temperature, and warm peel of the Siser product. Those are all pros to me.
I’ve shared a couple of different project options but the sky’s the limit with these materials. From Halloween costumes to reflective party attire, you could use these materials in many different ways.
I would encourage you to keep these materials separate from your other HTV products. Outside of the packaging these look similar to other HTV materials and could get mixed up with them. I wouldn’t want to have reflective HTV on projects that don’t call for it and even worse would be having regular HTV where you’re expecting reflective HTV.
I hope I’ve answered questions you may have about reflective HTV. If you have additional questions about reflective HTV leave them in the comments below and I’ll answer them for you.
Love this and want more ideas? Try the links below as well!

If you’ve ever wanted to add sublimation designs to cotton fabric, I will teach you the best products to use and how to turn your favorite cotton tee into a sublimated shirt.

To make Infusible Ink sheets you will need some form of sublimation ink but it does not require a sublimation printer.
I’m also using two different options for transferring the design to a shirt as well. We’ll try a heat transfer mask and a new heat mask from Artesprix. We’ll look closely at each of those options.
These options are proof that you can get amazing sublimation results without a sublimation printer.

Make a cute Halloween shirt that really glows using sublimation and your Cricut machine!
Want to print the instructions for this project? Try the card below!

How to Make a Sweatshirt with Reflective HTV
Keep reading to learn how to use reflective HTV and which product would be best for your project!
Supplies
- Cricut Reflective HTV
- Siser Reflective HTV
- Bella+Canvas Sweatshirt
Instructions
How to Cut HTV
-
The Cricut product goes shiny side down on the mat. You want it pressed down on the mat really well, I find using a brayer helps ensure there is no lifting.
-
The Siser product is similar except you’ll place it matte side down on the mat. Remember, earlier we discussed how the carrier sheet on the Siser reflective HTV is like a milky white. That is the side you want down on the mat.
-
With your image open in Design Space, size it to fit your project, and then click Make It. Ensure you’ve mirrored your design and then choose Reflective Iron-on as the material. Design Space will prompt you to make sure the Fine Point blade is installed and then load the mat and press Cut.
-
When the machine is done cutting unload the mat and we can proceed.
How to Weed HTV
-
I found that both of these materials weeded about the same. Using a weeding tool, remove any excess HTV. For my design that means removing the area around the outside, all the little stars, the mountains, and the words. Make sure you leave the inside pieces of the letters.
Cricut Reflective HTV Settings
-
The time and temperature settings for Cricut reflective HTV on this sweatshirt is 315 degrees for 30 seconds.
-
You should preheat your blank to remove any moisture.
-
Locate the design onto the sweatshirt where you want it and then smooth it into place. The carrier sheet is sticky so it should hold itself in place.
-
This material does require firm pressure. If you’re using an EasyPress that means you need to make sure you’re pressing down firmly for the full 30 seconds.
-
When the time is up, remove the EasyPress and then allow it to cool. Cricut reflective HTV is a cold peel. That means it needs to cool completely before the carrier sheet is removed.
-
When it’s completely cool slowly peel back the carrier sheet making sure everything is stuck down completely.
Siser Reflective HTV Settings
-
We’ll begin by pre-pressing our sweatshirt and then locating our design right where we want it.
-
The Siser product has a heat setting of 305 degrees for 15 seconds with light to medium pressure.
-
Another difference is that this material has a warm peel. You should still allow it to cool for at least 10-15 seconds before trying to peel back the carrier to ensure the adhesive has time to adhere to the fabric.
-
As always, peel back the carrier sheet slowly to make sure everything is stuck down.