
Yesterday, I shared the before and after pictures of our newly-finished home gym. If you missed that, you can click here to see all of the pictures. Today, I wanted to go back and fill in that blank space of time that occurred between the before and the after pictures. Since this room was in progress for well over three years, I sometimes forget what it took to get from those before pictures to the after pictures, so looking back at the whole project helps me to appreciate just how far things have come.
The story of the home gym actually starts with the hallway. When we bought the house, our hallway was a large rectangle (almost as big as our small kitchen) with five doorways in it leading to (1) the music room, (2) the hallway bathroom, (3) the master bedroom, (4) the second bedroom that is now our home gym, and (5) the third bedroom that is now our guest bedroom (aka, our main bedroom temporarily).
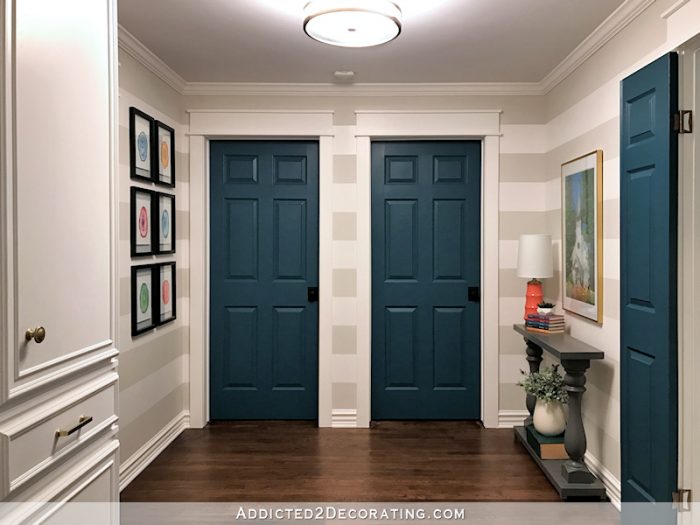
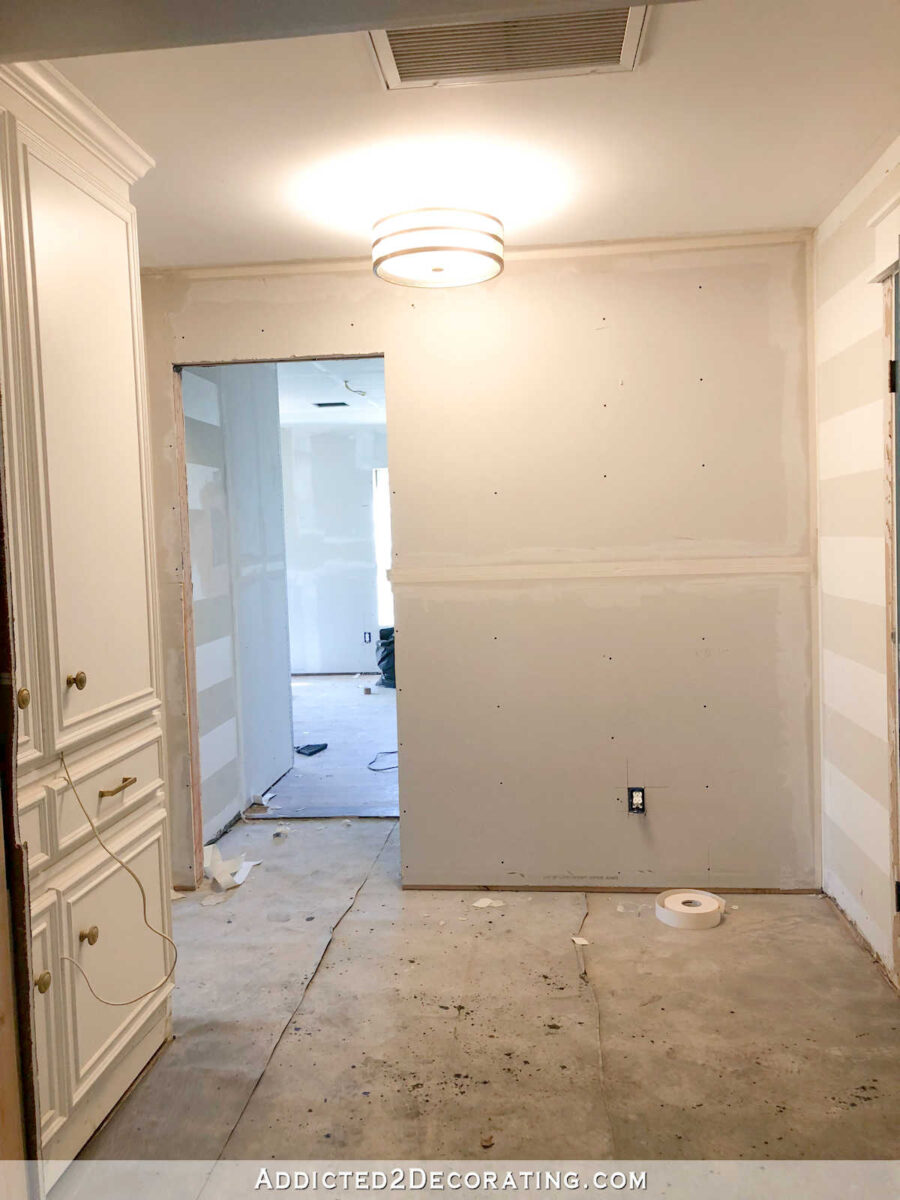
Here’s what the view into the hallway originally looked like from the music room. The open doorway on the left is what is now our home gym, and the open doorway on the right is what was originally the master bedroom.
And just past the closet on the left wall is the doorway to the guest bedroom, and just past the closet on the right wall is the hallway bathroom.
After the original hallway remodel, the configuration stayed the same. I removed the closet on the left and replaced it with a built-in cabinet. I removed the closet on the right wall and left that space open so that I could move the bathroom doorway just a little bit. And the other two bedroom doorways stayed in the same spot.
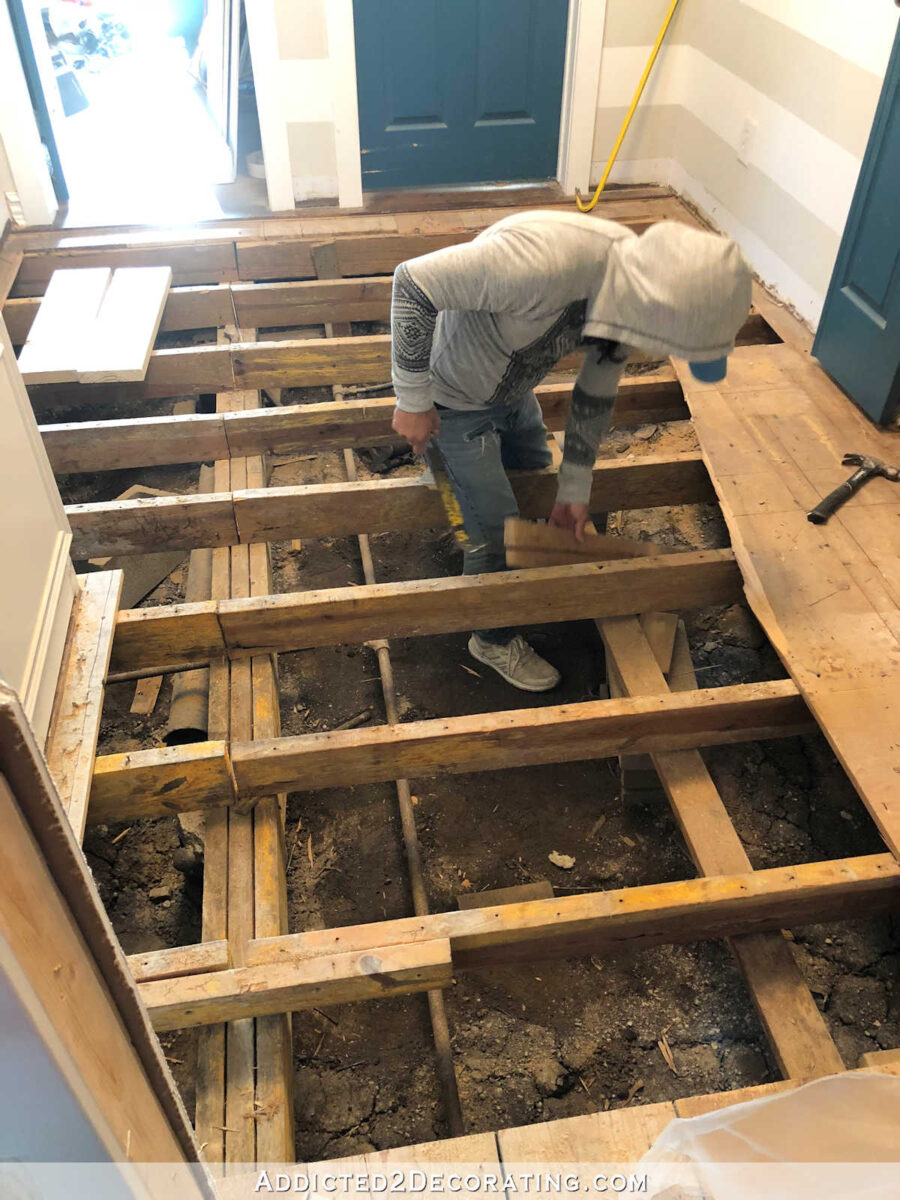
But then a few years ago, we had a plumbing problem which required that the entire floor, including subfloor, in the hallway be replaced. So we planned to have that done at the same time that we planned Phase 1 of the remodel at this end of the house. It was so sad to see my once-finished hallway torn up, but it was exciting at the same time because bigger and better things were coming.
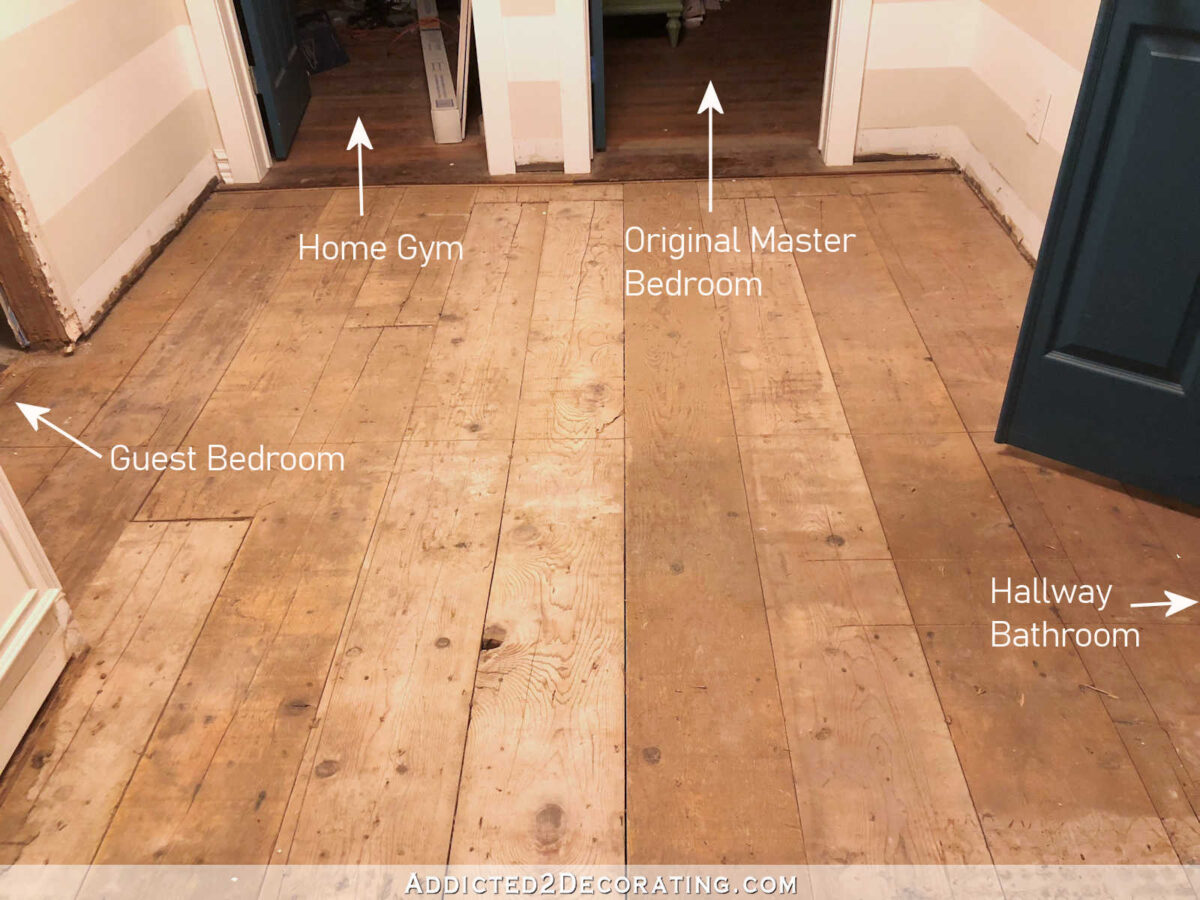
Of course, seeing this happen to the hallway was a bit unnerving, but things often have to get worse before they get better.
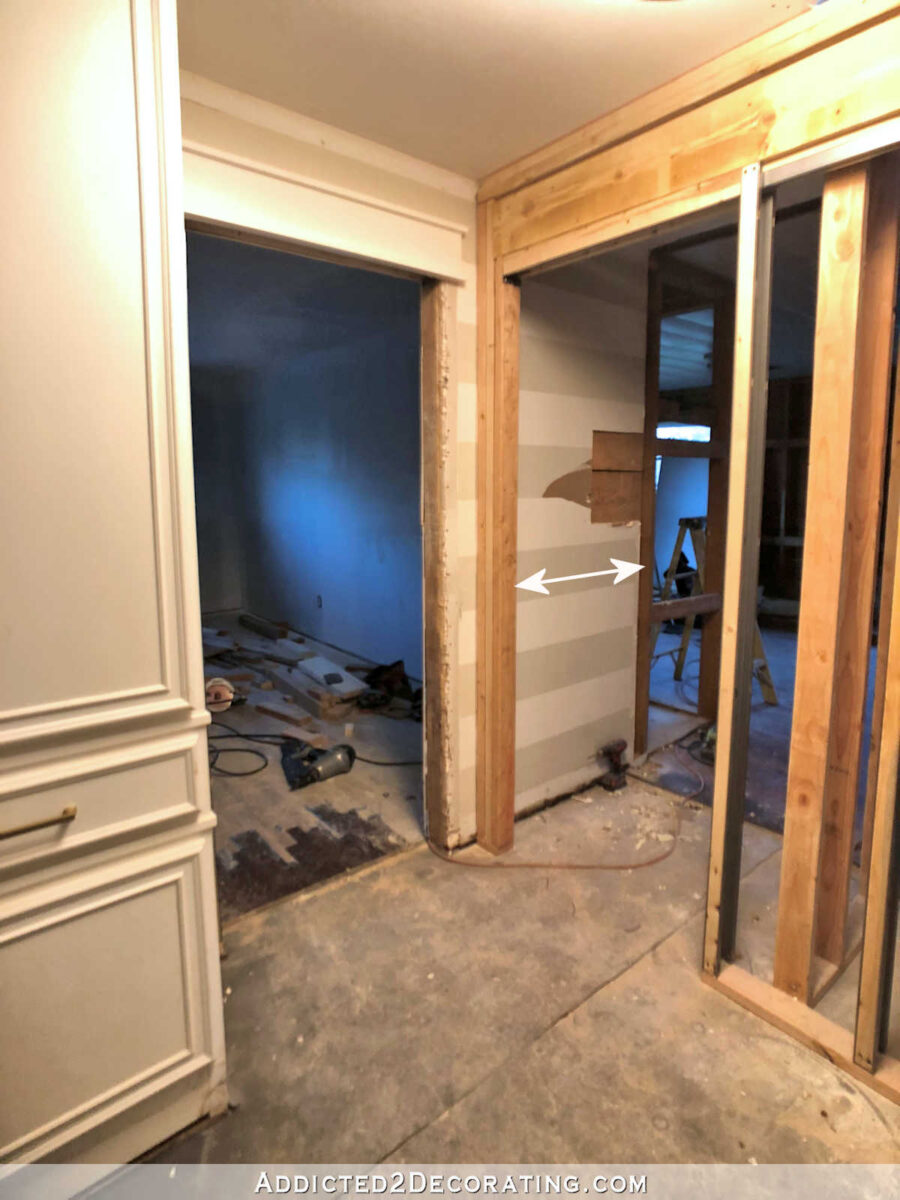
And again, in the photo above, you can see the two doorways on that one wall — the doorway to our current home gym on the left, and the doorway to what was the original master bedroom on the right.
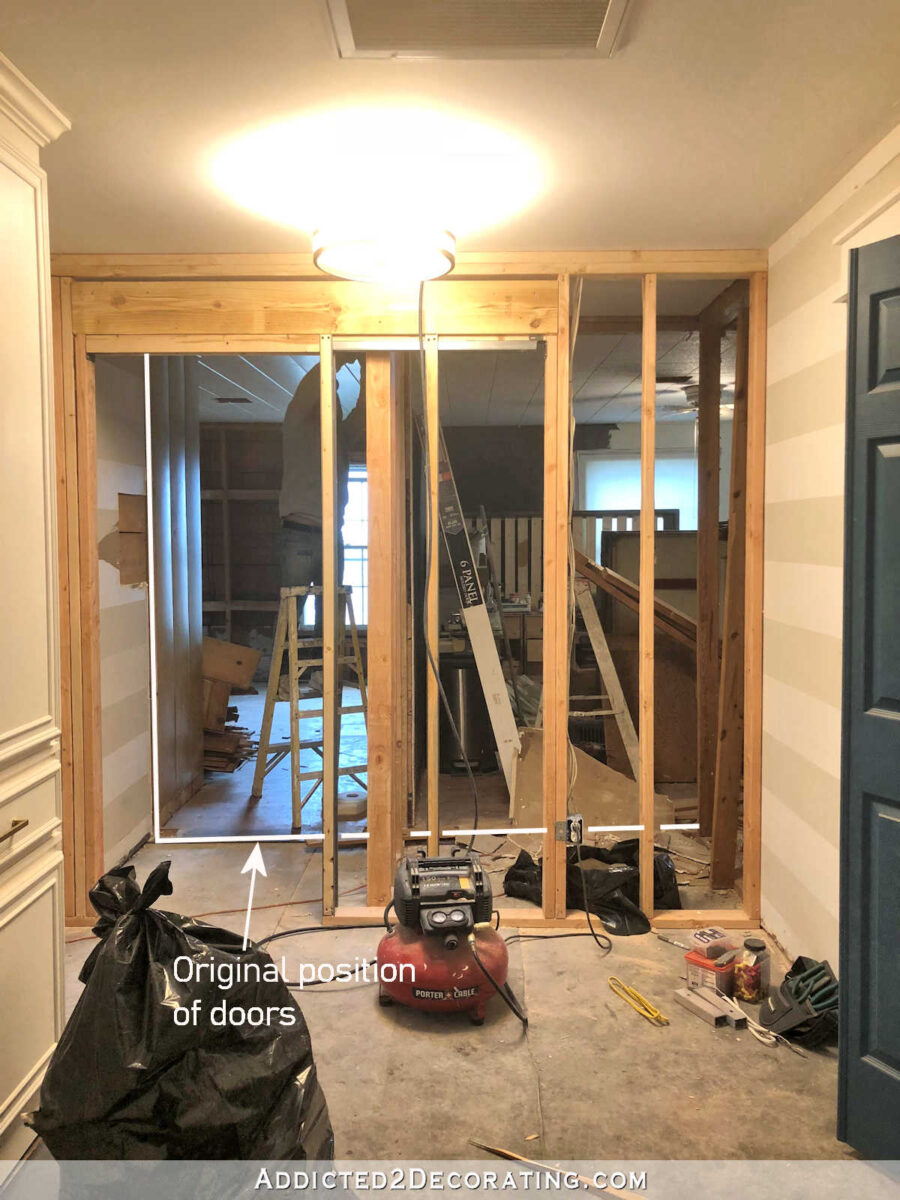
So when they finally got the hallway repaired and the new subfloor installed, that’s when the new wall was built in the hallway. The new wall was moved further into the hallway about three feet to square up that corner in the master bedroom, and then the doorway from the hallway into the master bedroom was closed up. I’ve marked the original position of that original wall with the doorways on the photo below.
By moving that wall further into the hallway, squaring up that part of the original master bedroom, and closing off the doorway that originally led to the hallway, that allowed us room for a water closet when we turned the original master bedroom into our new master bathroom. So that area now looks like this, and the wall with the large freestanding cabinet is the wall that is shared with the hallway.

If we hadn’t moved that wall further into the hallway, there would be a wall just past the toilet with a doorway leading into the hallway. 😀
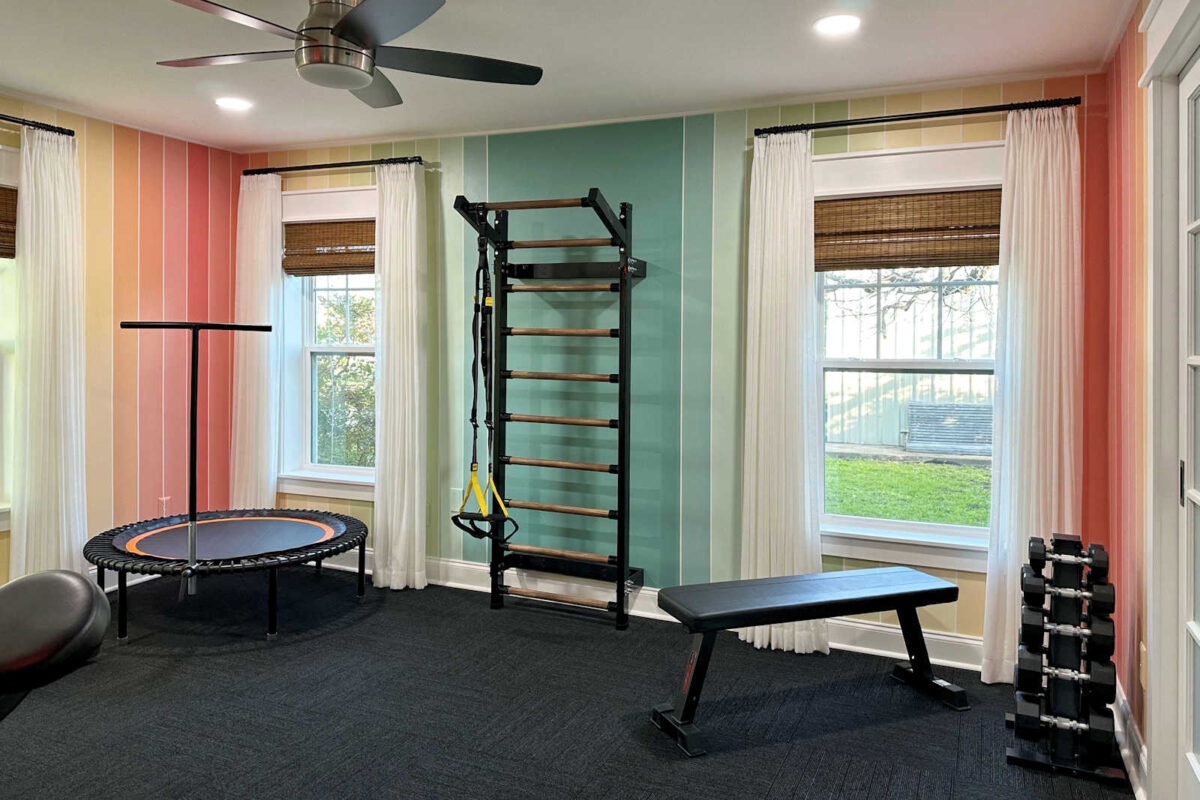
And by moving that wall further into the hallway, you can see how much of the hallway (the horizontal stripes on the wall) was subsumed by the home gym, creating that longer entrance into the room.
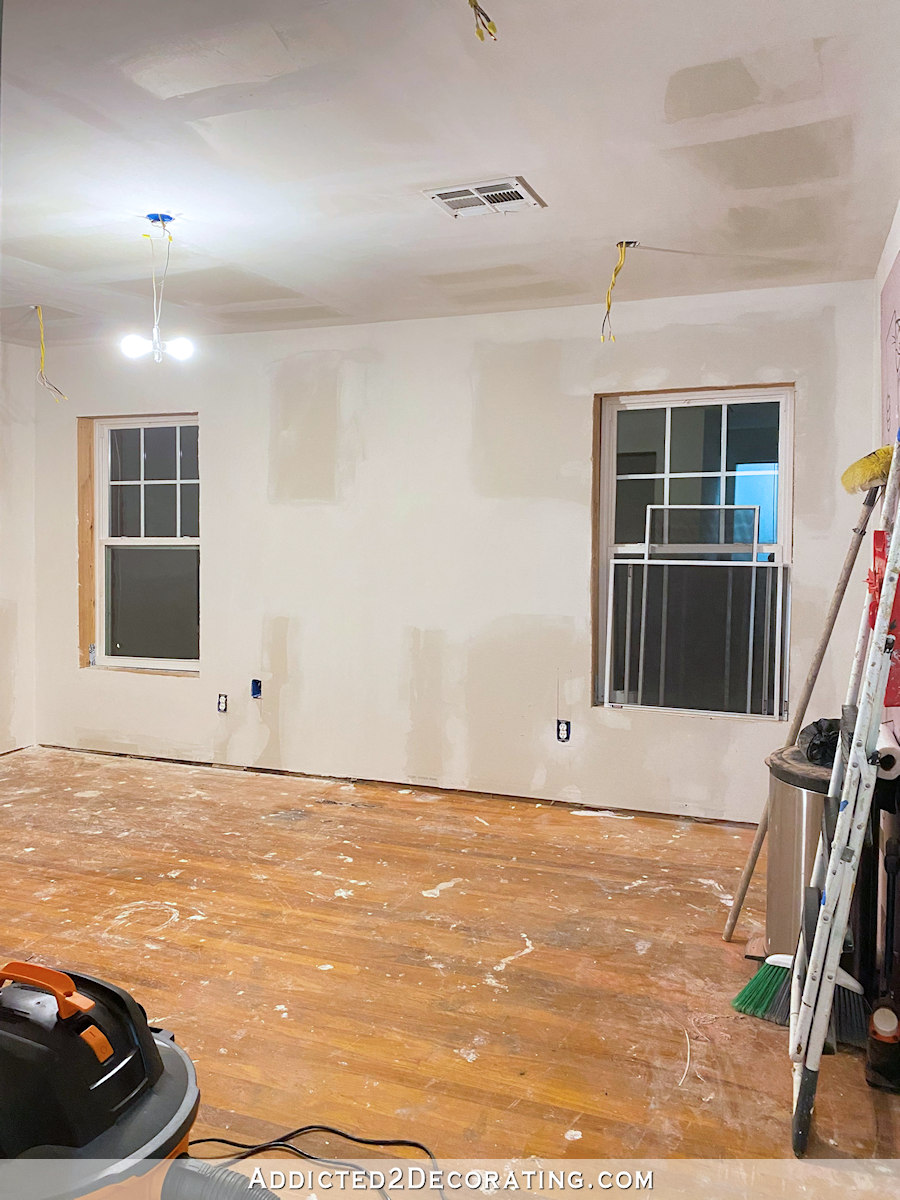
While all of that was going on outside the room in the hallway, this is what was going on inside the room. All of the wood was removed from the walls and the ceiling. None of the exterior walls originally had insulation, and the original windows were drafty single pane windows that didn’t close all the way.
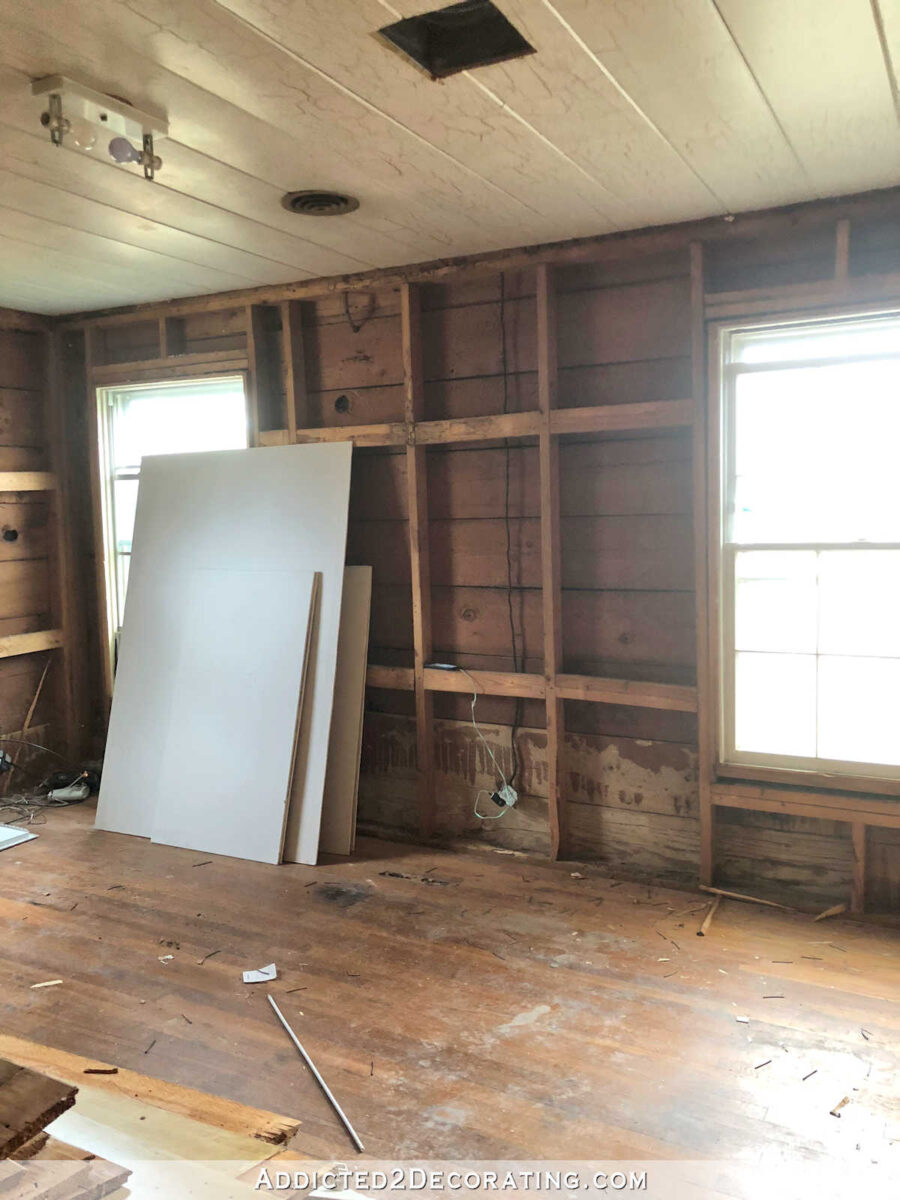
There was so much wood that came out of this room, but fortunately, someone came and picked up all of the good pieces to reuse them, so they didn’t end up in the landfill.
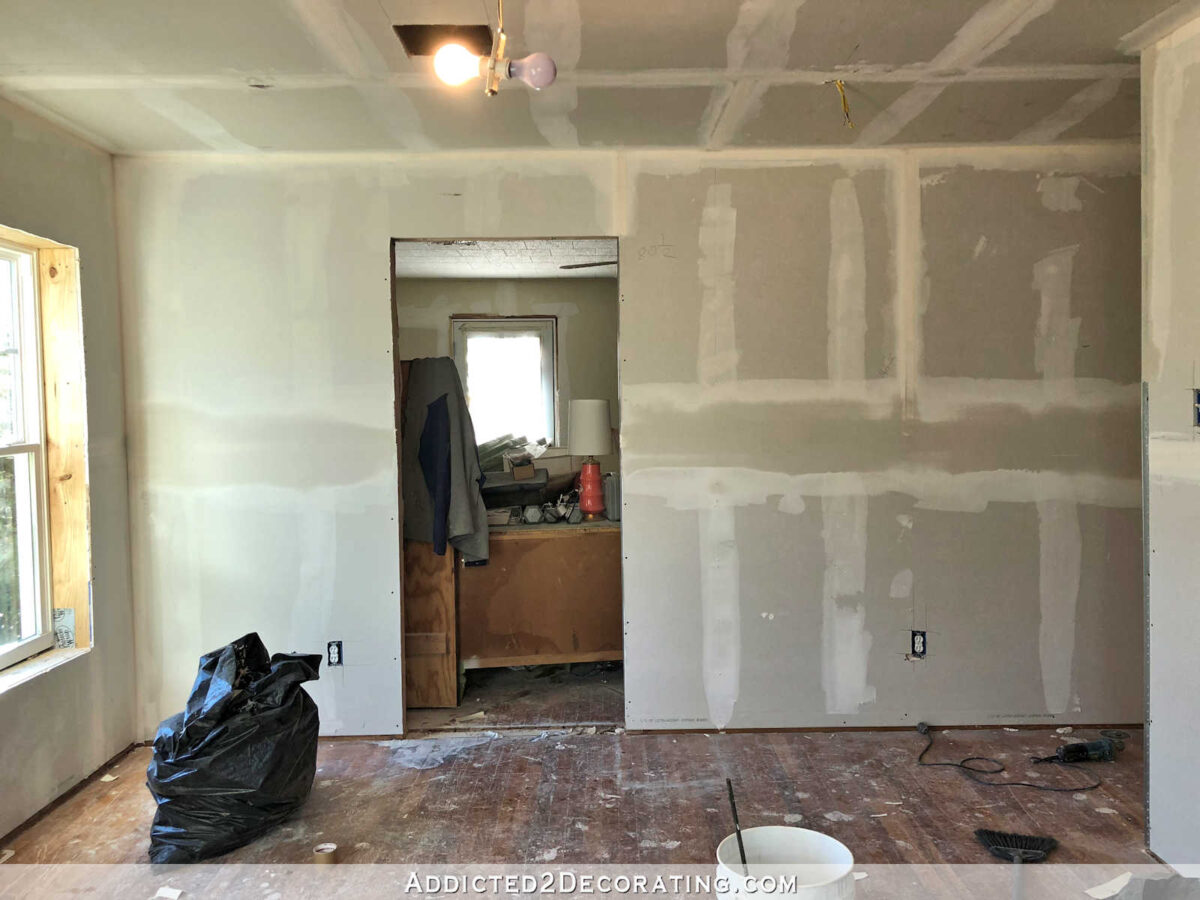
While they were moving the wall and closing up a doorway in the hallway, I also had them drywall over the original guest bedroom closet door and open up both closets to the home gym. You can see below just how small each closet was originally, with this wide closet area being divided into two closet areas, one for the guest bedroom, and one for this room.
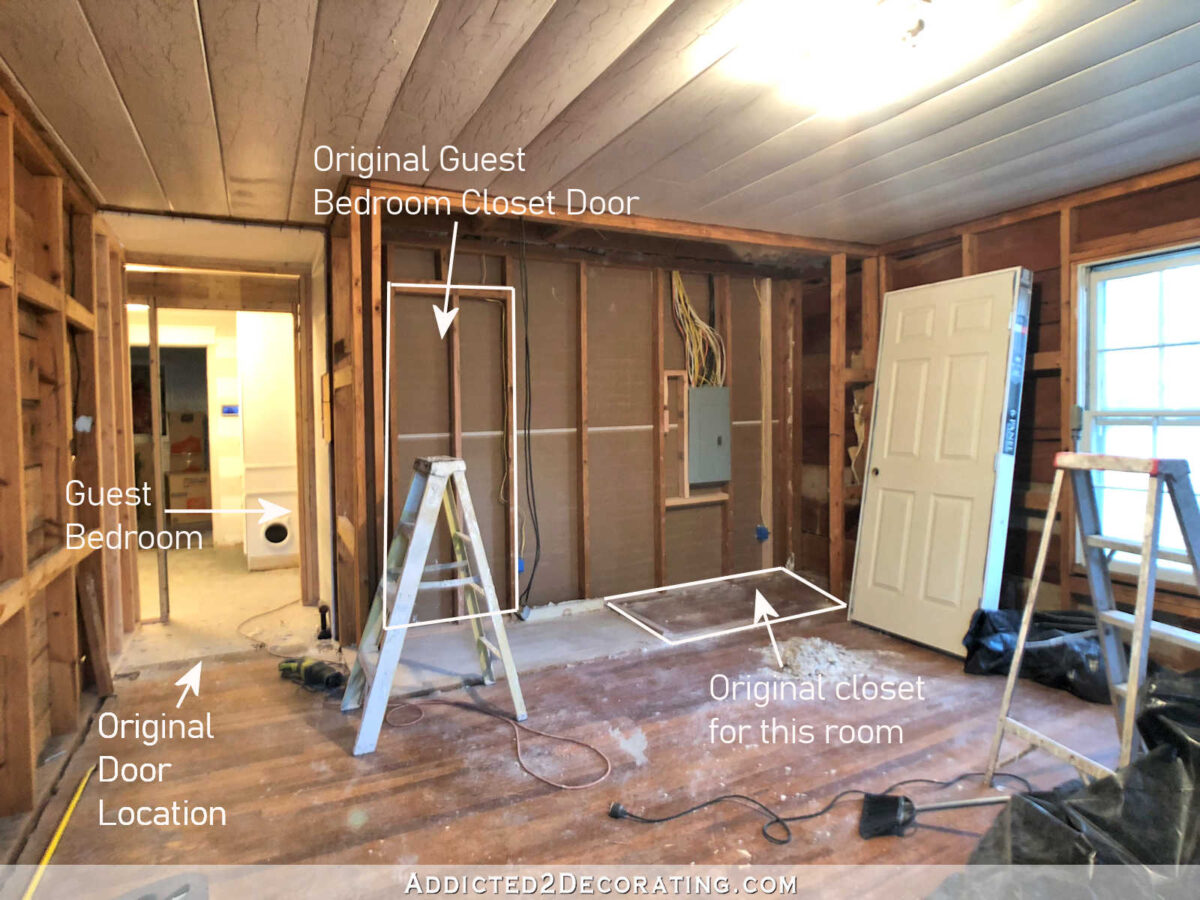
Neither of those closets were very useful in their original size, and with their original 24-inch-wide doors. So after drywalling over the closet door in the guest bedroom, I built two closets on the exterior wall of the guest bedroom.
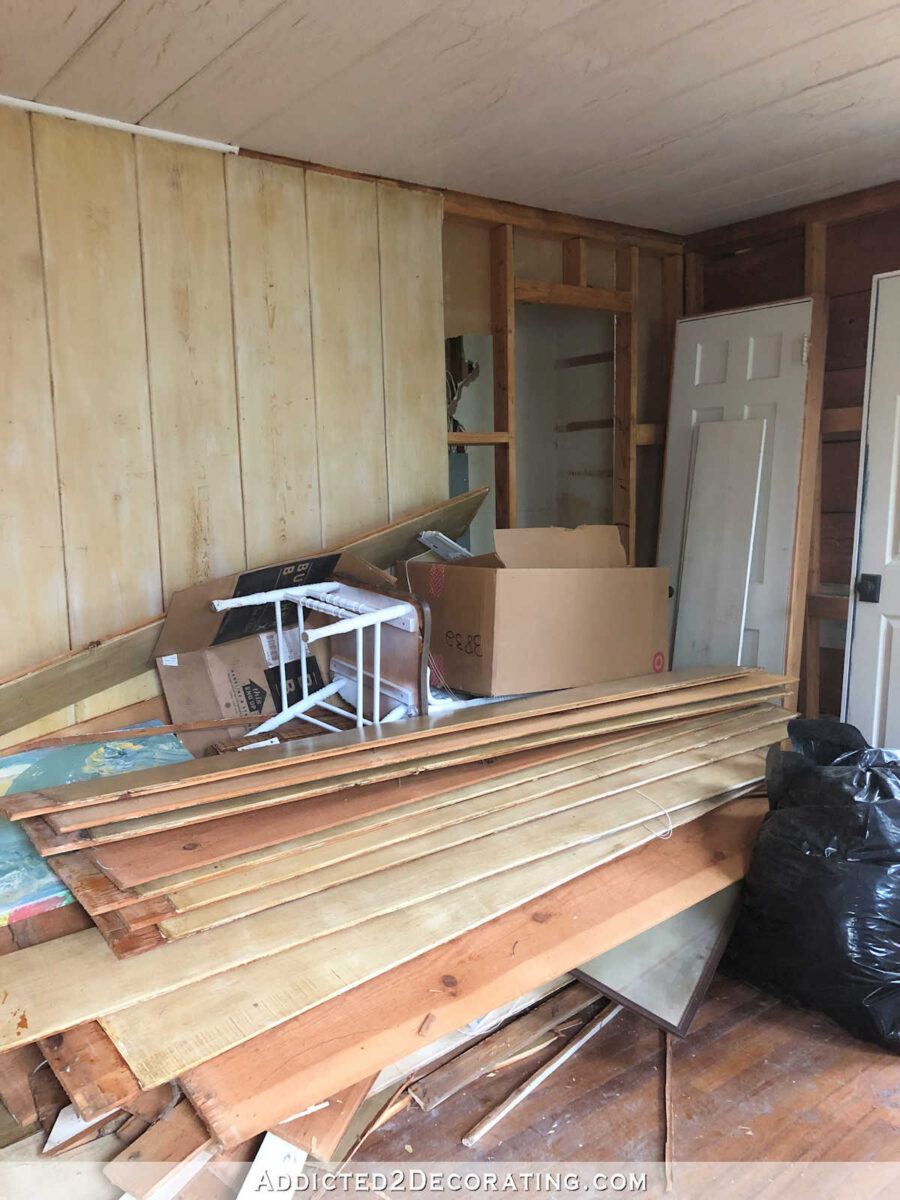
So just on the other side of that wall in the closet where you see the label “original guest bedroom closet door”, this is what it originally looked like…
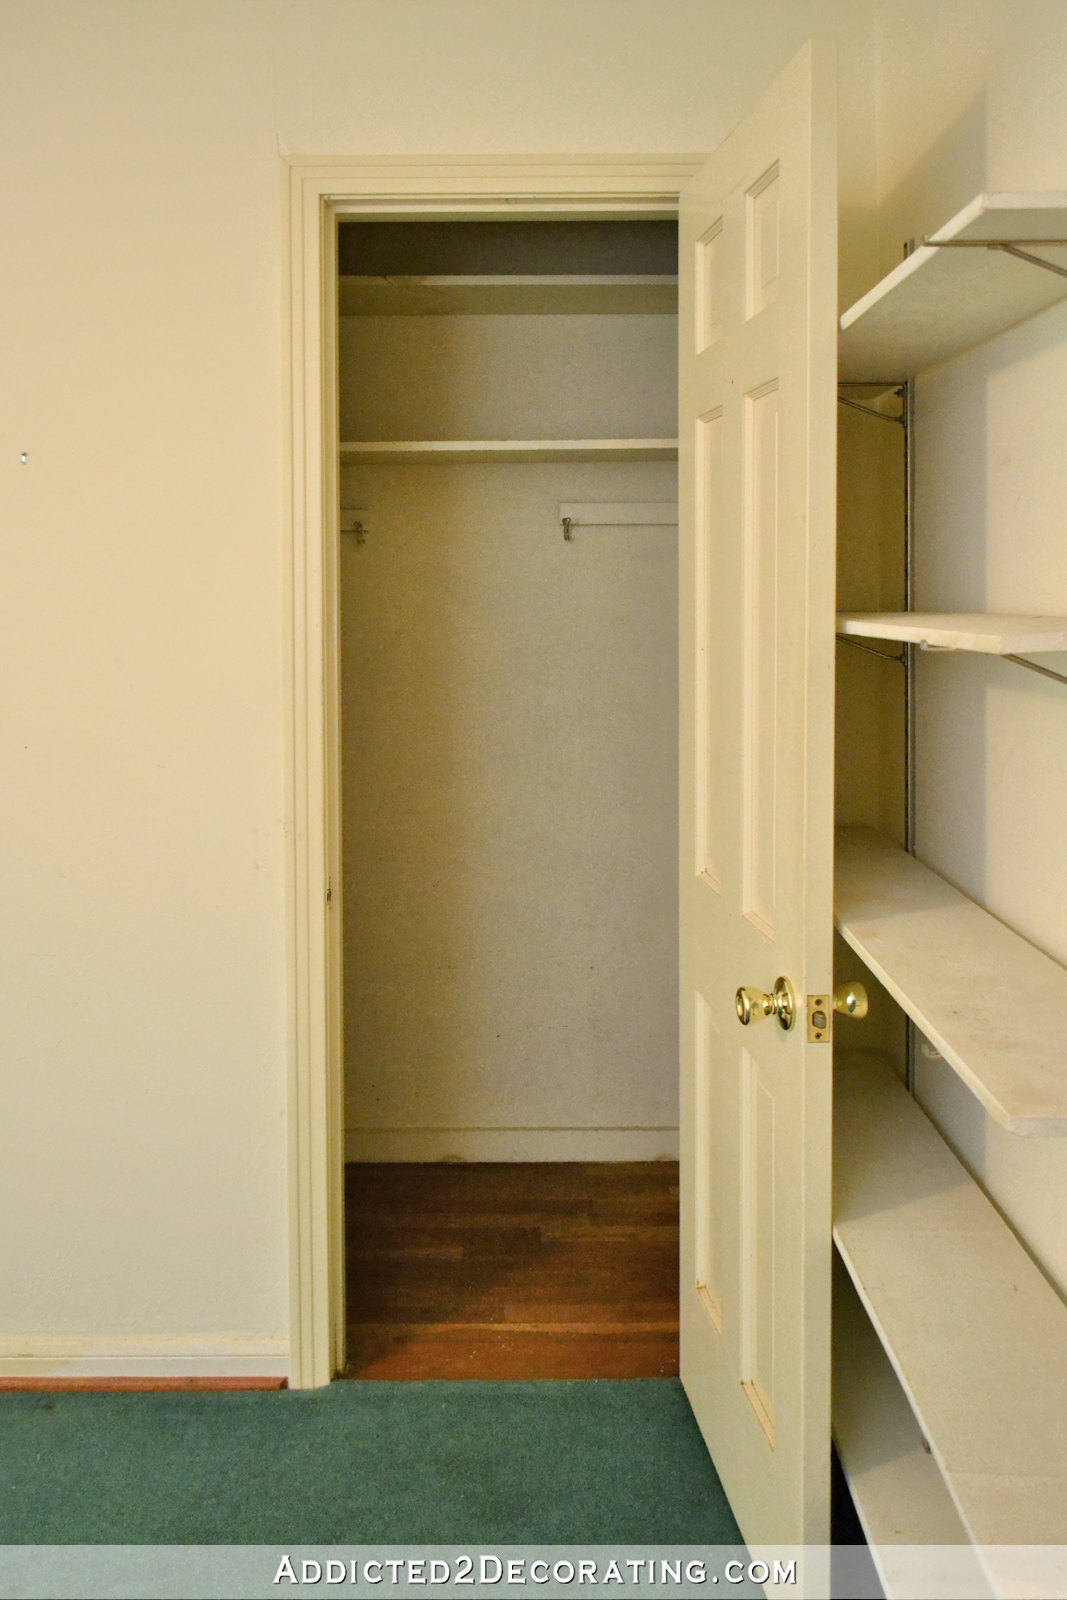
And after it was drywalled over and the room was finished, it looked like this…
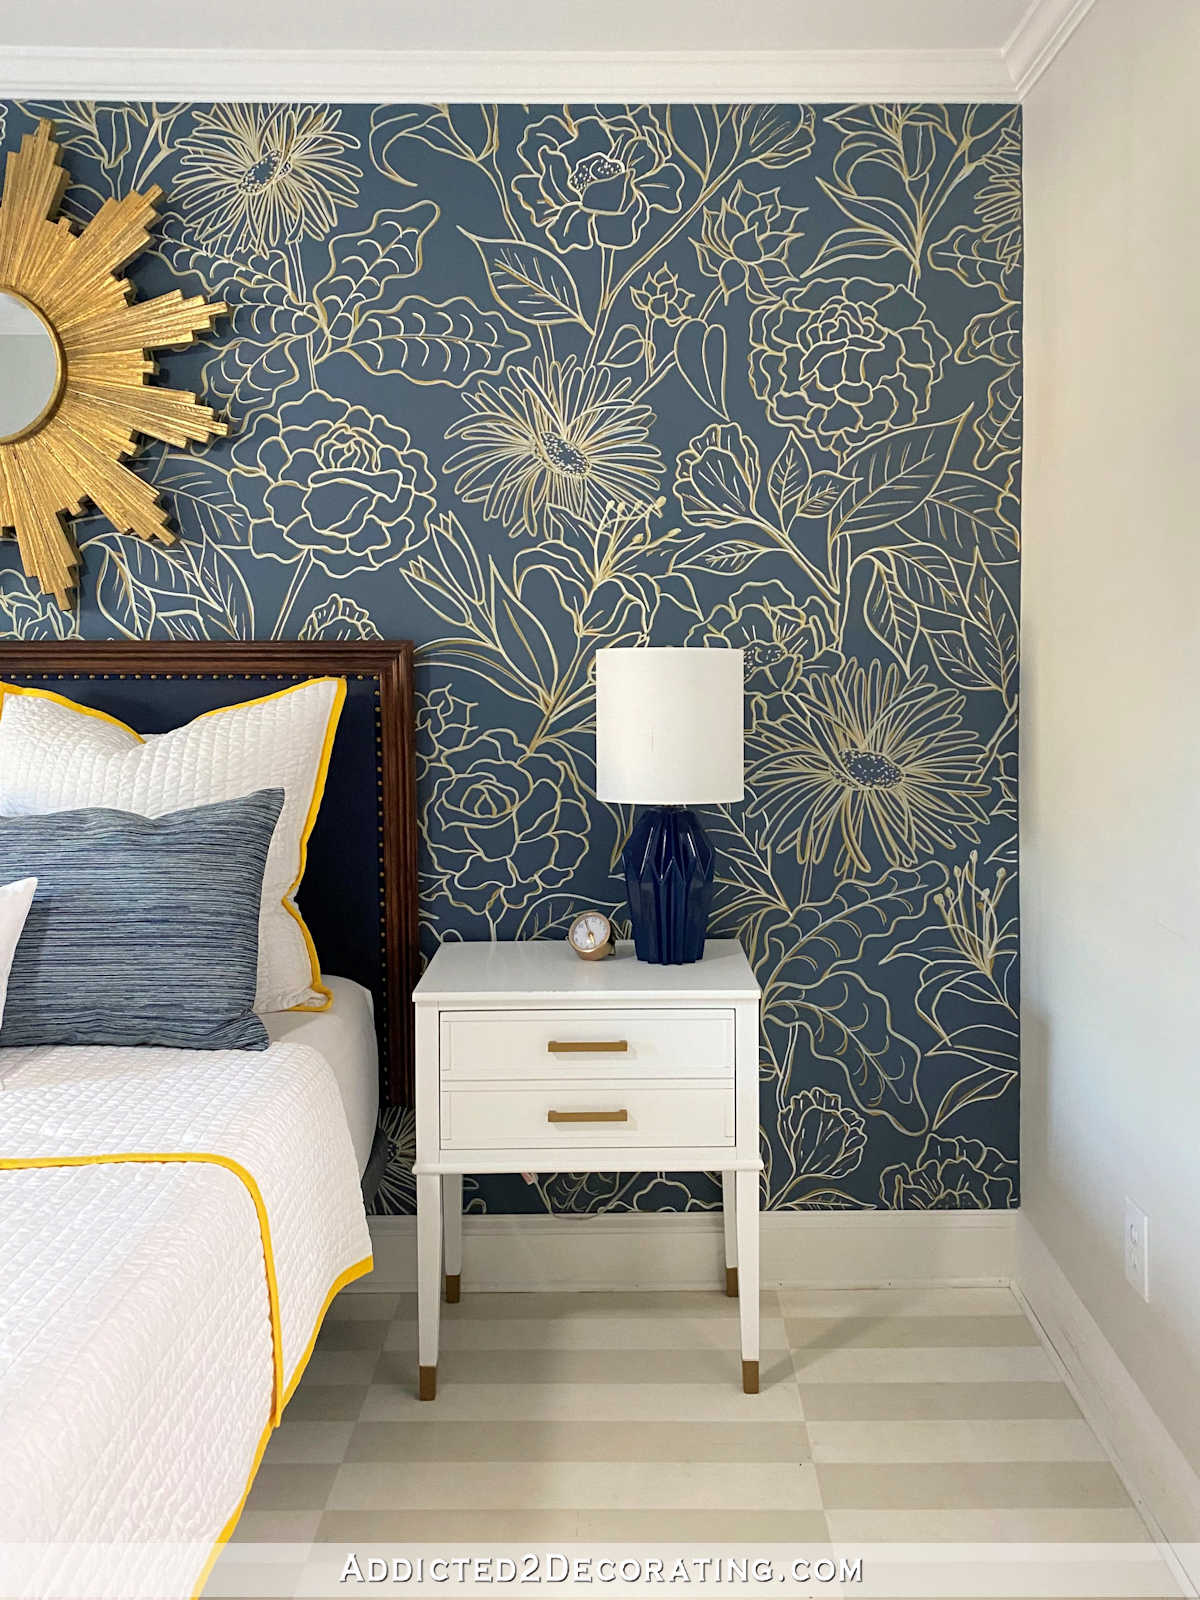
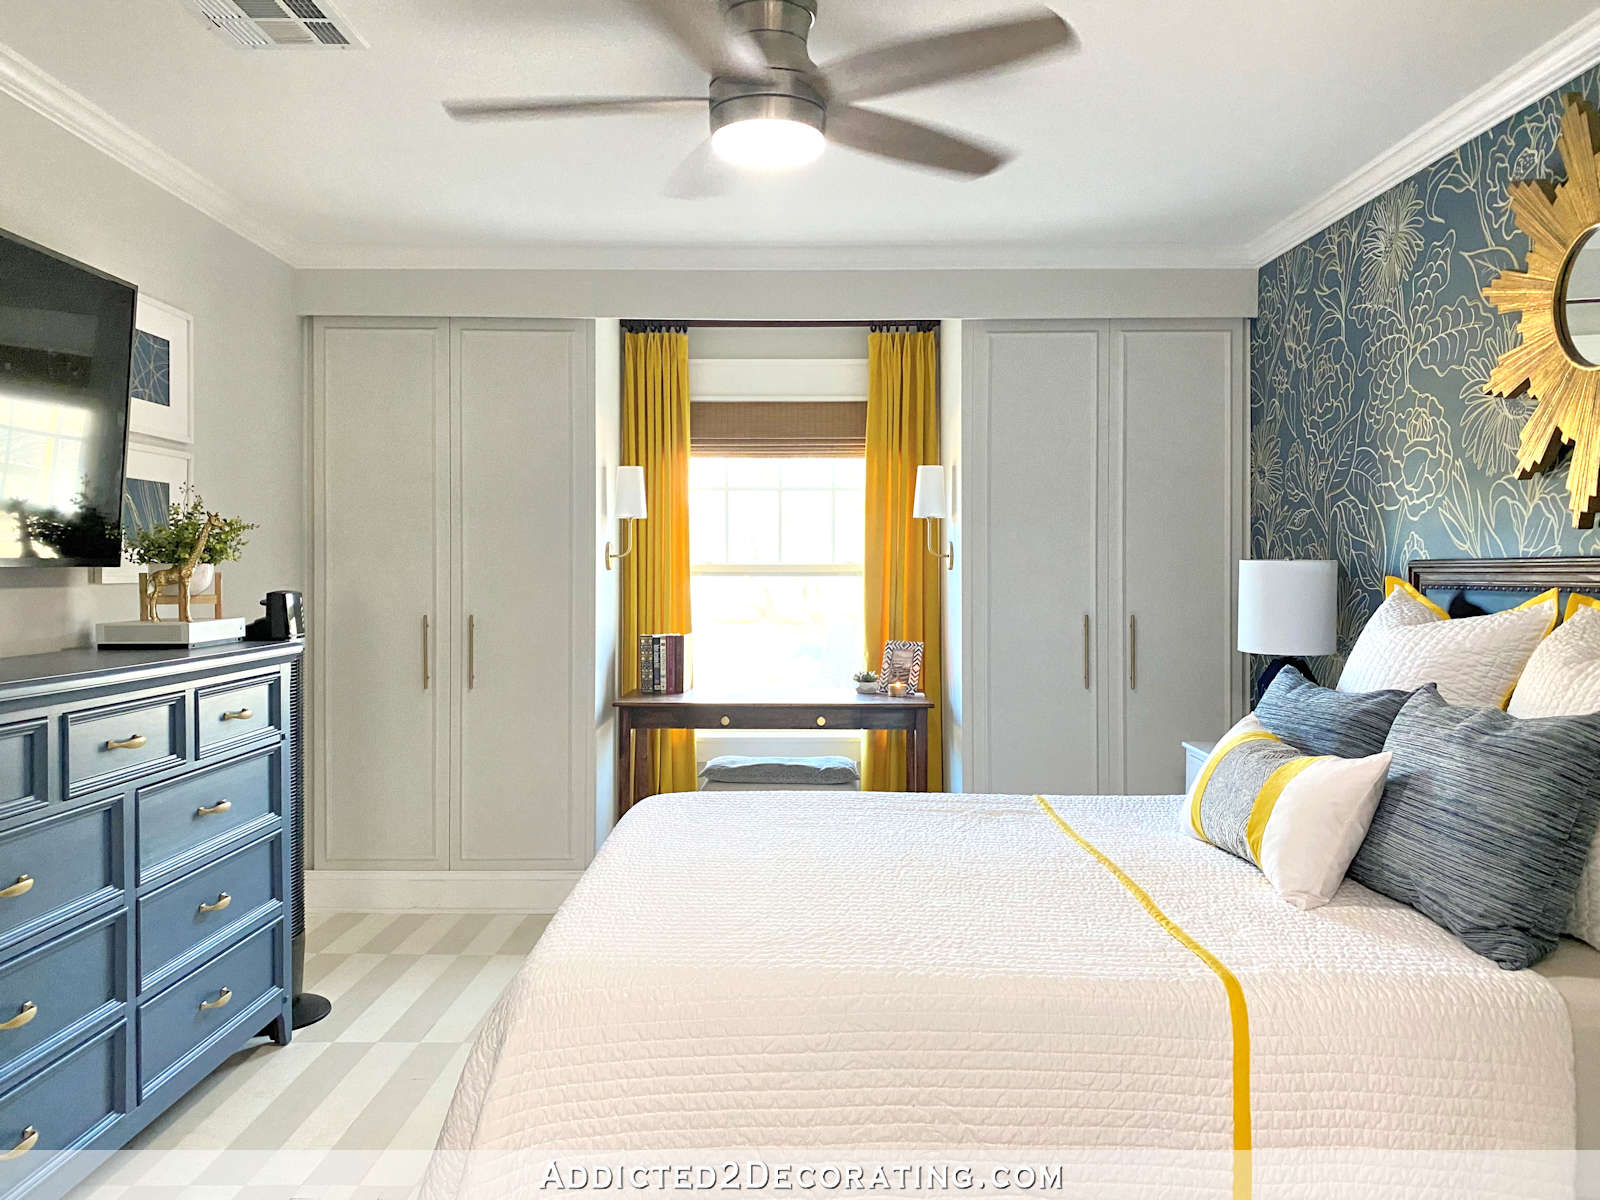
And then I built two closets flanking the single window in the room to replace that original closet space and double the hanging closet space for the room.
And then back in the home gym, now that the only interior doorway into the master bedroom had been closed up from the hallway, we needed a new access point. So this shared wall between the two rooms had to have a doorway.

And here’s what it looked like once the doorway was in place with the pocket door frame.
So once the contractor and his guys got through with their part, this is what they handed to me to finish up. The hallway with new subfloor but no flooring, a new wall with one less doorway.
Doorways that were rough and in need of lots of trim.

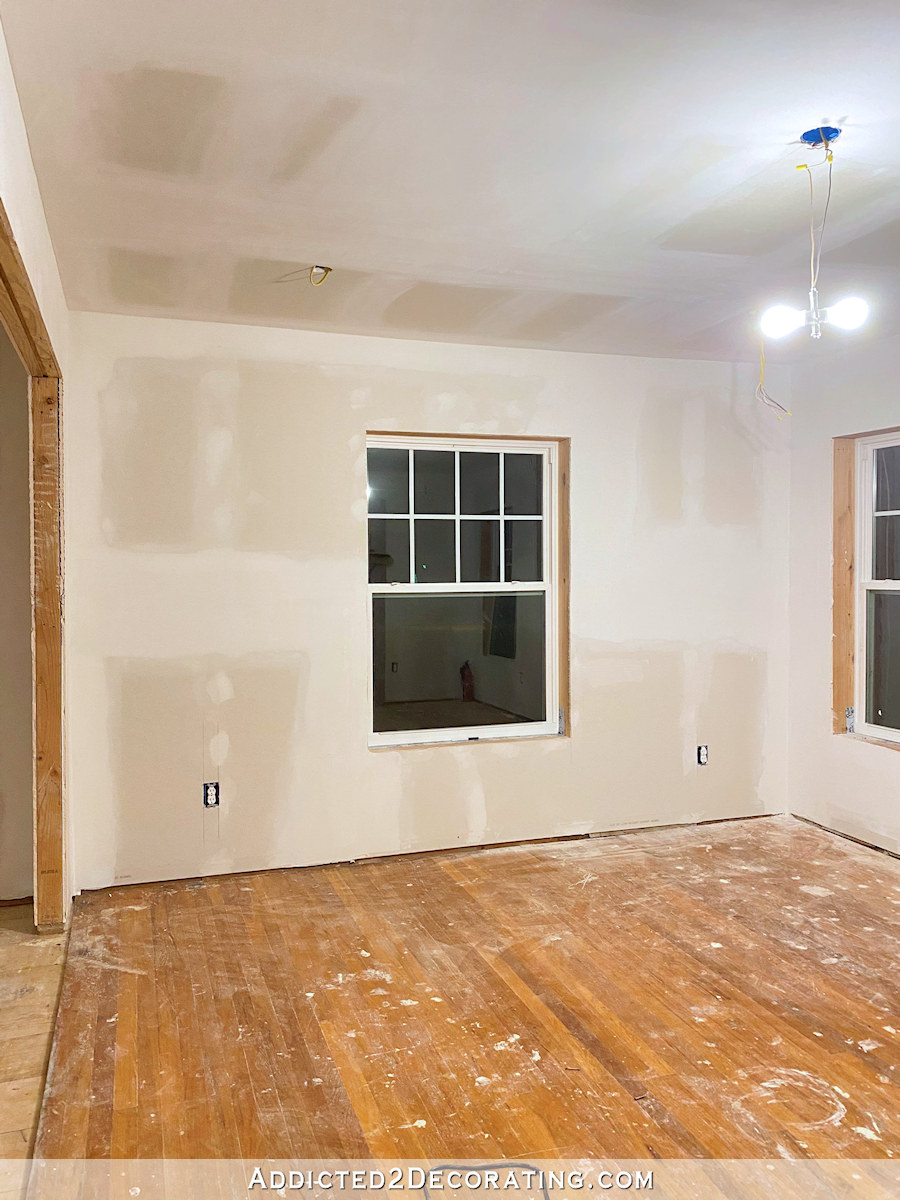
And lots of new drywall in need of primer and paint.
So from there, it was all on me to take that room from there, and add all of the finishing — paint, trim, flooring, lighting, etc. So my part was taking the room from this…
…to this…
And from this…
…to this…
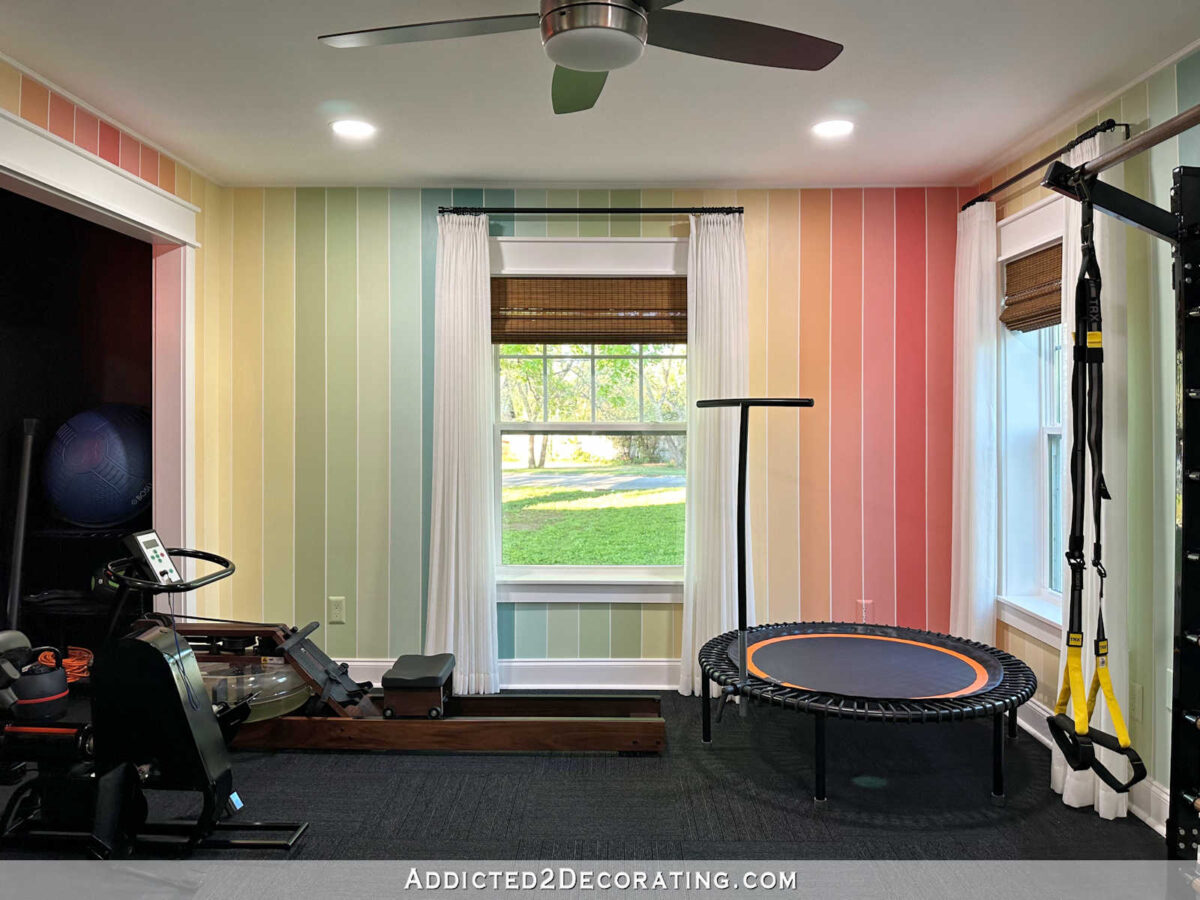
And from this…

…to this…
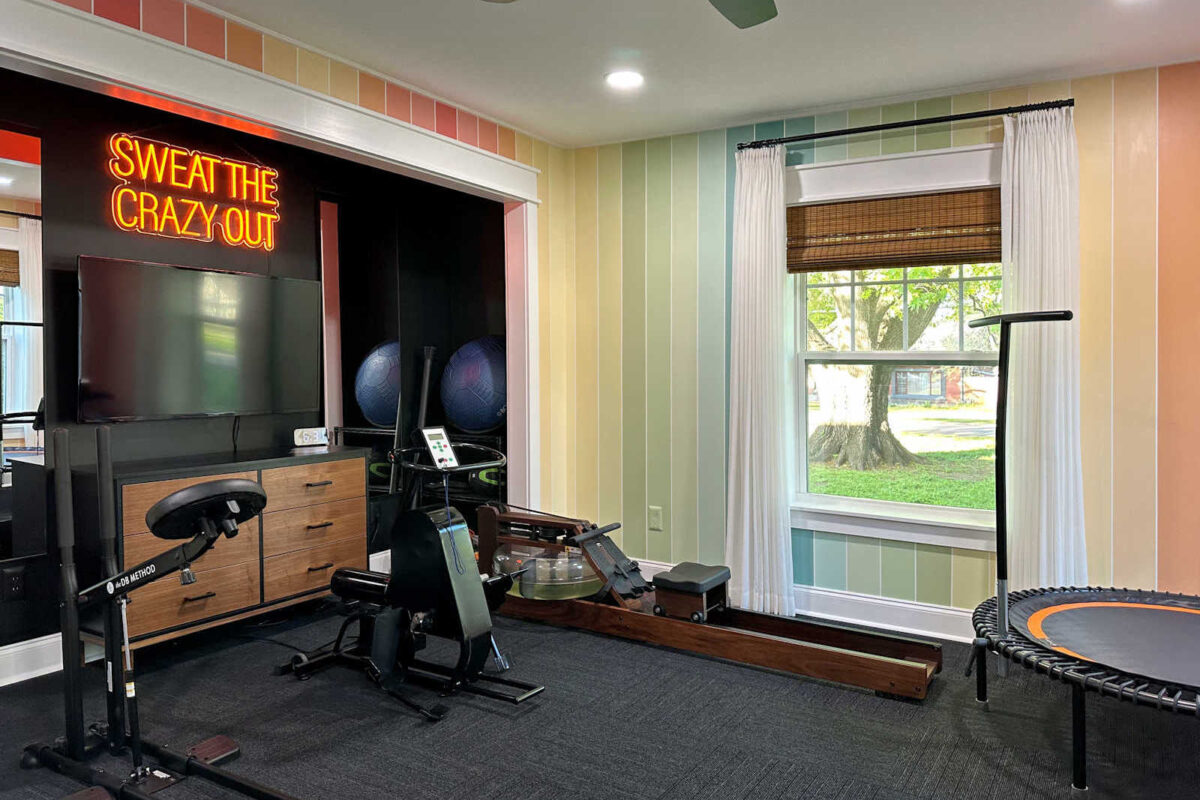
And from this…

…to this…

This was a fun project, but it took so long because I didn’t work on it without interruptions from start to finish. There was the pretty significant delay of a worldwide pandemic in 2020, and then my attention was on the master bathroom for well over a year. So this room kept getting shoved to the back burner, but I’m so glad that it’s finally finished. I love that this entire end of the house is finished!
I was going to try to total up how much this room cost overall, but with a project that was spread out over the span of three years, it’s hard to keep up with all of those costs. As best as I can tell, the construction cost for everything our contractor did on this room alone (new drywall, electrical, new doorway, adding two pocket door frames, replacing windows, etc.) came to about $7900.
In addition to that, some of the main costs were:
- Primer and paint: $350 (after all, I did use 17 different paint colors in this room 😀 )
- Trim: $550
- Windows: $850 (I provided the windows, and my contractor installed them)
- FLOR carpet squares: $1650
- 15-lite French door: $370
So with all of that, and not including the little decorative stuff like curtains, curtain rods, mirrors, shelves, TV, and other decorative items, etc., that comes to $11,670.
Of course, a huge part of finishing out a home gym is the actual gym equipment. But what you put in your home gym may be completely different from what we put in ours, so the cost of our equipment may be totally irrelevant for other people who are putting together a home gym. But just to give you an idea of what ours cost, our main equipment consists of:
So if I did my math right, the home gym equipment came to $7833, with $6958 of that coming out of our pockets (since the rebounder was a gift). We didn’t pay for that all at once, though. I’ve had the DB Method machine since early 2020. We bought Matt’s Theracycle back in 2014. I’ve had my WaterRower for at least a couple of years. You get the point. We didn’t just go out and buy $7000 worth of equipment all at once to put into this room. We’ve acquired much of it over several years.
But a home gym that goes beyond just a mat and a few freeweights can get expensive! If you want a dedicated room with actual gym equipment, it can cost quite a bit of money to get there. But home gyms can be just as effective with less expensive equipment (and something like a Theracycle is a specialty piece of equipment that most people wouldn’t need), or you can spend many times what we spent on ours. I mean, if you want your own custom, fully decked out Pilates studio, you’ll pay a small fortune for that. So it all depends on your specific wants, needs, goals, and space available.
I’m pretty excited about ours, though! I think it will suit our needs perfectly.

Addicted 2 Decorating is where I share my DIY and decorating journey as I remodel and decorate the 1948 fixer upper that my husband, Matt, and I bought in 2013. Matt has M.S. and is unable to do physical work, so I do the majority of the work on the house by myself. You can learn more about me here.
I hope you’ll join me on my DIY and decorating journey! If you want to follow my projects and progress, you can subscribe below and have each new post delivered to your email inbox. That way you’ll never miss a thing!