
This post and photos may contain Amazon or other affiliate links. If you purchase something through any link, I may receive a small commission at no extra charge to you. Any supplies used may be given to me free of charge, however, all projects and opinions are my own.
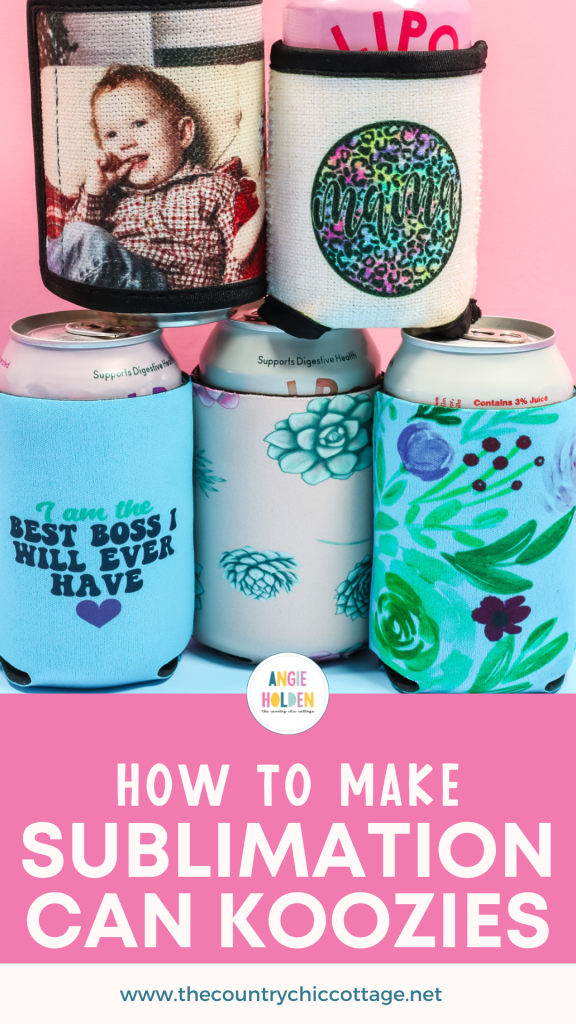
If you’re looking for an awesome beginner sublimation project, you need to try sublimation koozies! Today I’m going to teach you how to add sublimation to 5 different styles of koozie including how to make a customized full-wrap koozie.
If you’re new to sublimation, check out my sublimation beginner’s guide to get started.
Sublimation Koozies
The great thing about koozies is there are so many different options on the market. Most koozies are made with polyester which means the majority of them, including the really inexpensive ones, can be sublimated.
I am going to test out five different options including really inexpensive Amazon Neoprene options to beautiful Subli-Linen options. Along with different koozie blanks, we’re also going to do a few different applications for the sublimation including full-wrap designs with no seams at all.
You can actually watch me make all of these different sublimation koozies. Press play on the video below to see all the different options in action.
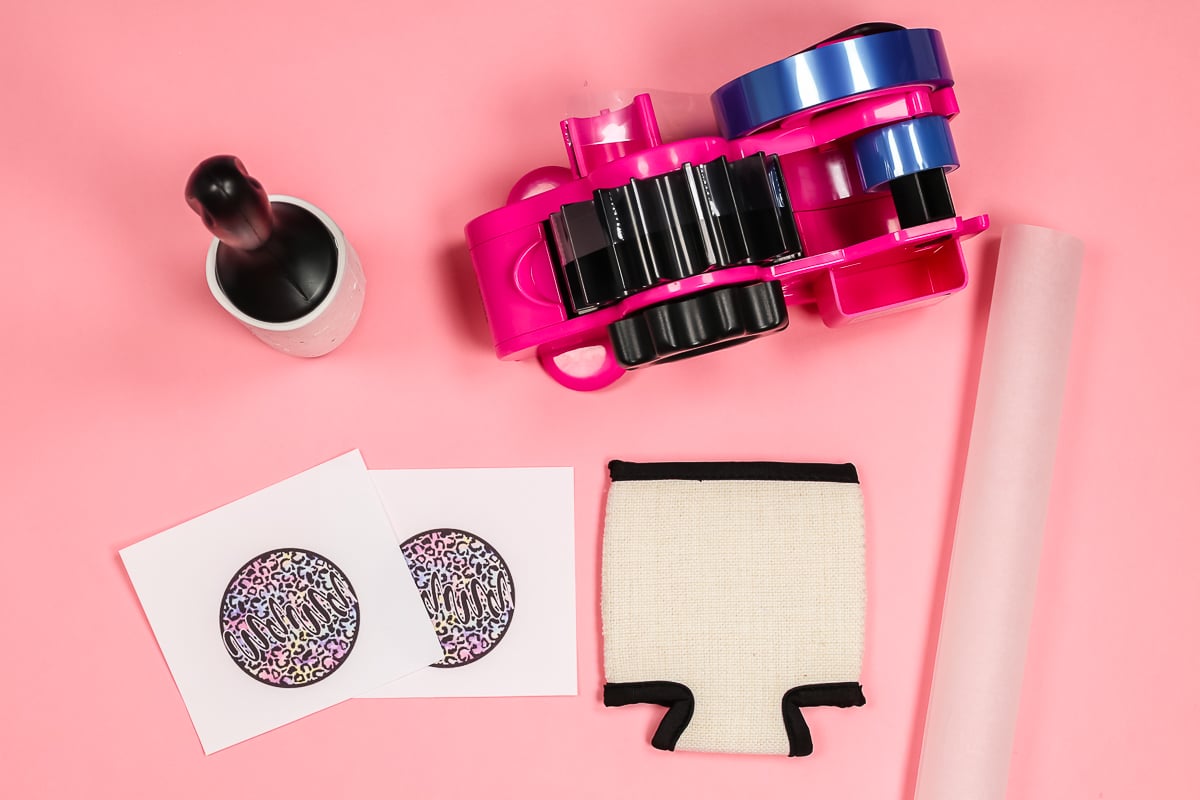
Supplies Needed
To make sublimation koozies you’re going to need a few different supplies. Depending on the koozie type you choose you may not need all of the supplies listed below. If you’ve ever struggled with sublimation koozies including tape marks, I have solutions for you!
Sublimation koozie options:
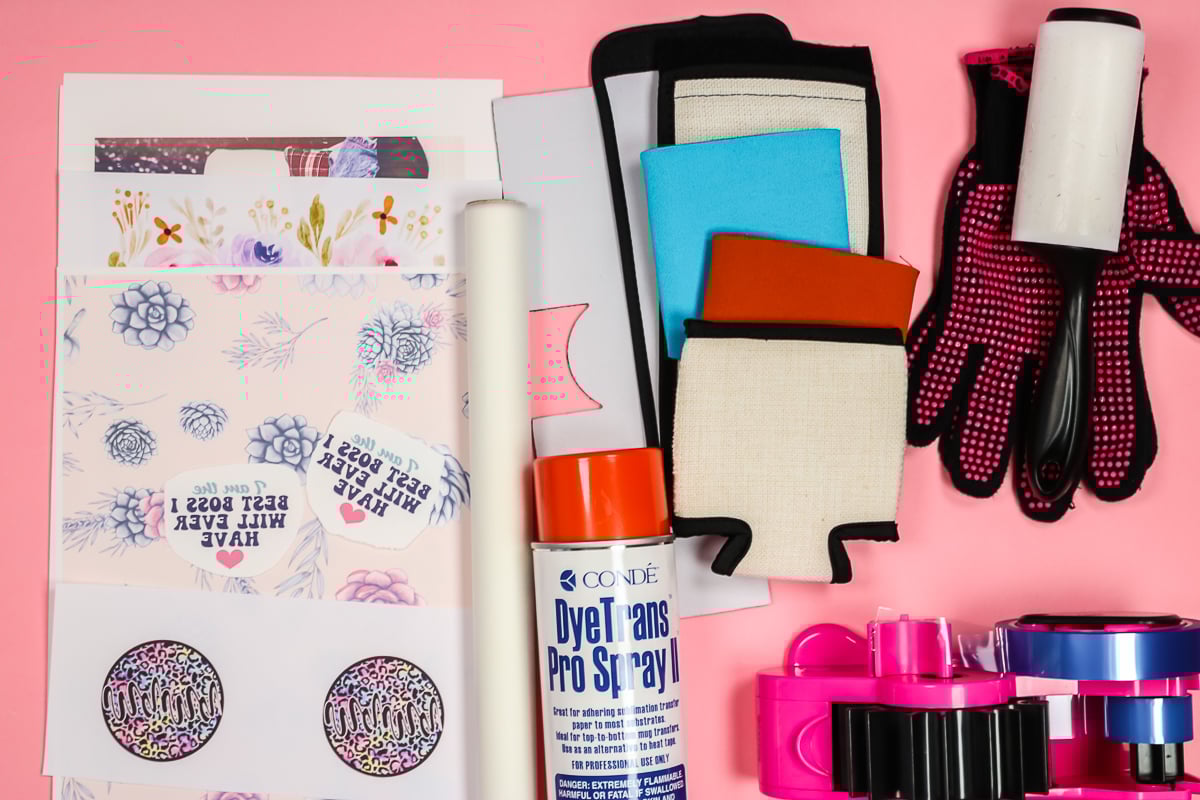
Supplies needed:
Designs used:
The designs above were used to create sublimation prints. A sublimation print is sublimation ink printed onto sublimation paper out of a sublimation printer. I am using sublimation prints and even photos printed with sublimation ink.
What Koozies Can I Use for Sublimation?
Most koozies can be used for sublimation as they are made out of polyester material. You can also purchase specific sublimation koozies like the velcro wrap options. The blue and orange options are both just inexpensive blank Amazon koozies. You can find them in a lot of colors and can get a large lot for cheap.
All of the other options I am showing today are from Conde and are a sublimation blank. I have two velcro wrap options in both white and a nice off-white Subli-Linen.
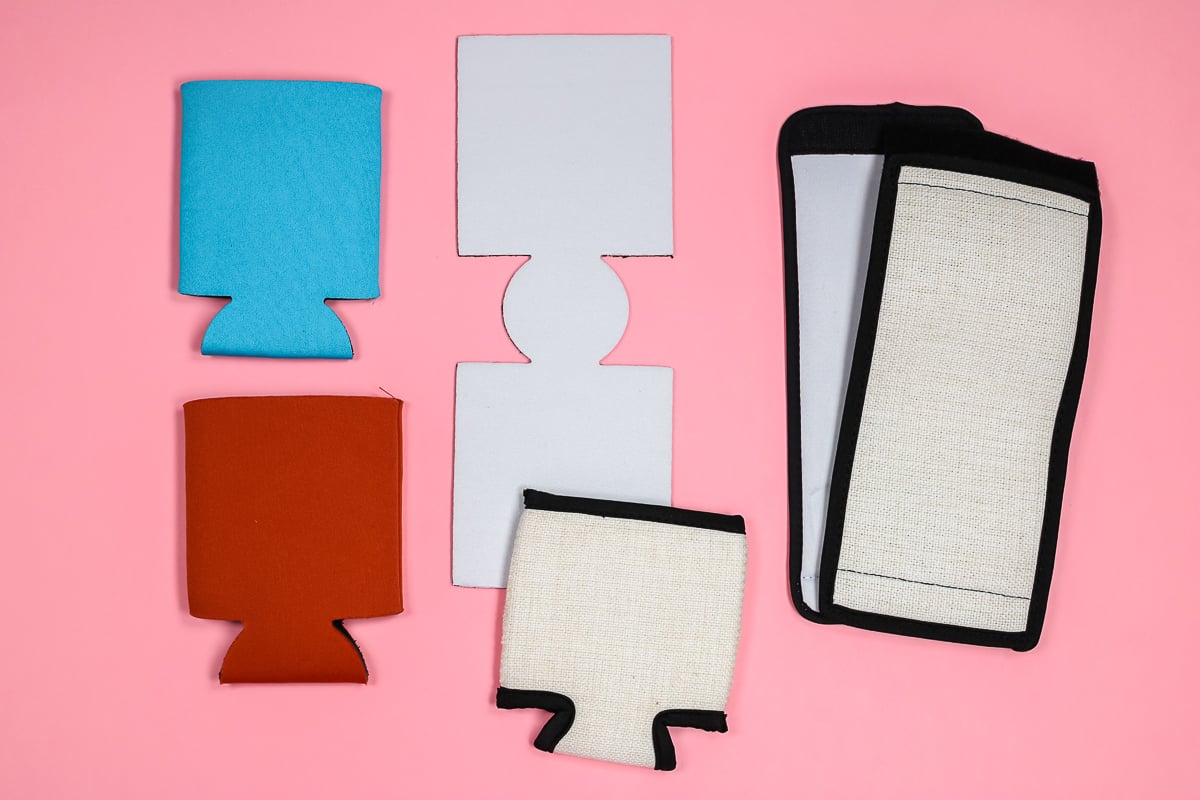
The velcro close koozies are a great option for larger images/designs. You can easily sublimate an entire image without having to deal with any seams.
Conde also carries the standard-looking koozie in the Subli-Linen option and a foam koozie that can be sublimated seamlessly. If sewing a quick straight seam doesn’t scare you, you can sublimate onto this flat koozie to get a seamless design on both the front and back in one quick press.
None of these koozie options are wrong. You can sublimate onto any of them. I love that there are so many options that allow you to create the project you have in mind. If you’re adding a quick logo, a seamless design isn’t important to you. If you’re trying to add a full photo, a seamless design is going to be more important.
Whatever option you choose is completely up to you and the project you’re working on.
How to Sublimate onto Can Koozies
For each of these different koozie types, the sublimation process is going to be relatively the same. For my example, I’m using this Subli-Linen can koozie. I want to have a sublimation print on both sides. The design will be centered on each side of the koozie.
Preparing the Koozie for Sublimation
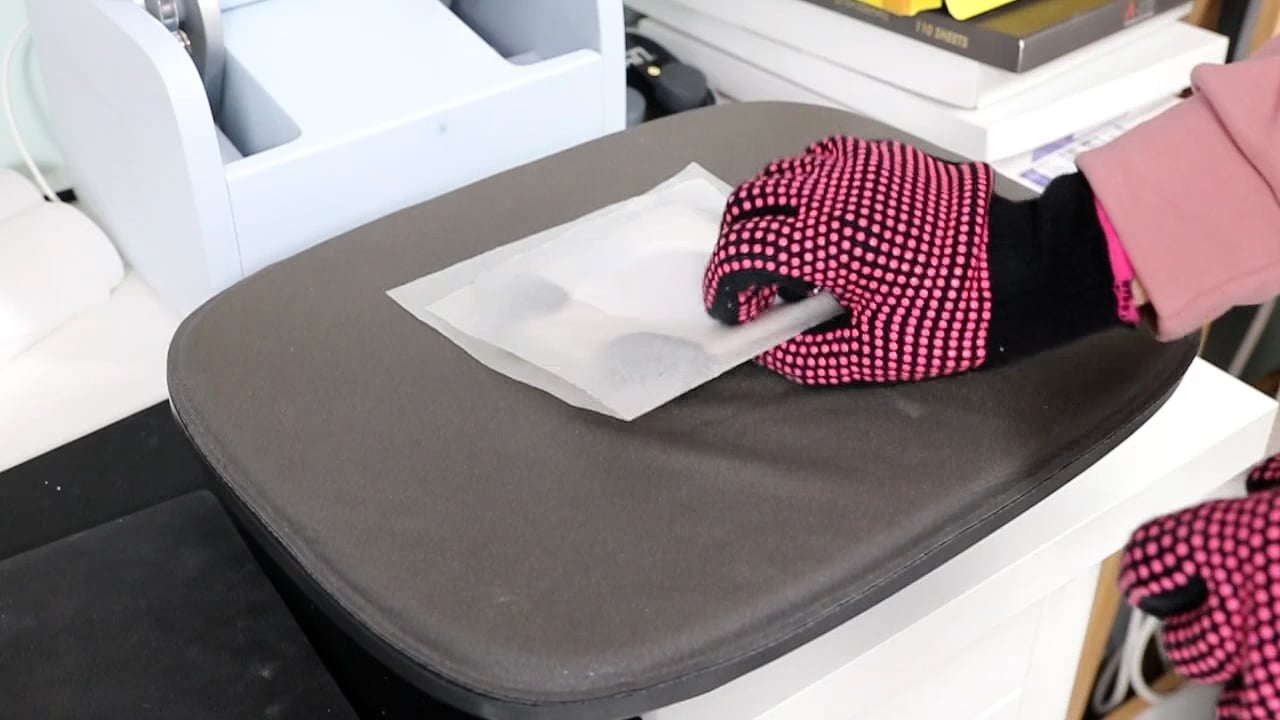
With all of these different options, we need to preheat the blank before continuing with the process.
It is extremely important to preheat the blanks. If you’re adding a design to each side of the blank, you need to preheat both sides.
I preheat for about 10 seconds per side. Koozies have a tendency to shrink which can cause ghosting if you don’t preheat them. Another thing you’ll do with each different blank is to lint roll the whole surface. Remove any dirt, dust, hair, etc.
Adding Sublimation Design to Koozie
For this project, I will be adding the sublimation design onto both sides of the koozie. I am going to apply the print to both sides and then I can just flip the koozie in the heat press.
With this Subli-Linen material, I haven’t really noticed any press marks. If that is something you’re worried about you can rip the edges of your paper to help smooth those edges. You’ll definitely want to do that with the foam versions of koozies.
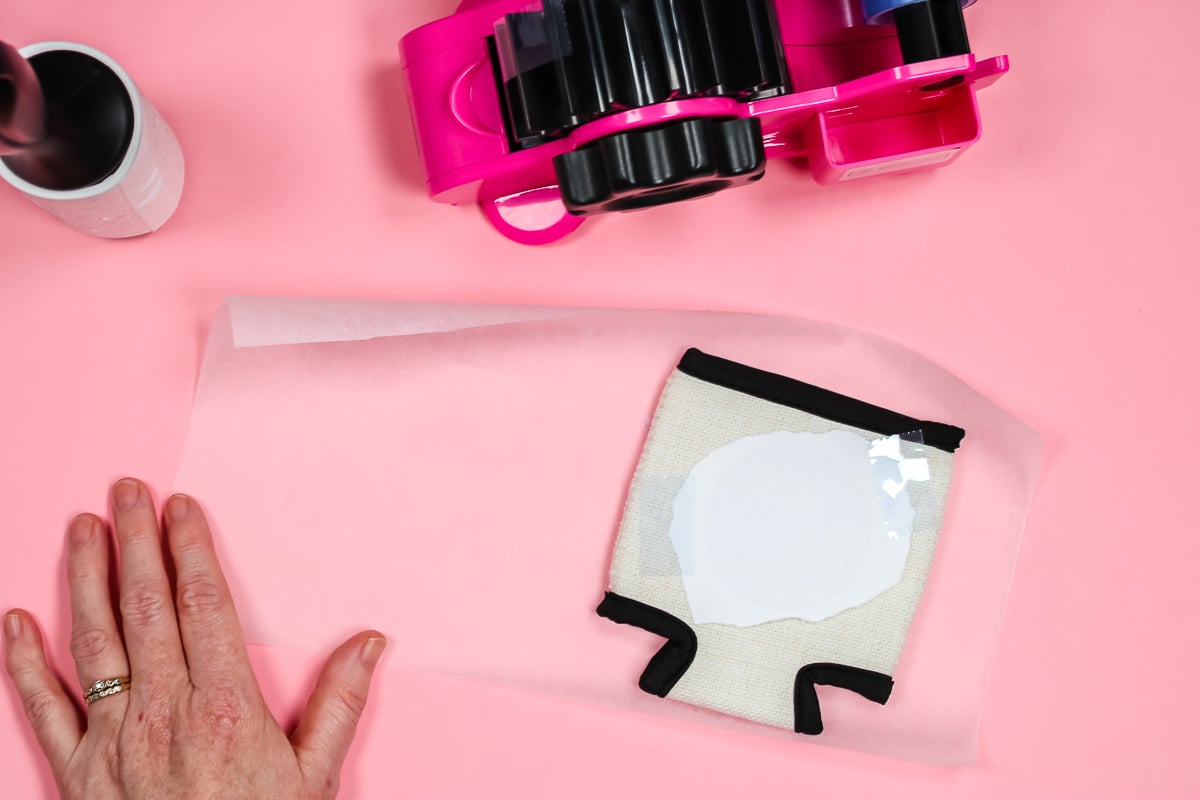
Remember, if your design has any type of direction you do need to mirror your print. I have centered my designs on each side of the koozie and am using heat-resistant tape to hold them into place.
Pressing Sublimation Design onto Koozie
With my sublimation design applied to the sublimation koozie, I am going to wrap a protective sheet both above and below the design. The protective paper protects the heat source from any sublimation transfer.
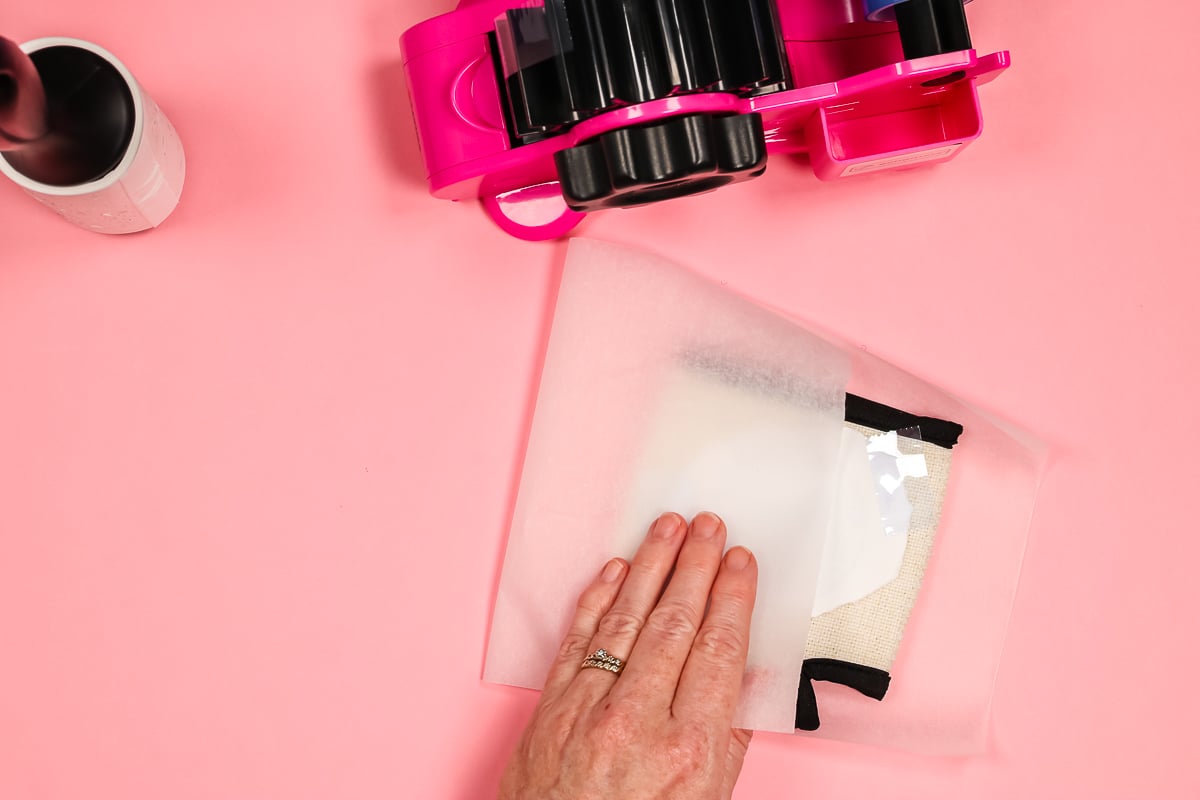
Now, I can add the protective paper-wrapped sublimation koozie inside the AutoPress. The Subli-Linen koozie calls for a temperature of 400 degrees pressing for 60 seconds. I am pressing both sides for the full-time and temperature.
IMPORTANT: Depending on the sublimation blank you’re using the time and temp may be different.
Once the time is up, remove the koozie from the Auto Press and allow it to cool. You can peel the sublimation off hot if you wanted.
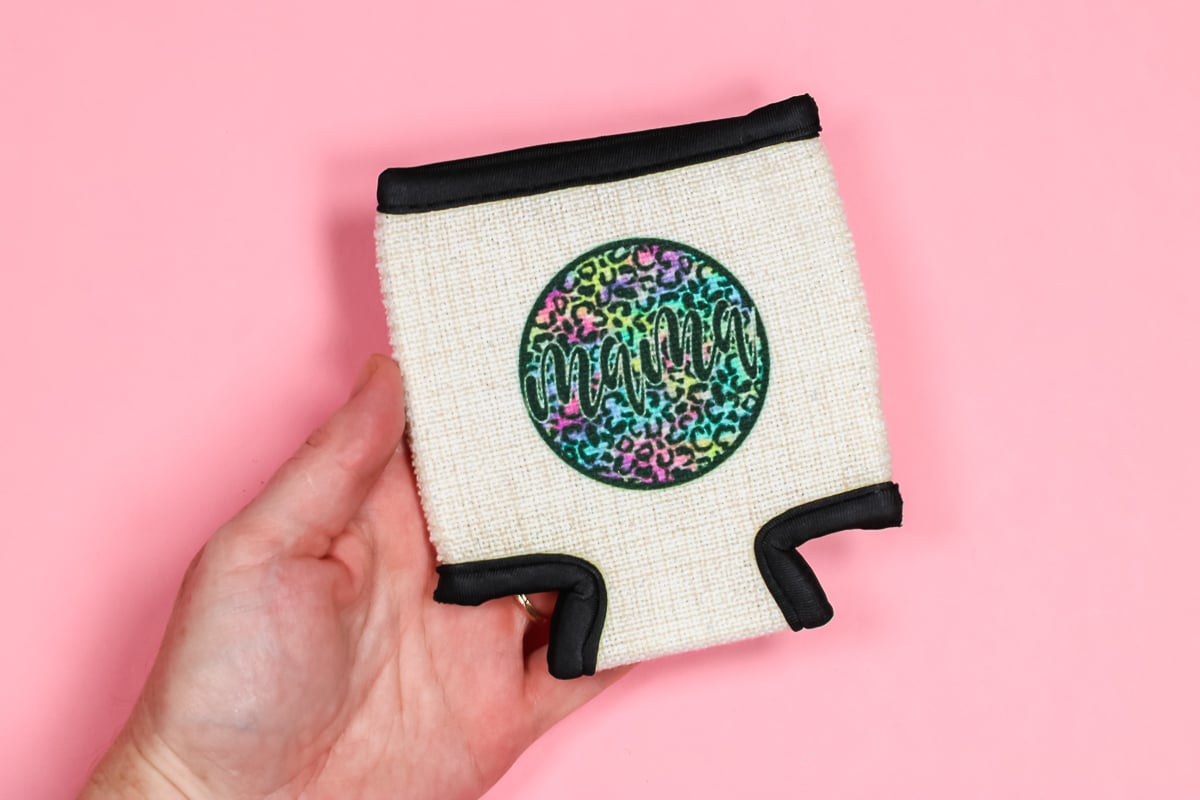
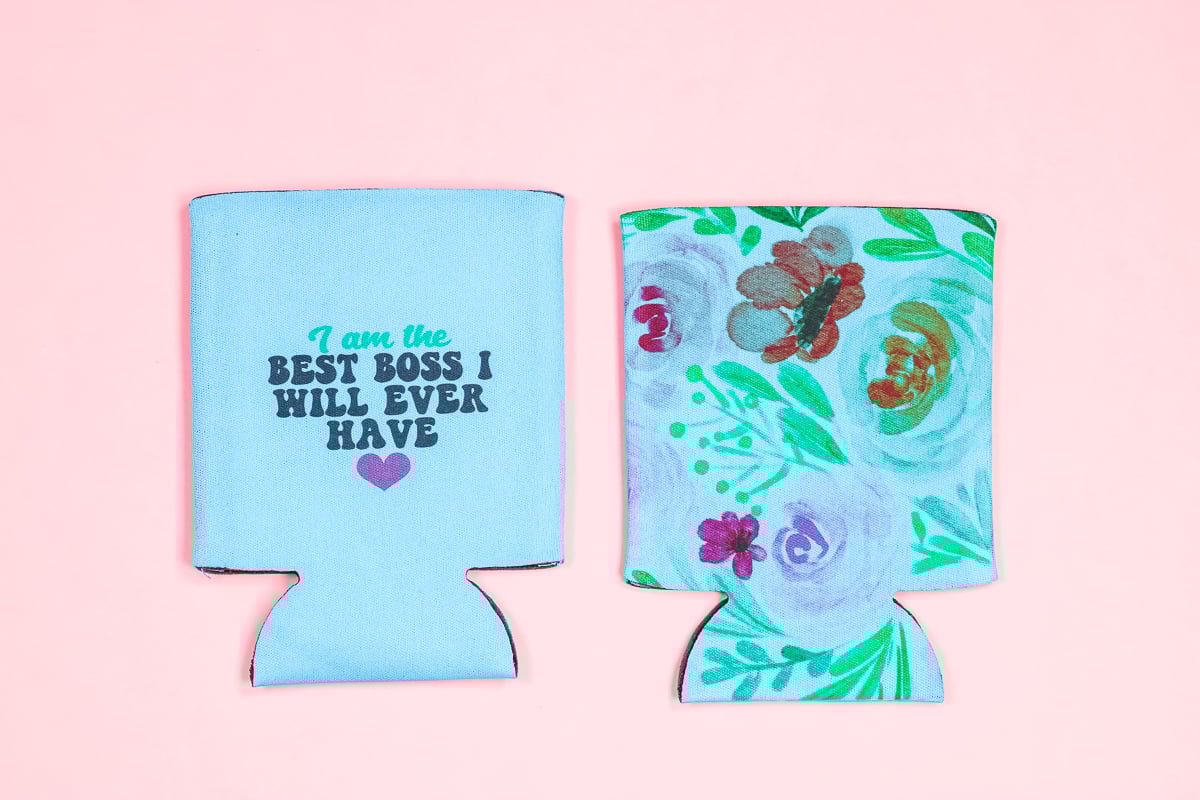
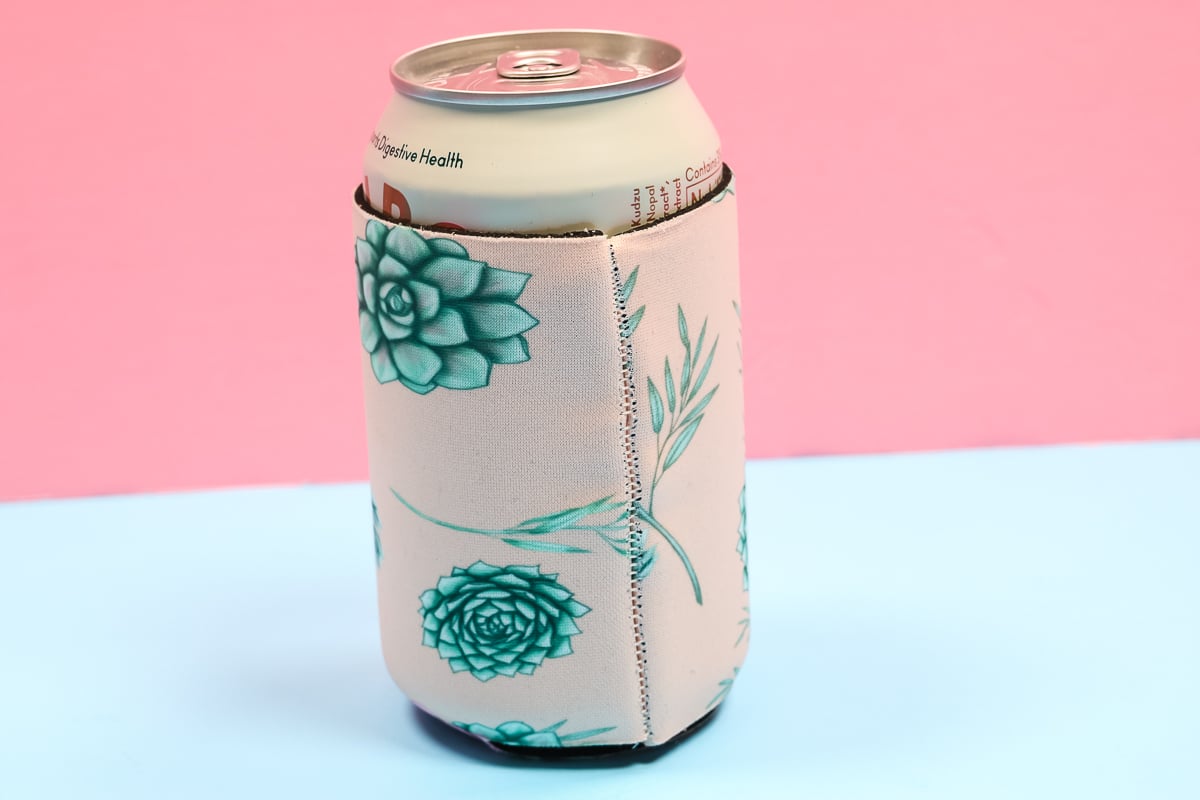
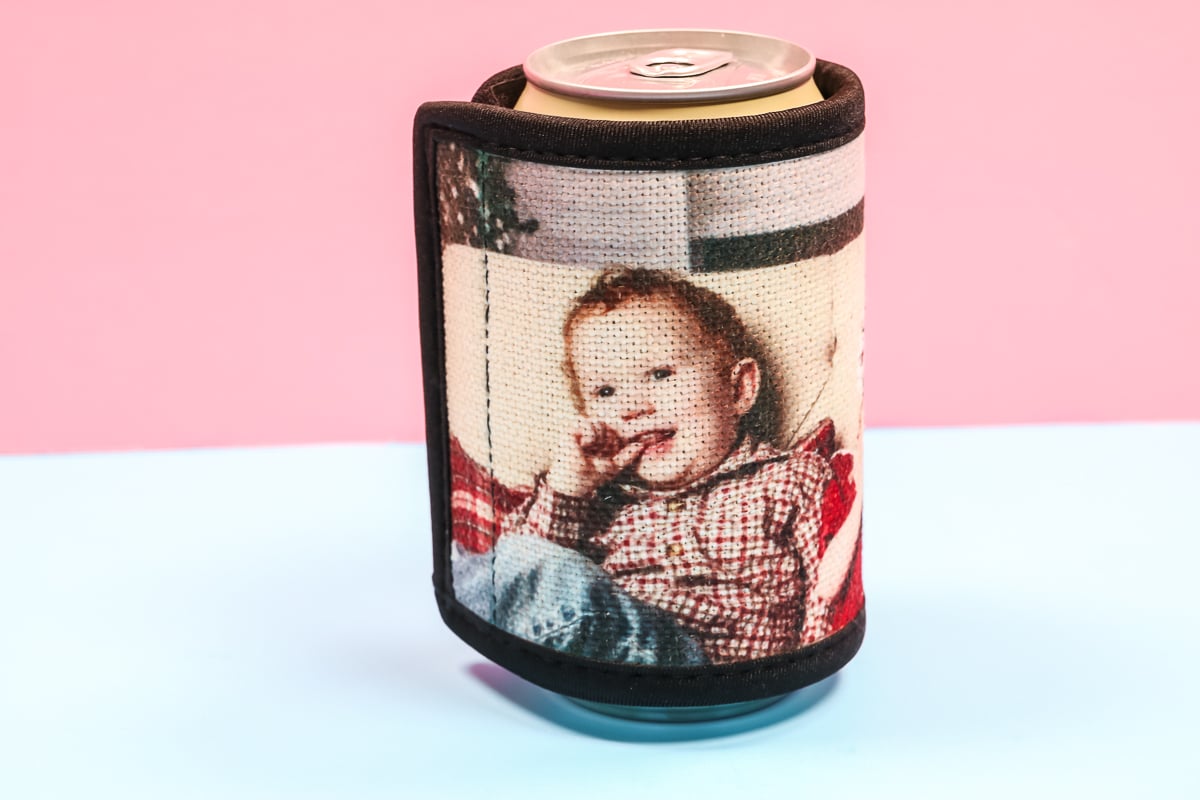
Finished Subli-Linen Sublimation Koozie
Here you can see that the Subli-Linen sublimation koozie is completed. The print is gorgeous. I didn’t even have to add anything to the inside of the koozie and the Auto Press did a great job with this product.
If you’re using a different heat press, I would apply medium pressure. If you’re using the EasyPress, make sure you’re pressing down and adding pressure.
You can stick a pressing pillow inside the koozie to raise that center up a little. I did not need that with the Auto Press, it looks great without it.
Subli-Linen is perfect for gifts, it has such a nice feel. You can see that even though I used tape to hold the design in place there aren’t any tape marks. I think that’s a benefit of using the Subli-Linen products.
Comparing Sublimation Koozie Blanks
Now that we’ve made one sublimation can wrap from start to finish let’s look at sublimating other koozie blanks.
Amazon Neoprene Koozies
These are the Amazon neoprene koozies. They are not a sublimation blank but they are 100% polyester. Because these aren’t a sublimation blank I had to kind of guess the time and temp. I found a reference for 385 degrees for 50 seconds so that is what I used.
CAUTION: Because these koozies are a foam-type material they can show pressing marks.
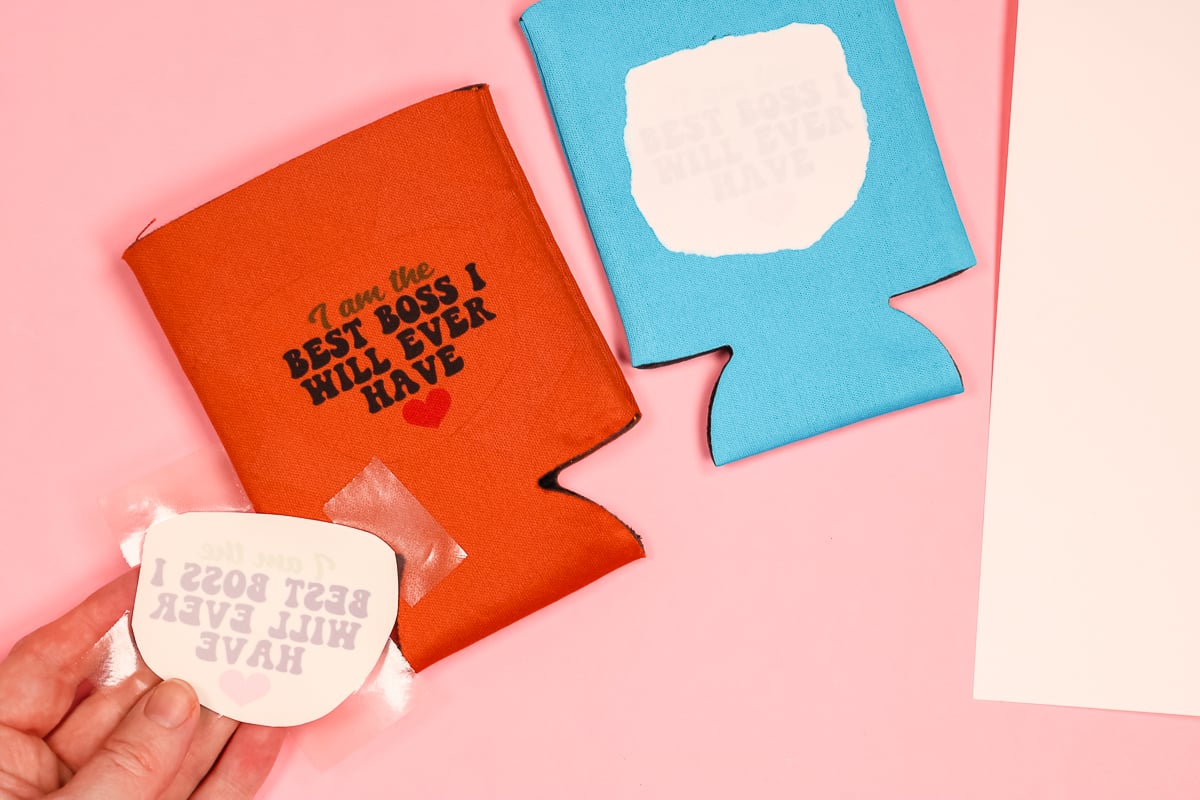
On the orange koozie, I cut the design regularly with scissors and taped it down. This one will show us what those press marks look like. You can definitely see where the print itself was and you can also see the tape marks.
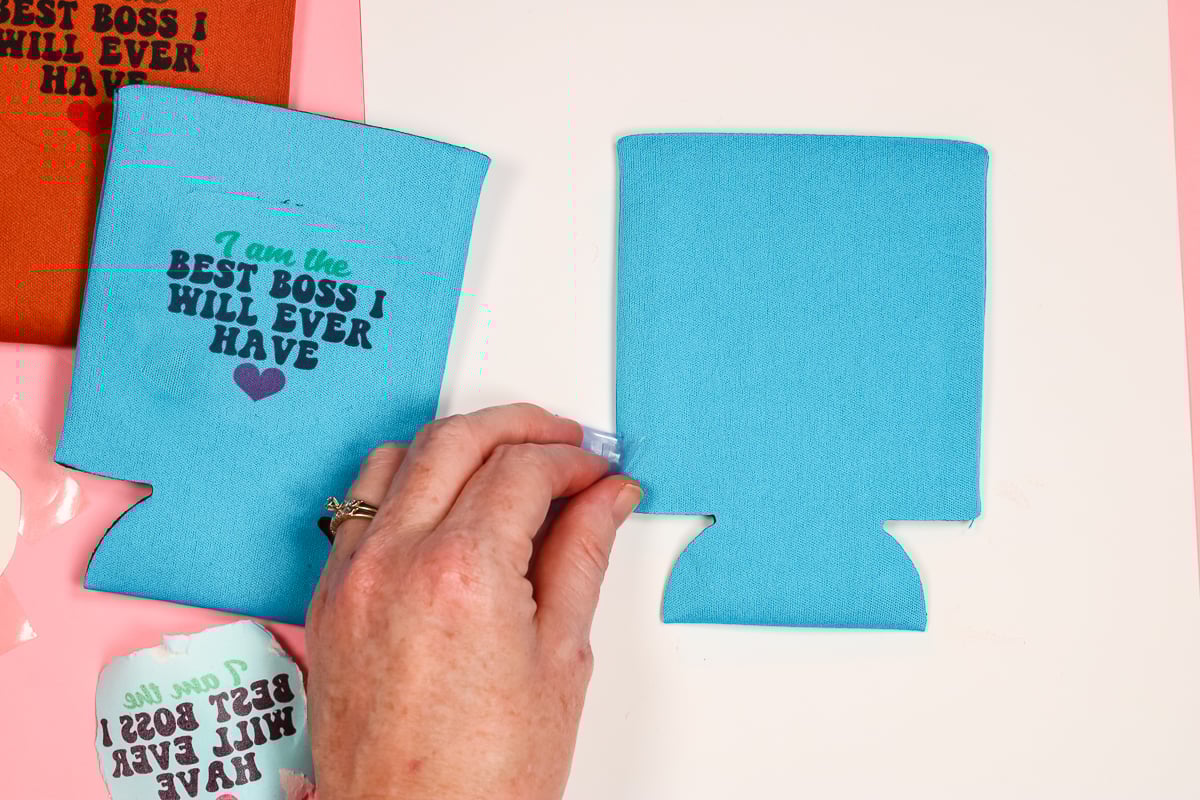
On the blue koozie, I tore the edges of the print and used DyeTrans Pro Spray. That is an adhesive spray that will hold the print in place without having to use heat-resistant tape. To apply the DyeTrans Pro Spray, lightly spritz the sublimation print and allow it to dry. It will be tacky and you can then just place it onto the koozie.
I sublimated both koozies for 50 seconds at 385 degrees following all the preheating and lint rolling steps above.
For this koozie, I used adhesive spray and I tore the edges of the print. The sublimation print should peel off fairly easily but it should be stuck to the surface well. I peel it off slowly and anywhere where it sticks I use my fingernail to lift it up. You could also get it wet and it would come right off.
You can still see where the print was on the koozie but there are no tape marks on this one.
How to Eliminate Pressing Marks
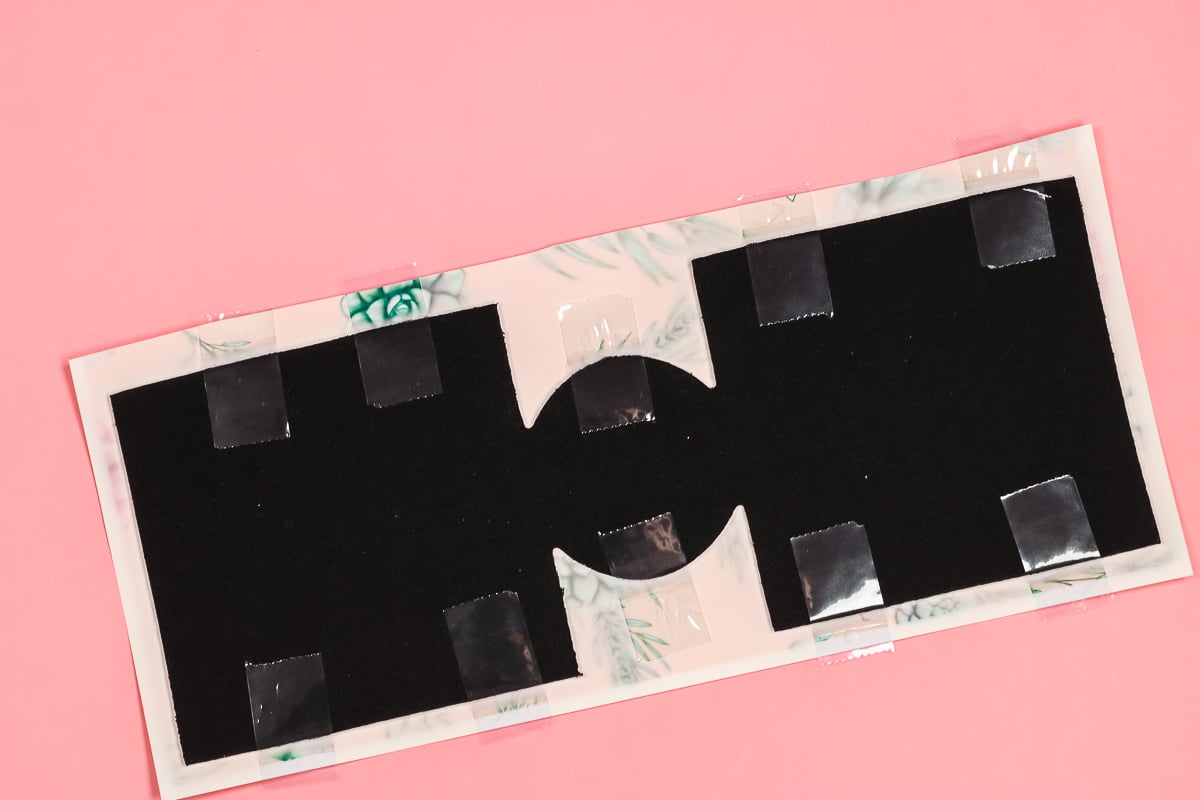
To get a finished koozie using these inexpensive Amazon koozie blanks without any pressing marks, you can use an image printed on a full page. Although I’m using the same design, I am using a full sheet of sublimation paper. Now I can locate my koozie onto the sublimation paper and tape it into place.
This is a little extreme but I wanted to illustrate that you can get a koozie without press marks using this method. You could easily get two koozies pressed with one sheet of paper. By taping to the back, we eliminate tape marks because we aren’t pressing on the back of the koozie.
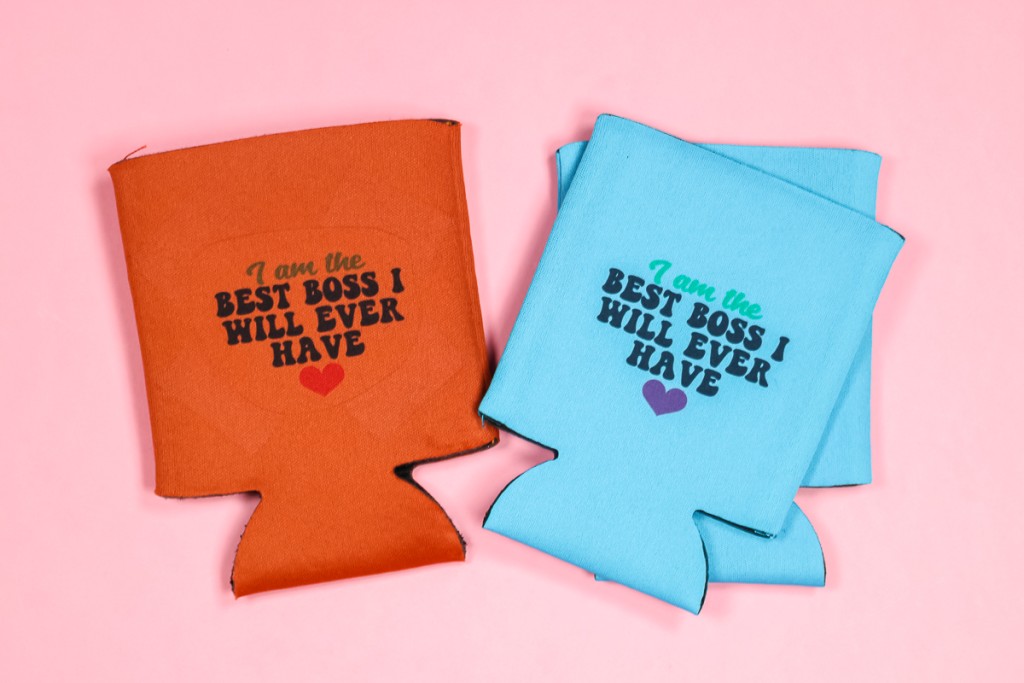
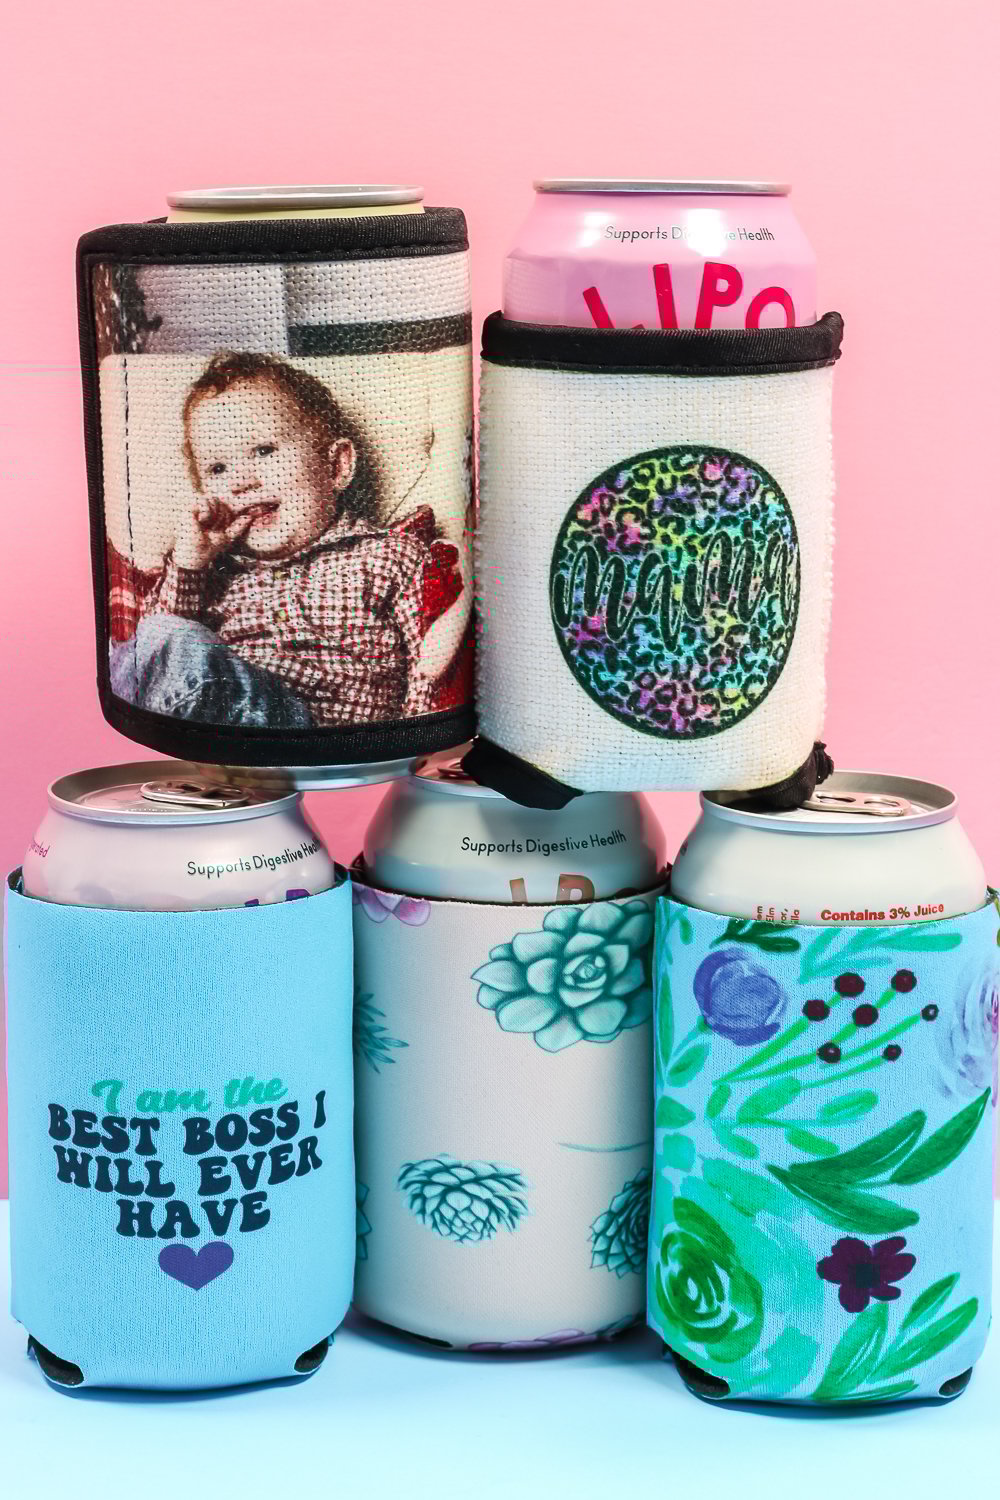
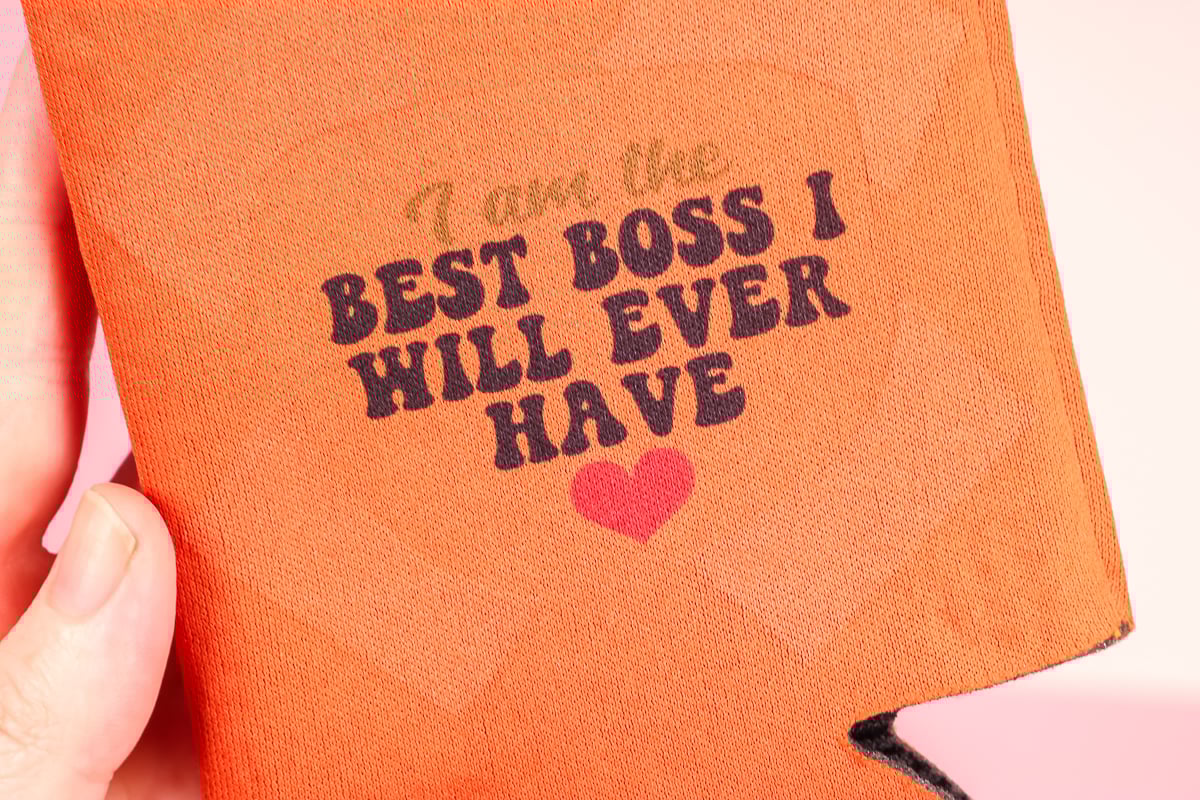
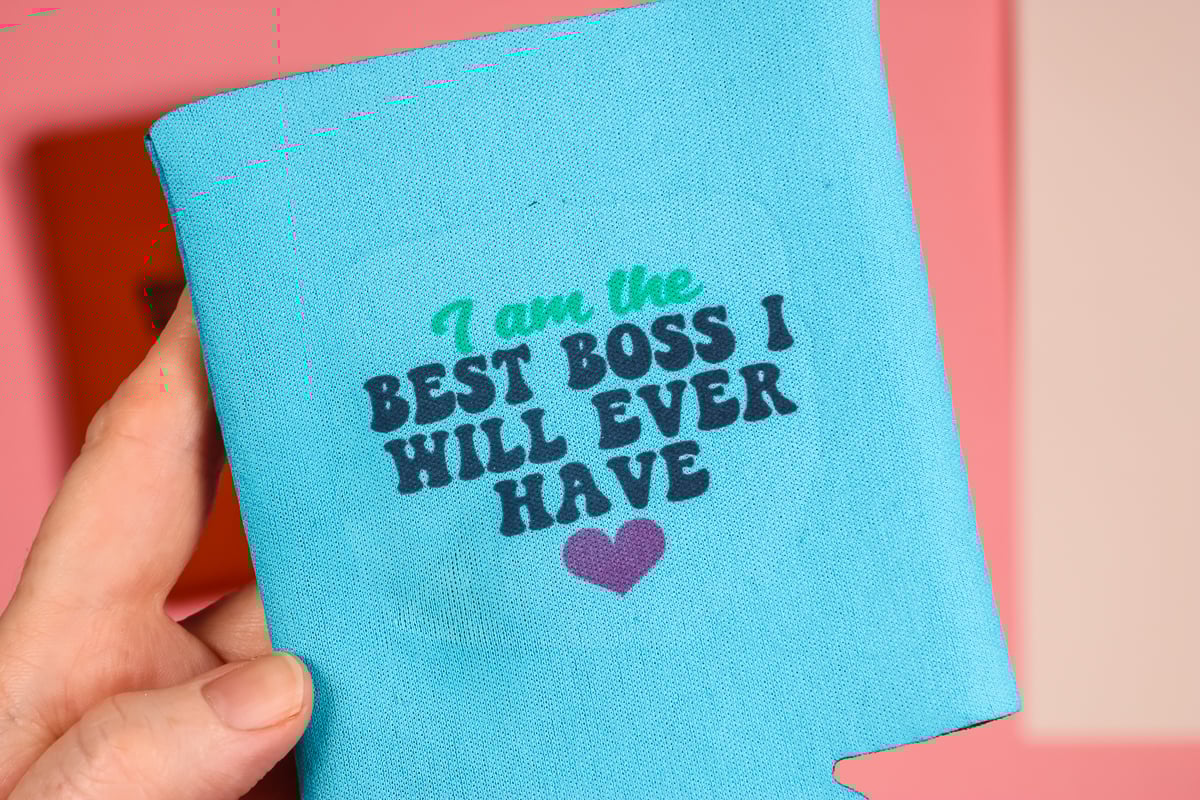
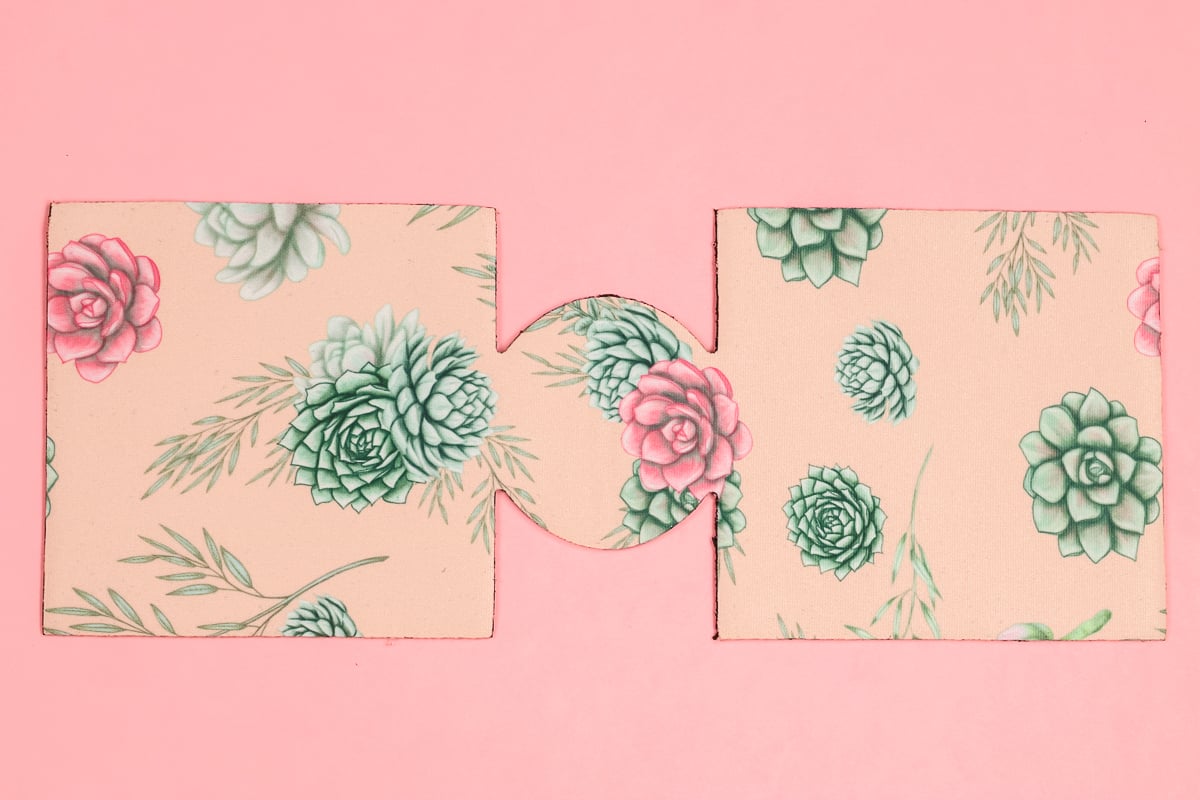
Here you can see how great this design looks with no press marks at all. This photo is also an example of how the color of the koozie can change the look of the design.
You can see that the colors all look a little different. This is because sublimation ink is translucent, which means the blue and orange colors of the koozies show through the ink. Even though the design from the printer is the exact same they look different depending on the color of the koozie.
Full Wrap Foam Sublimation Koozie
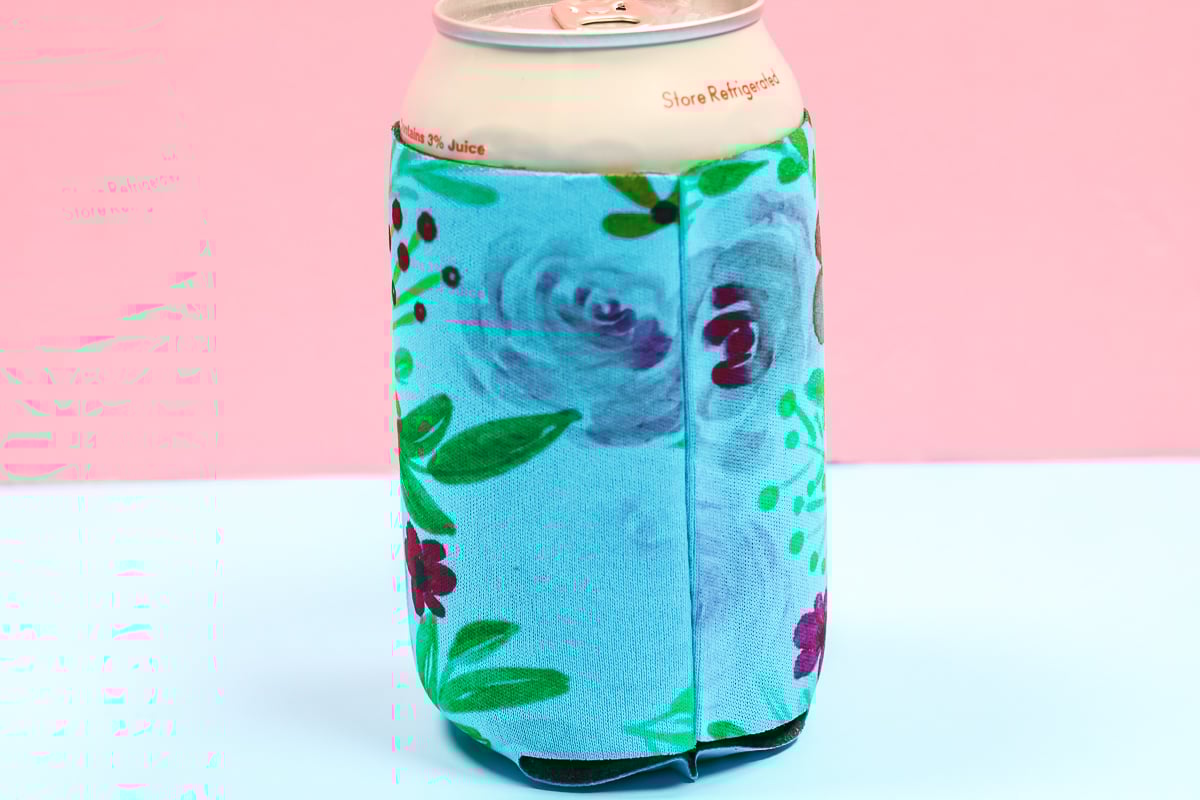
Now, we’re going to use those same Amazon koozies to create a full-wrap koozie. This is another option that can eliminate pressing marks. However, the edges don’t look great with this method. I wrapped the sublimation print completely around the koozie and then taped the print to itself.
This finished koozie has sublimation on all sides. On both the front and back the sublimation print looks great. However, when we look closely at the side seam you can see the sublimation doesn’t get into that area.
When you stretch the koozie you can see there is a line where there is no sublimation print. The image looks good but it is not perfect. This, unfortunately, isn’t the biggest issue with this option.
It may be hard to tell in the photo but heating this style of koozie for so long really flattens them out. You have to press both the front and the back for the full time to get the print and these koozies don’t handle that much heat well.
Flat Sublimation Koozie
If you like the look of the full-wrap, I have an option for you. If you’re not afraid of sewing two quick straight seams, you can create a full wrap sublimation koozie that looks beautiful even after pressing.
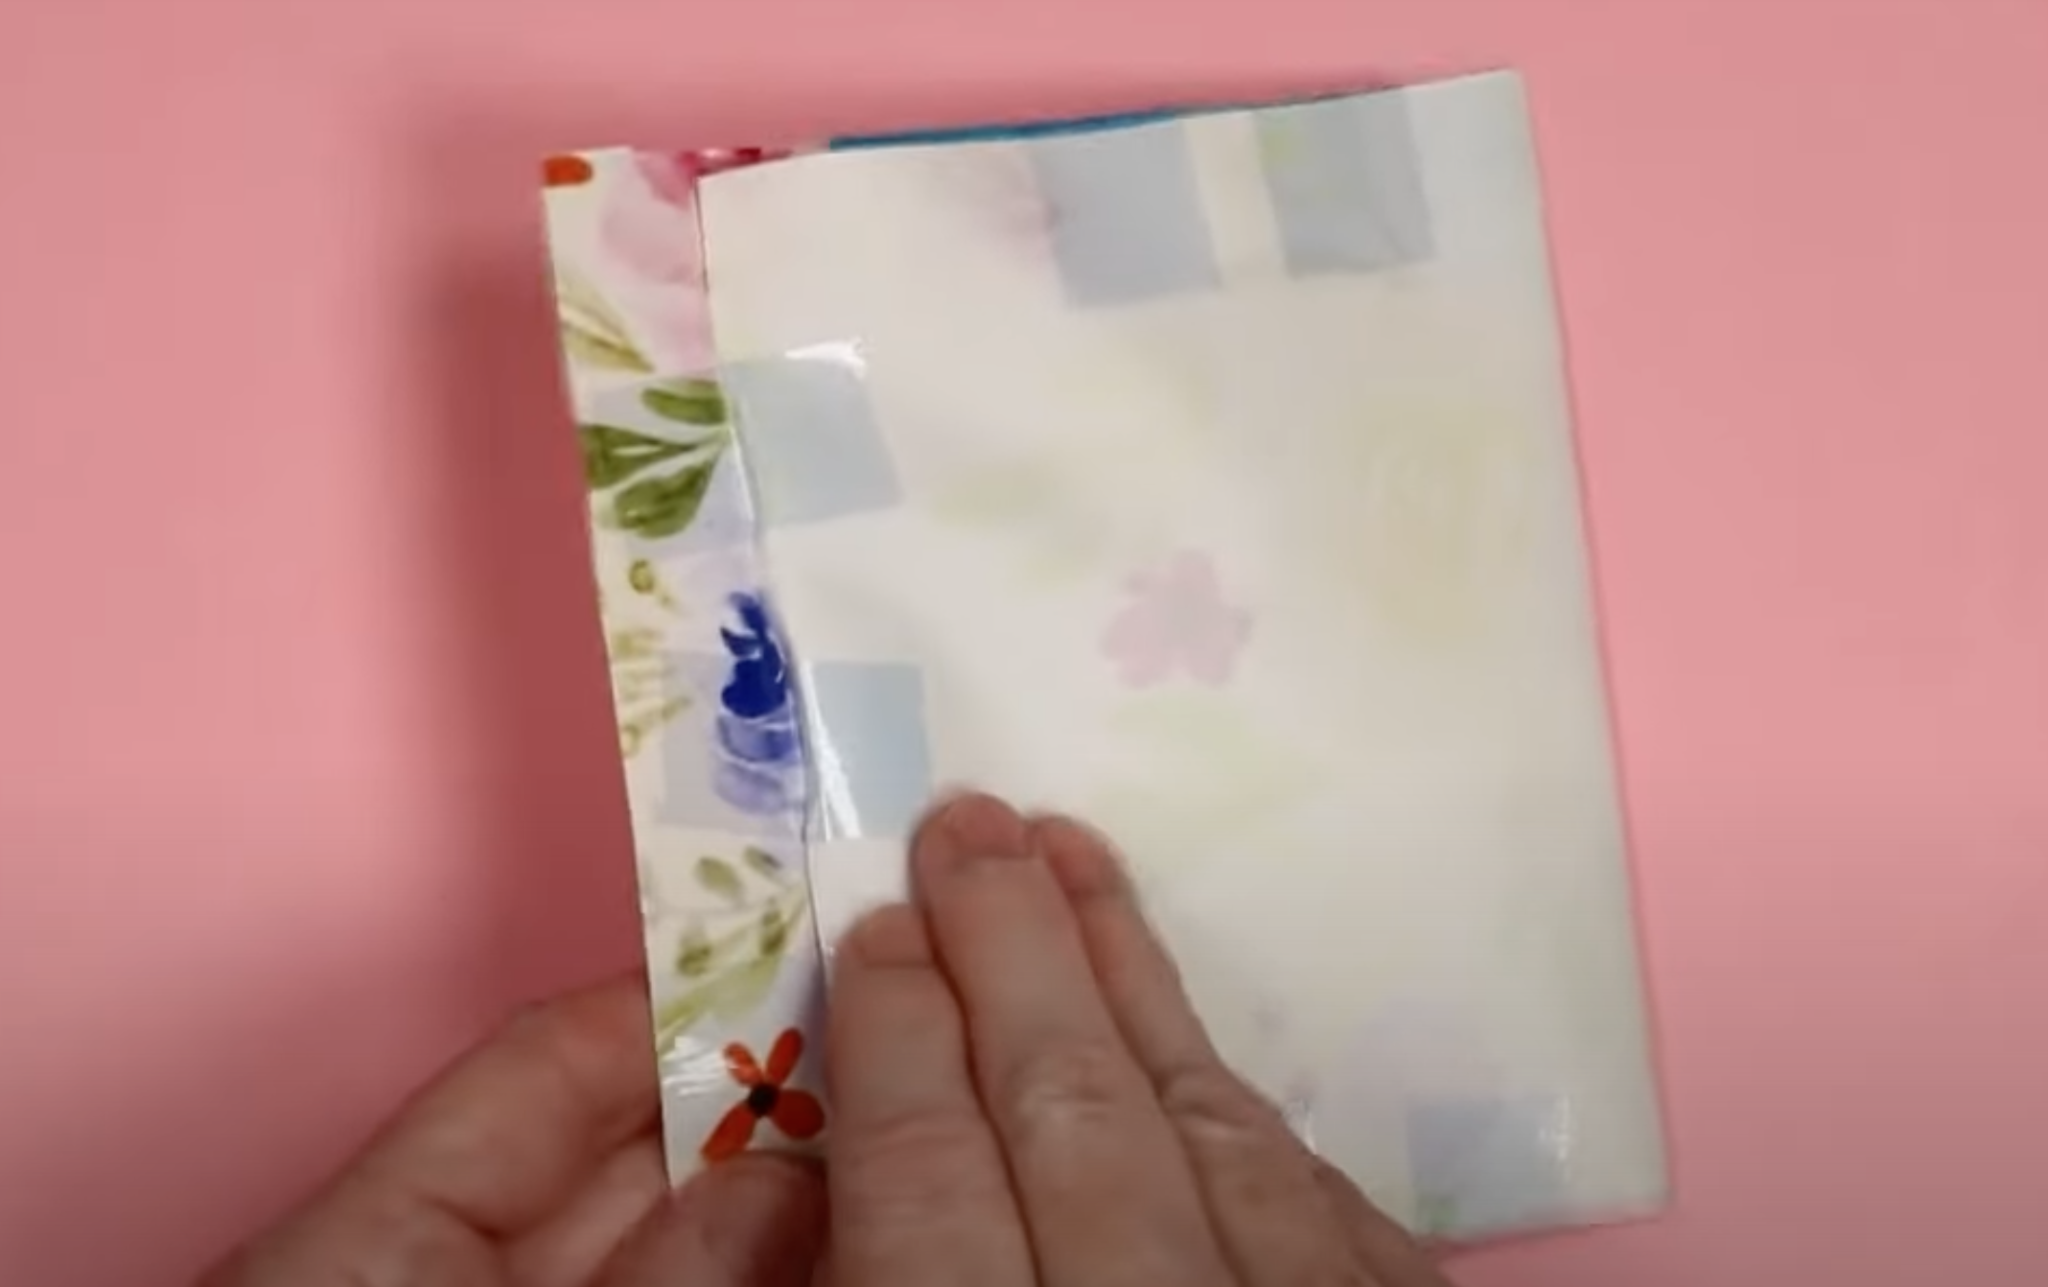
Print your design large enough to cover the entire sublimation blank and tape it in place. This sublimation blank calls for a temp of 385 degrees for 60 seconds.
Look at how beautiful that image looks. The design covers the entire thing from top to bottom and side to side. The koozie was white before pressing, the beige color is part of the sublimation print. Because I pressed on just the top side there are no tape marks and it didn’t flatten out at all and retains that foam feel.
How to Sew Flat Sublimation Koozie
To finish the flat sublimation koozie, we need to sew the sides just like the ones we purchased finished.
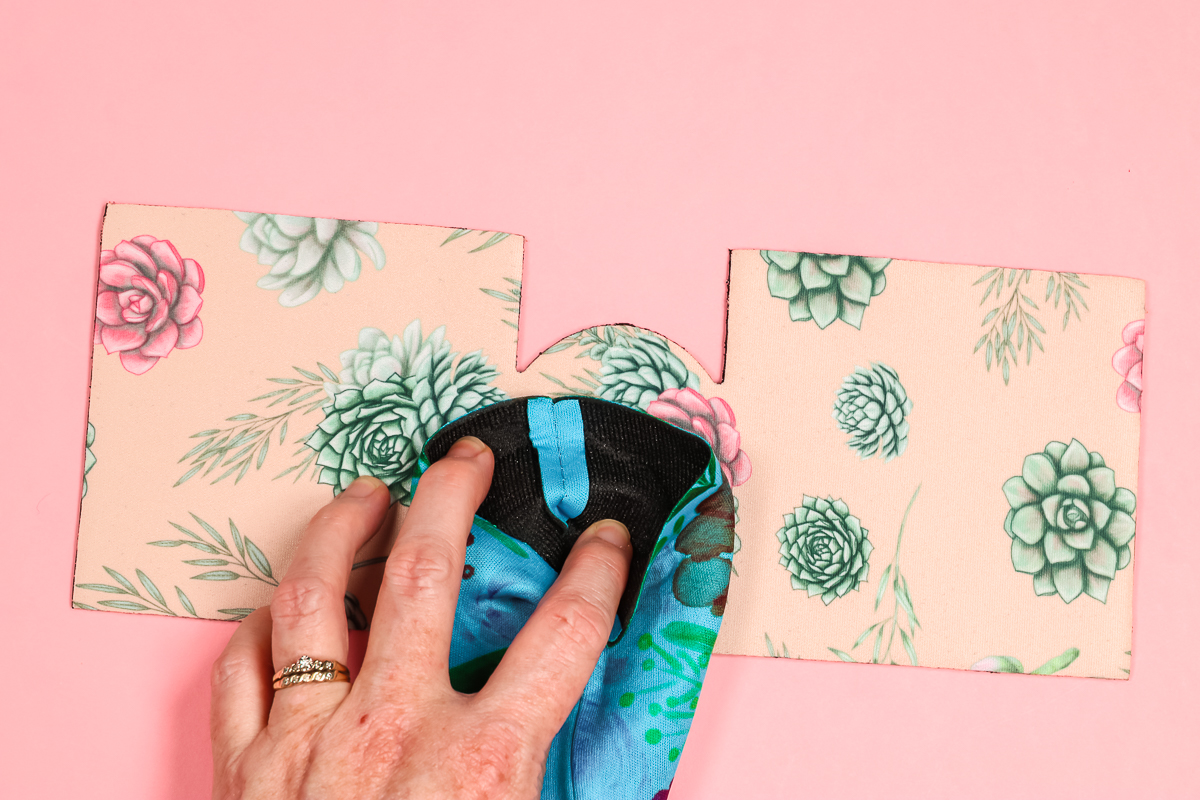
All we have to do is line it up, right sides together and sew down both sides. This is an easy straight stitch, when it’s finished we just have to turn it right side out.
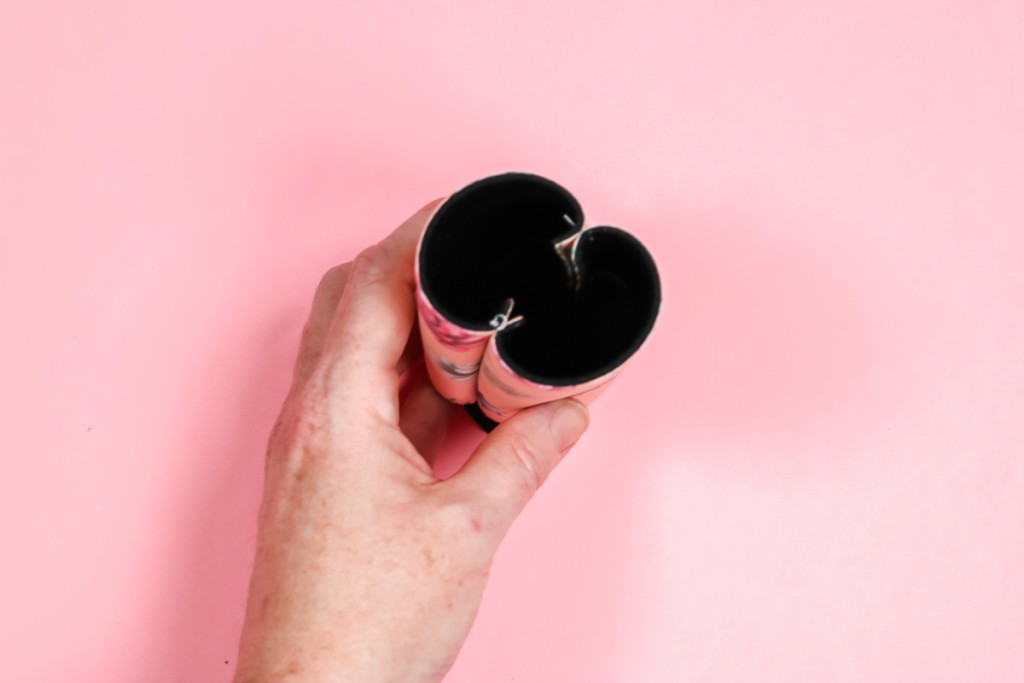
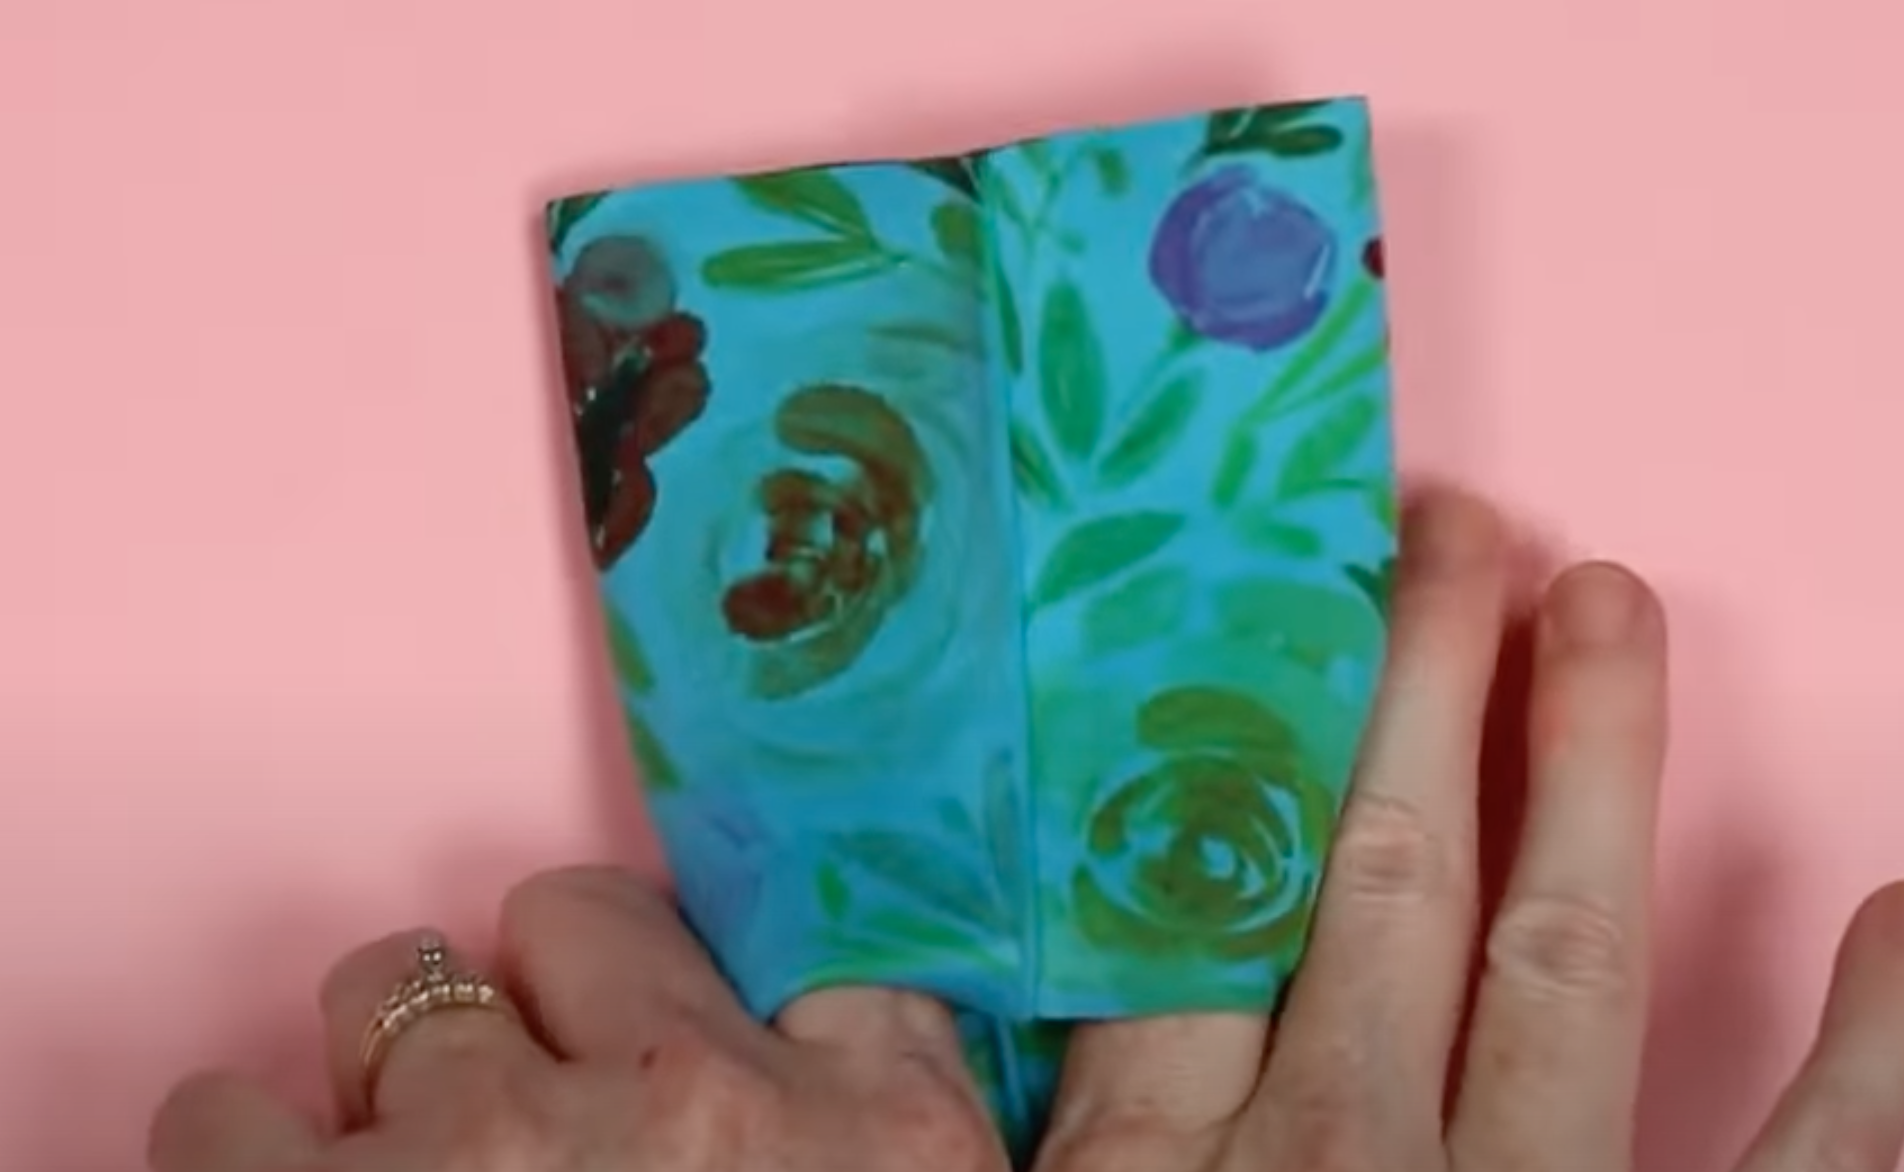
Here’s a look at the finished flat koozie after it was sewn. The finished product does look a little different than the koozies you purchase. Without a can, it is a little rounded on the sides and bottom. You may want to keep this in mind if you’re giving them as gifts or sell them.
As far as a full-wrap sublimation koozie this is the best one I’ve ever had that doesn’t have a velcro closure.
Flat Velcro Closure Sublimation Koozie
For this last example, I am going to add a photo to a flat koozie with a velcro closure.
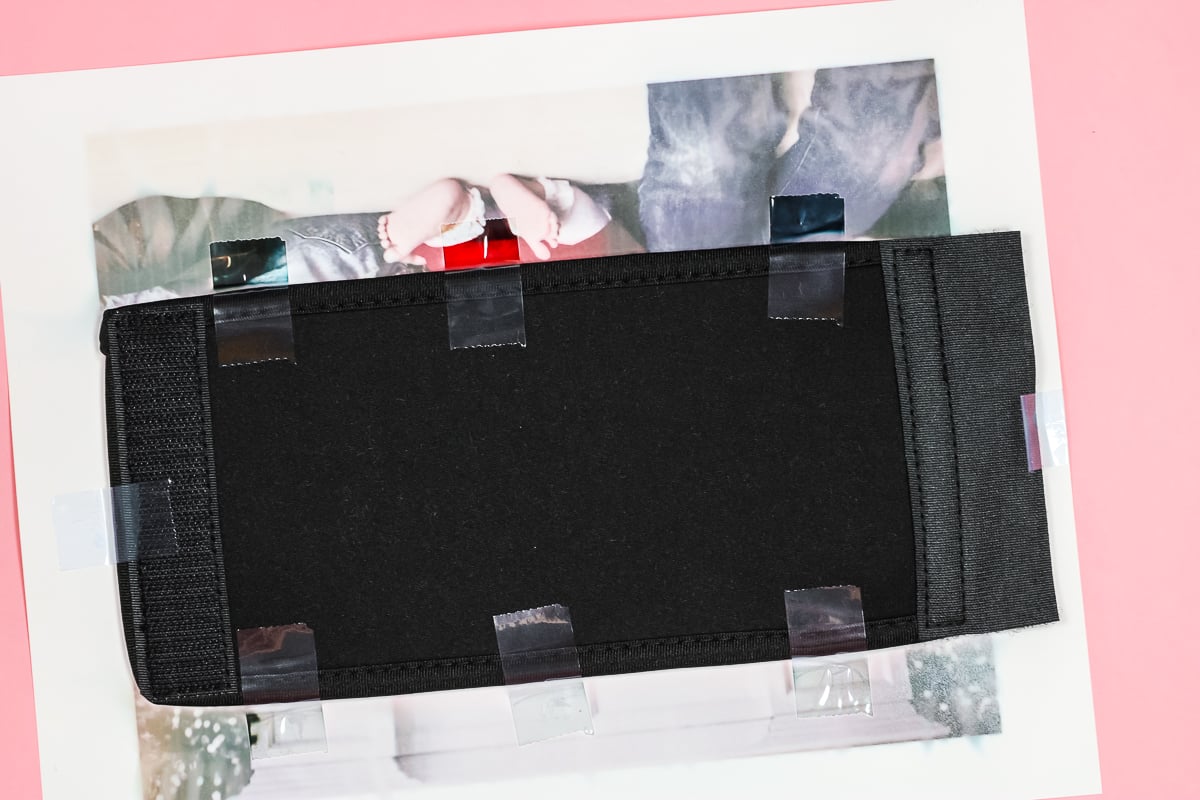
You can see in the photo above that I make my print larger than the koozie itself. This allows me to have the image cover the entire sublimation area.
The photo does go over the black edges of the koozie and if you look closely you may be able to see some transfer to the black but it isn’t really noticeable at all and looks good either way.
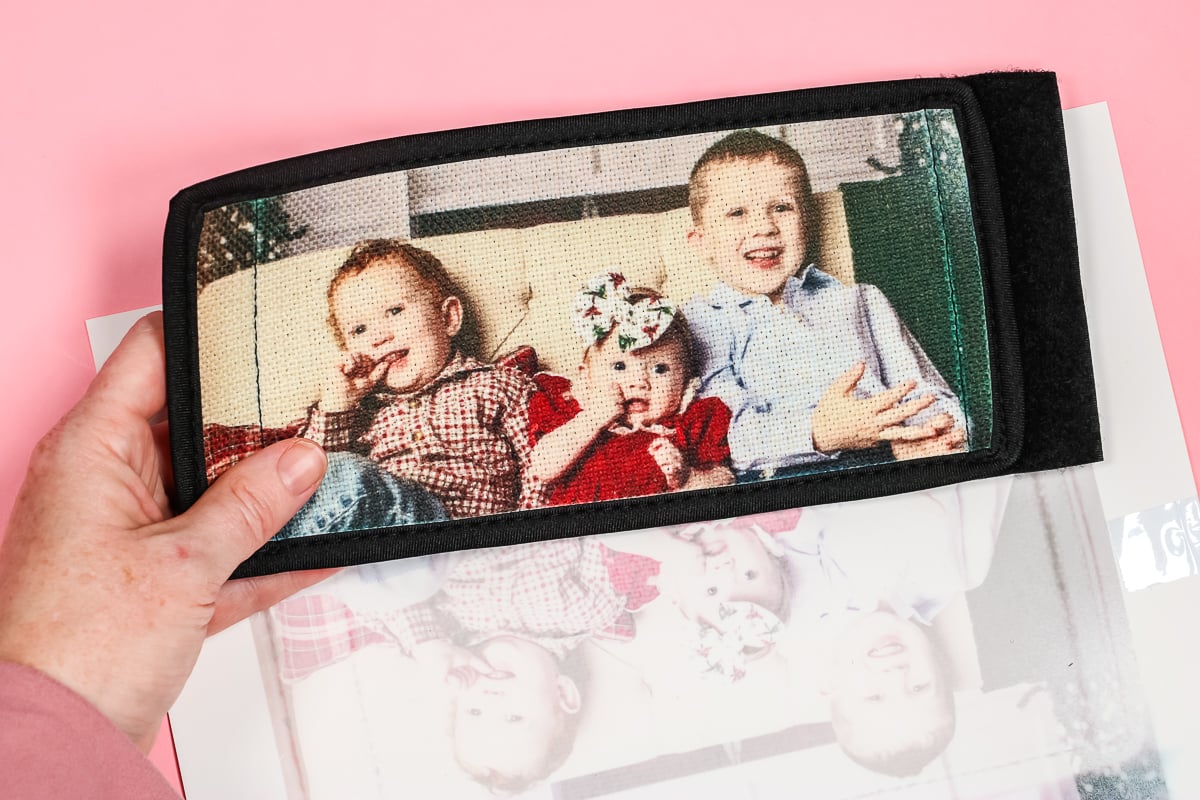
The Subli-Linen version of the Velcro koozie calls for a temp of 400 degrees for 60 seconds. Check the time and temperature though because I noticed that the neoprene version of the Velcro was 400 degrees for 65 seconds.
I love the finished look of the Subli-Linen koozie. I think they feel great and make wonderful gifts. They do make a neoprene version of the velcro wrap koozie if you like that style better.
Final Thoughts on Sublimation Koozies
Now that you’ve seen all the different sublimation options which one is my favorite? I really do love the full-wrap Subli-Linen velcro closure koozie. It has such a high-quality and photos and designs transfer to it beautifully. It’s perfect for gifting and selling.
All that’s left for you to do is pick your favorite and give it a try. I think sublimation koozies are an amazing beginner project. If you’re new to sublimation, this is a great project to start with.
With these tips and tricks, you can feel confident that you can have success making sublimation koozies. Customized sublimation koozies make great party favors, wedding favors, or even just gifts for families and friends. I don’t know about you but I would love a gift with a photo of my family on it.